When I taught at nursery school, clay was readily available to the children on a daily basis. I’ve seen very few pre-schools since that use clay daily. Most settings use dough, but why not clay?
It may be that it is too expensive, dough can be made very cheaply but air drying clay is an expensive resource. If clay is stored and looked after properly however, and used to enhance the children’s play rather than simply to make models to take home this needn’t be the case.
How to store and look after air drying clay
It is essential to keep your clay damp. Store it in a bucket or lidded container and place a damp flat rock in the bottom. The clay should then be moulded into cubes smoothing out any cracks. Make a thumb sized hole in each cube and fill the hole with water. Occasionally spray the clay with water. The clay will keep for a considerable amount of time like this. Should you feel the clay drying out cover the clay with water and leave for 48 hours.
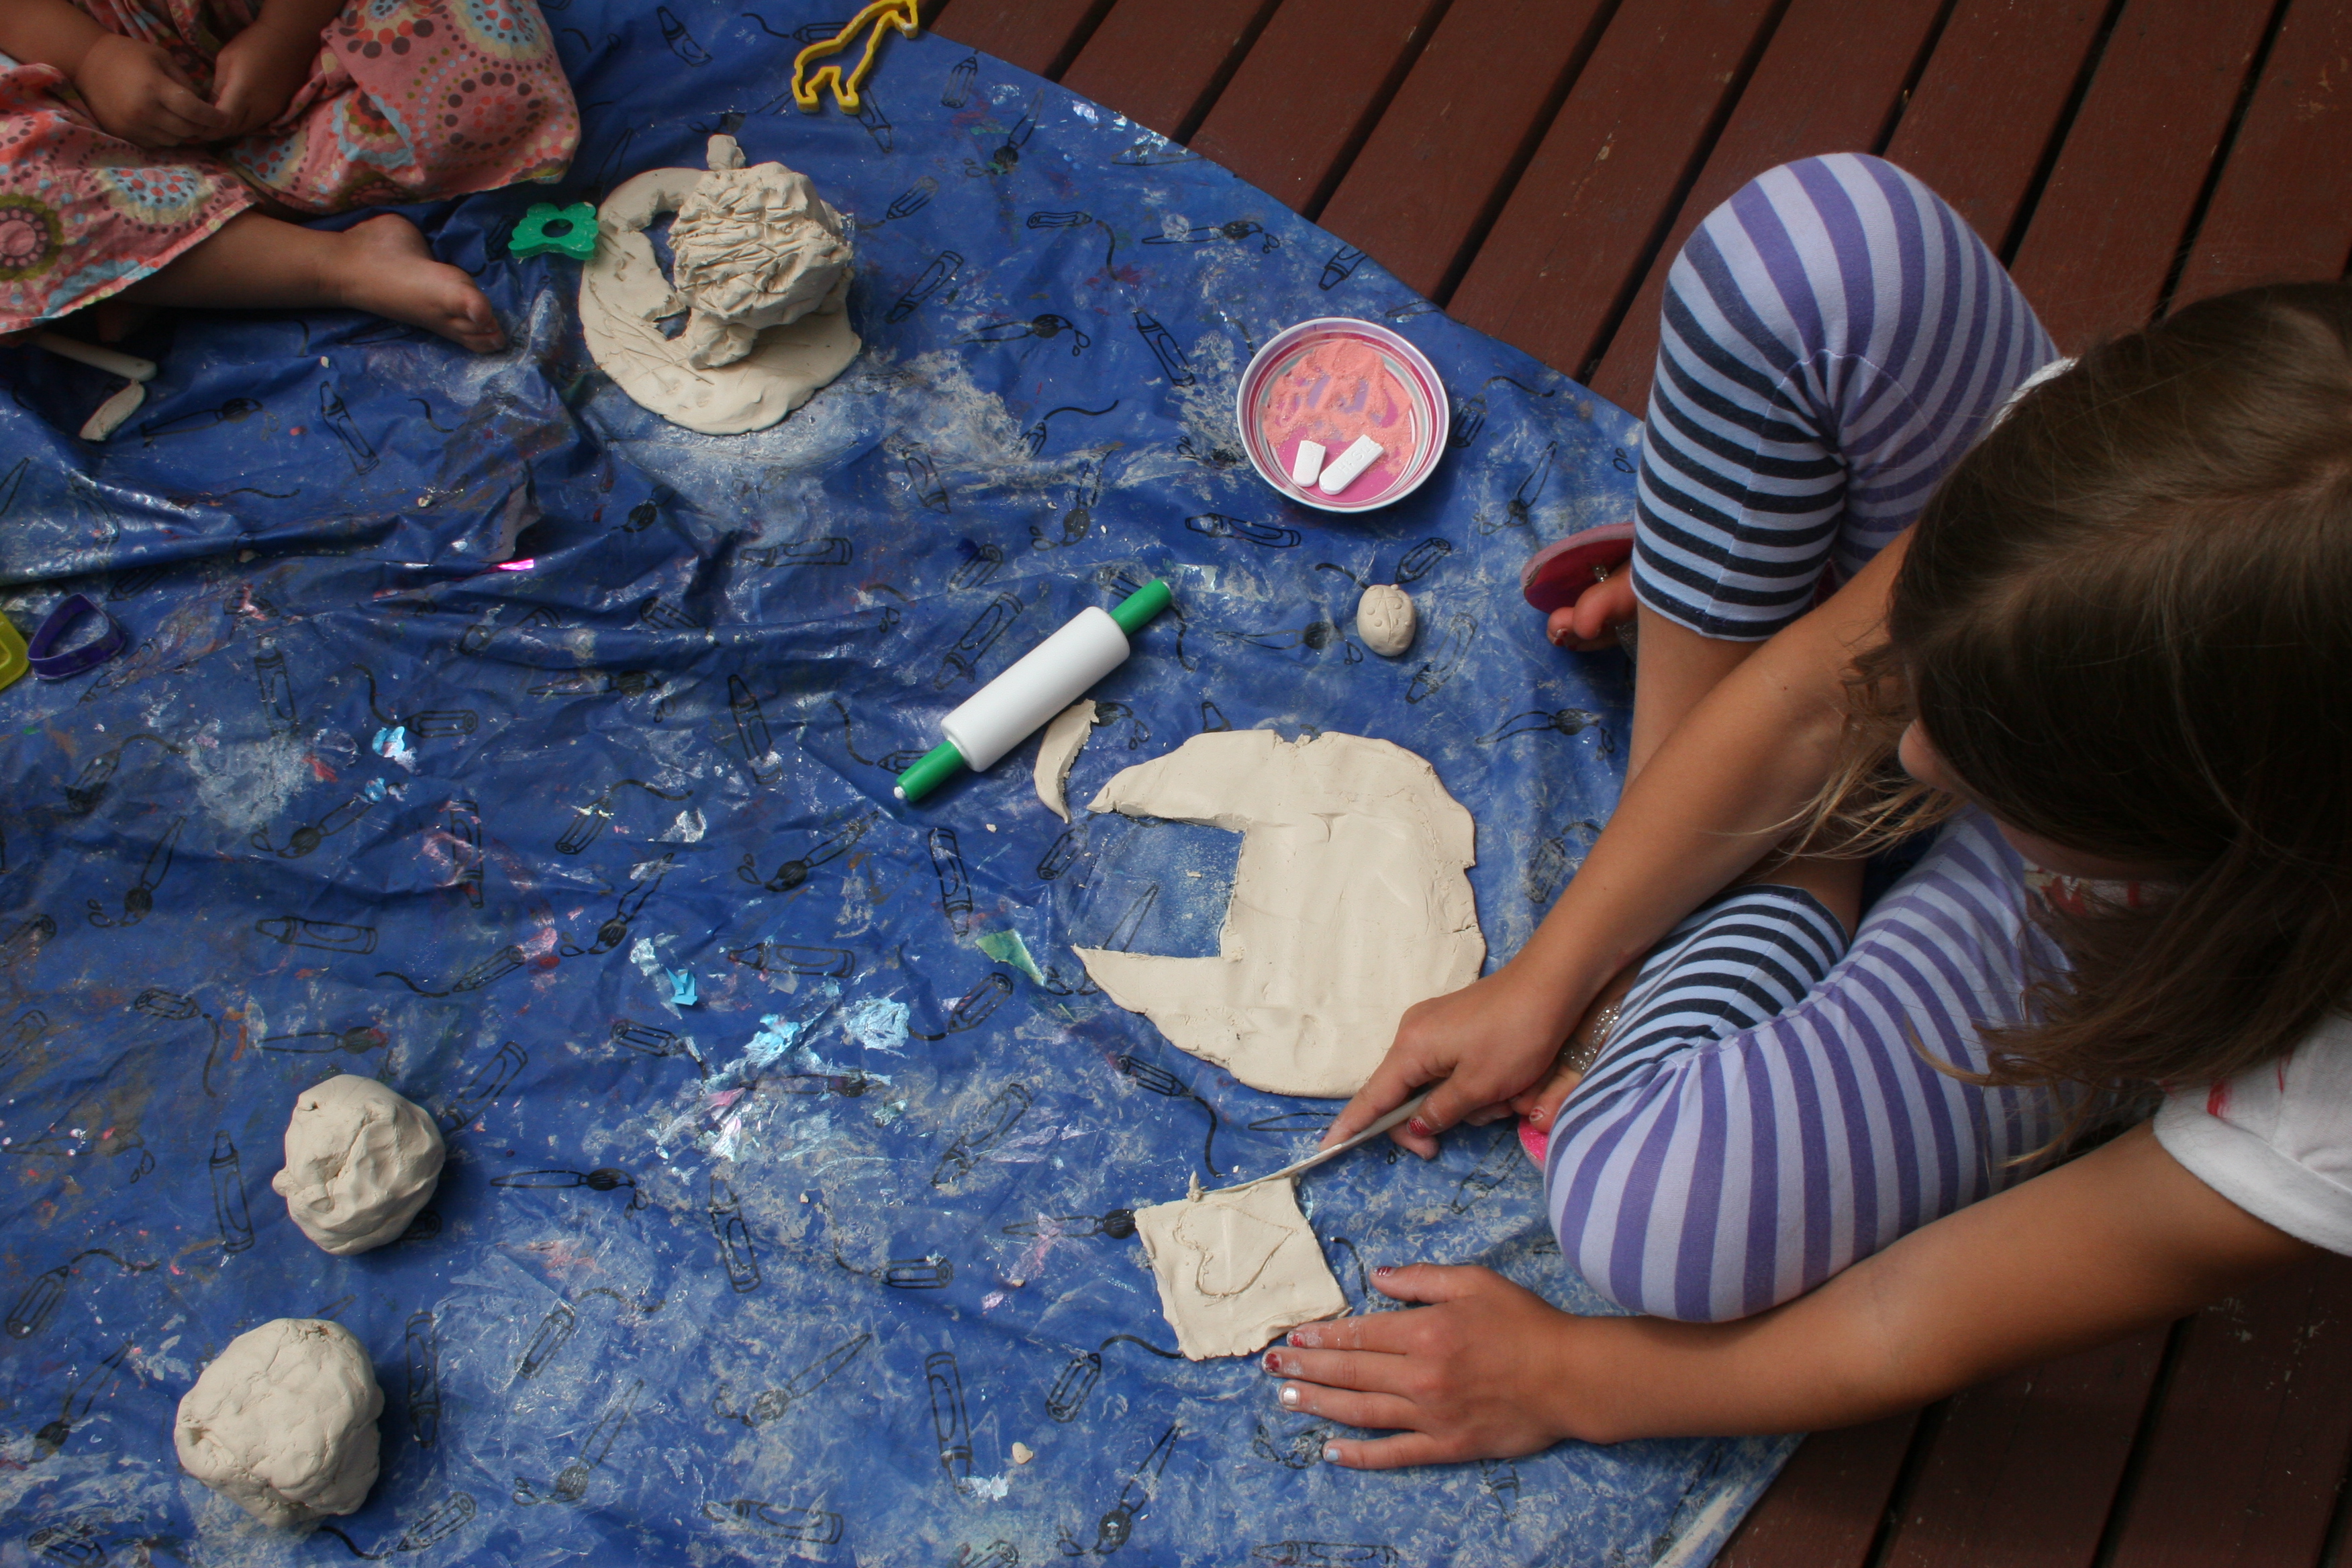
It was a rare exception when children asked for their creations to be dried, painted and taken home. Mostly they would build the blocks of clay on top of each other, stick things in it, roll it out, and bash it with hammers and were happy to put it back in the clay bin at the end of the session. Occasionally we would have a focused activity on techniques like pattern making, how to join 2 pieces of clay together or moulding around wire. A group of 4-year-olds worked on a long-term project about self portraits . They looked closely at their faces in the mirror and drew a number of self portraits with adult guidance to enhance the detail. These were transferred to clay models. The accuracy with which they translated their drawing into the representation in clay was astonishing.
The Benefits of Playing with Clay
- Clay inspires creative thinking
- Clay is far stronger and more malleable than dough which makes it far better for modelling.
- Children (and adults) find working with clay engrossing
- Clay can offer children emotional contentment, they can knead and manipulate the clay to ease anxieties.
- Children with lots of energy or displaying aggression can dispense some of this on a large block of clay. You can hit a piece of clay with force without it disintegrating to nothing.
- Children are able to problem solve by making mistakes and working out how to fix them.
The Developmental Stages of Working with Clay
0-2 Years
For these children large blocks of clay are best, the bigger the better. Lay a piece of plastic sheeting on the floor and allow the children to experience the clay with their whole bodies, they can sit on it, make impressions in the clay and pull pieces off. It might be better served as an outdoor activity with this age-group but it depends on your space. Allow the children to explore the clay with their hands, build towers with clay blocks or offer tools if they are reluctant to touch it.
2-3 Years
Experiment with the different things that clay can do. Let them build, flatten, roll, pile and stick objects in the clay. A finished product is not necessary at this age, allow them to integrate loose parts from the environment. Investigate what happens when you spray the clay with water.
3-4 Years
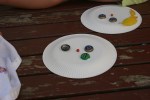
Some children will be ready to make simple models so you could begin to demonstrate how to join 2 pieces of clay together. Many children will prefer to use clay in their imaginative play, making cakes or lots of tiny peas. Include small world objects with the clay perhaps rolling out a flat piece for the play people to walk on or build a rocky swamp for the dinosaurs. Continue to introduce natural materials.
4-5 Years
Children will now begin to build things for their small world play, chairs for the house or shelters for the animals. Once the children are confident you could set them projects like build a bridge for the Billy Goats Gruff or a bed for the 3 Bears. Clay can now be used to support mark-making teach children to draw and write on clay with sticks, twigs or blunt pencils.
5+ years
The children will be keen at this age to make a finished product. Show the children examples of clay sculptures as inspiration. Encourage them to translate both imaginative and observational drawings into clay models. Support group work, building one large co-operative model.
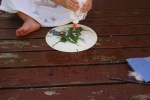
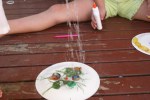
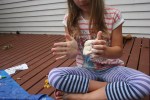
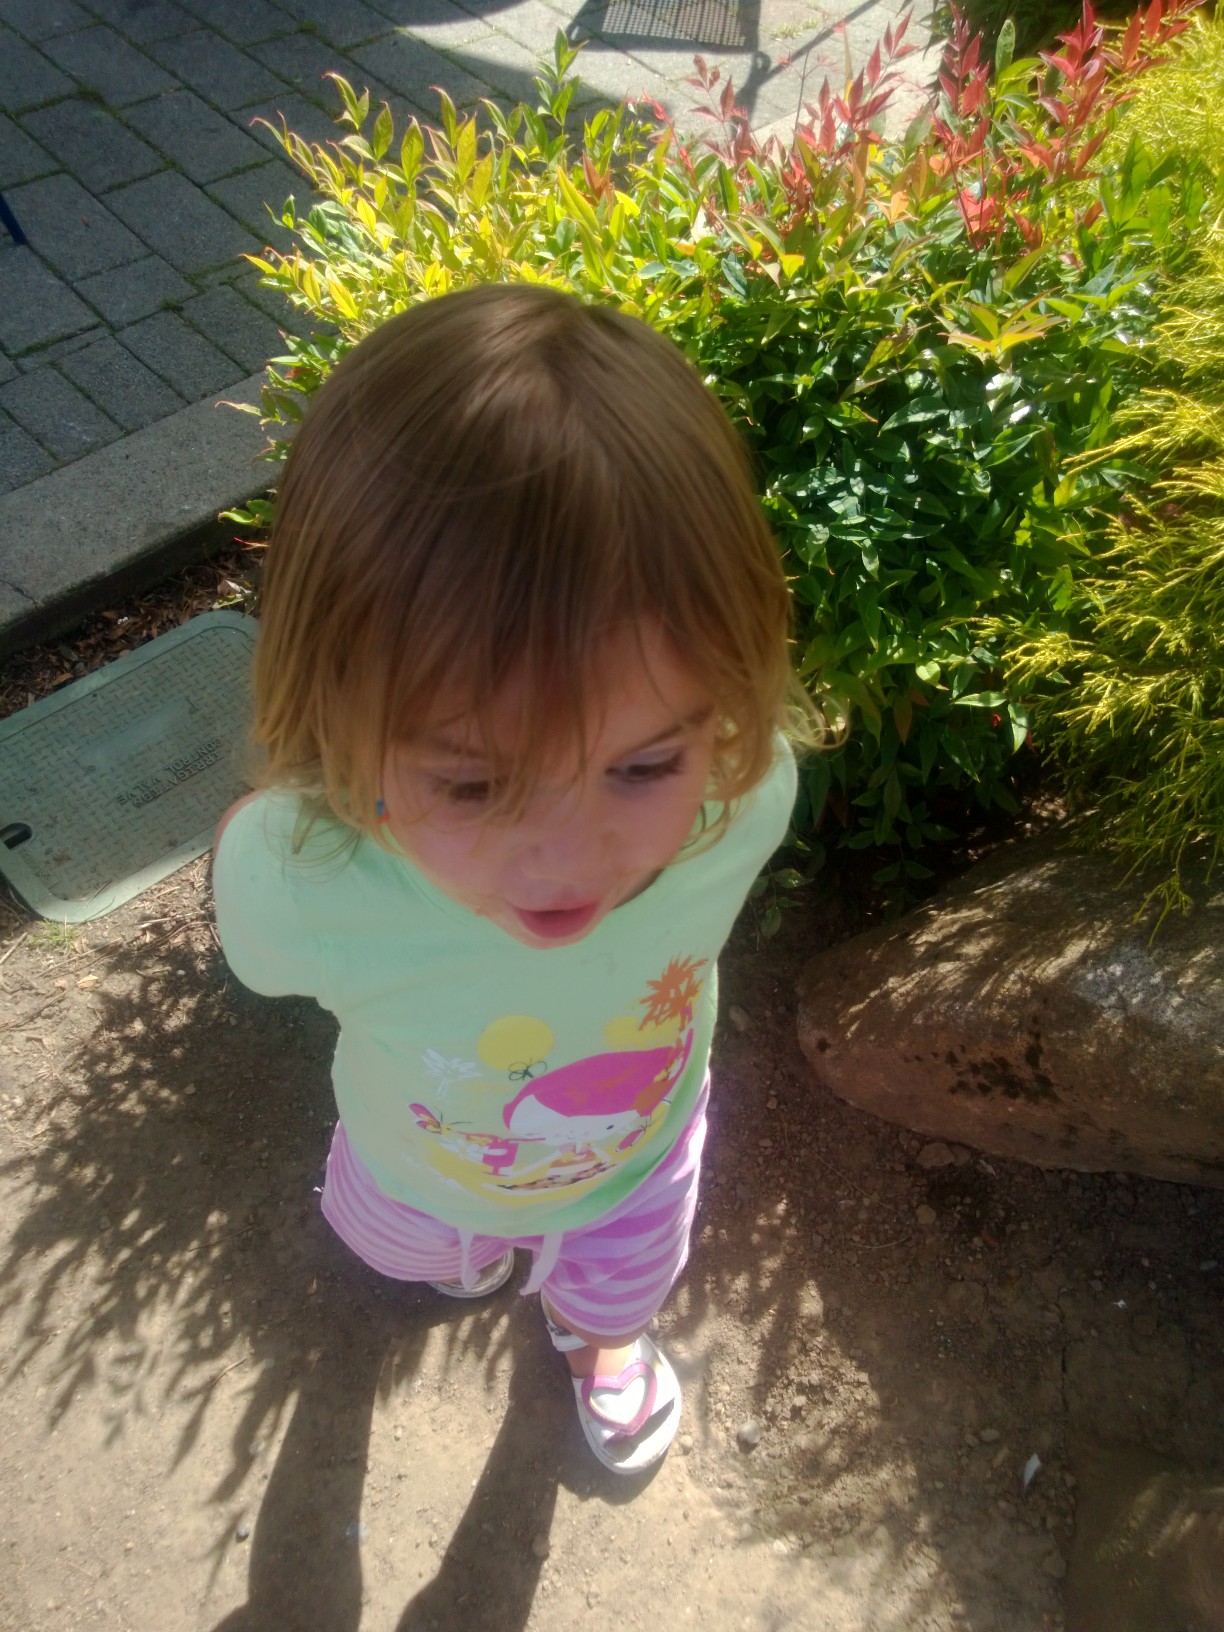
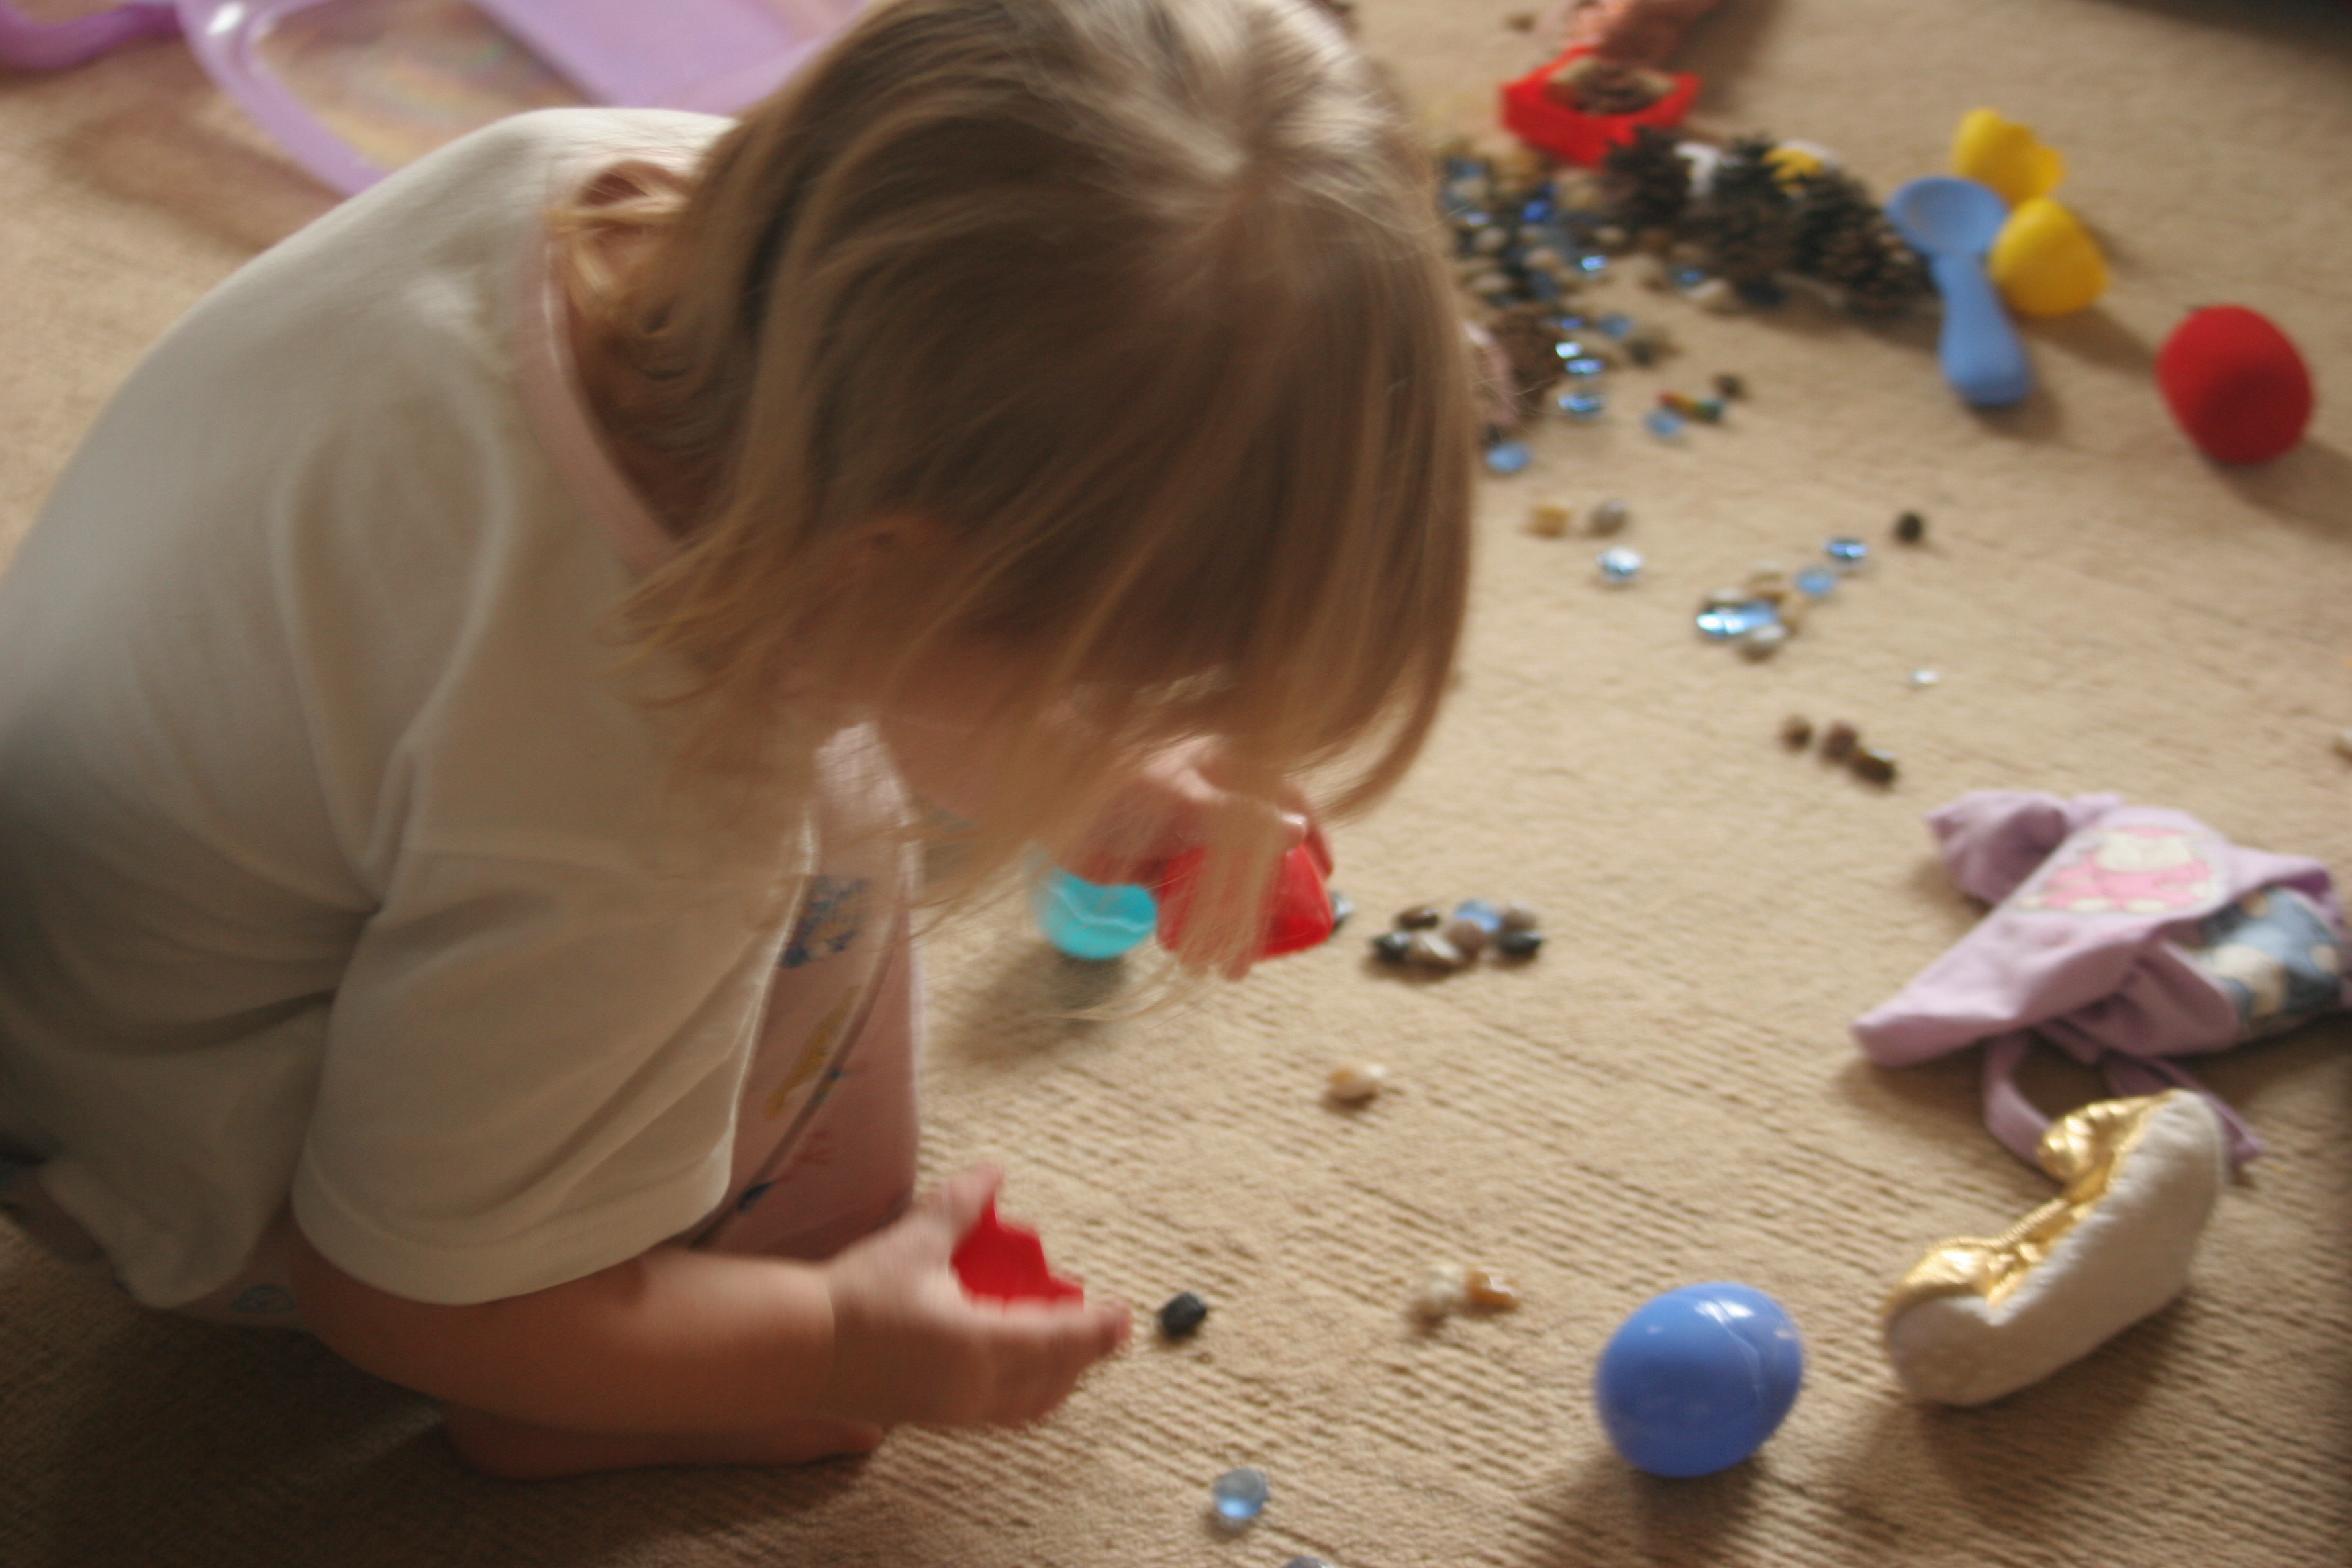
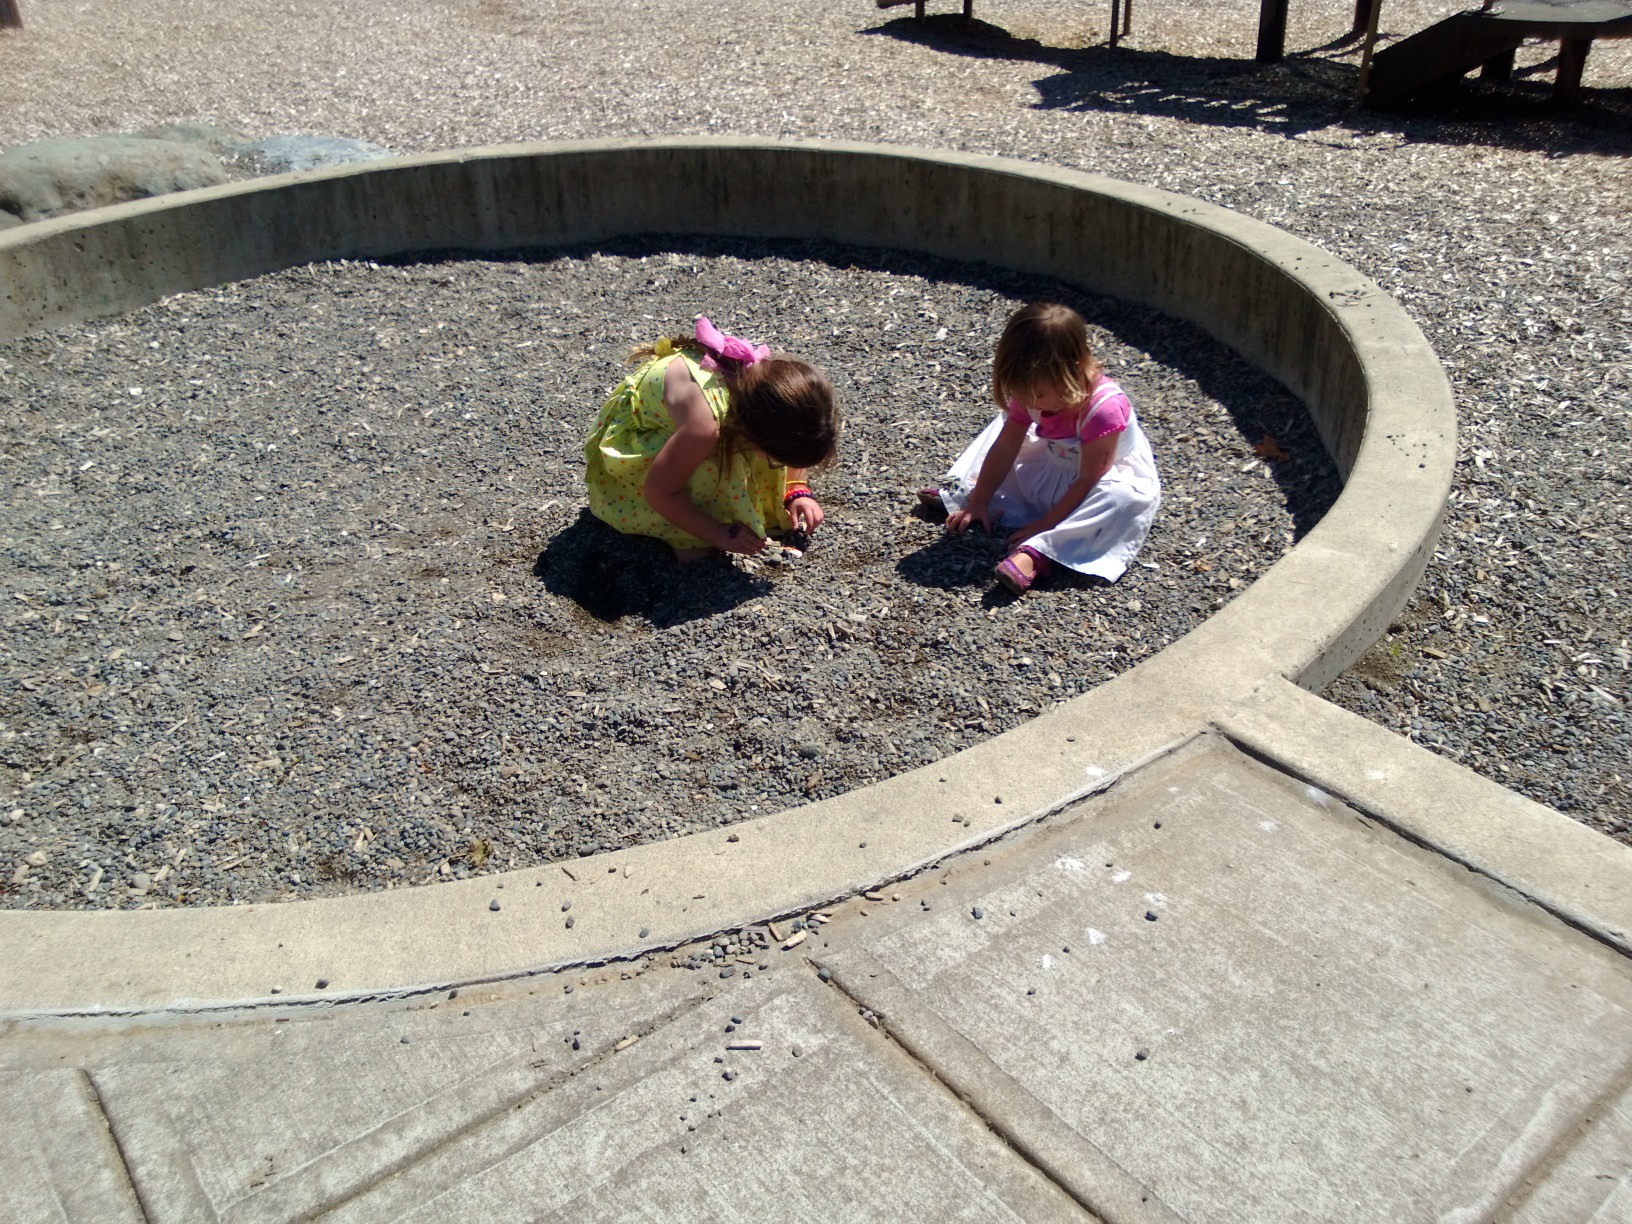
You will see in the gallery below how my children of different ages play with the clay. My 9-year-old goes straight into making a model, while her 4-year-old sister starts by making a pizza, practicing rolling and cutting. She soon copies her sister and starts to make a bowl. Both girls encounter problems with their models and work out how to fix them. My 2-year-old is happy to squish the clay, making marks with knives and then moves the pieces around the garden, collecting loose parts and piling blocks together.
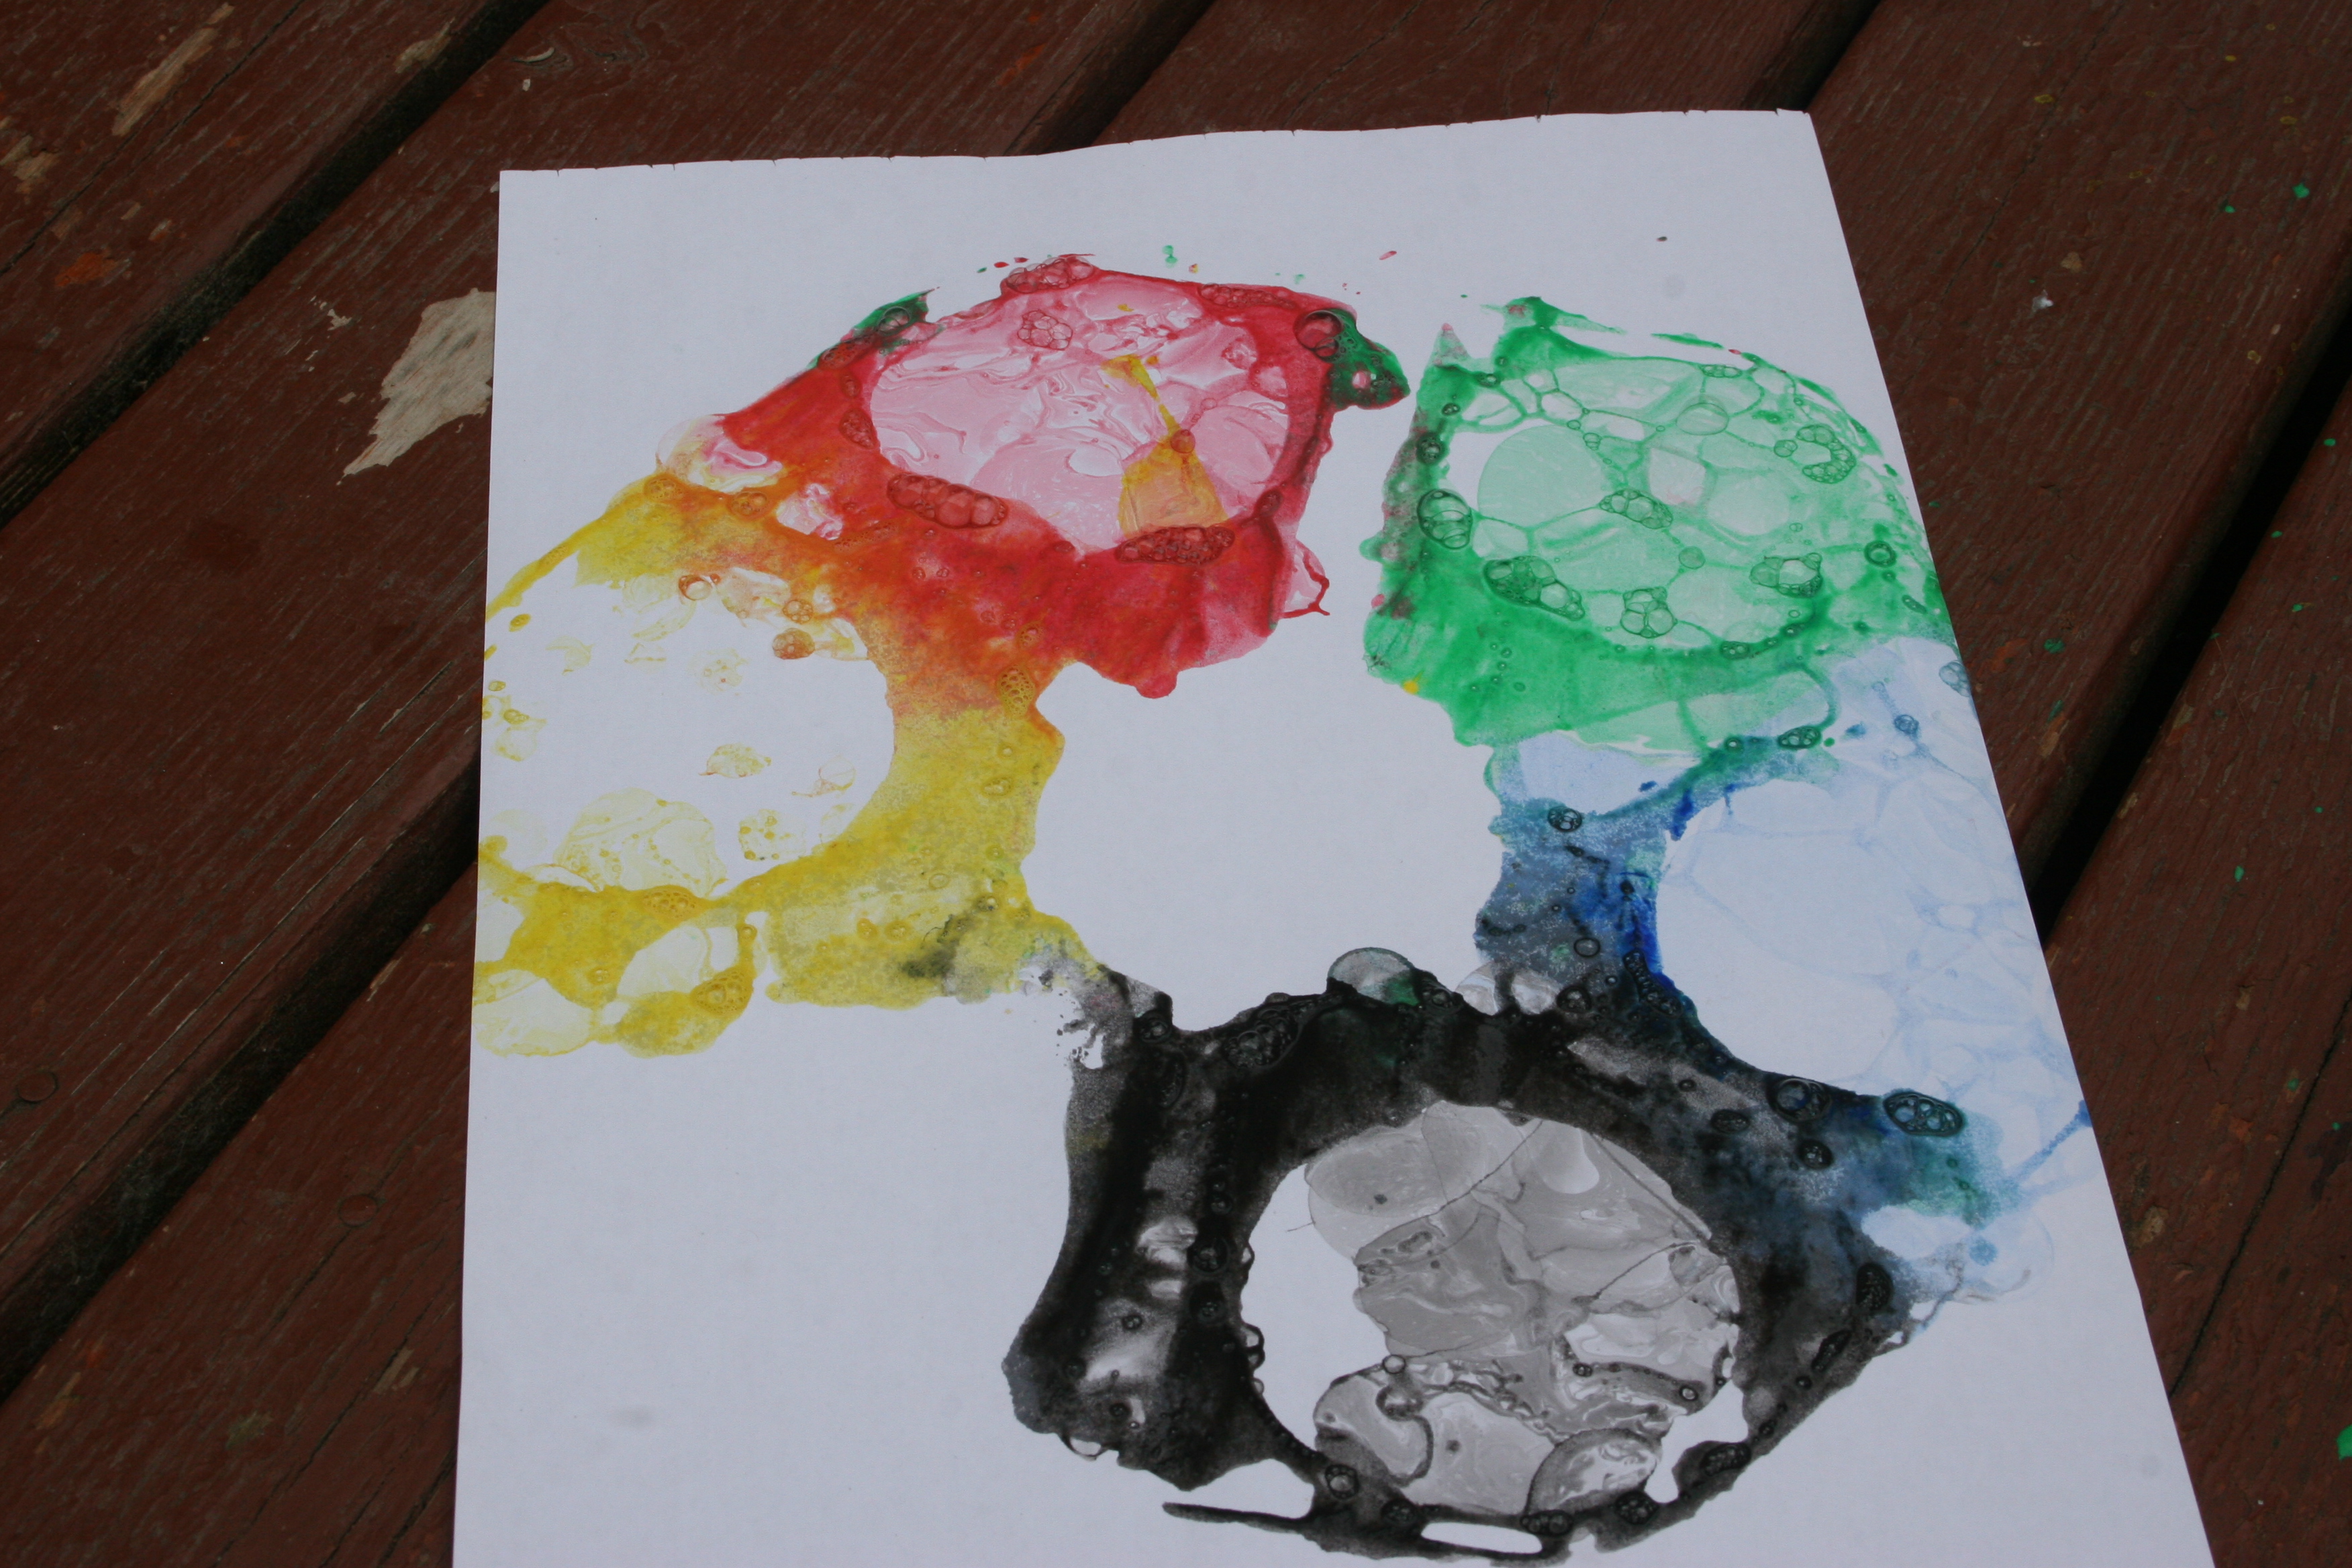
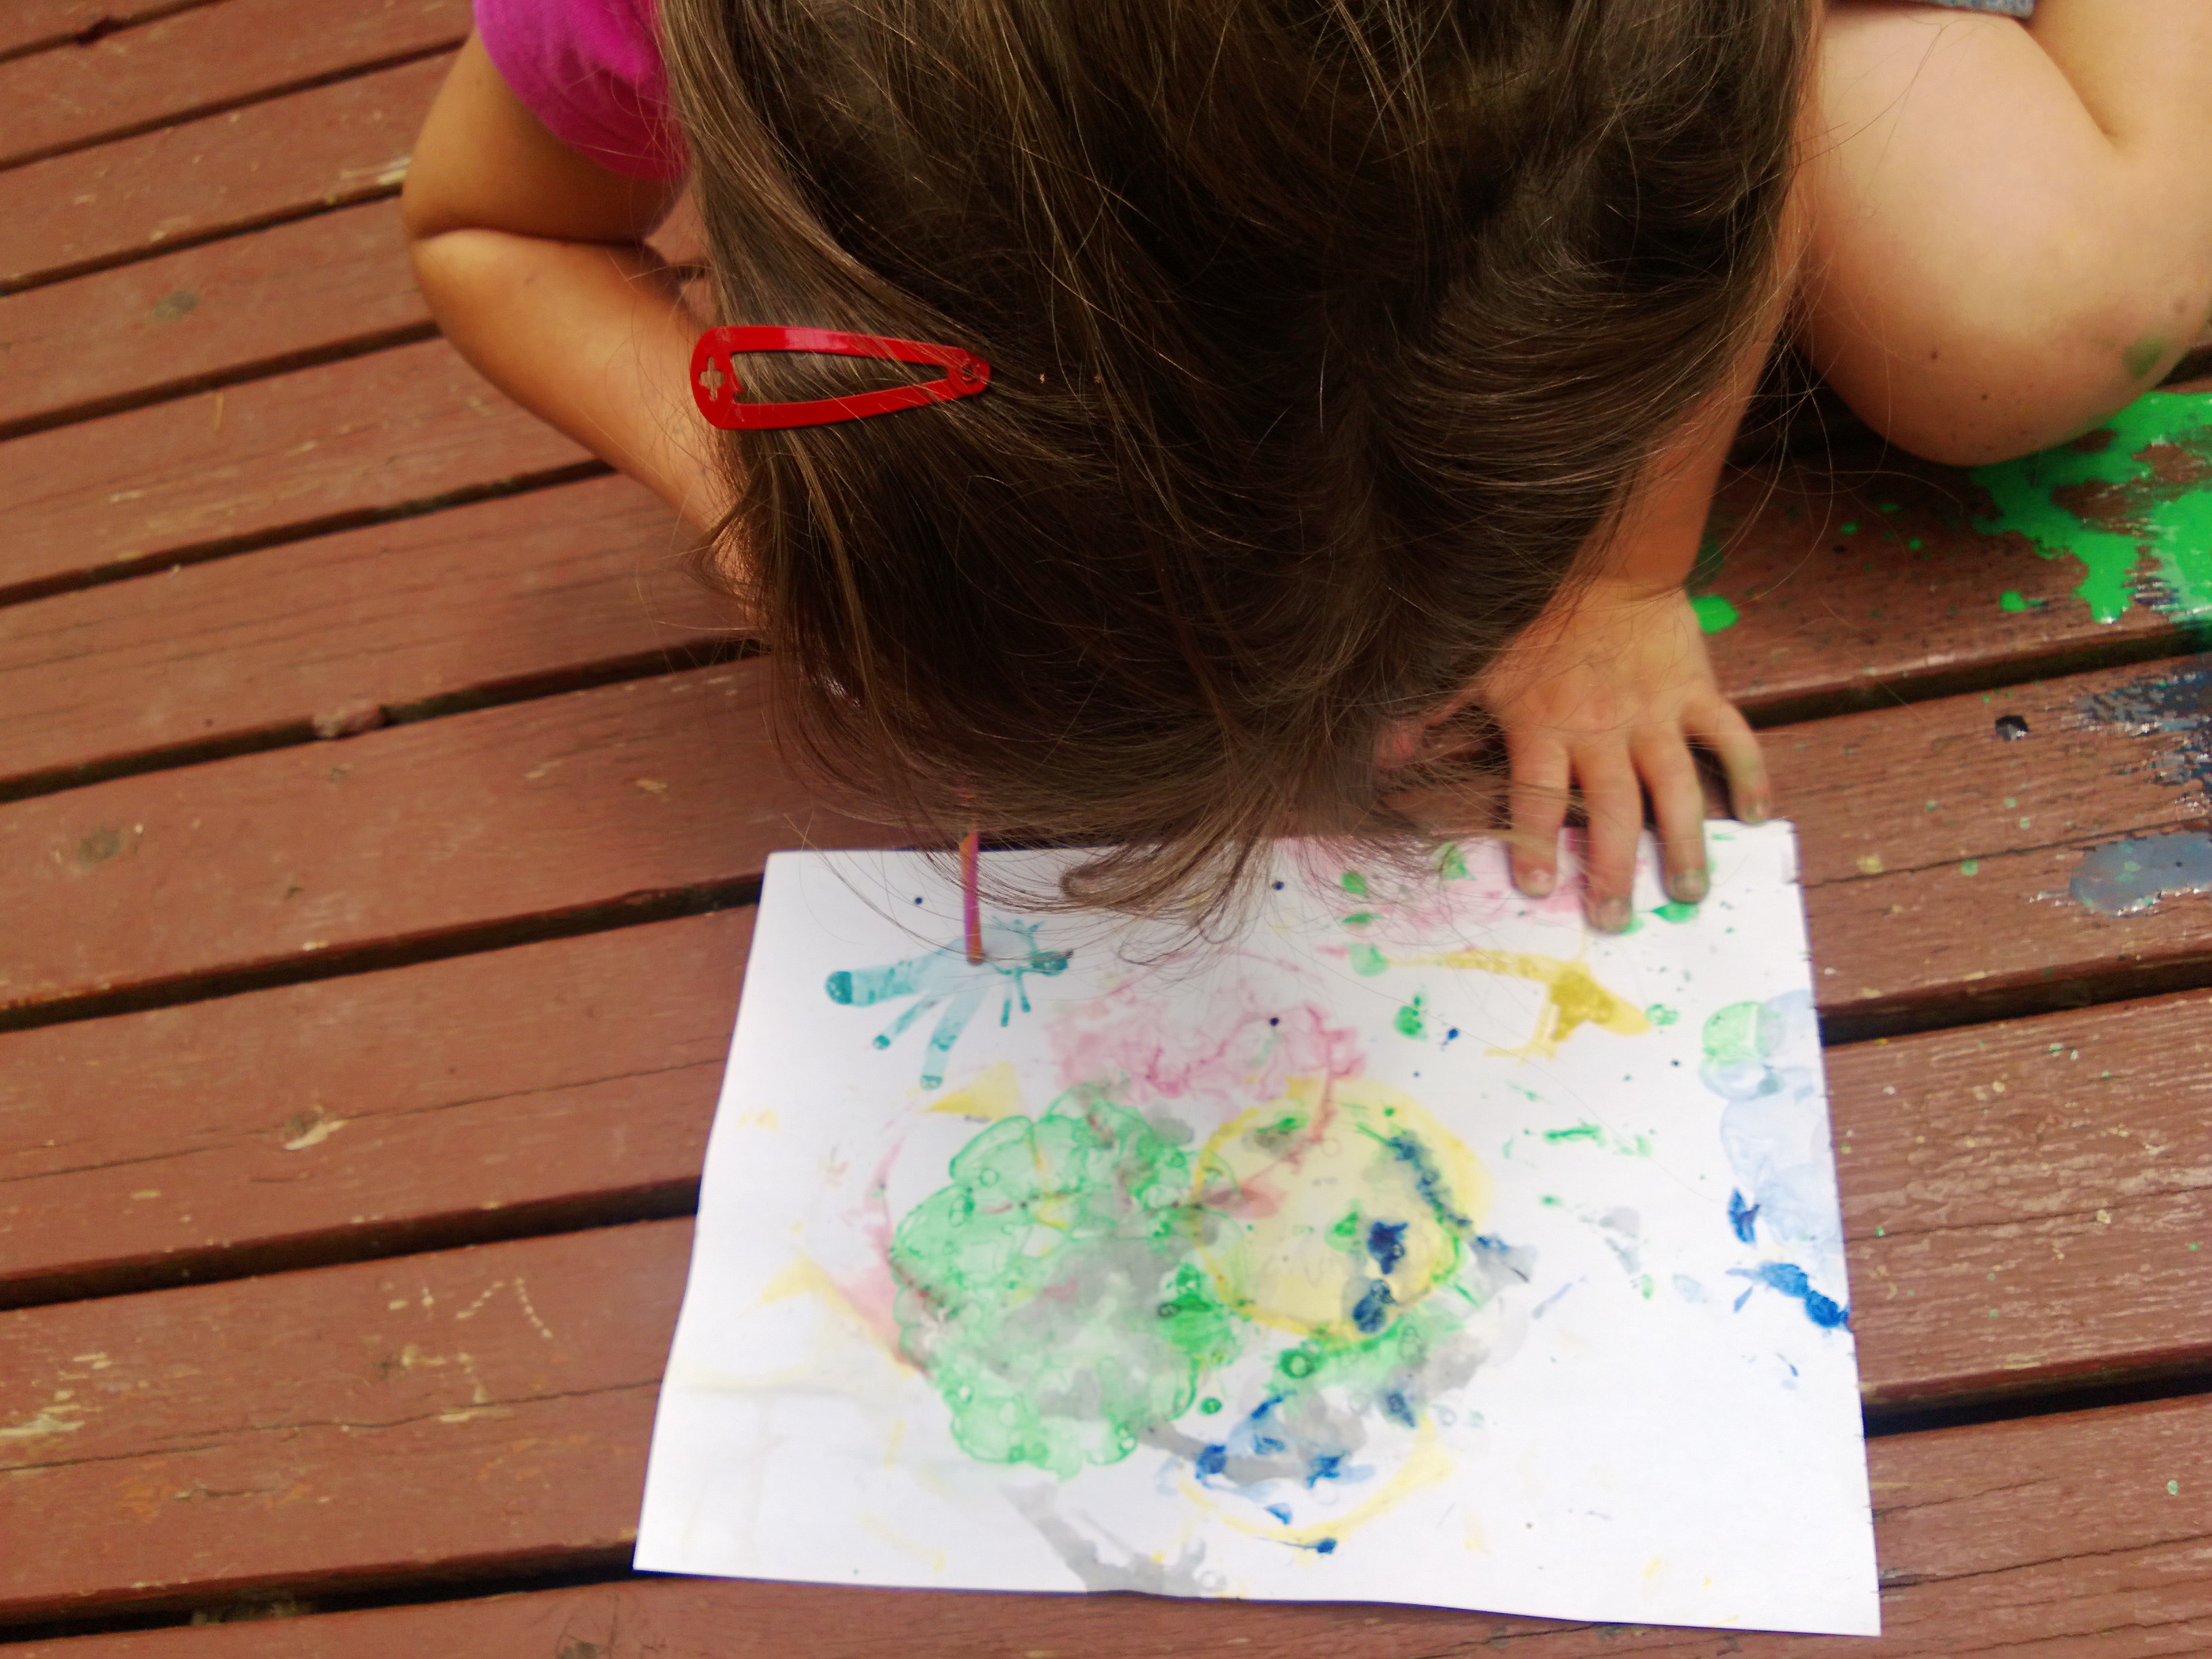
This slideshow requires JavaScript.