As a finalist in America’s Most Playful Family contest our task was to create a 90 second video showing tips that will help families become more playful. With so much to say about what we do and why play is important to us, this was a real challenge but here is the finished product.
For further detail about the activities and ideas featured in the video, follow the links below:- Play Don’t Throw Away
We have recently received some very exciting news. Our family have been selected from over 700 applicants as one of 50 semi-finalists in America’s Most Playful Family Contest. To enter we were asked to answer a number of questions about our play, including why it is important and how we make time for play.
I strive very hard to make my children’s lives playful and to share the things we do with others, so to be chosen as a semi-finalist makes me very proud.
As a semi-finalist we receive a video camera and have been asked to create a 90 second video sharing tips to encourage other families to be more playful and showing that play can happen anywhere. I have a huge list of things that I would like to show and it will be a big challenge to my editing skills to fit everything into 90 seconds. Brevity isn’t always my strength, so it will be good for me to pin down the most important messages to share.
The videos will be posted on a You Tube channel, so families can get tips and ideas about play and will be judged by a panel. You will be relieved to know that I won’t be asking for votes but it would be nice if you would view the video and tell us what you think (I’ll embed the link here once it goes live).
The winner gets to choose a community in their state that deserves a very special playground. This will be a great way to learn about local worthy causes and help disadvantaged kids. Of course there are prizes for us too but for me being chosen as a playful family is a great prize in itself.
This year I am home preschooling my 2 youngest, not something I ever thought I would find myself doing but my reasons for making this choice can be found in a previous post Why I am Home Preschooling my Children.
I get a mixed reaction from people, some give me a glazed expression as if to say really? Can’t you just send them to preschool like the rest of us? Others wonder why on earth I would want to. Some look at me as if I am some kind of Supermum and others as if I am denying my kids a normal social life. Some however, just want to know how it all works and what exactly I do with them – this post is for you.
It really isn’t rocket science, I don’t follow a rigid schedule and home schooling allows us loads of flexibility. My 5-year-old said today
I’m glad we are doing your preschool because it means we can go to the zoo whenever we want.
It isn’t entirely without structure though – I plan for the learning environment and have a timetable . I suppose it is a little like having a plan for how you spend time with your children. It isn’t an academic preschool, we play and explore together, sometimes they play alone and we share interests, questions and ideas.
What about interaction with other children?
One day a week we have no preschool the girls go to ballet class, meet with friends and help me with normal everyday things like grocery shopping.
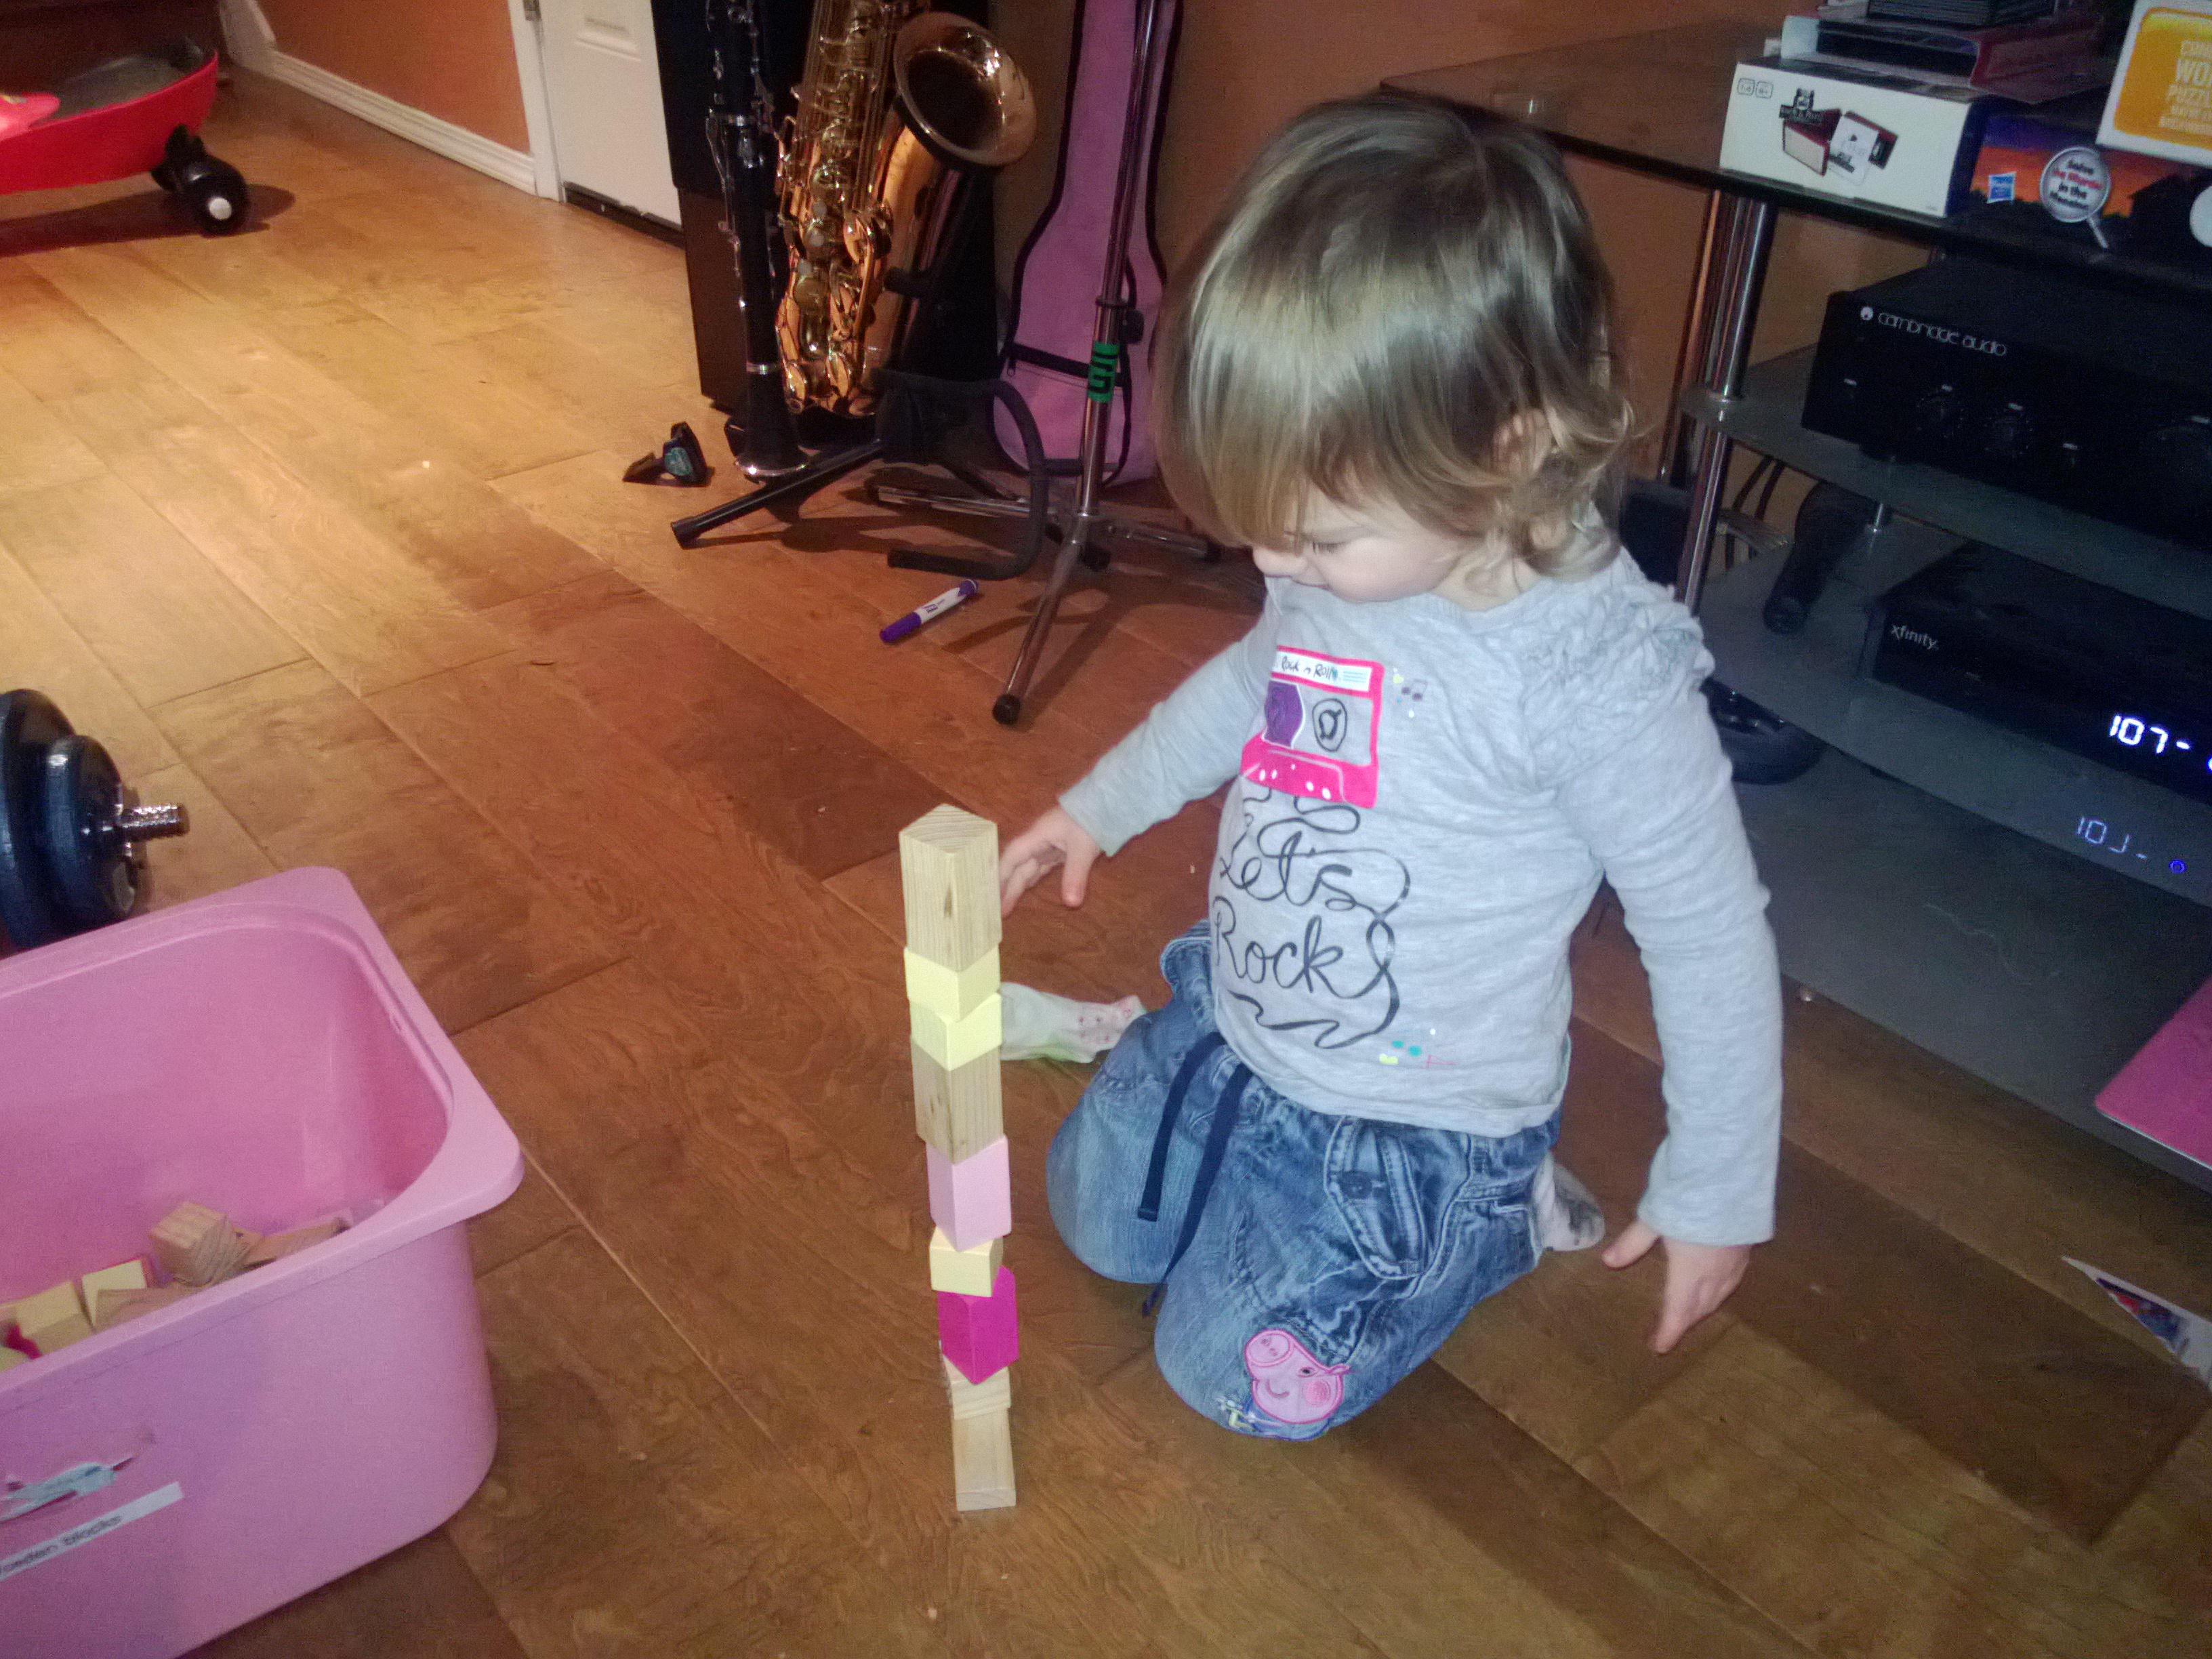
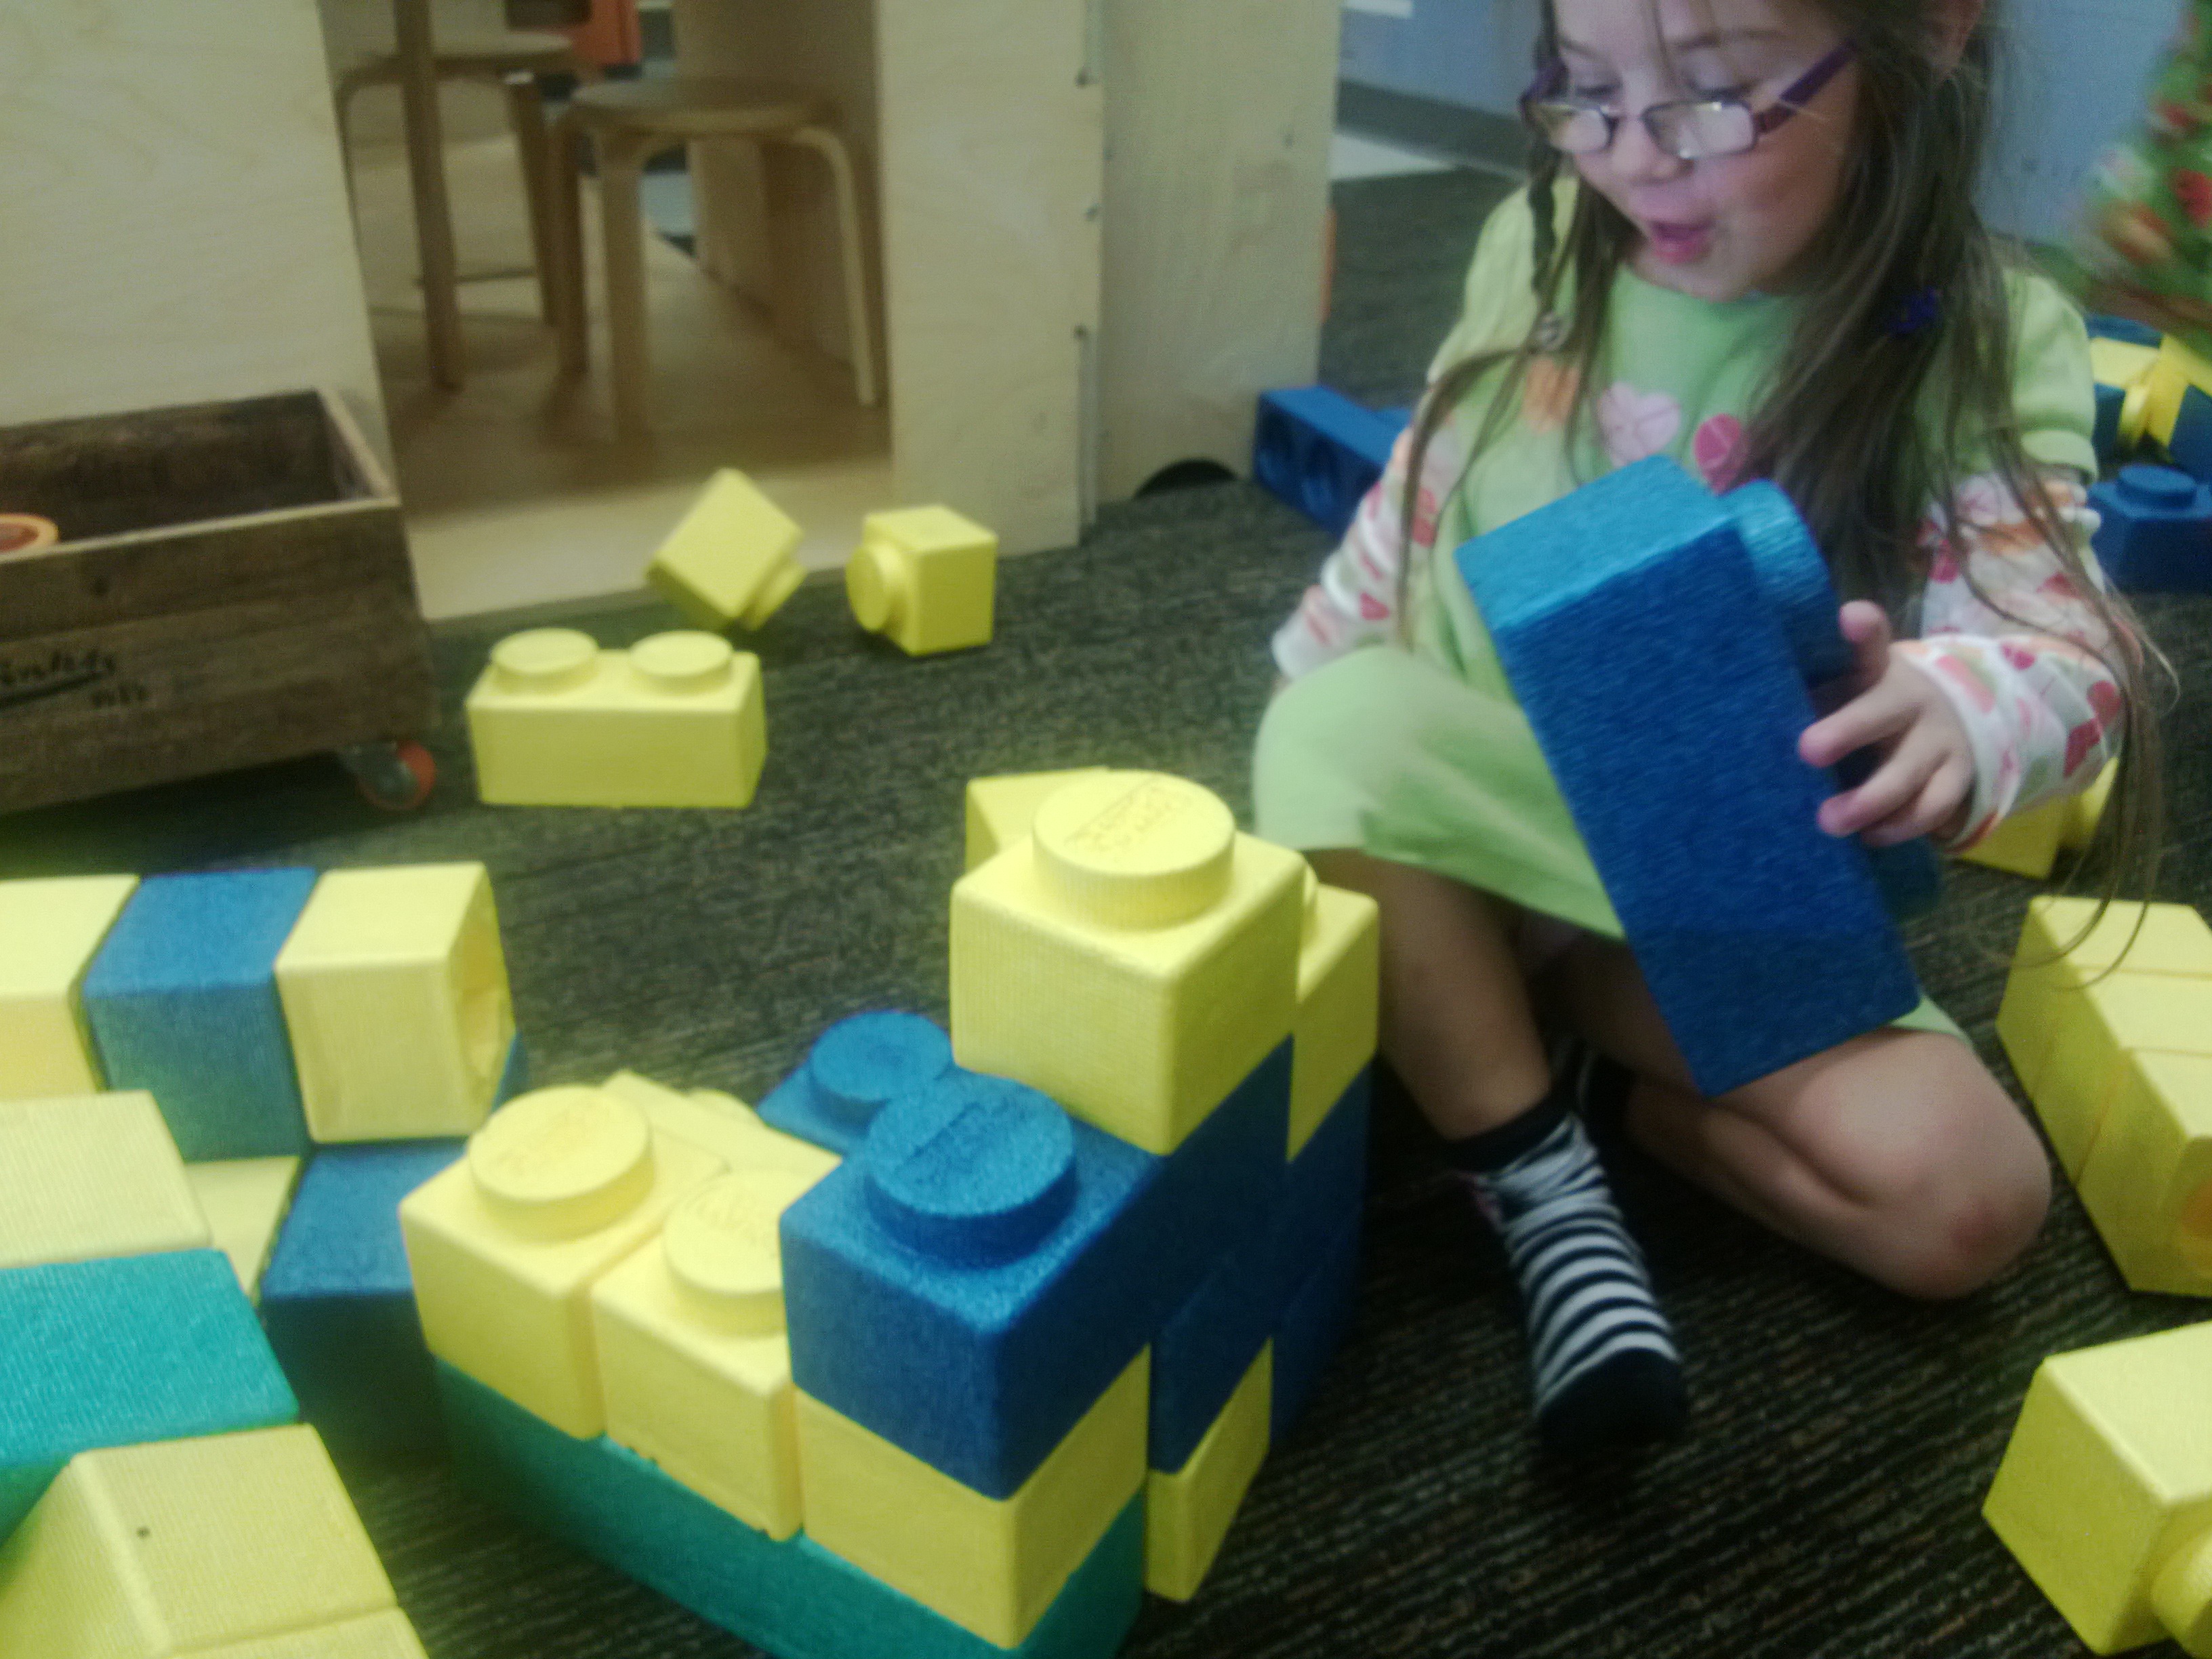
Building a mountain with the large blocks.
Two days a week we attend a local membership based playspace, it’s a little like a toddler group in the UK except that it is a purpose-built space and is open all day. Some of the music and language games we play at home don’t work very well with only 2 children so I run music and movement, craft, sensory play or storytelling sessions here which gives us an opportunity to do activities in a larger group. The rest of the time I allow them to free play but take their learning diaries to record what they may be interested in or achieving in a different context. The girls get chance to play with other children and use different materials than those we have at home.
The other 2 days are home based but sometimes we will use one of them to go out on a trip.
Timetabling
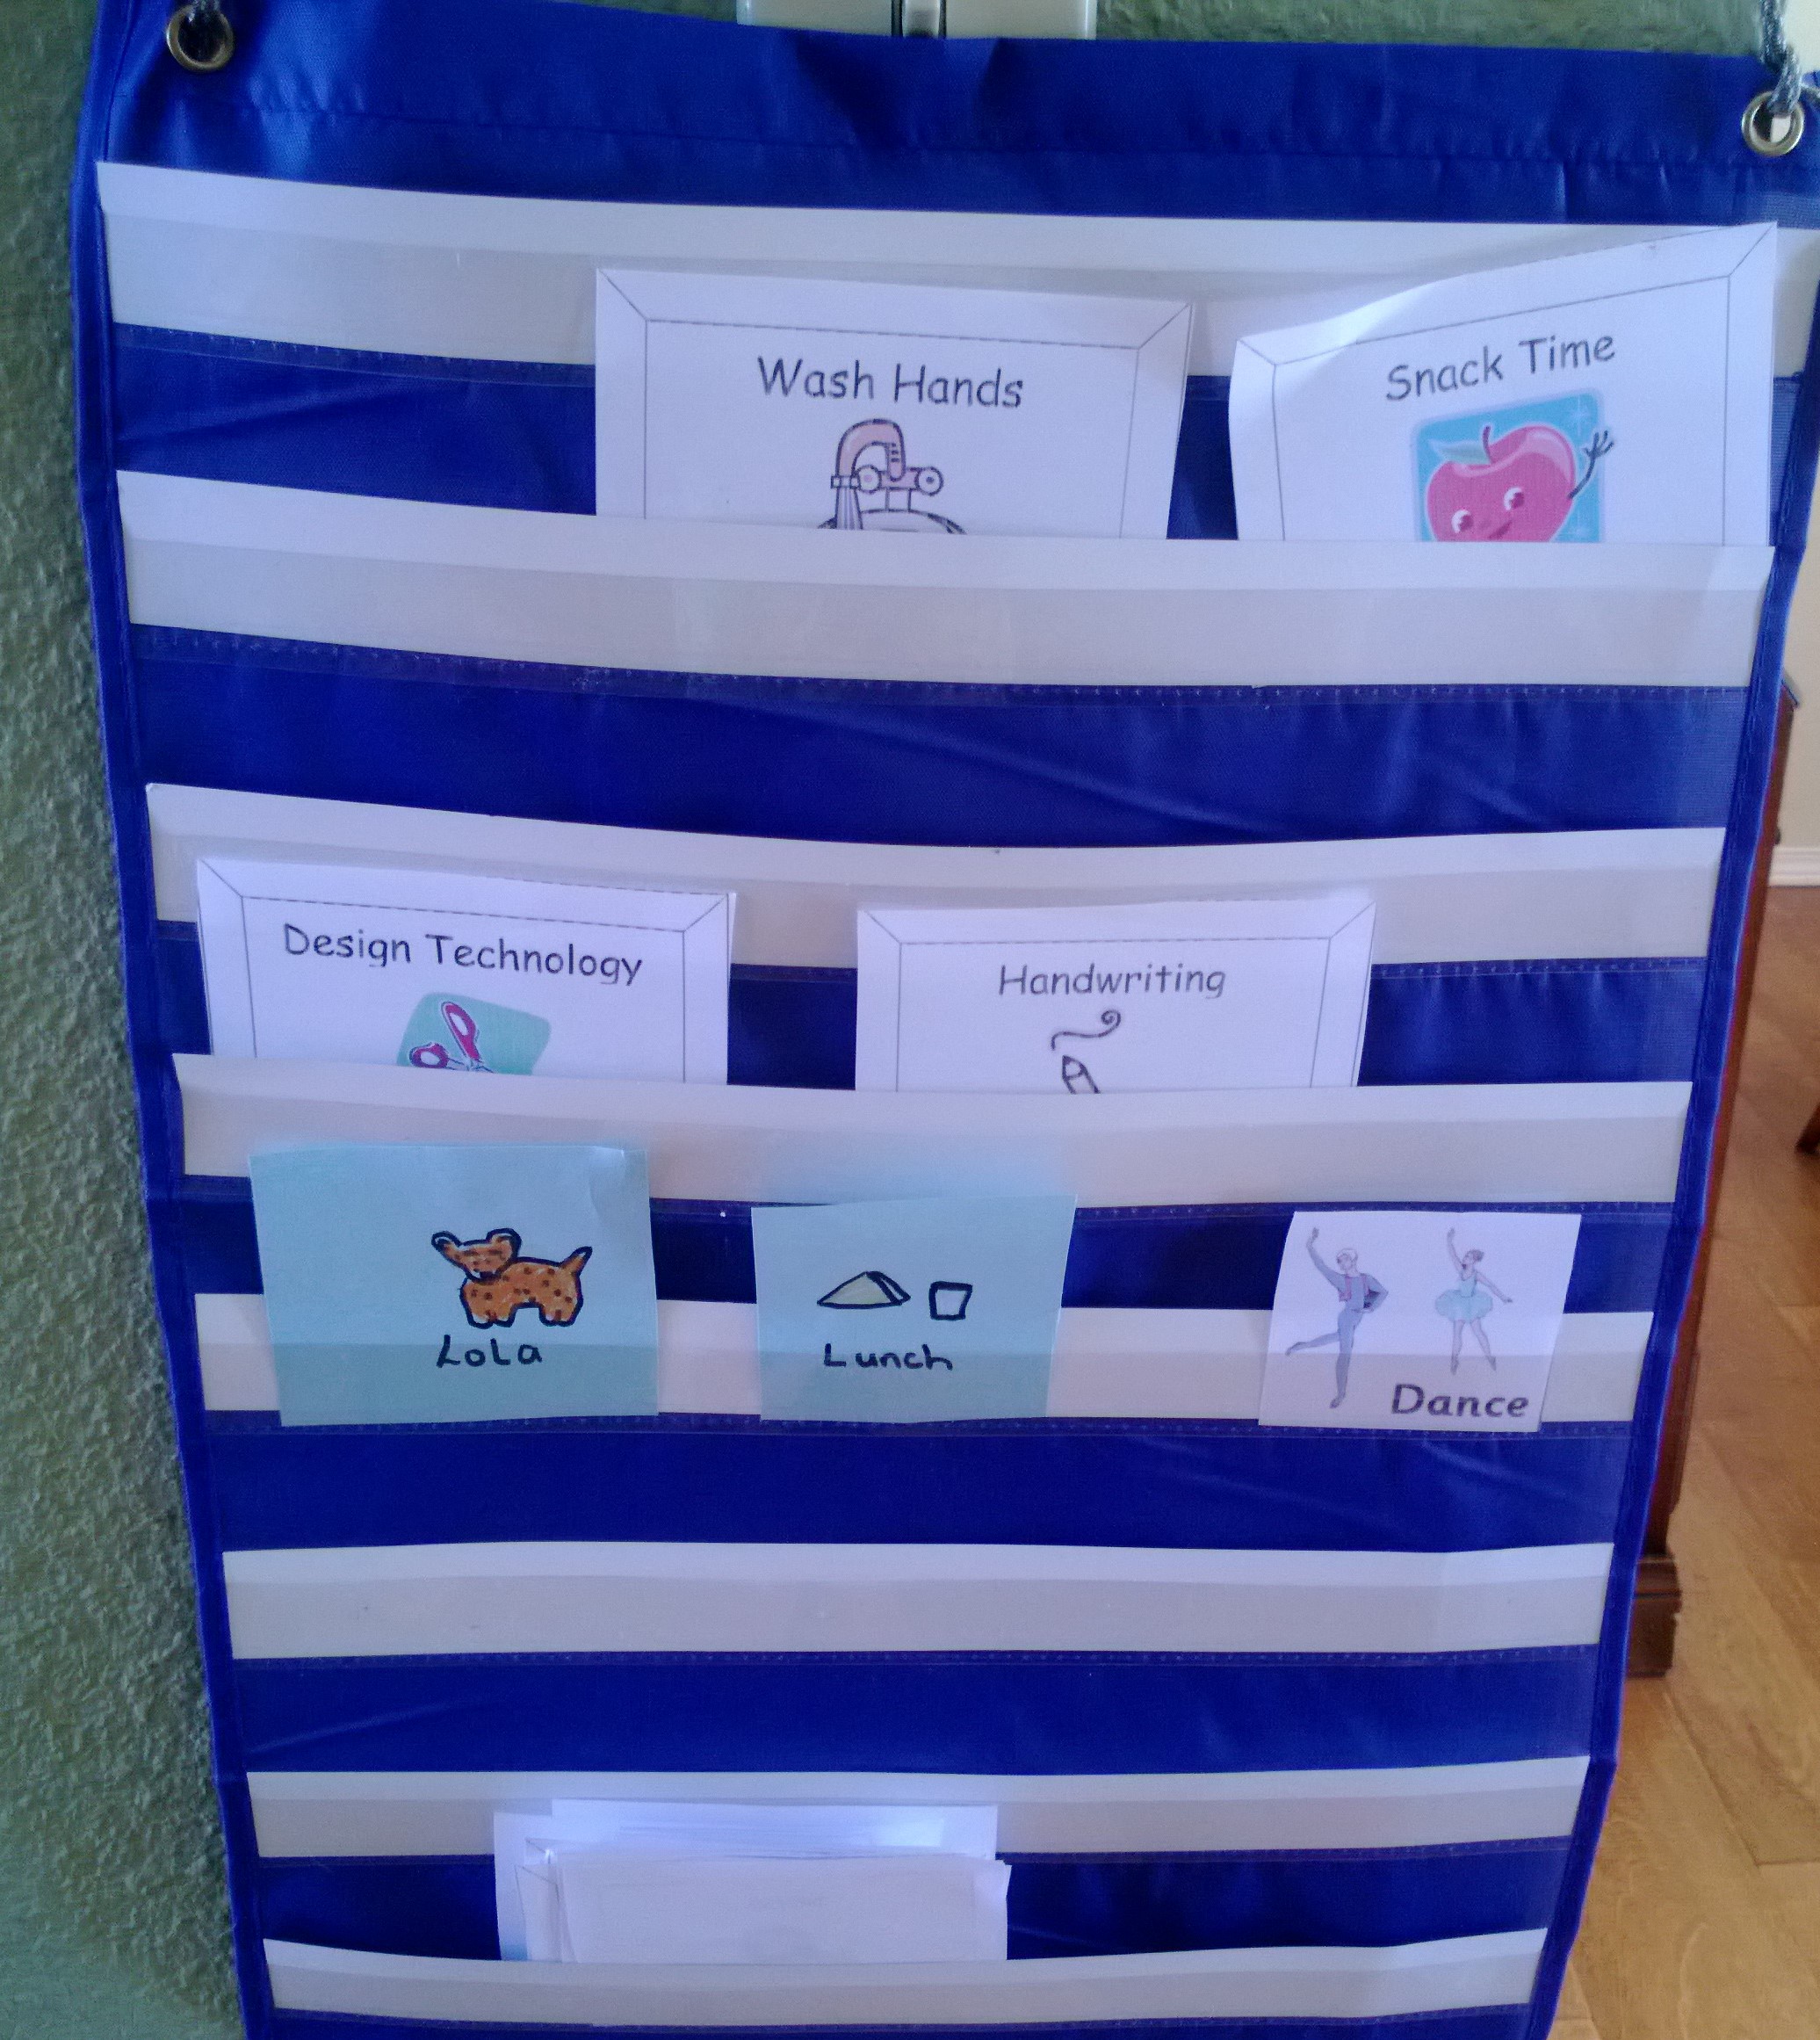
One of the things I have disliked about many preschools is the rigidity of their schedules. There seemed to be little time for the children to become absorbed in a project or flexibility about what they might do each day. I did however feel it was important to have some schedule in place. I created a visual timetable using printed symbols. Certain symbols are always present – Snack, lunch, free play and others I add in based on what we might do that day. The symbols can be moved around and often if we don’t have time for an activity I move it to the bottom of the timetable to be saved for next time. Sometimes I let the children plan the timetable although they don’t exactly have a realistic understanding of time so we usually end up with far too many activities to get through in one day. It is also a really good way of regulating screen time, this usually goes into the timetable for after lunch followed by outdoor choosing time and if they ask for it earlier in the day I point them to the timetable. I’m surprised at how well the timetable works , the girls really respond to it and look forward to knowing what they are doing next.
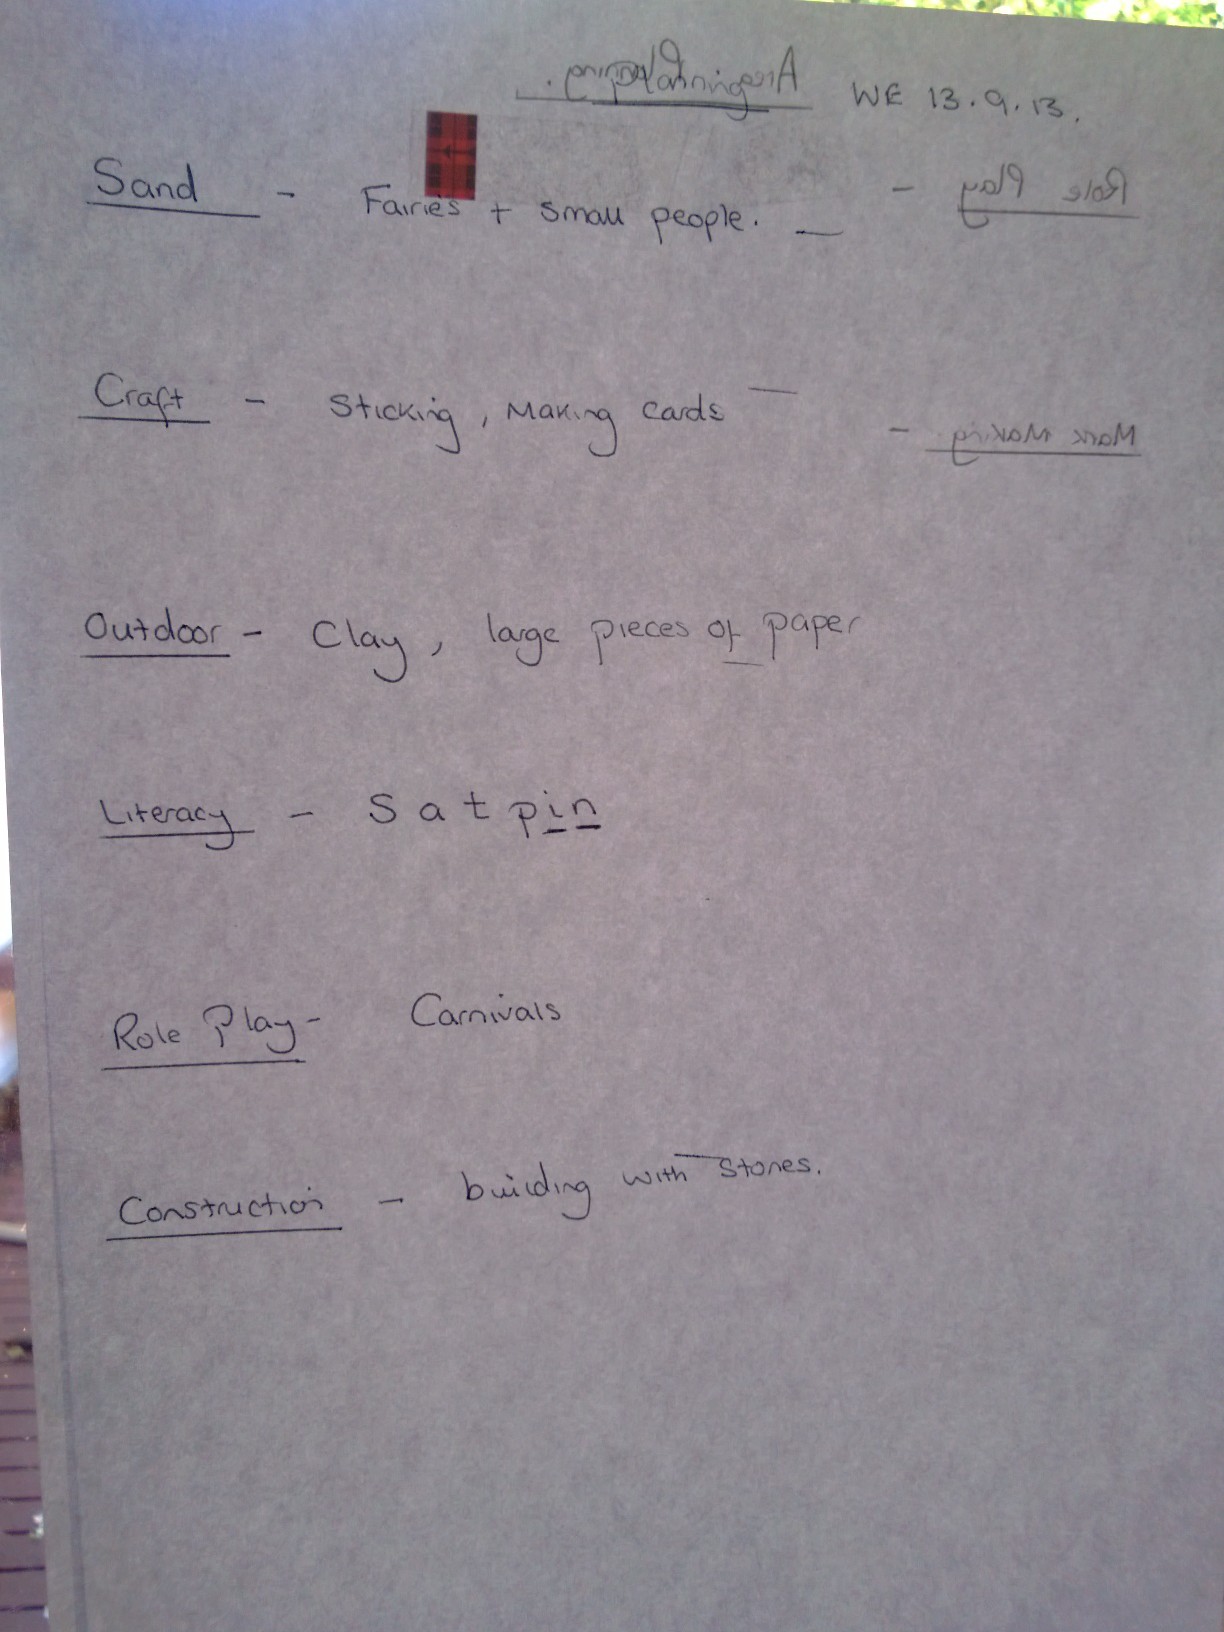
How we Plan
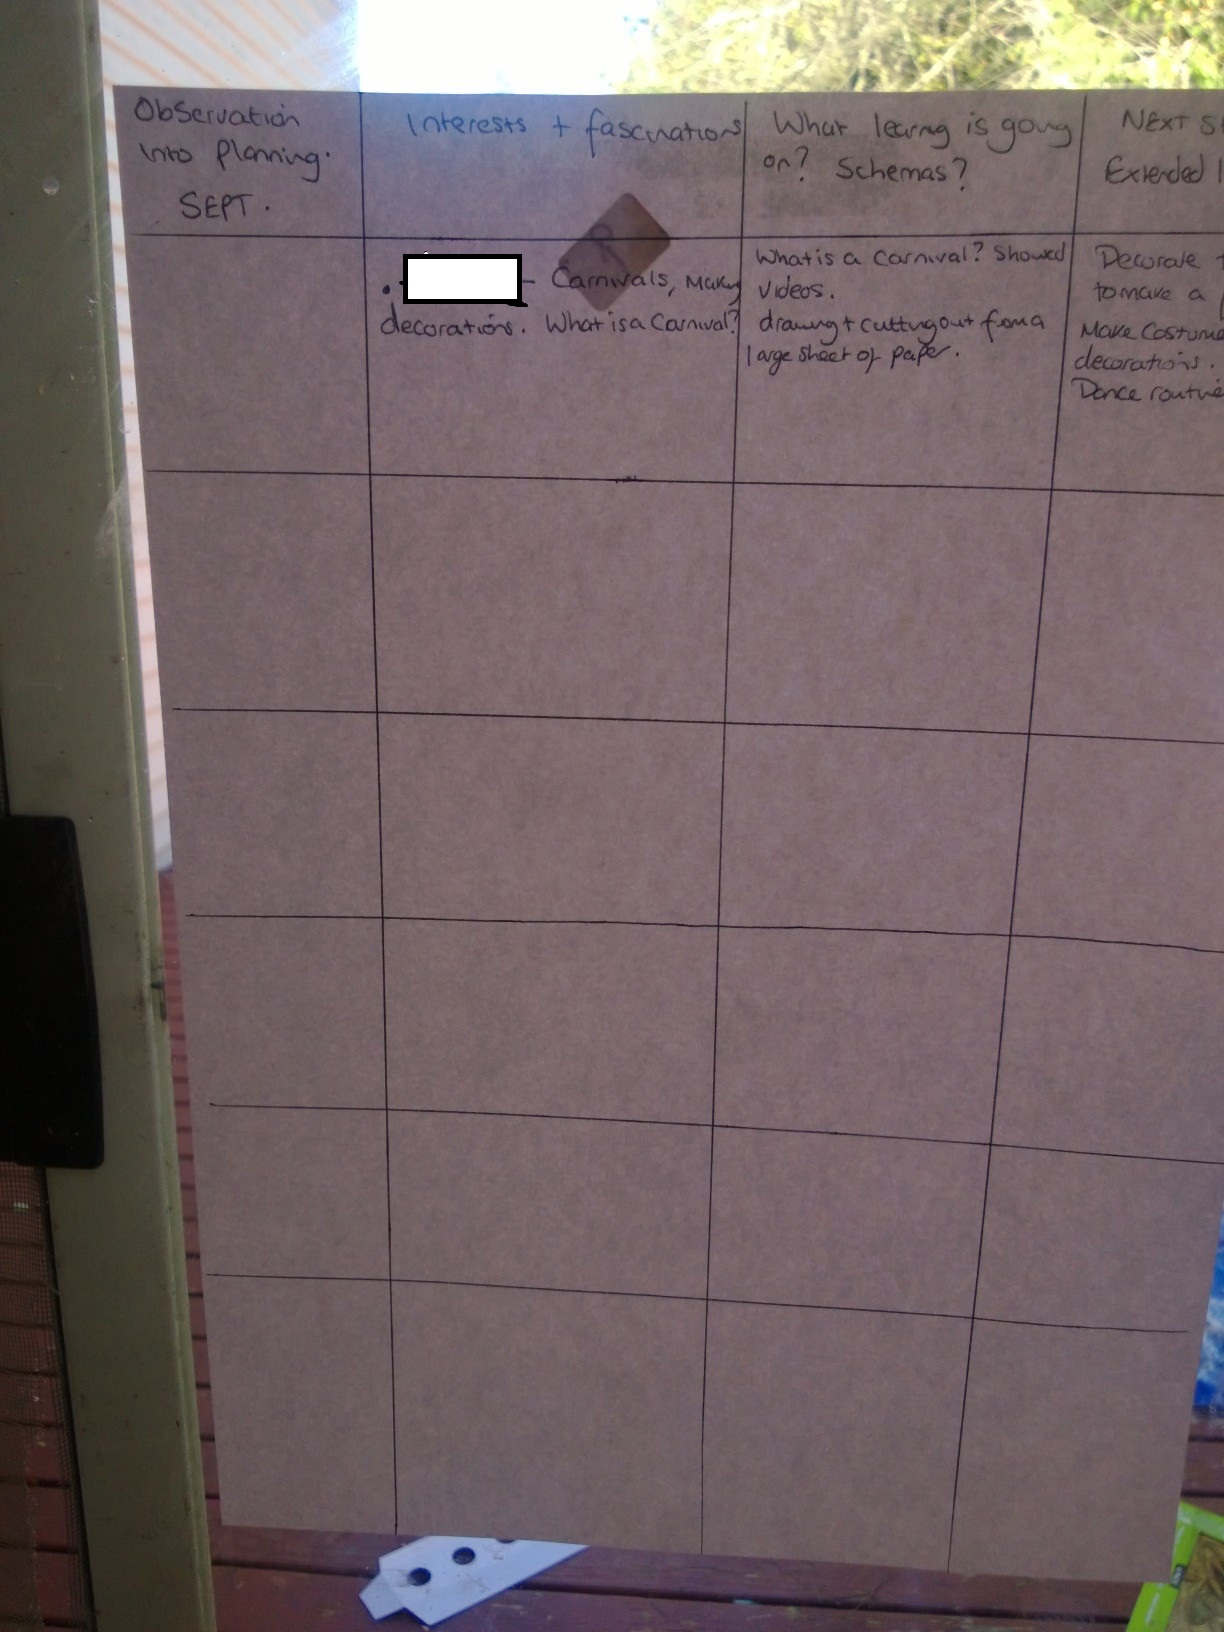
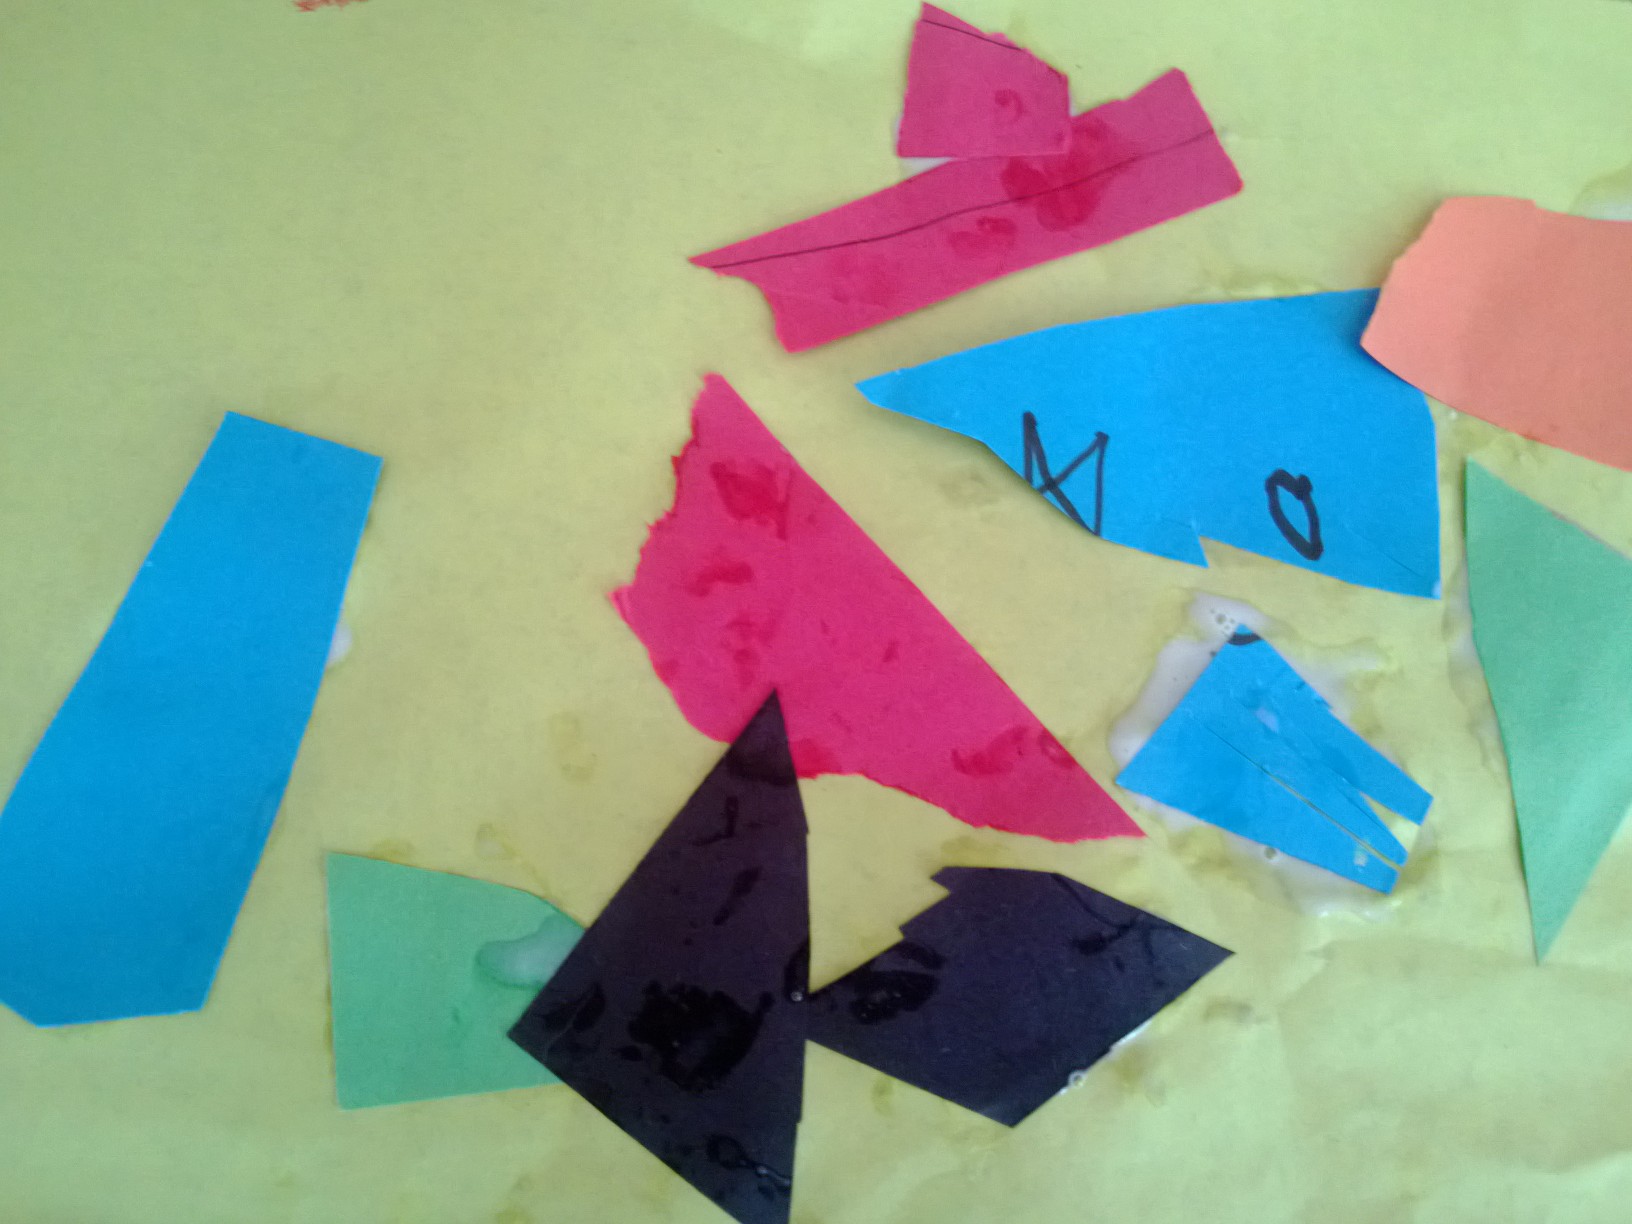
I plan, building on the children’s interests to provide next steps in their learning. If I observe the children following consistent patterns of play, enjoying particular materials or asking questions, I record them and consider what I might plan next to enable the children to use this skill or interest in a different way or to extend their learning further. For example, my youngest daughter has just learned to cut with scissors and loves to snip paper into tiny pieces. She also loves gluing so I suggested they use the pieces to make a collage. As an extension to this we are going to look at pictures of mosaics for further inspiration and play with wooden pattern tiles. Only having 2 children to observe means that their learning experiences can be truly individualised in a way that might not be possible in a bigger setting.
Planning for the Learning Environment
In addition to this I also have a plan for the environment. How often this changes is fairly flexible. Using information from the observation into planning, I might decide to include particular materials with the sand or water, put a particular craft activity out, lay out particular toys, set up a new role play area or display materials in a certain way. For example the girls were playing cafes at the play centre so at home the next day I gave them notebooks to take orders and a chef’s hat. I laid the table and I was the customer. This also allowed them to build on some of their other current interests like emergent writing and playing picnics. Sometimes we may just try something new and see if they like it and how they play with it – they are usually good at making suggestions as to what we might do next.
The Learning Environment
There are certain materials I like to always have available to the children
In an ideal world clay and paint also but this is a little messy even for me especially in the winter when we don’t use outside as much.
All these materials however are difficult to manage. I have recently reorganised our playroom but I still feel that there are too many things on view.
Writing table. We also have a pot of pens and pencils and scissors downstairs. Glue sticks, paper etc are in a kitchen cupboard.
Loose parts
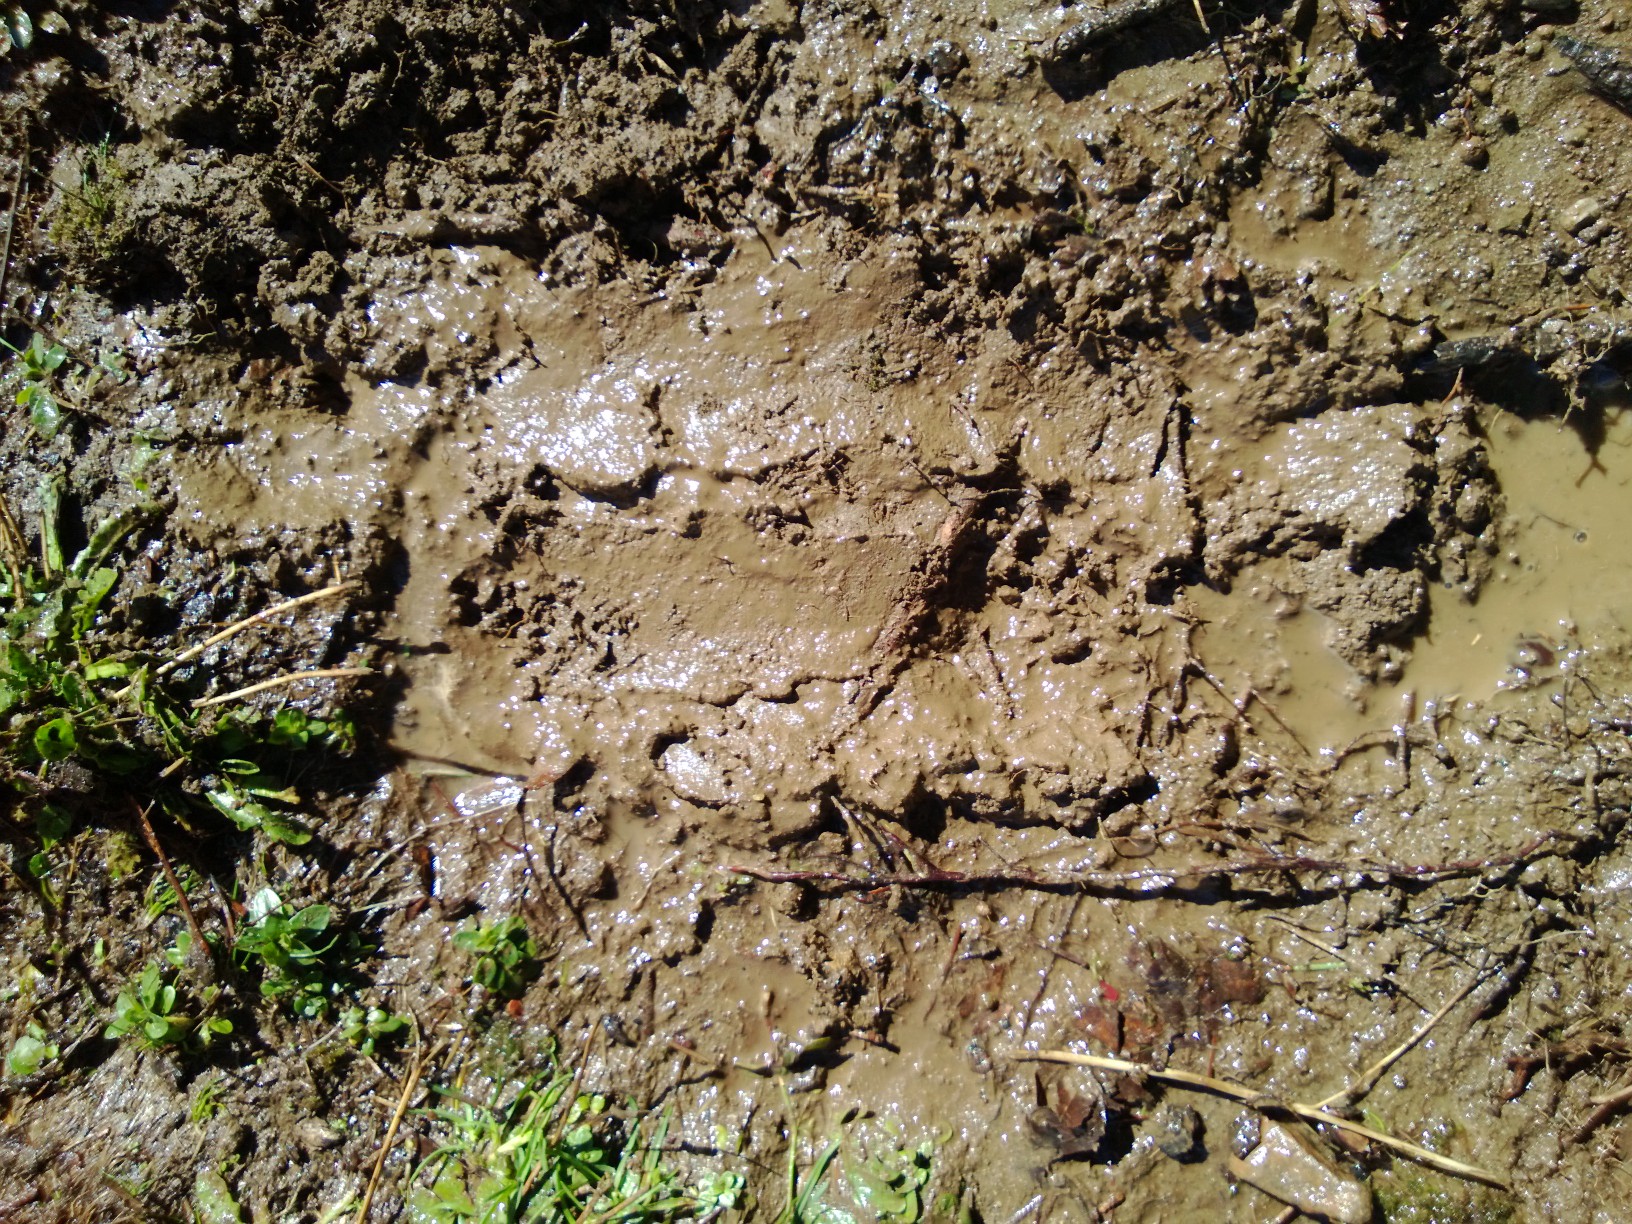
outside mud kitchen/potion making
boxes labelled with pictures and words
Our role play area. The drawers contain play food and tea sets.
It isn’t as easy to have the environment you would like when it is your own home but I’m constantly re-evaluating how we display things and adding new ideas to the outside area.
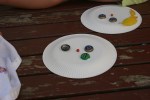
I’ve got an idea Mummy. How about we get the plates we use for barbecues, collect lots of things from around the garden like leaves and sticks and stuff and make people.
Great idea. You could use things from the loose parts station too.
I know, we could use bottle tops for eyes. There are 4 of us so we need 8.
We need 8. We have 10 let’s throw 2 of them away. Now that’s right.
Oh no! We are not allowed to pick leaves from the trees and it isn’t autumn. How will we get leaves?
Look there are some nice little yellow leaves on the floor. Where did they come from?
This tree up here.
That looks like a cherry tree, there are red fruit on it but they are very small.
I’ll pick one and see if there is a stone inside. Yes there is, they are cherries. We could use them for a nose.
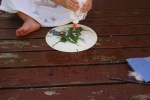
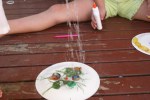
My 2 year-old started making a face but soon became more interested in exploring what the glue did. She then brought her watering can and watered her face.
Starting to make a face.
I’m sprinkling grass on mine.
I need more glue.
I’m putting water on mine, it makes it all soggy.
Just as with the clay my 2-year-old has very different interests and plays at a different level to her sisters but that never prohibits her joining in.
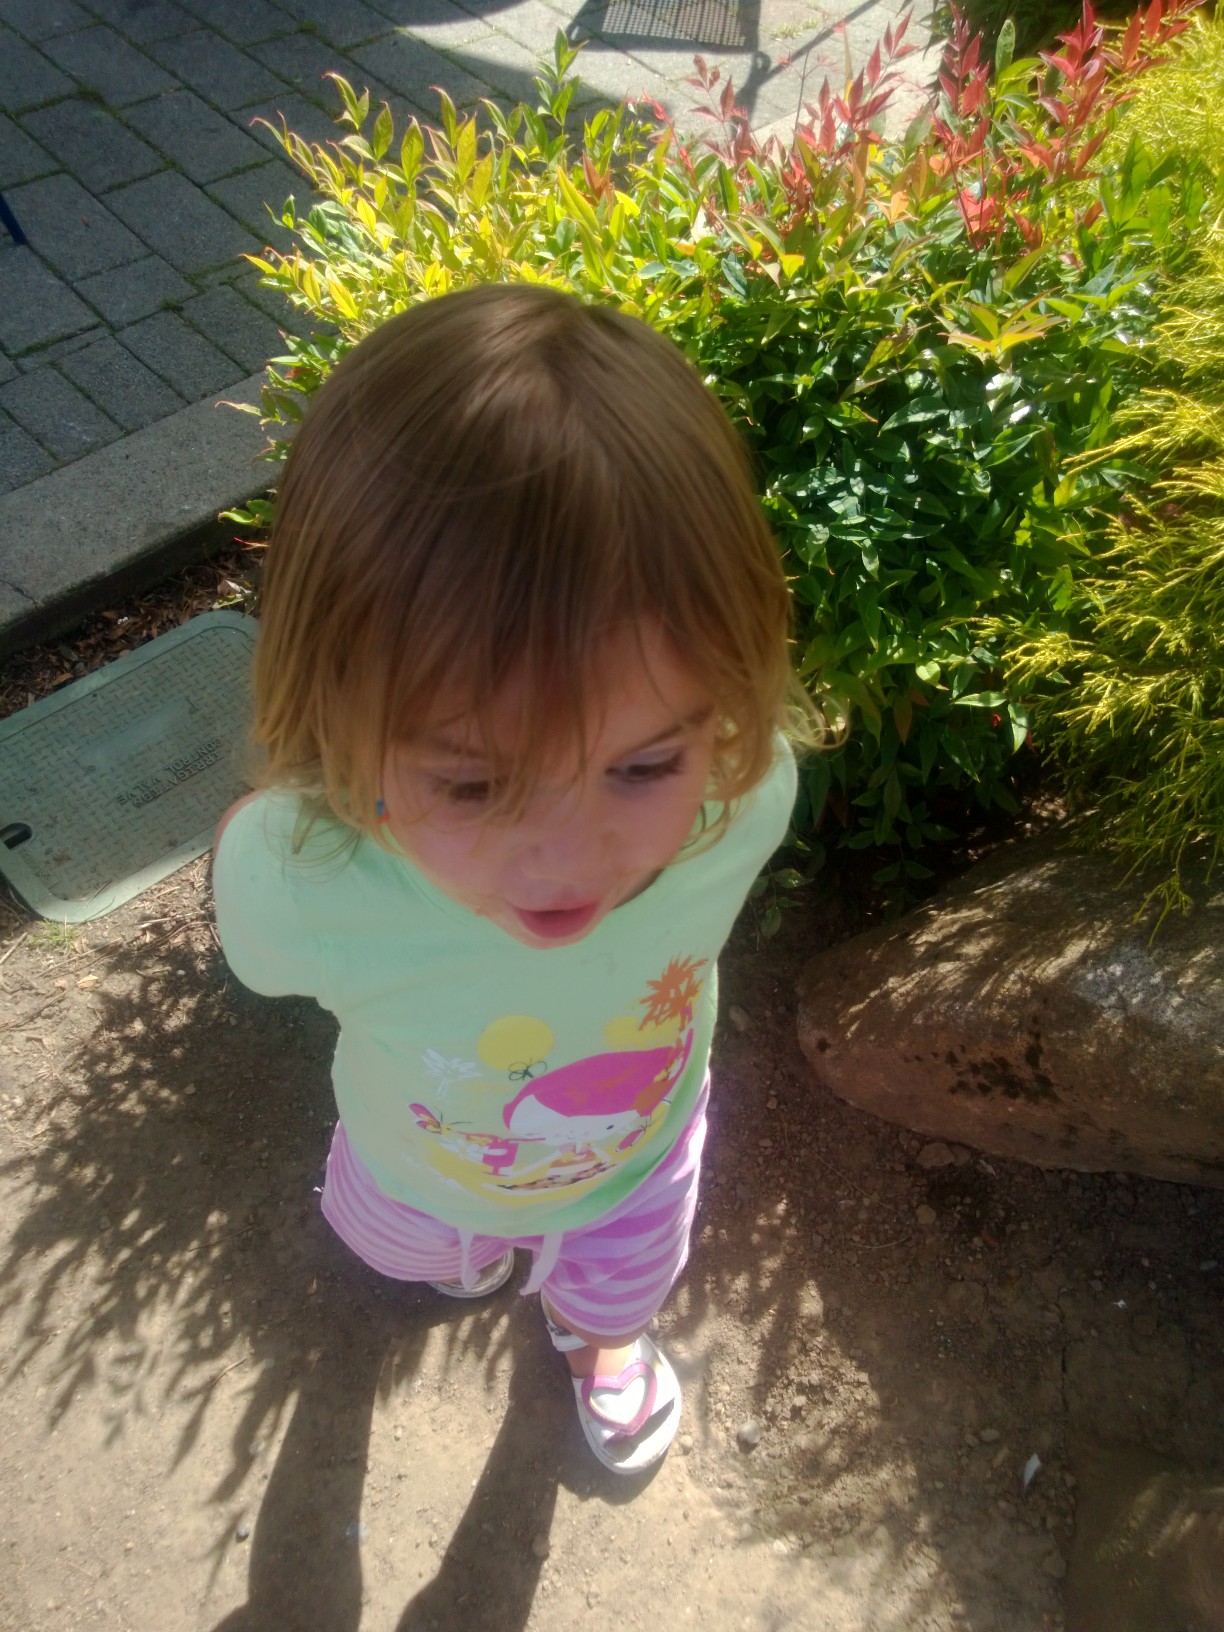
I laughed to myself as I watched my 2-year-old playing in the borders, hiding a stick in the bushes and drawing in the dirt. A few feet away was a very expensive sensory playground with musical instruments, water features and a little bear cave. It was very impressive, but the lure of a stick was just too great. Given the choice I’m sure regardless of the expensive equipment we provide, most children are happy with a stick, a pile of stones, or a tub of water.
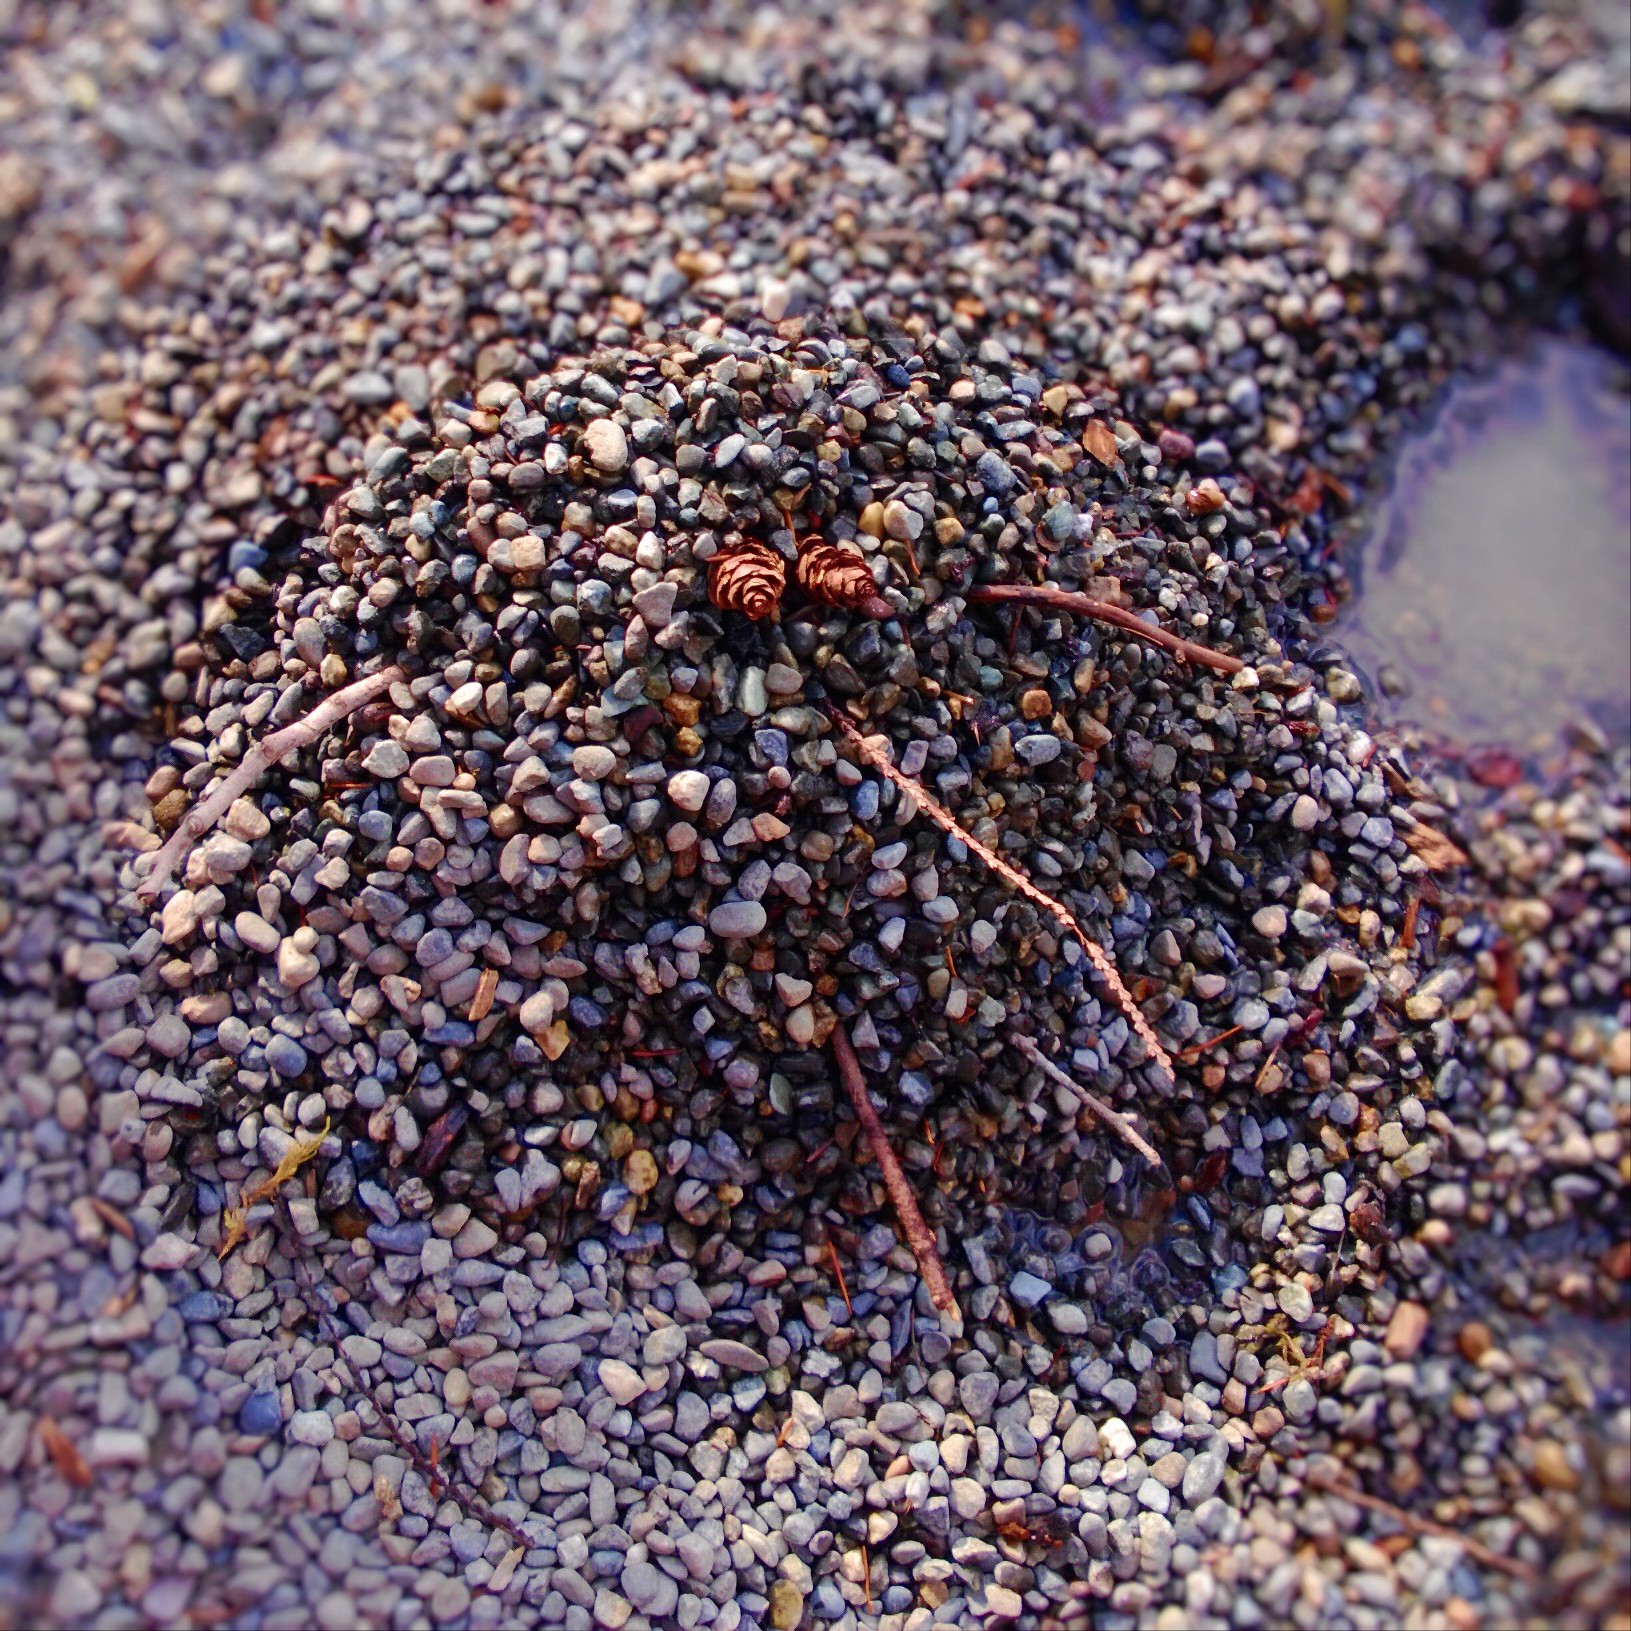
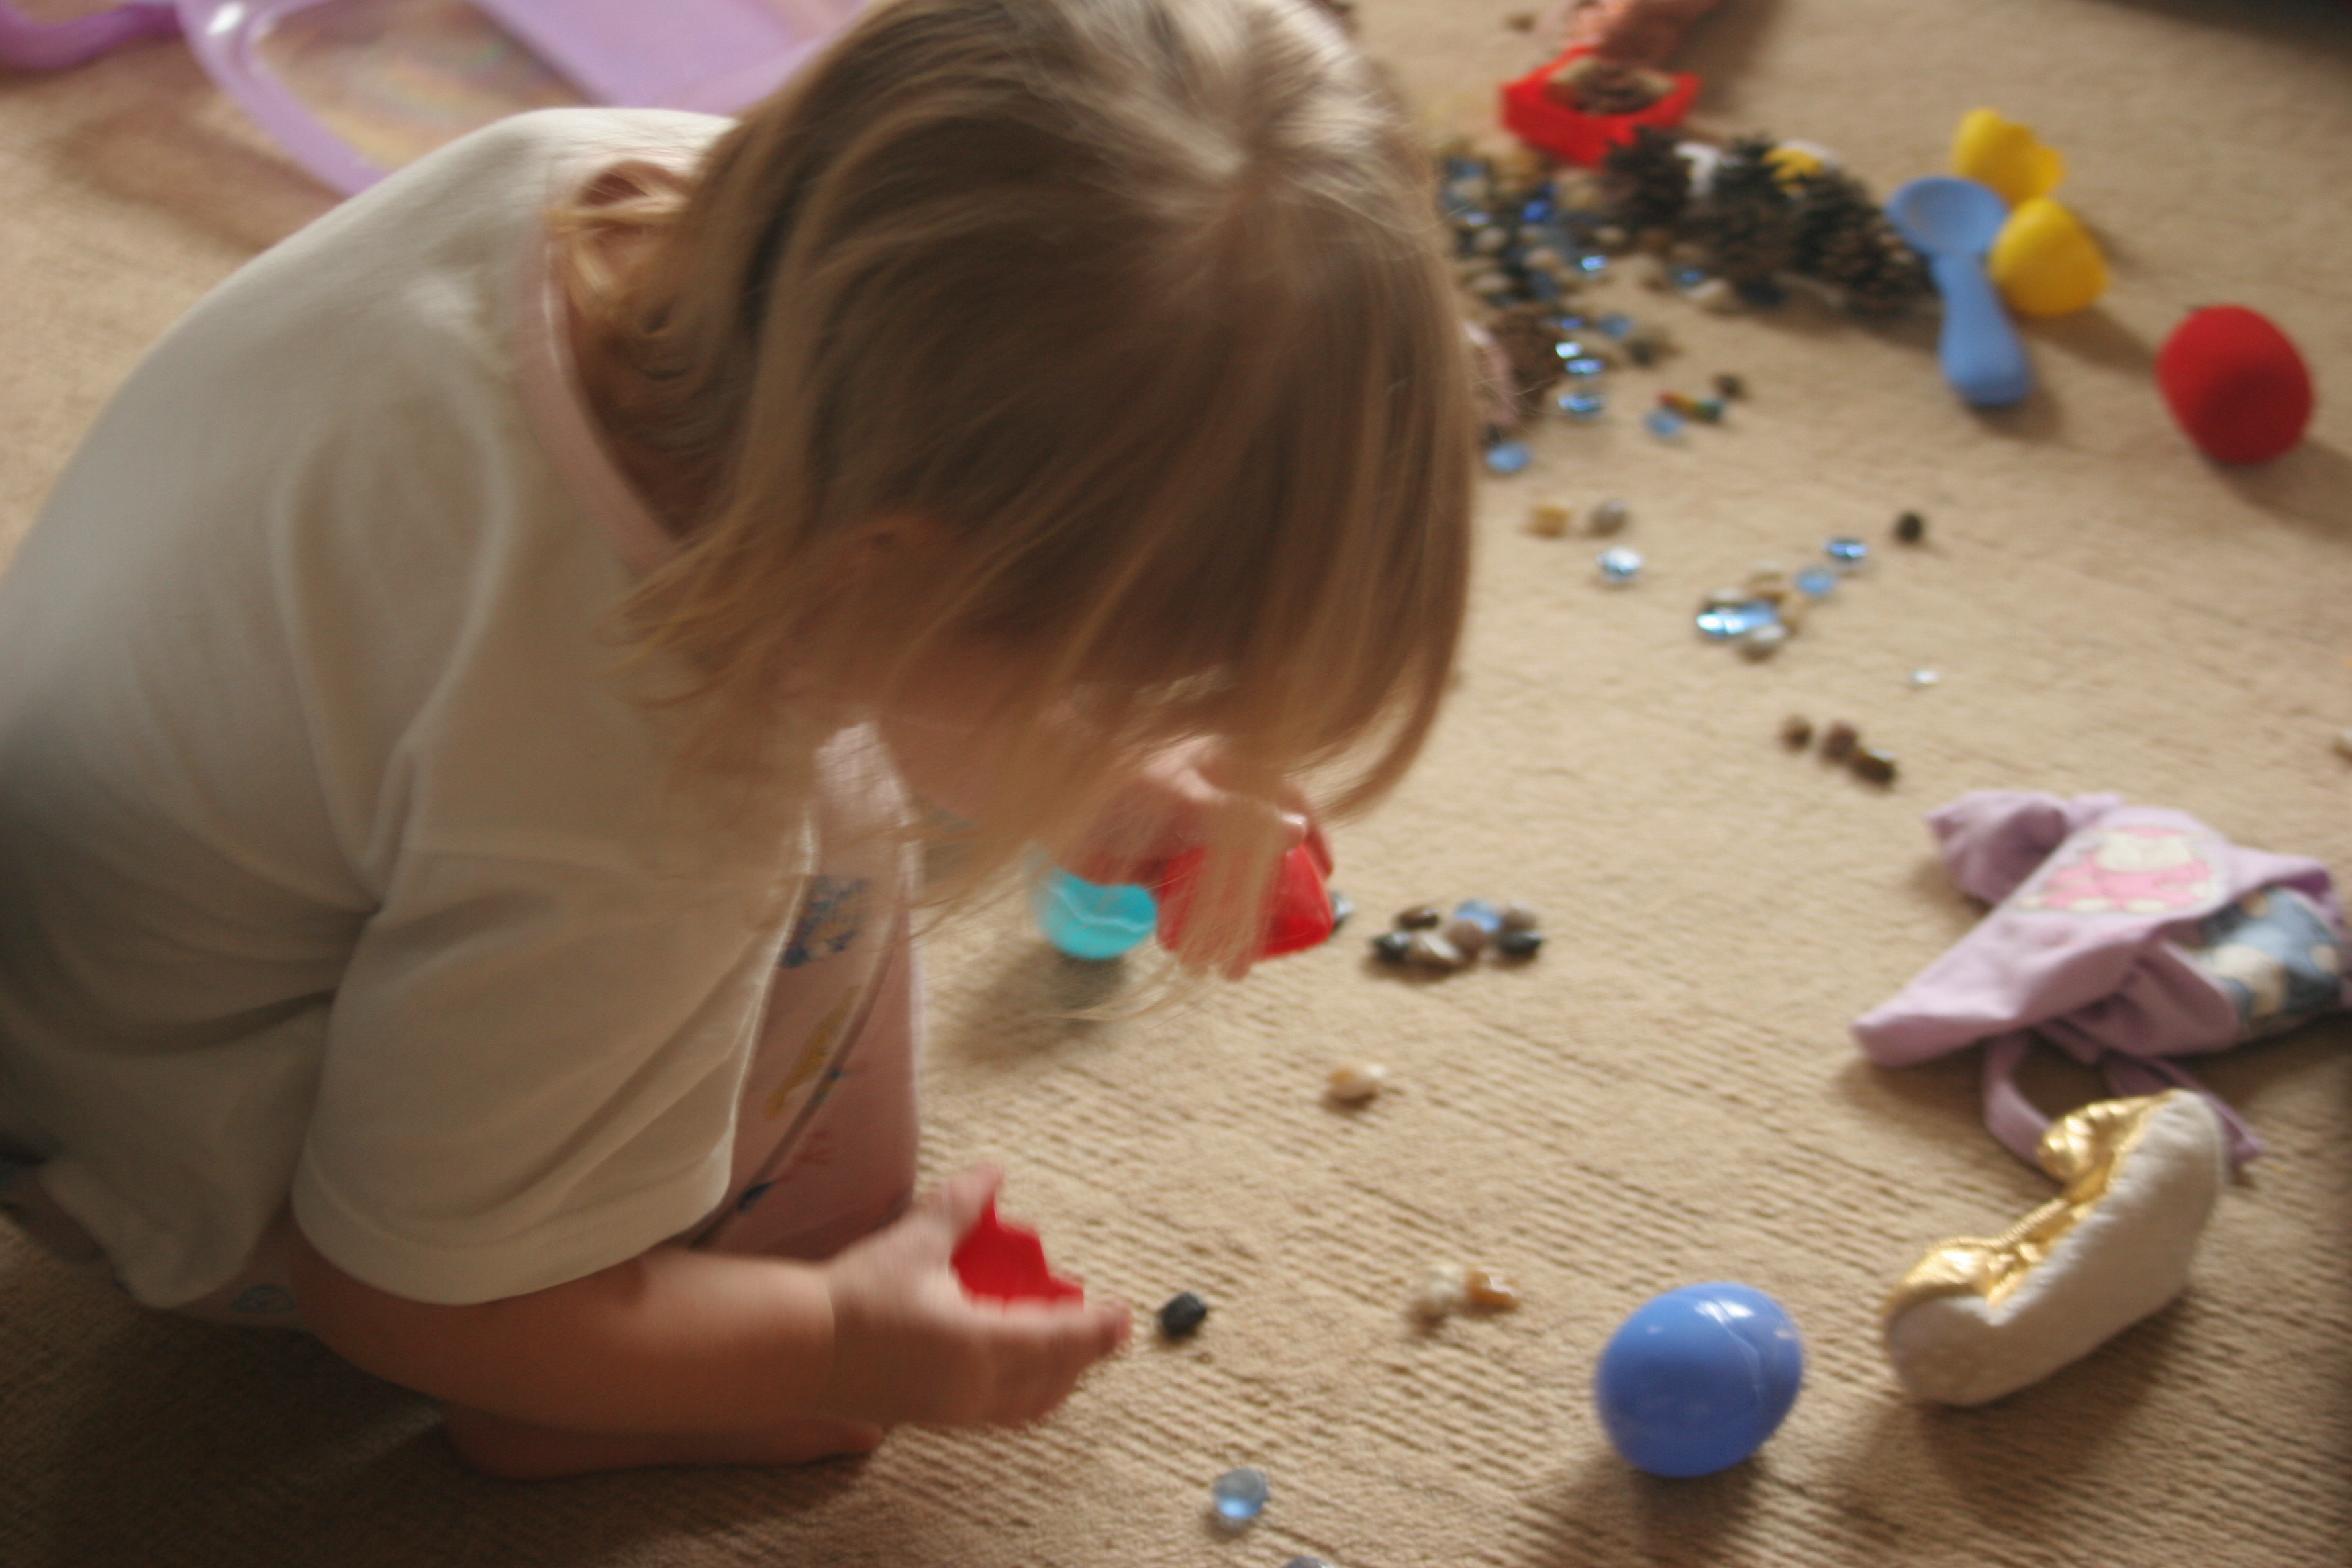
My eldest was obsessed with tiny stones when she was small. Everywhere we went she would stop to pick them up or take them home in her pockets. If we were in the garden she would make collections of little stones and spend hours moving them from one place to another. She was very young at the time but I never stopped her for fear that she may swallow them. I simply made sure I was sat nearby so that I could see what she was doing.
filling eggs with stones and glass beads.
My 2-year -old loves sticks. We have 2 rules:
No sticks in the house
Do not point sticks at people’s eyes.
Sometimes they are magic wands, Sometimes fishing rods or sometimes simply something to carry around. Every stick is greeted with equal excitement.
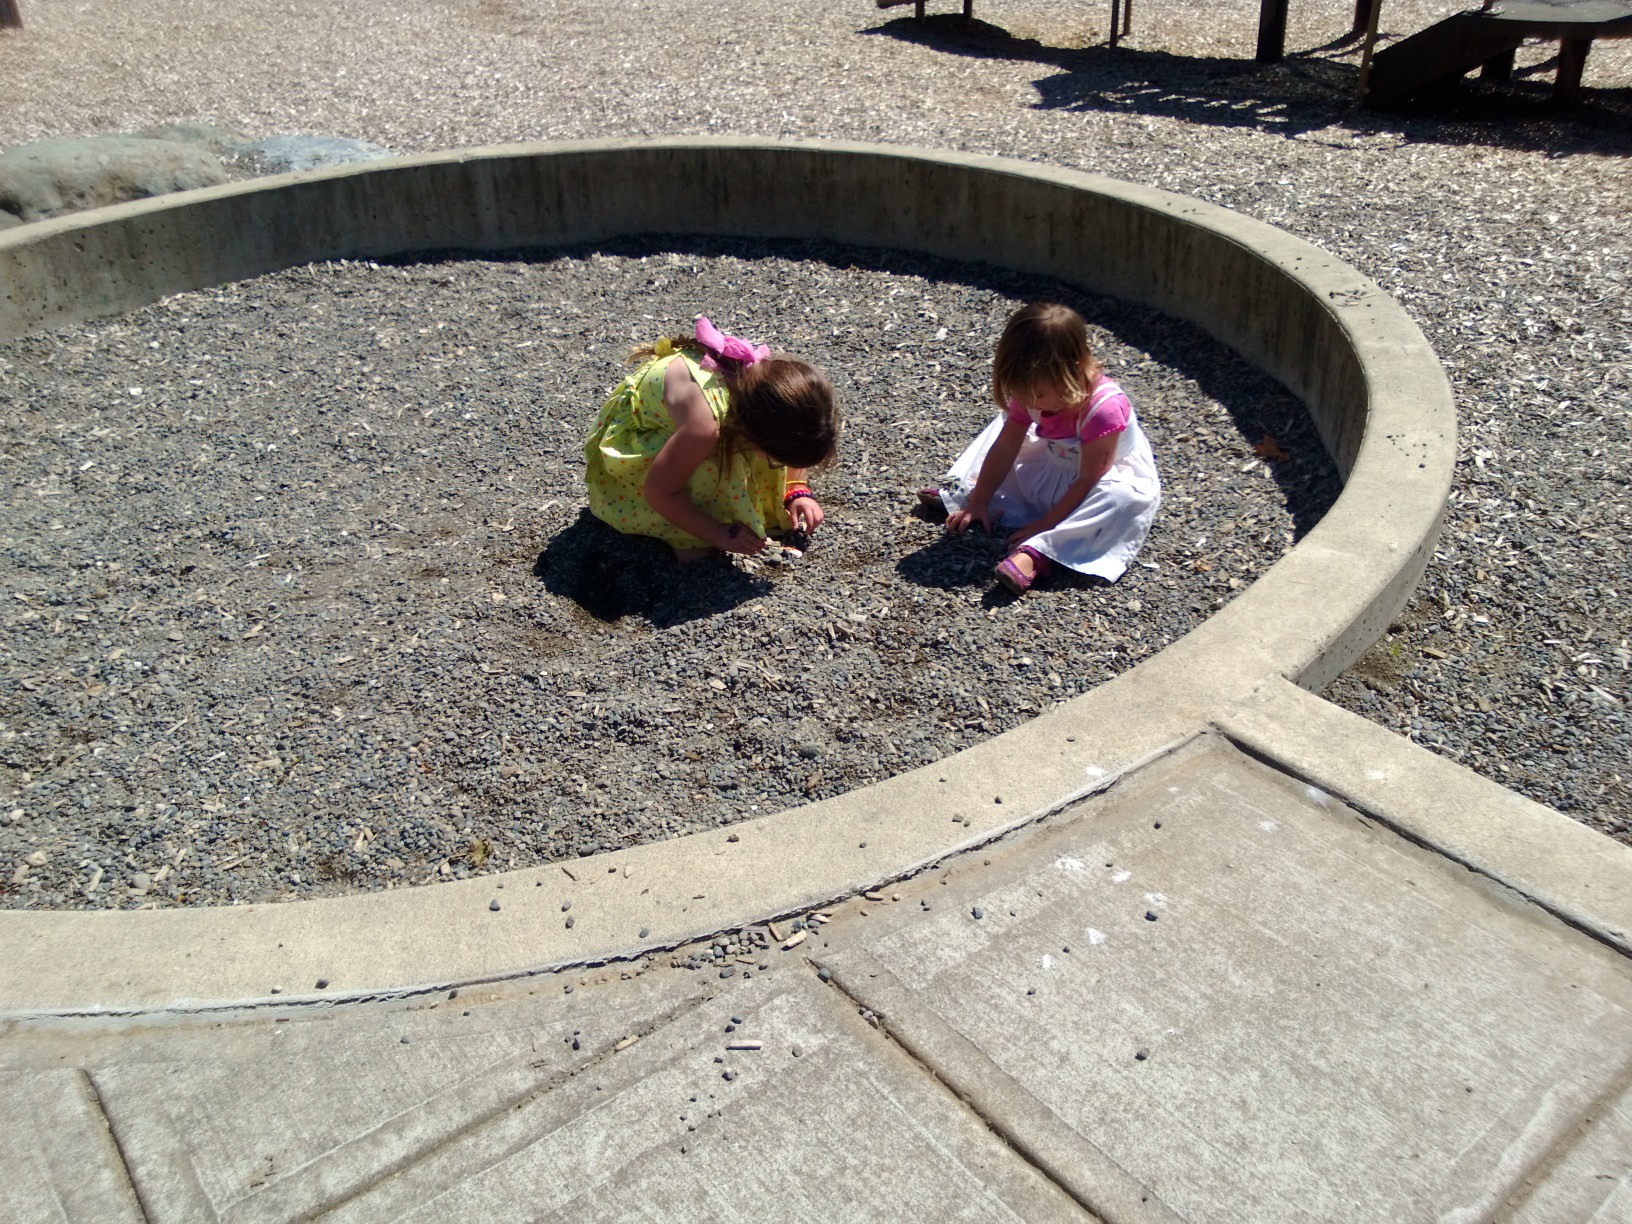
All 3 children play for hours in the sand pit. When I first moved to the US I didn’t think the girls would like the grey, gravelly play sand they have here. I was wrong, they love it as much, if not more than the fine golden sand we had in the UK. Even at the park they chose to play in the dirty gravel rather than on the equipment.
The Theory of Loose Parts
In 1972 the architect Simon Nicholson devised the Theory of Loose Parts. It grew from the notion that all children love to interact with variables. Variables can be anything from materials and shapes to media such as gases and fluids and are used to discover, invent and have fun. The theory of loose parts is as follows
‘In any environment, both the degree of inventiveness and creativity, and the possibility of discovery are directly proportional to the number and kind of variables in it. (Nicholson 1972)
Put simply, the playground with static play equipment will not offer a child the opportunity to discover and create their own scenarios as freely as one that is less predictable or restrictive and offers moveable objects that can interact with the child’s play. A swing is a swing but the gravel can be a home for a bug, fairy dust, a cake, something to draw in, a track for a car and other endless possibilities.
We have the perfect garden for playing with loose parts, with an abundance of trees, pine cones, stones, dirt etc. I decided to organise these a little to see if it would change the way the children played with them.
Storage for Loose Parts
We had an old clothes horse in the garden that was waiting for a purpose. I bought a few hanging baskets and hung them on the clothes horse along with a few other baskets I had found. I also clipped a variety of containers to the clothes horse using an underwear dryer (we also use this for drying paintings).
Using the clothes horse means that it is fully portable making it easy to move out of the rain or to the sandpit, paddling pool or lawn .
The Slide show illustrates some of the things we collected .
This slideshow requires JavaScript.
Other ideas for loose parts that can be stored outdoors
sticks, twigs
glass beads, marbles, buttons, bells, beads
feathers
lolly sticks
pegs
acorns, conkers and seeds,
string
large things like pallets, tyres, flowerpots, fabric, boxes, pots and pans, tubes, guttering, bamboo canes, bricks, planks, logs, driftwood.
I love to see the children using their environment to stimulate imaginative and creative play. Here are some of my favourites.
We could build a boat
Carrying a rock to build a boat on the beach (the family were sailing). Moving heavy objects around was a key part of the play.
Come on row faster!
What happens when I bang the stick with a pebble?
The youngest became absorbed in pebbles and sticks, abandoning the project for a while.
Let’s ride on a horse together
Using loose parts with a large piece of clay
I’m putting them on the top
The finished product
1 year old transporting pistachio nut shells
moving from one container to another
Making a bed with magazines
Let’s put the stones in here and make a magic potion
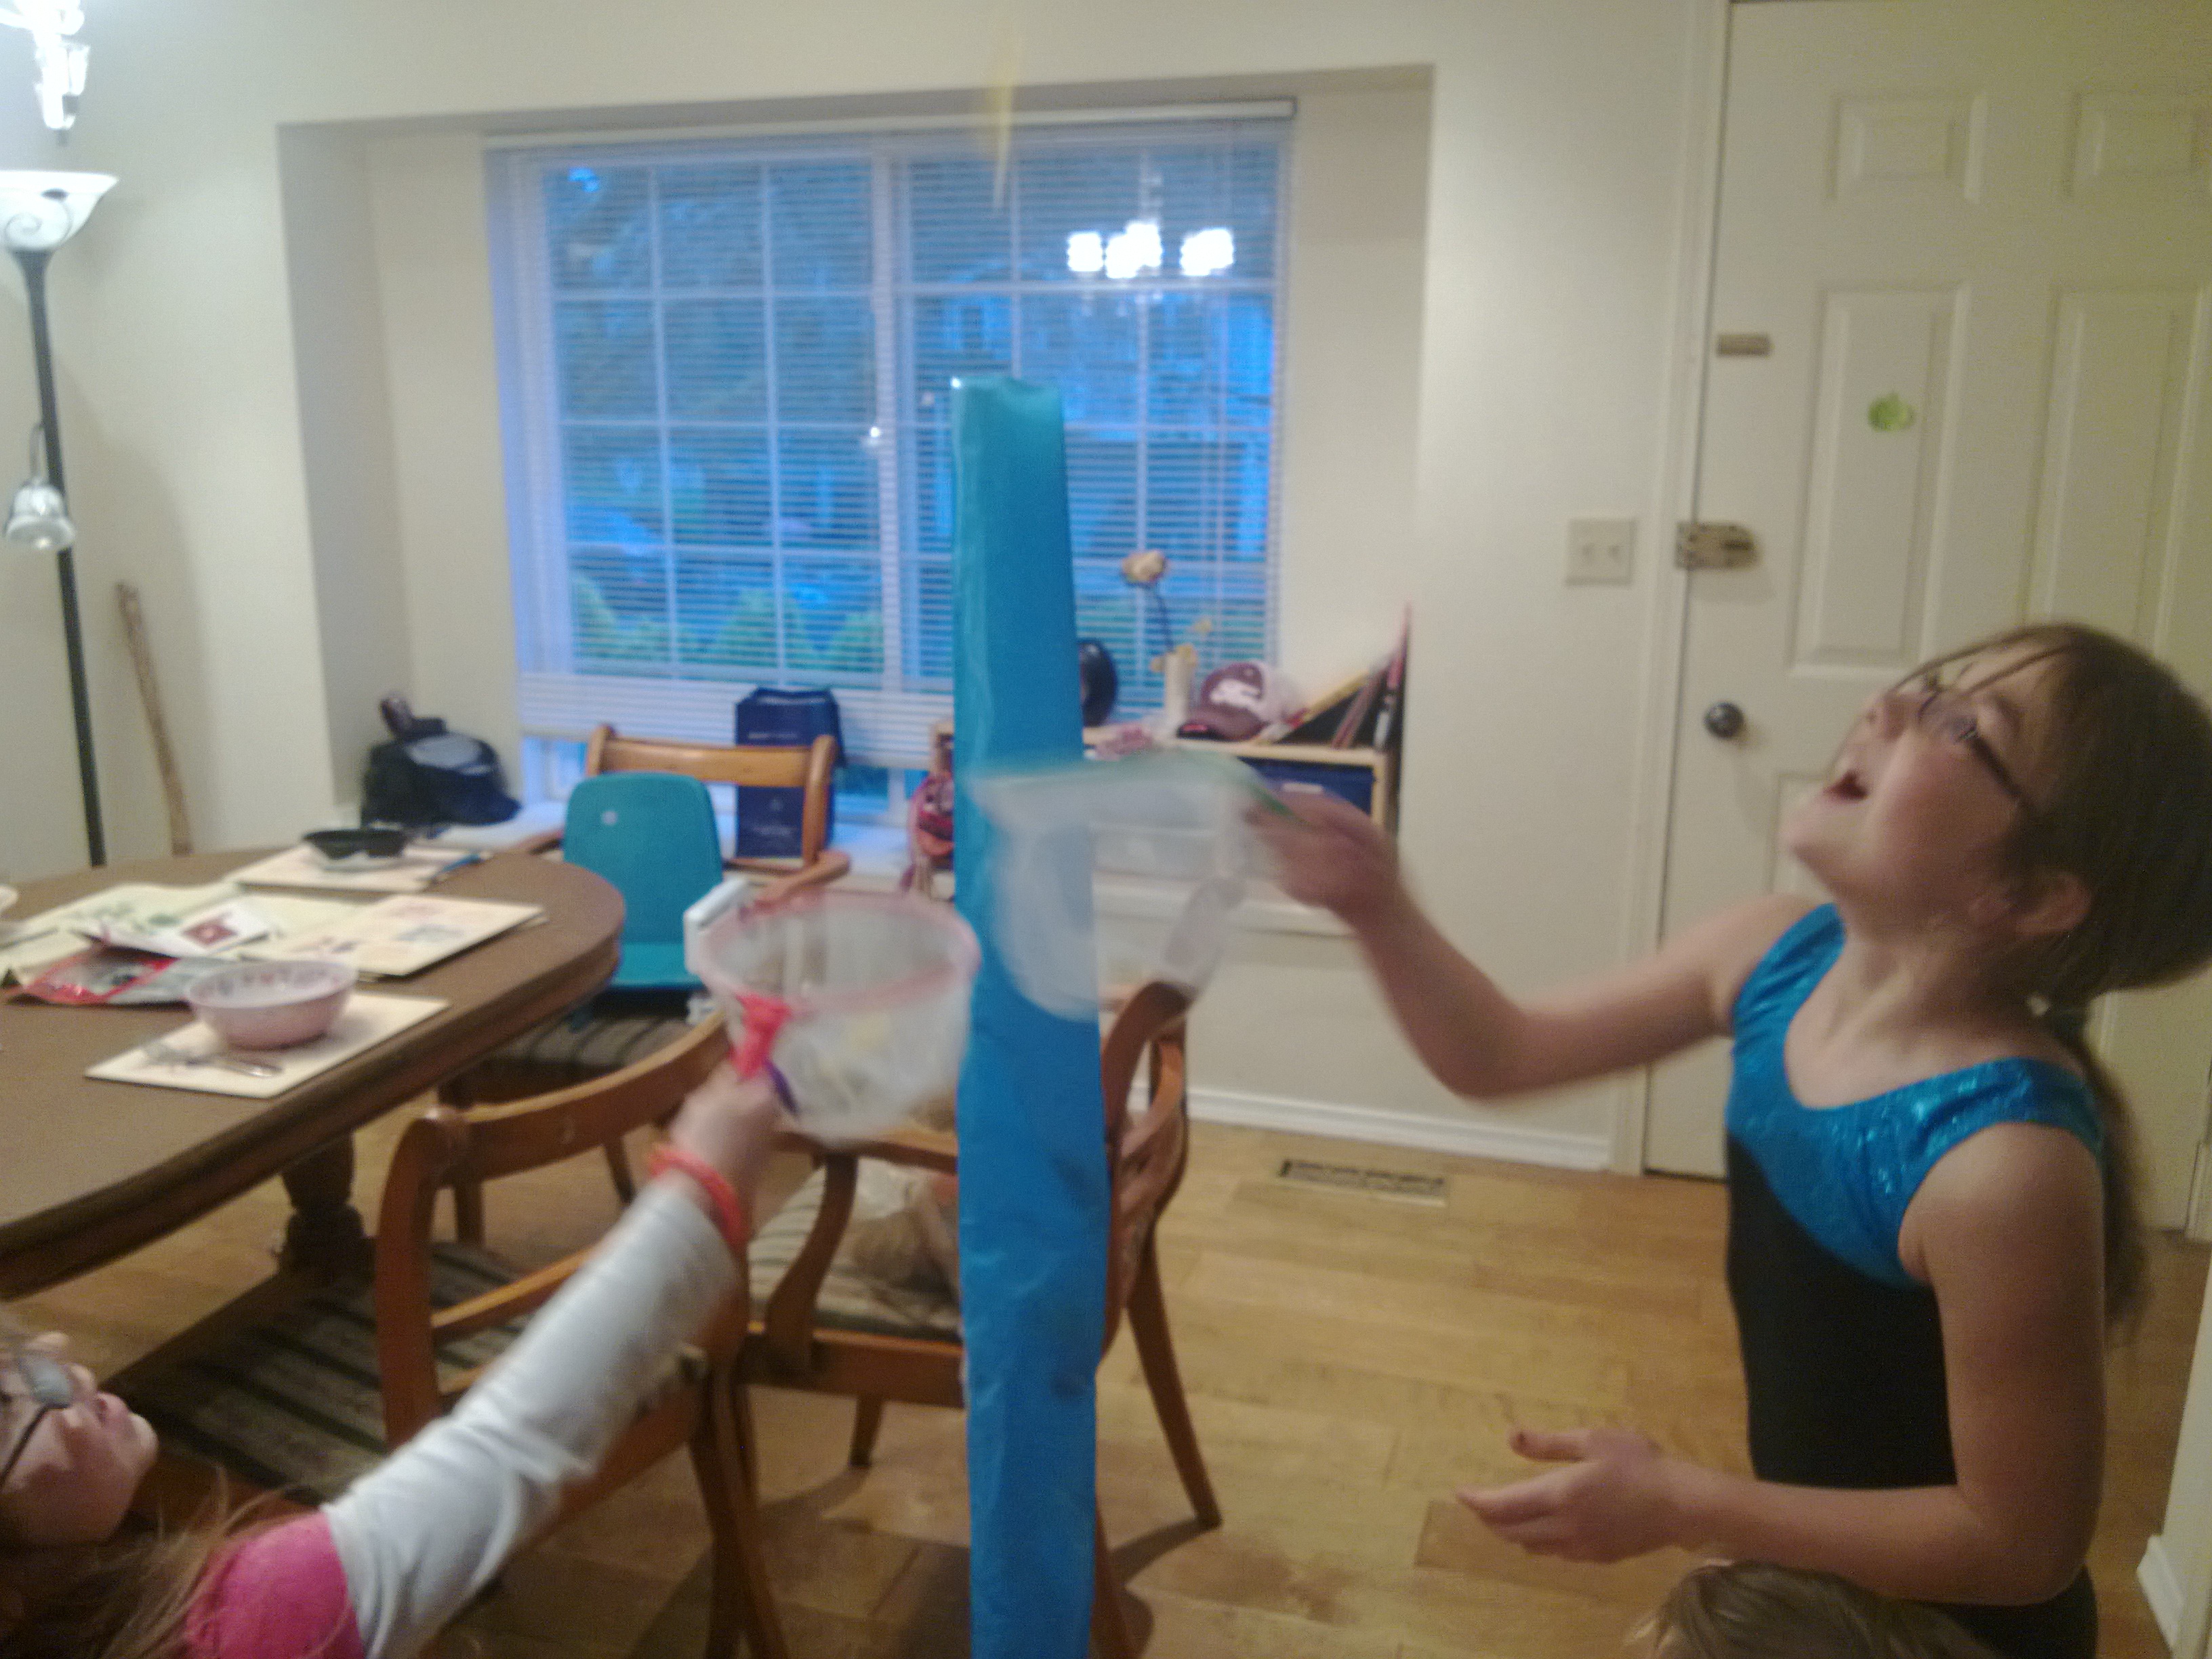
My kids love messy activities but sometimes it’s just a little too much to handle indoors.
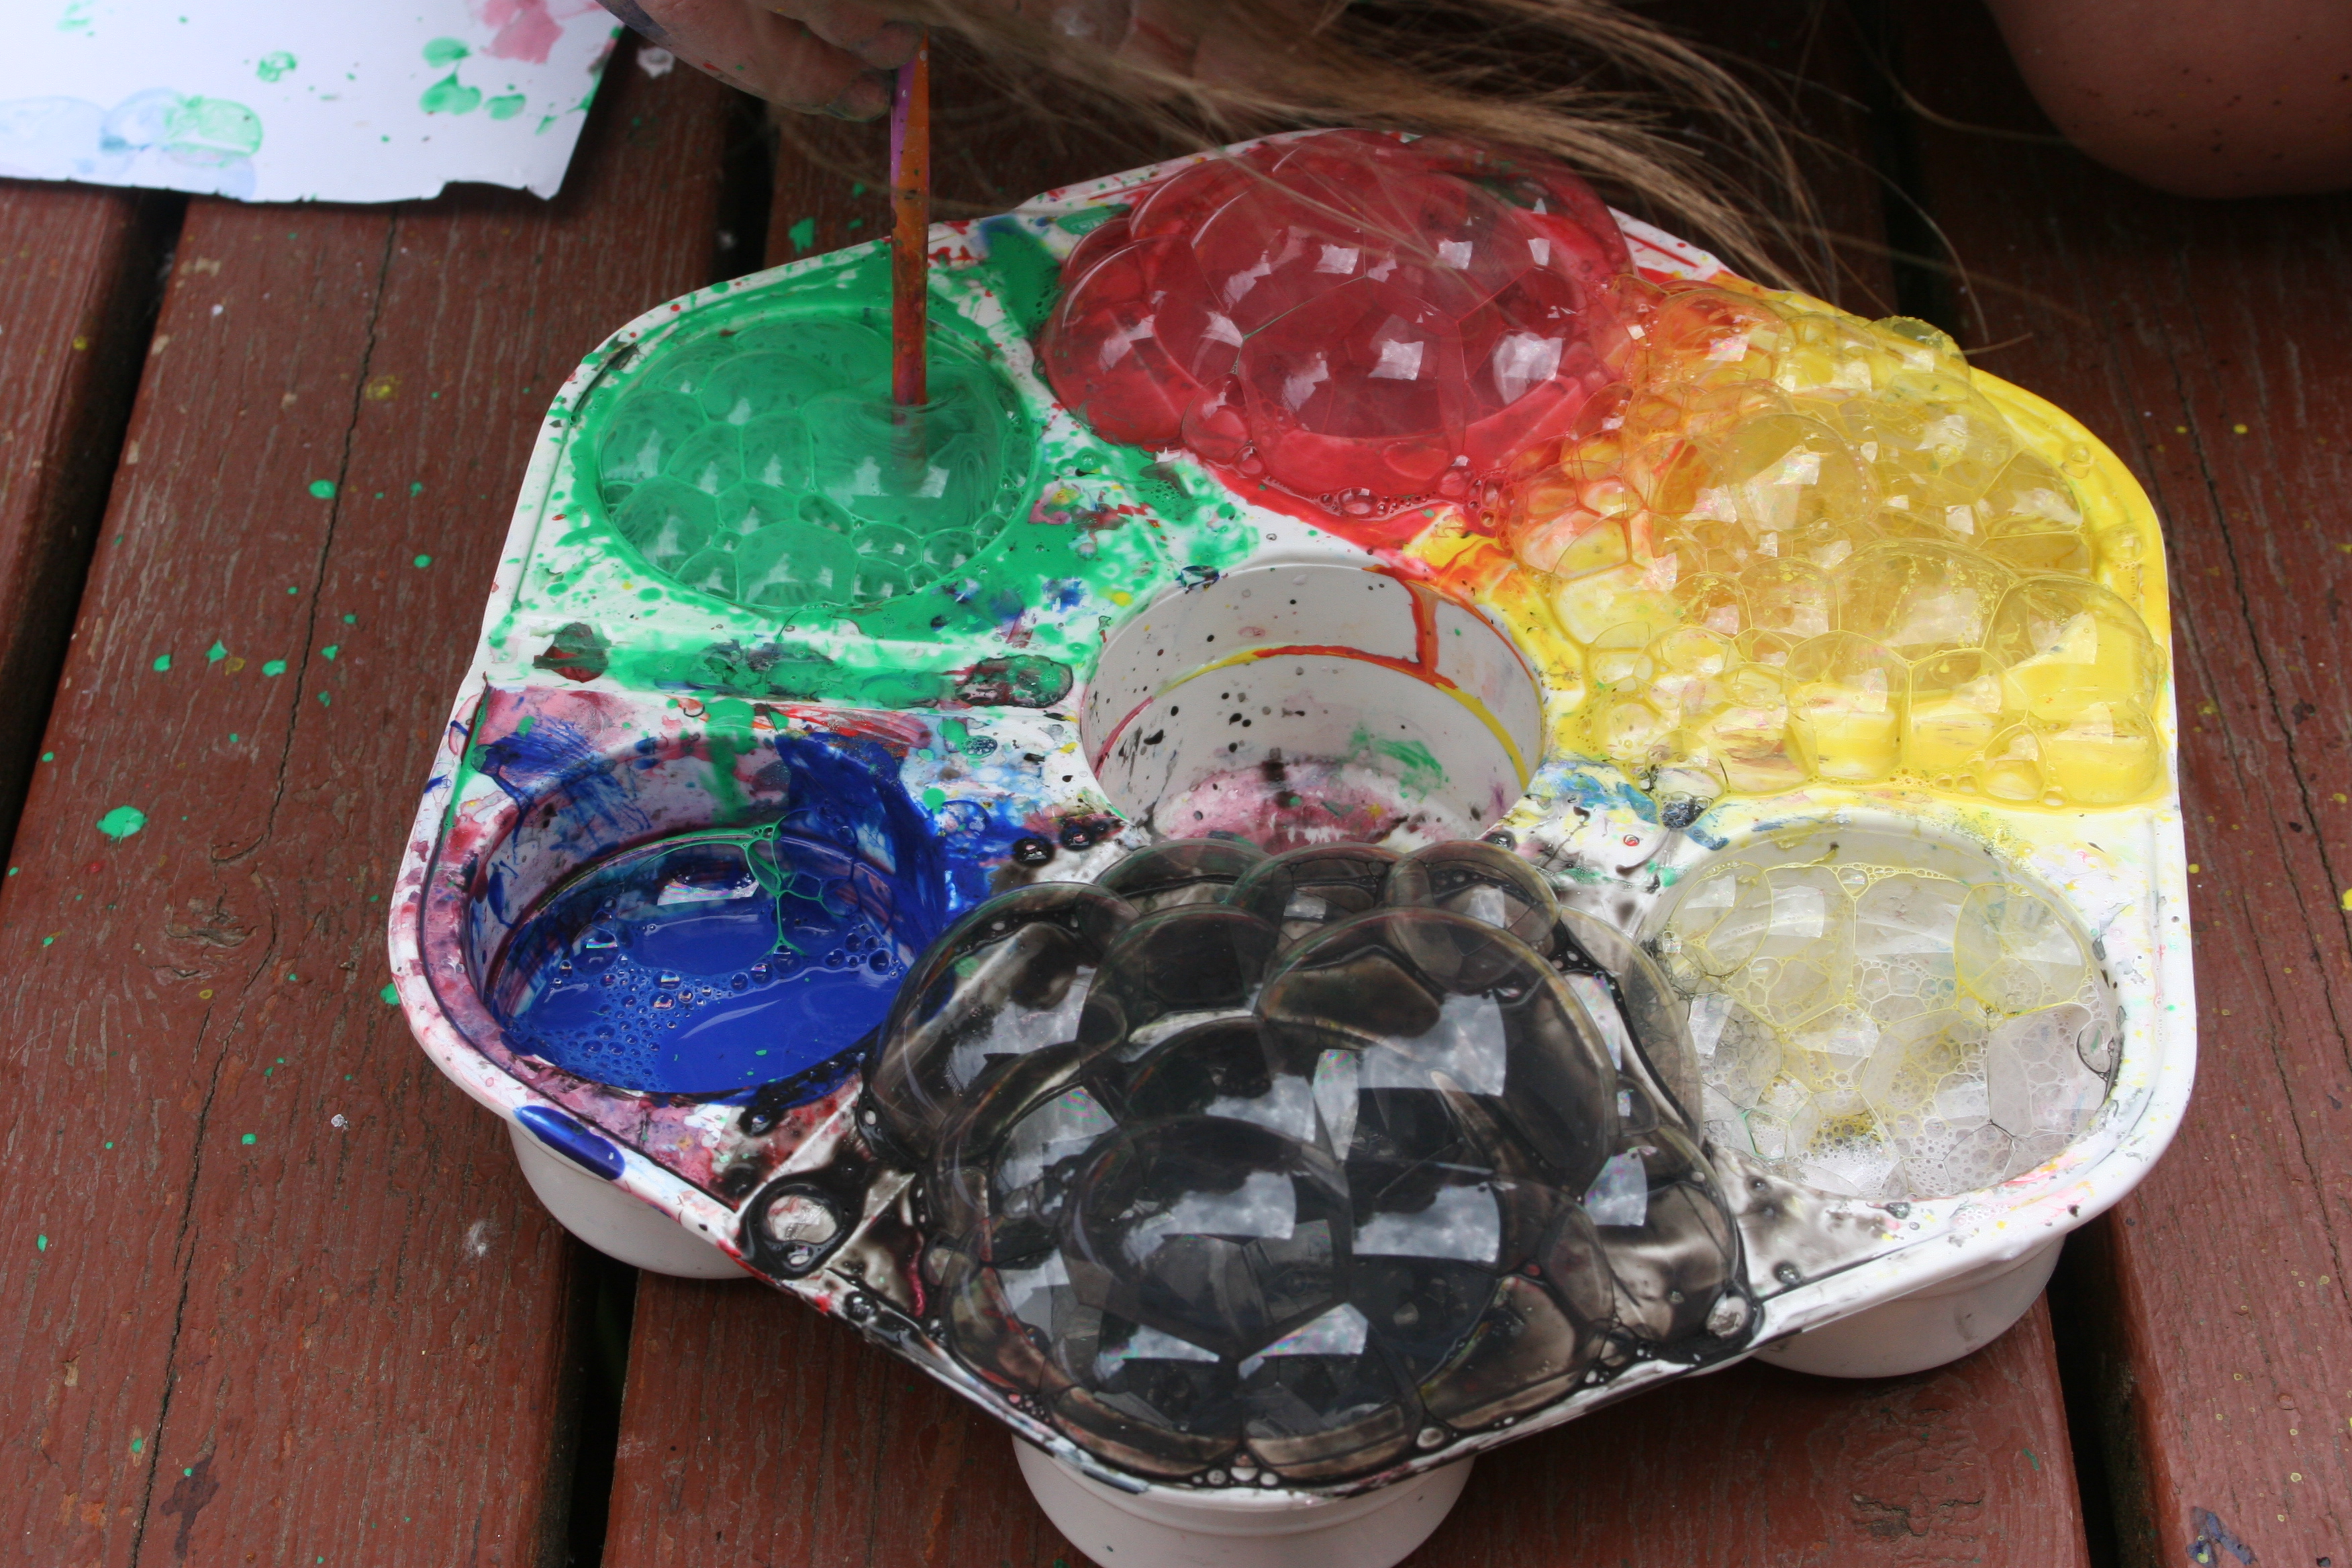
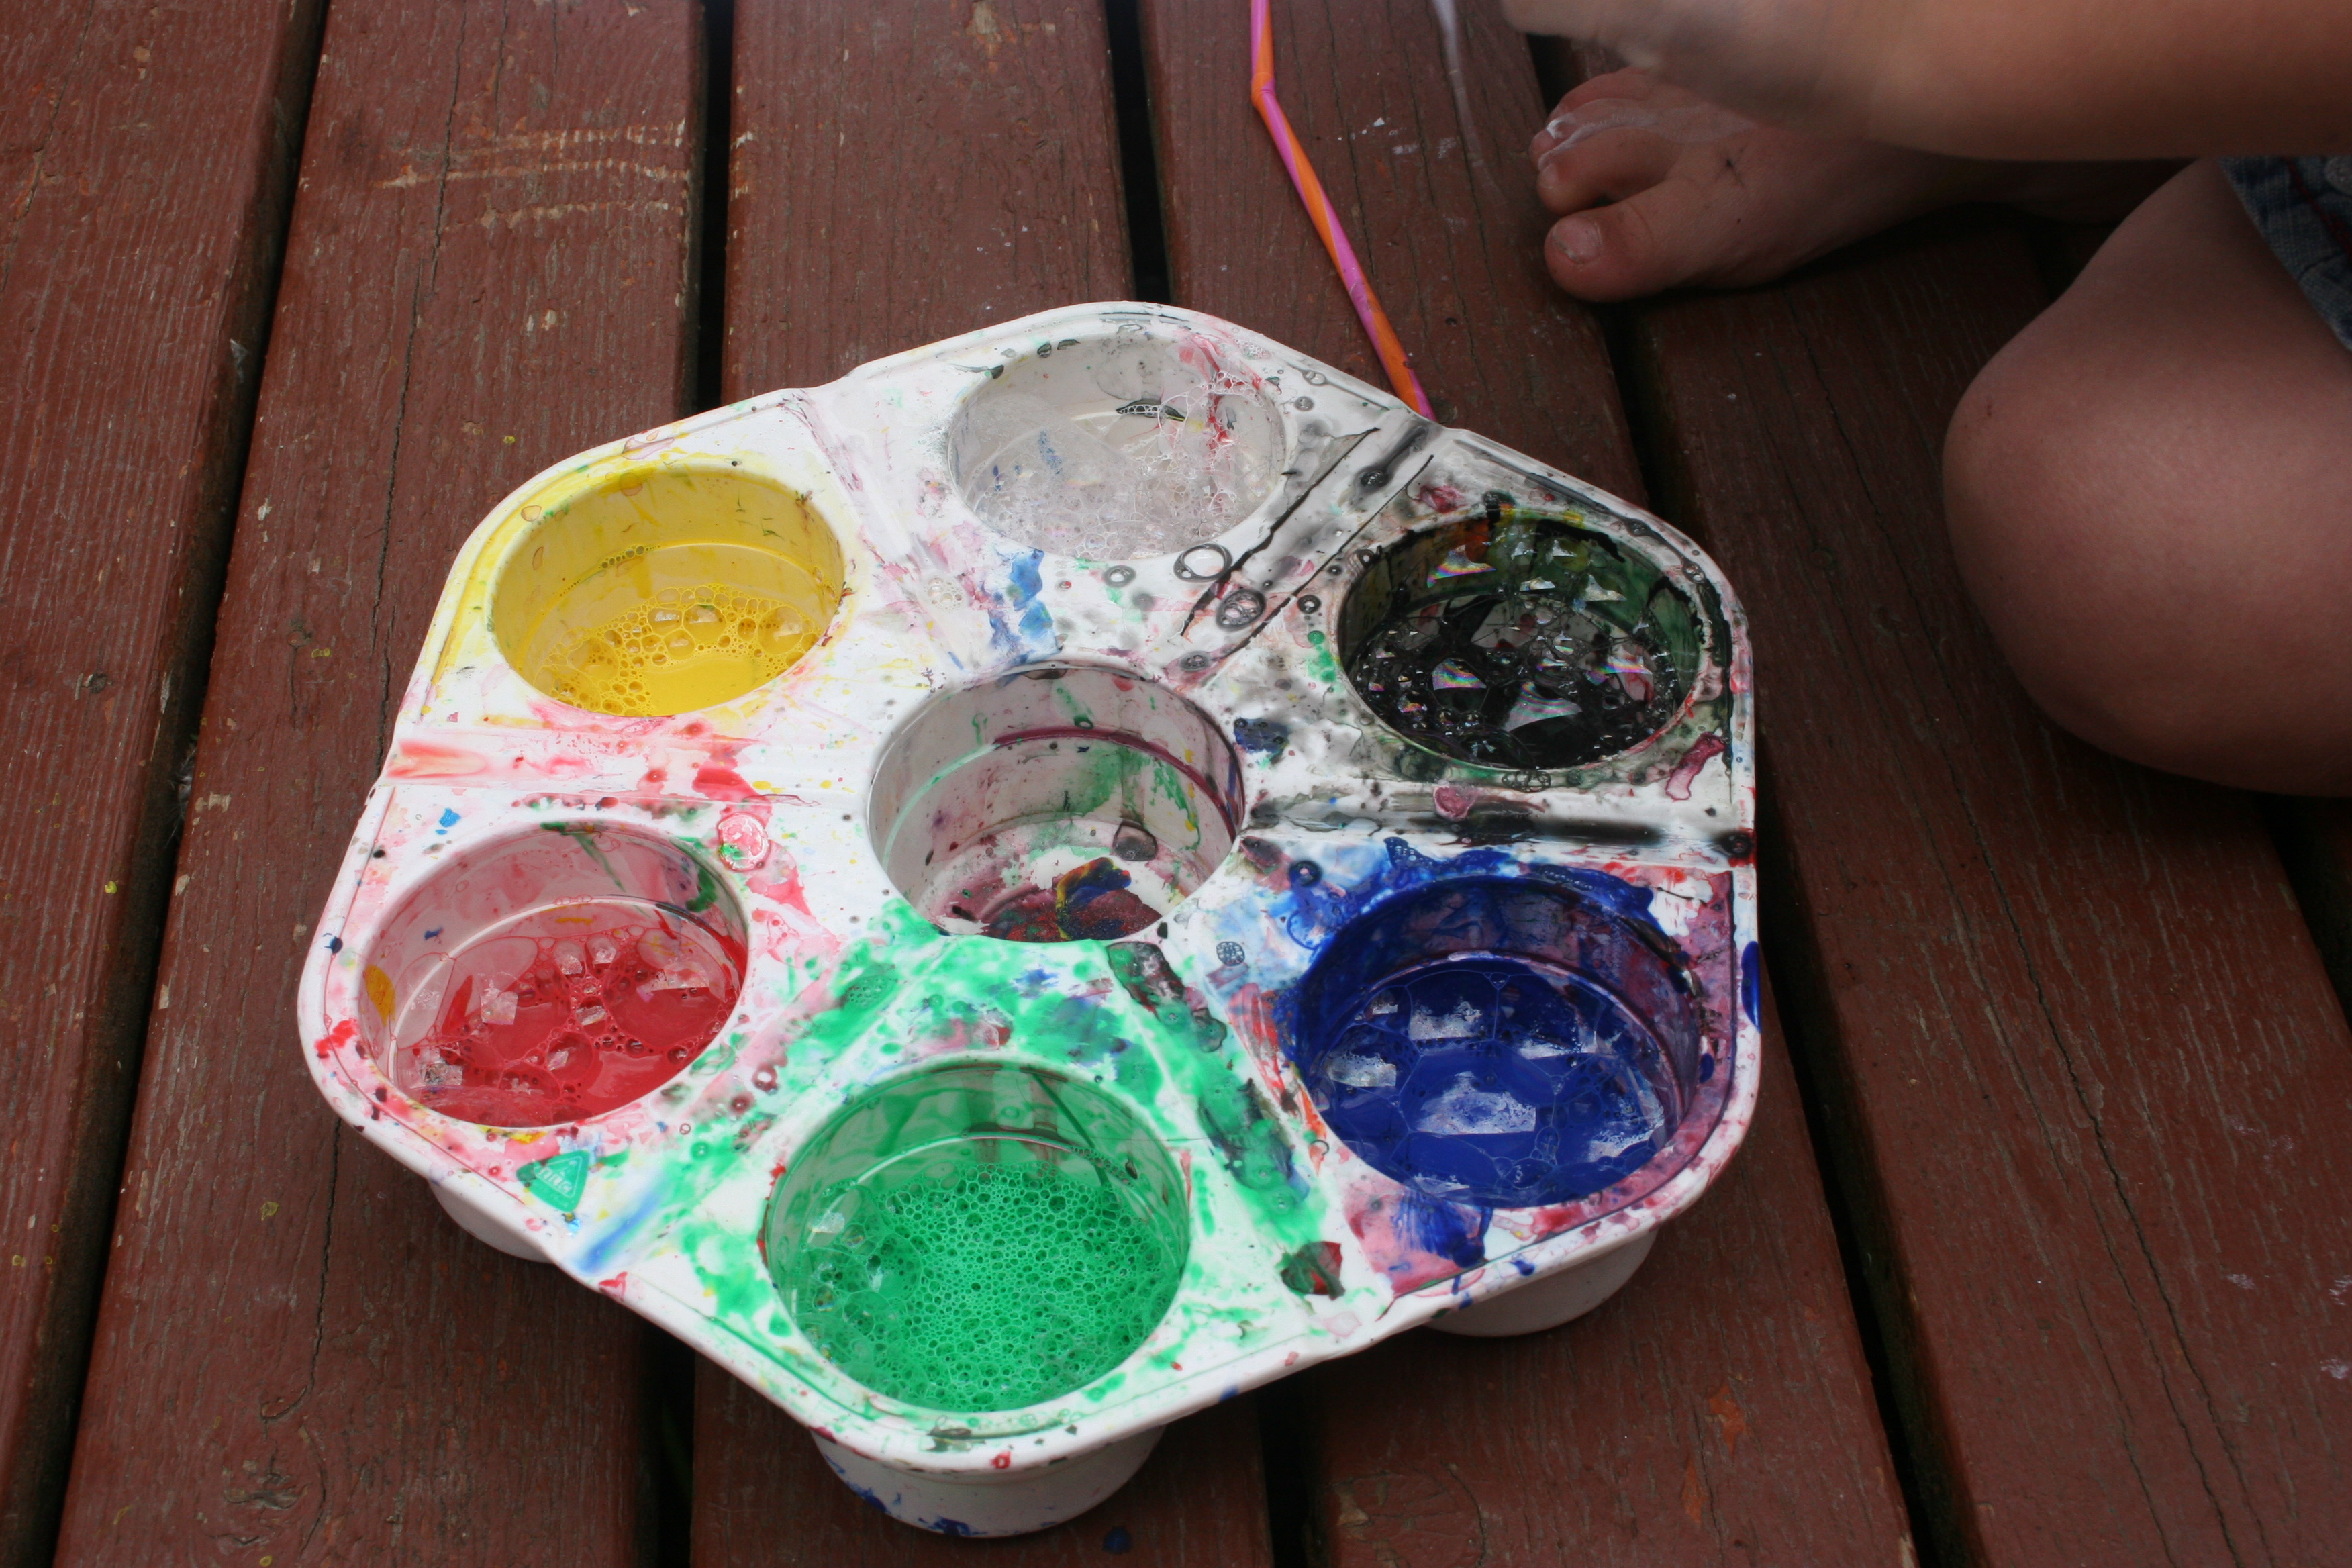
We decided to do some outdoor painting.
A small amount of paint, a squirt of washing up liquid and a few drops of water were mixed in our pallet.
I showed my 4-year-old how to blow bubbles with a straw. We talked about the difference between blowing and sucking.
What will happen if you suck the straw?
I’ll drink the paint. Yuck!
It’s like the wind, the wind blows but it doesn’t suck.
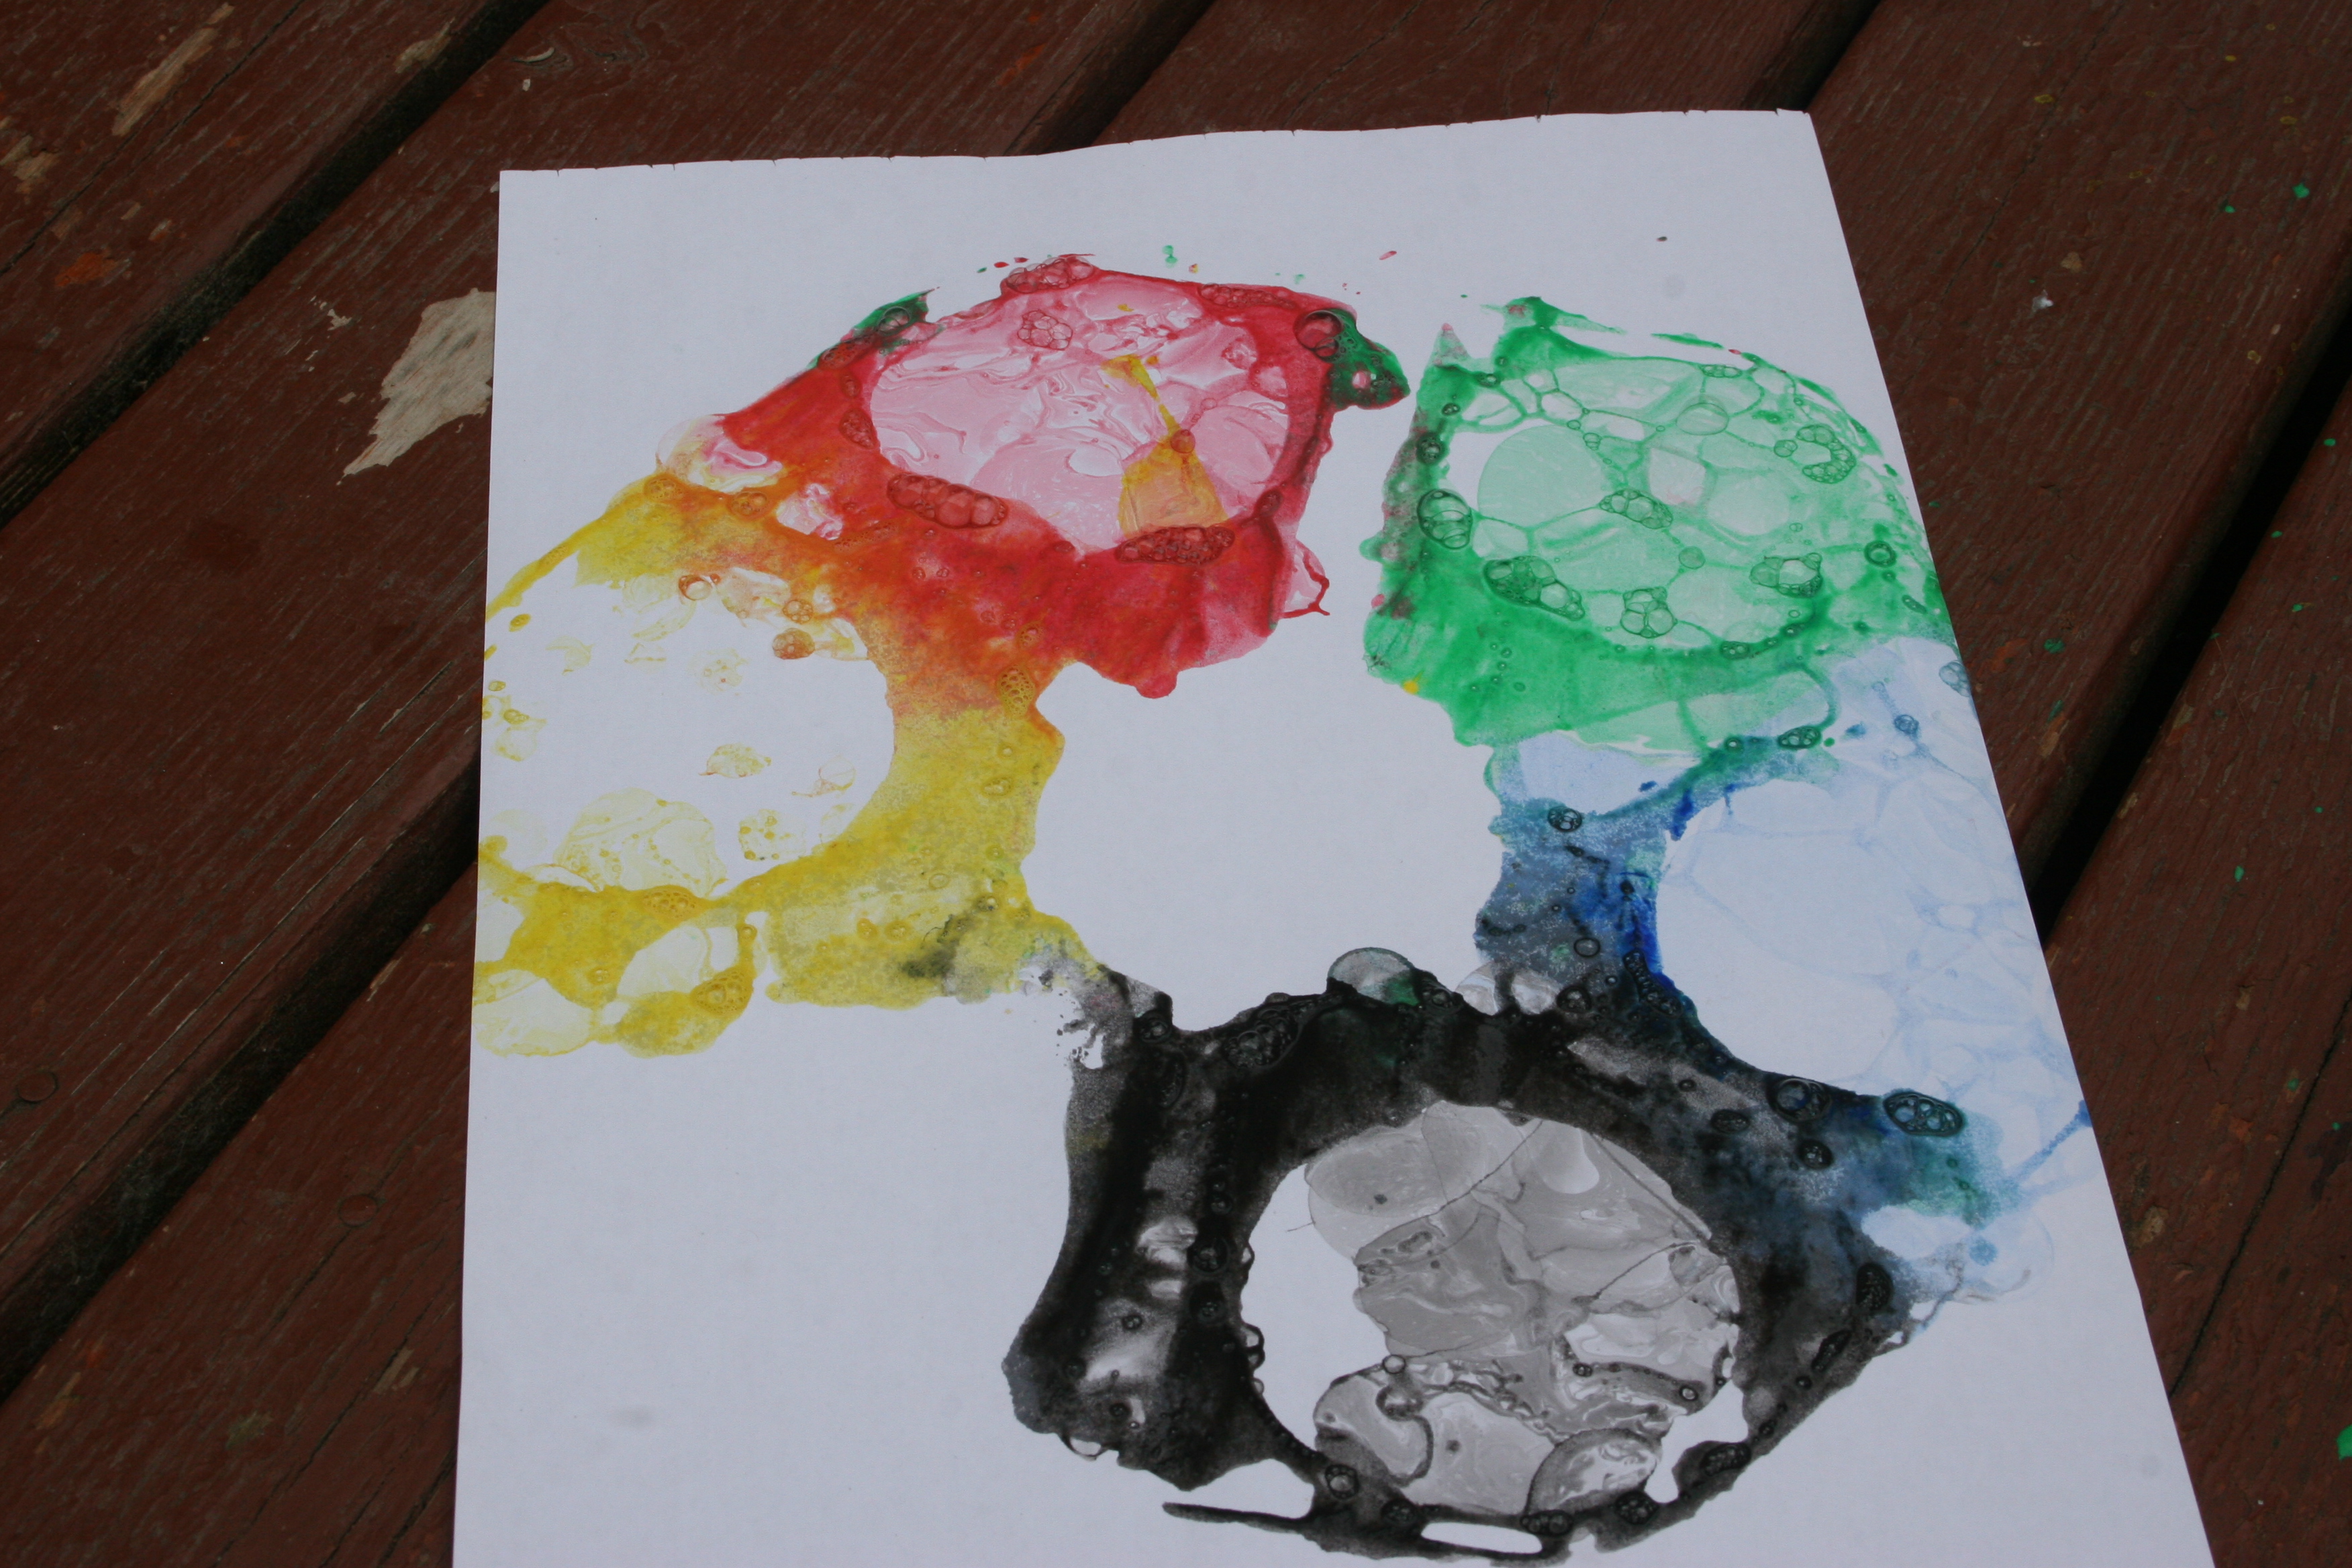
We tried to make the bubbles come over the top. We found that we needed to blow gently. They still didn’t quite bubble enough so we carefully added more water and tried again.
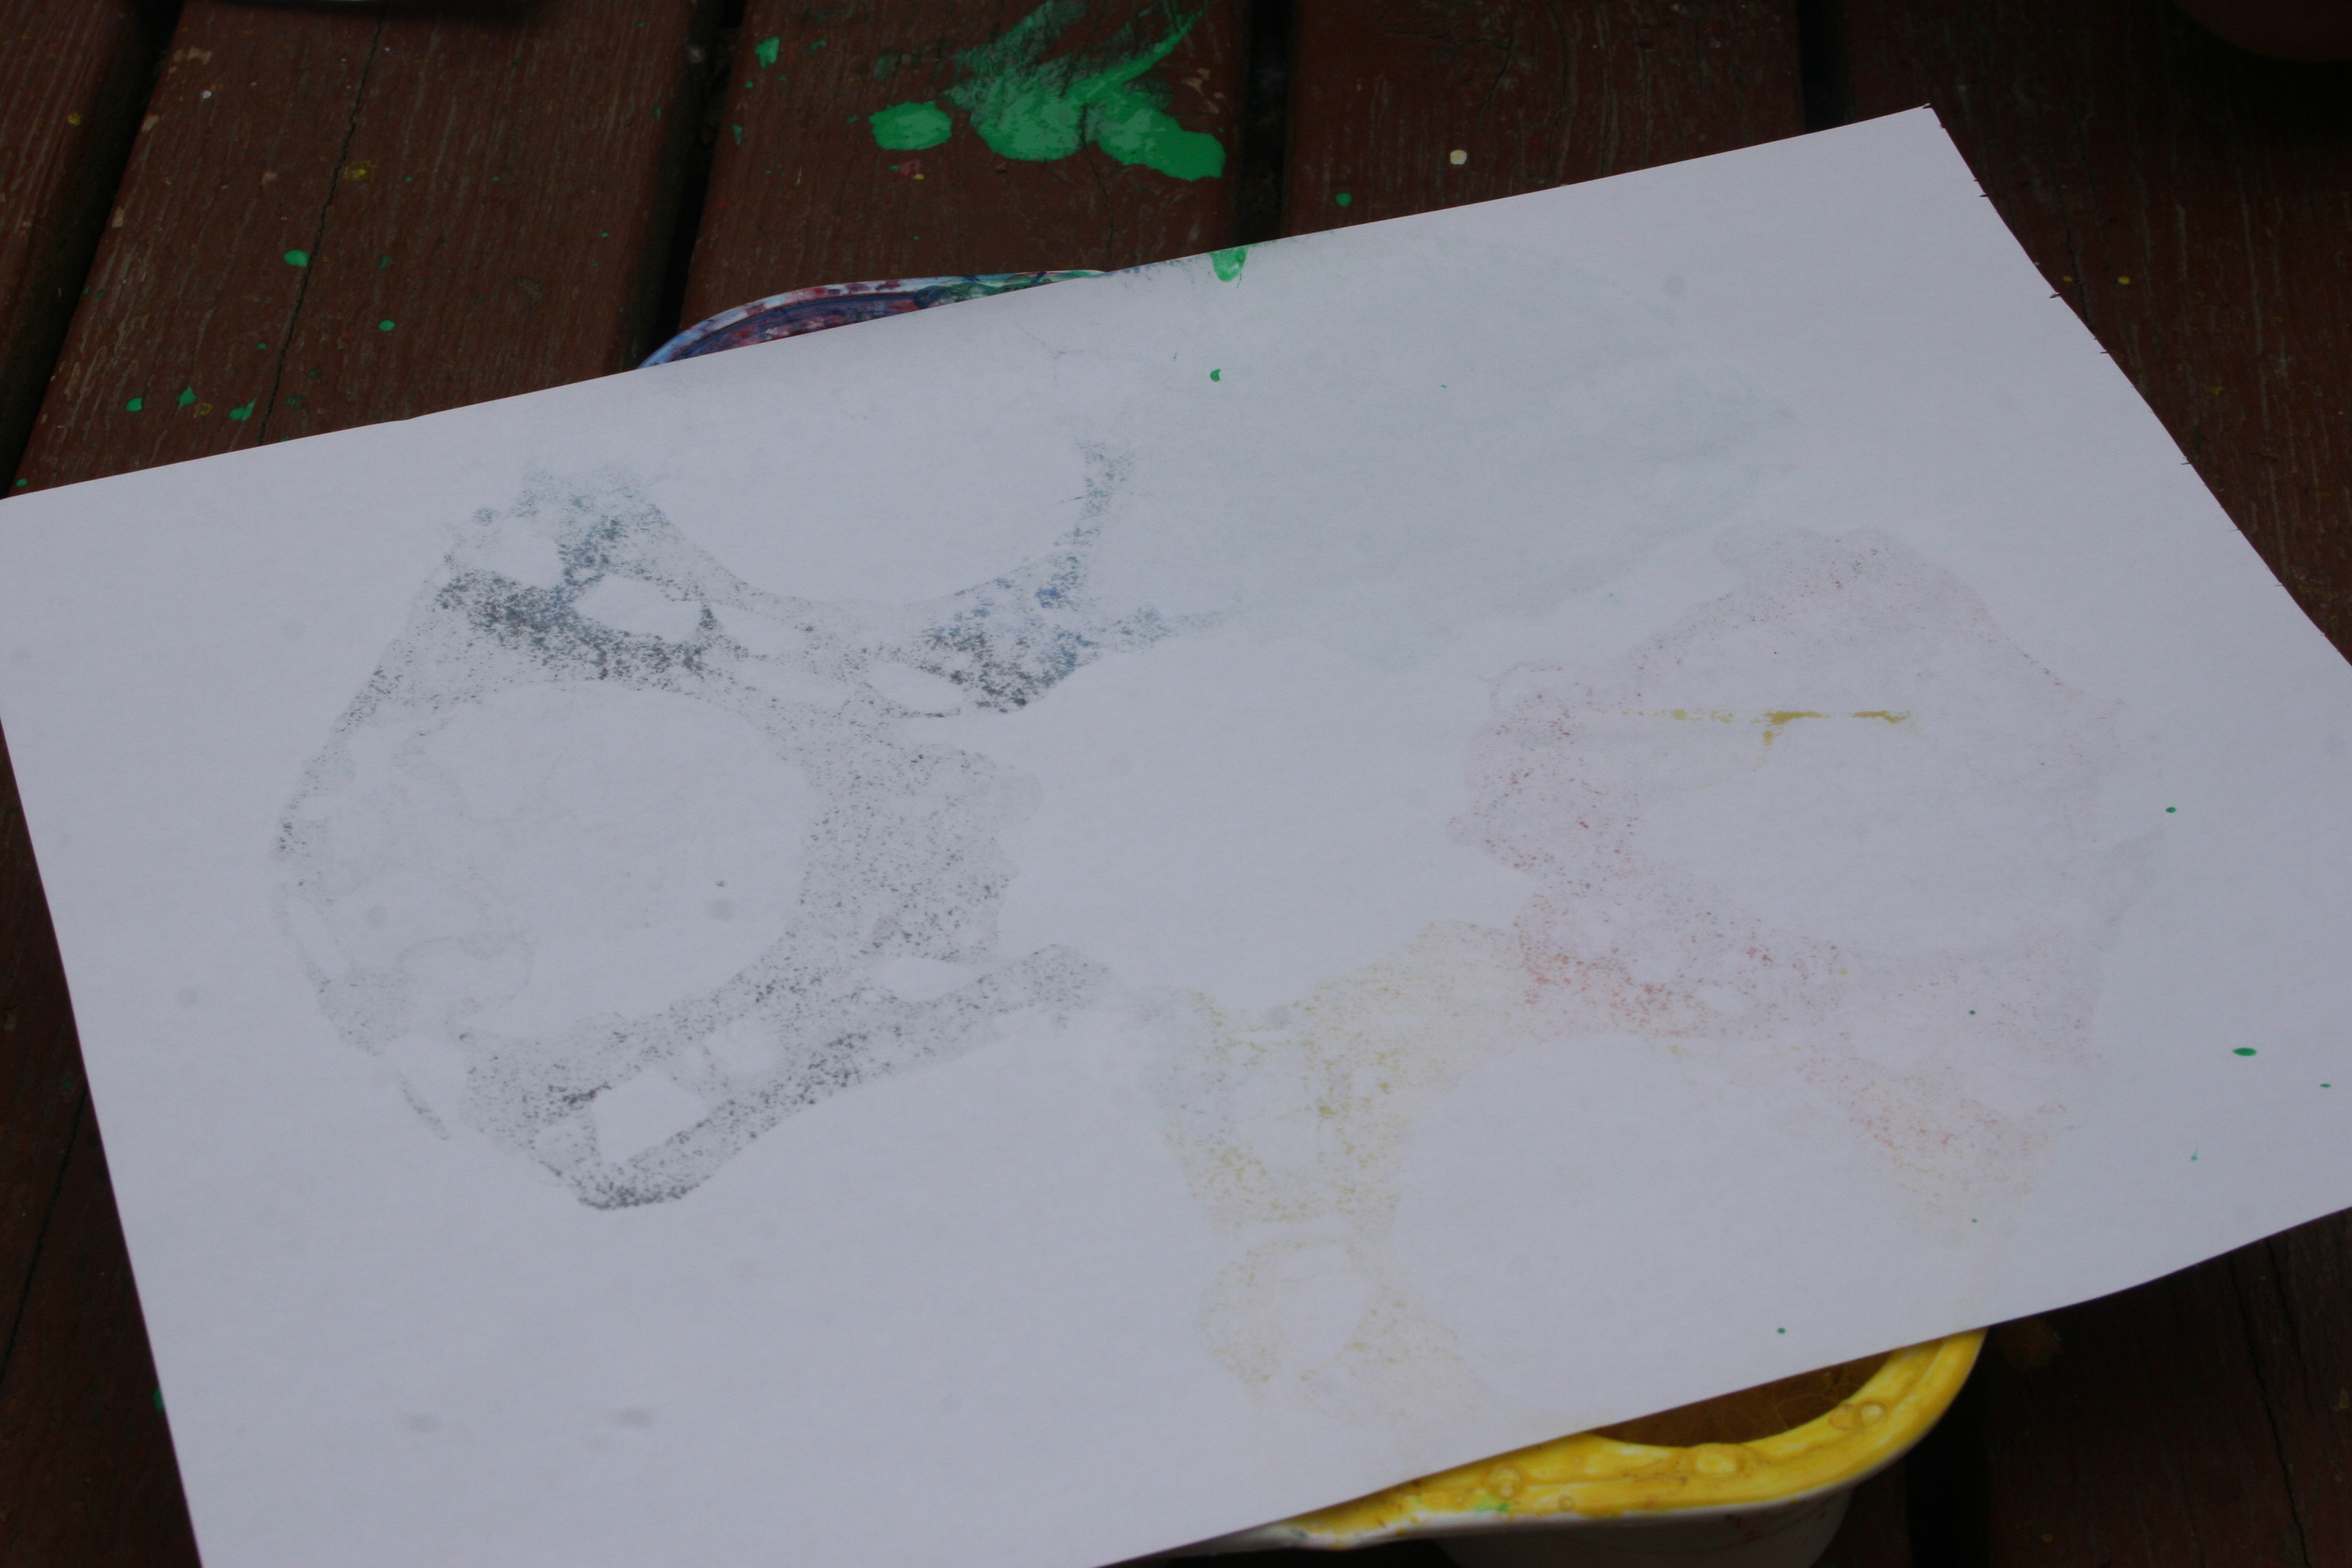
We placed the paper on top to make bubble patterns.
Next she made a bubbly hand print.
Time to get clean.
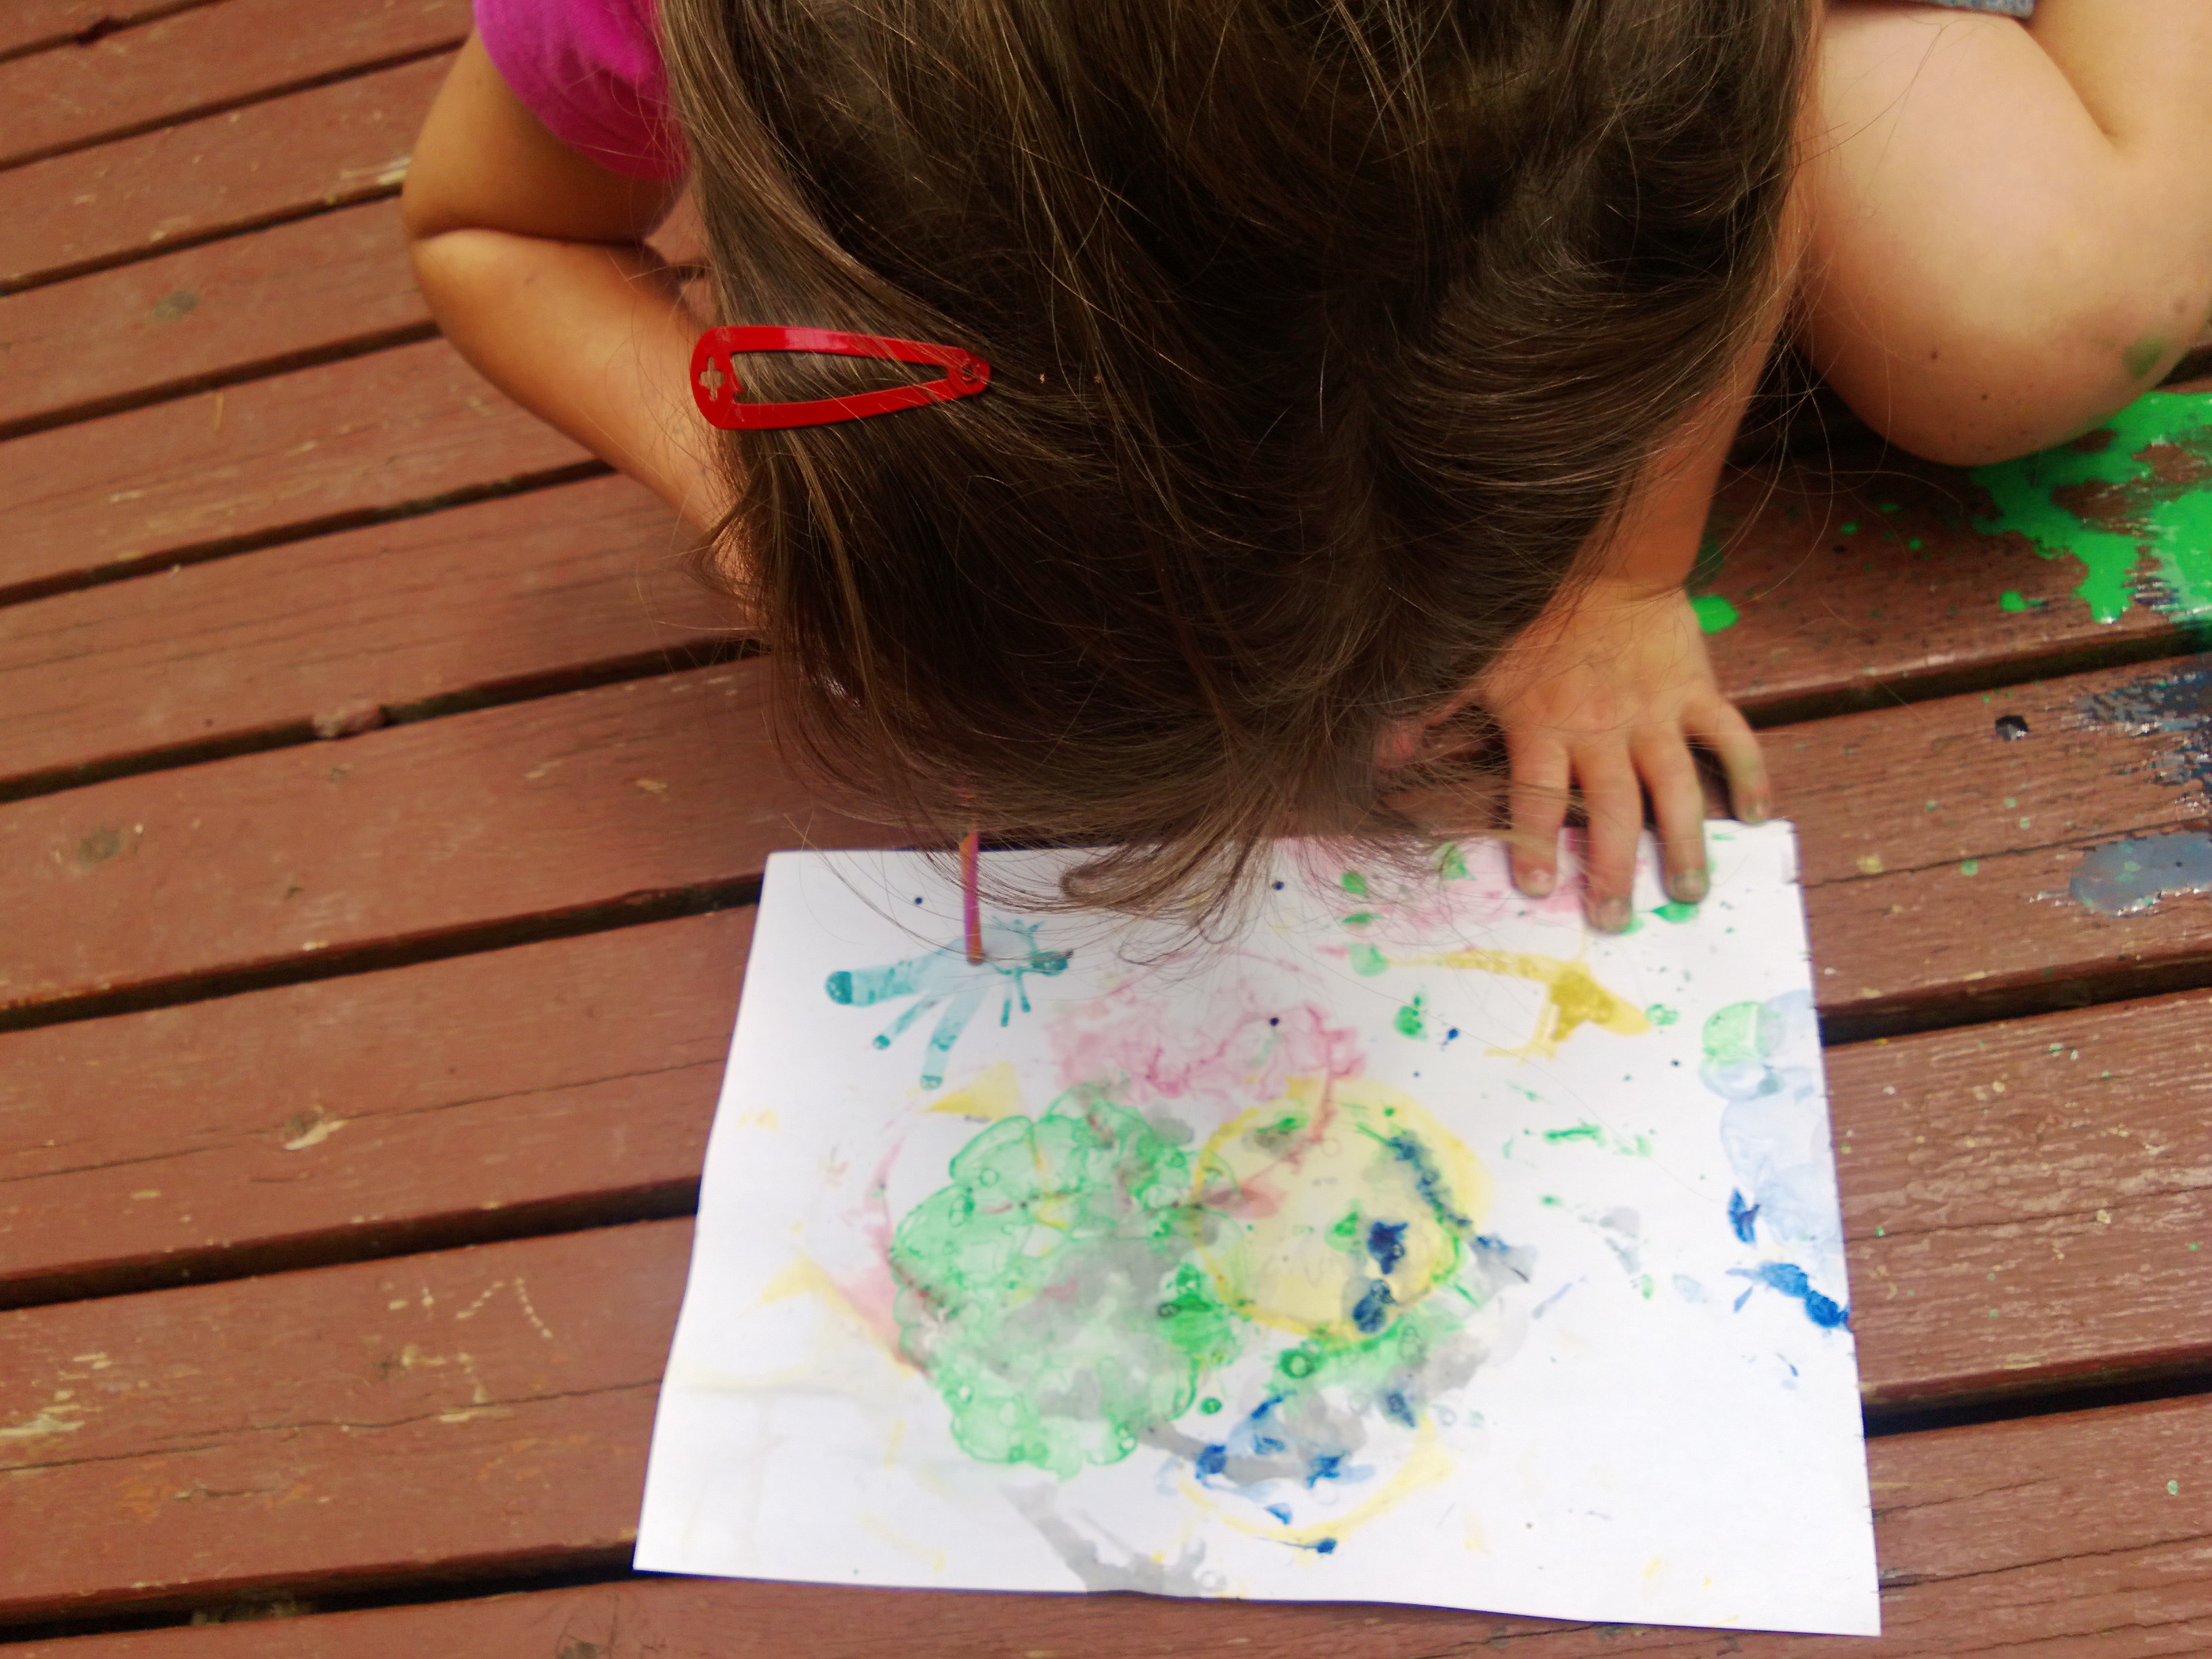
When the paint overflowed onto the deck she discovered that you could do something else with the straw.
The paint moves and makes patterns when you blow it with a straw.
Blowing the paint on the paper with the straw made a whole new type of painting.
This morning we were playing a game of Elefun, the game where fabric butterflies are blown from an elephant’s trunk for the children to catch in nets.
I know, let’s go and catch butterflies outside.
My 4-year -old quickly ran outside to look around the garden for butterflies. I explained that we needed to be quiet and still if we were to find any butterflies. Butterflies are attracted to red, yellow, pink and purple so we looked for flowers in these colours and waited.
I might find a butterfly, they like red and yellow so they might land in my net.
If we are very quiet we might catch a butterfly.
The hunt for butterflies was not very successful so they started to look for other creatures instead.
I’m trying to catch butterflies. what else can I find to put in my net?
No butterflies in here.
These leaves are really soft. We’re not allowed to pick them but we are allowed to stroke them.
No butterflies but lots of bees
They found a woodlouse (or roly-poly as the kids here call them) and lots of bees but no butterflies.
I know let’s make some butterflies out of paper.
I cut out some paper butterflies. The girls wanted to decorate them with stickers but I could only find white ones.
I know let’s draw patterns on the white ones. Now you hide them and we can find them and catch them in our nets.
We didn’t have any coloured stickers so the girls decorated white ones
The finished butterfly, without instruction my daughter decorated it with Symmetrical wings. ‘Butterflies never have 2 wings that are different’.
I hid them in the bushes. Found one! Now I have 1,2,3.4 butterflies, only 4 left to find.
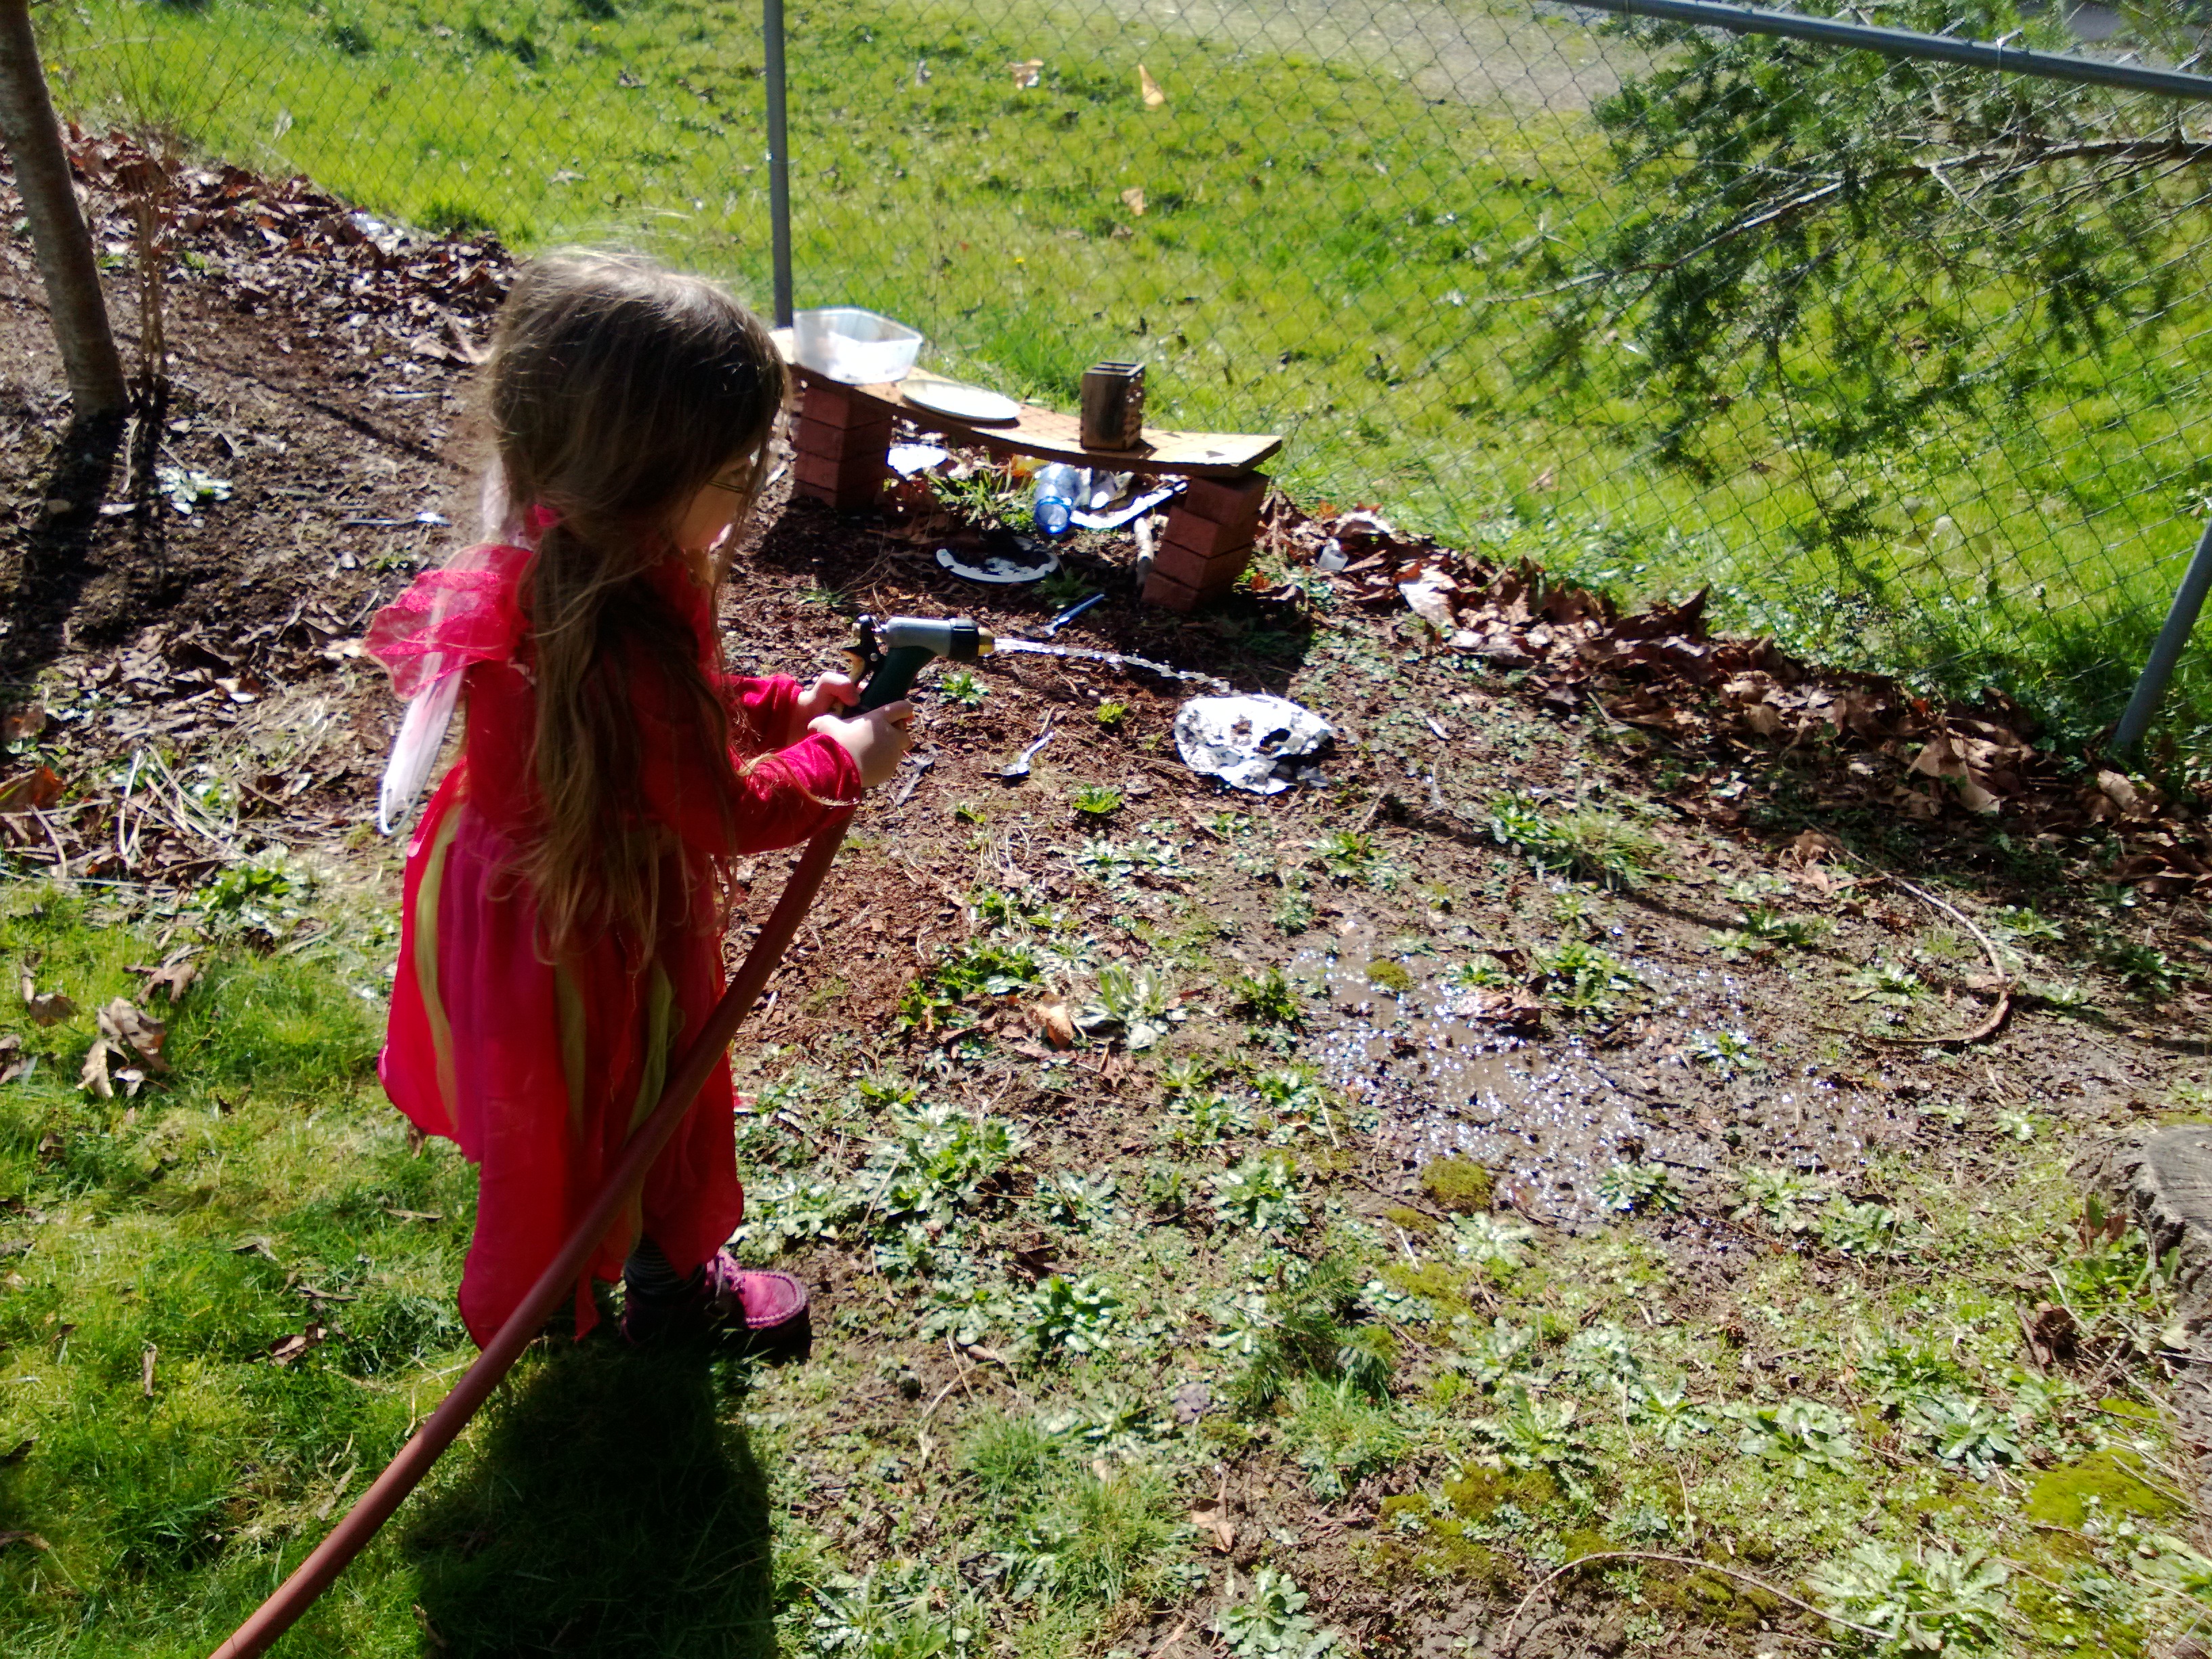
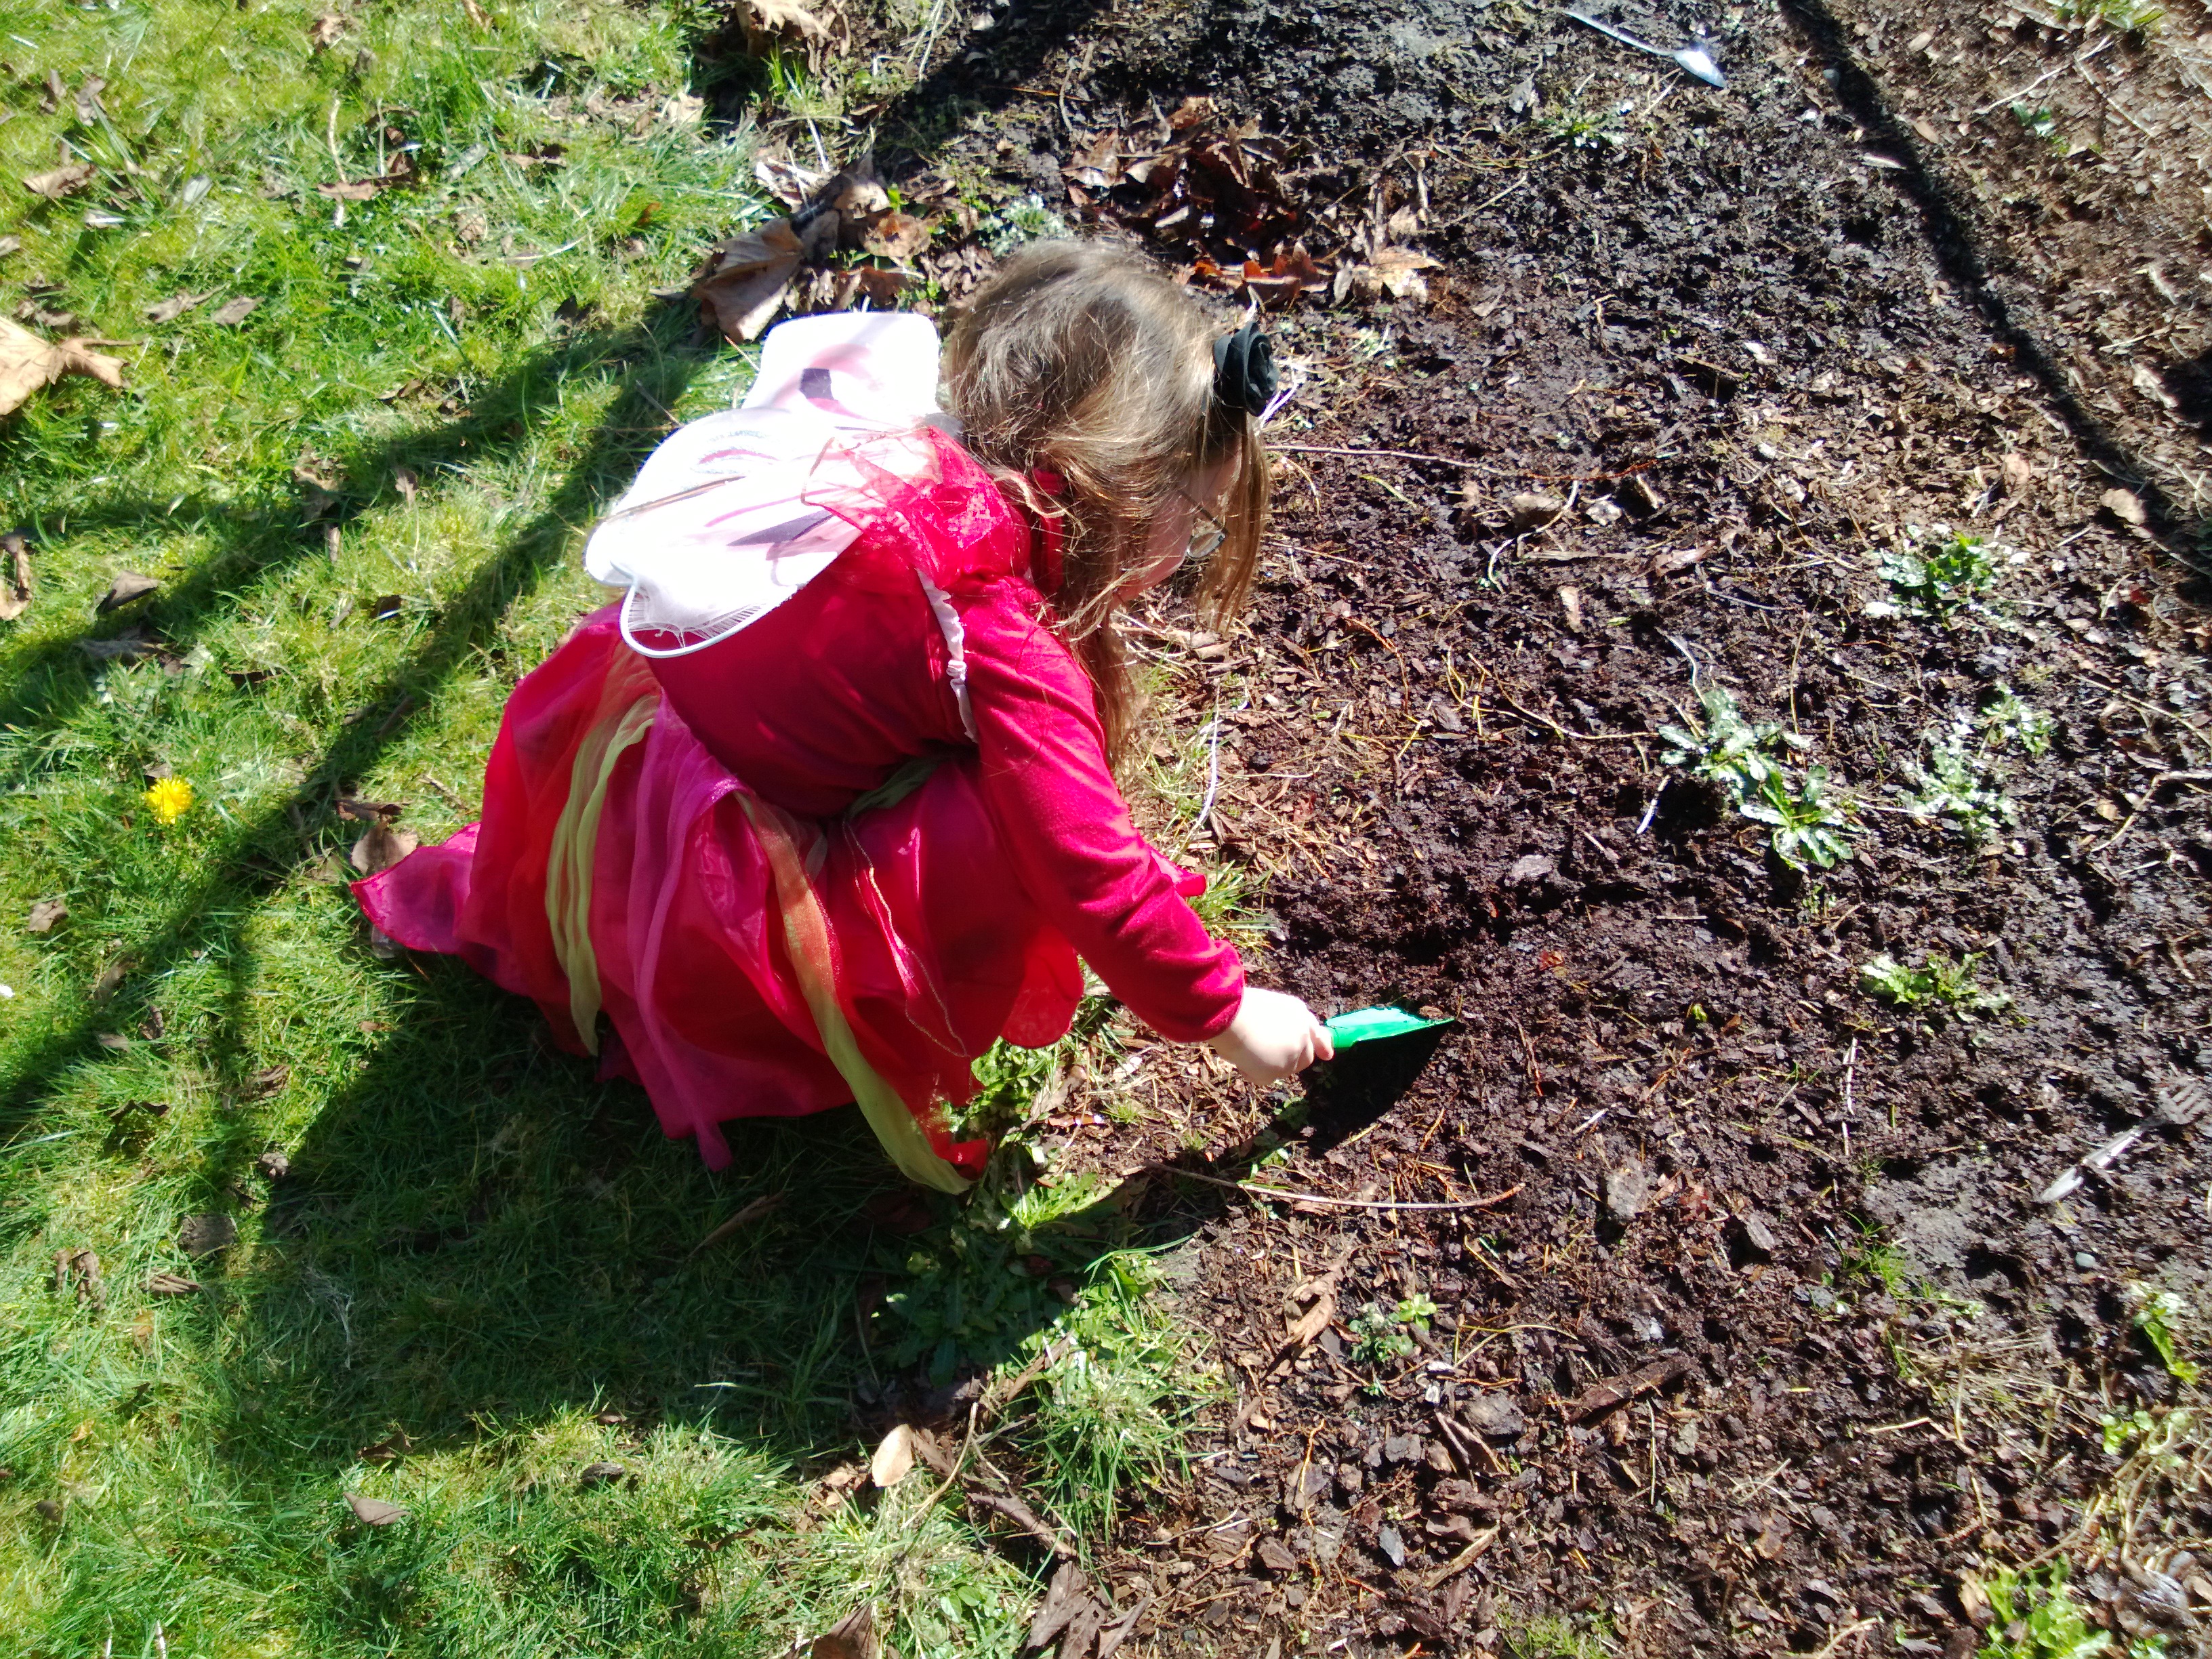
My eldest daughter has been an avid potion maker all her life. We are always finding concoctions in her bathroom and when she was young she would leave them on the windowsill of her bedroom or on the side of the bath and if you knocked them off whilst having a relaxing bath the cold would give you the shock of your life. She is now a huge Harry Potter fan, having read all of the series 4 times and her potions are taking on new meaning. Her younger sister is following in her footsteps. Now that the weather is nicer I set up a little potion station for them in the garden – they love it.
It is a great sensory play activity and science experiment, they got their hands in, testing and smelling the potions and used all kinds of things from the garden. Best of all I love how the imaginary play scenarios evolved. I suggested to my 9-year-old that she might like to make a book of potion recipes.
‘Yes’ she exclaimed excitedly, ‘ But we’ll need about 70 pages, the McClary recipe book’
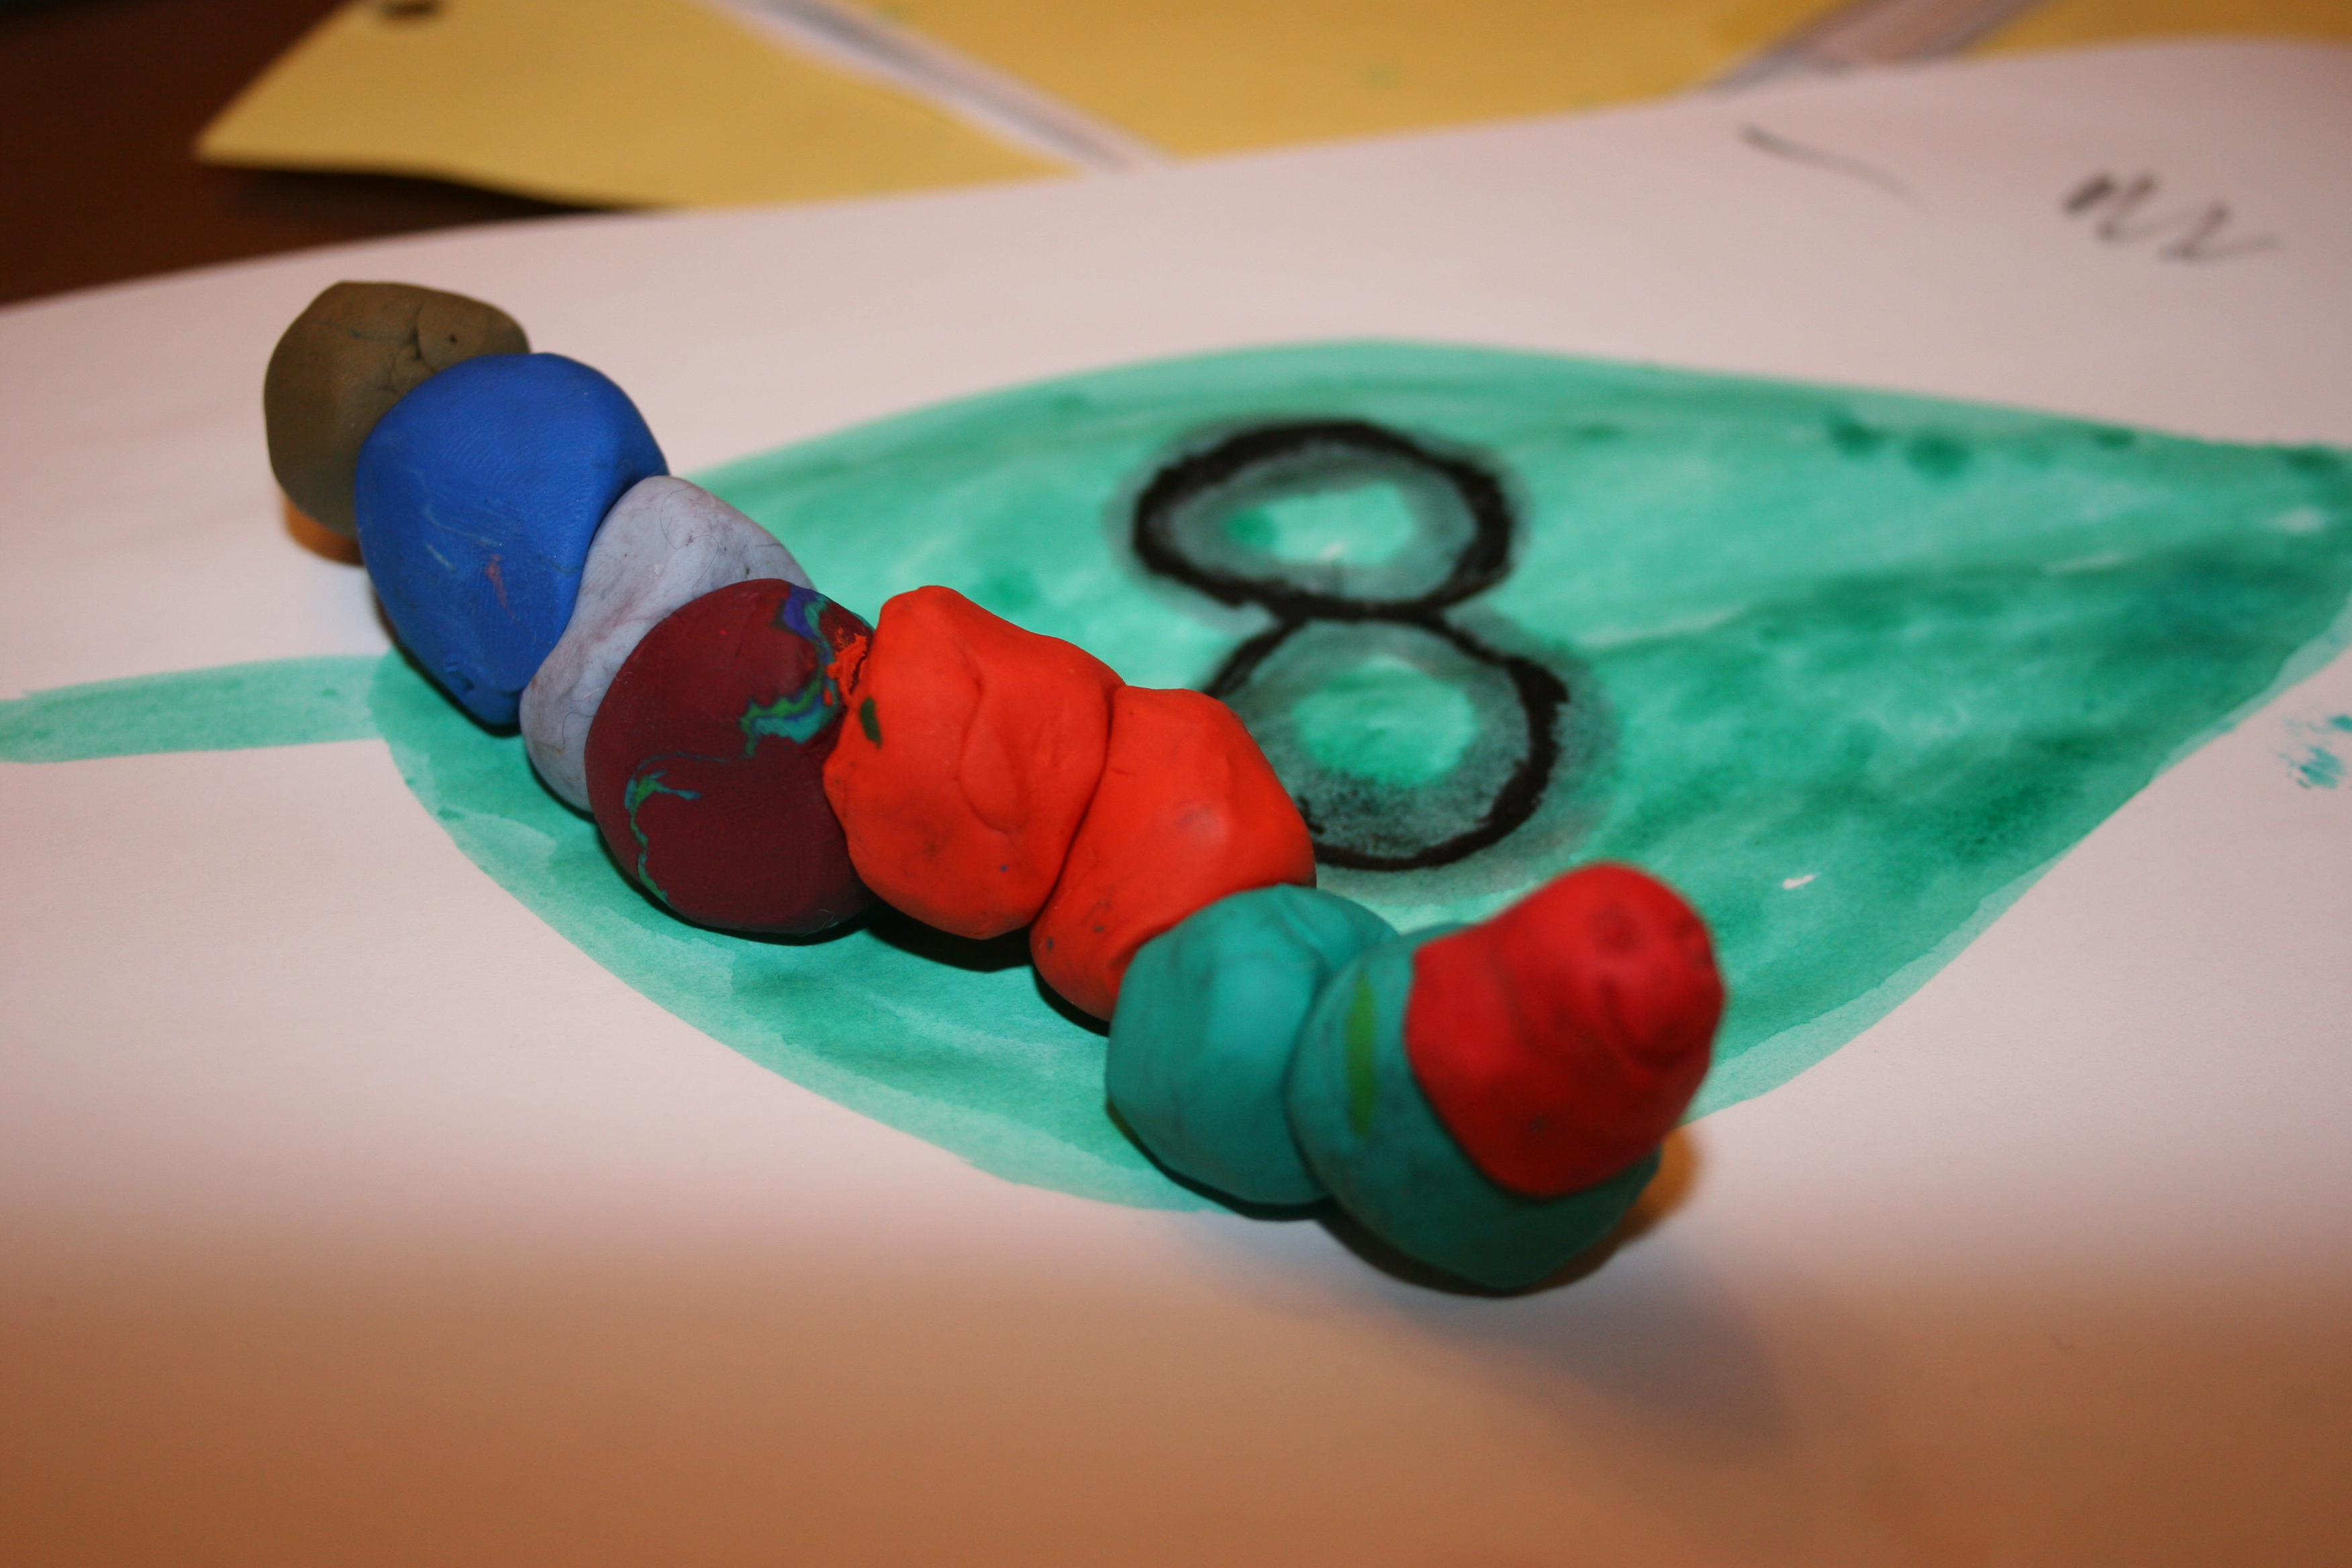
To celebrate the 40th birthday of one of the world’s most famous picture books, I have 10 Hungry Caterpillar inspired activities.
Maths: Build caterpillars from dough or clay. Count the number of segments that make up the caterpillar. Play a matching game – place the correct caterpillar on the leaf with the matching colour or number of segments.
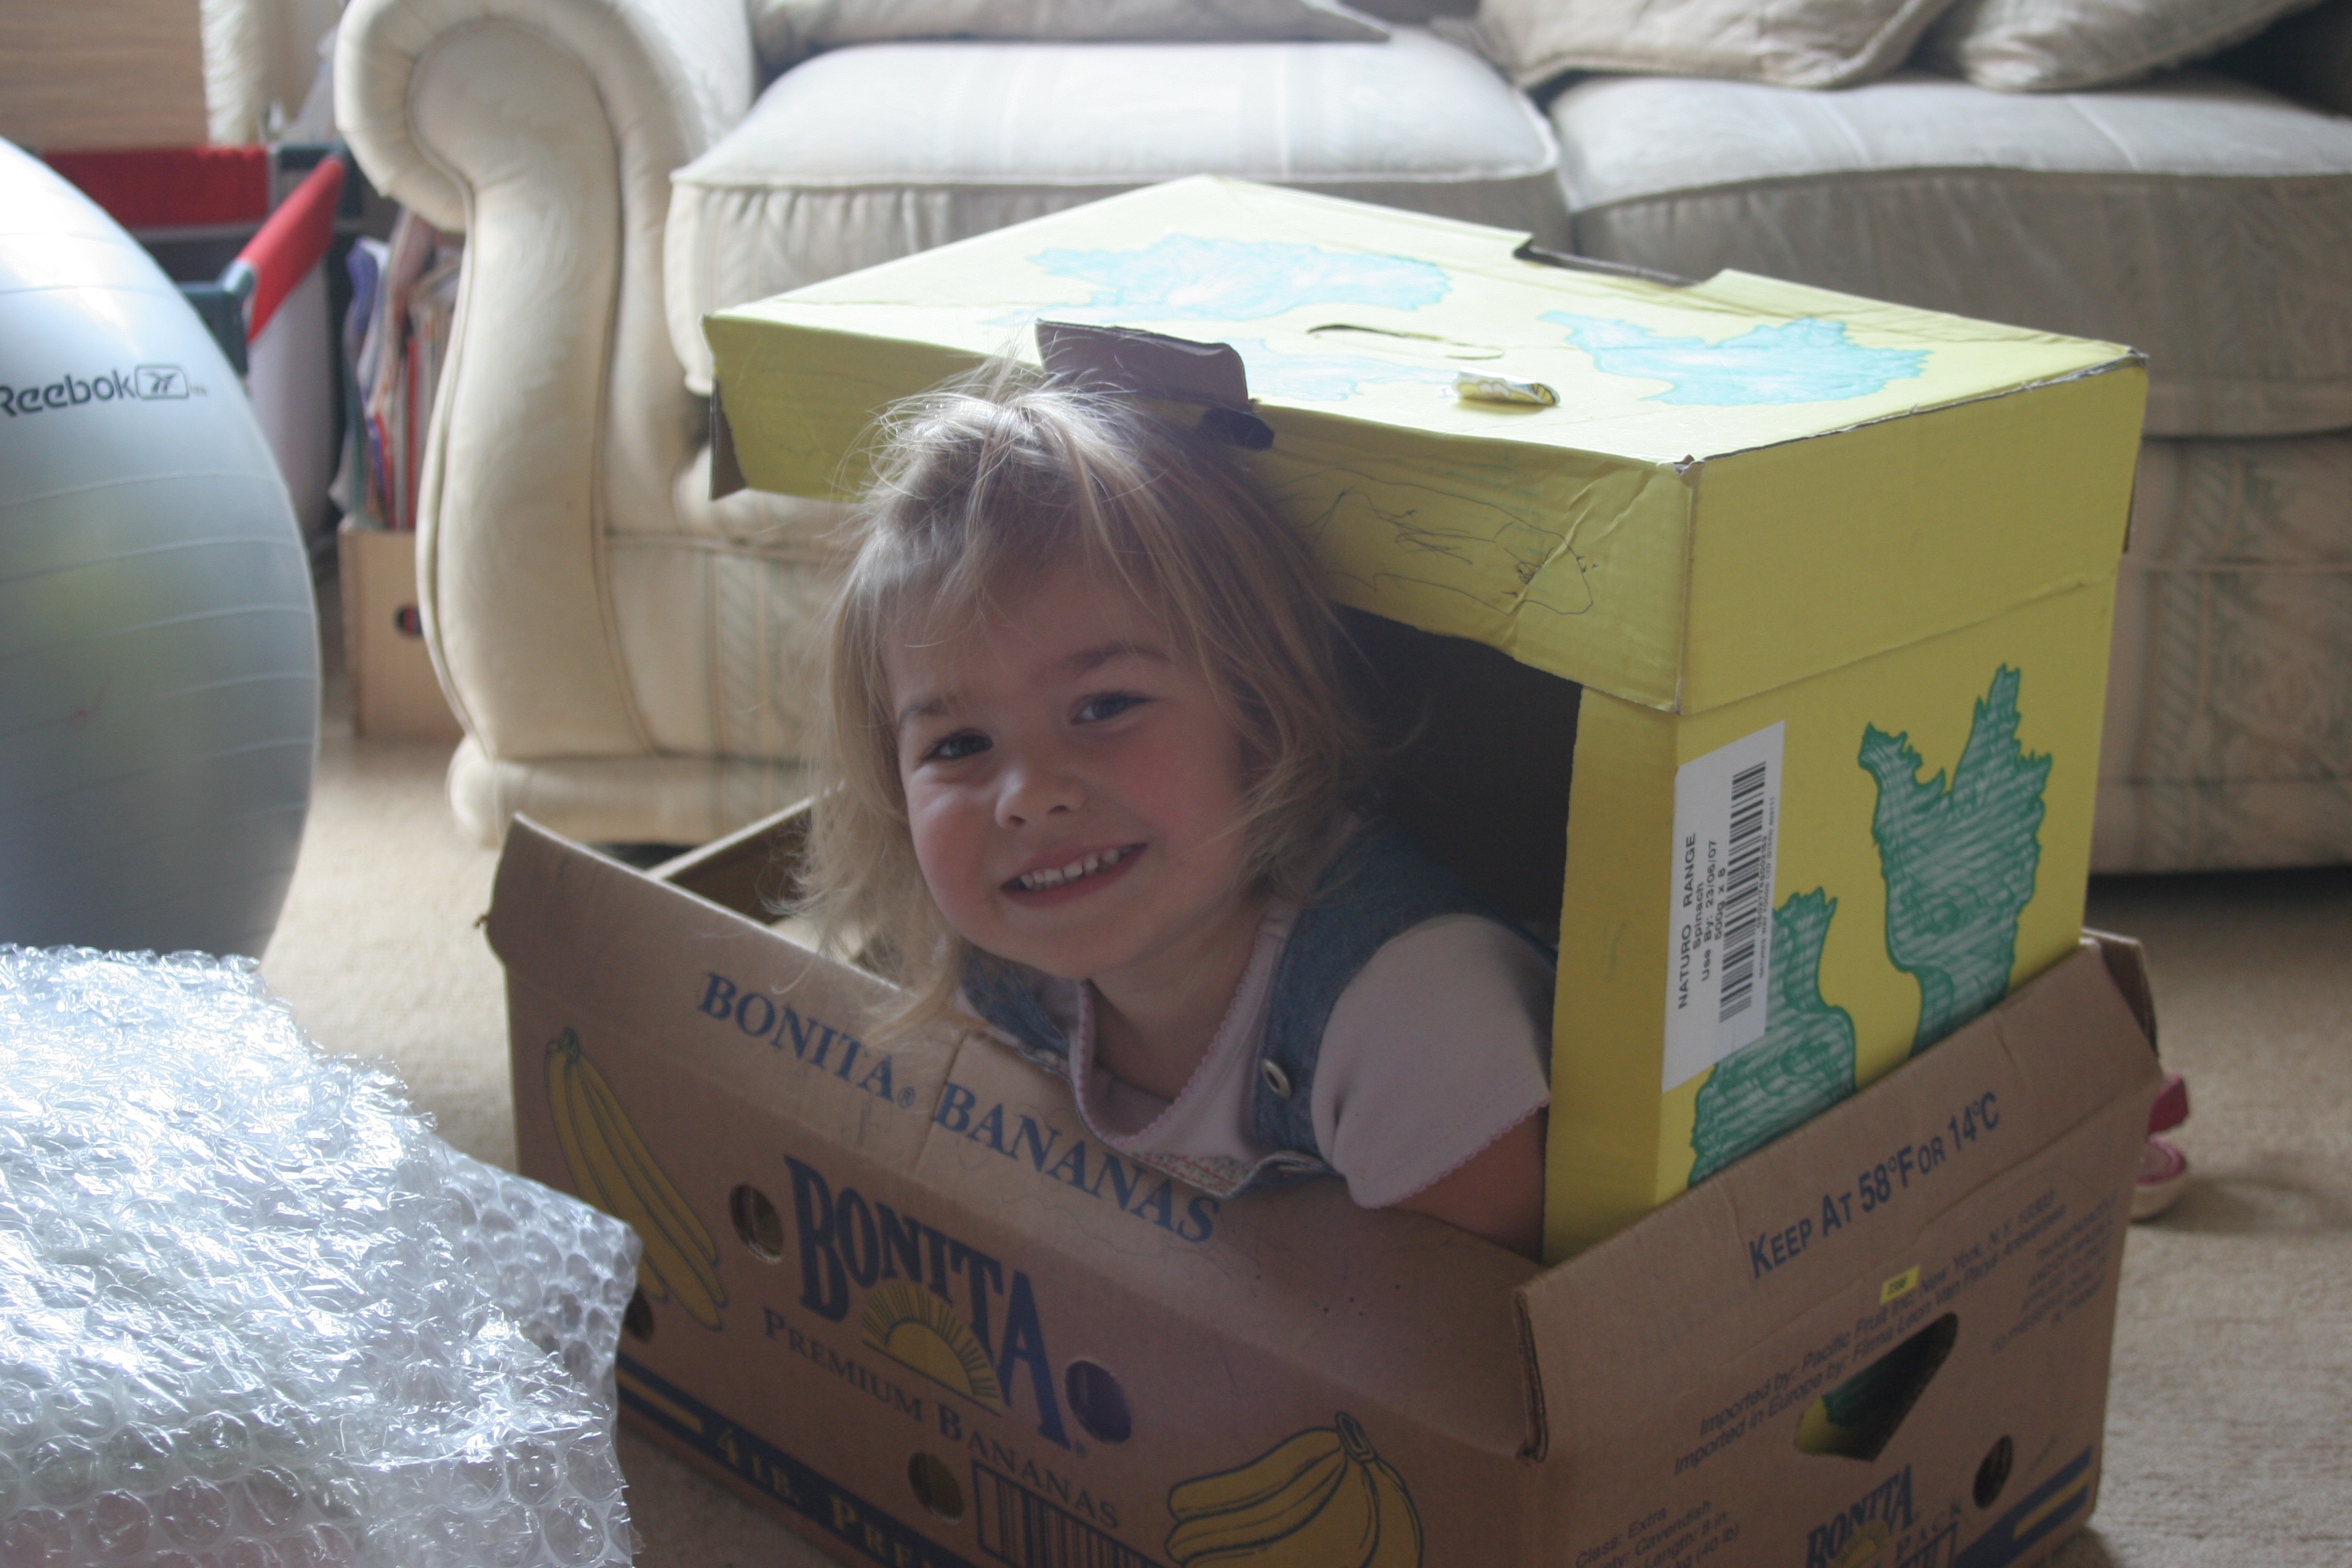
2. Imaginary Play: My eldest followed an enveloping schema for years. She would hoard things in little bags and containers and if you ever left anything around that she could climb into, you would find her inside. On one occasion I left a fabric storage bin in her room. She promptly climbed inside declaring that she was in her cocoon and soon emerged as a beautiful butterfly. Provide material, boxes, play tunnels, blankets, wings and deely boppers.
3. Song and Rhyme: Sing the caterpillar on a leaf song or sit behind your child and pretend to crawl a caterpillar up their back. Teach them to ask ‘Whose that climbing up the garden wall?’ and you reply in a caterpillar like voice ‘It’s me’ said the caterpillar ‘I’m learning how to crawl’.
4.Paint symmetrical butterfly pictures: I’m sure we all remember these from school days. Paint on one side, fold the paper over to create a symmetrical print on the other. This can also work well by painting a piece of string, placing it between the folded paper and then pulling it out whilst the paper is still folded.
5. Movement: Read the Hungry Caterpillar and give the children movements to follow during the story. Egg – curl up in a ball, caterpillar – crawl along the floor moving to eat different types of food, big fat caterpillar – stretch out wide, cocoon – spin slowly then hang their head between their legs, staying very still, butterfly – flap their wings and fly.
6. Discovery – it is a little cold yet but once the weather is warmer, grow your own butterflies. We have done this very successfully using kits from Insectlore. It is fascinating to watch how quickly the tiny caterpillars grow and then instinctively hang upside down. You soon get to recognise when the butterflies are ready to emerge and can feed them indoors for a day or 2 before releasing them into the garden. The species that they use tend to stay within your local area for a few days after being released so you can spot them in the garden.
Find out about the butterflies and caterpillars that can be found in your locality, and print pictures of more exotic species.
7. Food: Make a fruit salad using the fruits eaten by the Hungry Caterpillar or taste some of the more unusual foods he ate. We are a big juicing family so we are going to make Hungry Caterpillar juice using:
1 apple
2 pears
3 plums
4 strawberries
5 oranges
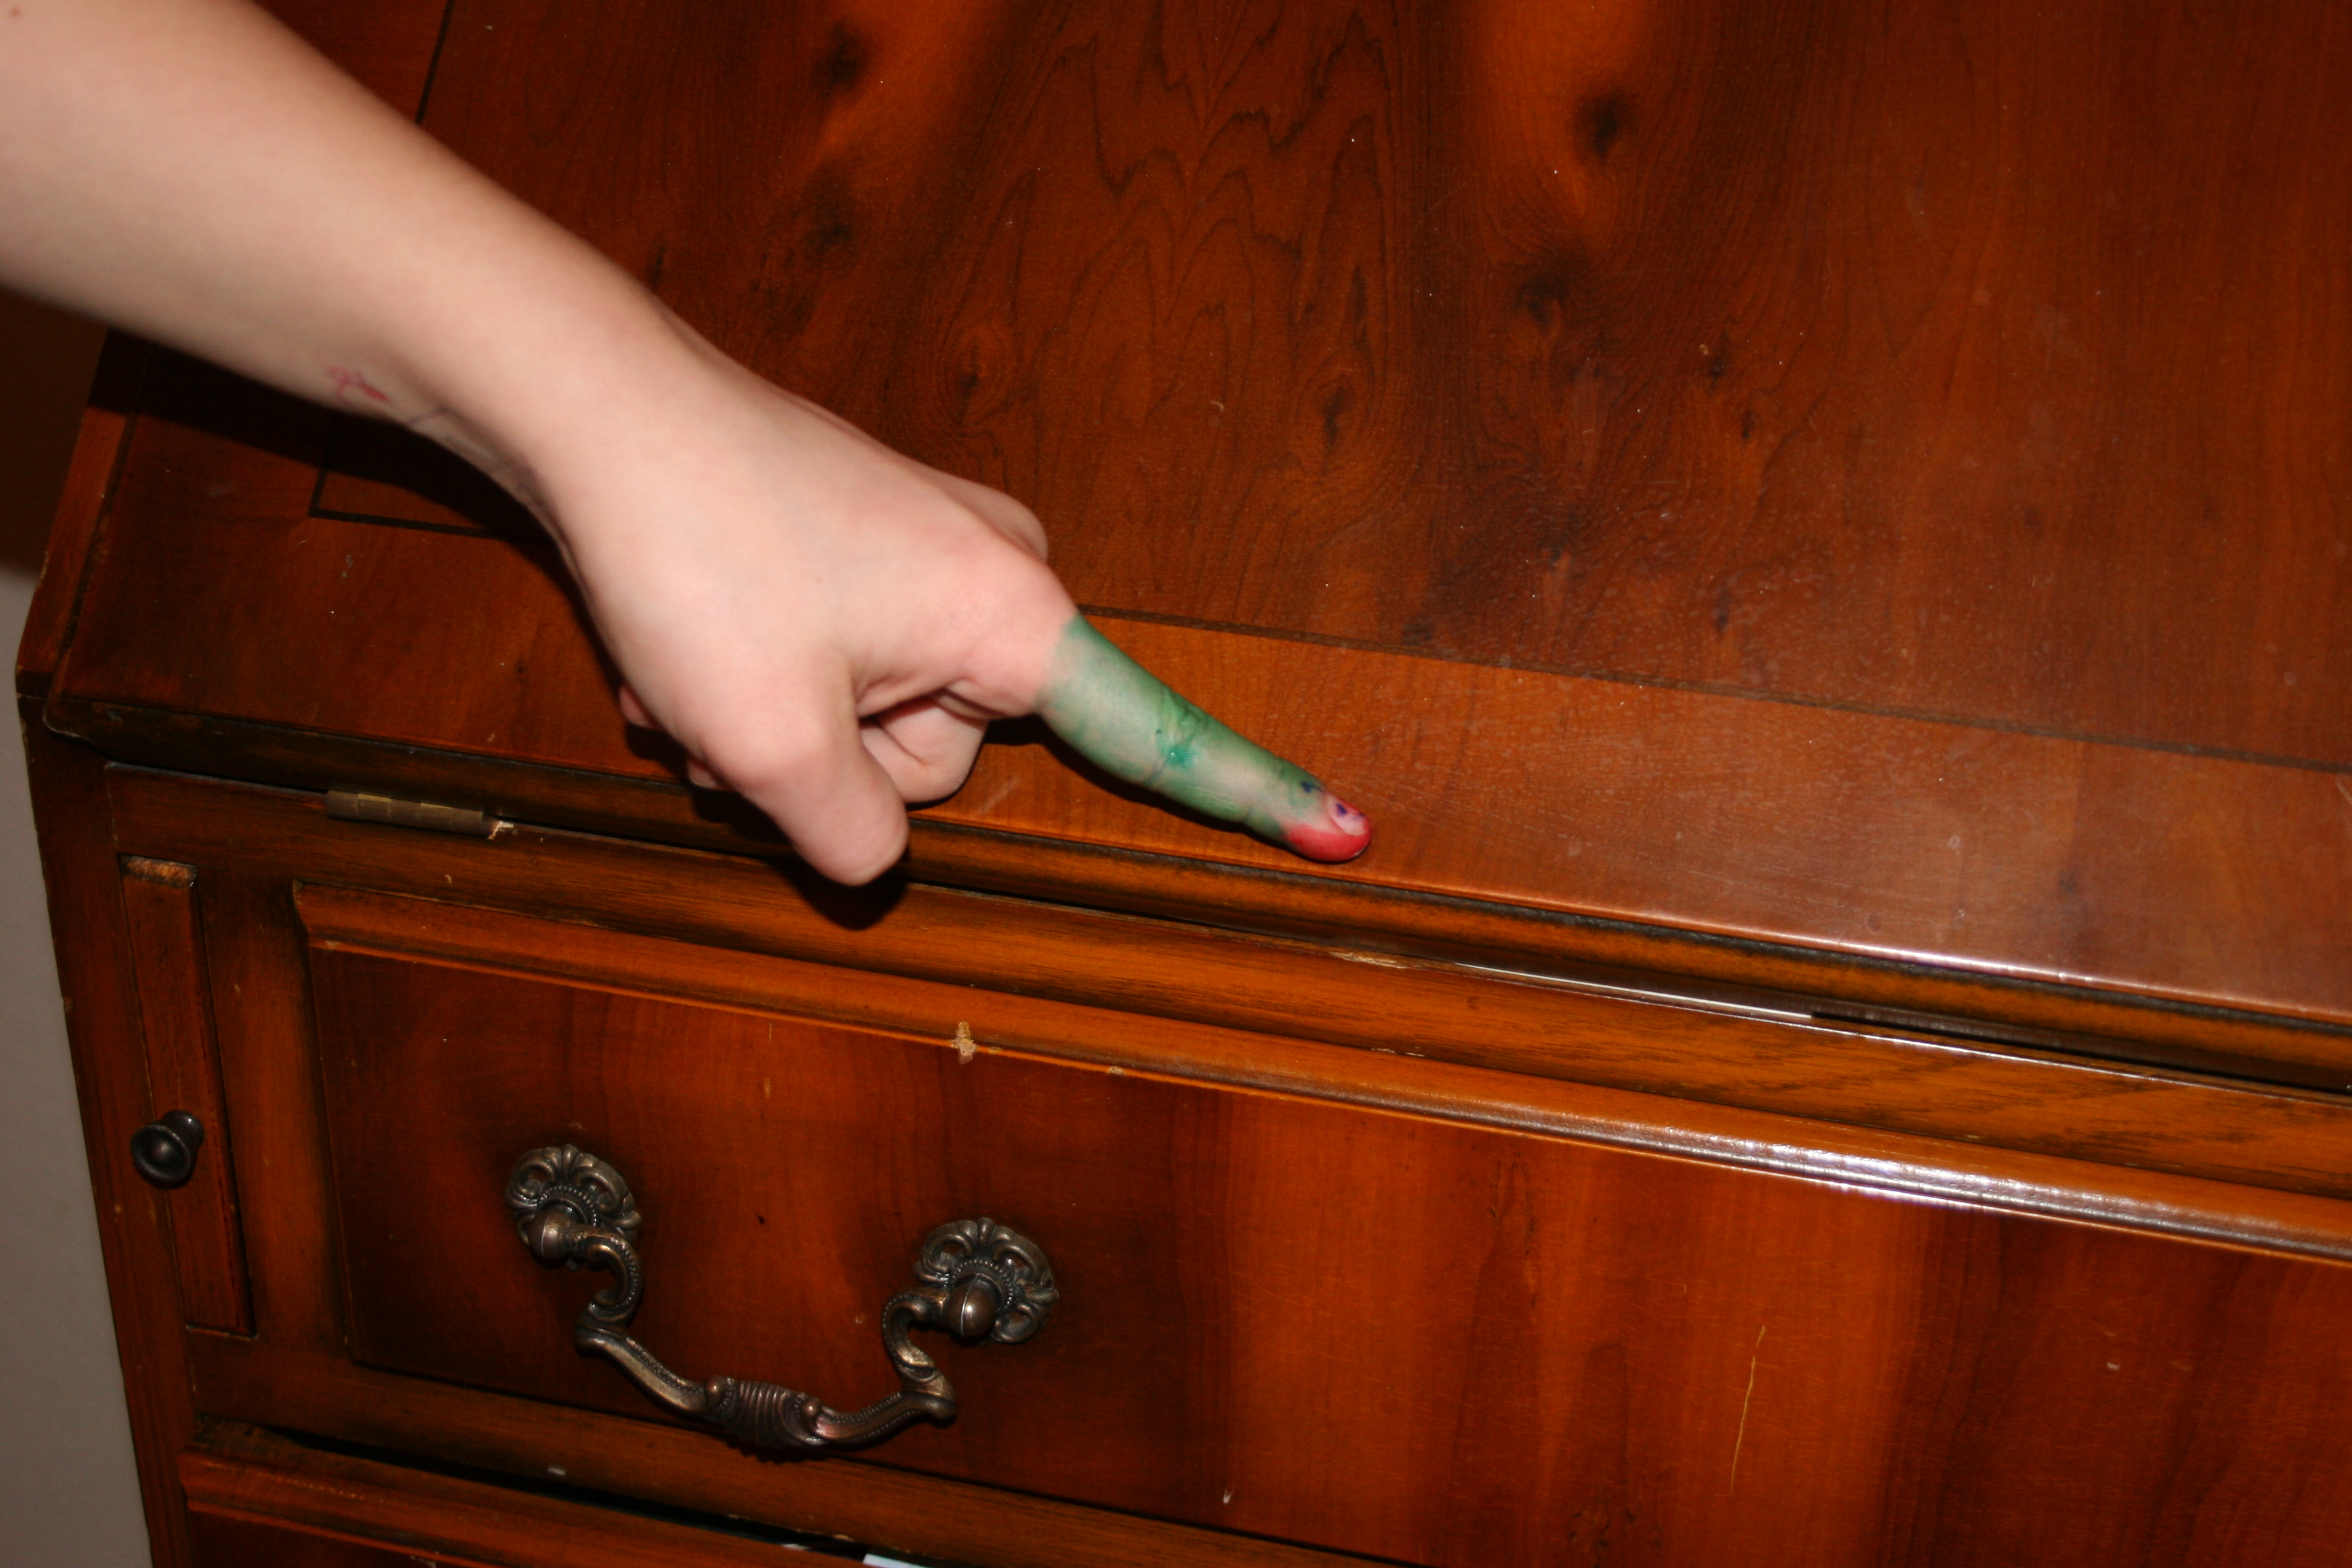
8.Maths: Turn your finger into a crawling caterpillar and measure things in caterpillar steps.
9. Outdoors – Grow a butterfly garden. I saw some amazing butterflies in our garden last year that are fairly commonplace in this area. I’m definitely going to learn about how I can attract them this year.
10. Visit a Butterfly Farm. I can highly recommend the butterfly house at Bristol Zoo and Felinwynt Rainforest Centre in West Wales. In Seattle there is the Butterfly House at the Pacific Science Centre . Feel free to add any recommendations in the comments.