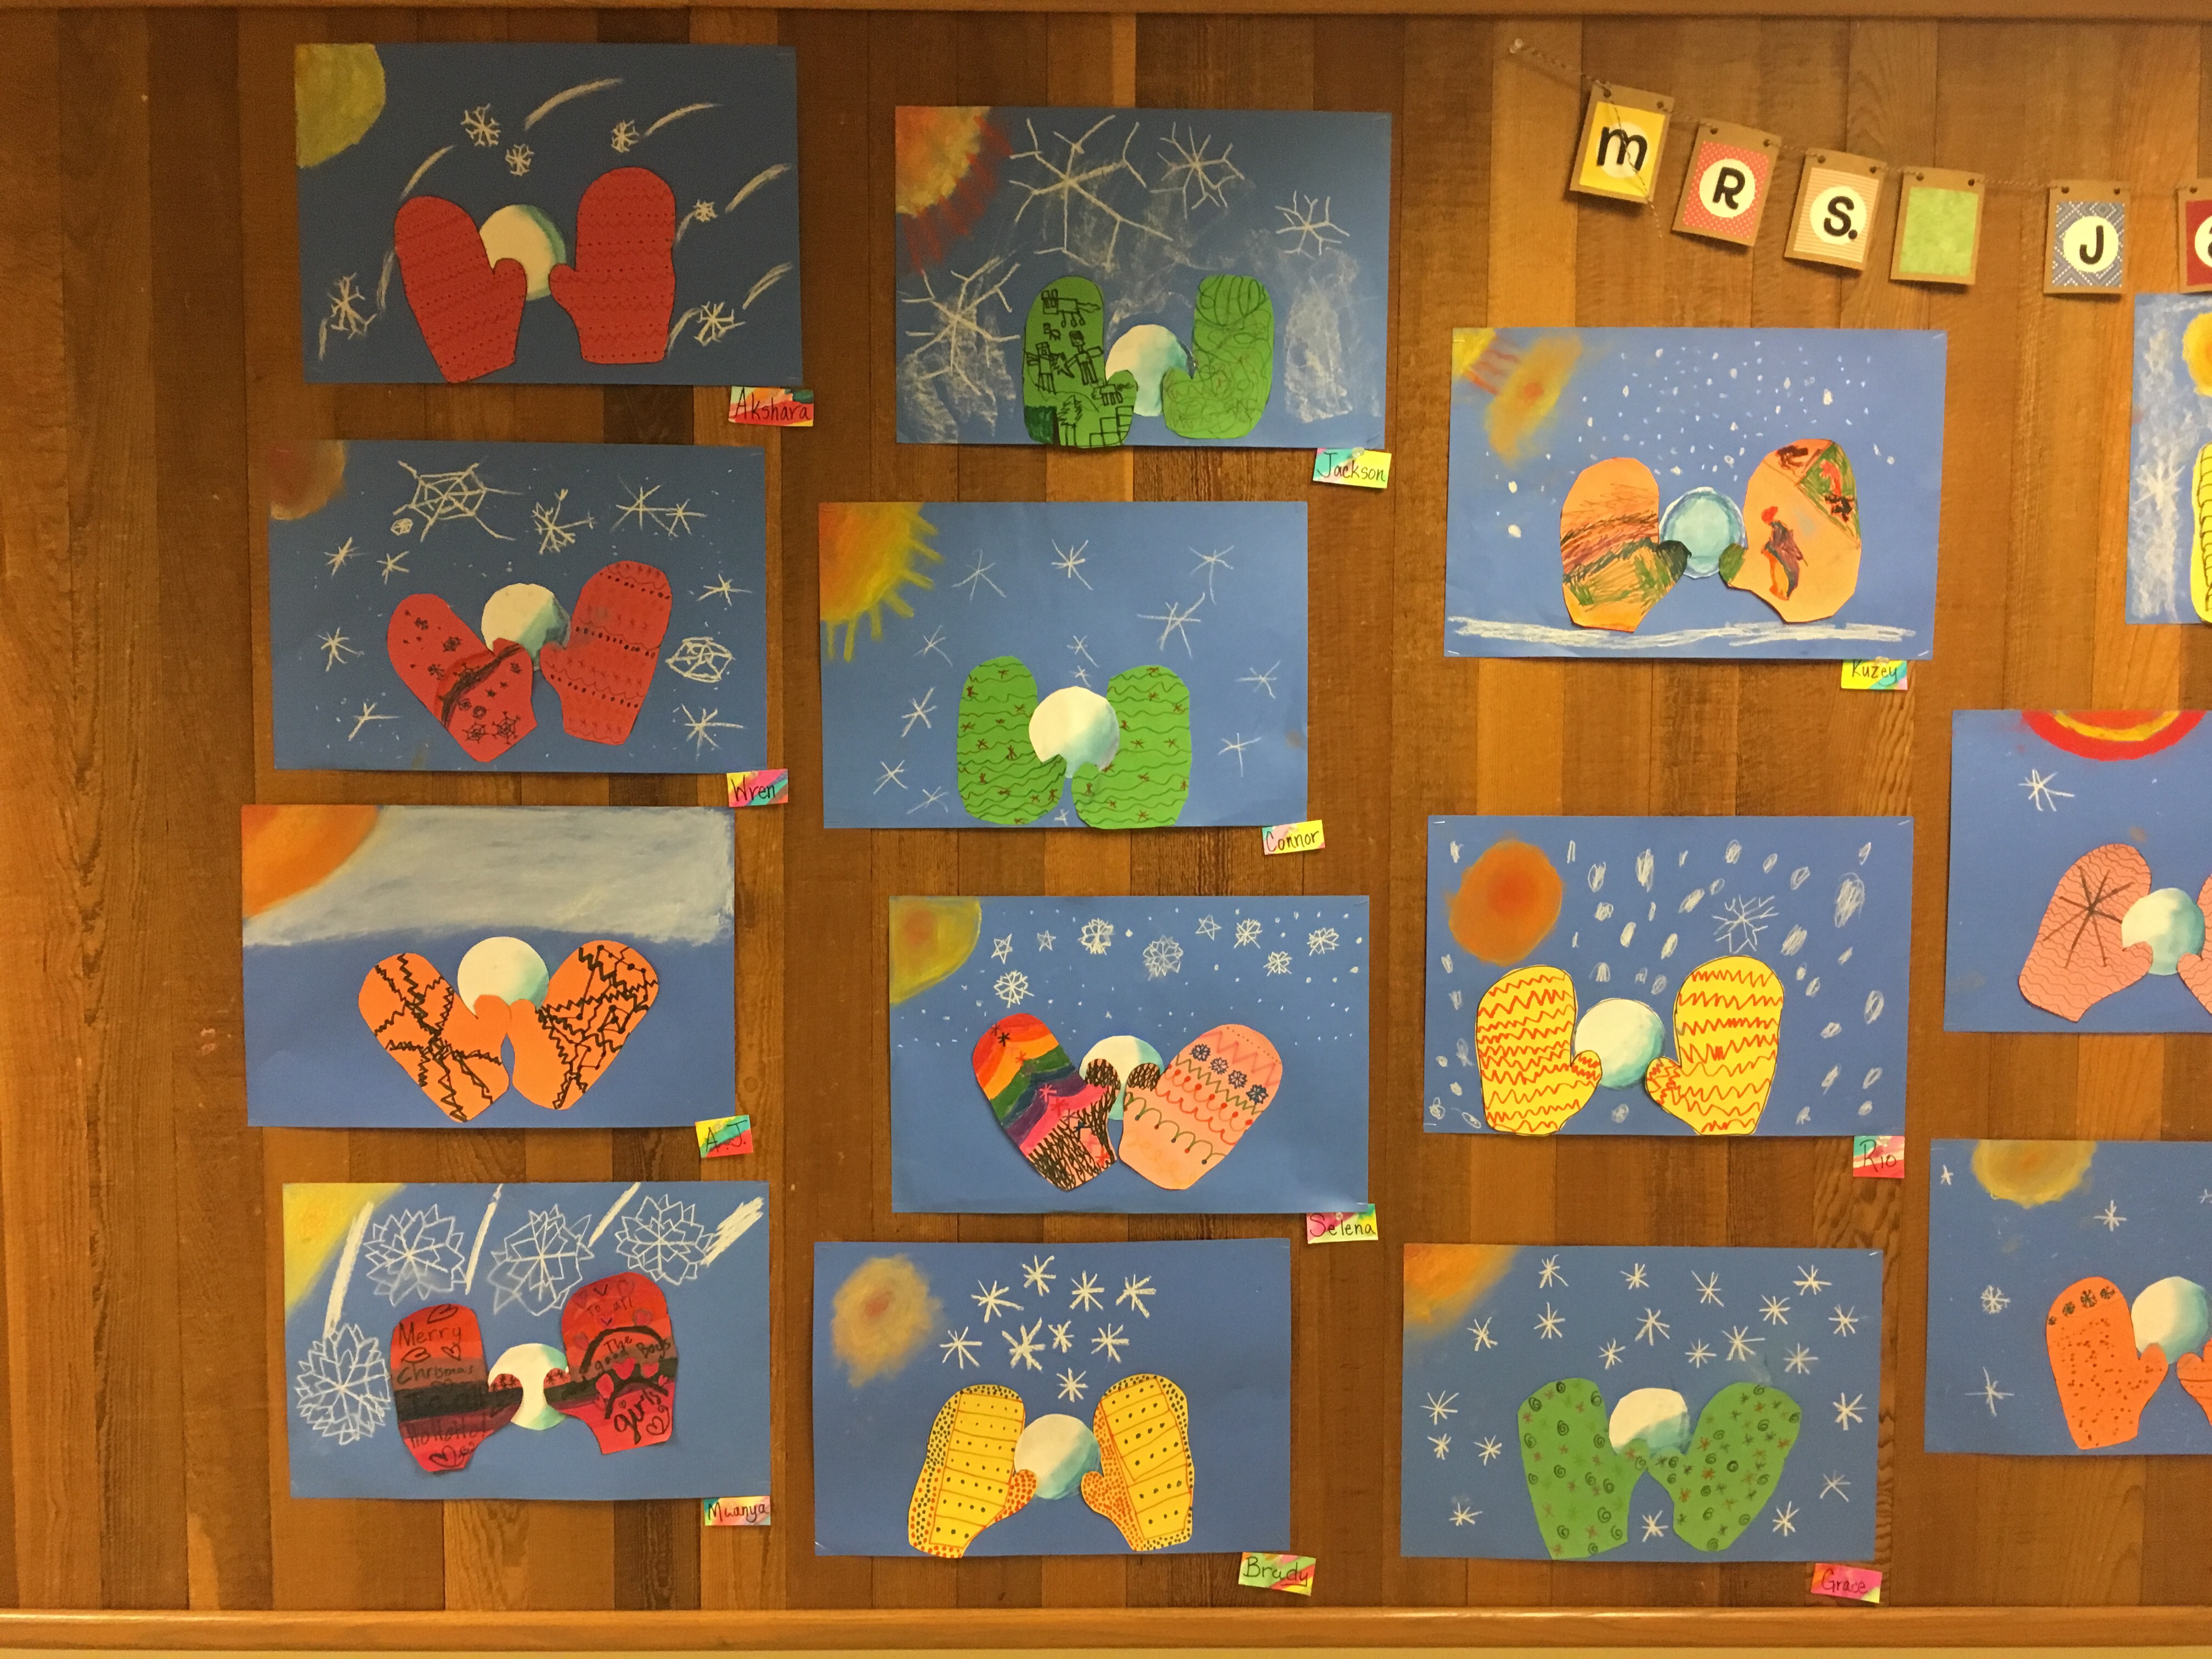
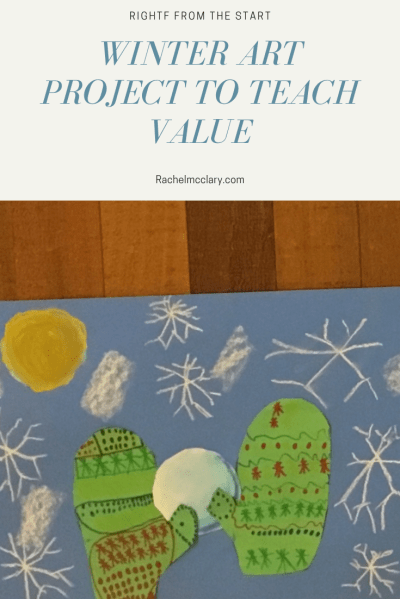
Value in artist’s terms is the darkness or lightness of a colour It gives objects form on the page or in simple terms for young children, it makes a flat shape look 3D.
The goal of this art project for 2nd grade, was to show them how to shade a circle to make it look like a sphere. Since winter is upon us and the class have been reading a lot of books about snow, I chose a snowball.
Introduction
I showed an example drawing and asked them how I had made the circle stand out. They talked about the way I had placed it into the mittens and how I had shaded it. I explained that the darkest shading shoukd be opposite the light source and would gradually get lighter. If they left a spot without shading, it would show how the light was shining on it.
Step 1
Draw around your hand with fingers closed and thumb extended. Decorate using patterns and cut out.
Step 2
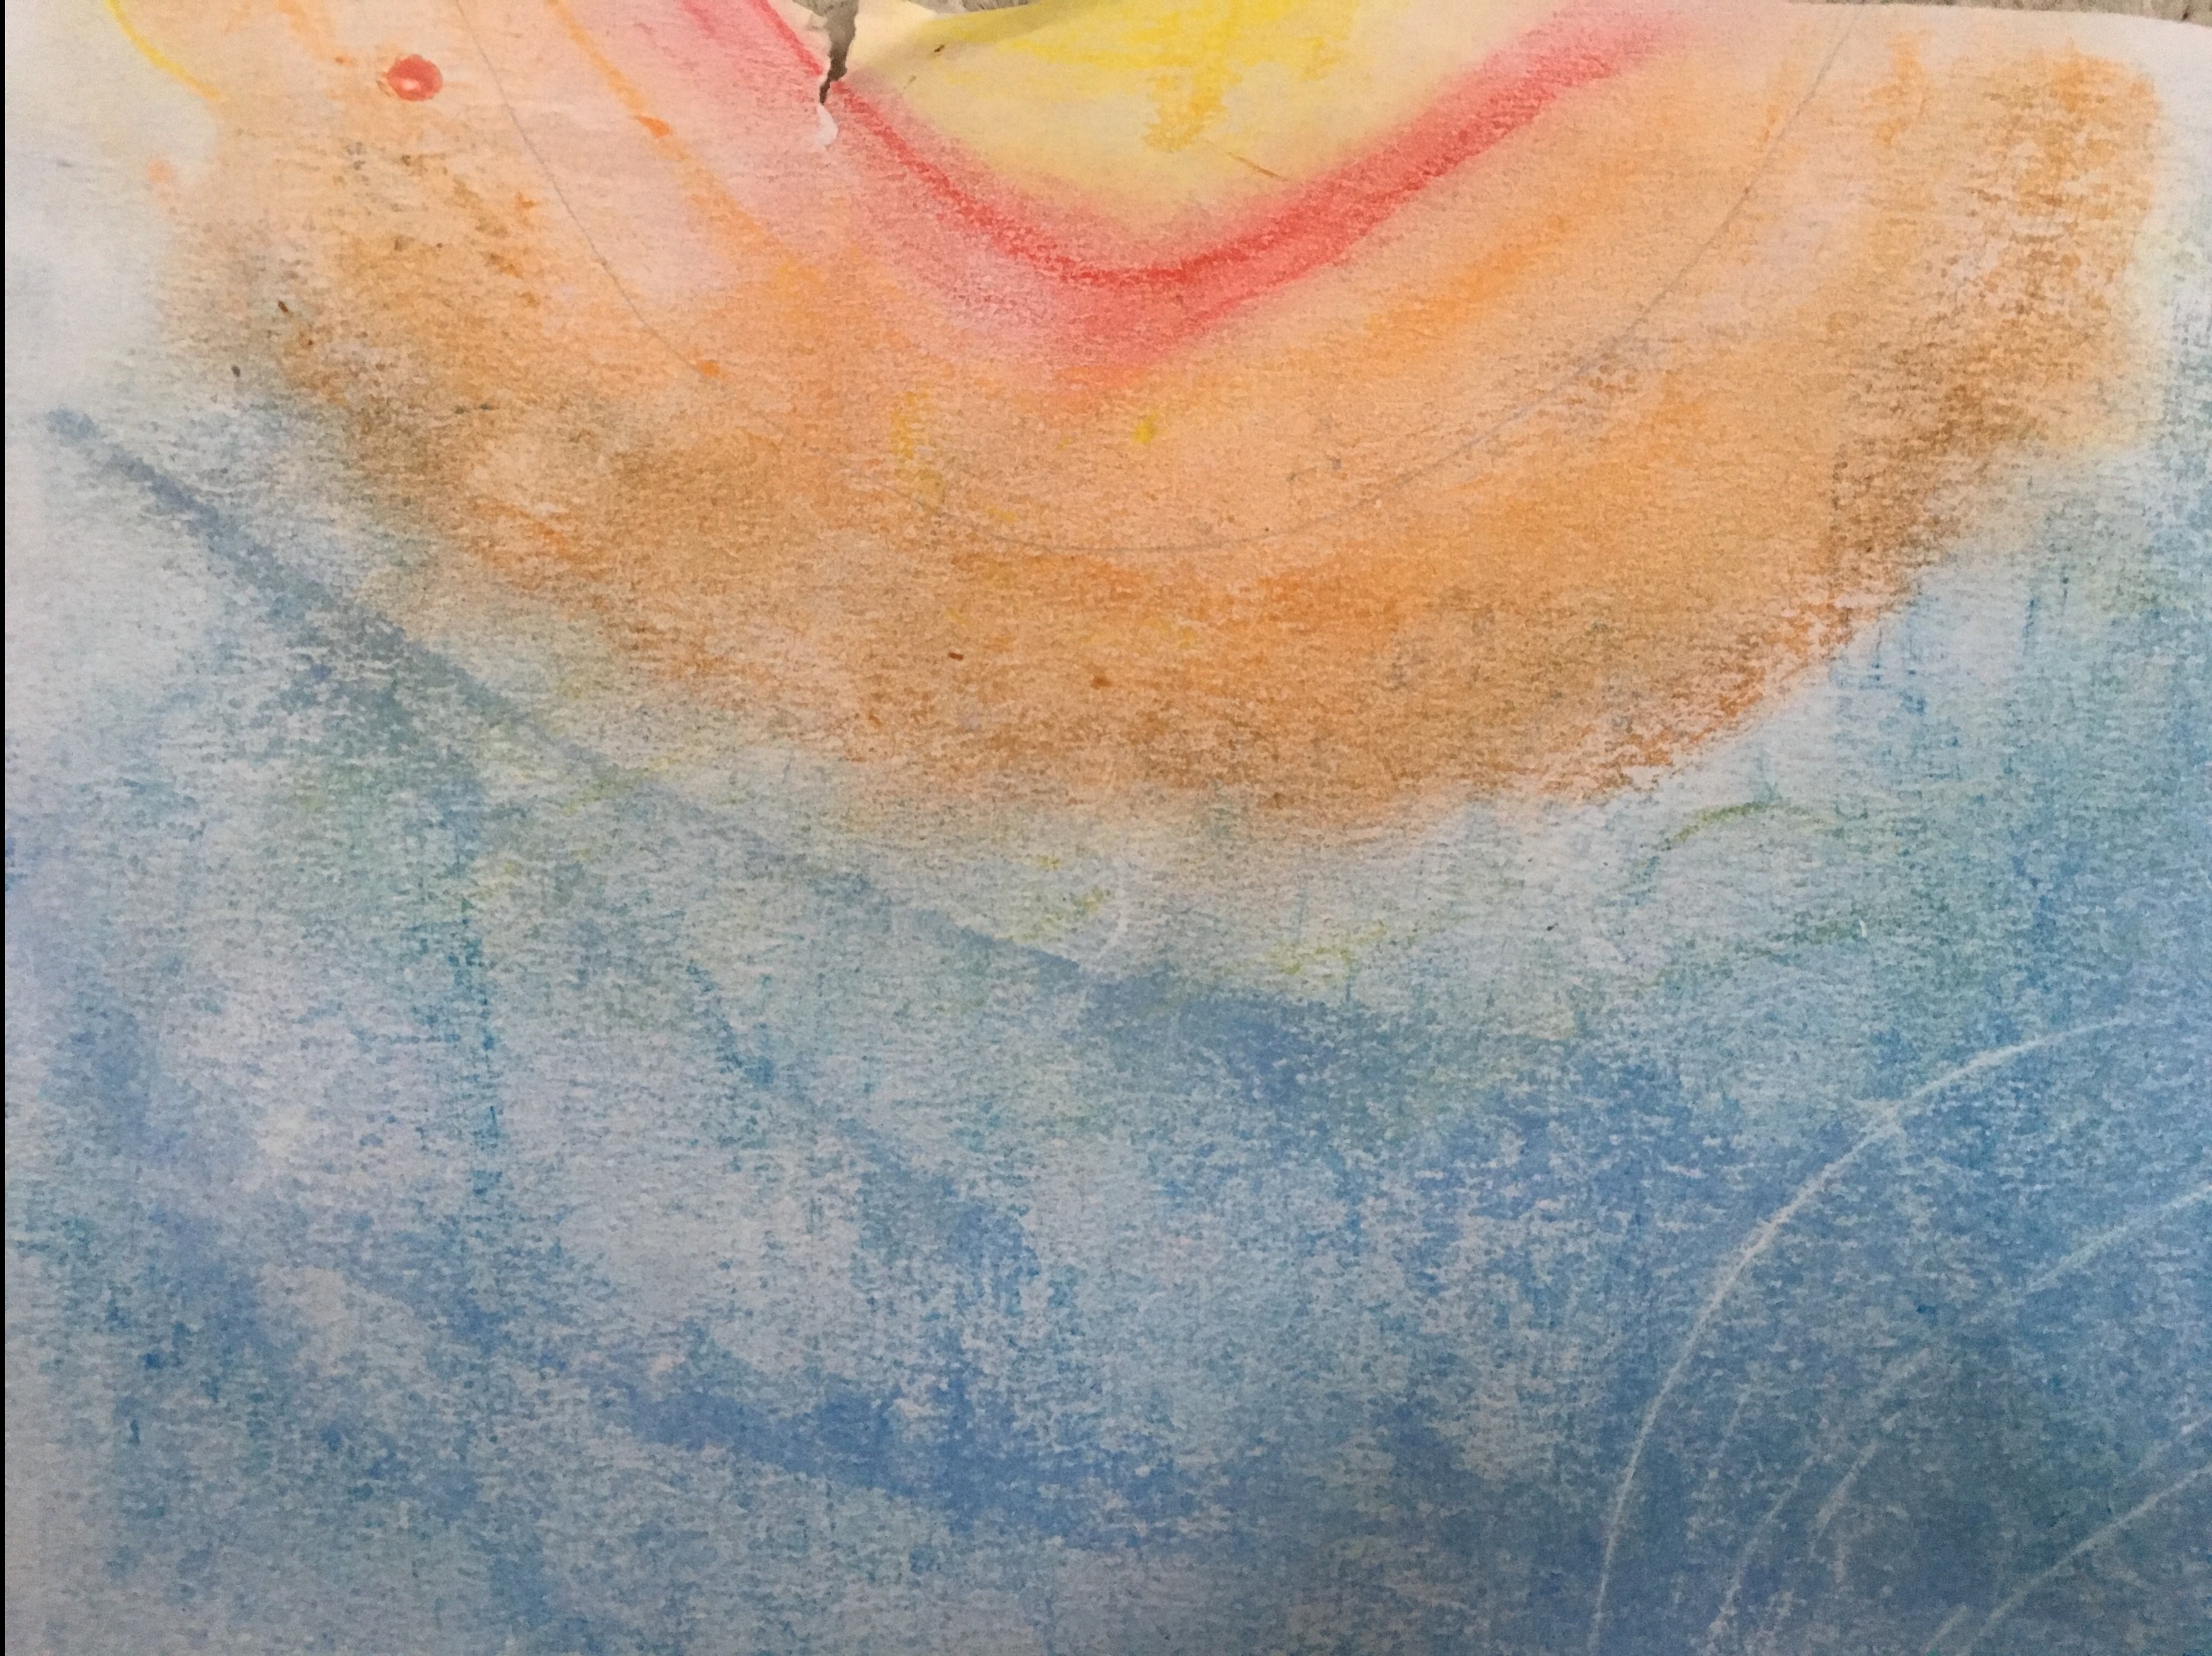
Draw the sun using shades of yellow, red and orange chalk pastel. Draw different coloured circles and blend to make a sun. Choose a round sun, a semi-circle or draw it in the corner of the paper.
Step 3
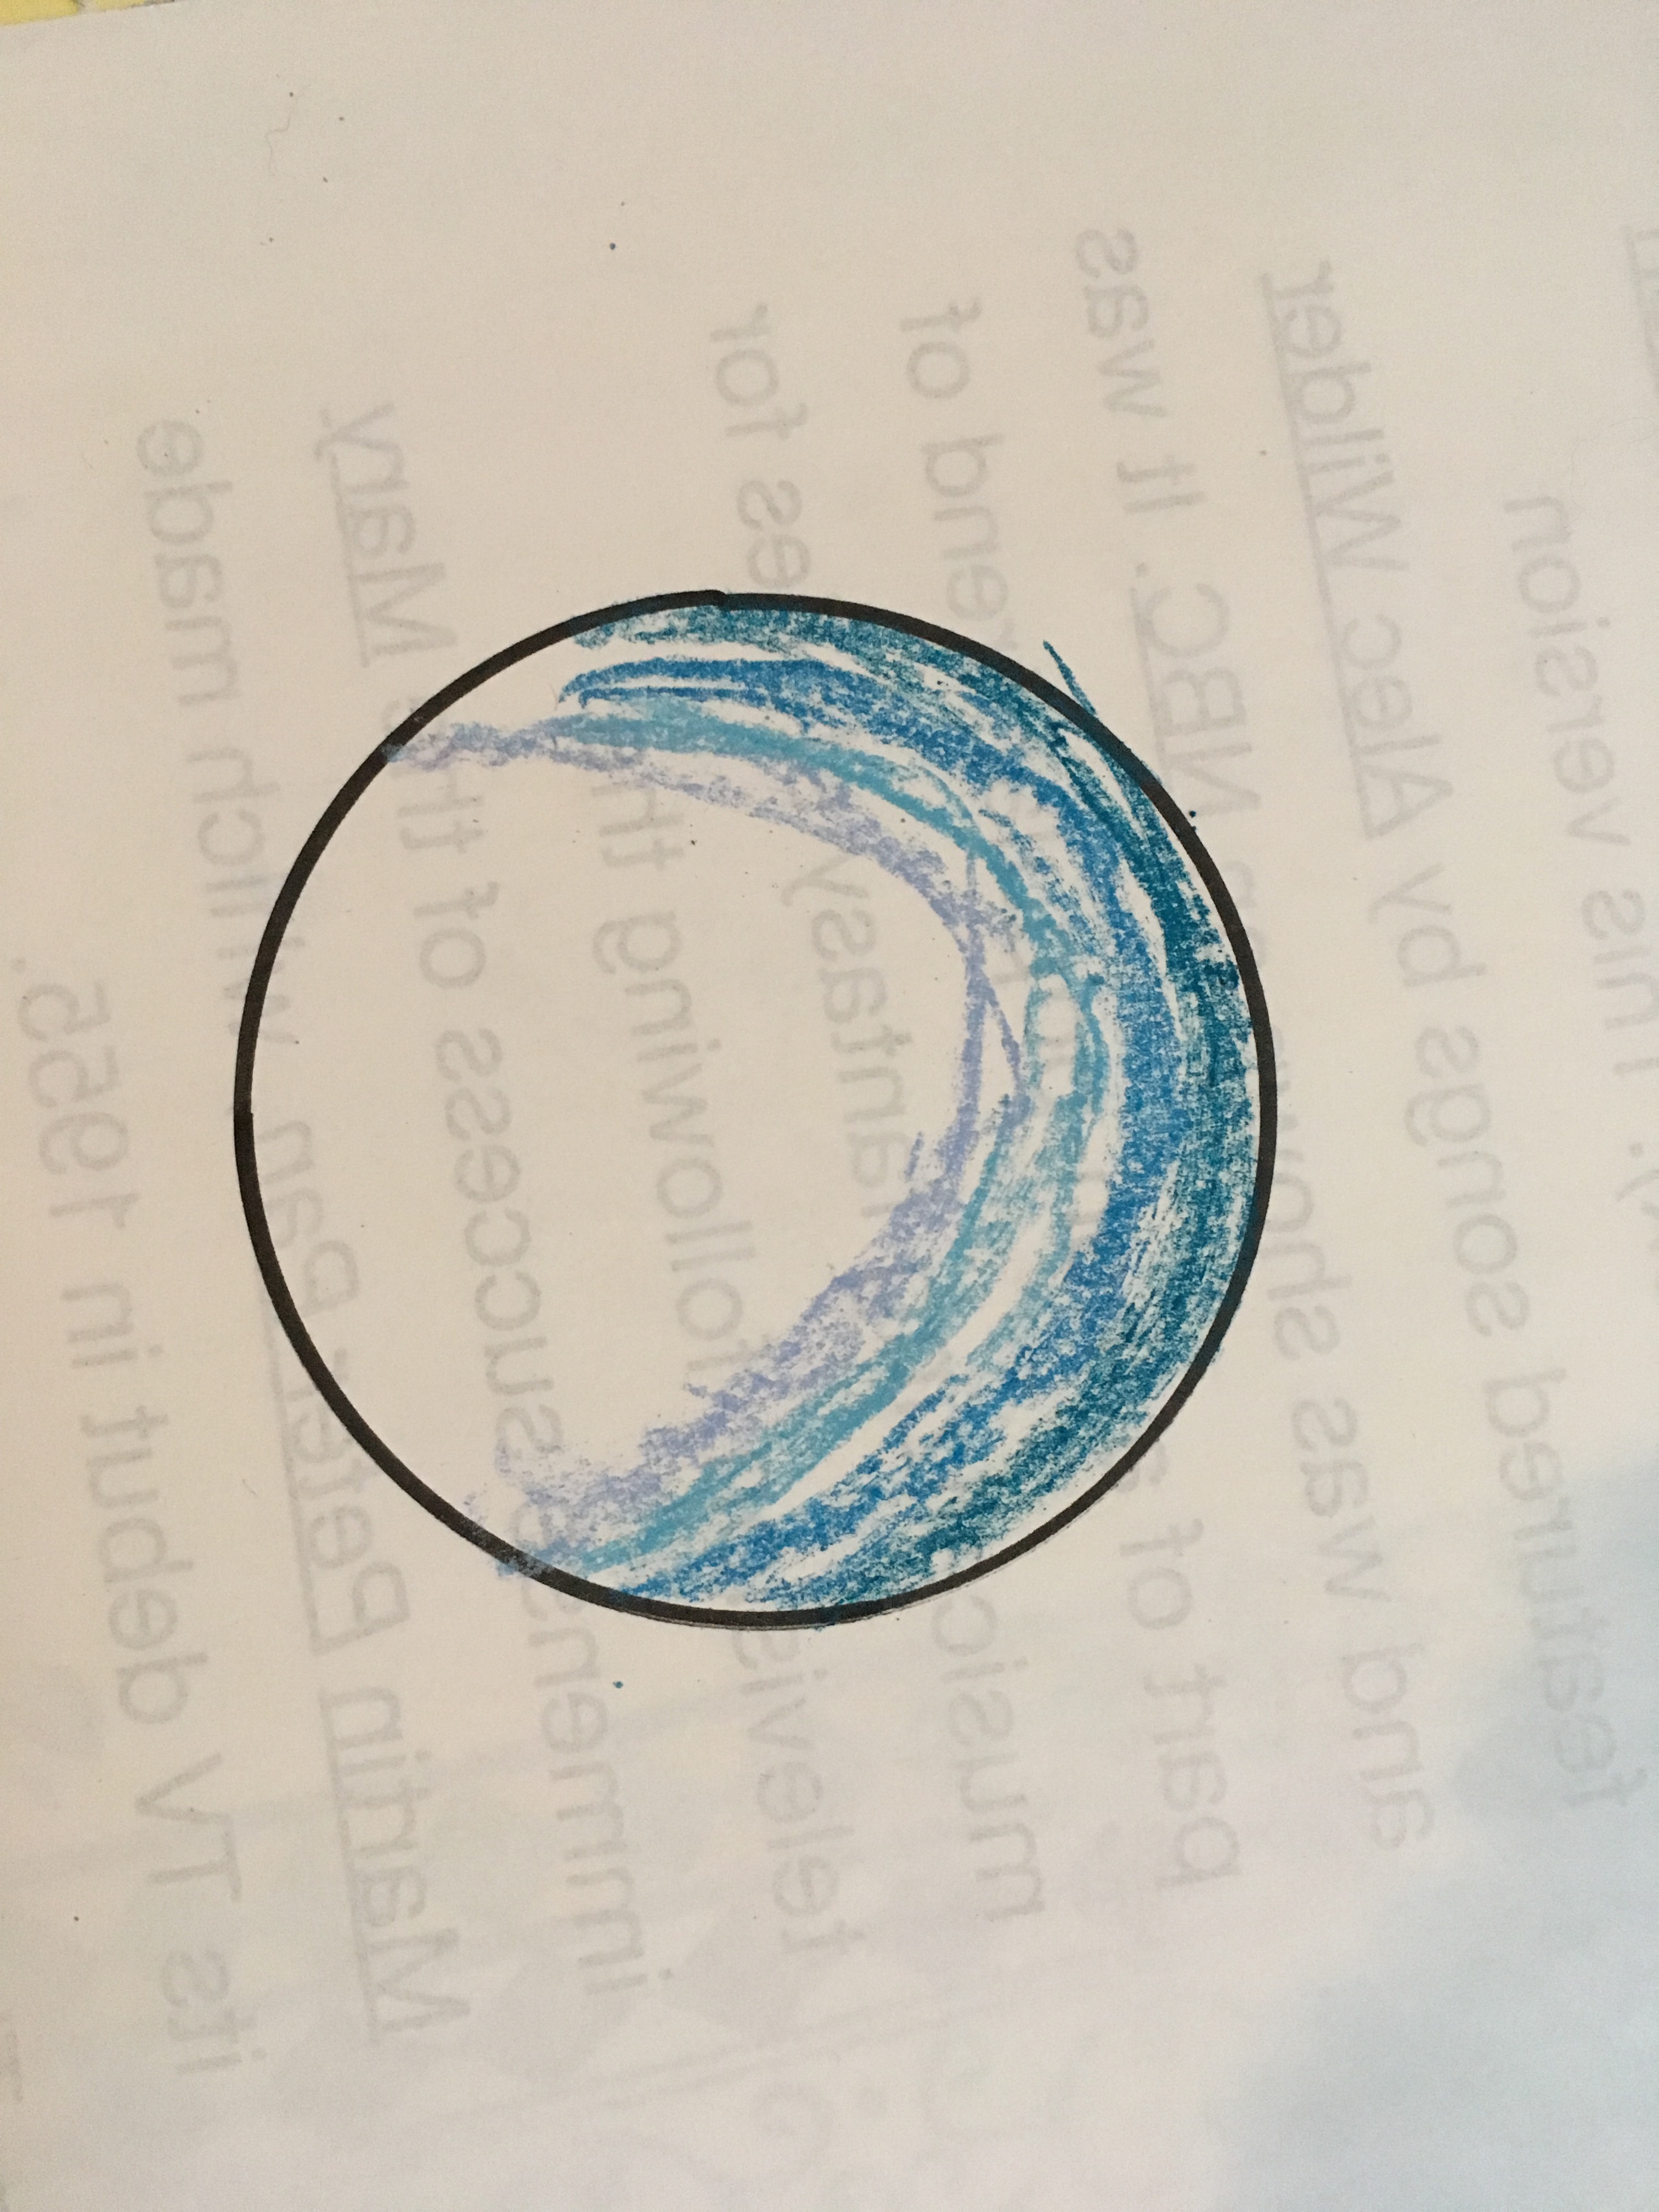
Place the mittens on the centre of the paper and place the snowball under the thumbs. Follow your finger in a diaganol line from the sun to the circle and shade the outer edge where your finger meets in a dark shade of blue. Continue, getting lighter with each layer and stop after four shades have been used.
Step 4
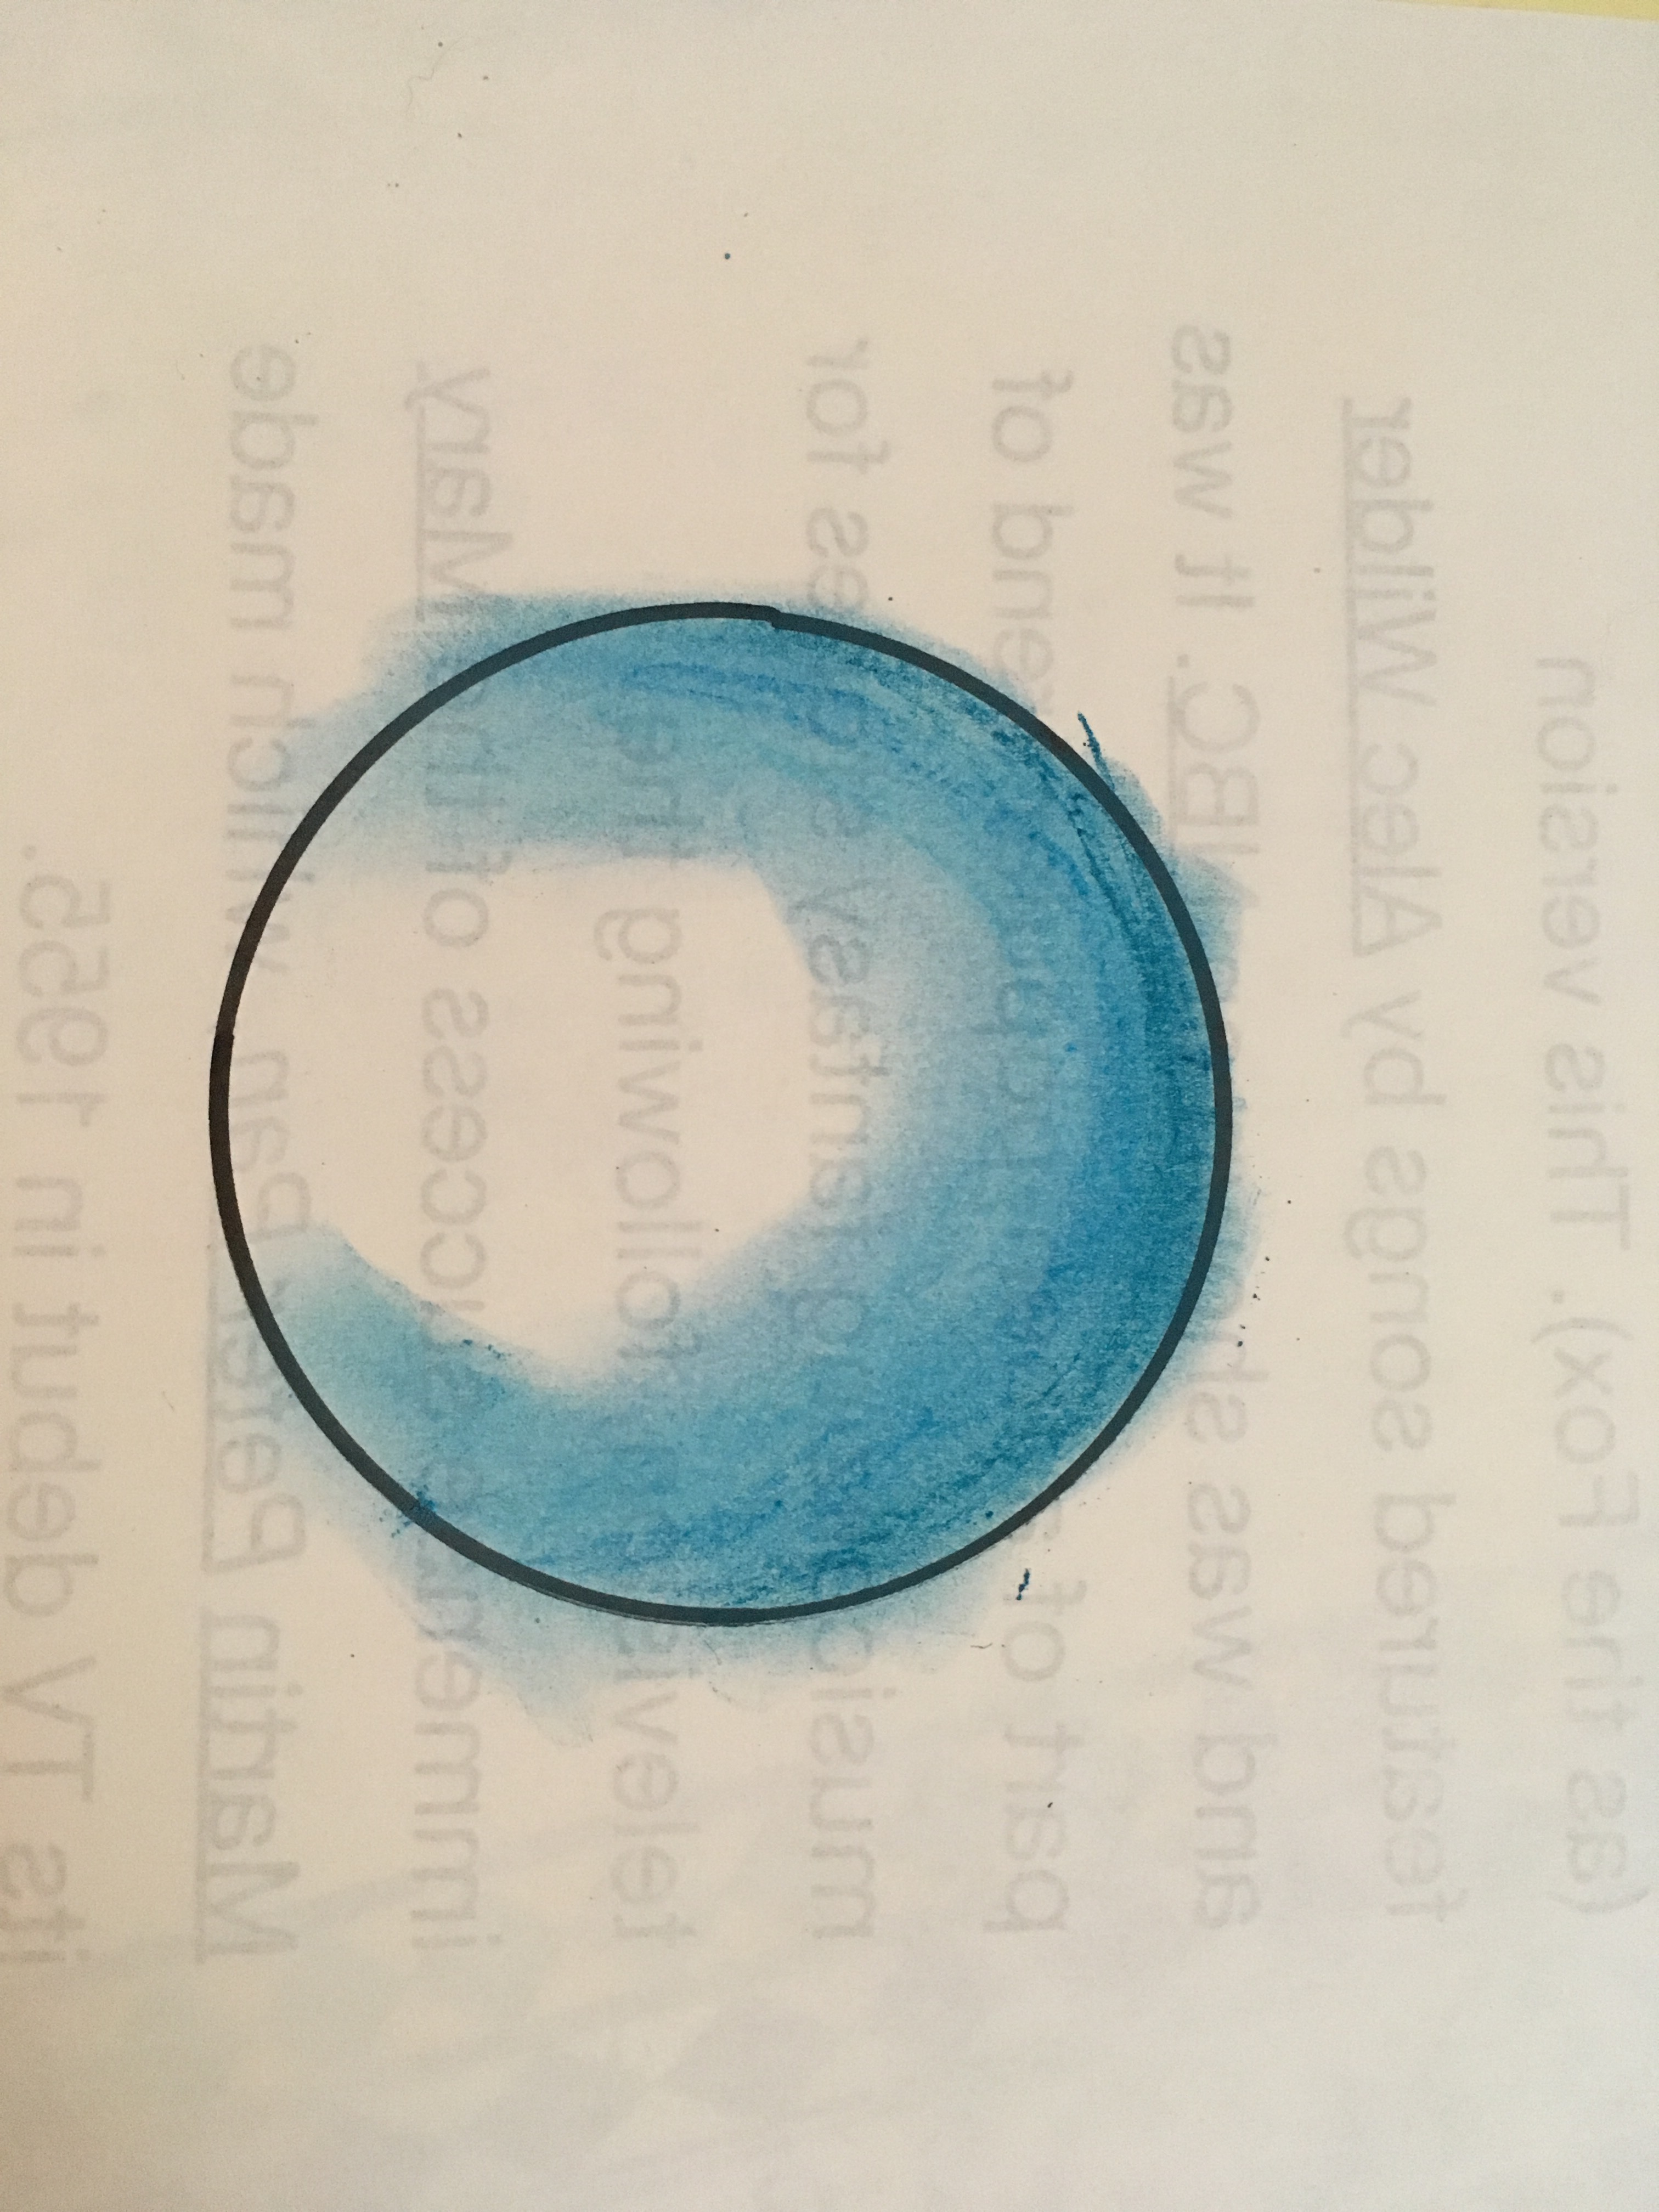
Blend with finger and cut out.
Step 5.
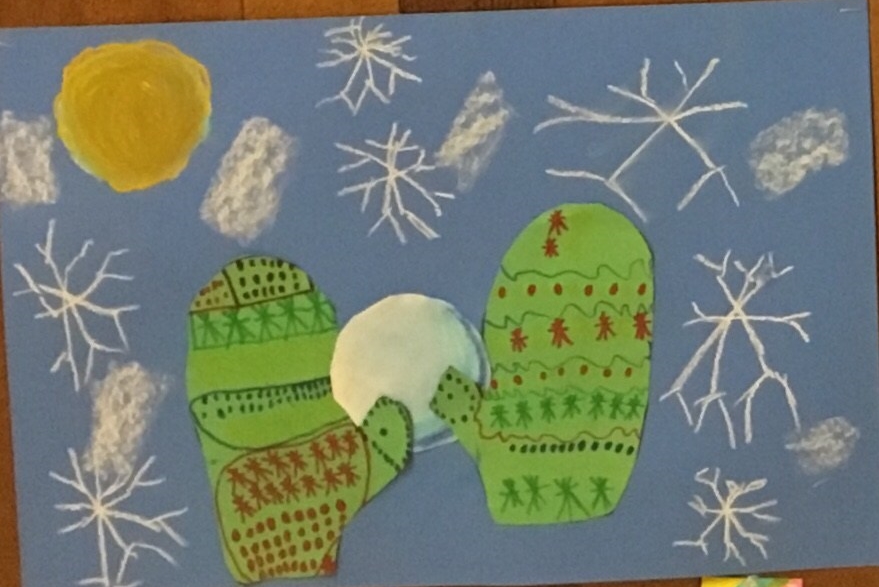
Glue the mittens and snowball onto the paper and add snowflakes.
The example used a chalk pastel background but I used blue paper for the class to make the snowflakes stand out more.
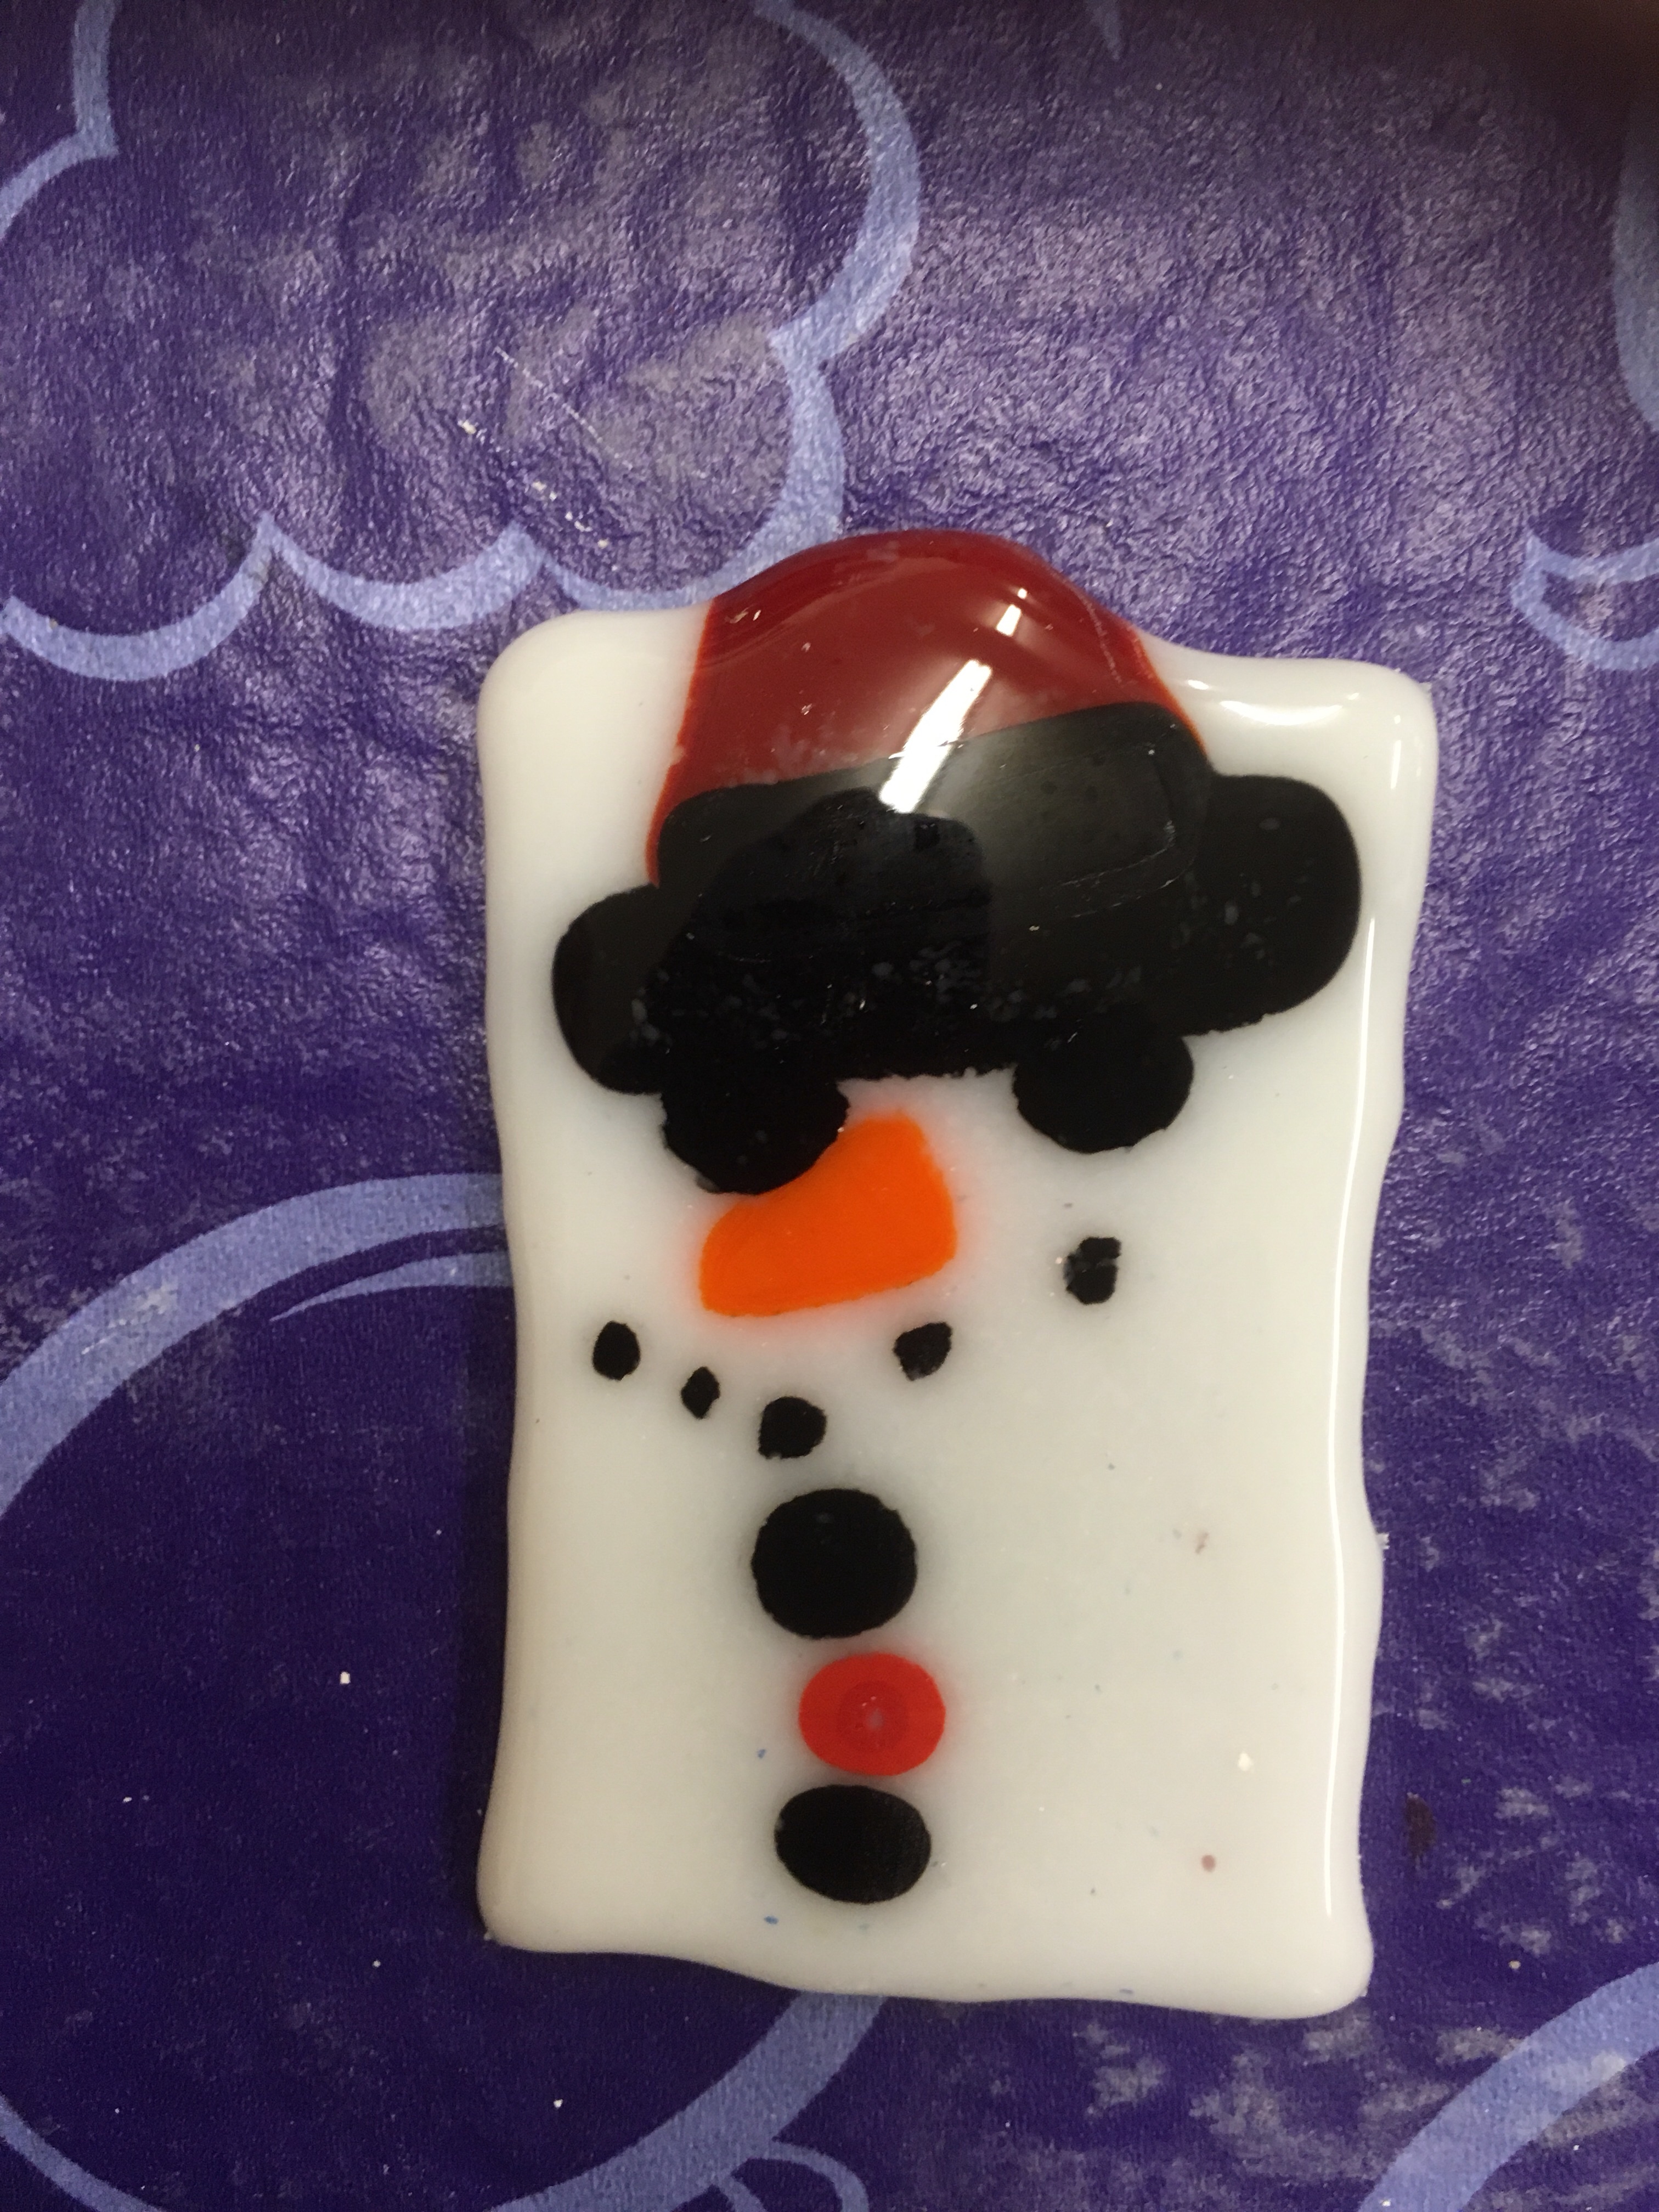
We are very lucky to have the luxury of a kiln in our school, allowing us to complete clay and fused glass projects.
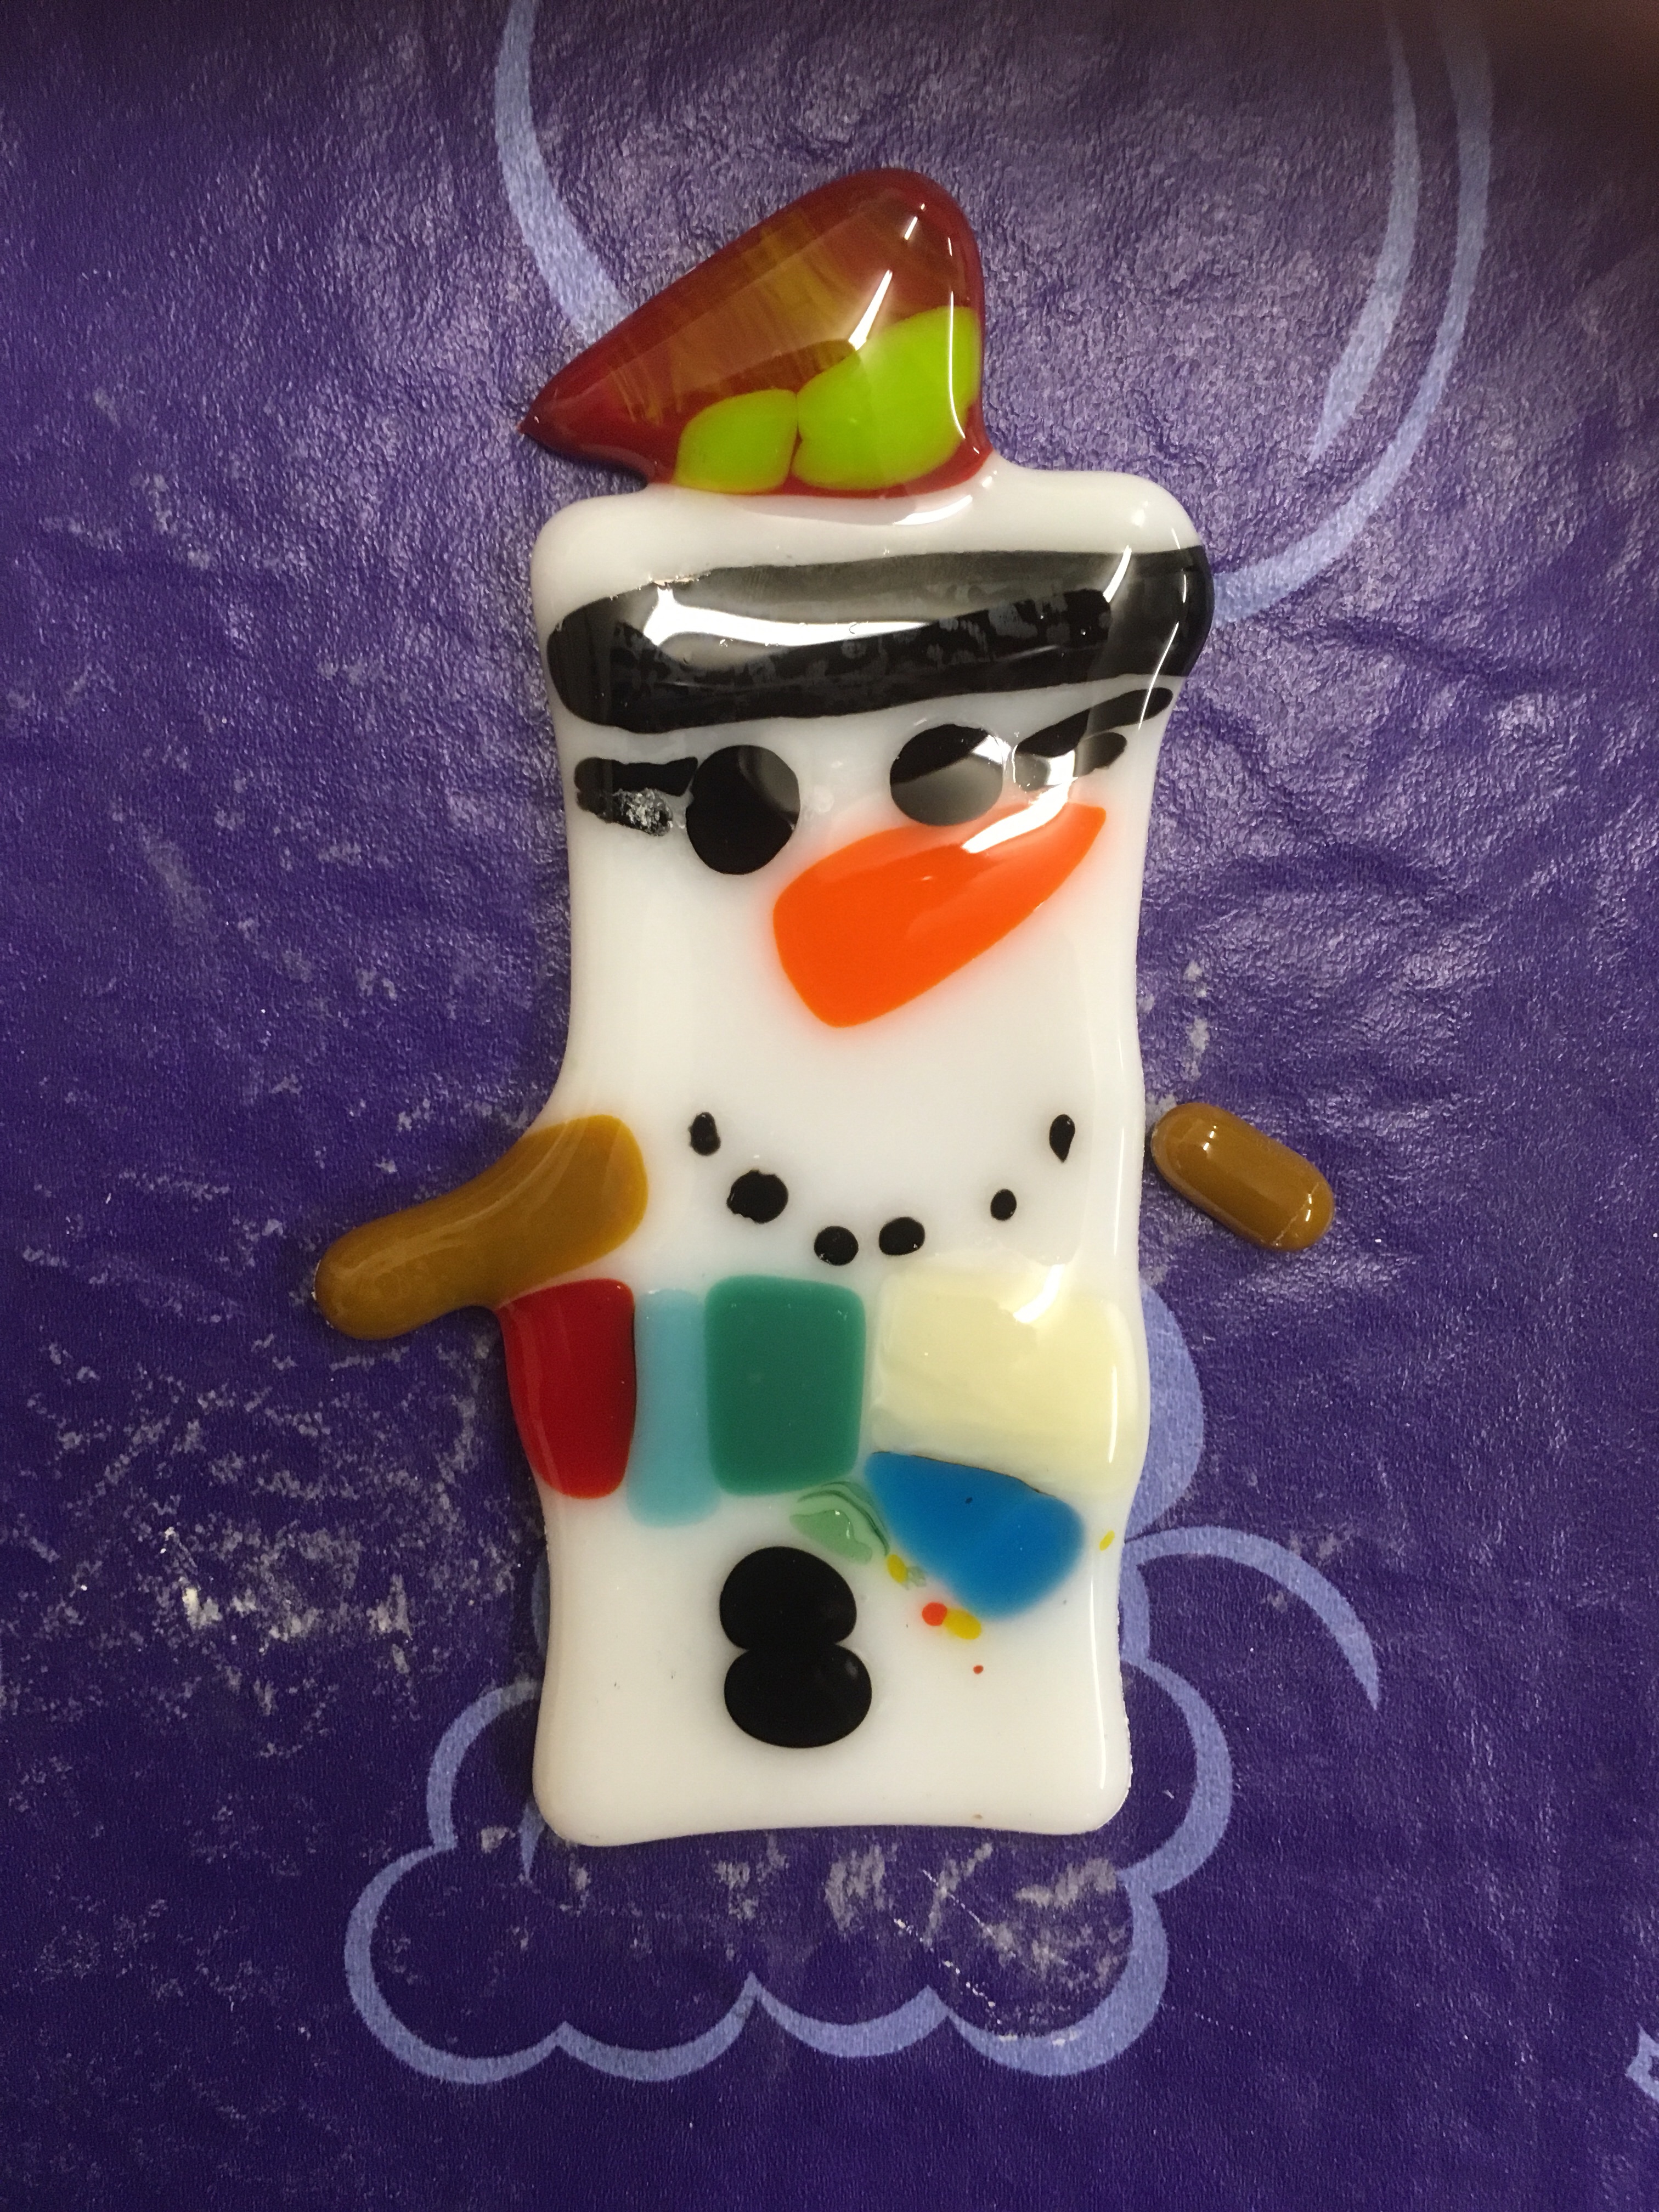
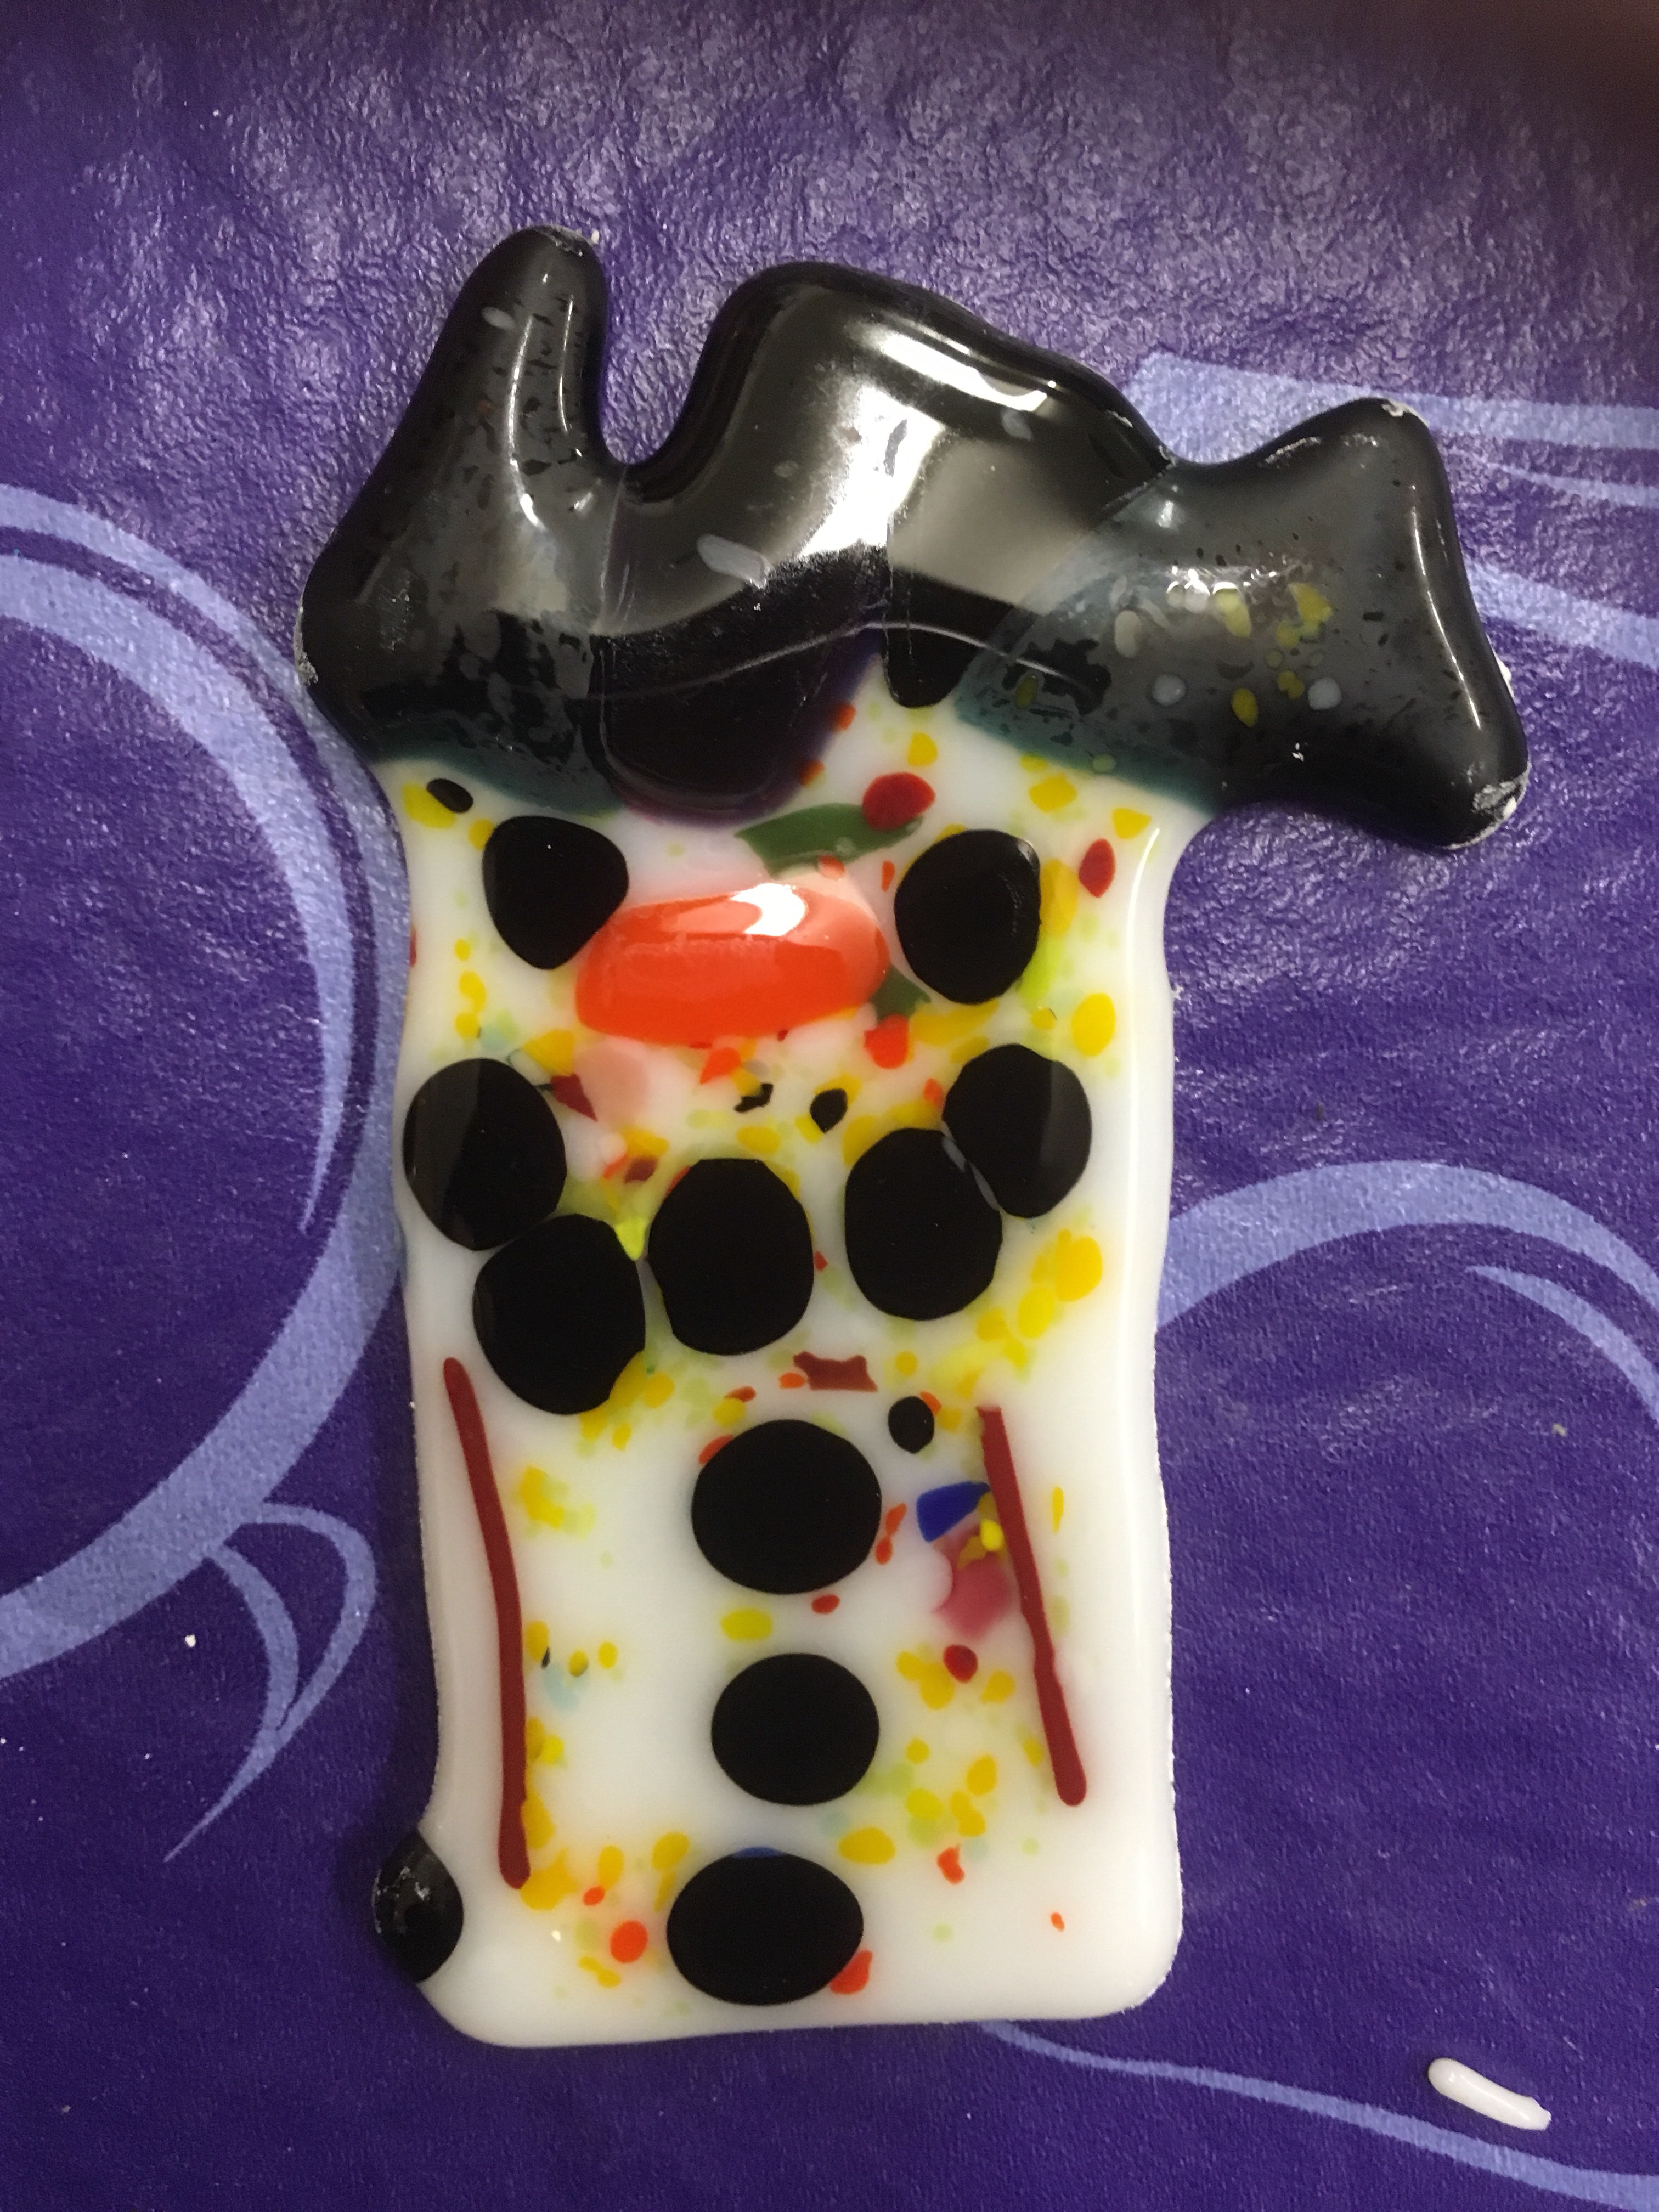
I wanted to make a gift for the children to take home at the end of term. As a multicultural school, some of the children don’t celebrate Christmas, so I chose a winter themed art lesson about snowmen.
Small groups of children worked on the fused glass snowmen while the rest of the class made pastel snowman drawings.
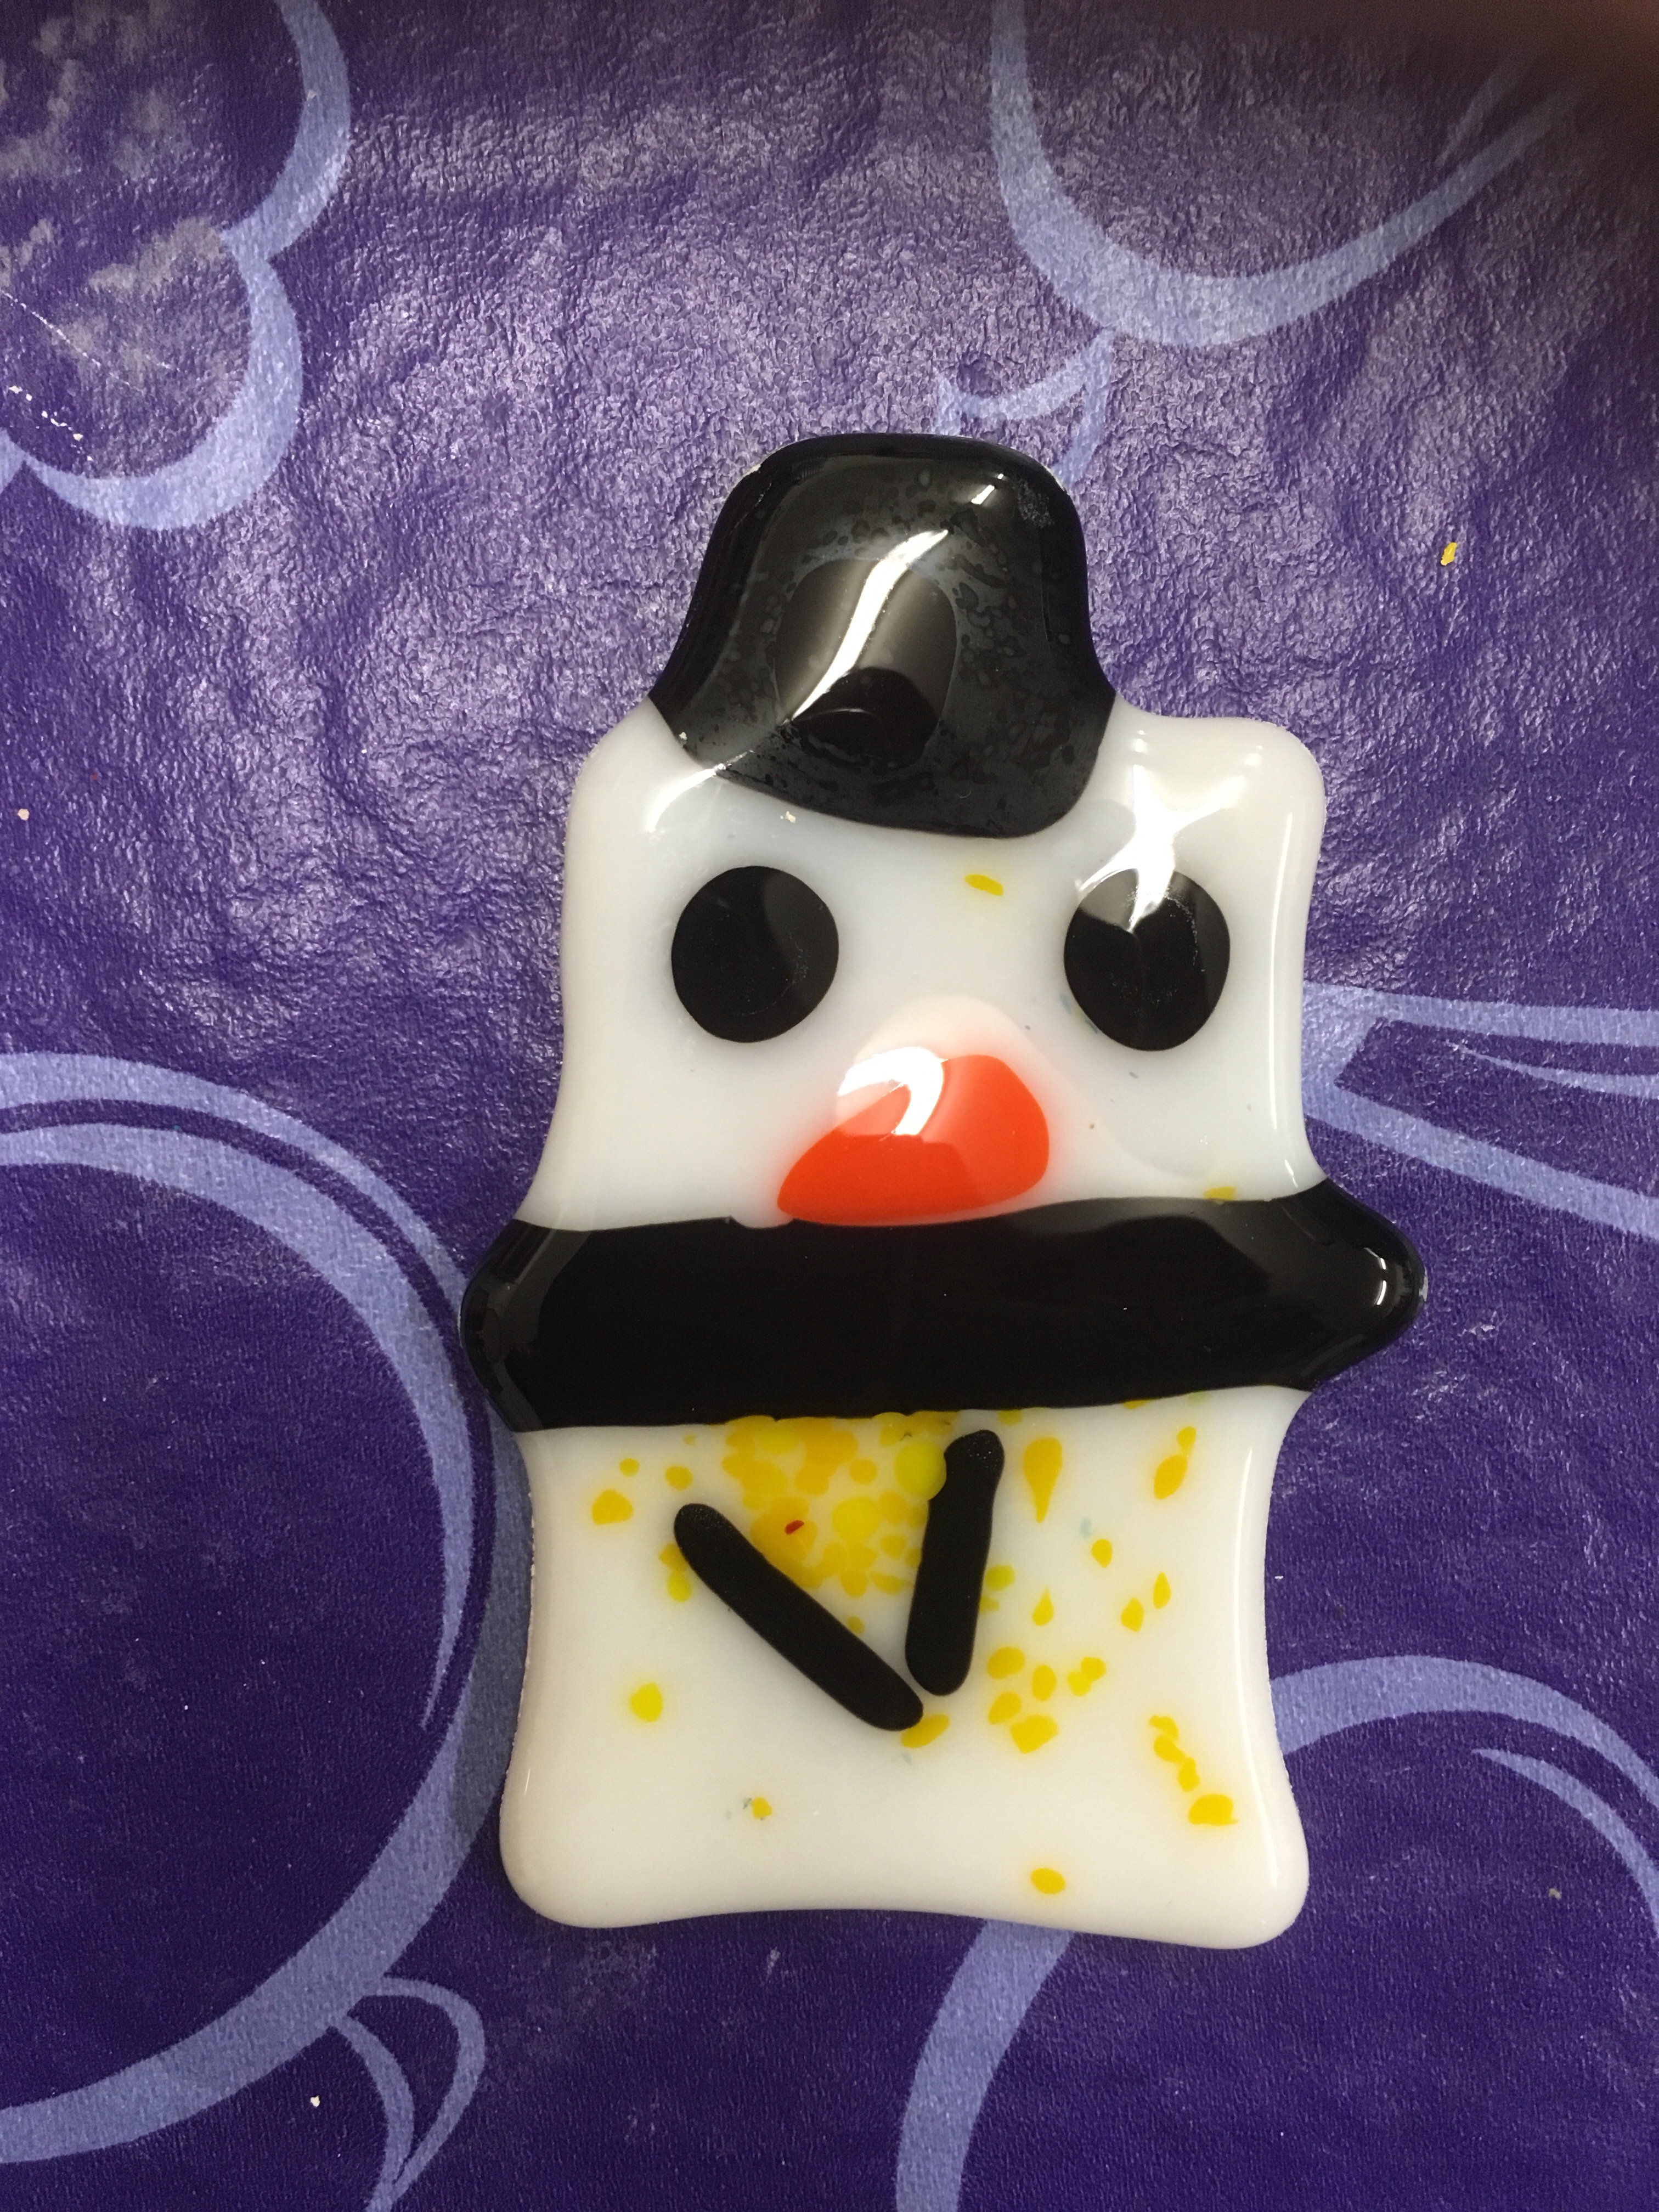
I pre-cut the white glass into 2 x 3 rectangles and cut black glass rods to make eyes and buttons.
Each child put their white piece on a paper plate labelled with their name and added pieces of scrap glass to create their snowman. They were then sprayed with hairspray to stop them moving around when I took them to the kiln.
When placing them in the kiln, I labelled them with a sticky note and took a photograph so I would know whose was whose when they came out. I removed the sticky notes before firing.
When they came out, we added a hook (stuck on with E6000 glue) and a ribbon for hanging.
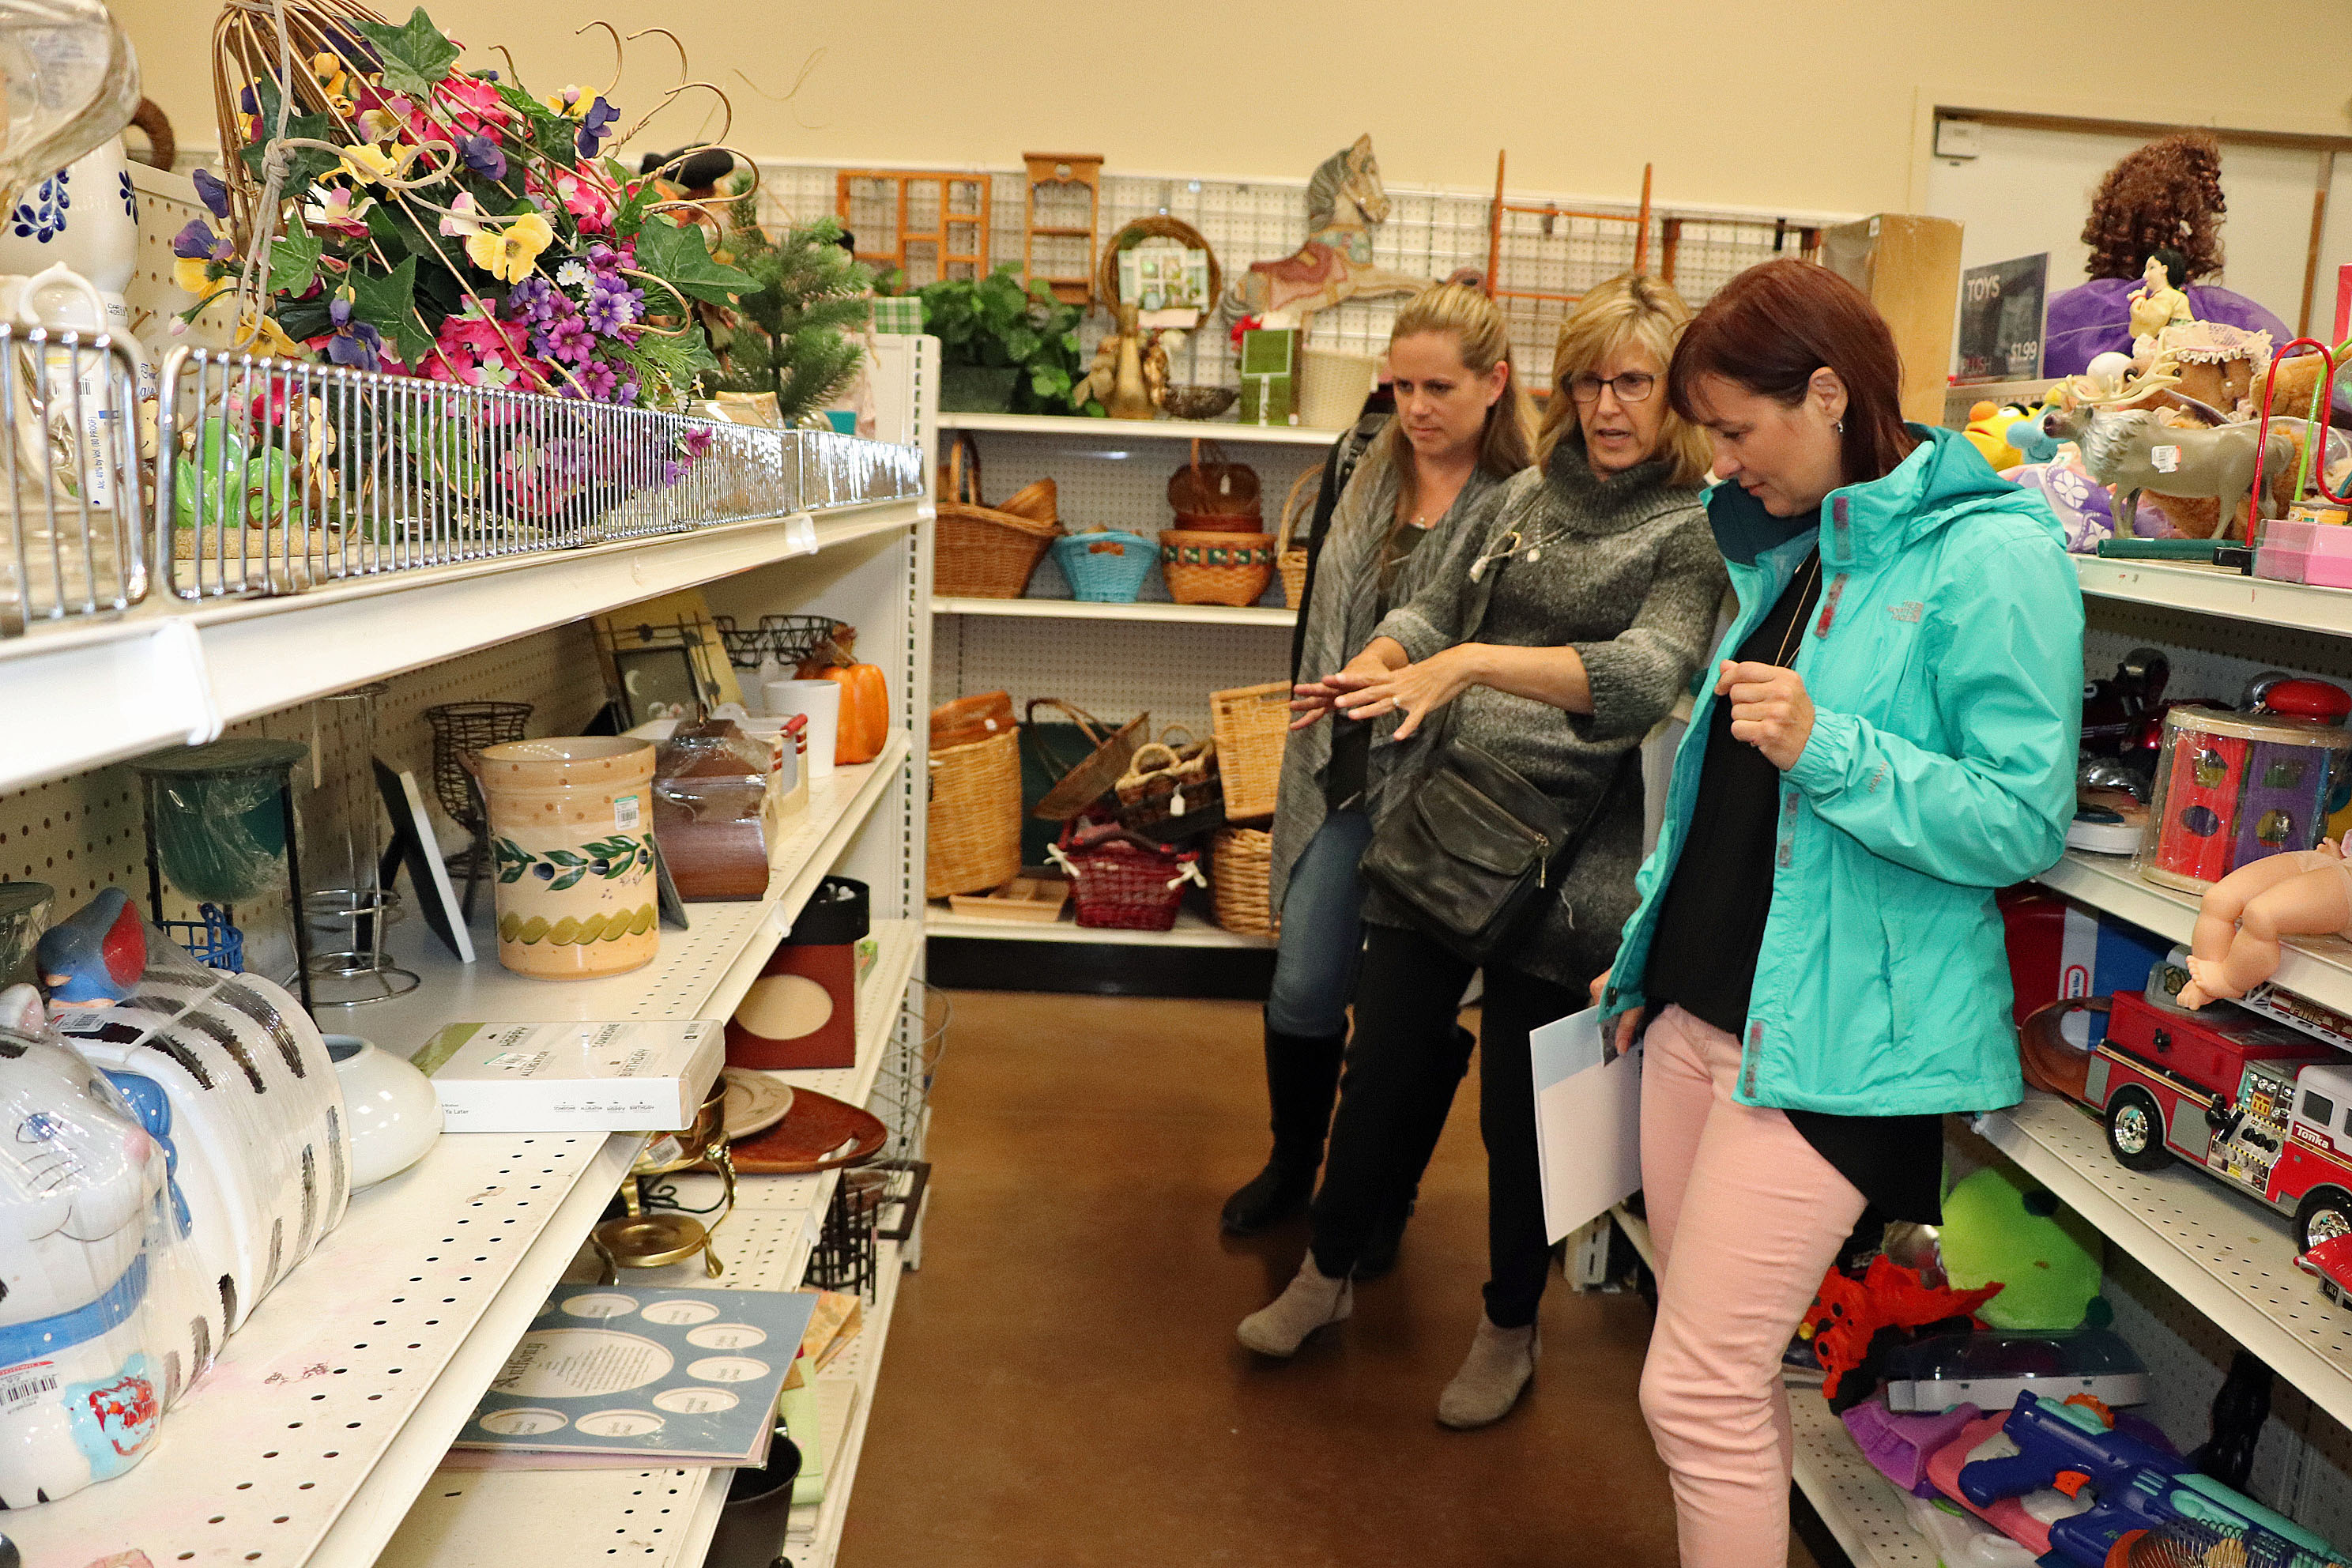
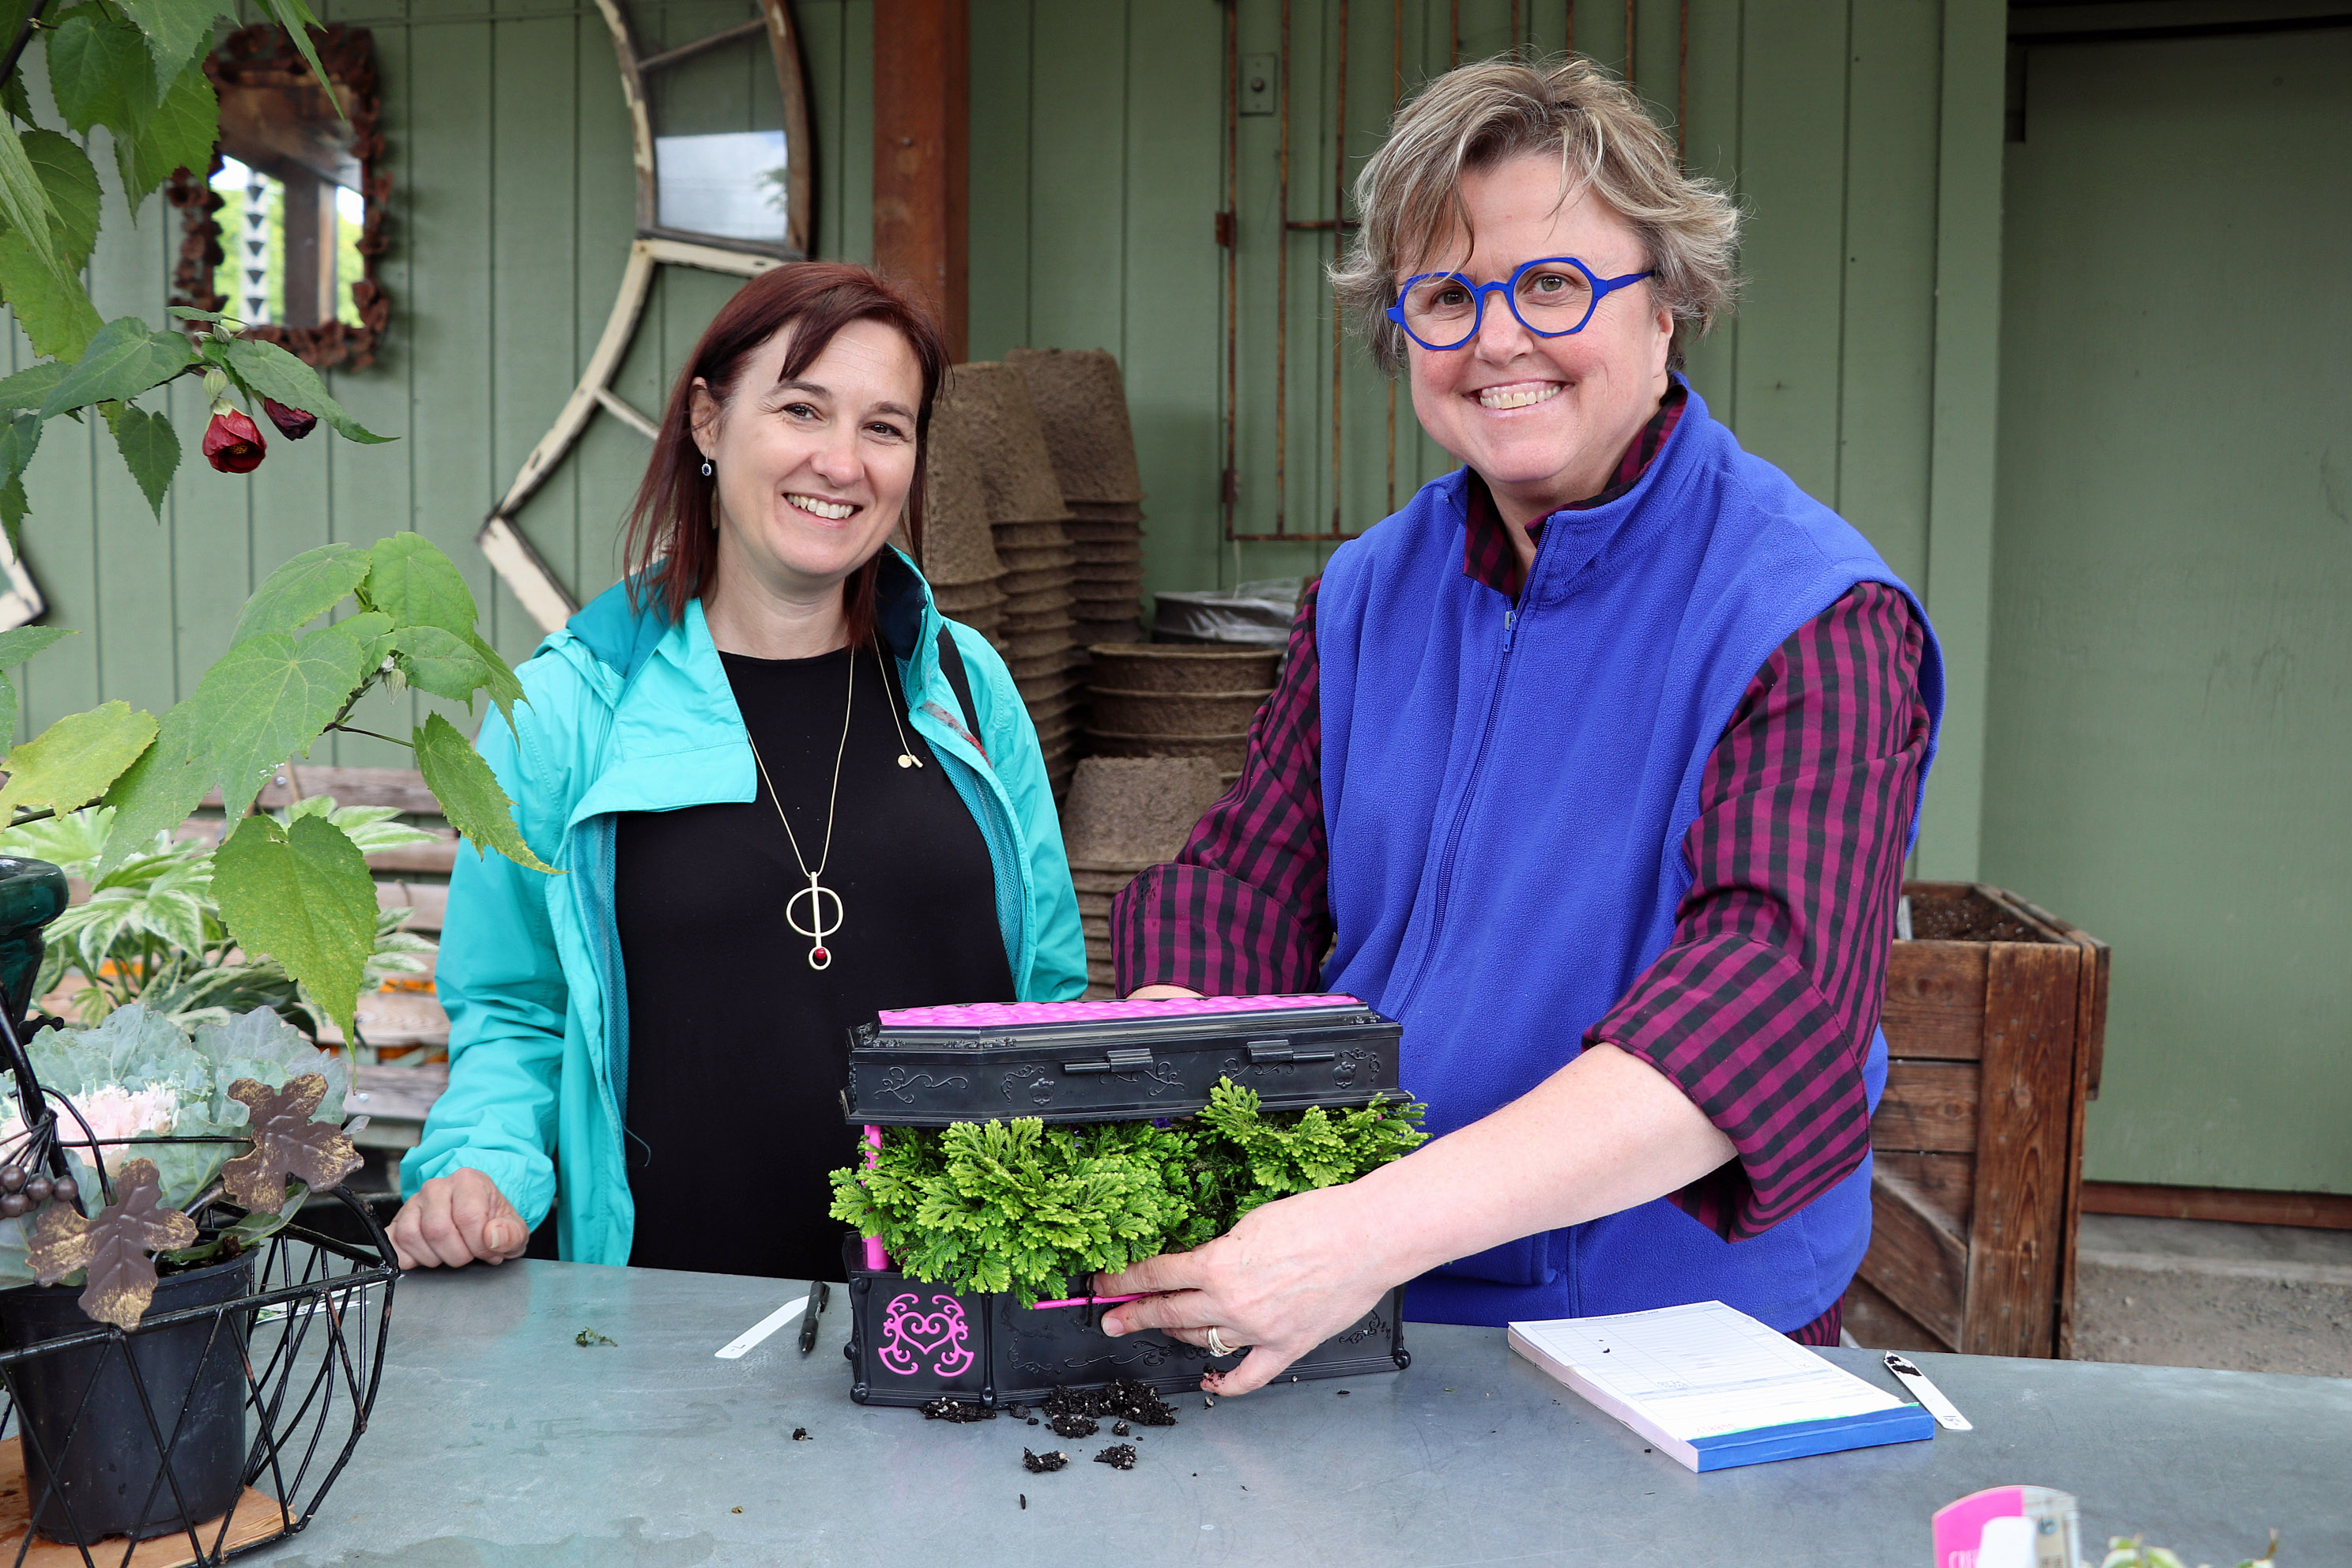
Last week I was invited by Goodwill to visit Sumner, to see how small businesses there are upcycling thrift store purchases into desirable and unique household goods and clothing. I’d never been to Sumner before and was surprised to find a pretty little High Street full of independent shops selling art, antiques and other unique and interesting finds. I will definitely return, especially since it is the Rhubarb Pie Capital.
We started at Goodwill and my upcycling advisor Juli from Junkers Nest, helped me choose interesting items that could be turned into planters. The great thing about buying from Goodwill is that all the store profits go to helping career path job training for the unemployed and disadvantaged.
I wanted to choose something that would appeal to my kids or would be cool decor for a preschool so we went for the toy section. Old toy cars, toy animals with a hole cut in them or small dolls houses would all make great planters. It would also be a great way to save the environment from the multitude of plastic toys thrown away every year.
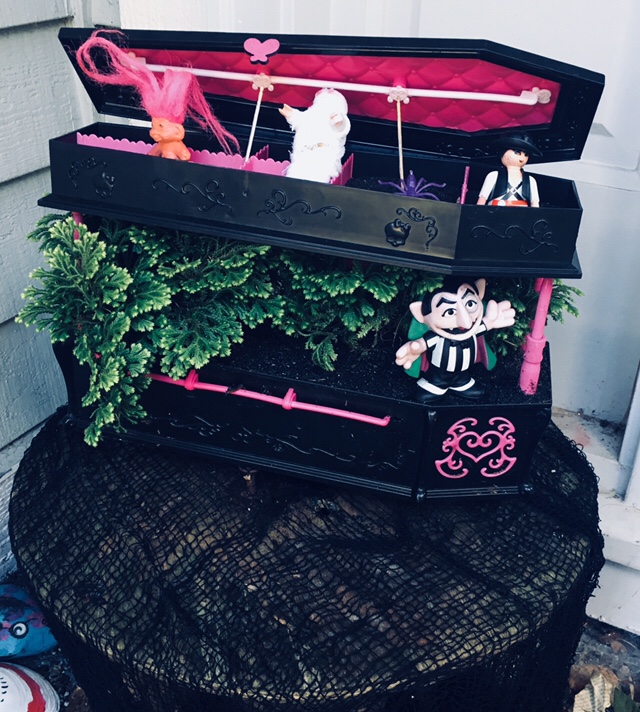
I plumped for a Halloween theme and chose a Monster High coffin. I also chose a pair of baby shoes. Sadly, I threw out all my baby shoes when I moved to the US (including the ones featured in my logo), if only I hadn’t, I could have turned them into something like this.
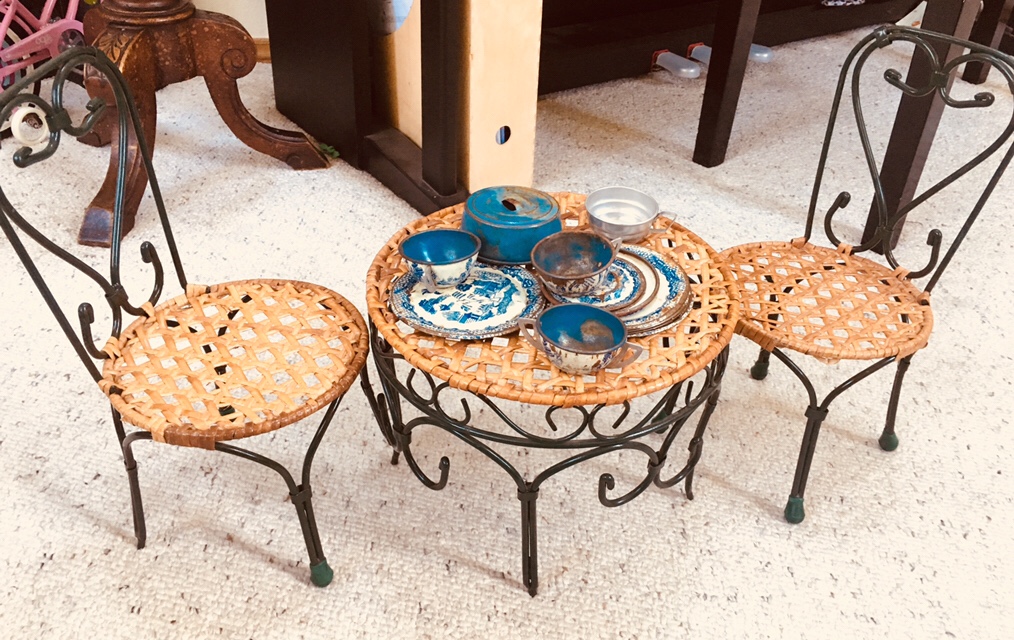
At Blue the Goodwill Boutique, I found this little table and chairs and an old tea set at Junkers Nest.
My intention, once the rainy season is over, is to plant in the little cups and put it out in the garden. For now the girls have commandeered it for their American girl dolls.
We spent the day gaining inspiration for upcycling goods from Inta Vintage . By the end my mind was racing with ideas of how to upcycle some of my old furniture.
The kids helped me make some extra embellishments and here is the finished article displayed (a little early) ready for Hallowe’en.
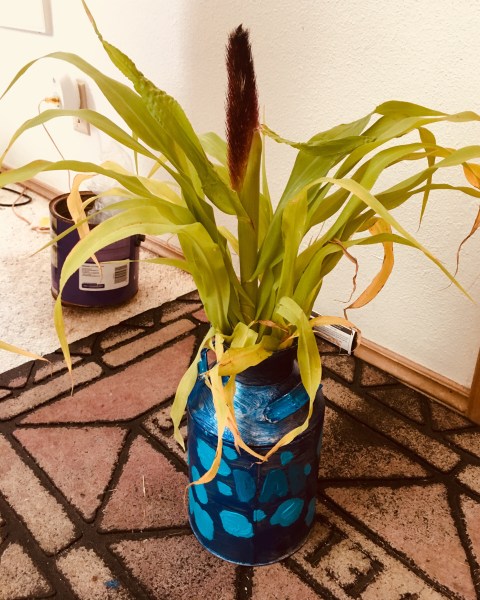
Inspired by some of the other bloggers projects, on our thrift shopping trip to buy birthday presents for their dad, the girls looked for items to turn into planters
small
big
and decorative
We chose a pot and my daughter painted it with her own design.
I’m looking forward to many more trips with the girls as we find fun items to upcycle for family and teacher gifts.
Disclaimer: This is a sponsored post, sponsored by Goodwill WA.
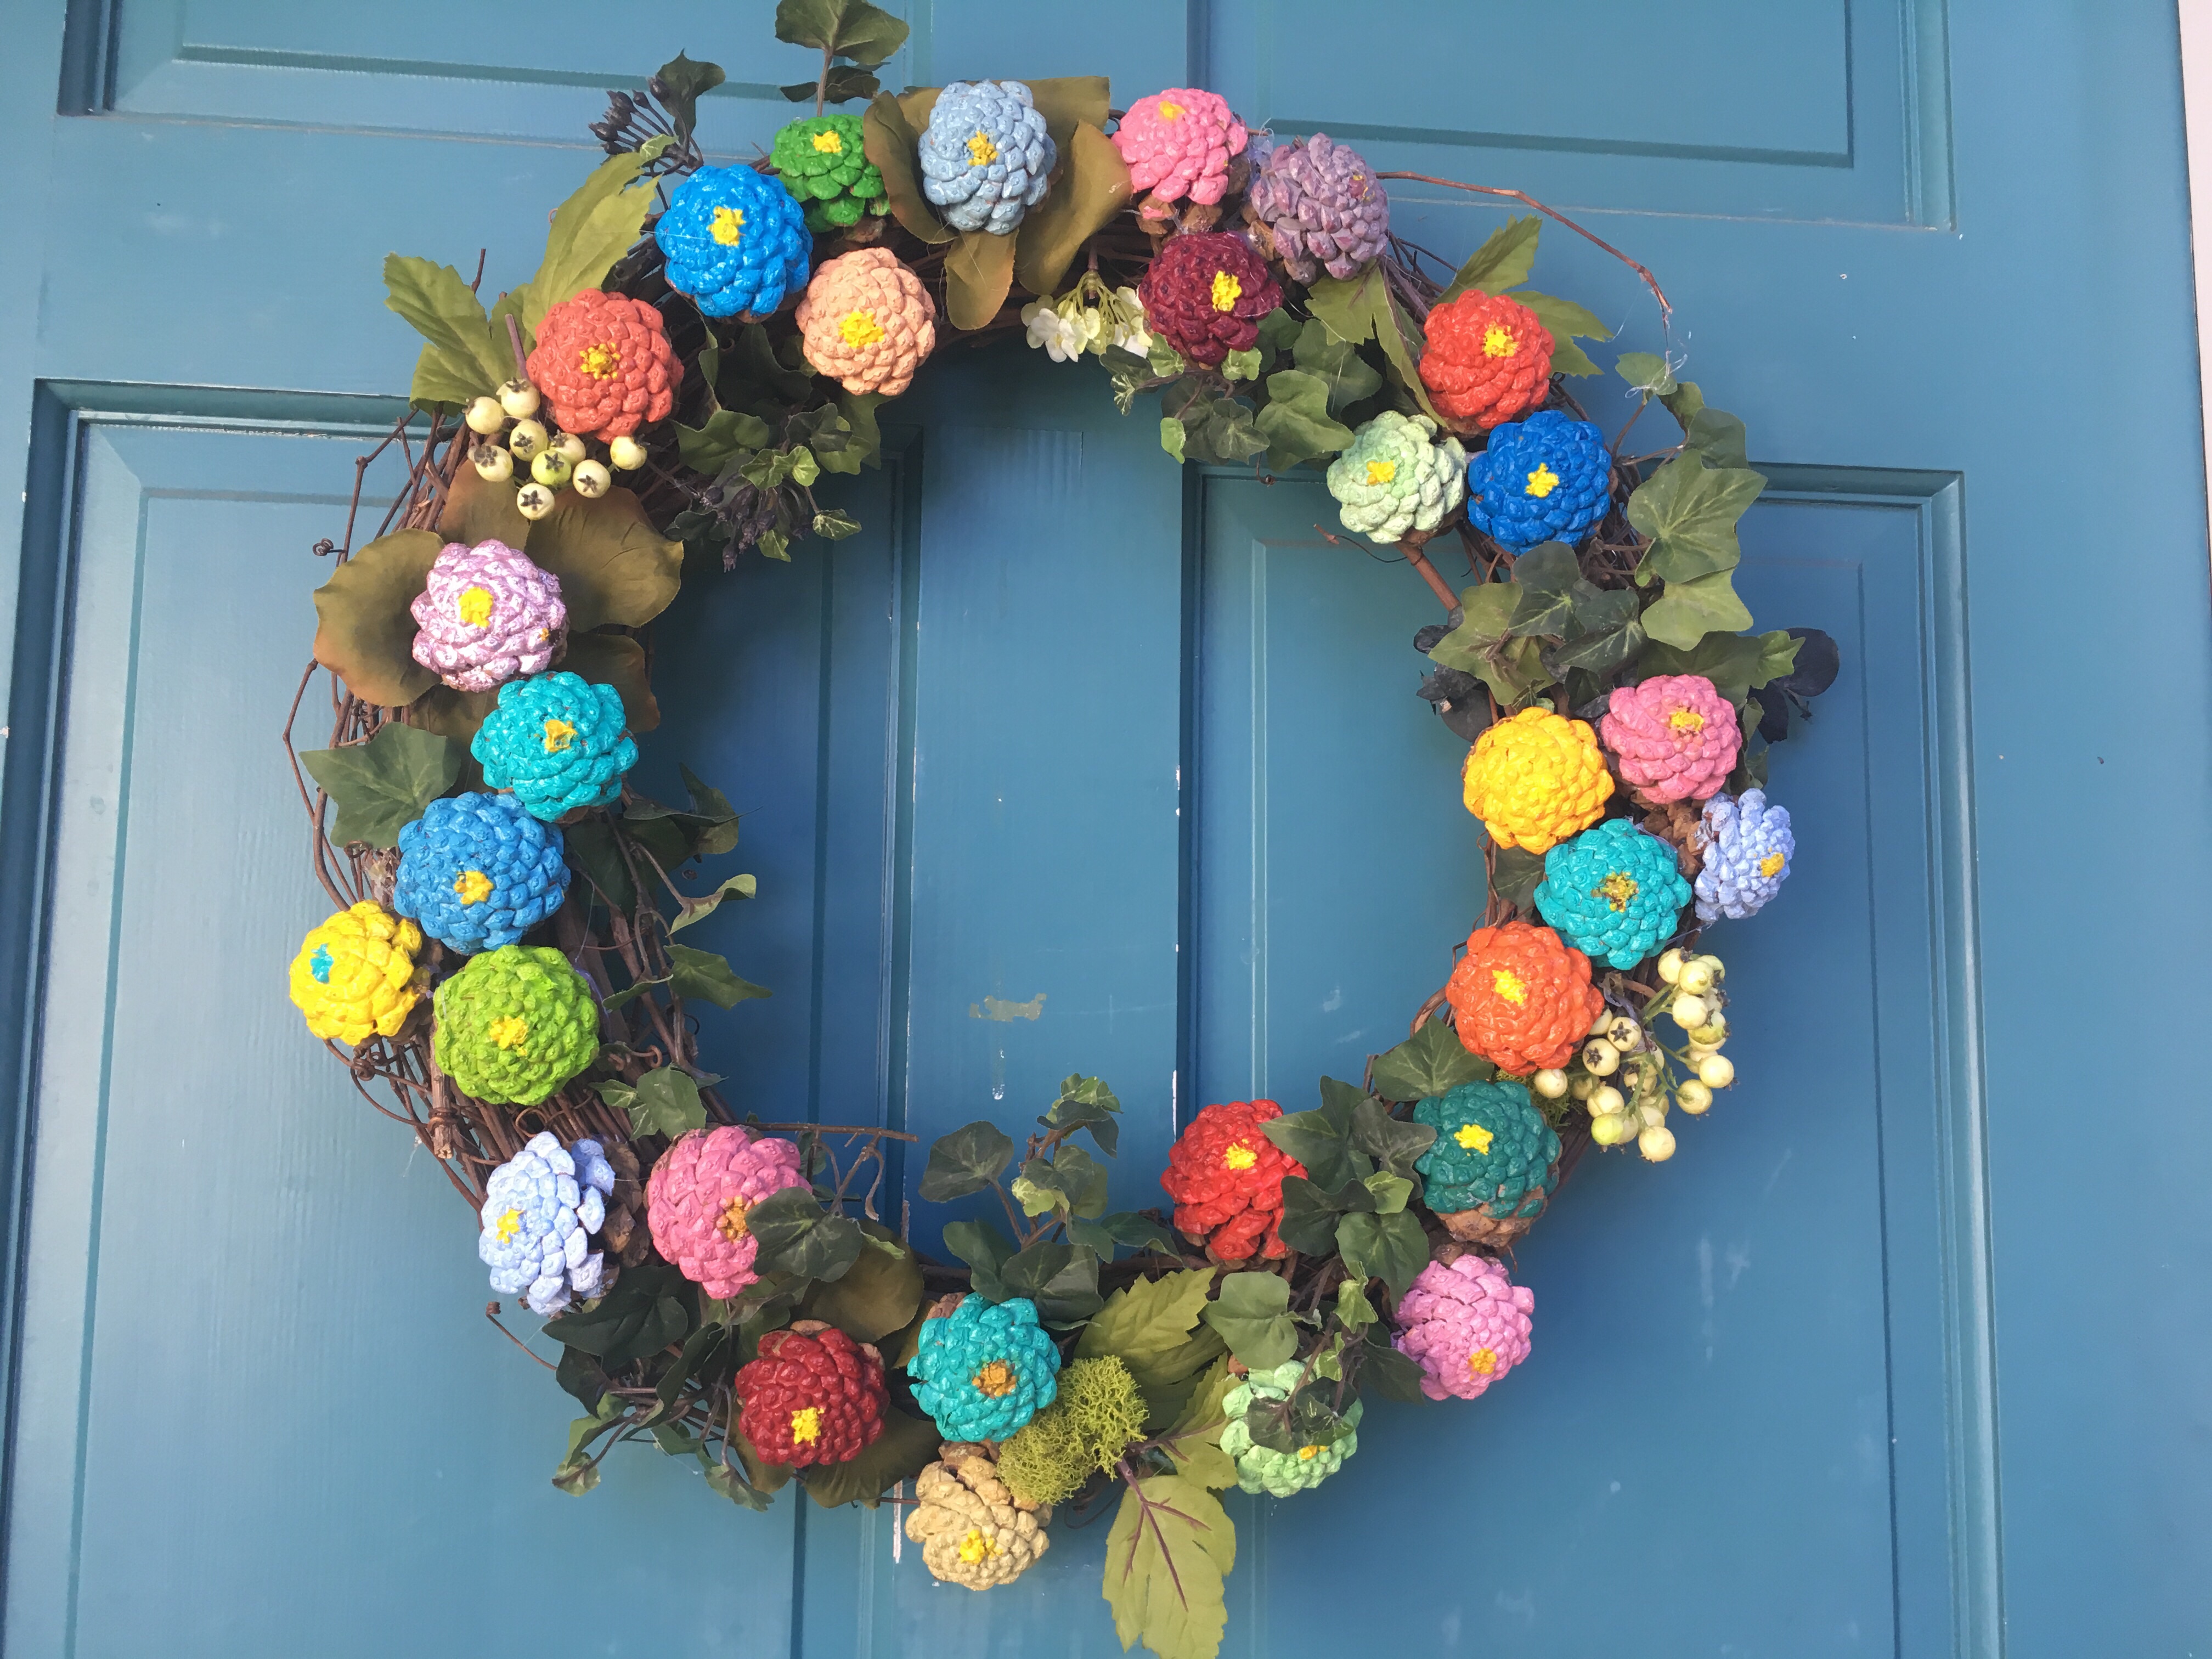
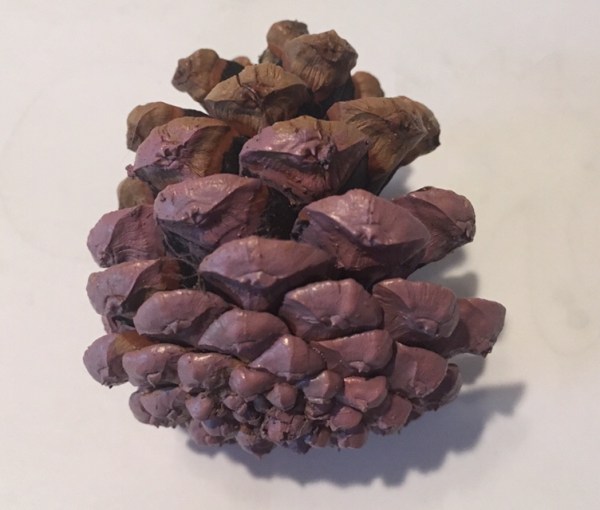
At this time of year, my lawn is littered with pine cones. After collecting a huge bag full of pine cones, I browsed Pinterest to get ideas for something to make with them. I kept being drawn to crafts using the base of pine cones to create zinnias. The kids loved them too, especially the beautiful bright colours.
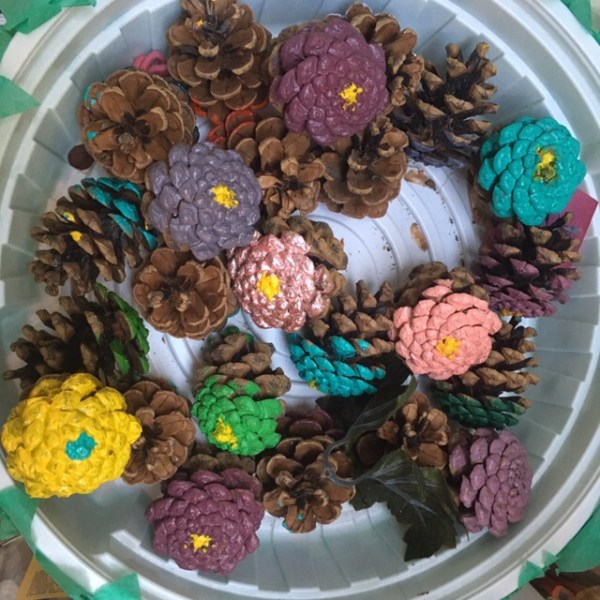
I set to work painting the pine cones with acrylic paint. The girls loved mixing up different colour combinations. In fact, the bright pink and turquoise/teal colour my youngest daughter mixed, were my favourite by far. I love that this was a project that we could do together as a family but that also turned out so beautifully.
Paint the bottom of a pine cone with acrylic paint and continue to paint to around half way up the cone. Most colours will only require one layer but some lighter colours may need two.
Step 2
When they are dry, paint the centre in yellow or a contrasting colour of your choice.
Step 3
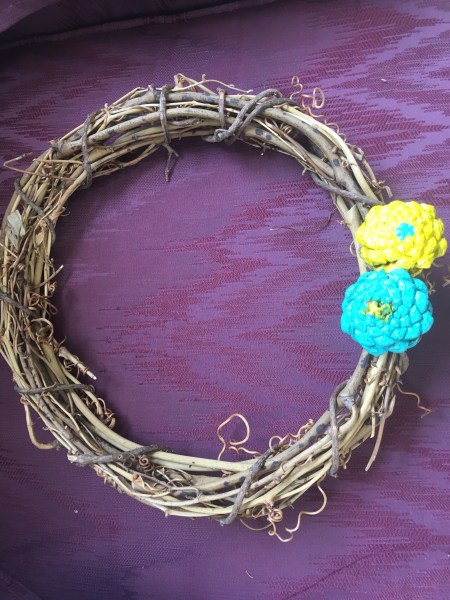
Arrange the pinecones on the wreath. Push the top, unpainted half of the pine cone through the wreath and secure with hot glue or florist wire. If you want to stick pine cones on top of the greenery, you will need to saw off the top part of the pine cone to make it lie flat.
Step 4
Weave the greenery through the wreath or stick on leaves with hot glue. If you use a repurposed wreath as I did you may be able to use the greenery already attached.
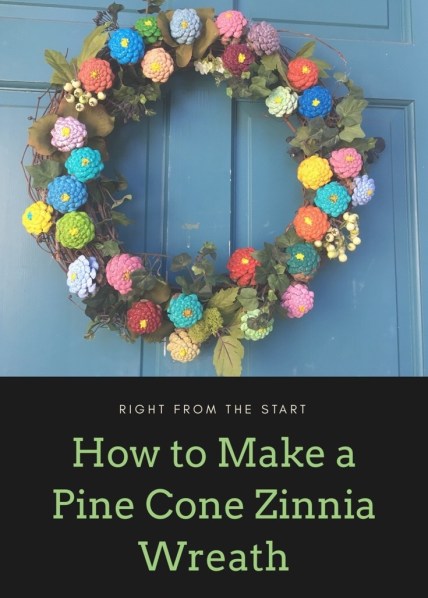
I have had so many great comments about the finished wreath and it was so easy to make.
We have had fun with bubble painting in previous summers, but usually use straws. To try something a little different, we made bubble blowers using plastic bottles and netting.
How to make a bubble blower
Cut the bottom off a plastic bottle
Tape on mesh or netting,
We used 3 different types to investigate how the bubbles would differ.
Christmas tree netting with large holes
Netting from a bag of oranges
Tulle
We made 3 with tulle, 1 layer, 2 layers and 3 layers
For the paint, we mixed bubble mixture with a table-spoon of powder paint.
We tested the blowers to see which one we liked the best.
The Christmas netting made three or 4 large bubbles.
The orange netting made lots of clear bubbles
The tulle made a foamy snake of bubbles and the more layers there were, the better the effect.
The best paint effects were made if we blew the bubbles away as soon as they hit the paper, otherwise they melted into a splodge and you couldn’t see the bubble shape.
We made another discovery. A plastic straw makes a perfect bubble wand.
I wonder what else we will discover about bubbles over the summer?
Dale Chihuly is a local glass artist. His works have been exhibited around the world and can be seen locally at the Chihuly Glass Garden and Museum adjacent to the Space Needle in Seattle or at the Museum of Glass and Chihuly Bridge of Glass in Tacoma.
My daughter did a science project for her first grade class last week, where she showed how colours could be separated using a coffee filter and water. The class were fascinated, so I had an idea to incorporate their interests into our next art project.
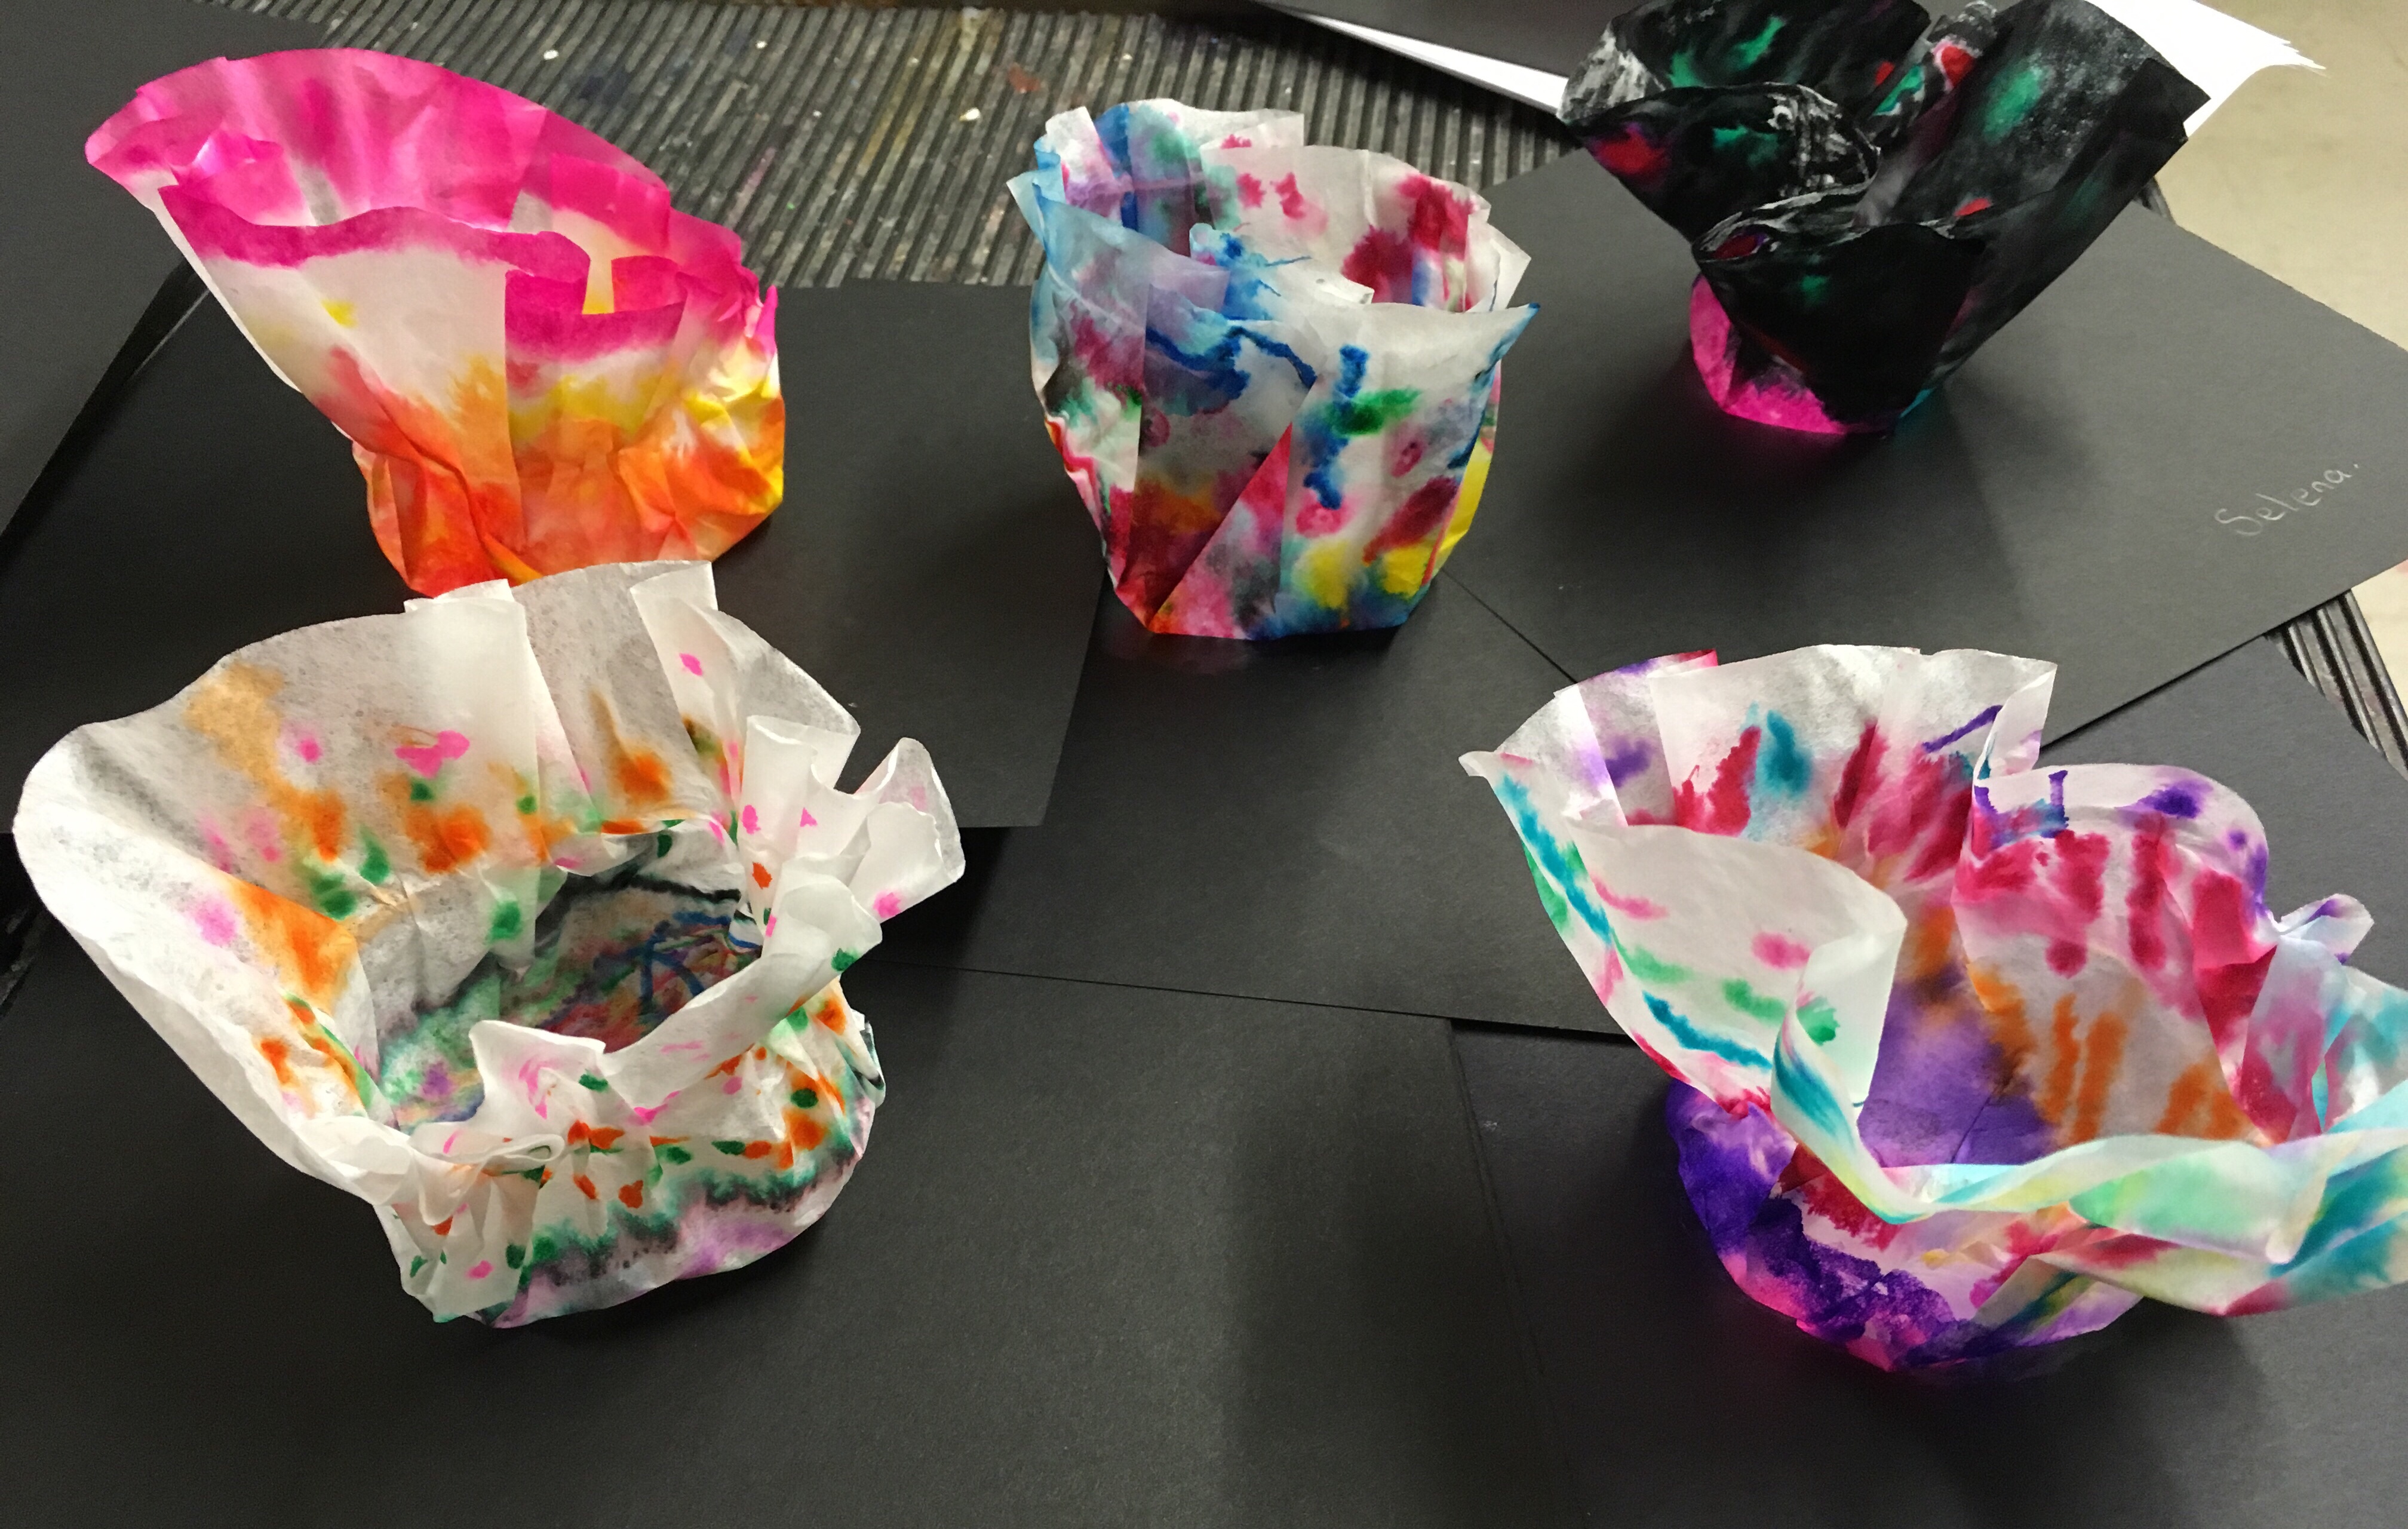
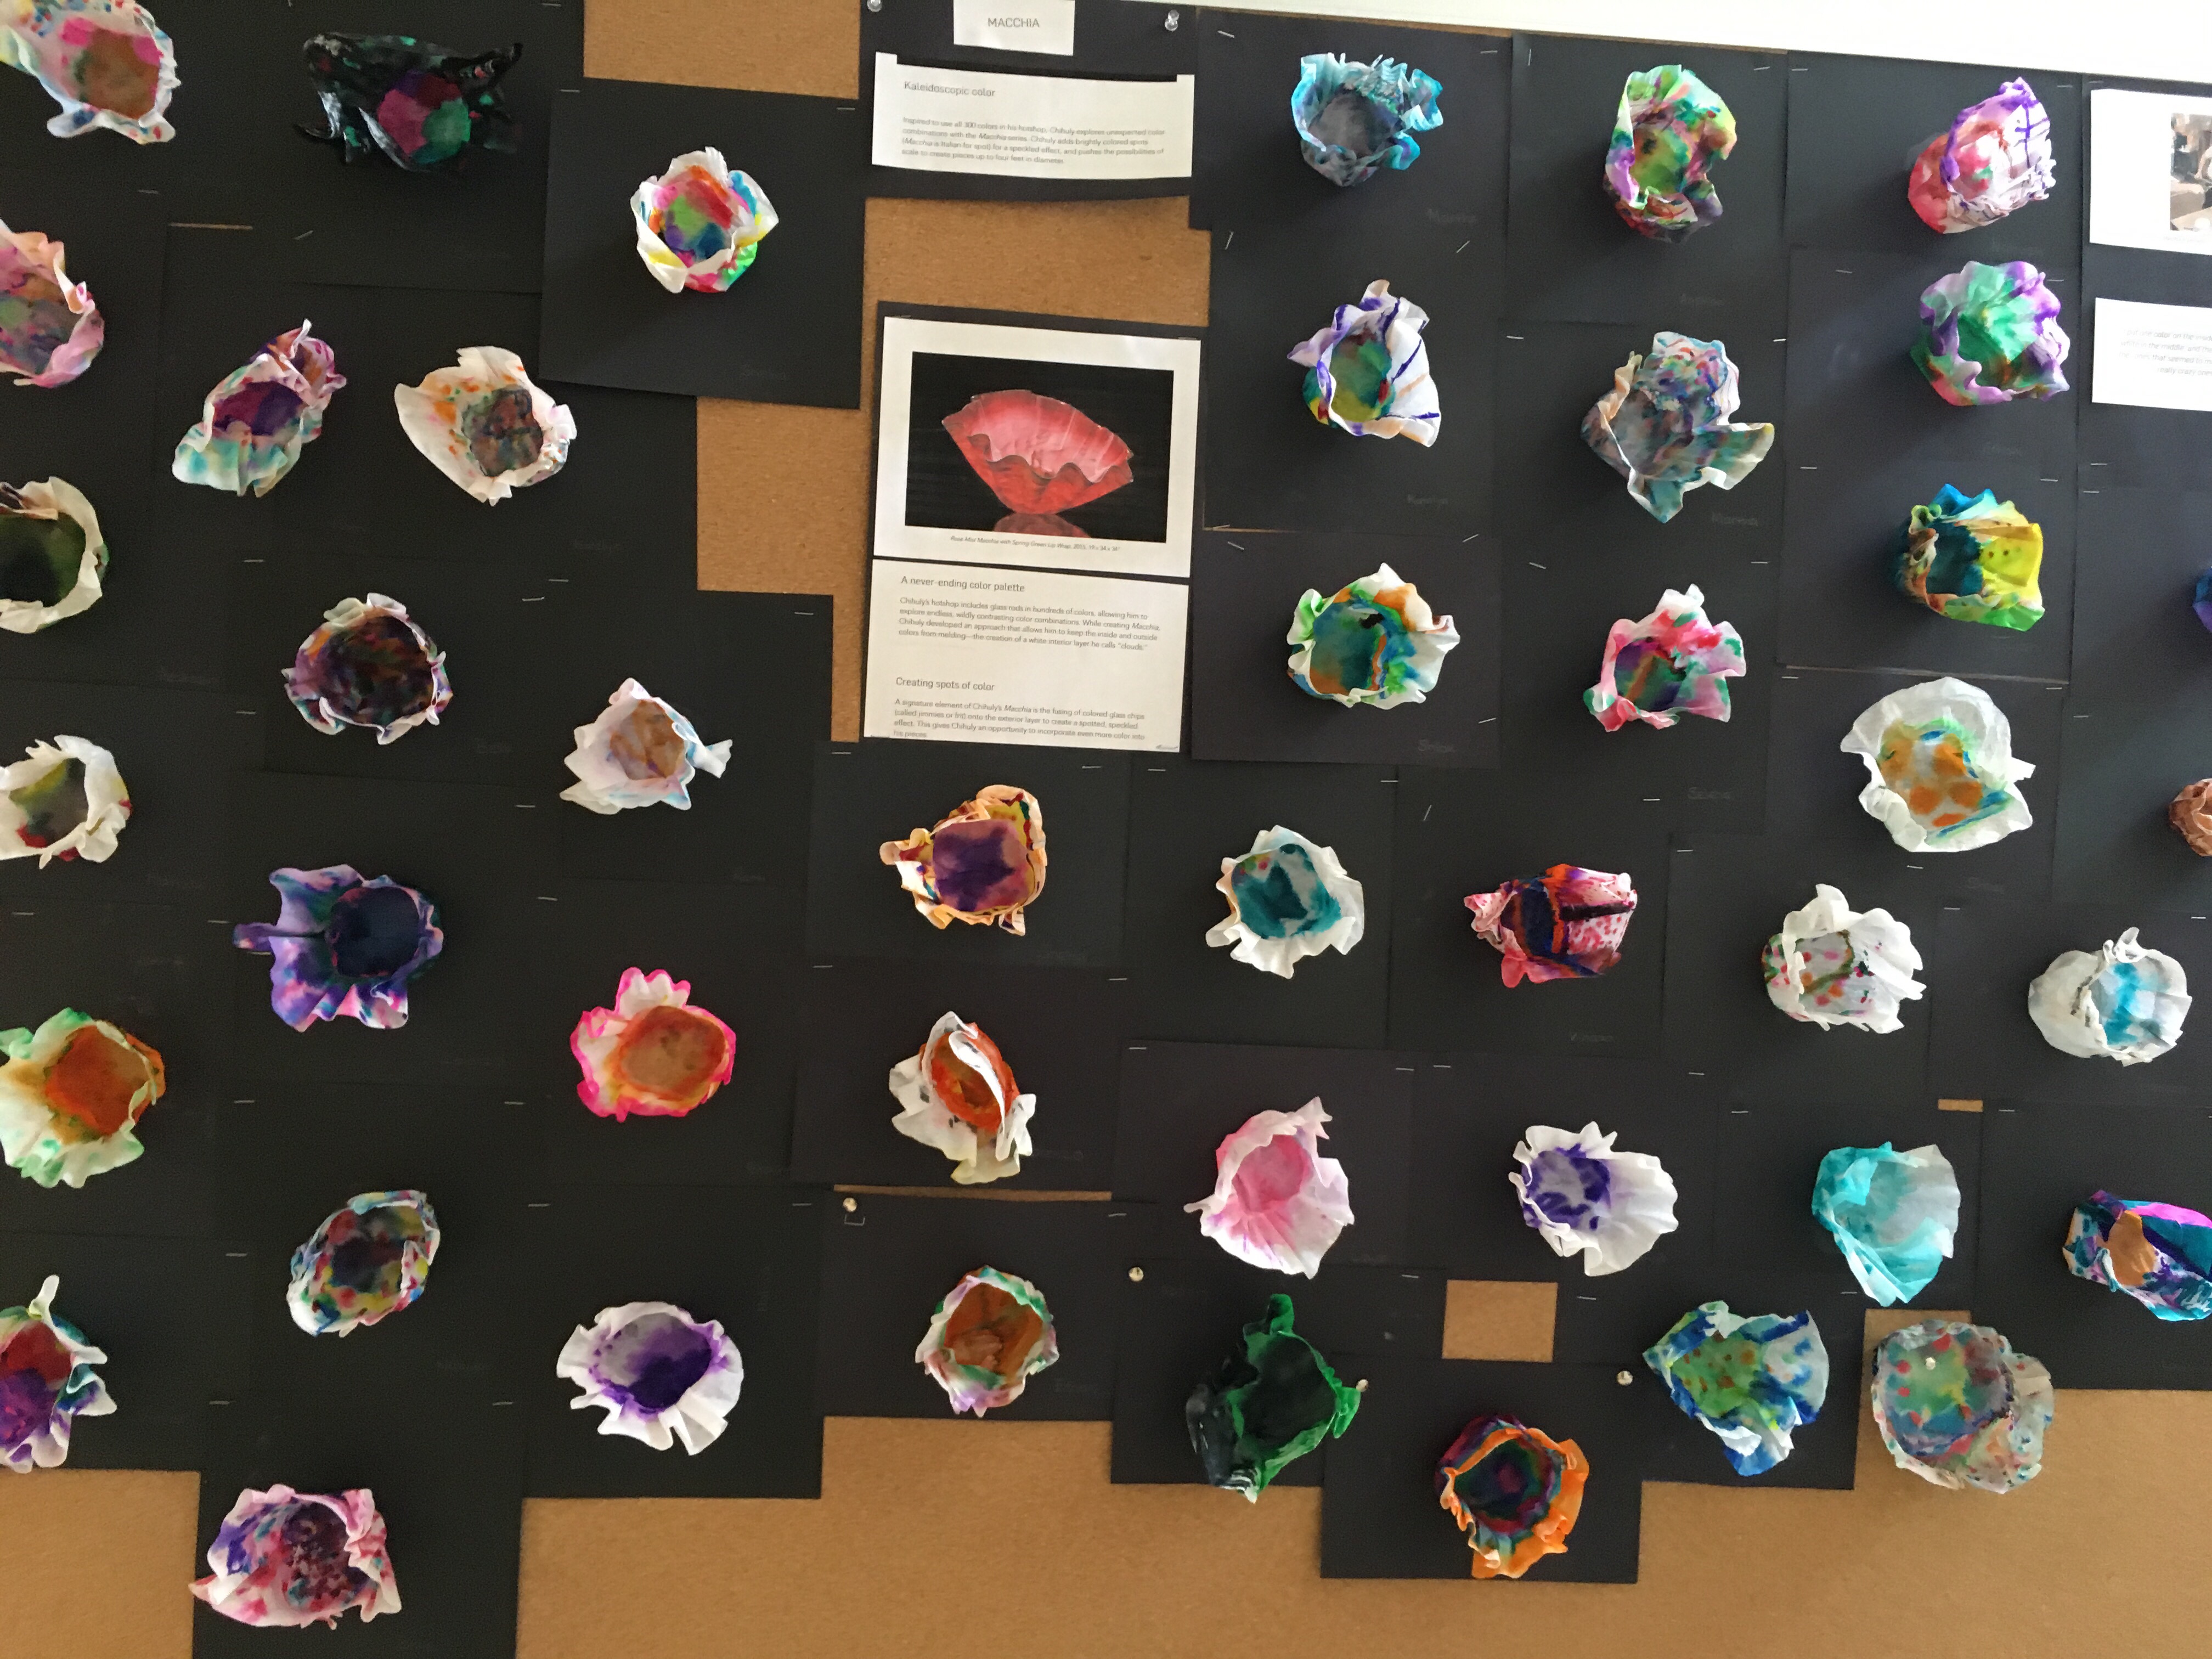
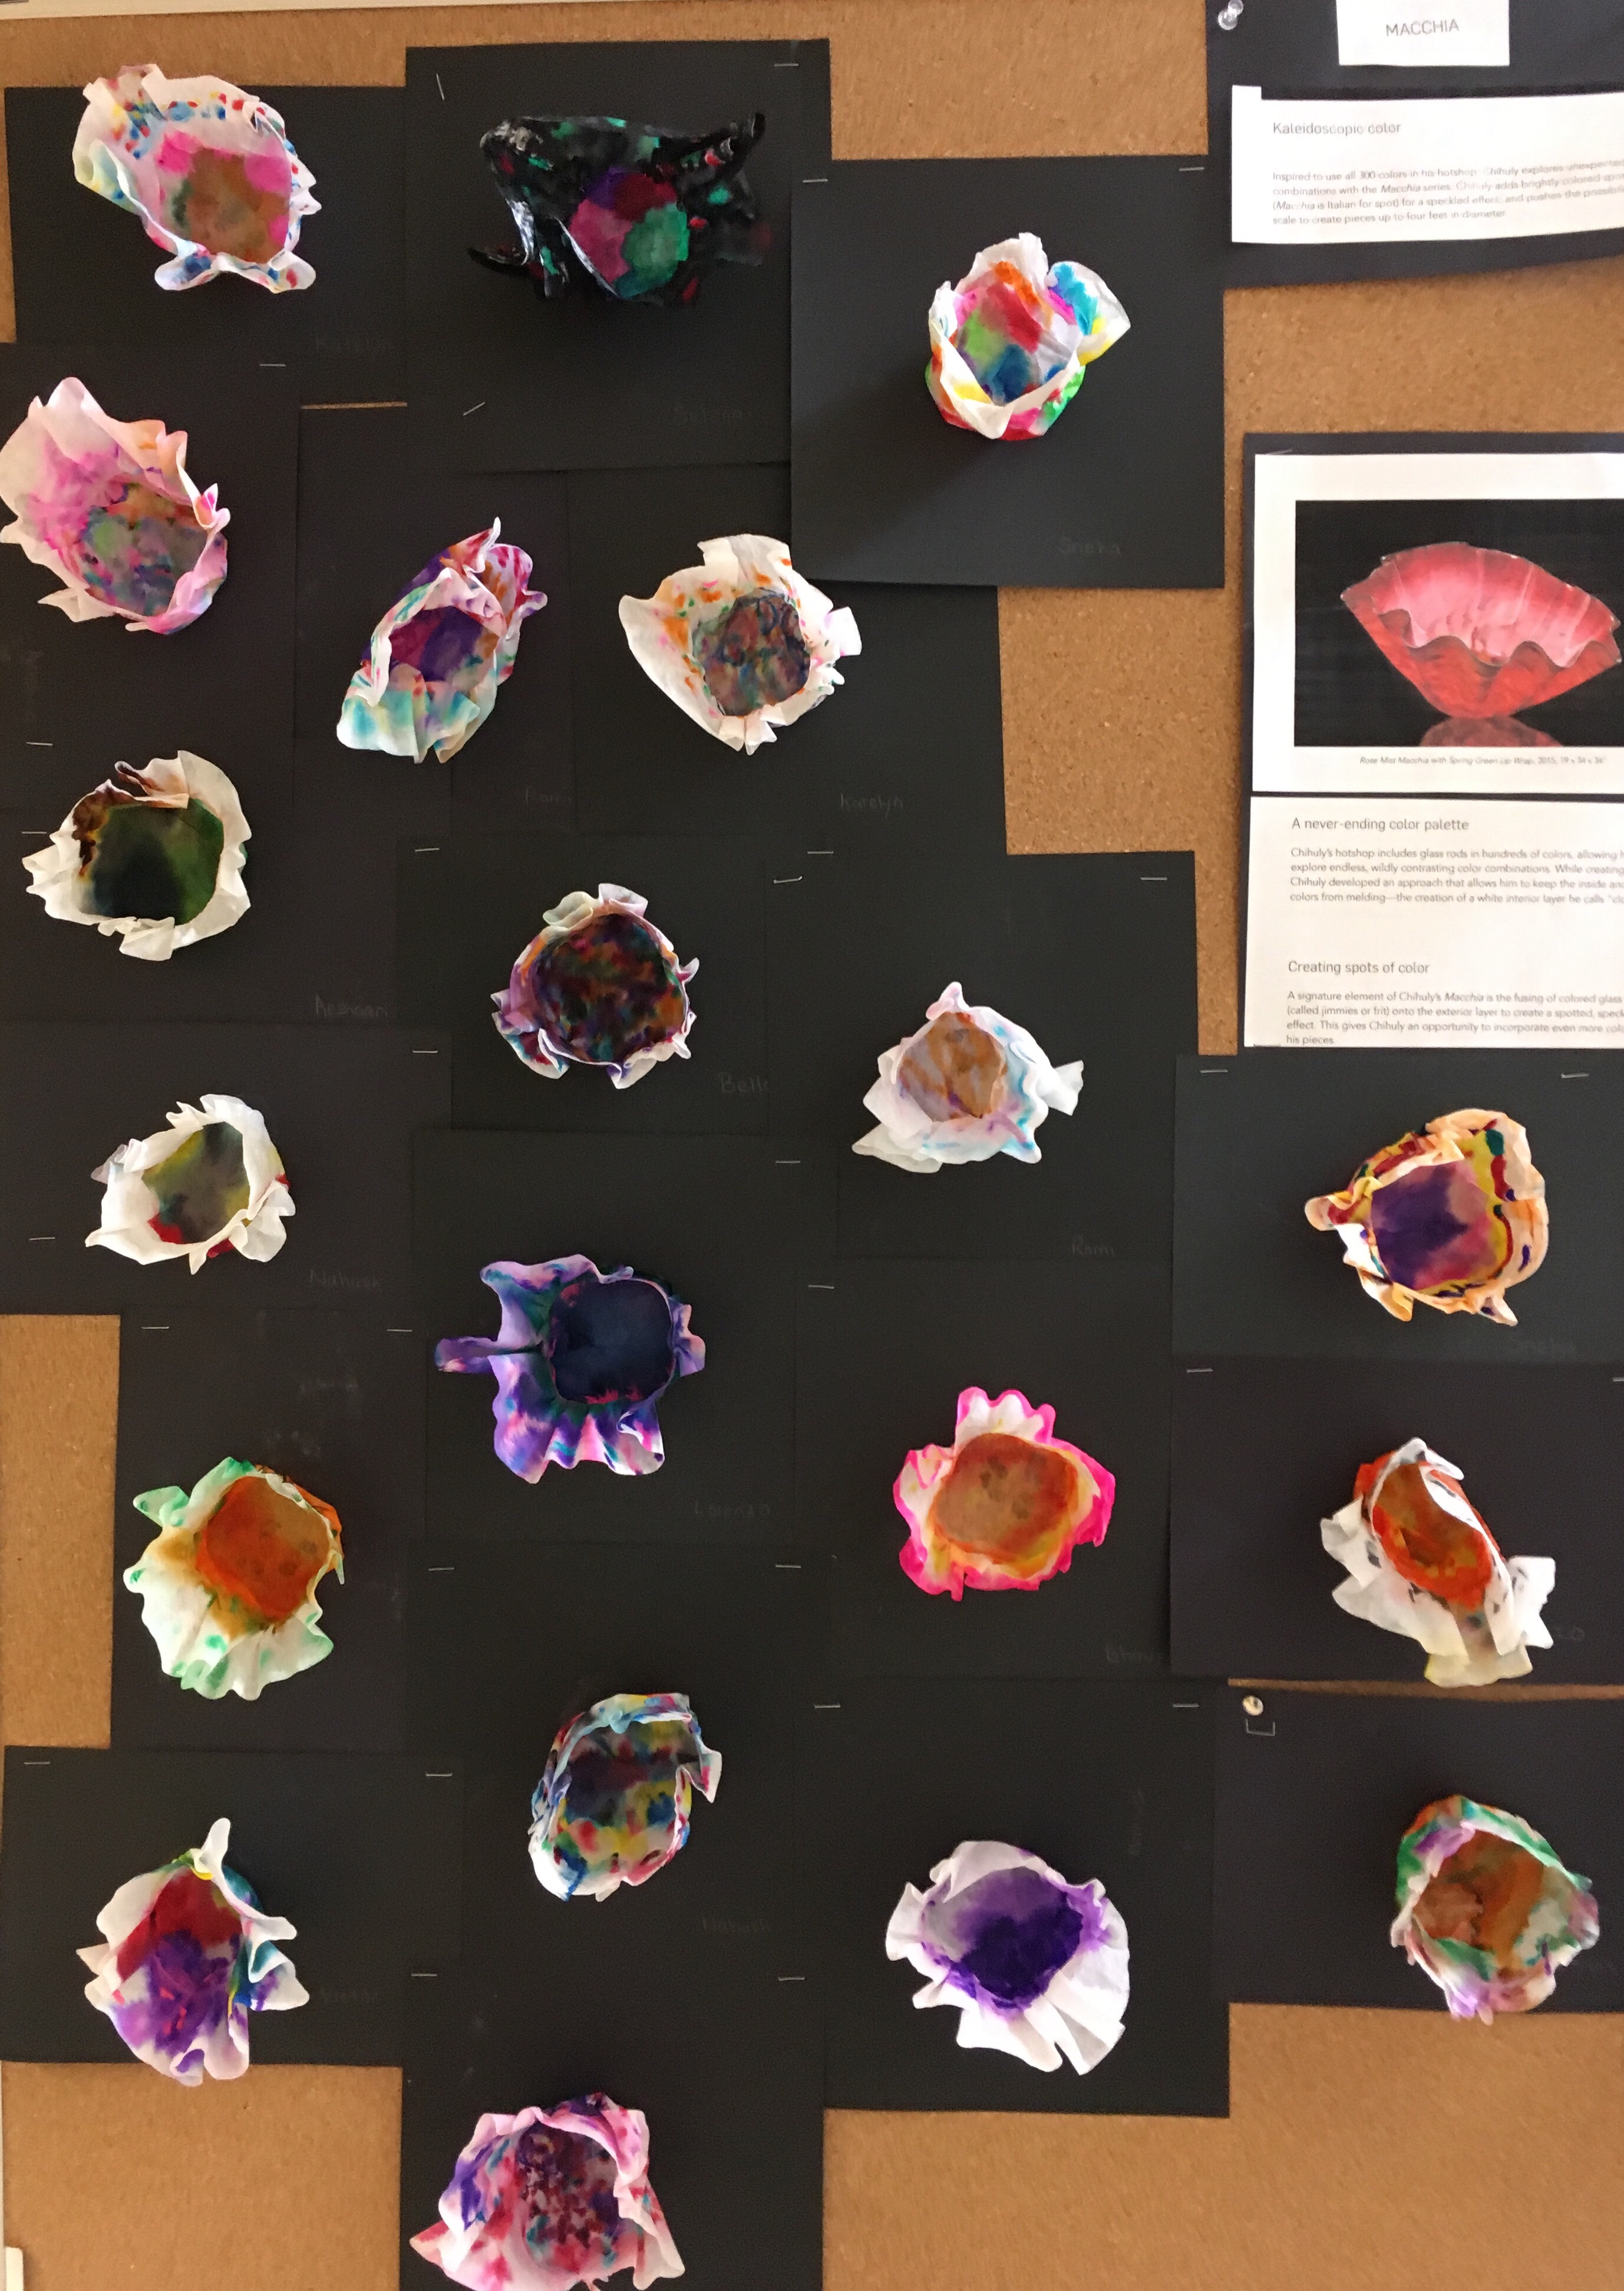
One of Chihuly’s famous series are Macchia. These look a little like glass bowls, similar in shape to a coffee filter and are made by experimenting with different colour combinations. I showed the children pictures of Macchia and a short video showing how they are made.
Macchia means spots. I asked the children to decorate a coffee filter using washable markers, adding a variety of colours and including spots in their design. I showed them some examples from home, some had white spaces and some had the whole filter filled with colour.
When the designs were finished the children placed them on an upside down plastic cup and secured them with a rubber band.
They were then sprayed with spray starch. We protected the floor with paper and sprayed each one from a distance so the starch would create a fine mist and the filters wouldn’t get too wet.
This is quite a quick project but the children were keen to make more. Most children made two or three in a 45 minute lesson.
The designs were left overnight to dry.
The finished designs were mounted onto black card. These were joined to make a collaborative display but I chose to put each bowl on an individual piece of card so they could take them home.
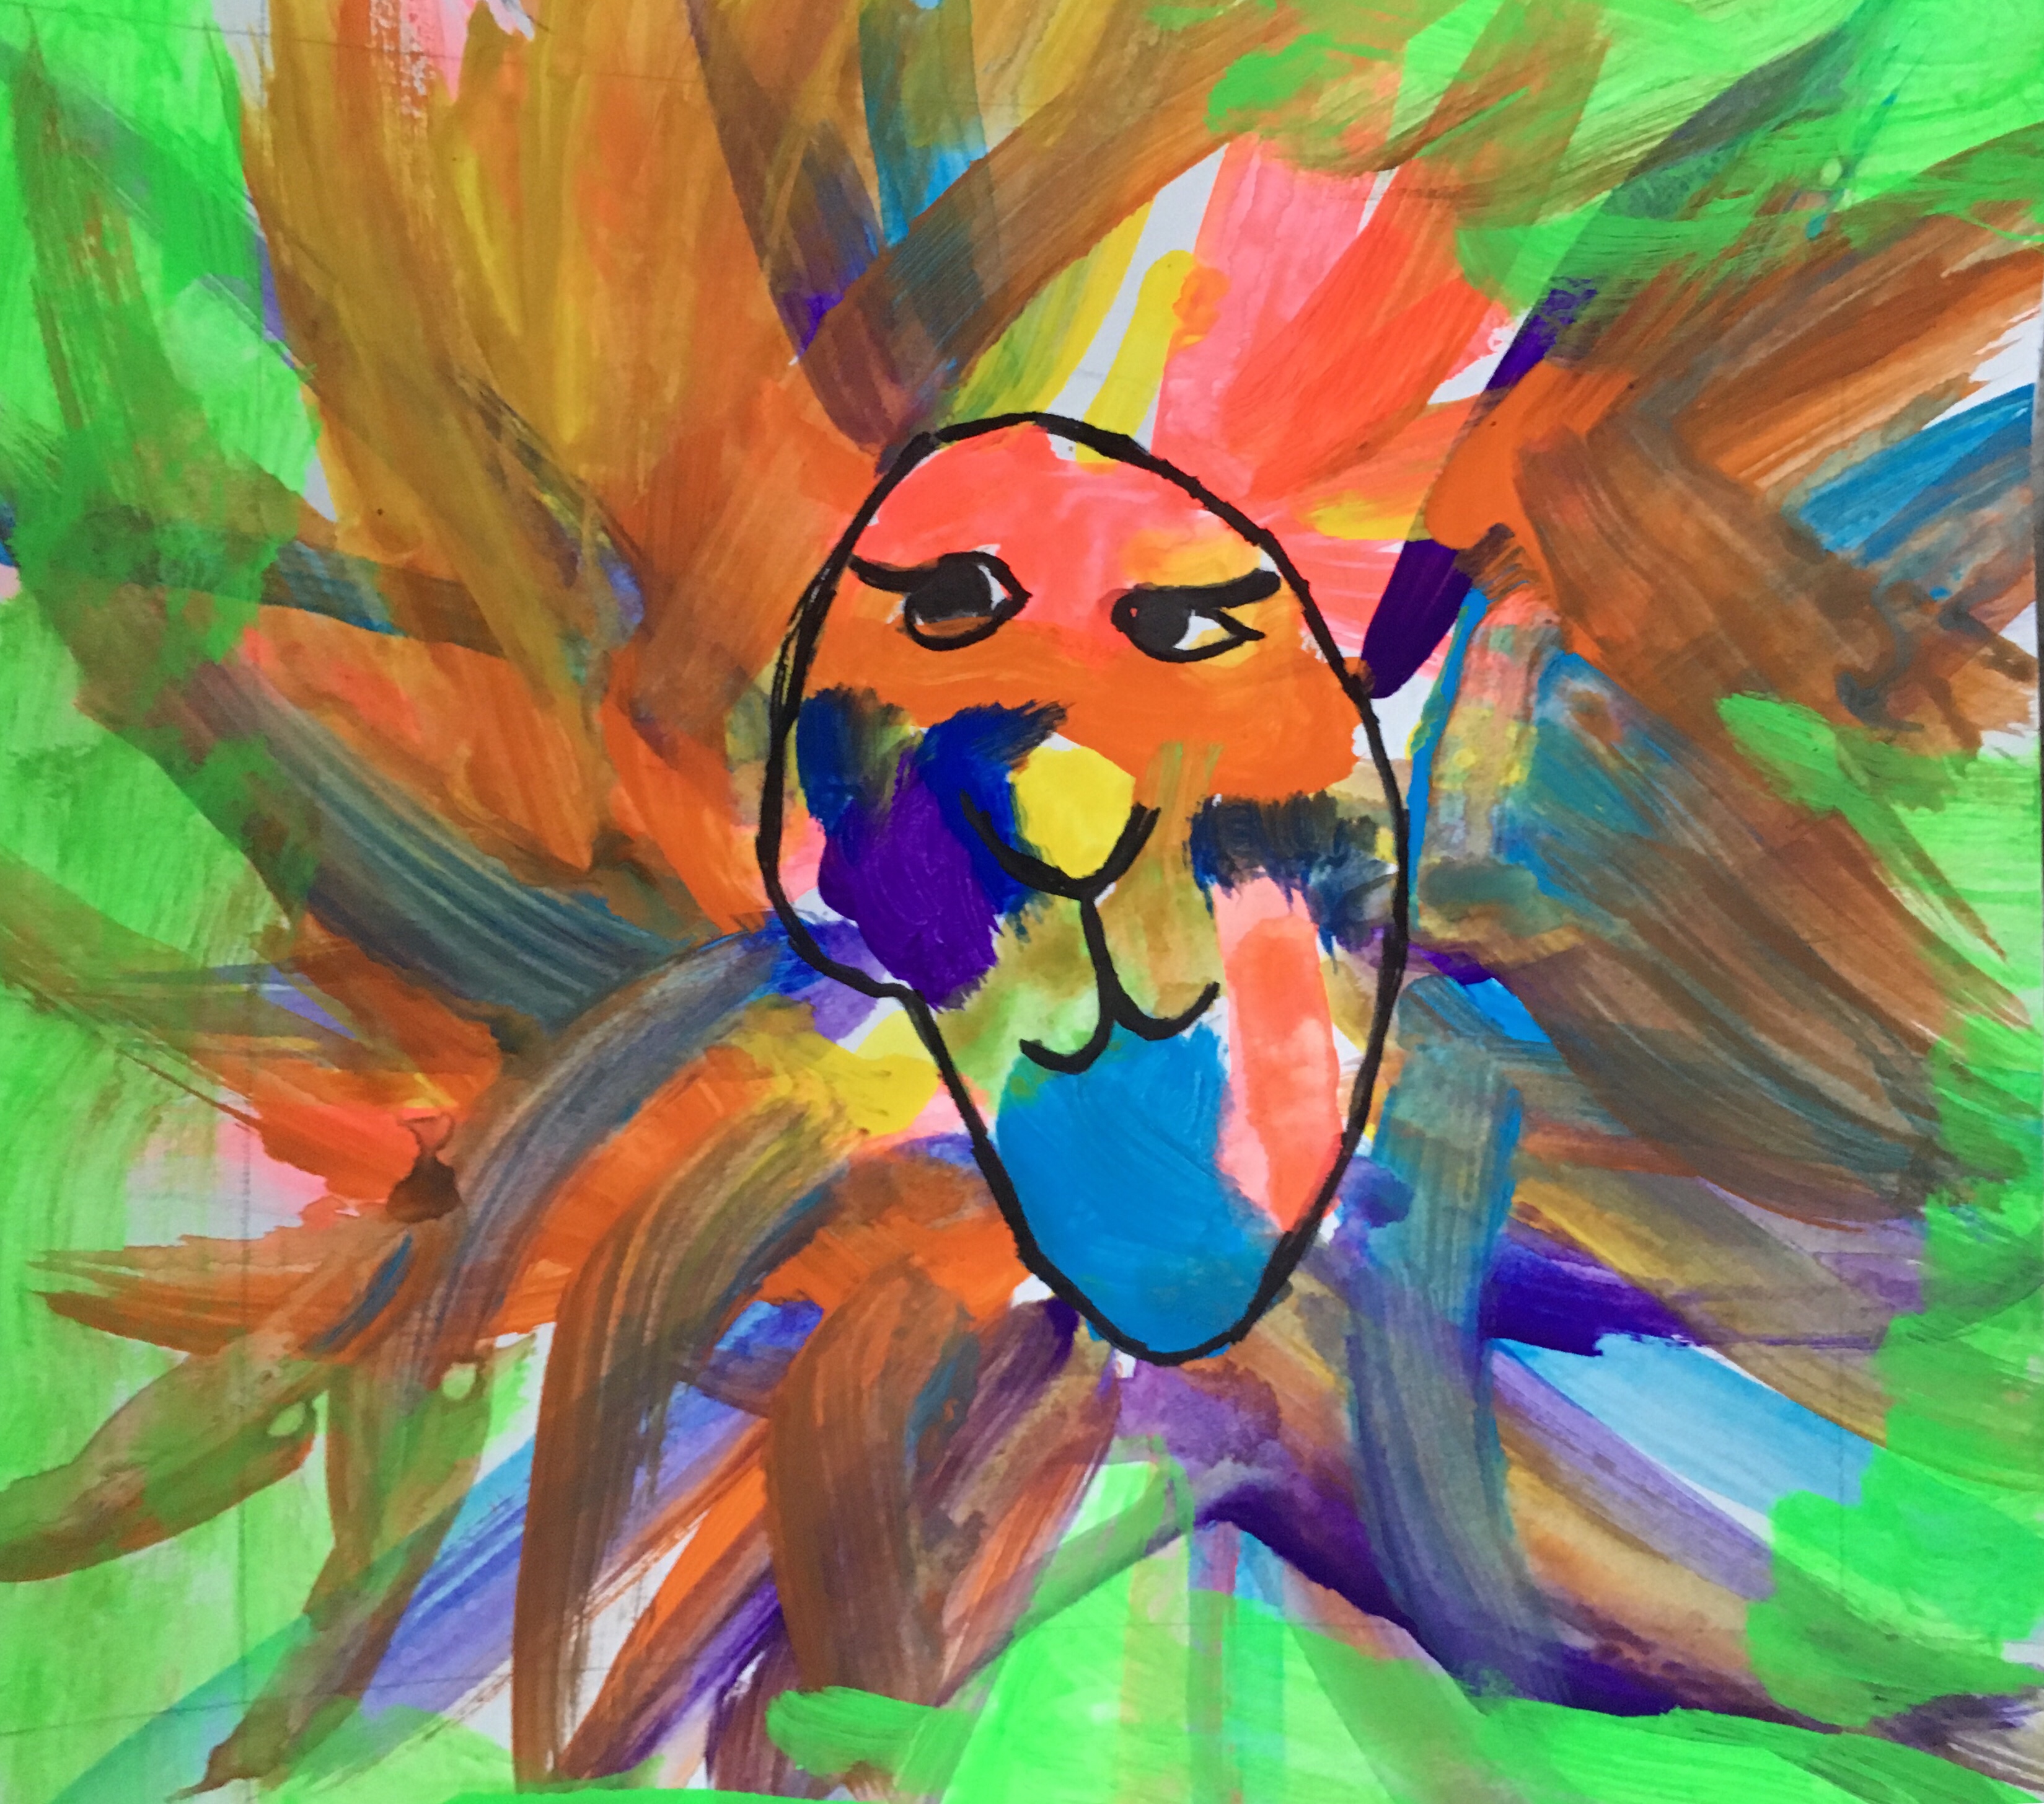
LeRoy Neiman’s lions encapsulate both aspects of the theme perfectly and are bright and bold so fit the criteria for square 1 art projects.
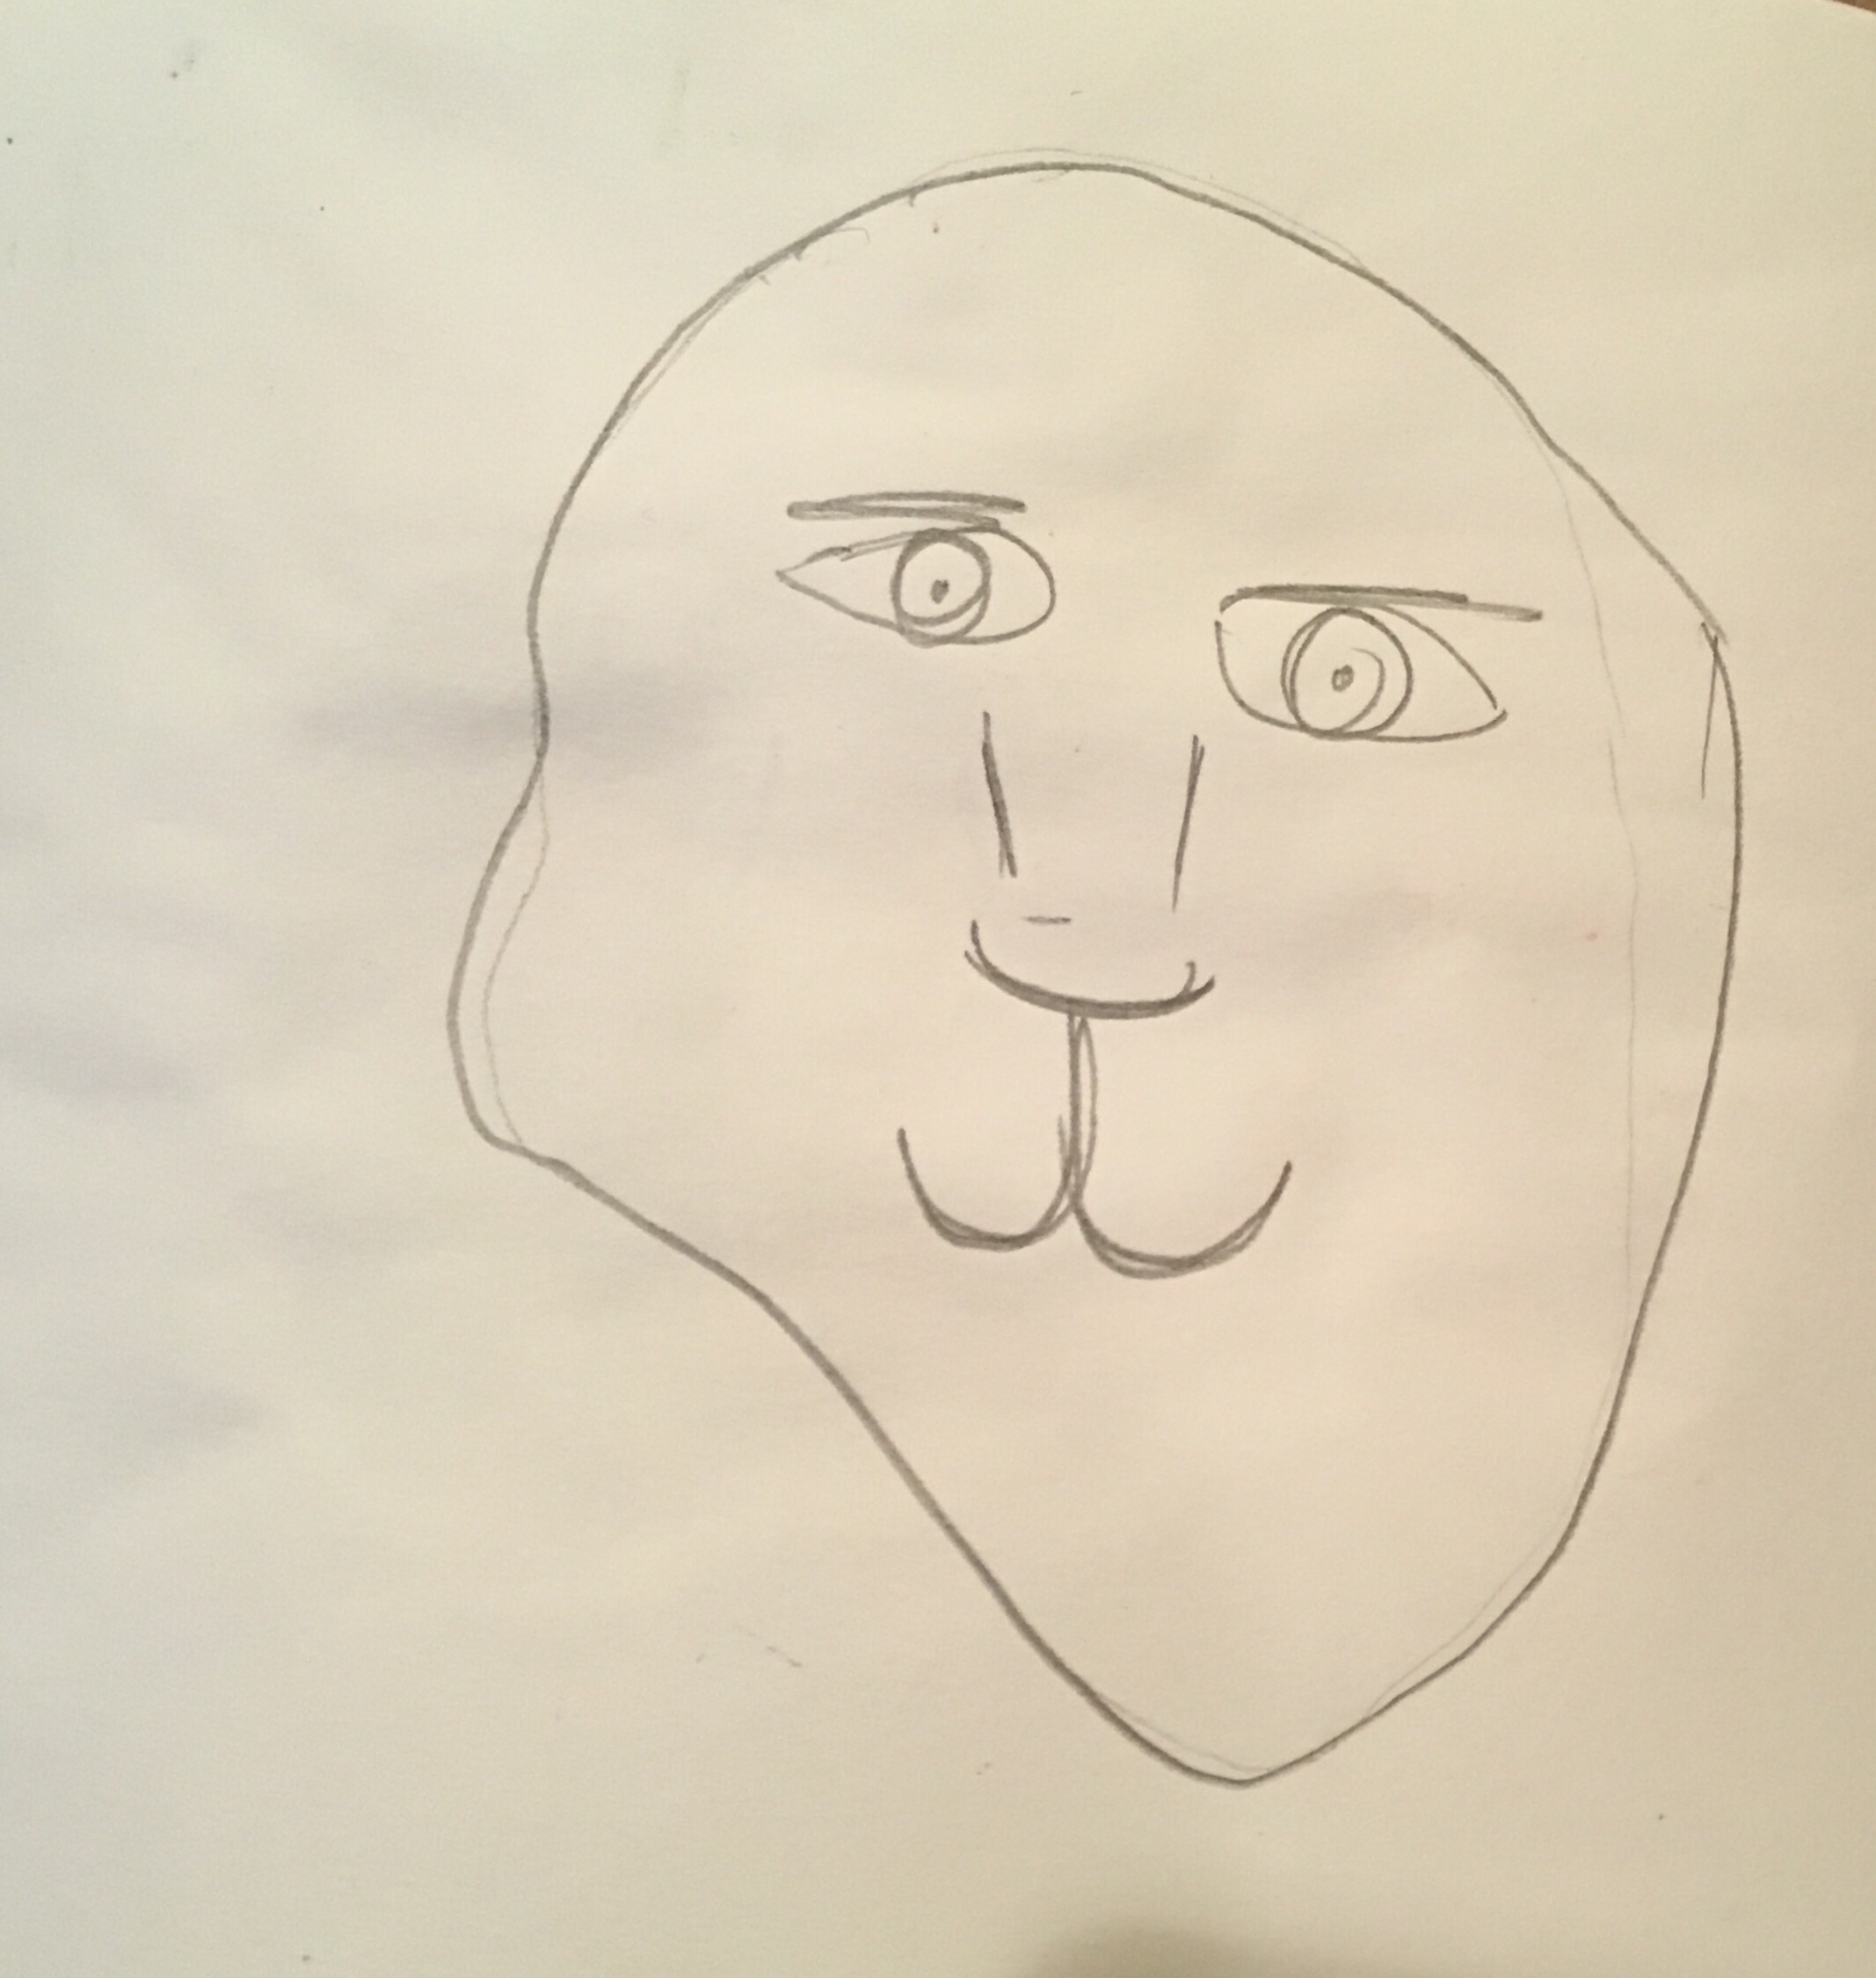
Step 1.
Draw the outline of the lion’s face.
We made sure, the face was a good size and talked about different shapes for the face. This shape was similar to LeRoy Neiman’s lion and makes the lion appear as if it is looking sideways.
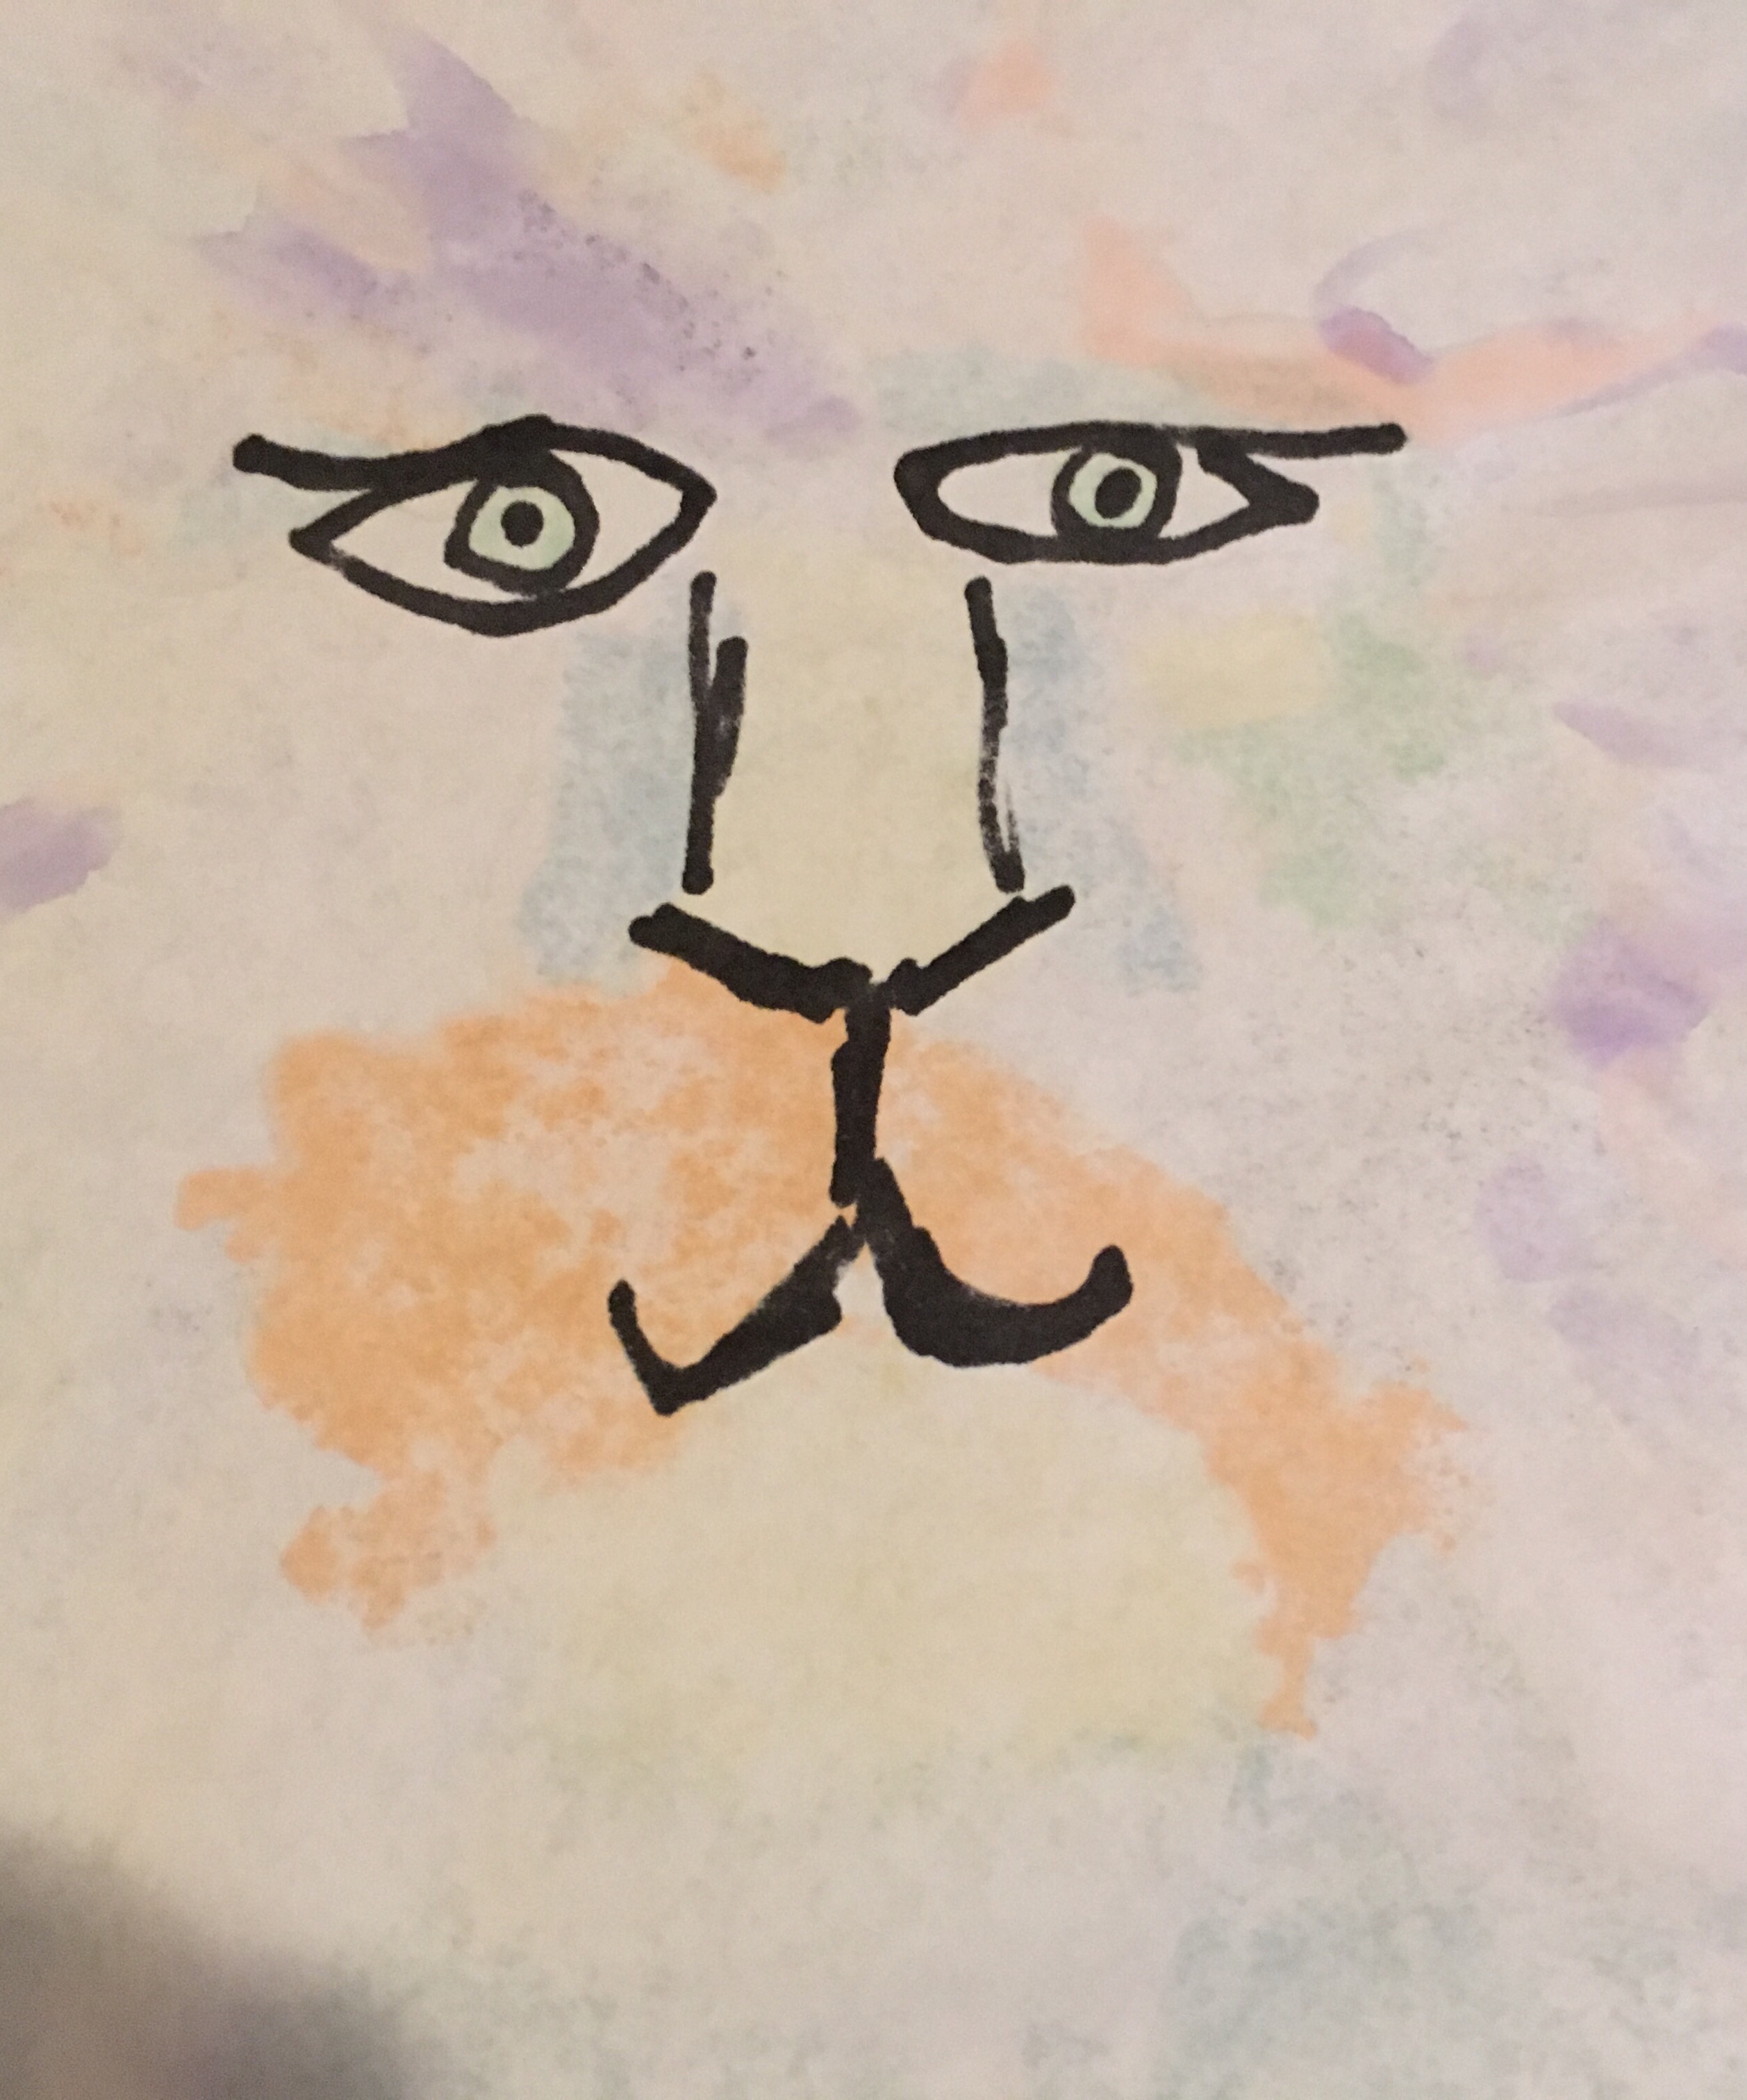
Step 2.
Draw the lions eyes, nose, mouth and ears.
We tried out different shaped eyes and noses. Once the children were happy with their drawings, they outlined them in black sharpie.
Step 3.
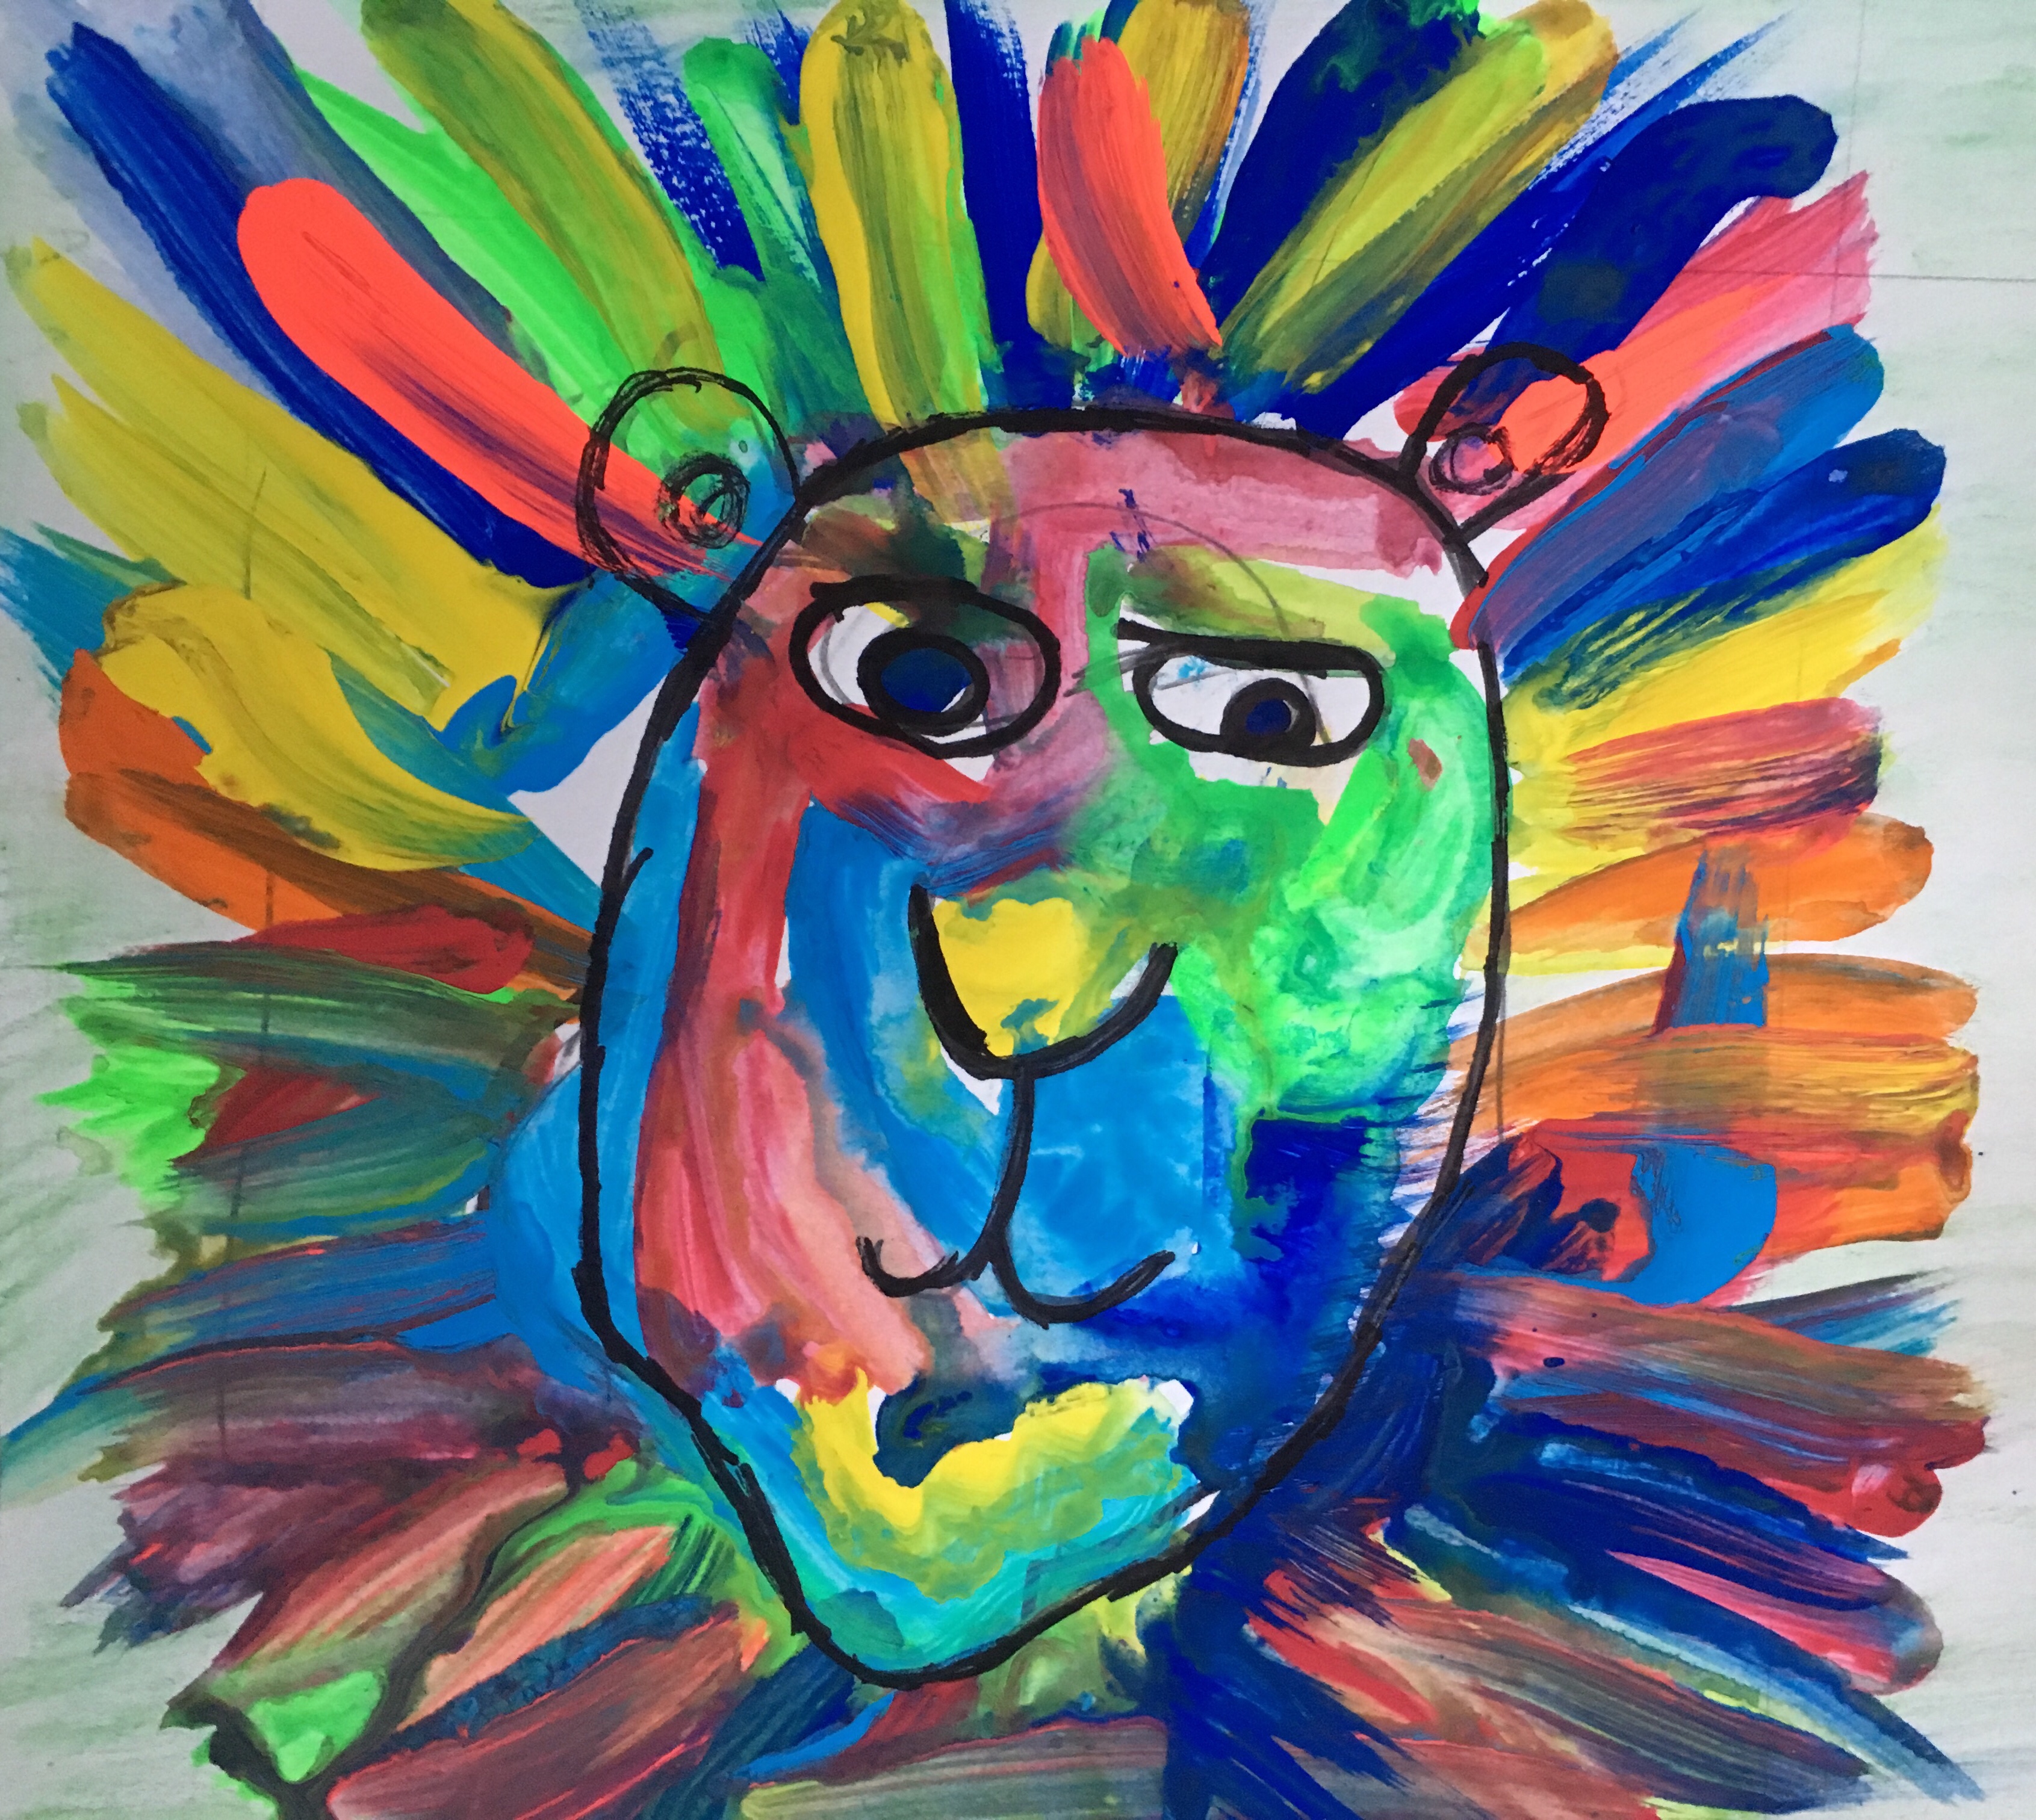
Paint the Mane. I showed them how to make sweeping brushstrokes, starting at the edge of the face and moving outwards. I encouraged them to use lots of bright colours and to try not to mix them too much.
Some used straight lines
Others chose curved lines
And some let the lines move in different directions.
Step 4.
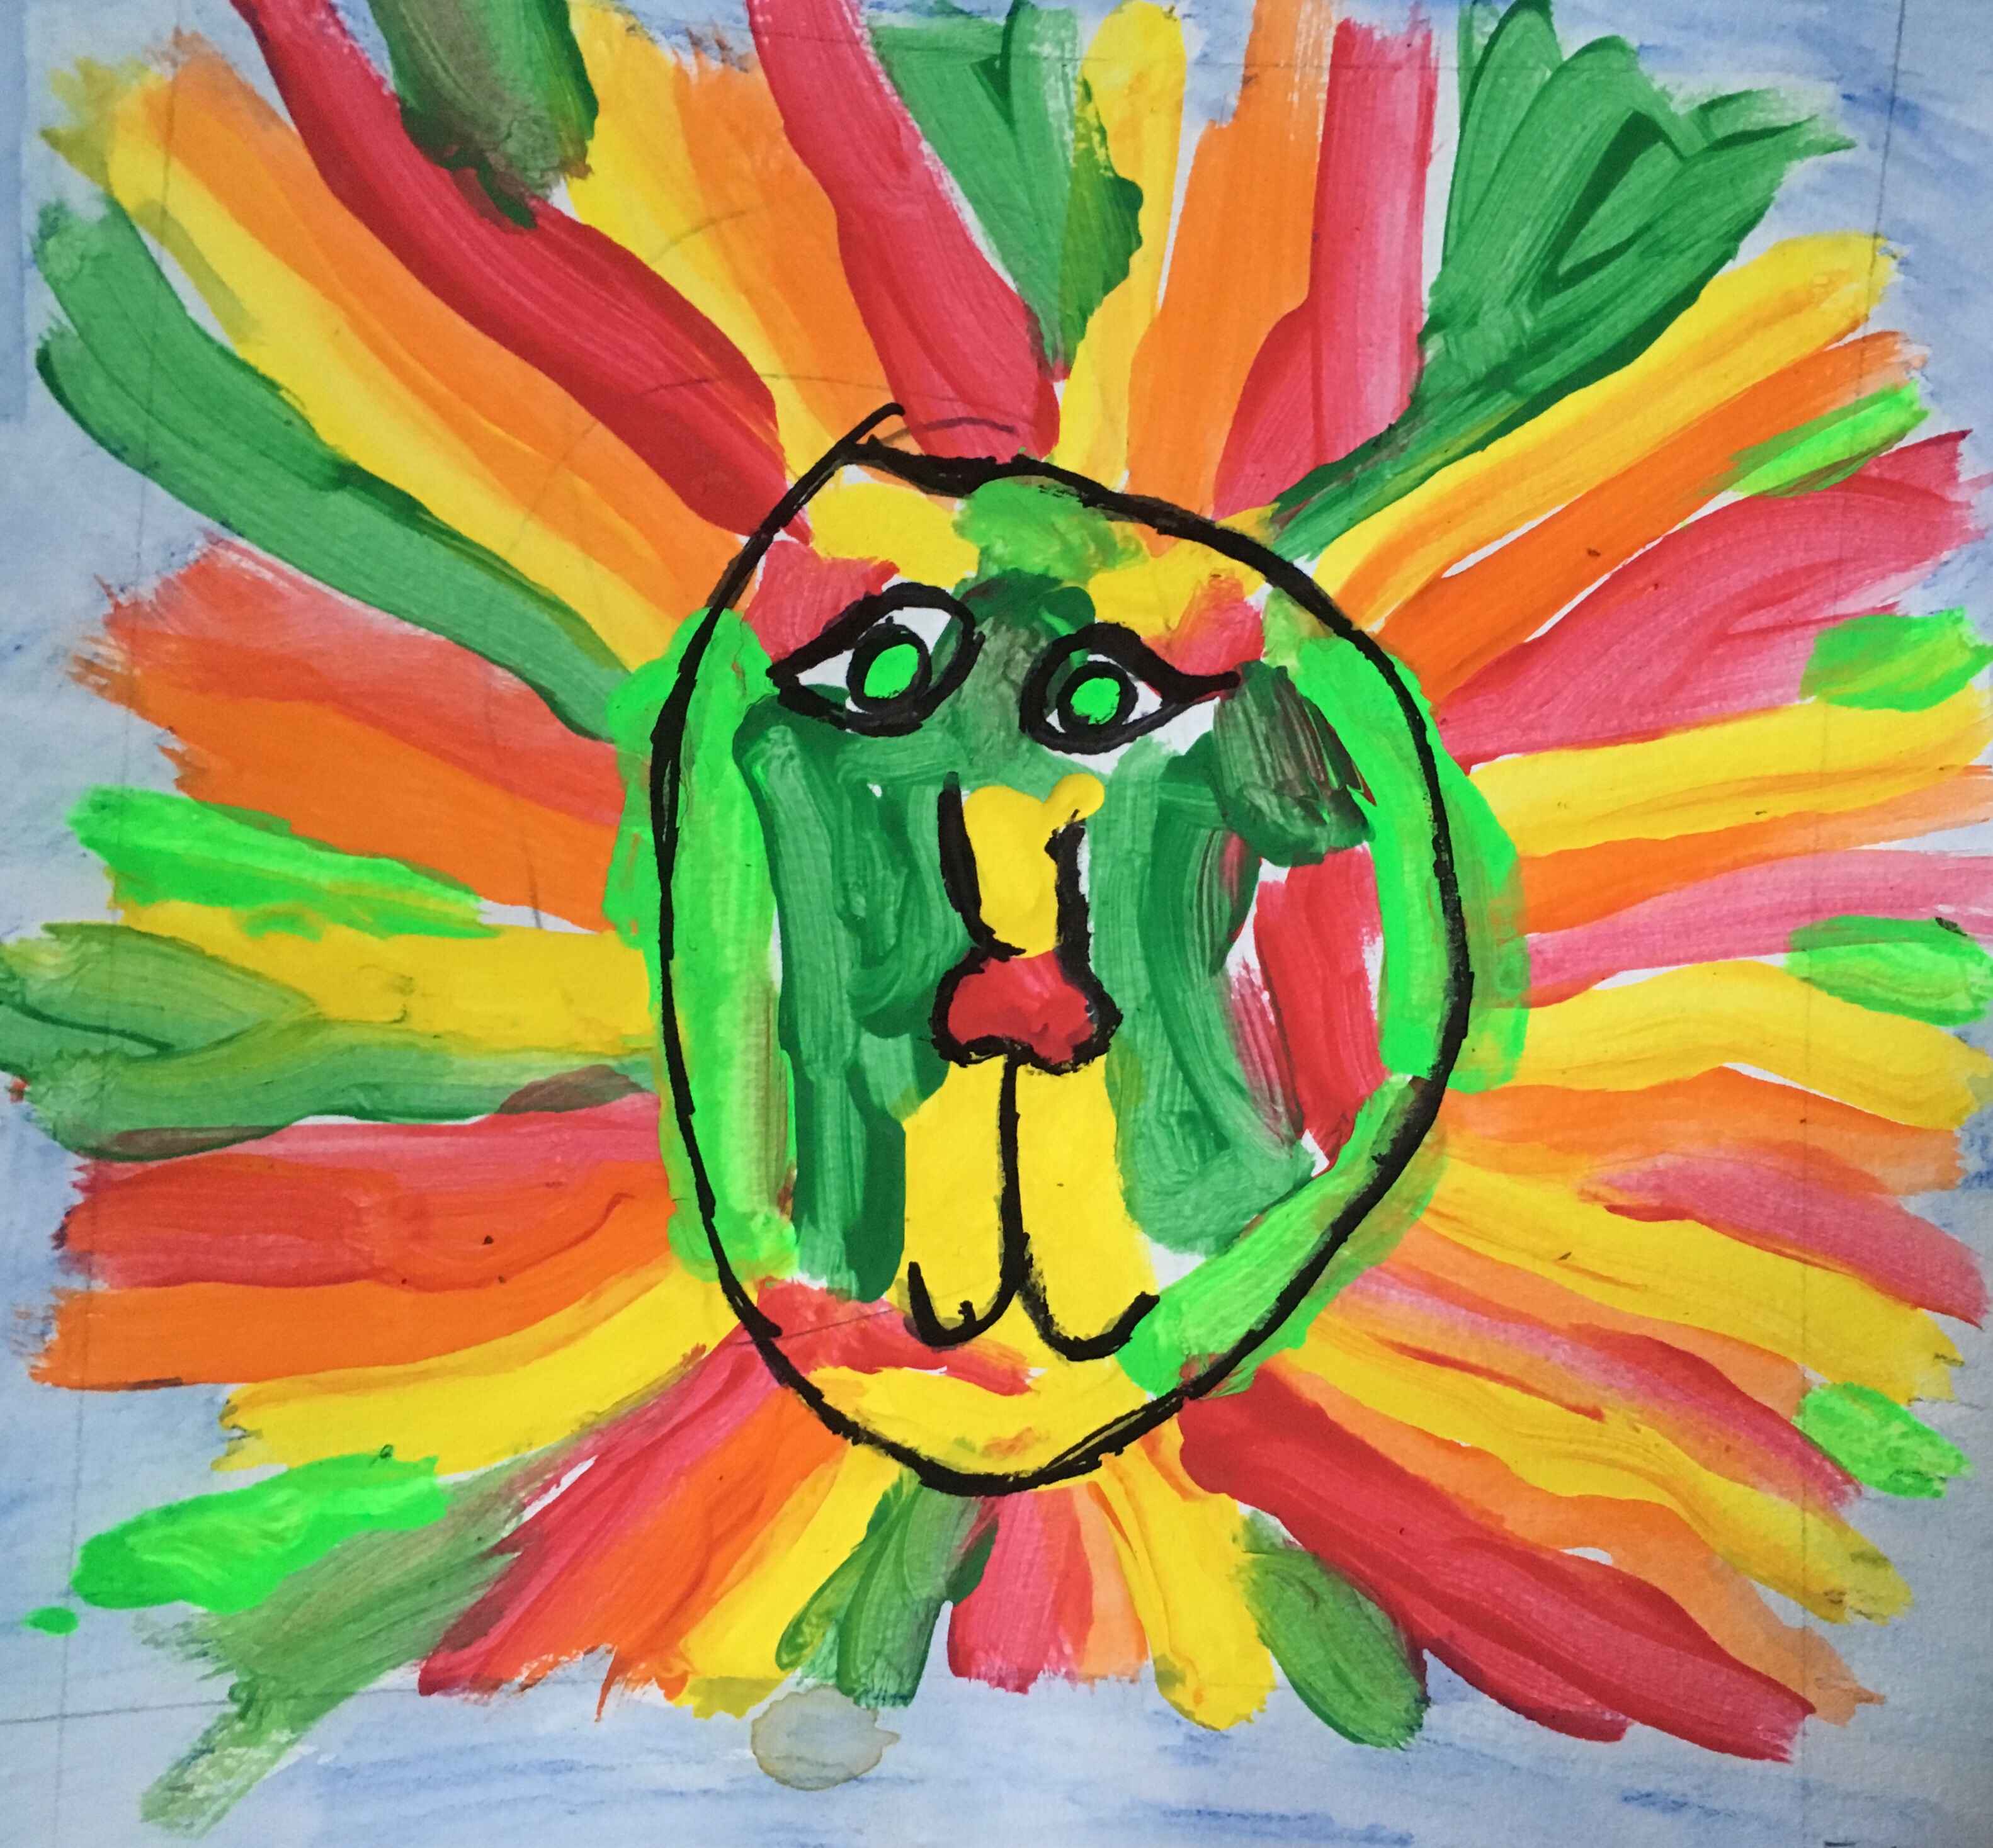
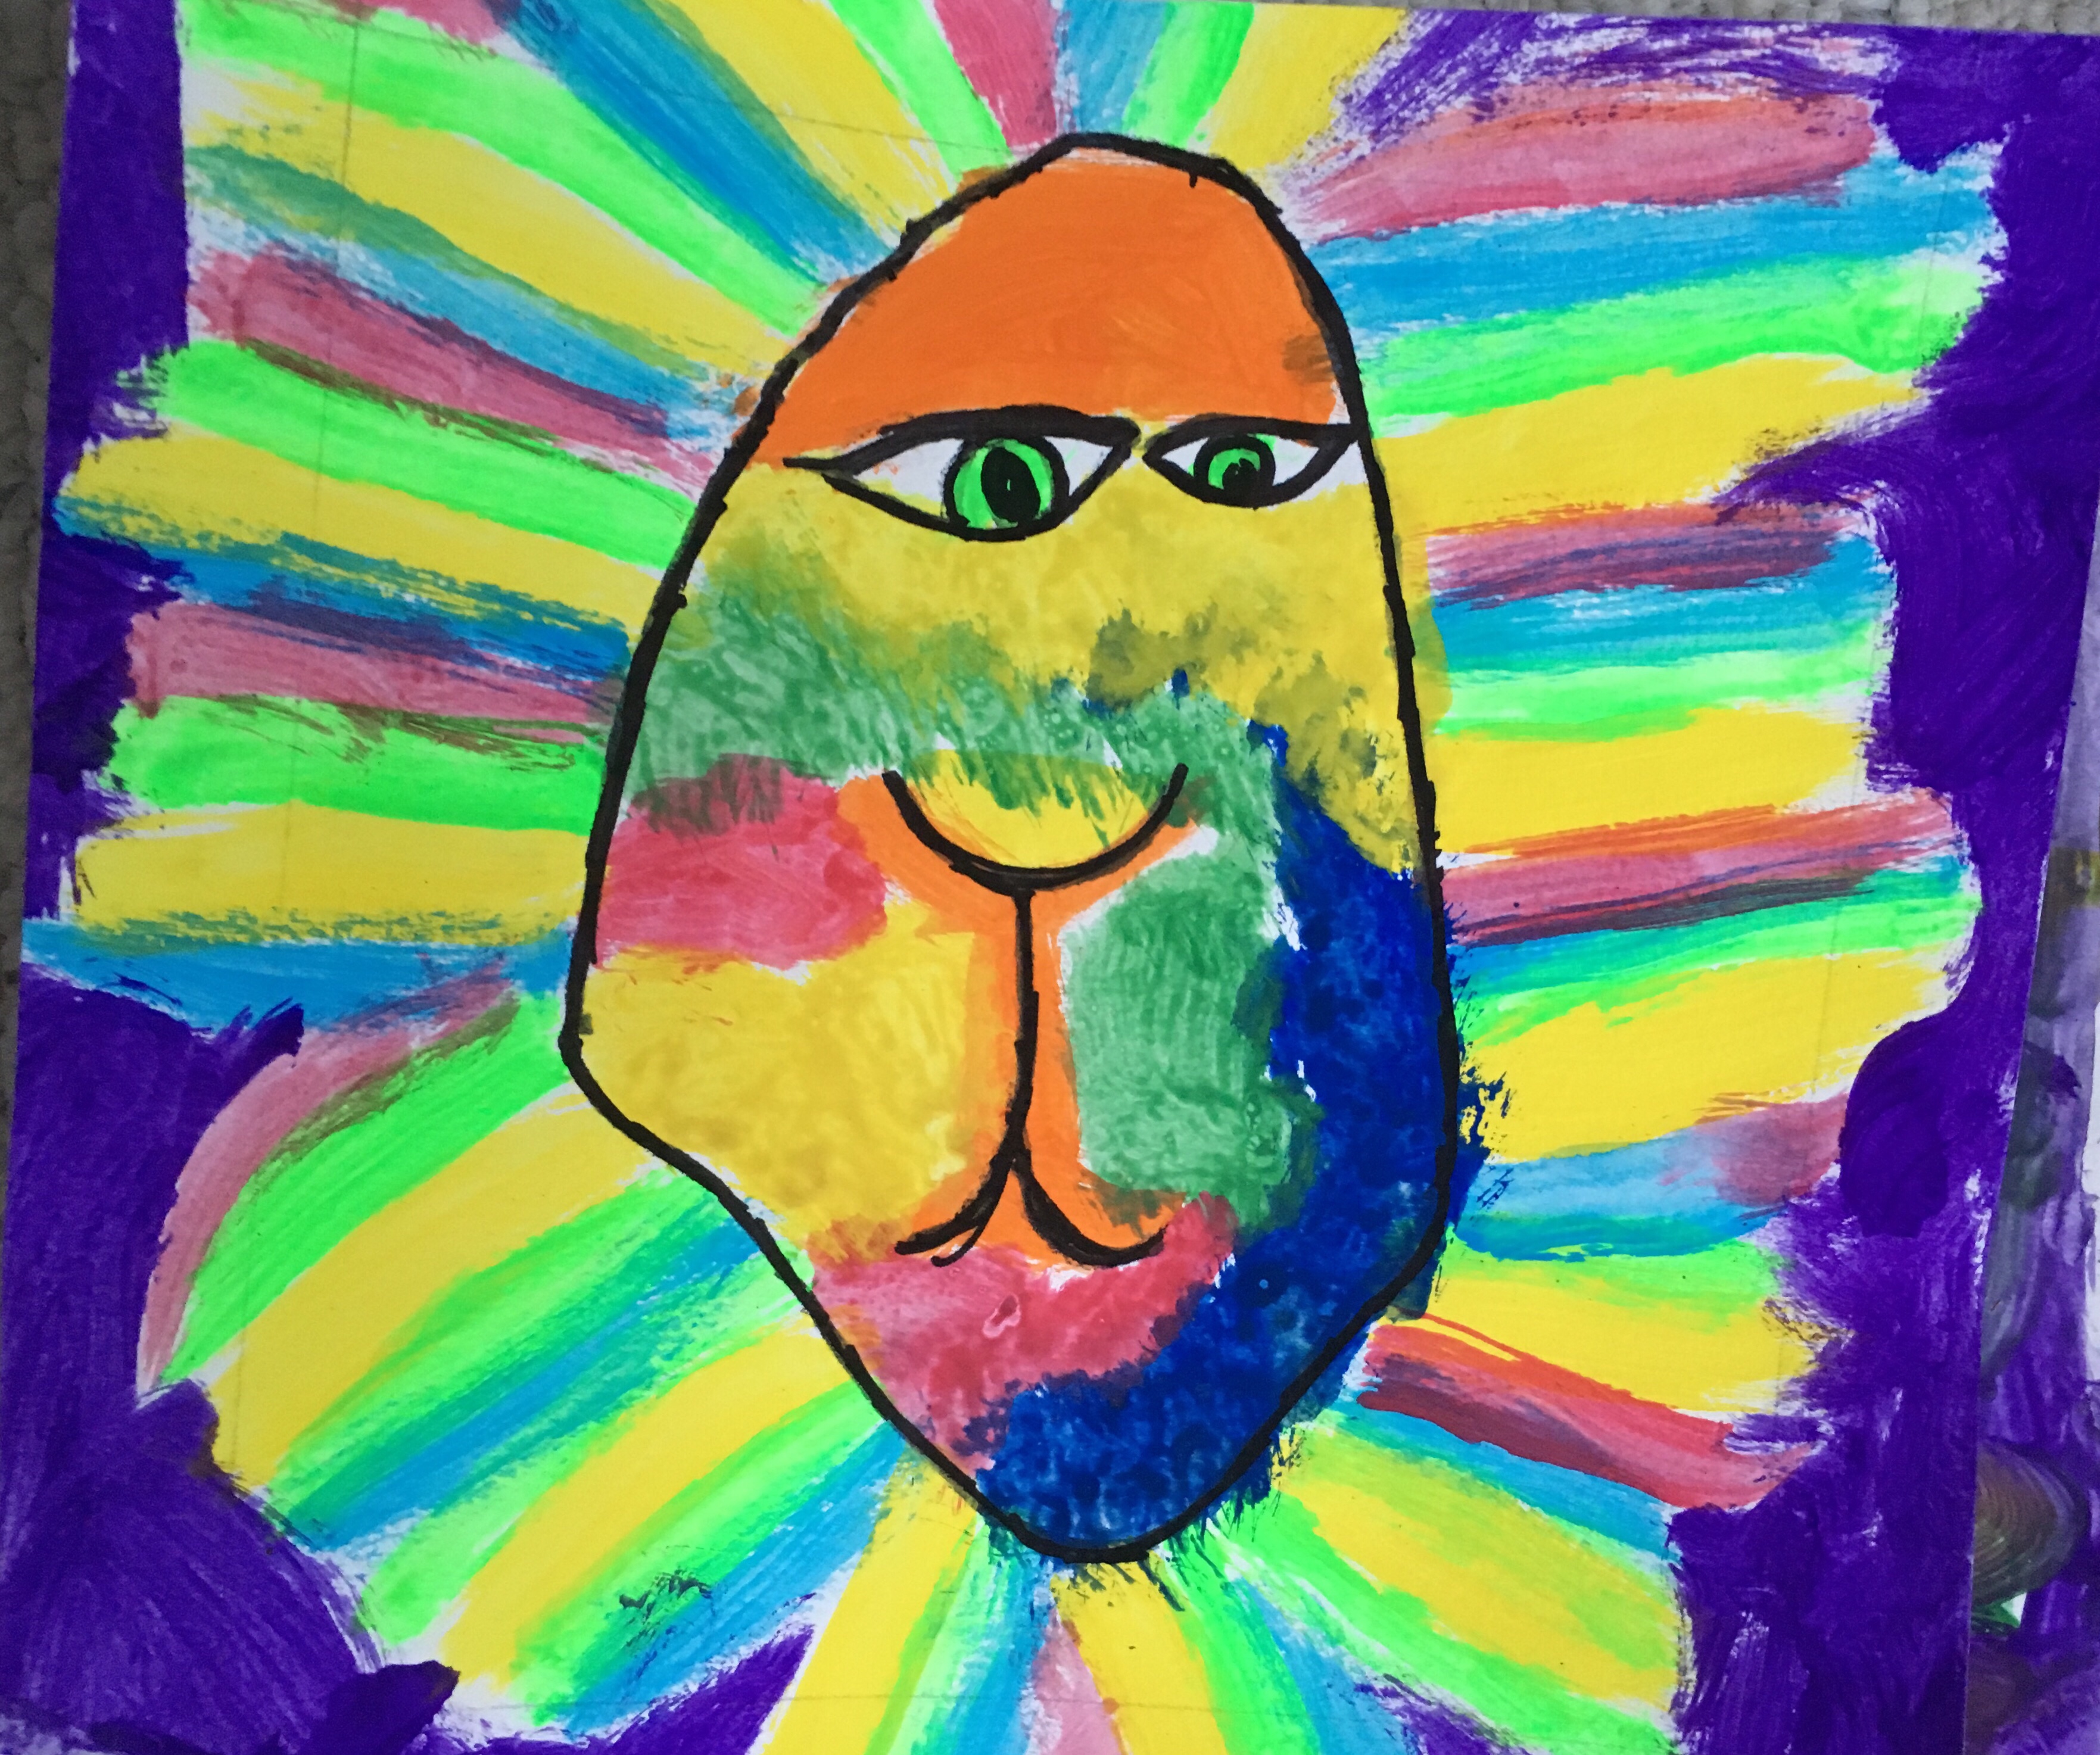
Paint the face. We looked at Neiman’s use of colour – how he used light colours on the nose and chin and darker colours in the shadows. Again, I encouraged them to keep the colours distinct to make a patchwork effect.
Step 5.
Once the paint is dry, outline the features again in sharpie (this helps it to show up when the art work is reproduced by Square 1) and paint a watercolour wash for the background.
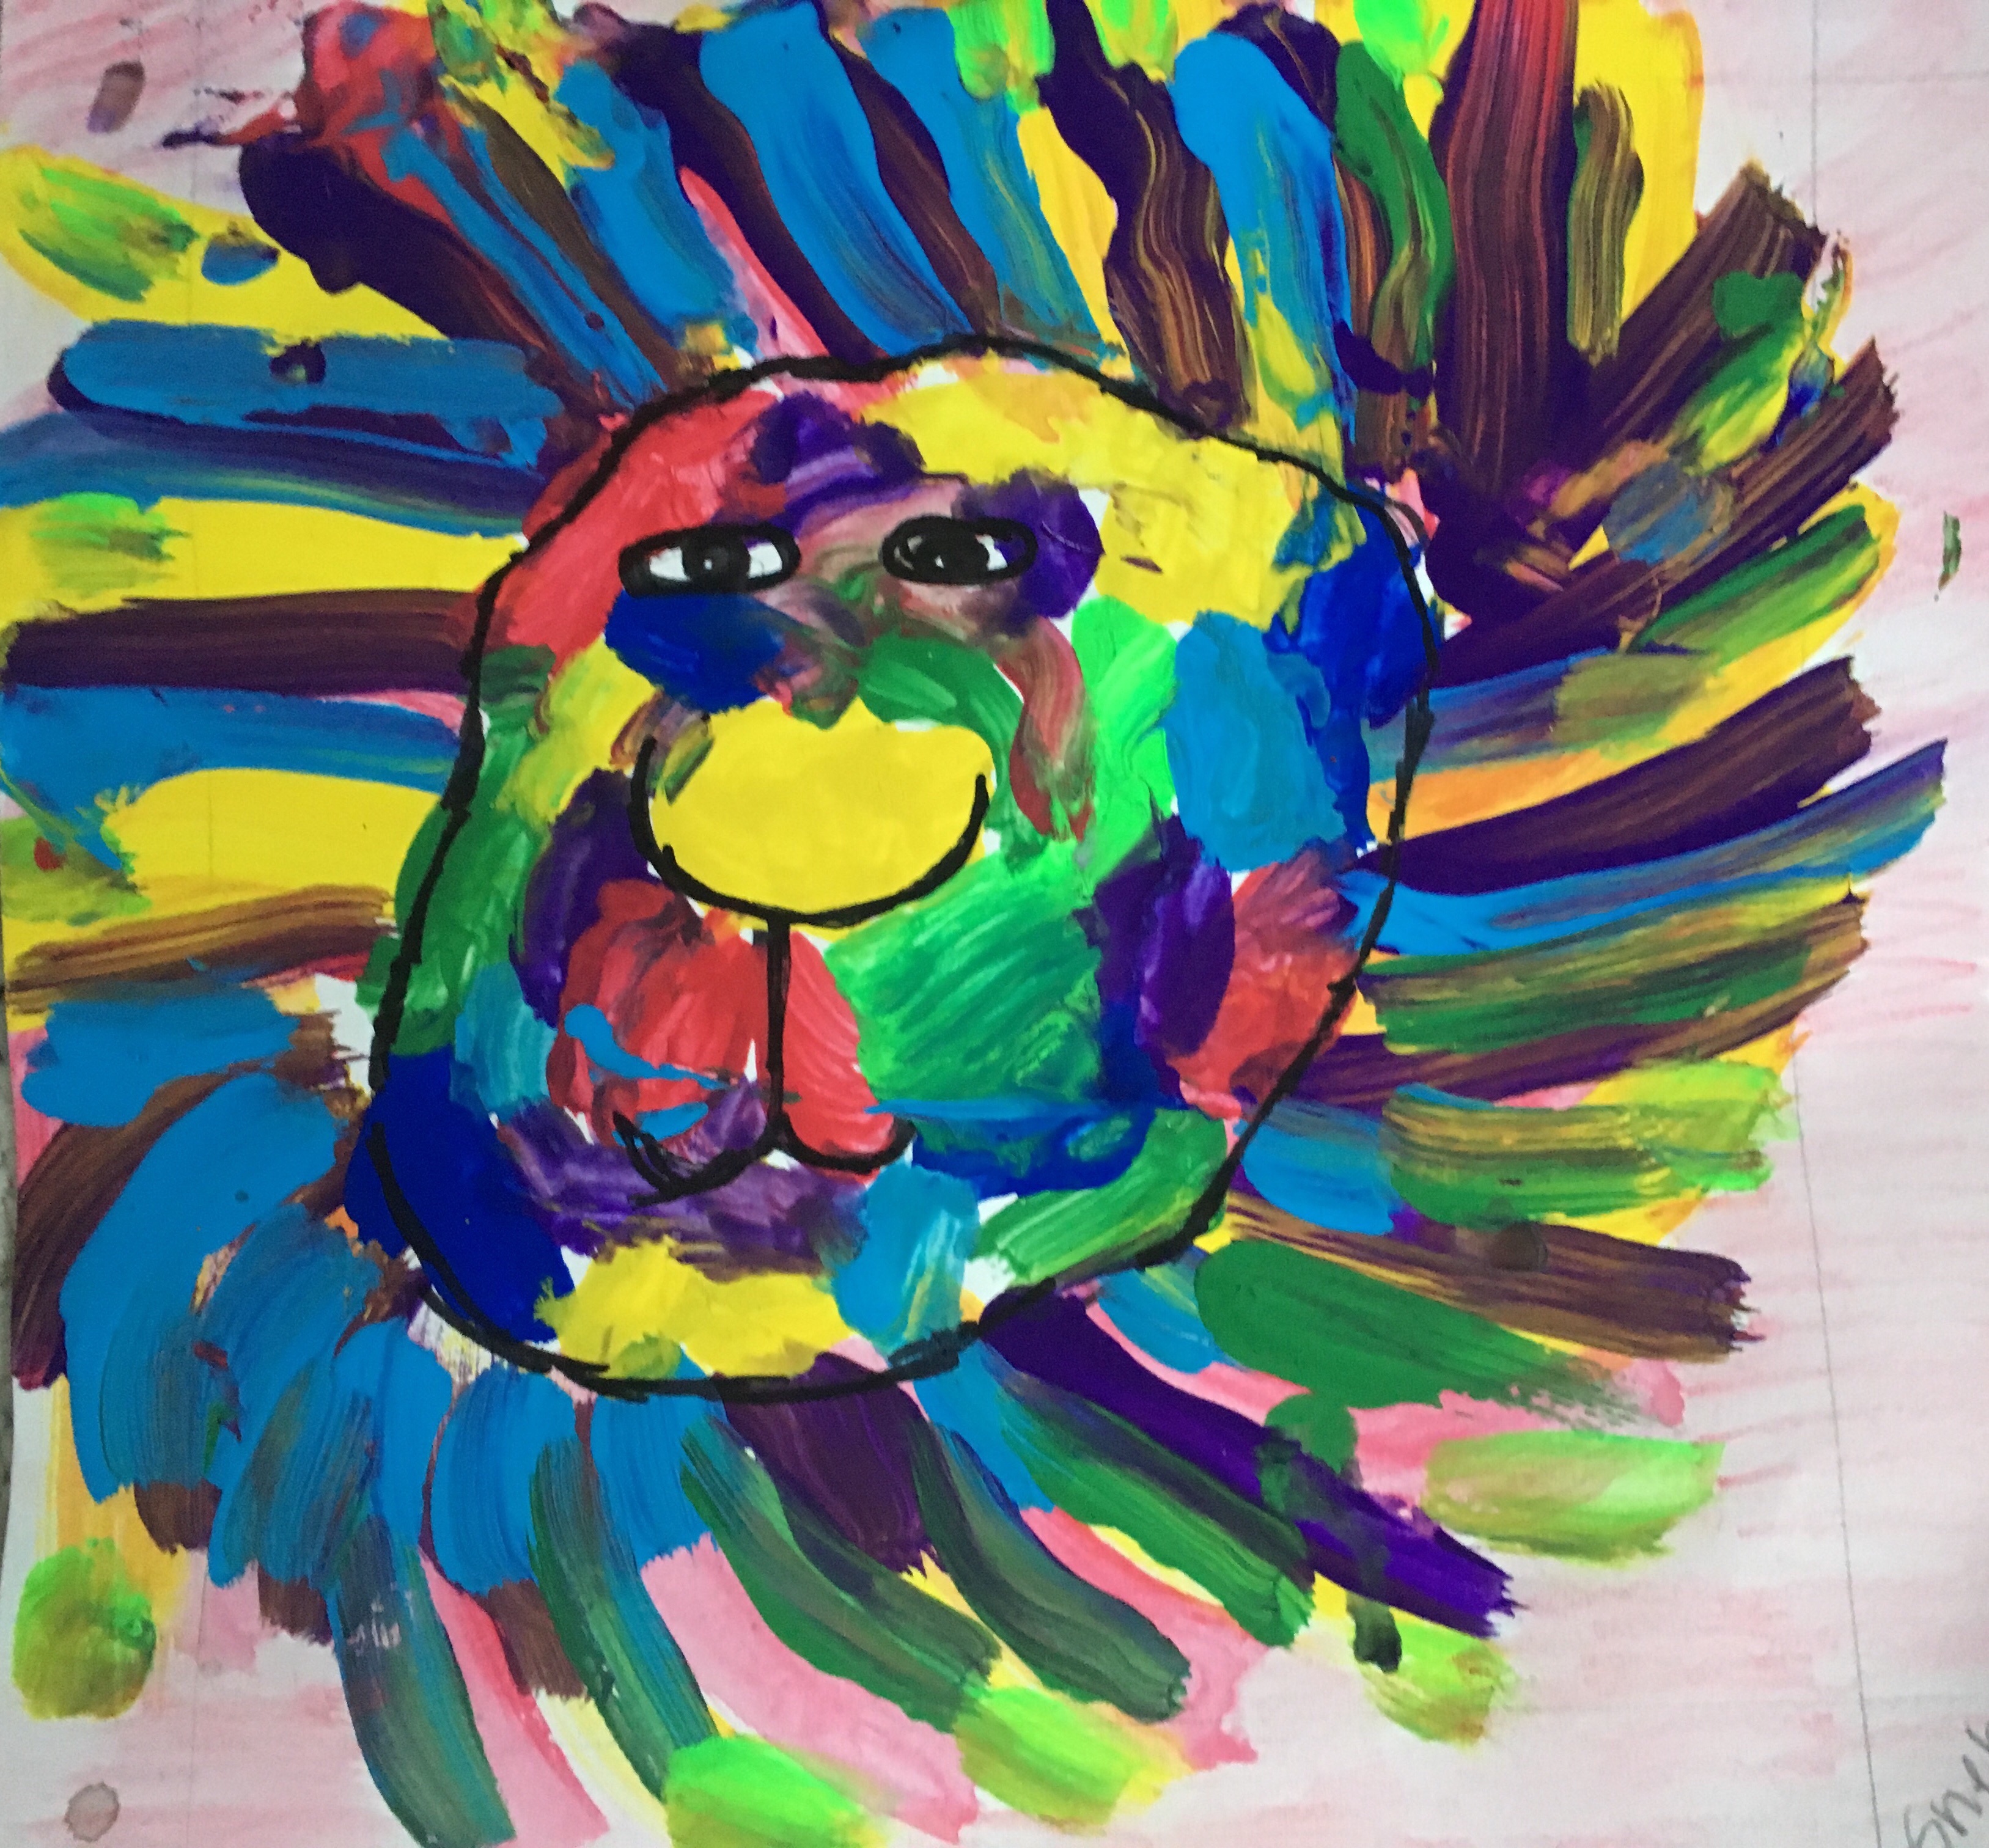
This child didn’t want to outline the lion’s face, preferring to let the face and mane merge into one another.
Some chose heart shaped faces
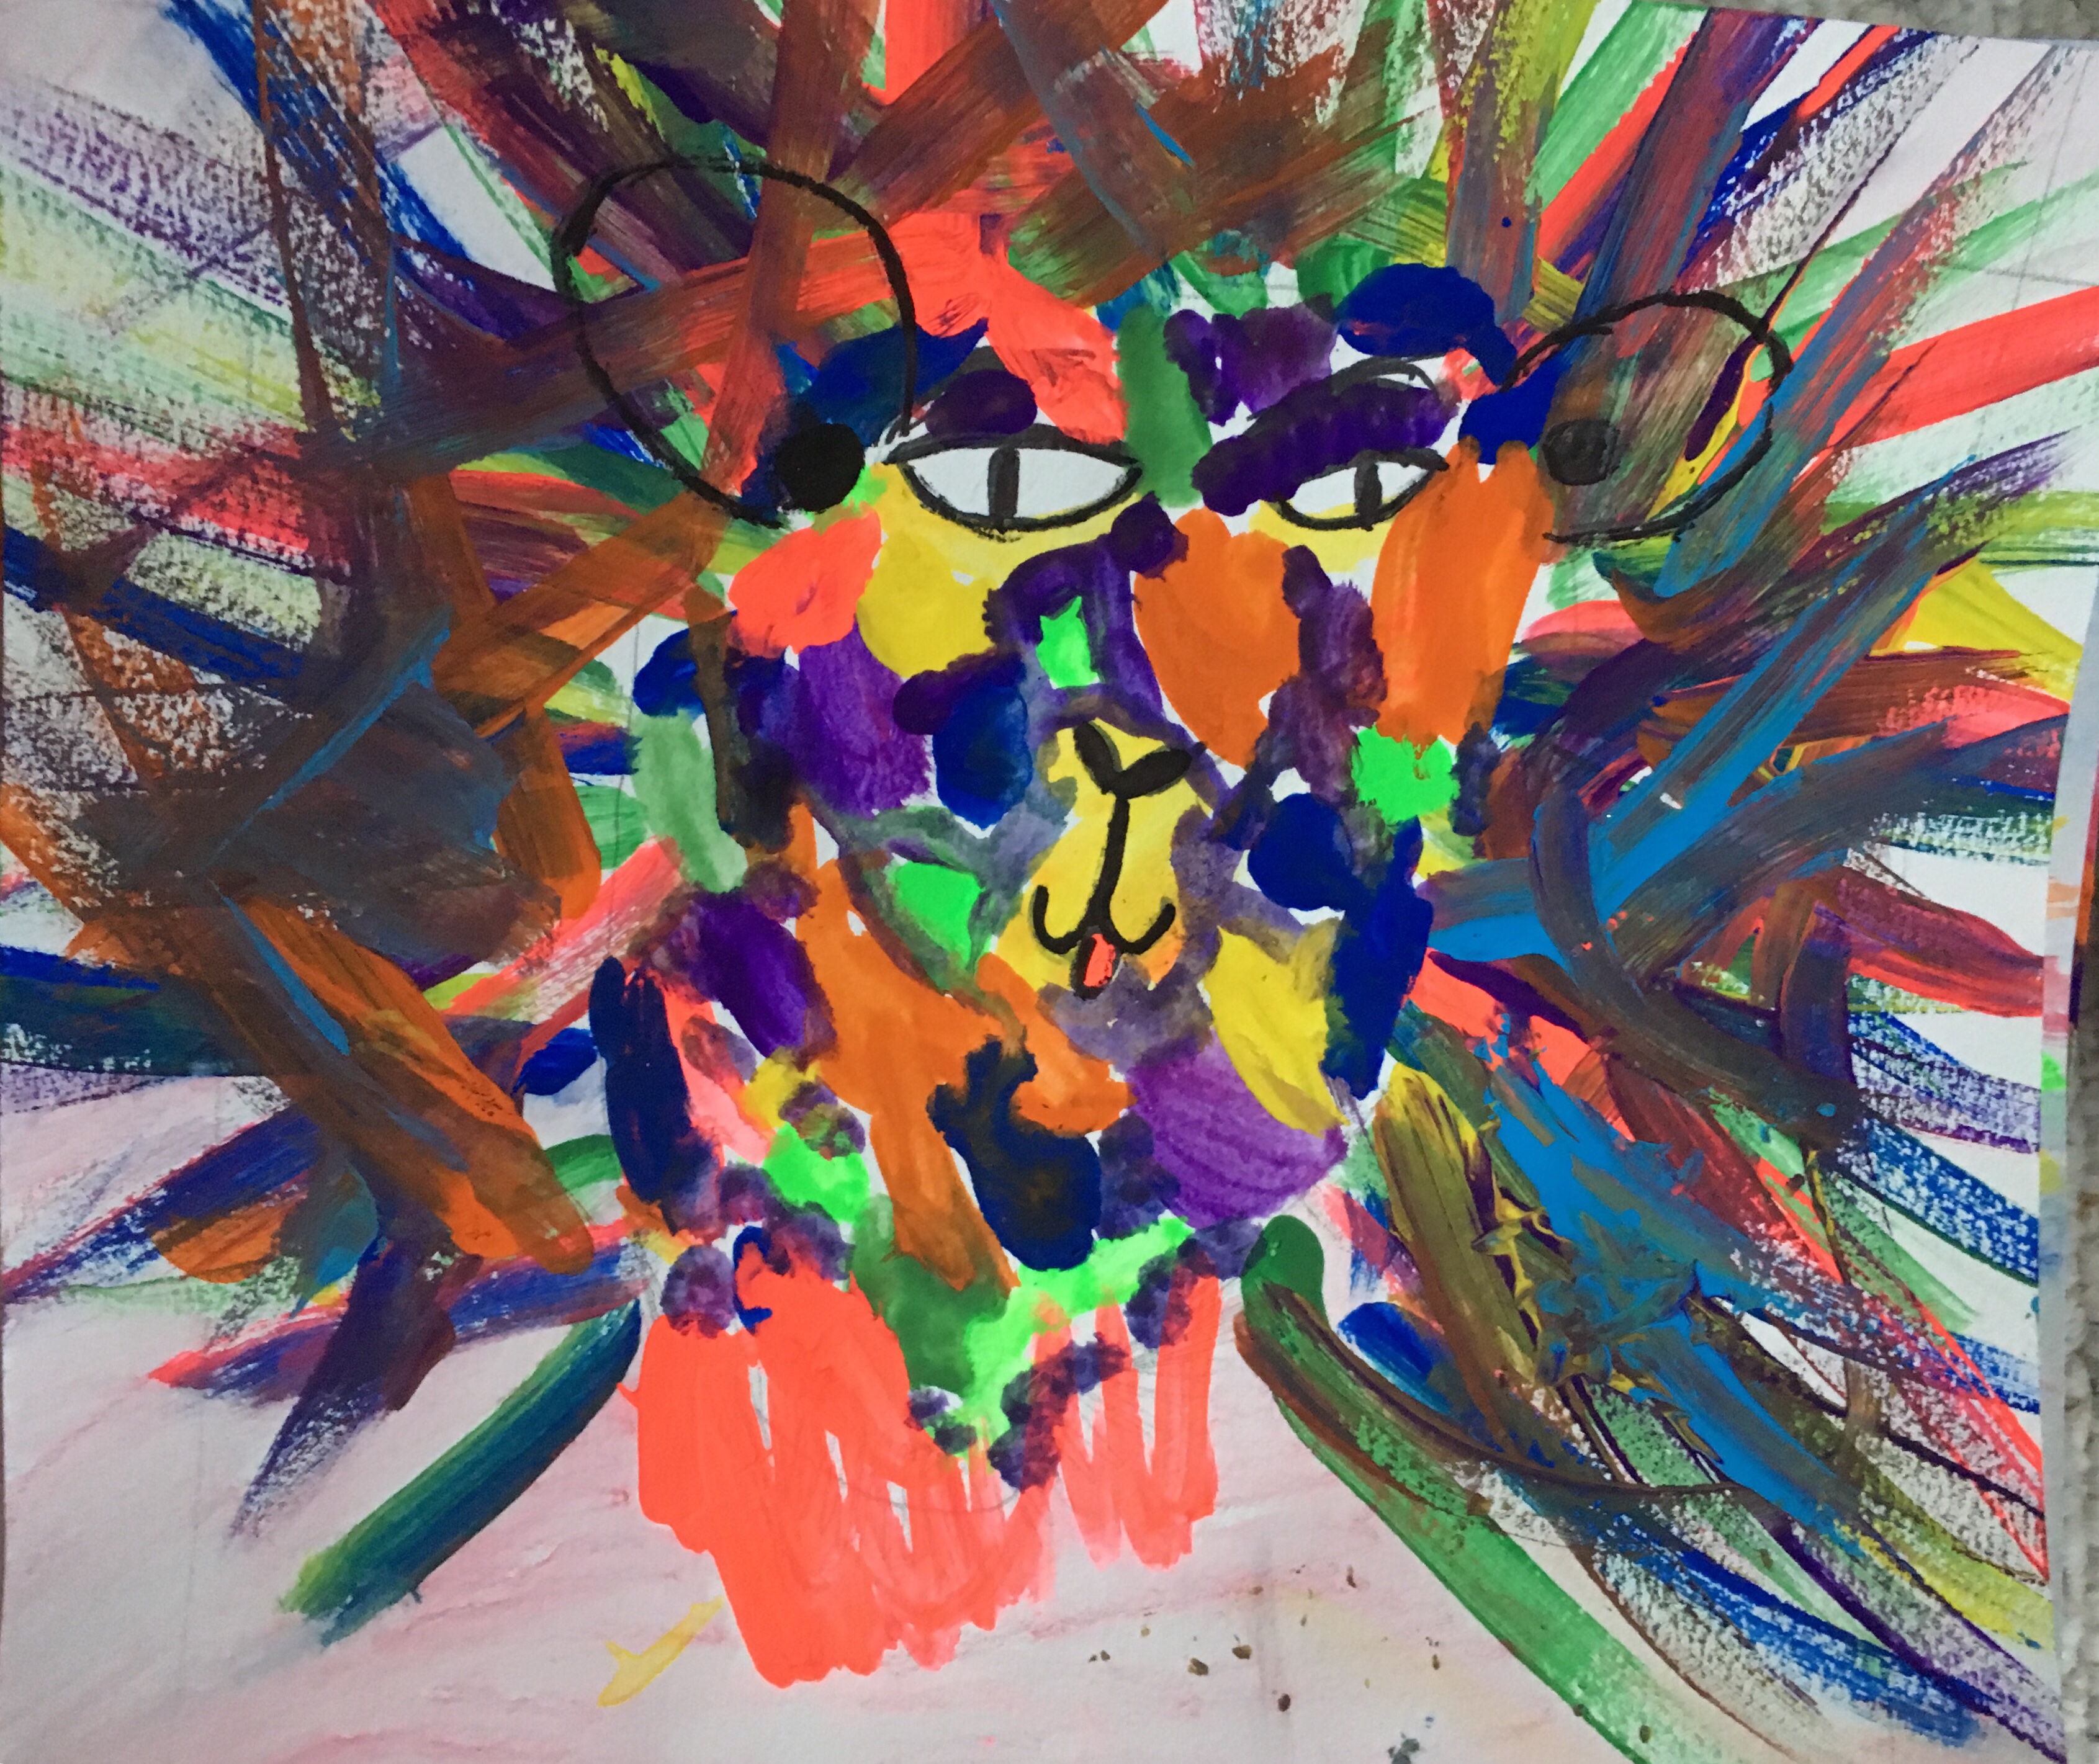
Some filled the whole page with patchwork colour
Some added ears
and some preferred lions without ears.
I love how individual they all are. Bright, bold and full of personality – perfect for a square one art project. I can’t wait to see how they look once their are printed onto keepsakes.
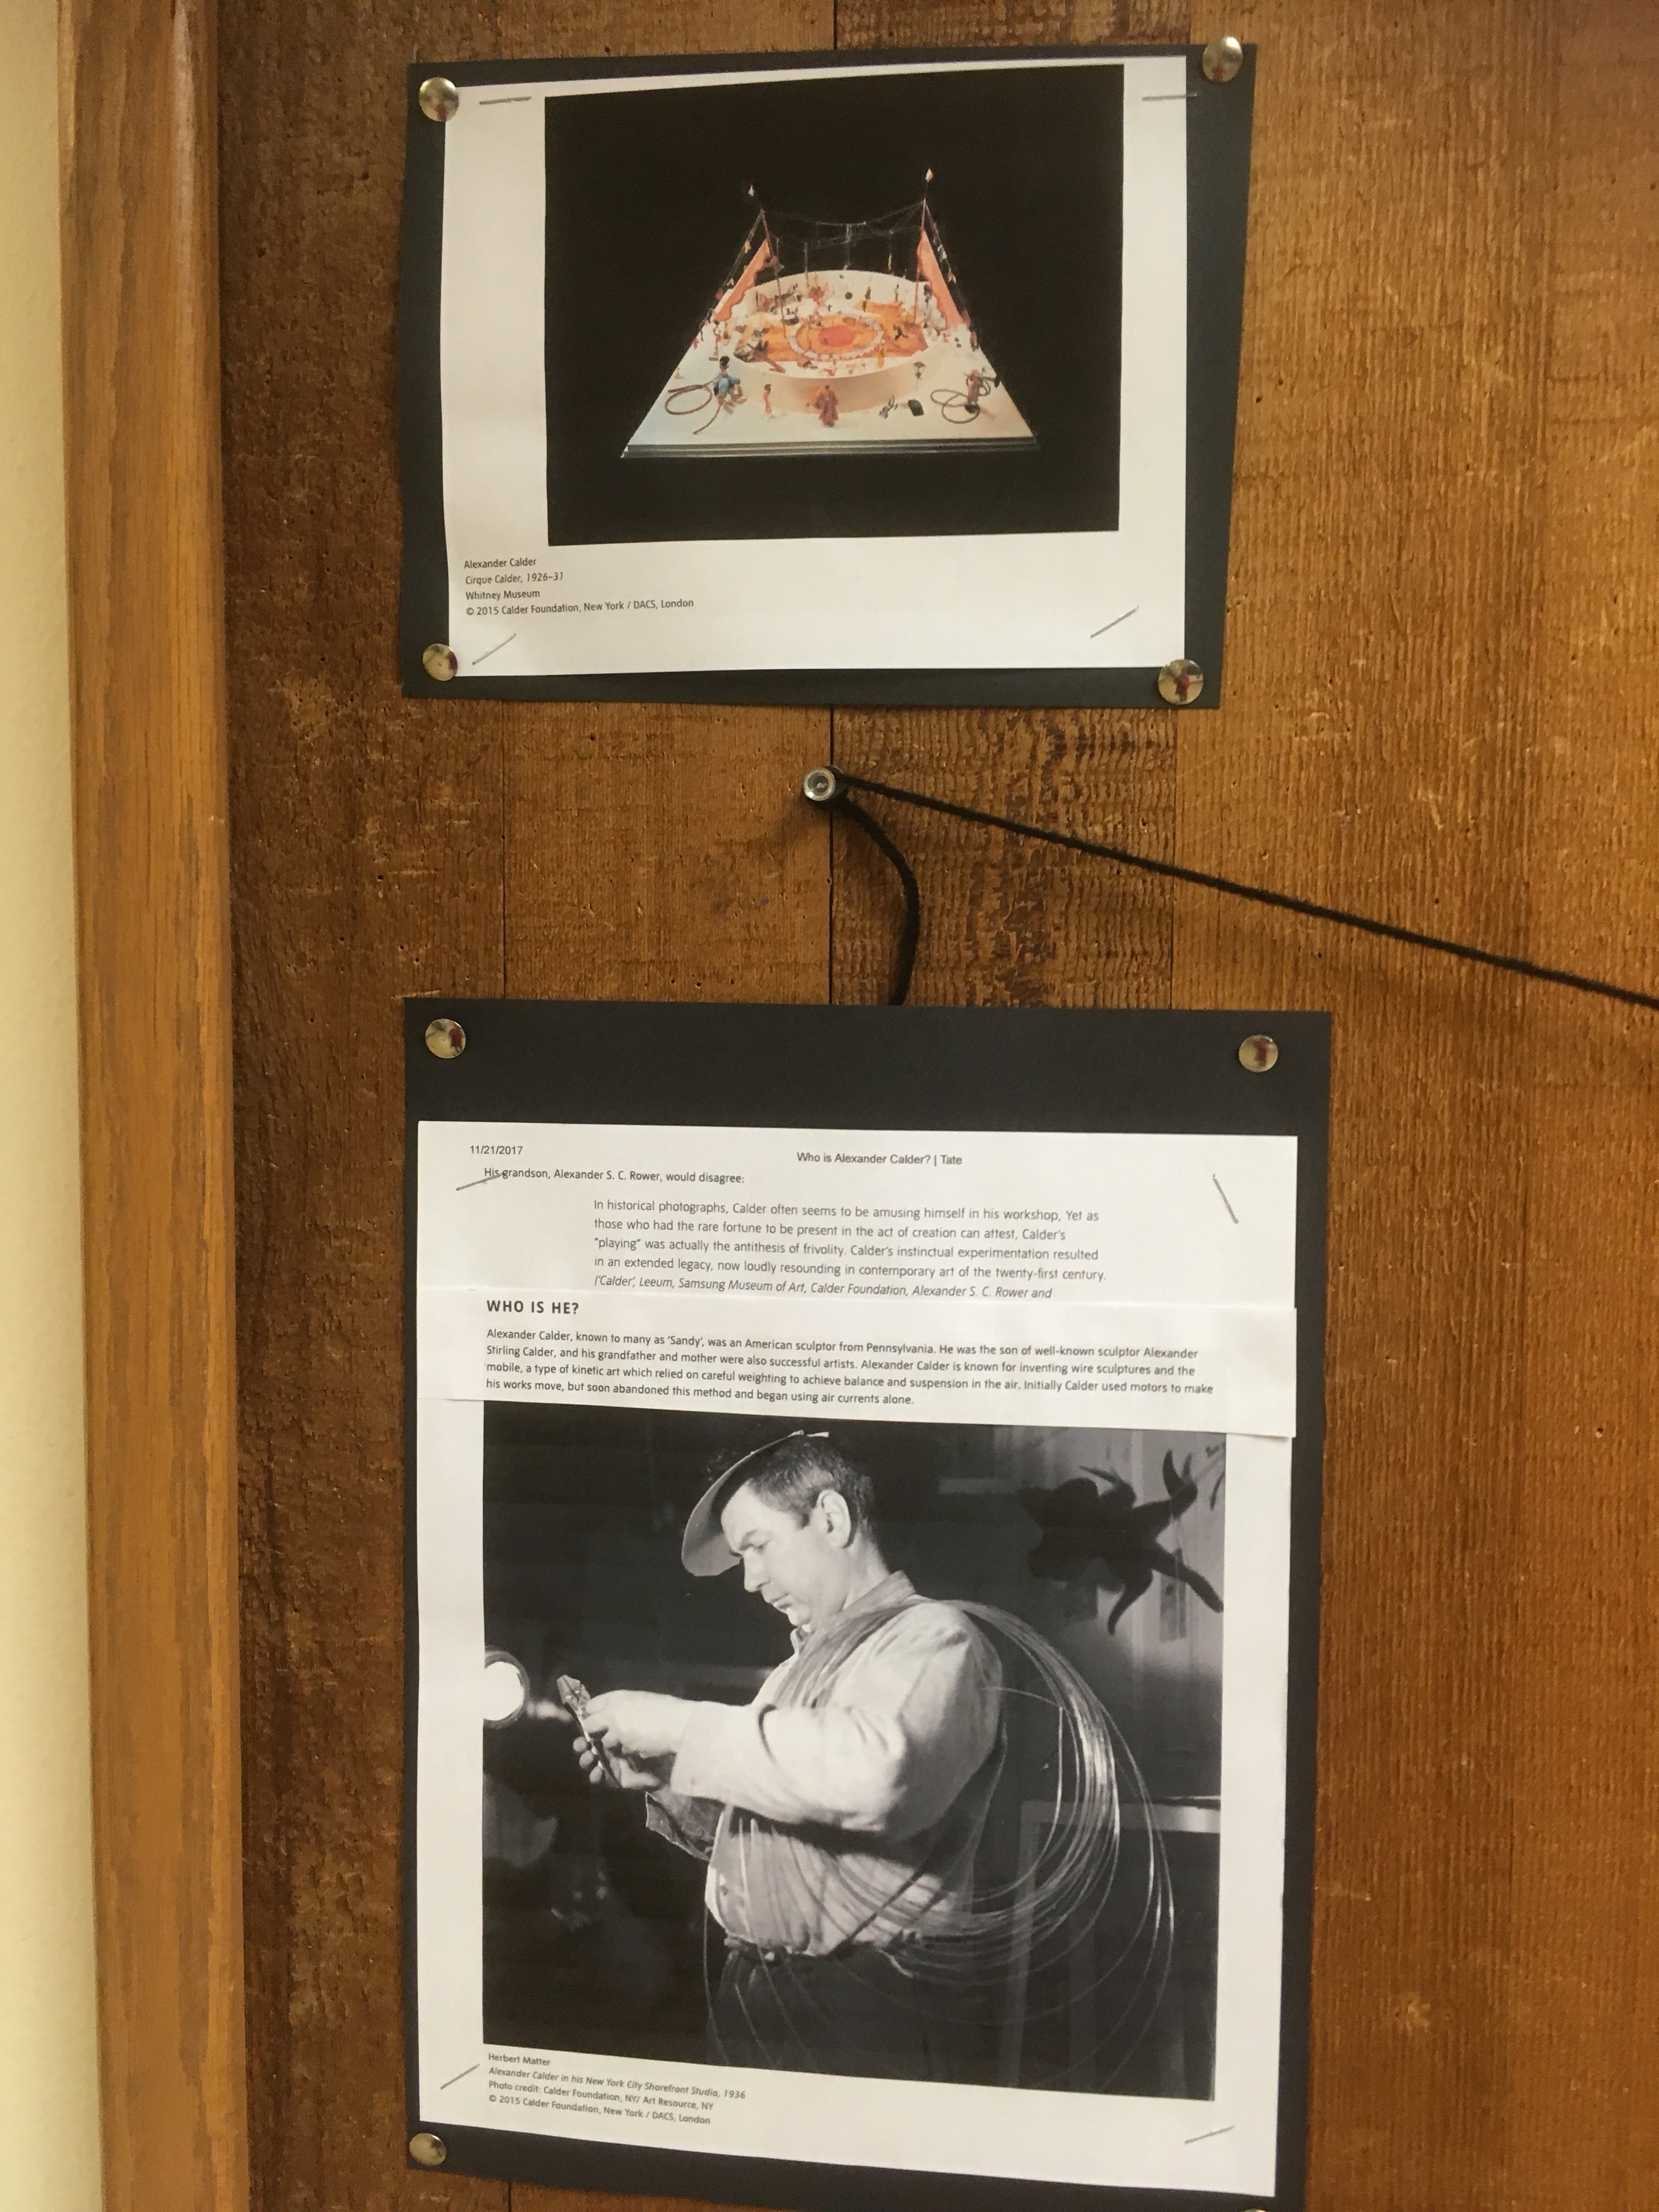
For this months art lesson with third grade, I chose to make wire circus performers inspired by Alexander Calder’s circus. When the children were in 1st grade we made Giacometti inspired wire sculptures. The thicker wire in these sculptures was difficult to bend so I chose thinner wire this time.
The lesson began with the book Sandy’s Circus by Tanya Lee Stone. This picture book tells the story of Calder’s youth, how he came to enjoy wire sculpture, become an artist and create his moving circus.
The Whitney Museum of American Art have actual video footage of Alexander Calder working his circus. I showed the children this video from 1927, but there are many others.
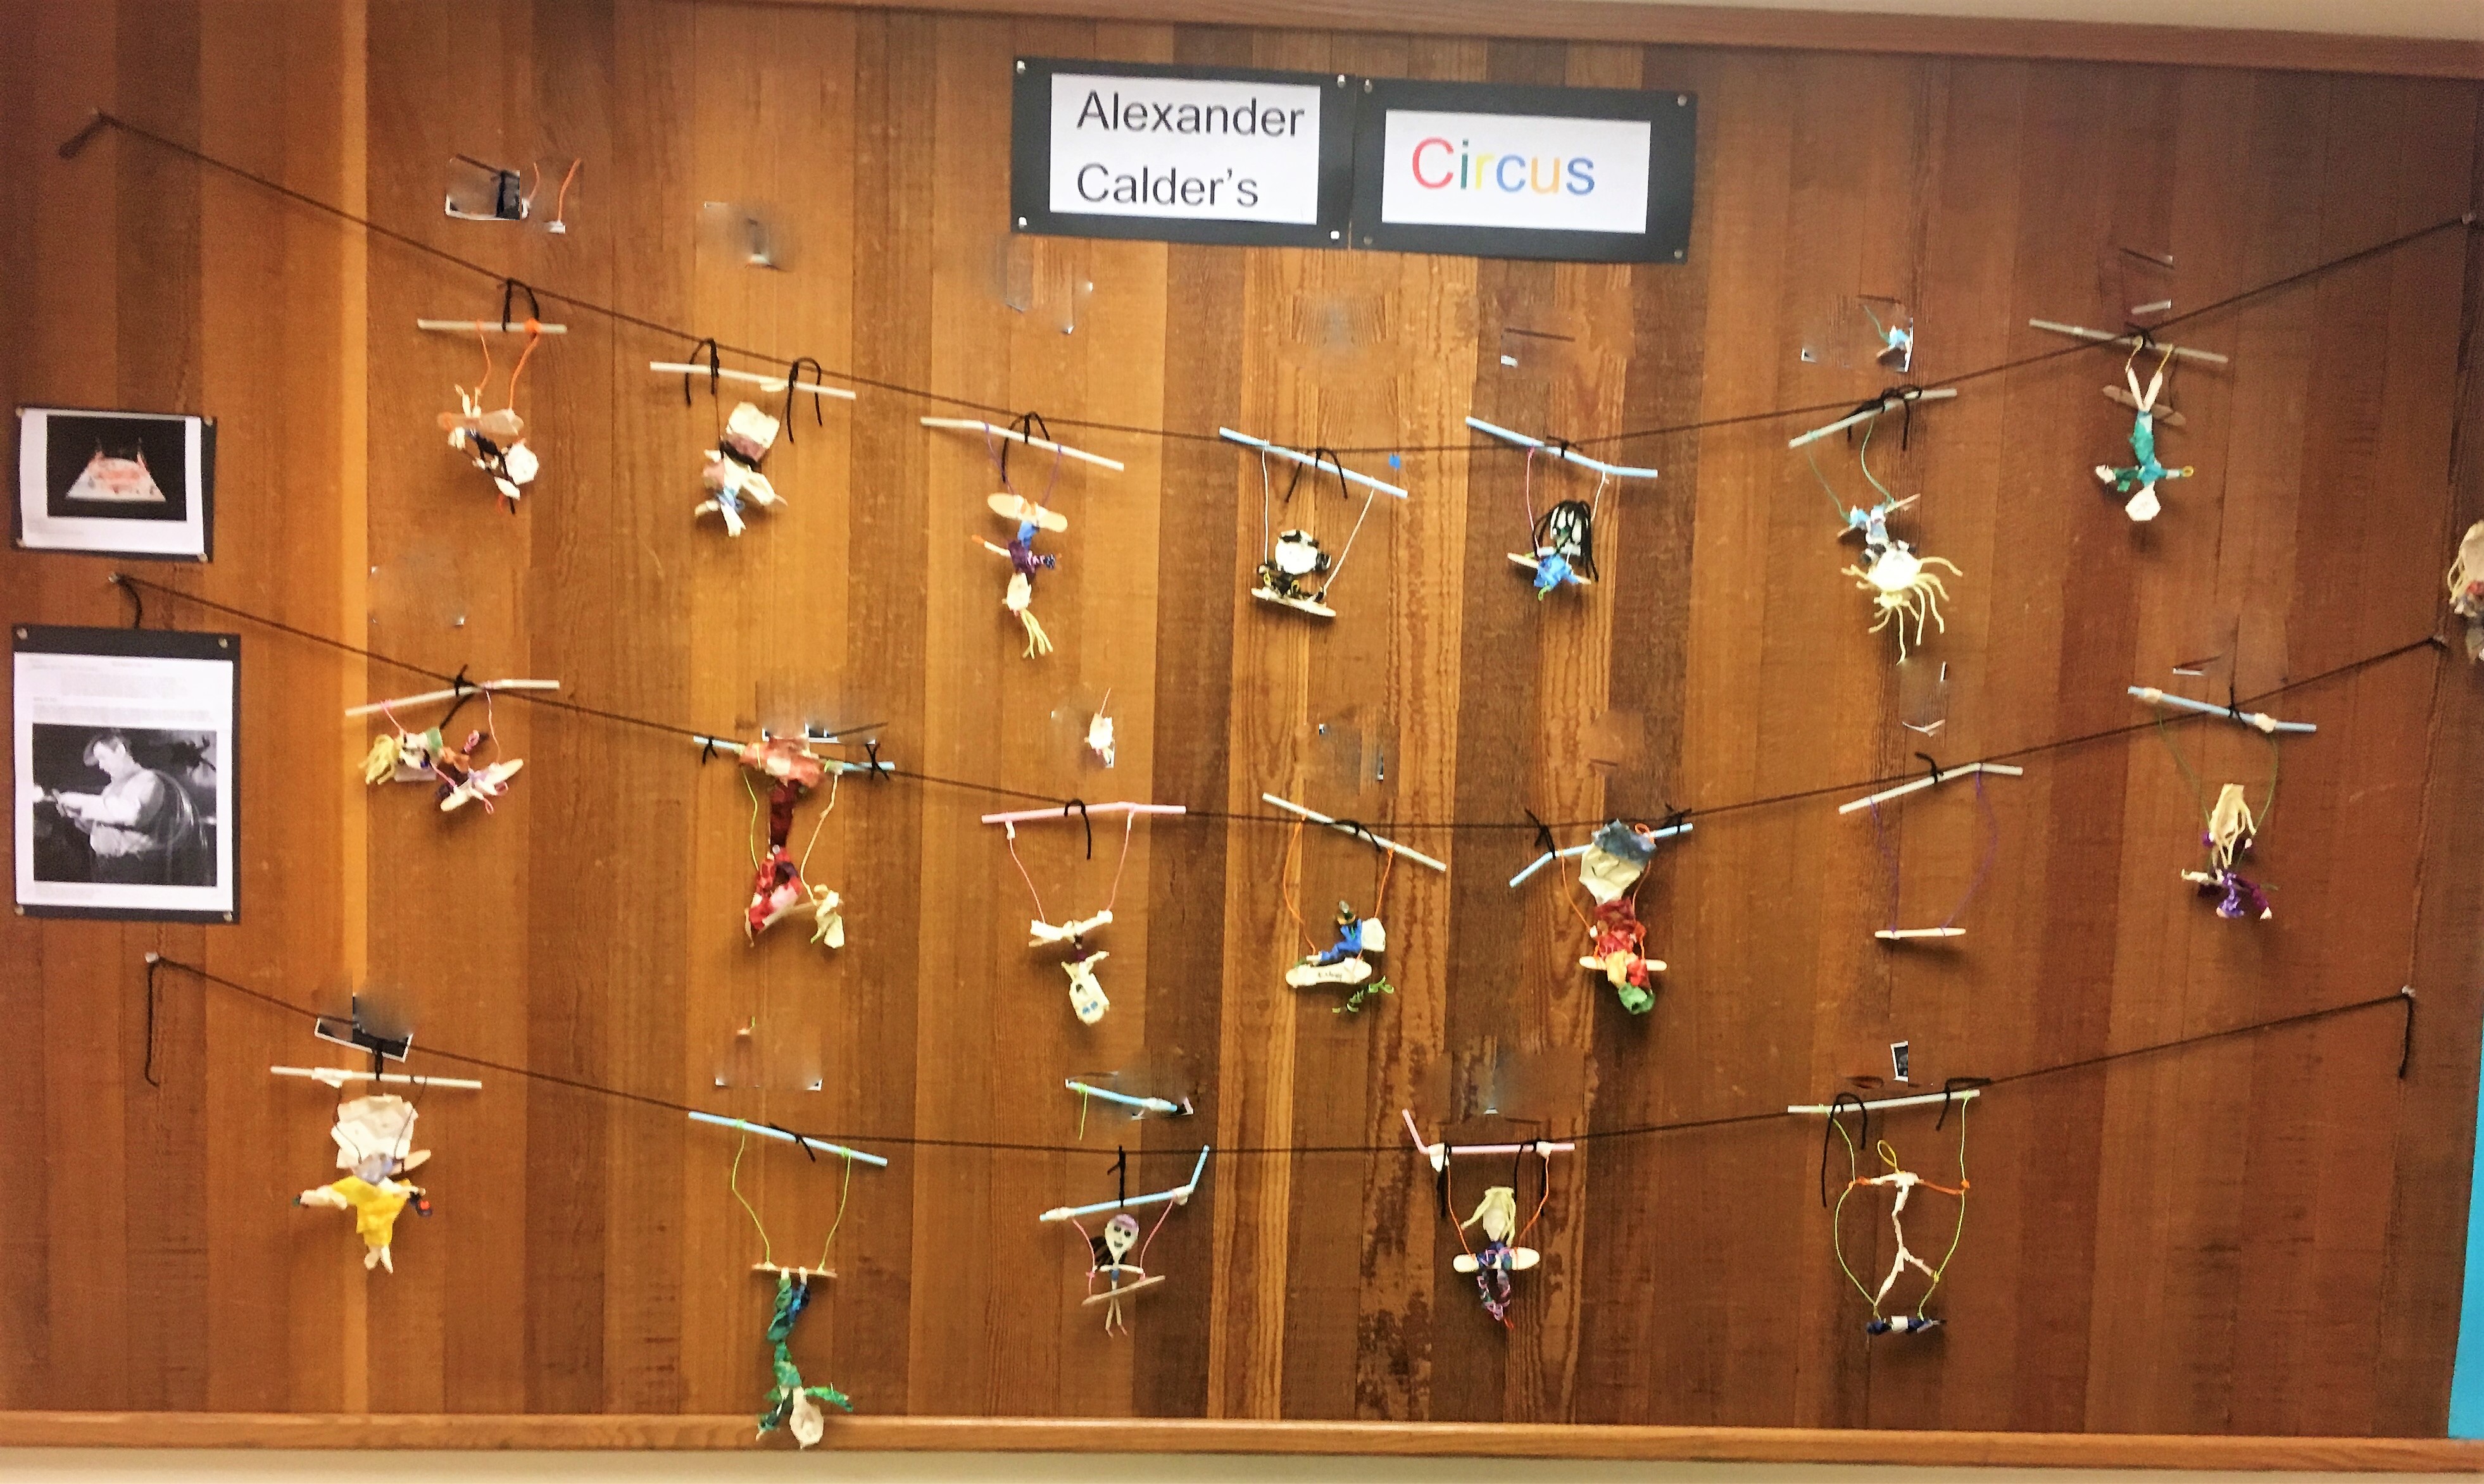
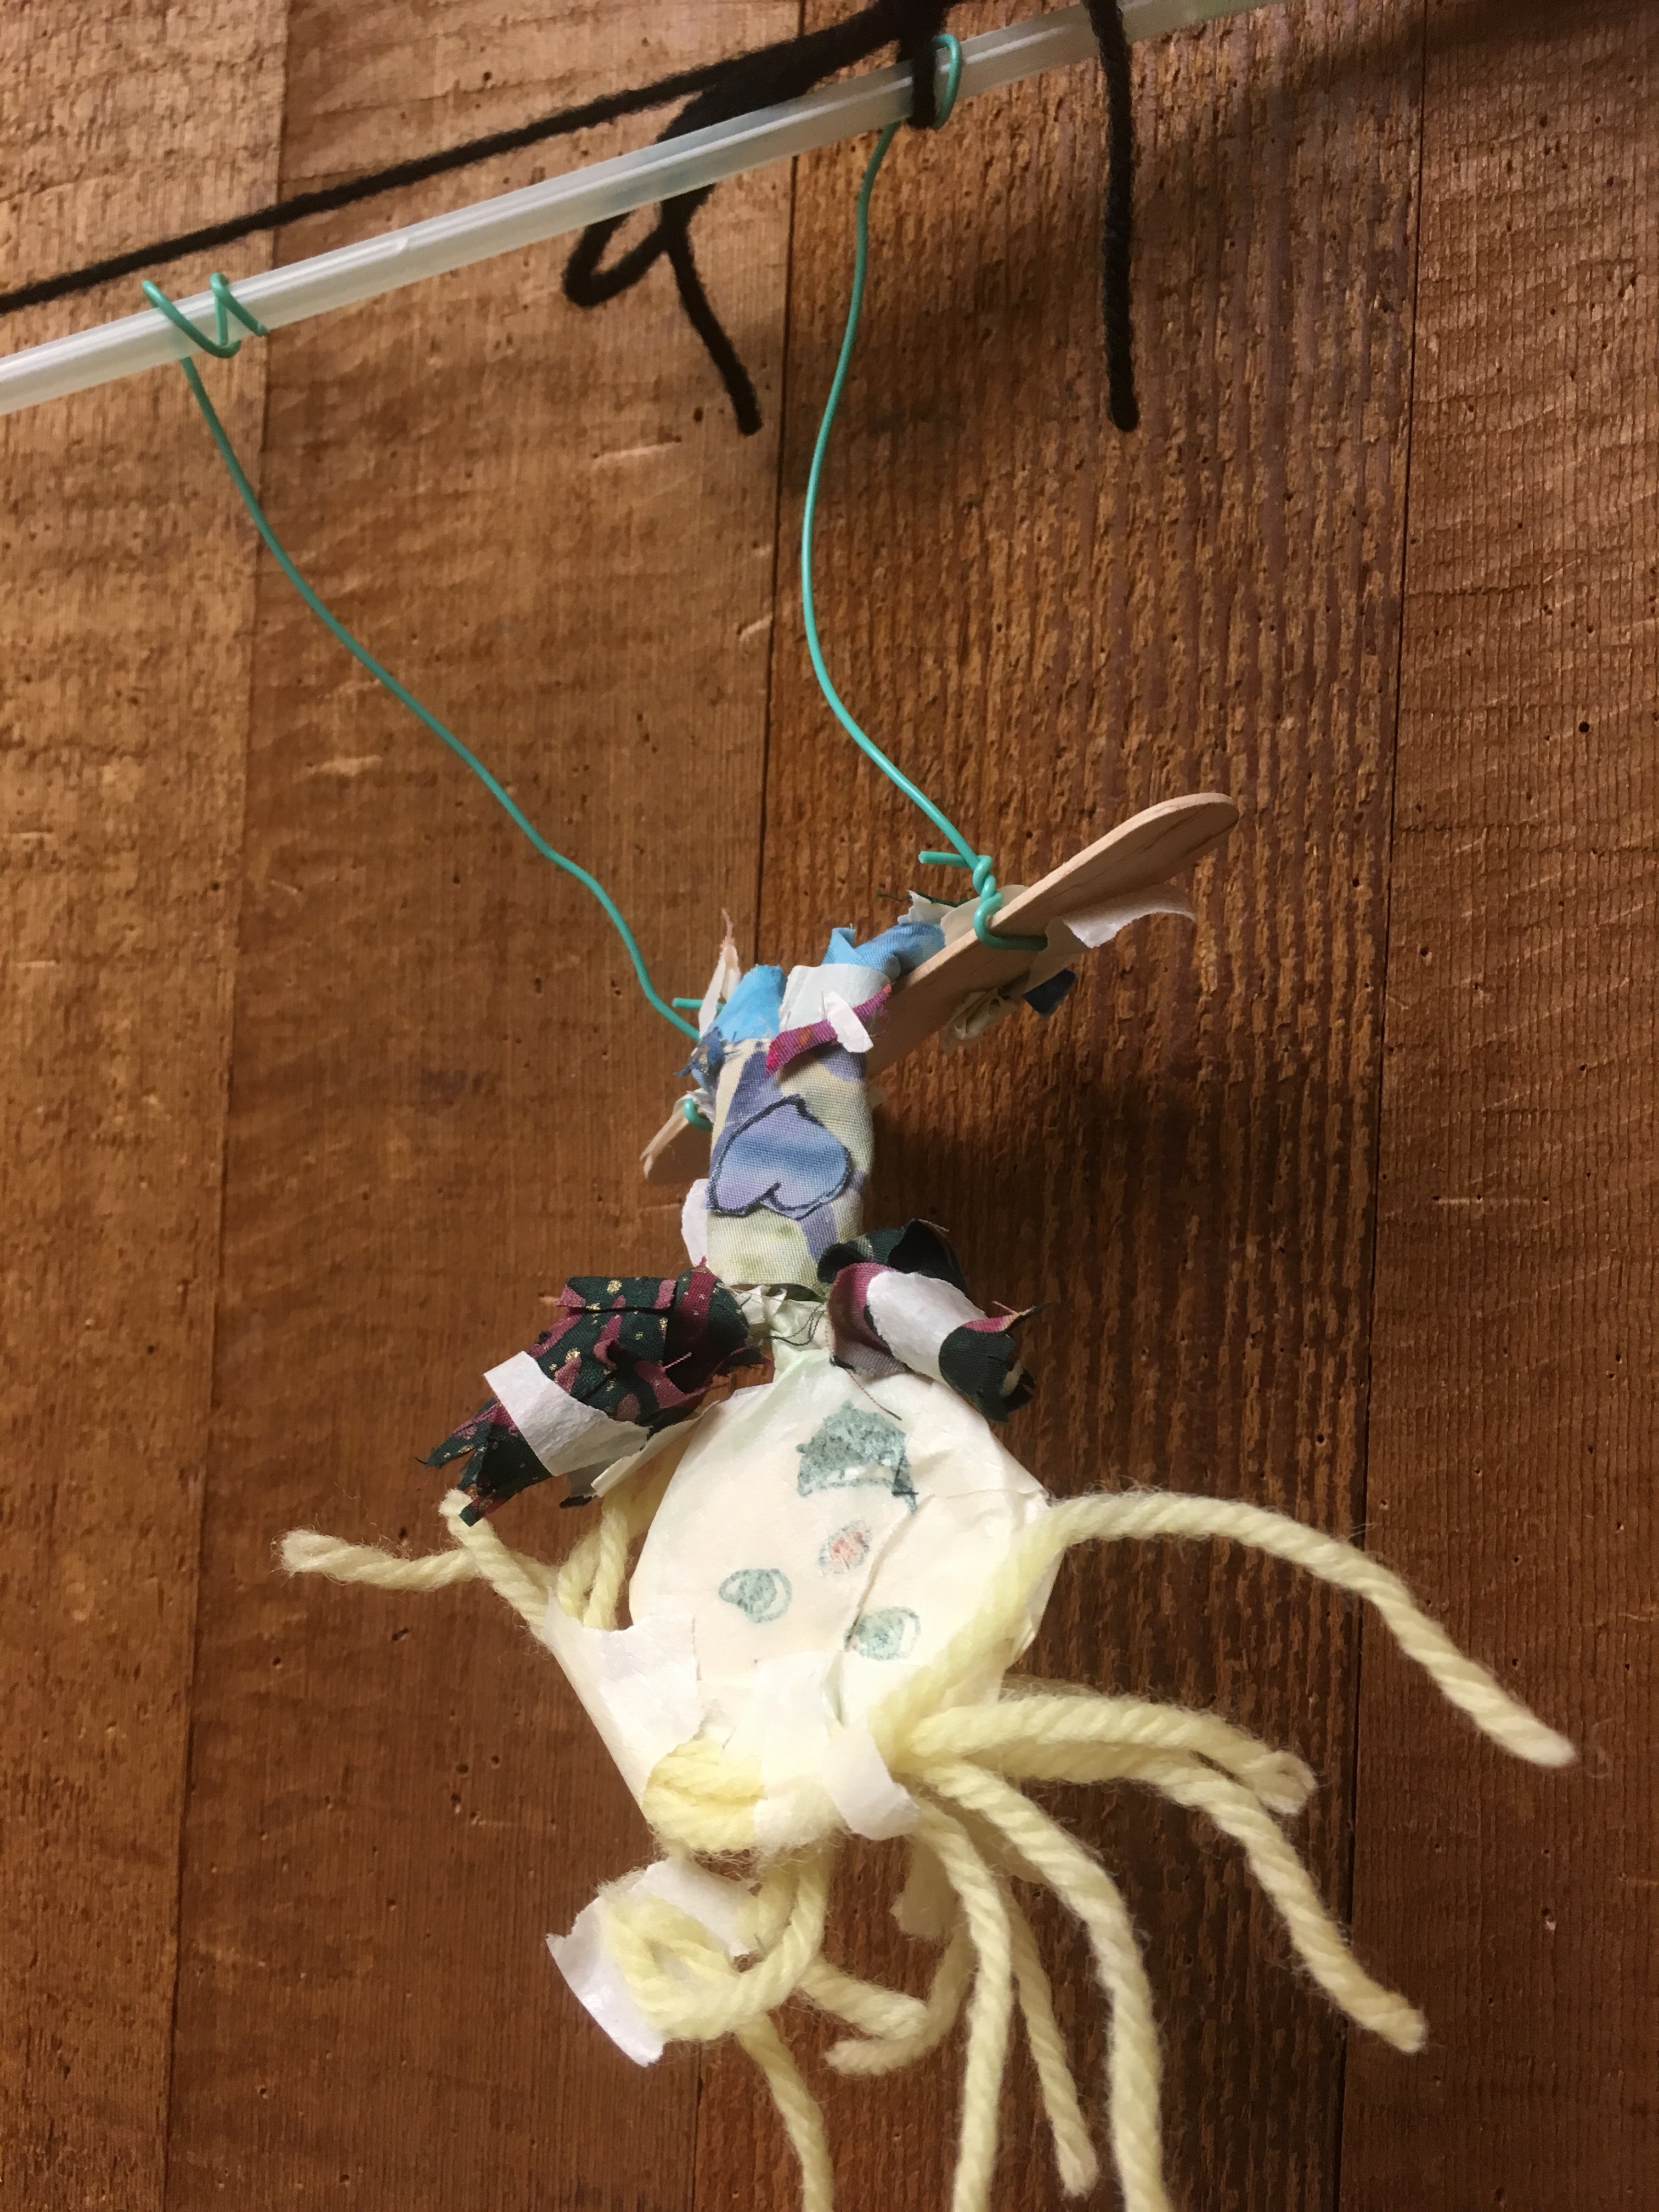
For our project we made trapeze artists. I thought they would look great on a display especially if we could string them across the classroom.
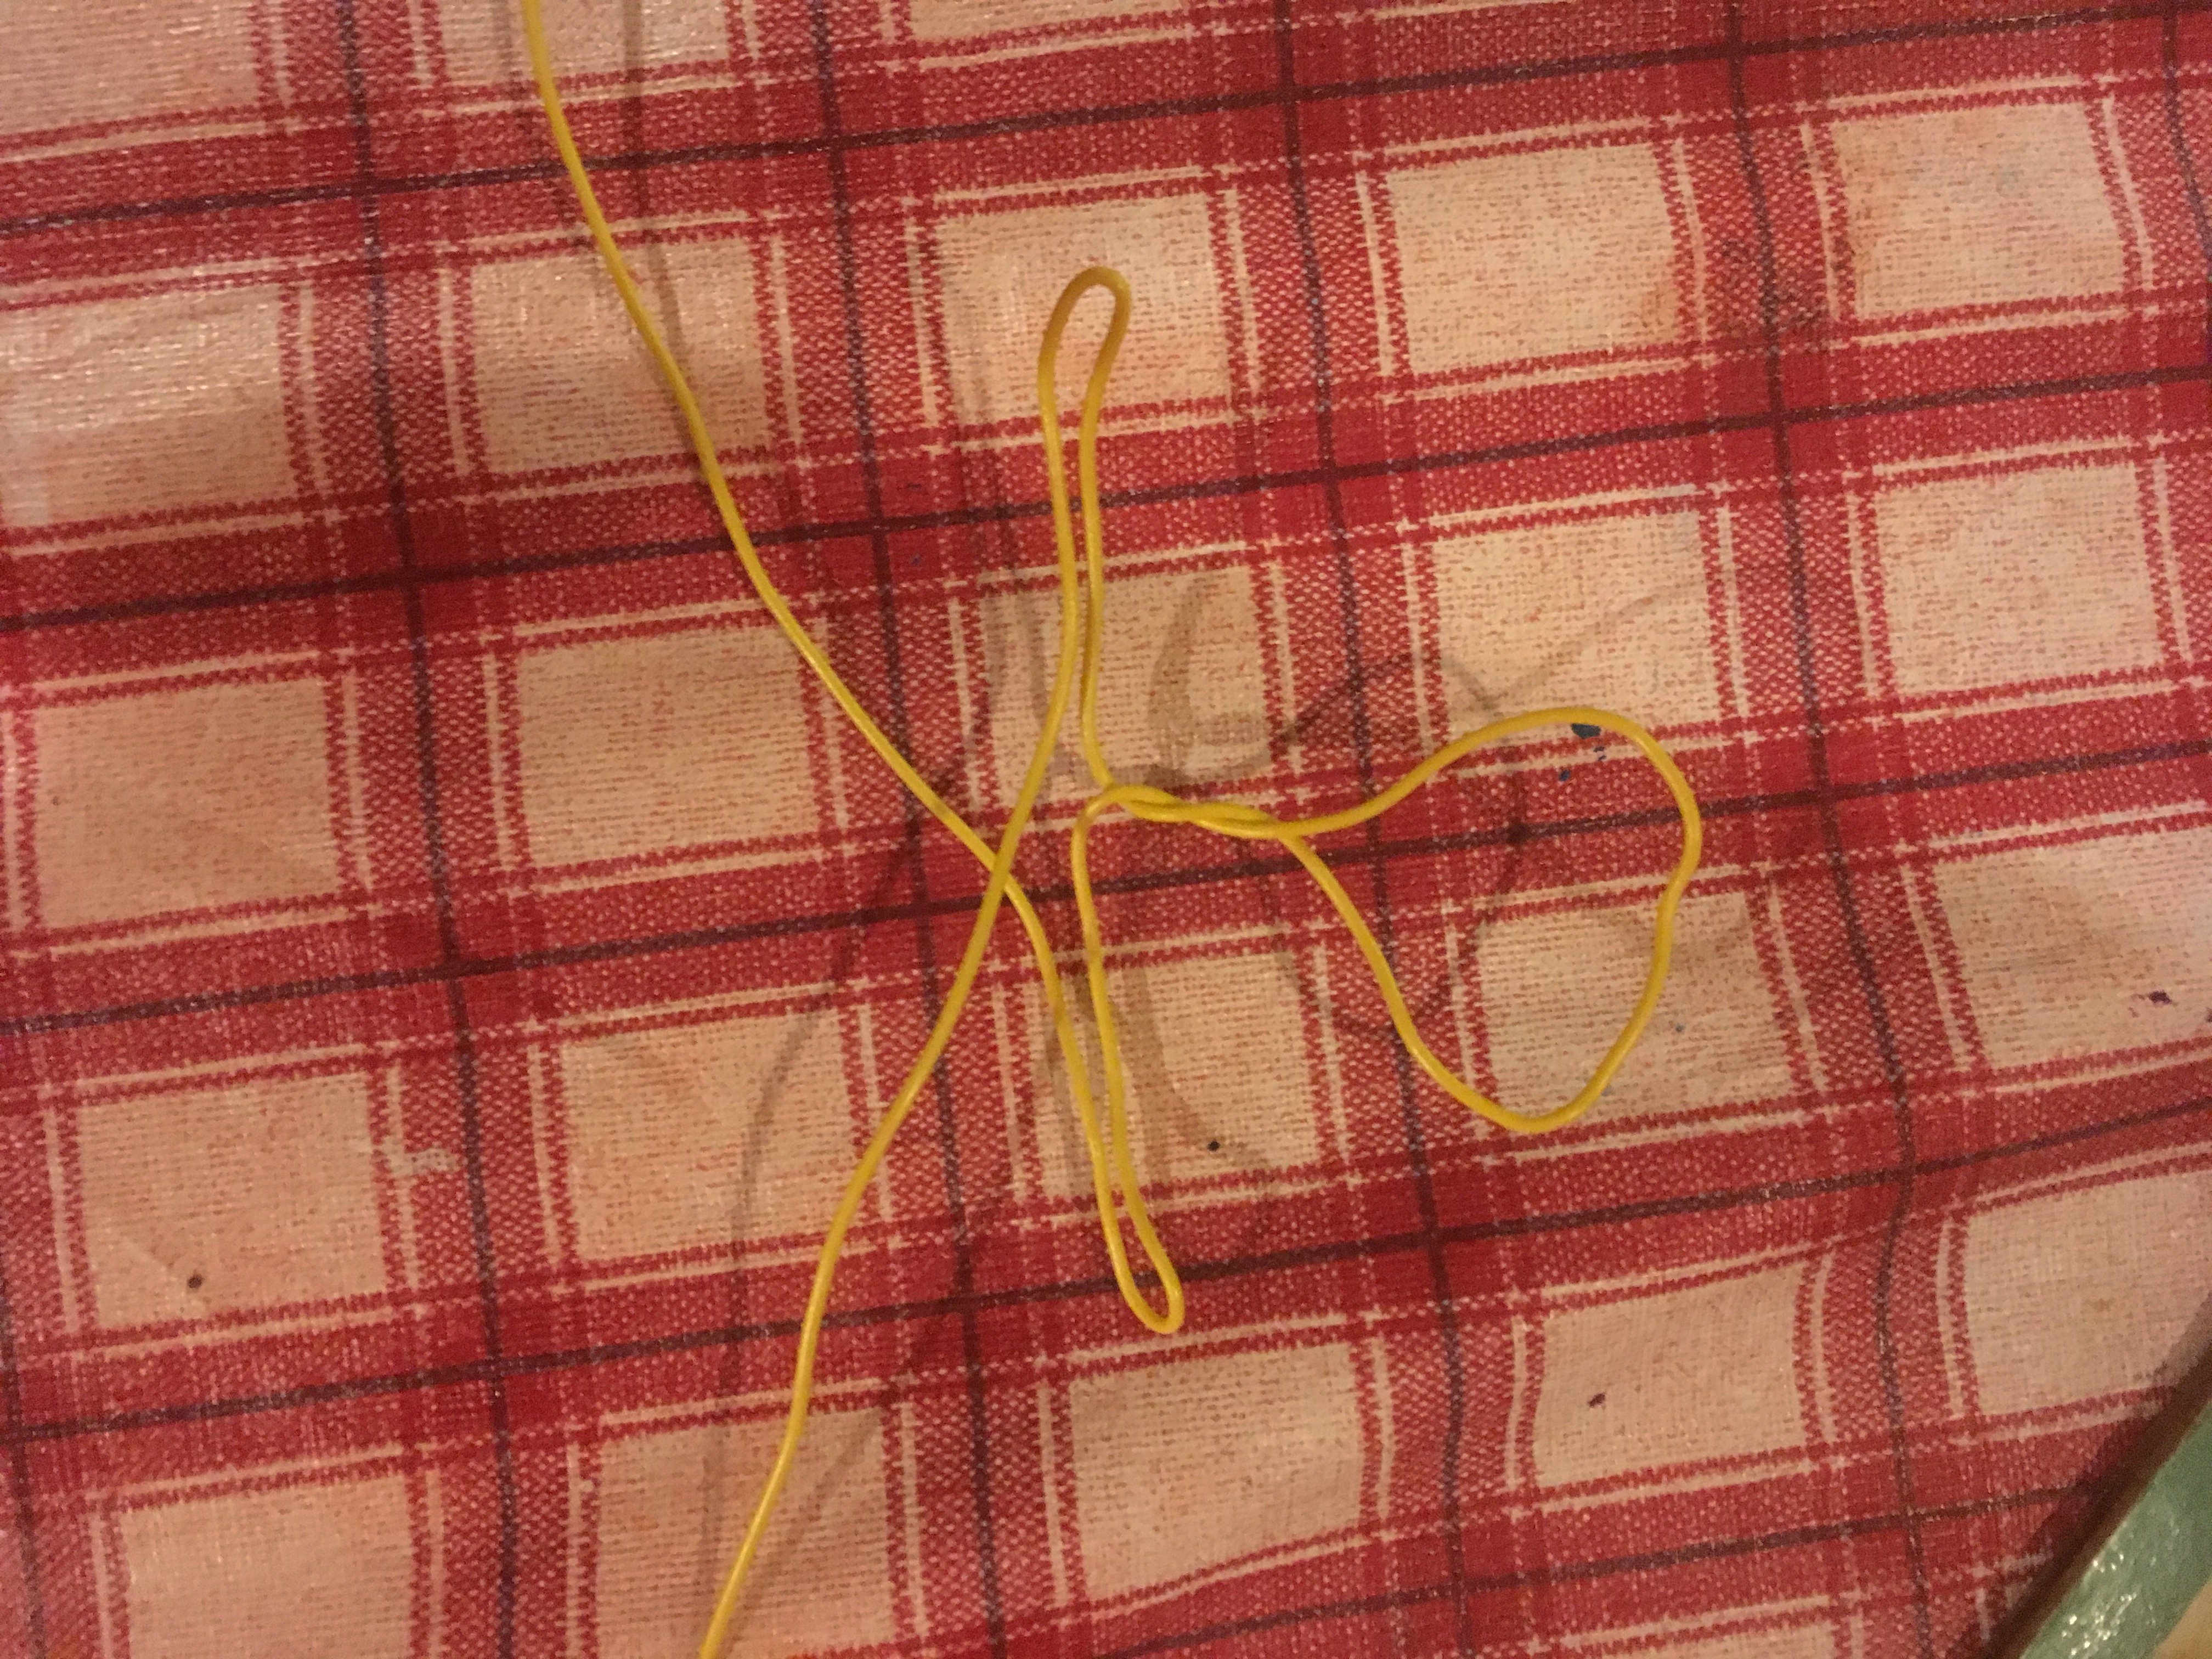
Bend the piece of wire in half and twist the top to create a loop for the head.
2. Fold from half way along the remaining wire towards the centre to make arms.
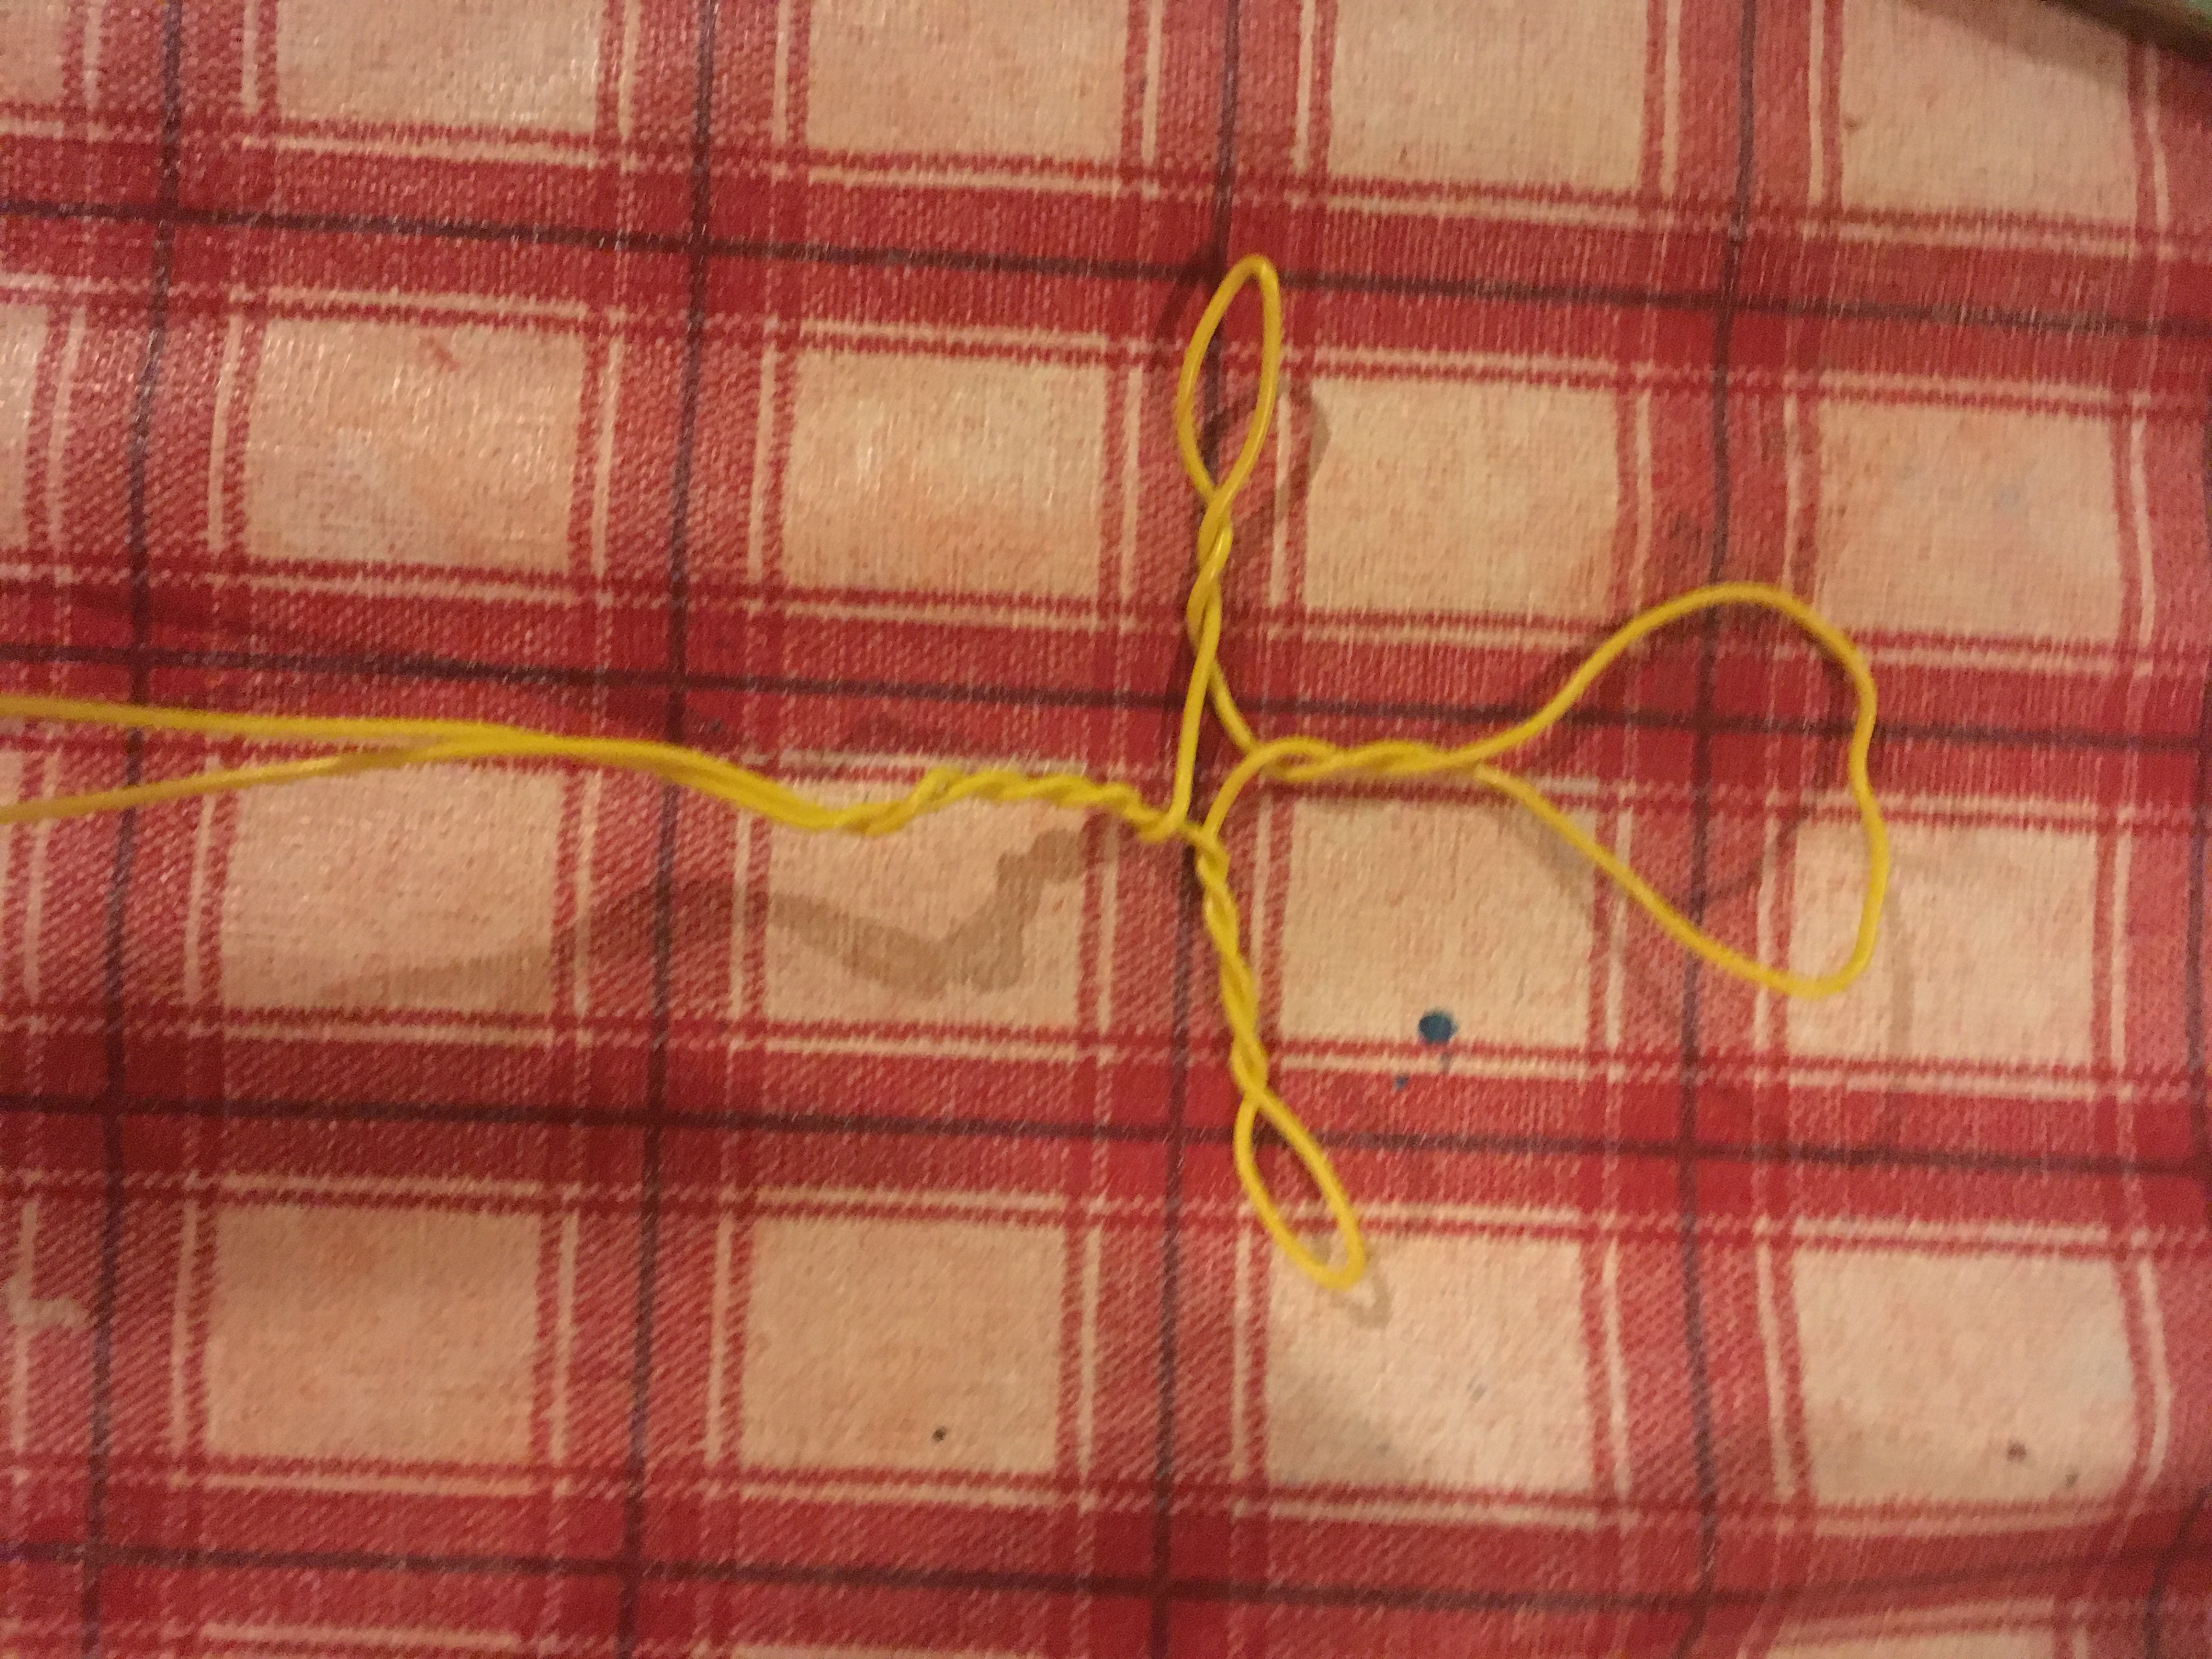
3. Twist the arms, leaving a loop at the end for hands. Twist part of the remaining wire together to form a body.
4. Open the bottom of the wire out to make legs (cut if too long). Add loops for feet.
5. Cover the surface with masking tape. Add extra layers for padding out specific areas.
Decorating
Once the class had made their basic shapes for their trapeze artists, they were given a variety of materials to create, costumes, hair, faces and props. To join the material to their sculpture, some made holes and threaded pieces through, some used tape or glue and some used the wire to wrap around the material, joining it to their circus performer.
Making the Trapeze
Join two pieces of wire to a wooden ice cream spoon and attach to a straw. The children posed their trapeze artists in different positions and we took pictures to remind ourselves of the poses, when we put them on display.
I love the way they turned out and how each child put their individual character into their sculpture. I’d love to have the time to do a full-scale project and create a whole circus. We could investigate different ways of building and making the models move, perhaps with individual groups working on different aspects of movement. Perhaps some of the kids will be inspired to do this at home?
Disclaimer: This post contains Amazon Affiliate links meaning if you purchase an item via these links I receive a small commission.
If you love this lesson, pin to Pinterest for future reference. Other art lessons can be found on my Art Lessons Board
Last Year in Kindergarten, my art lessons were centred around investigating different art materials. This year, now they are in first grade, we will explore those materials further, whilst learning about the elements of art and introducing new artists.
A Lesson about Line
Ask a child to draw a line. The first child I chose drew a bumpy line. The next child drew a straight line.
Discuss different types of lines and introduce the terms horizontal, vertical and diagonal.
Look at how to use the different lines to make shapes, two diagonal lines and a horizontal line make a triangle etc.
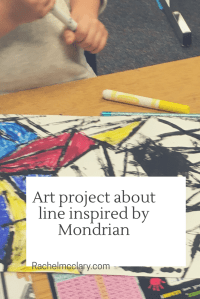
Introduce Mondrian’s paintings. Talk about how he arranged horizontal and vertical lines to make the shapes and sizes he wanted.
It is then time for the children to try their own.
Materials needed
Black tempura paint in a flat tray
A square or rectangle of stiff cardboard
Paper
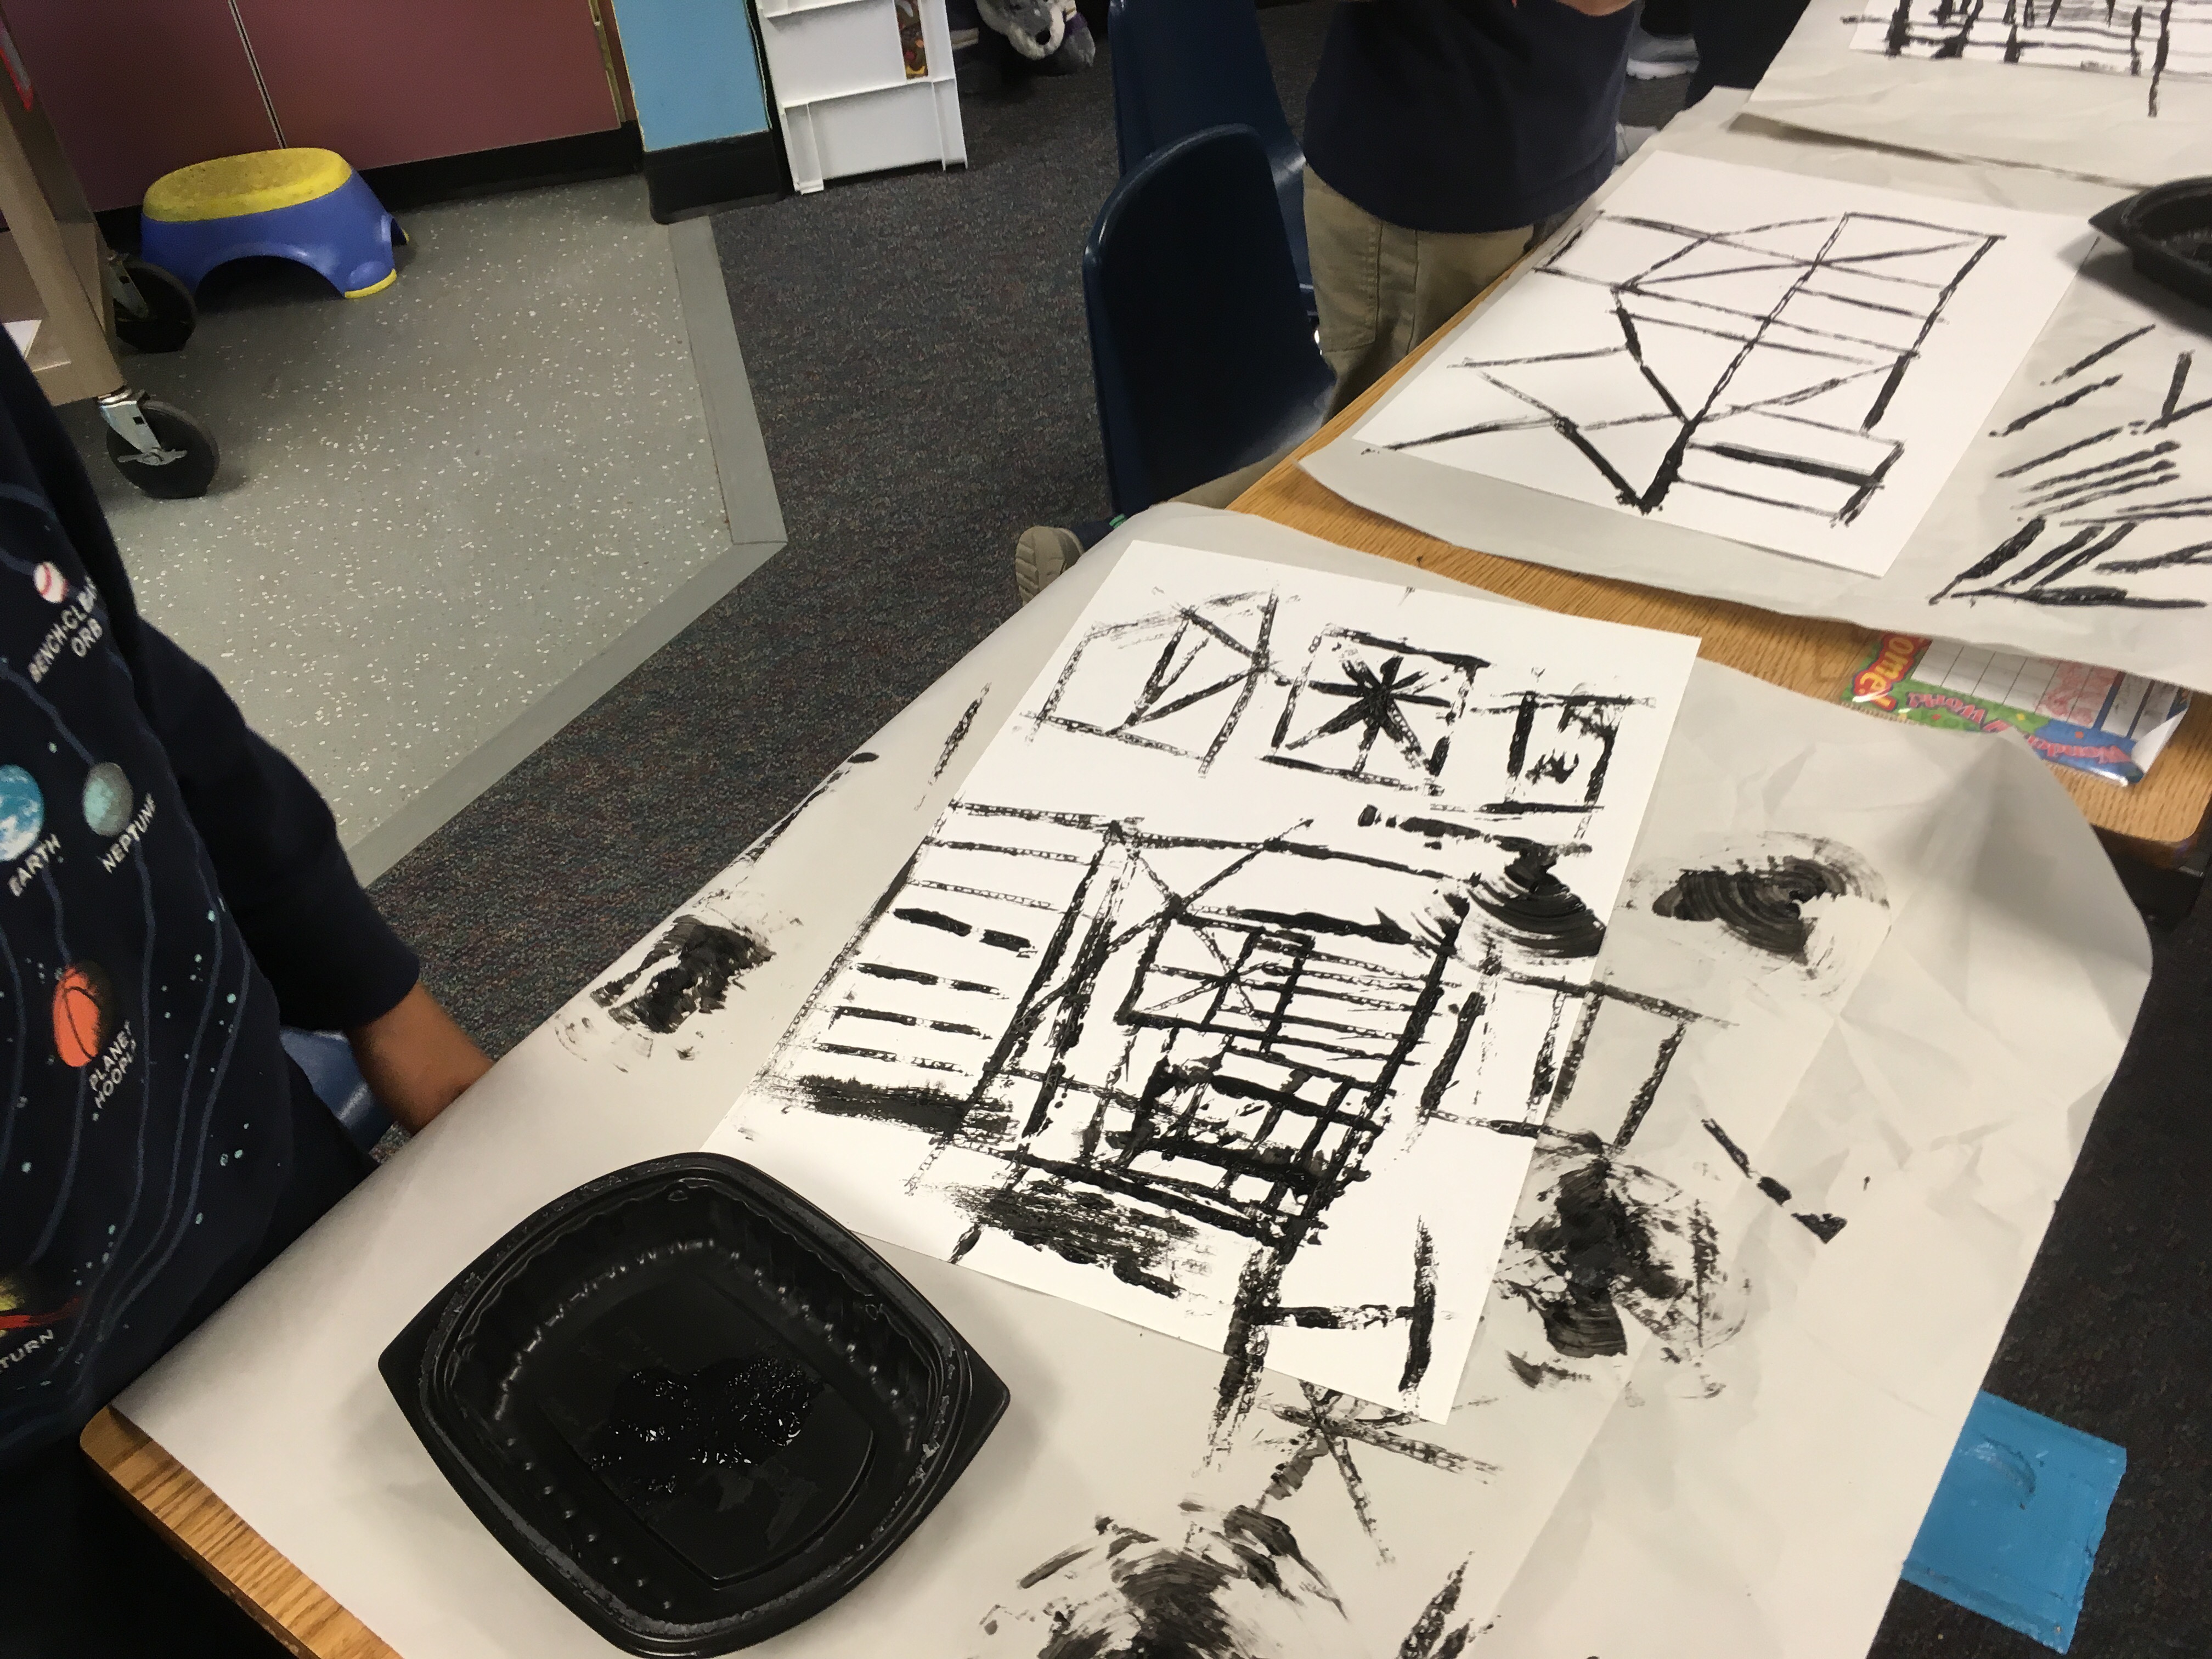
Show the children how to dip the edge of the cardboard in the paint and remove any excess paint by dabbing it on the tray.
Show them how to print lines on the paper in different arrangements to make shapes. Though Mondrian only used horizontal and vertical lines, the children in my class were also allowed to use diagonal lines in their compositions.
3. While the children print, talk to them about the shapes and arrangements they have made. Remind them to close up their shapes so they can be coloured later. As Hallowe’en was looming, spider webs were particularly popular.
Making a Fancy Line
While we waited for the paint to dry, we talked a little more about lines. We looked at a sketch and found the different types of lines used in the picture.
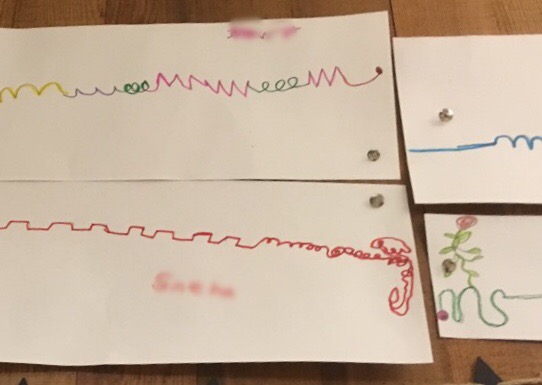
The next challenge was to make one long line, composed of five different types of lines, without taking their pencil off the paper.
I demonstrated them some examples.
They tried their own in pencil and then went over their lines in marker. Some children had difficulty making a single line and wanted to join it to make a shape. For those that did this I encouraged them to focus on the line by outlining it in marker without filling in any colour in the centre.
Mondrian and Primary Colours
Look at Mondrian’s compositions again. How does he use colour?
Talk about primary colours, what they are and why are red, blue and yellow the primary colours?
Look at how Mondrian paintings used primary colours to shade some of the shapes in his compositions.
The second part of the project
Ideally, I would leave the black paint overnight to dry. We have limited time for art so this was not possible and some of the paint was still wet. We blotted the worst of the paint off with a tissue.
Materials
Red, yellow and blue markers (you may also want to include black)
What to do
Use the markers to fill in some of the shapes, leaving some of them white. Try to fill in each shape with solid colour and not leave any gaps so they look like Mondrian’s compositions.
The Finished Products
If you like this lesson and you’d like to save the idea, use this image to save it to Pinterest. You can find my other art lessons and those that inspire me, on my Art lessons for Kids Pinterest Board or art activities for home and free play on my art and craft for kids board.
Disclaimer: This post contains Amazon affiliate links, this means if you purchase any products using these links, I will receive a small commission.
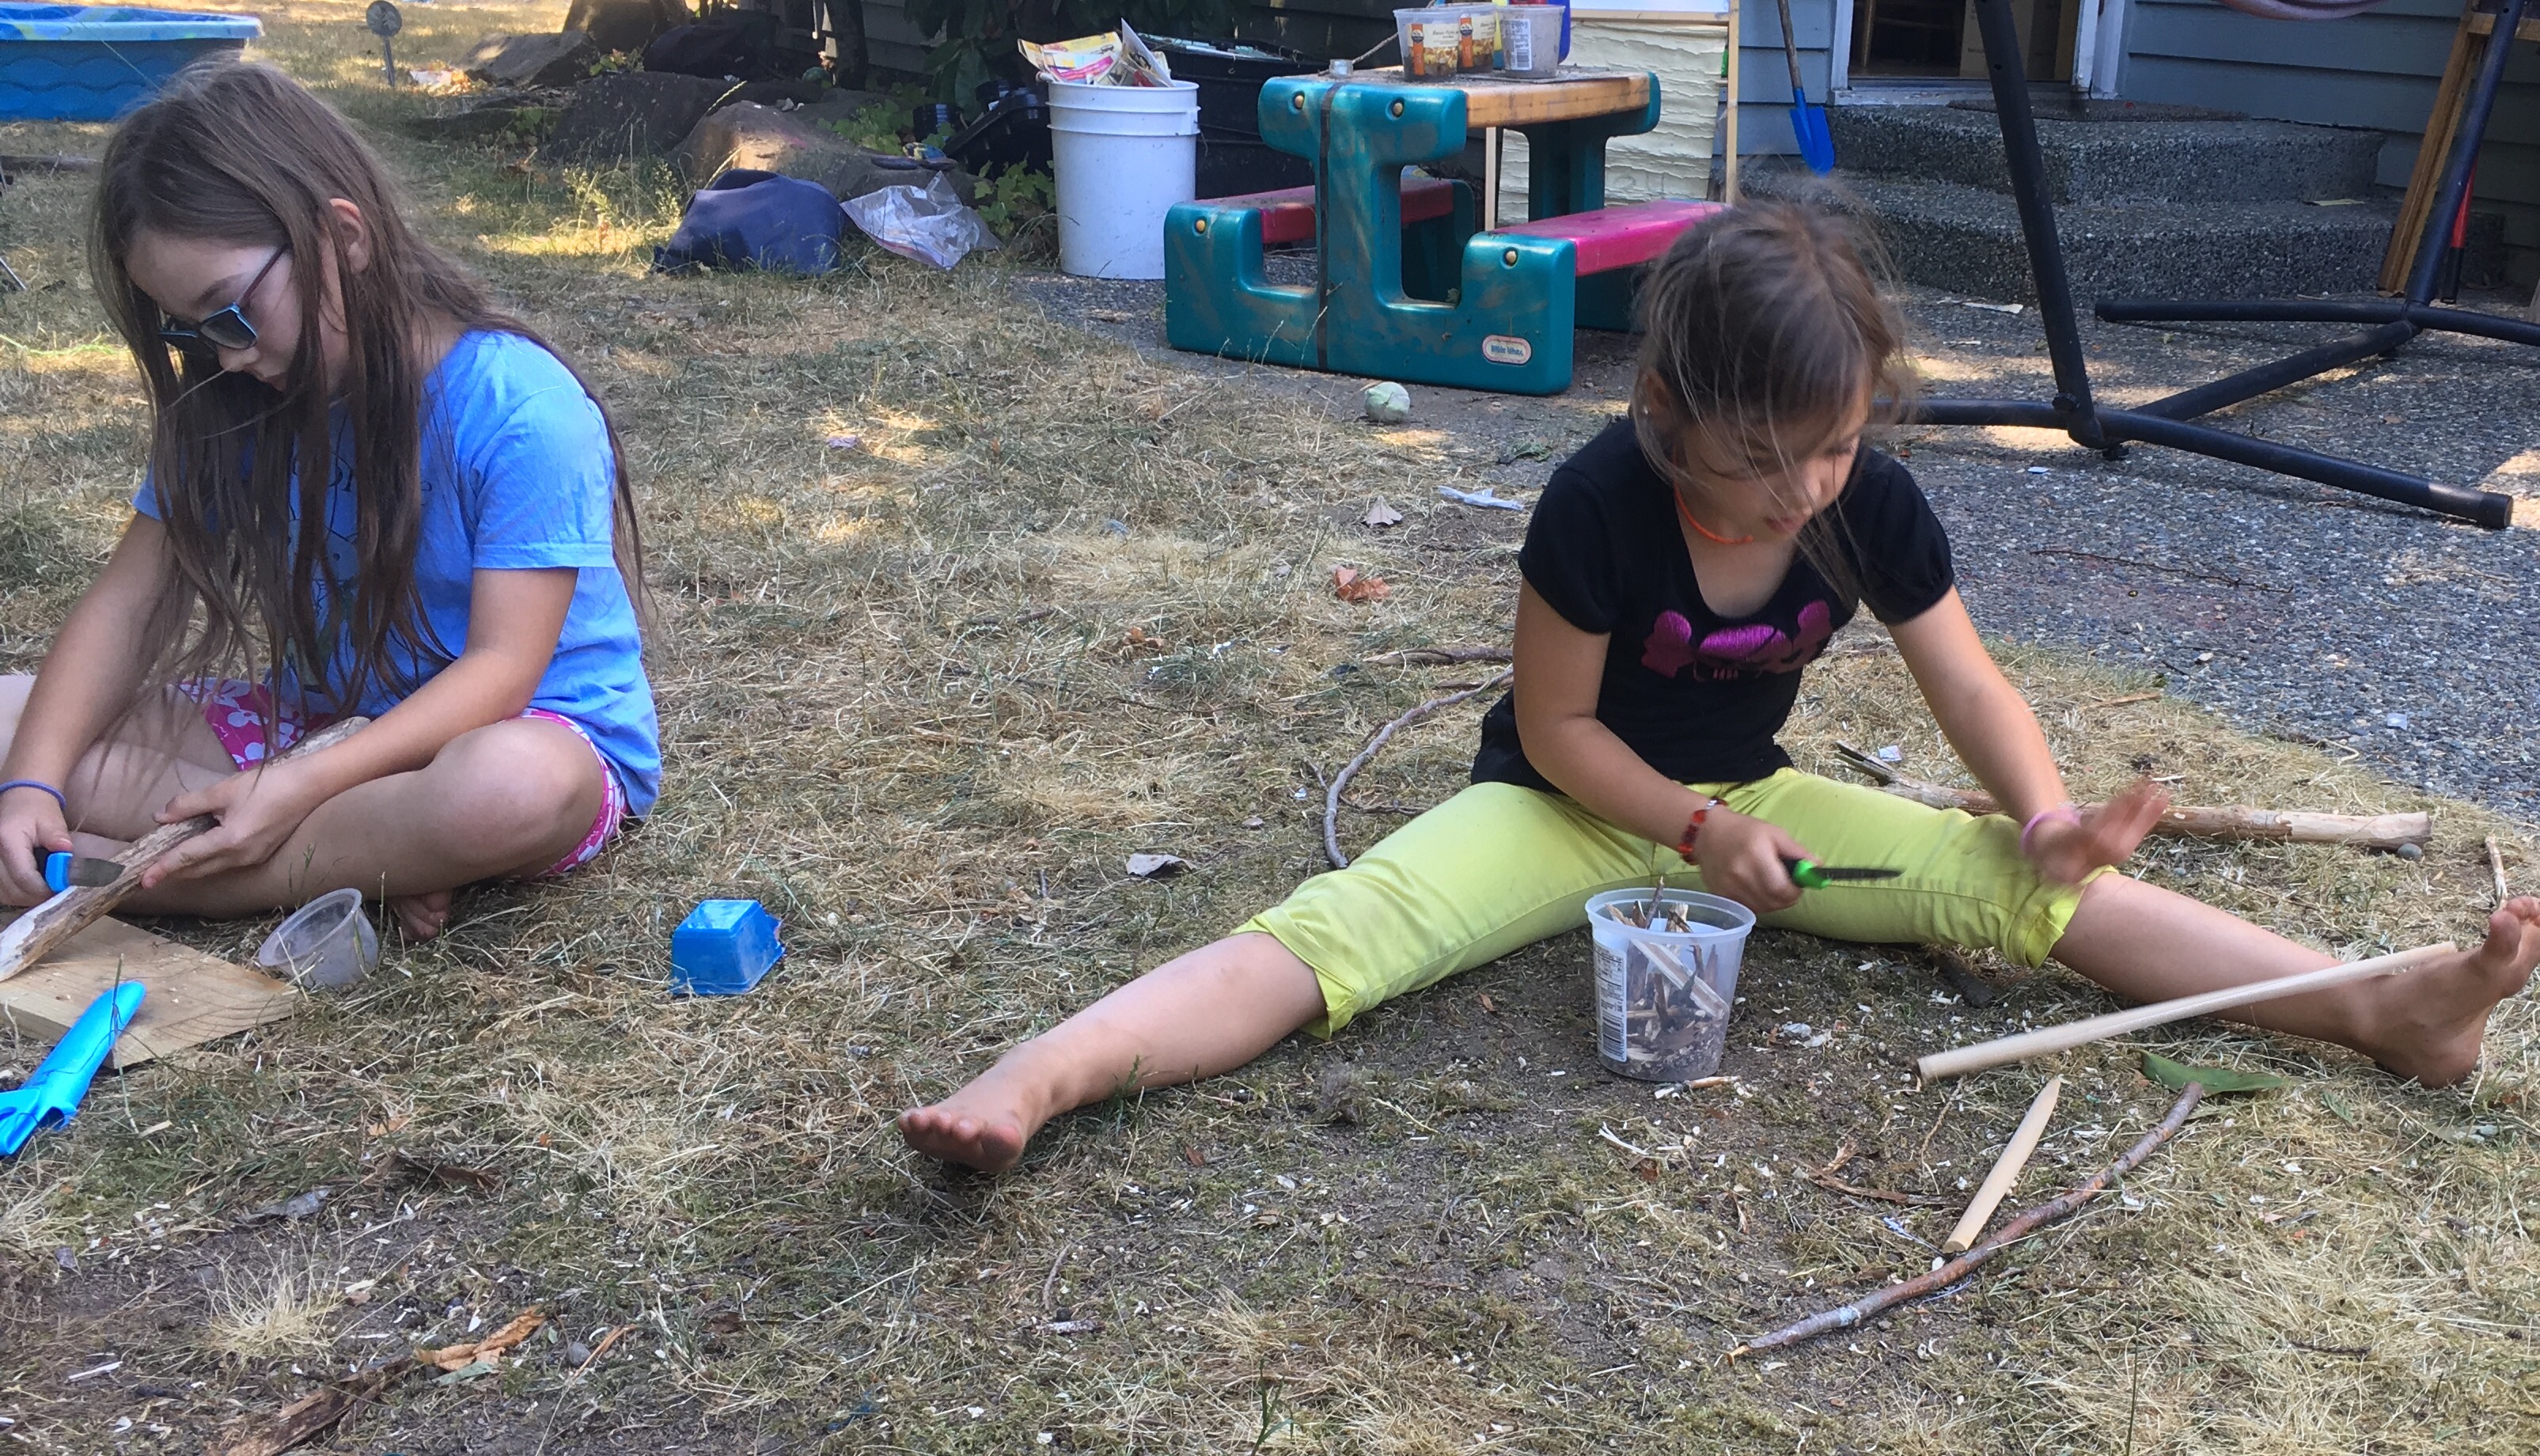
The girls are totally hooked on the television survival series Alone and eager to go out into the woods and test out their skills. My 6-year-old can often be found attempting to whittle a stick with a pair of blunt ended scissors. It worried me that she didn’t have the correct tools to do this properly and I felt it may be more dangerous to whittle with scissors than with a suitable knife.
My husband bought my eldest a knife when she was younger, so we discussed when might be a suitable time to introduce the younger girls to knife skills. I always believe that when children show a strong interest in learning a skill, then the time is right to introduce them to the appropriate tools. My youngest has very strong motor skills and co-ordination and follows instructions well. The girls are able to peel vegetables with a peeler and have practised chopping fruit and vegetables with a small kitchen knife. With this in mind, we decided the time was right to buy the girls their first knives.
My husband researched the knives used by a local wilderness school and decided on the morakniv fixed blade outdoor knife. The knives are the perfect size for little hands. They have a grip handle, sharp blade and a sheath with a clip belt. They come in a variety of colours. We chose neon colours, so they would be able to see them easily.
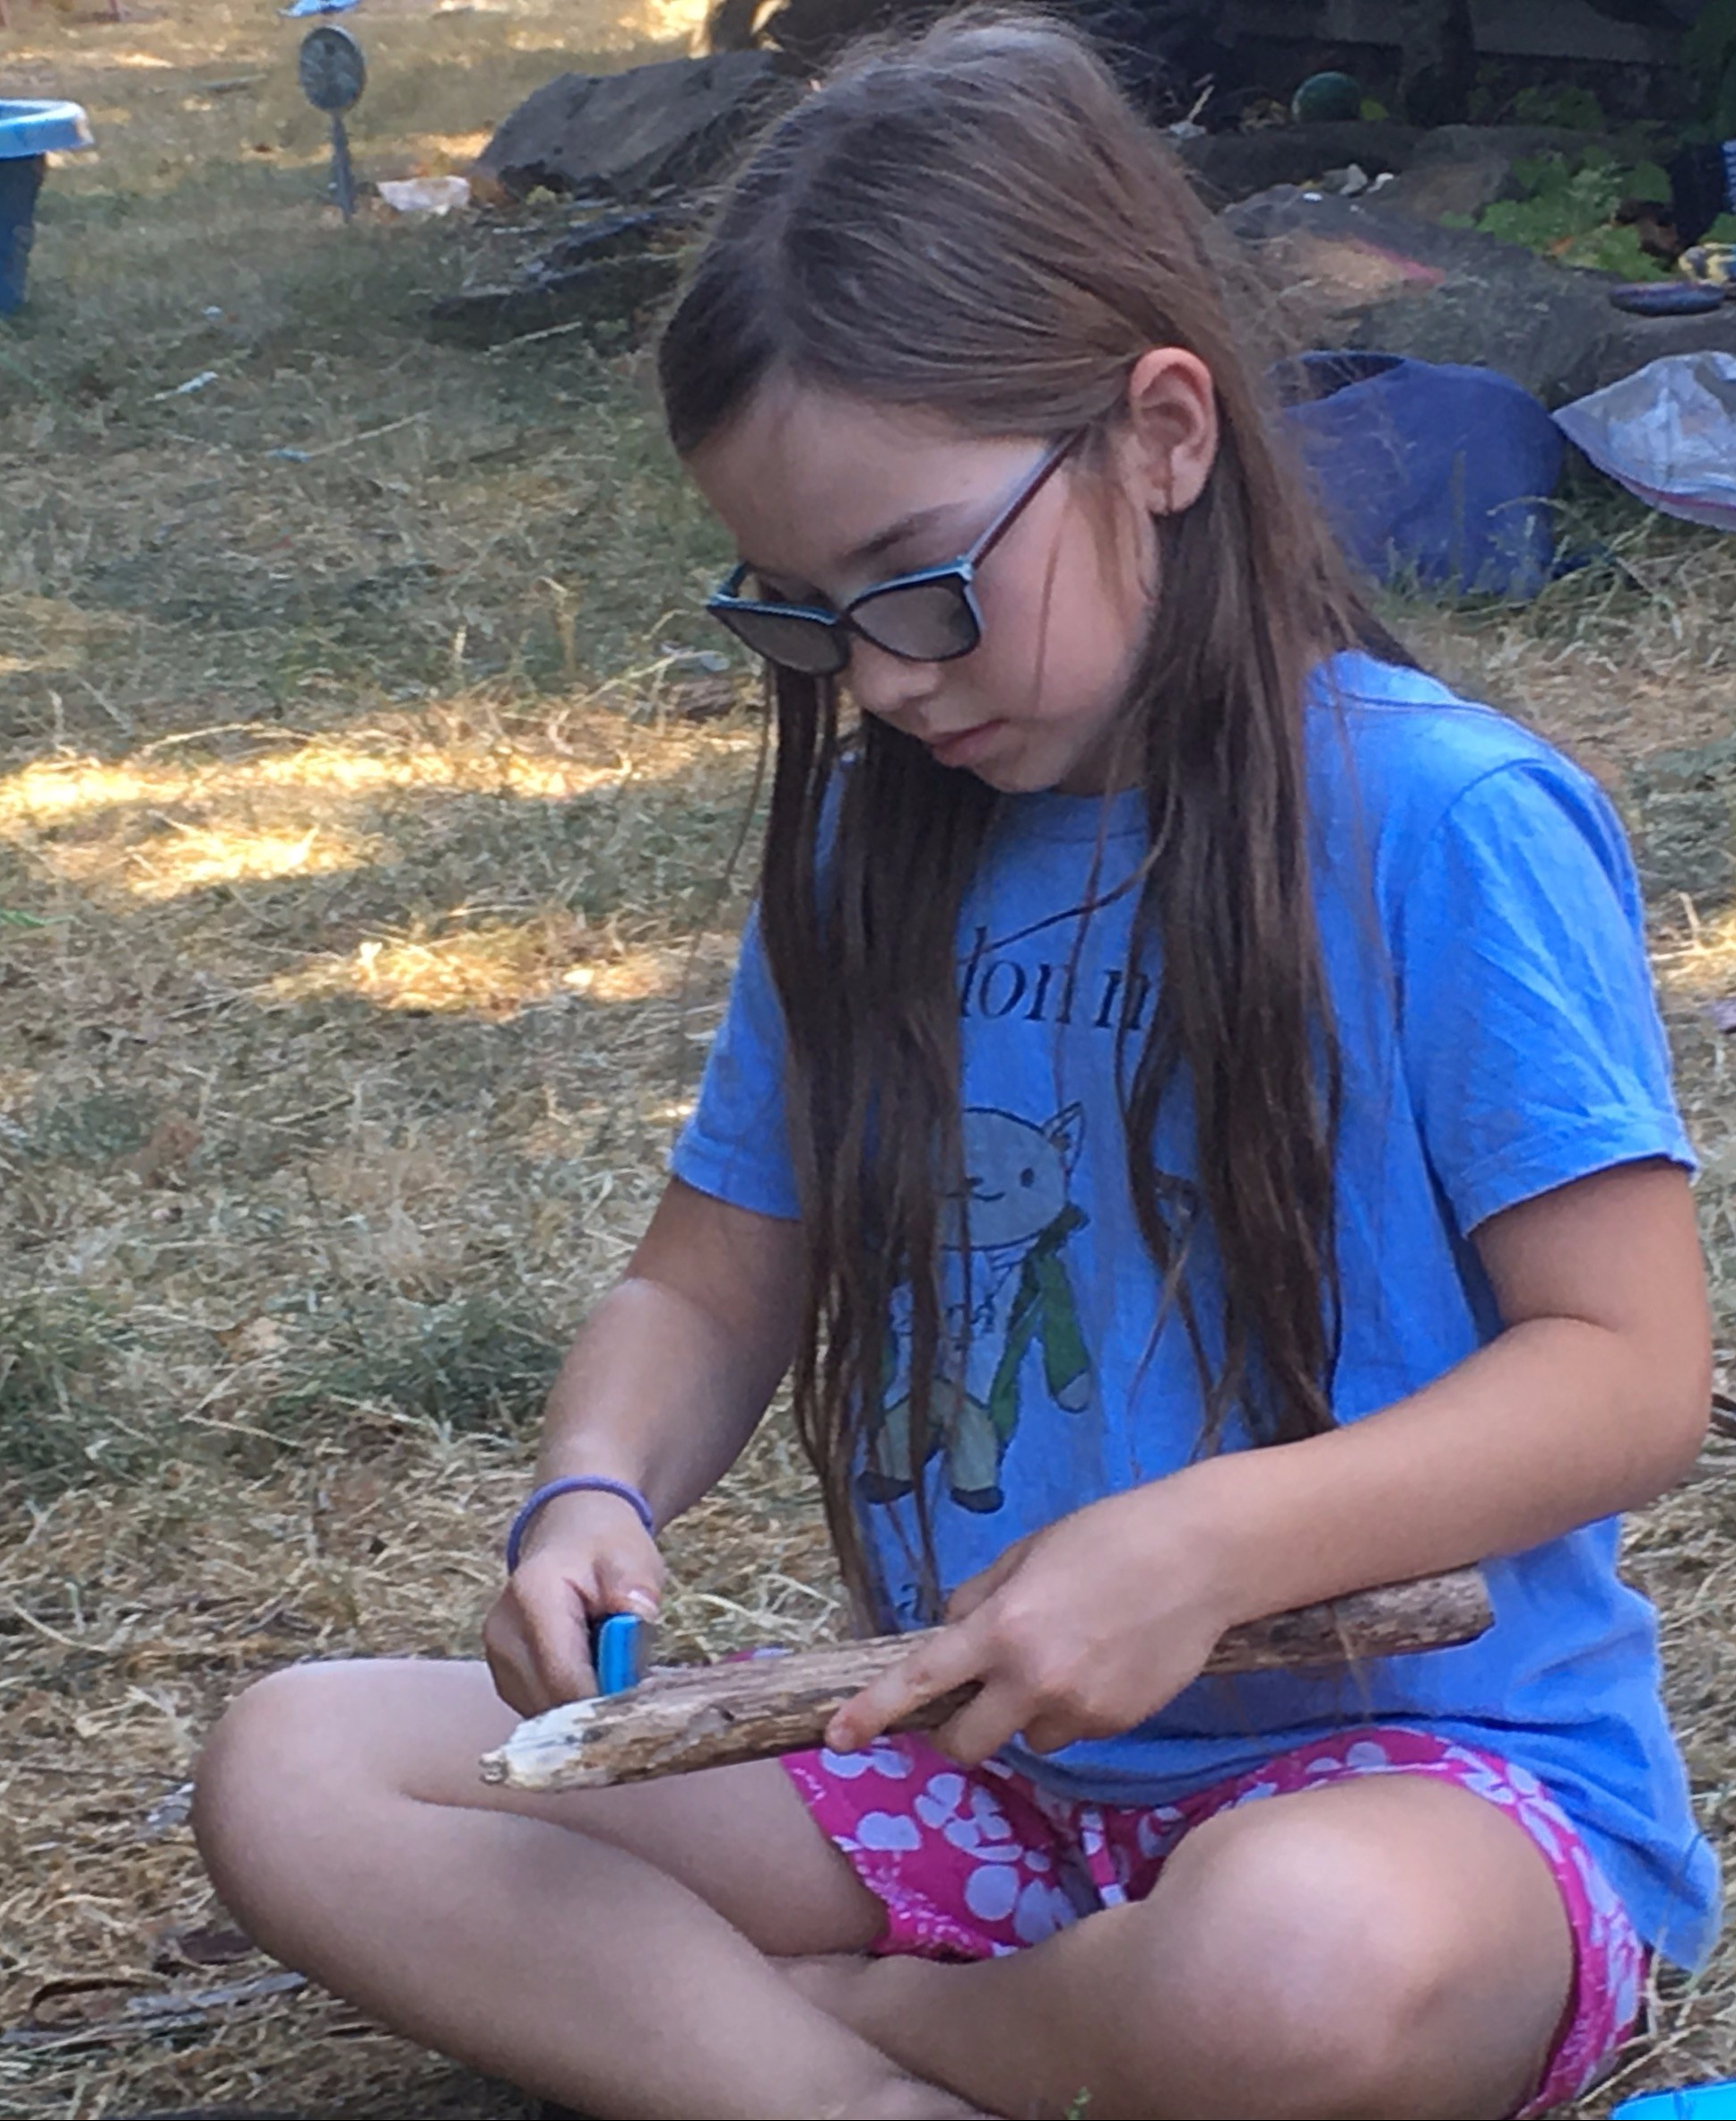
The first lesson was how to get the knife out of its sheath. They were a little frightened at first but soon got the hang of it. These knives have a bump at the side to remind the children of the correct way to face the knife when removing it from the sheath.
The children have to follow the following rules and guidelines:-
They are only to use the knives under adult supervision
Always put the knife back in its sheath when not in use.
The knives are to be stored in a special drawer and always put away after use.
Never cut towards their hands (they’ve seen what happens if this rule is broken on Alone).
Always sit down when using the knife
Always keep their eyes on what they are doing. If they need to look away, put the knife away first.
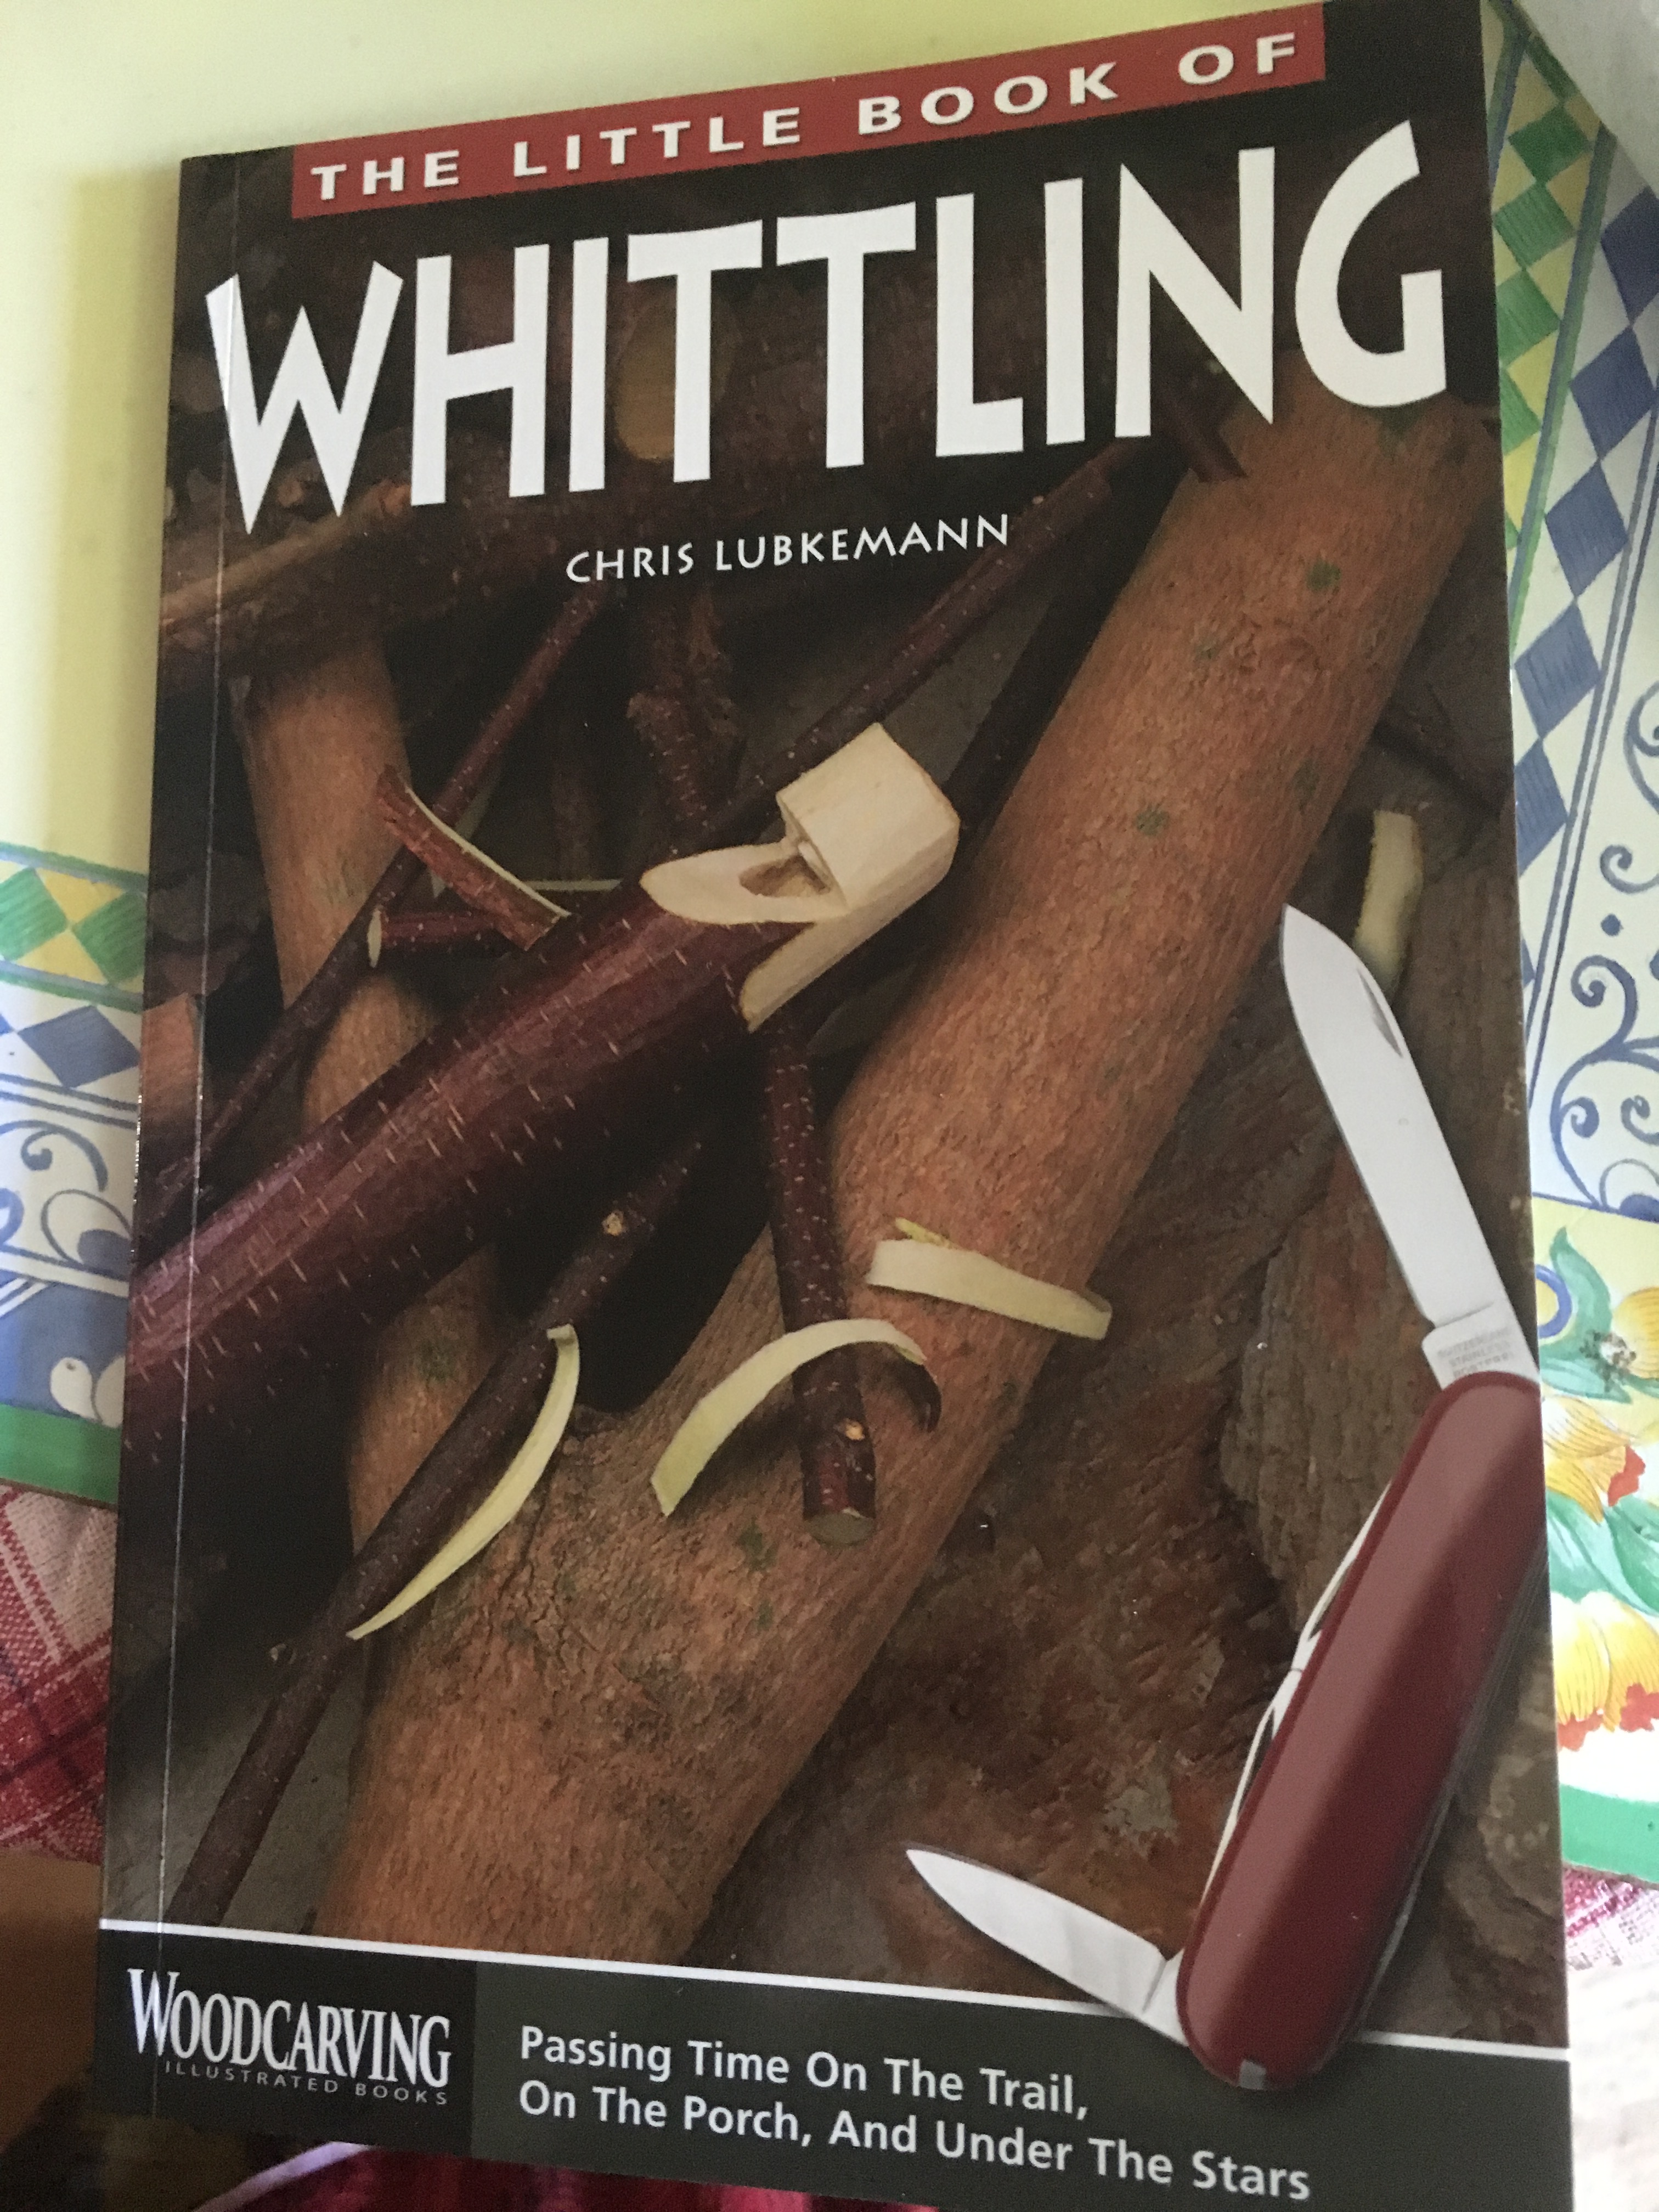
The girls loved whittling sticks and were desperate to try other projects. I bought them a book on whittling, The Little Book of Whittling. Some of the projects were difficult with their knives because the blade was too long. On our camping trip this summer, we bought them a multi tool with a smaller knife. With this, they were able carve more successfully and new skills were learned. They learned how to fold it safely and we only had one small accident when my youngest closed it a little to close to her hand. This made the girls more careful in future.
Whittling has been the favourite pastime of the summer. I had to spend a lot of time supervising them, and my garden is littered with bits of wood and splinters but they have had so much fun and learned a lot.
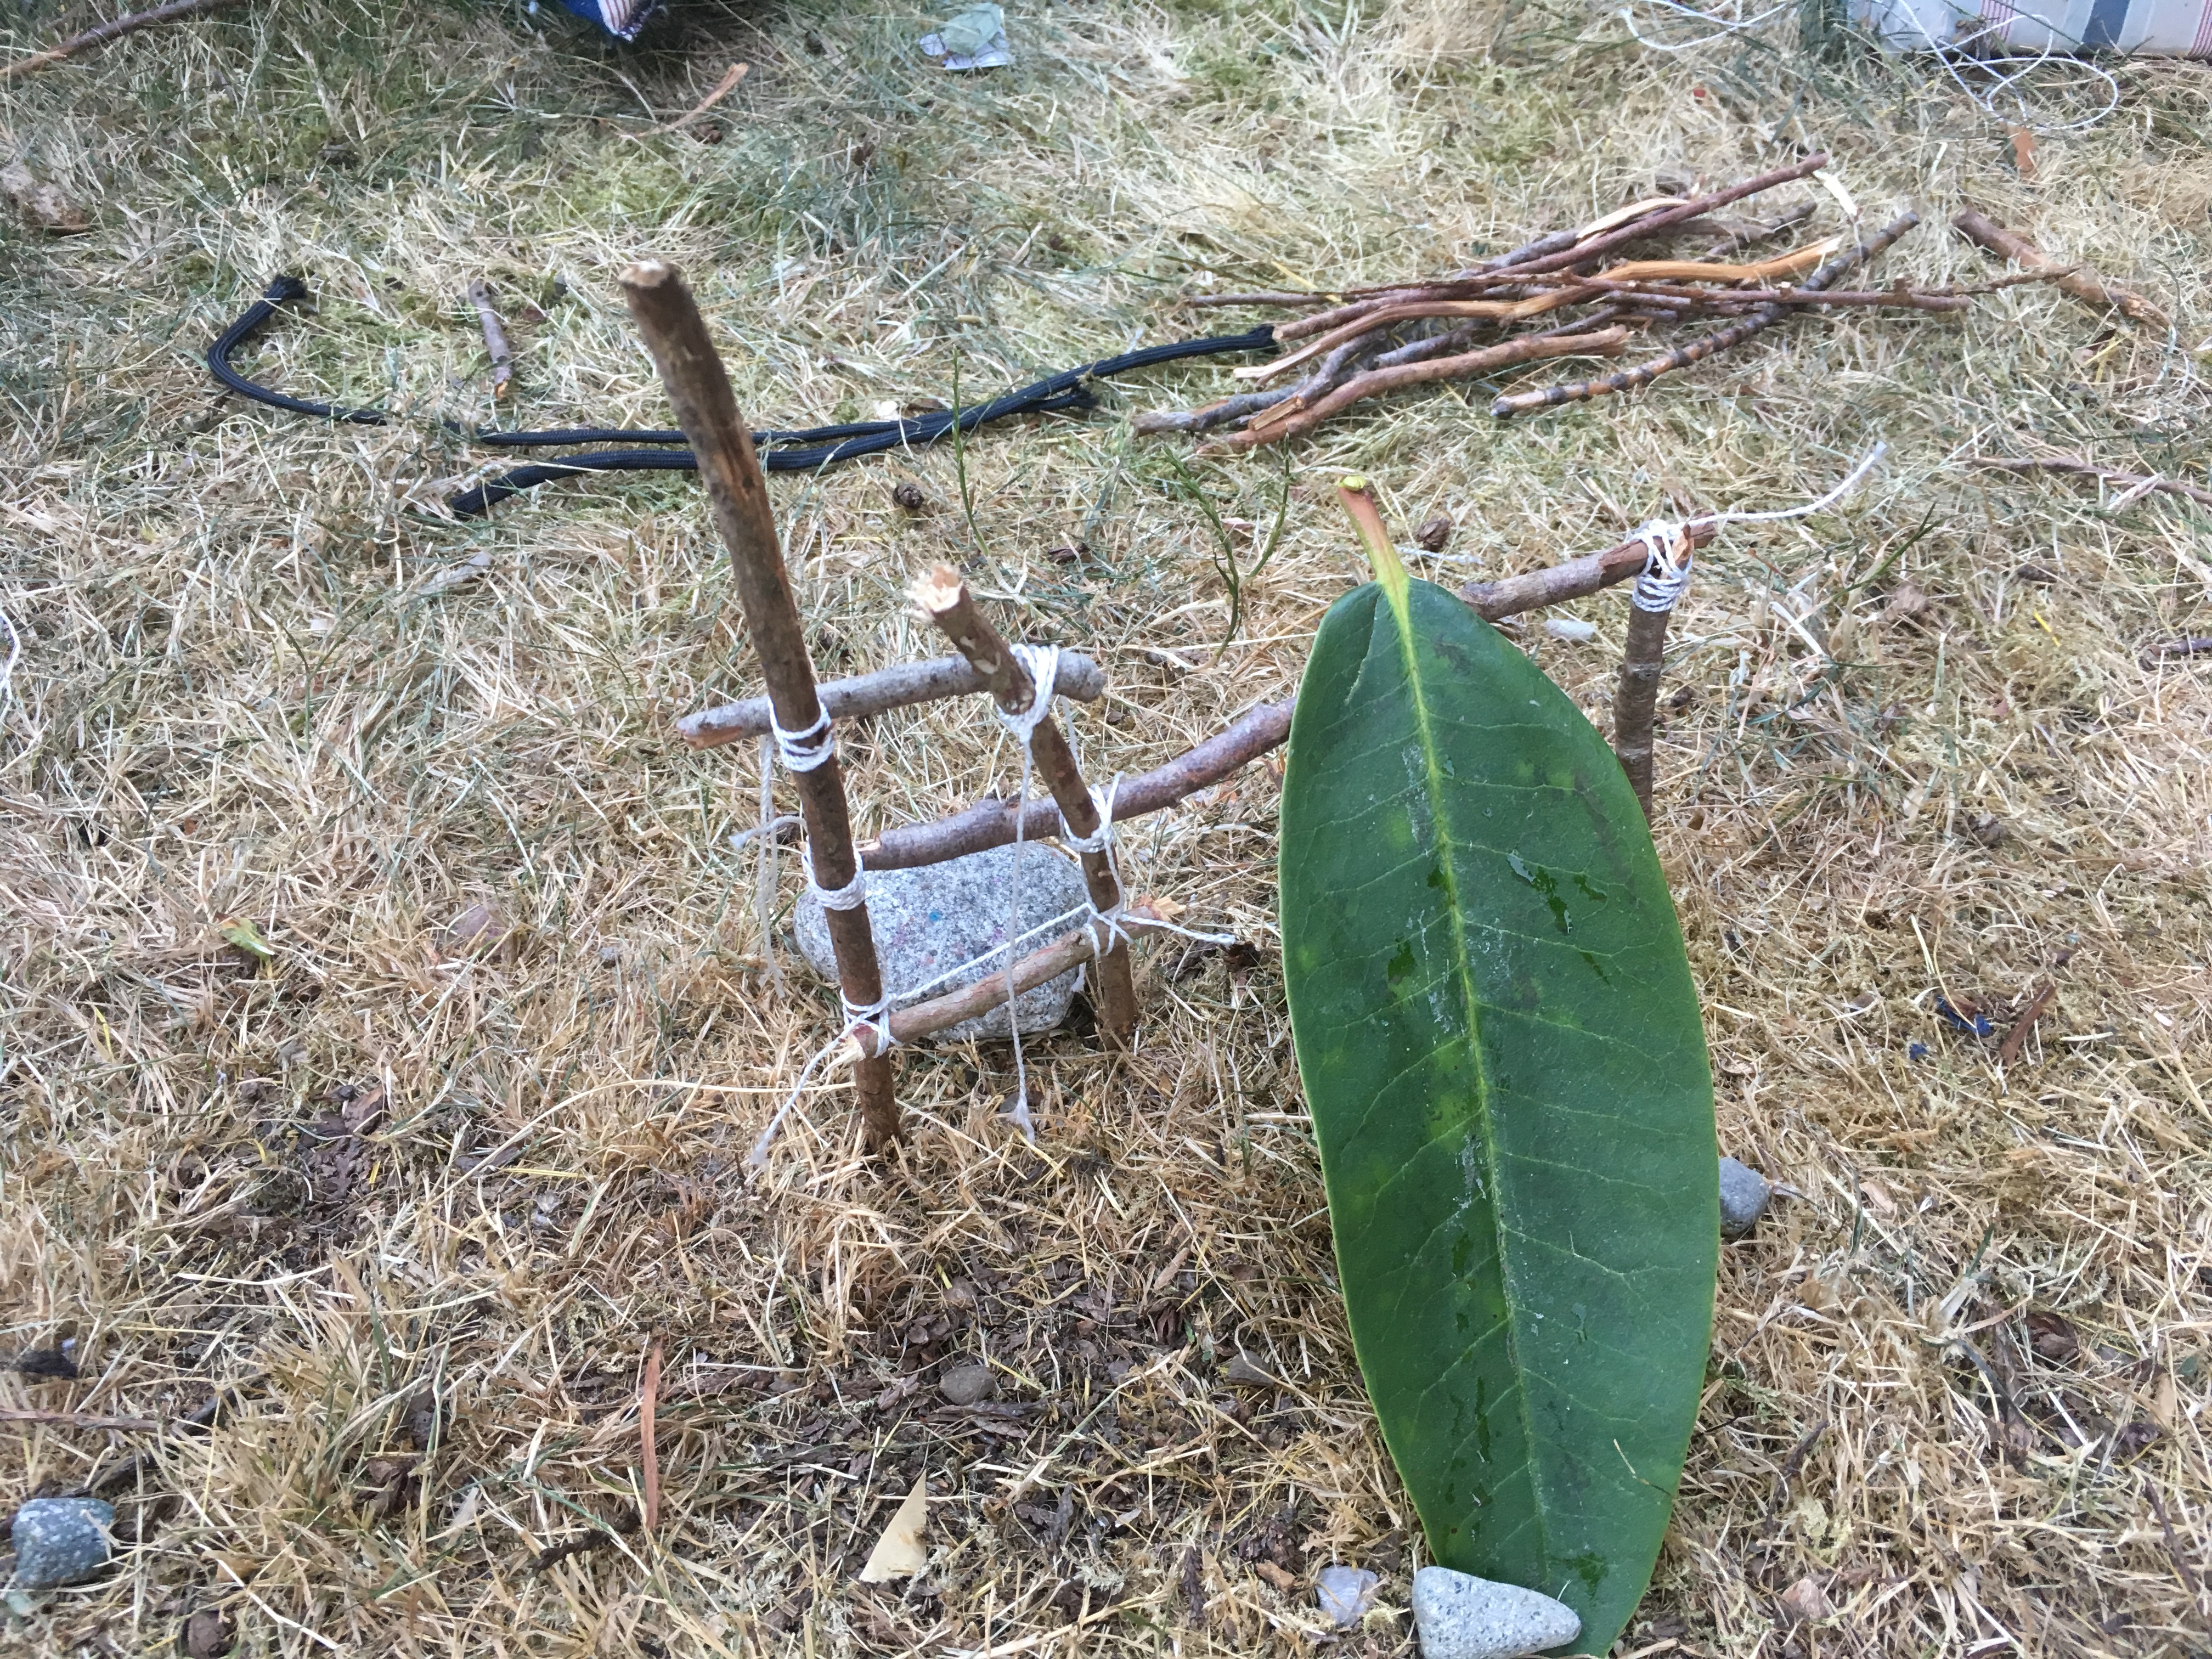
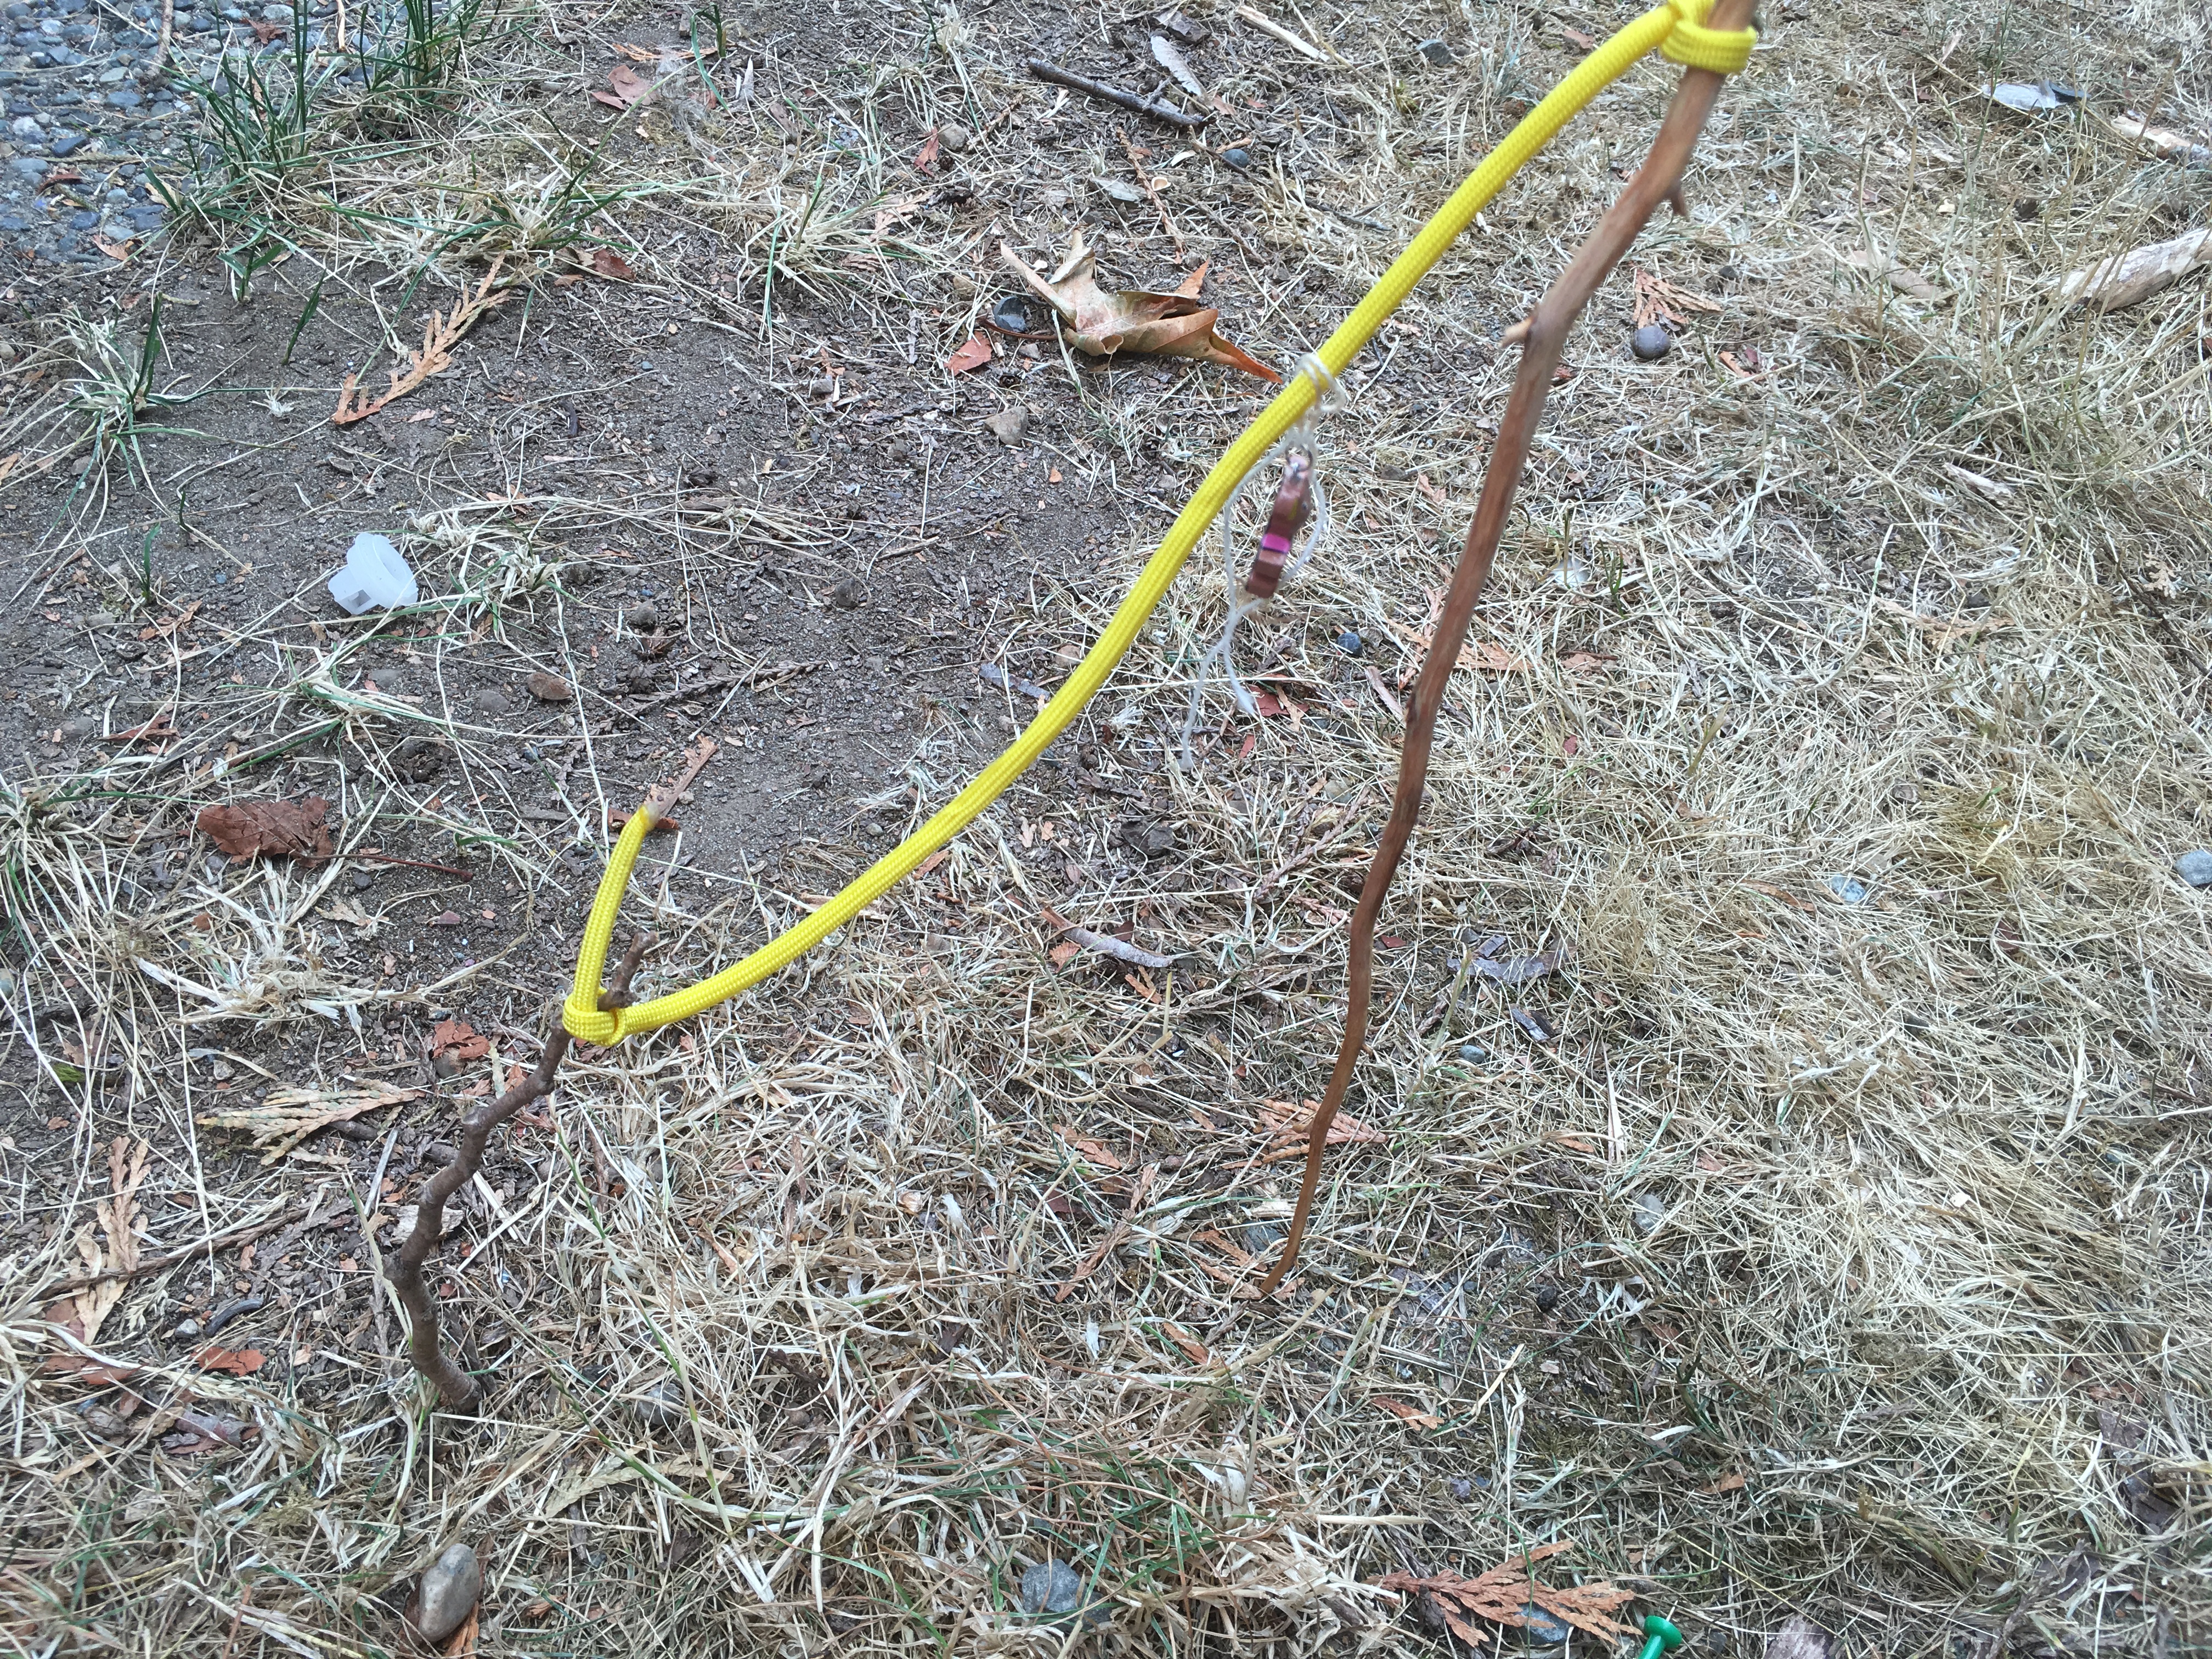
One of my favourite projects, was sharpening sticks to put in the ground and make a playground. They added string to join pieces together and made a zip wire, slide, climbing frame and monkey bars.
The slide
My personal favourite, the zip wire for teddy
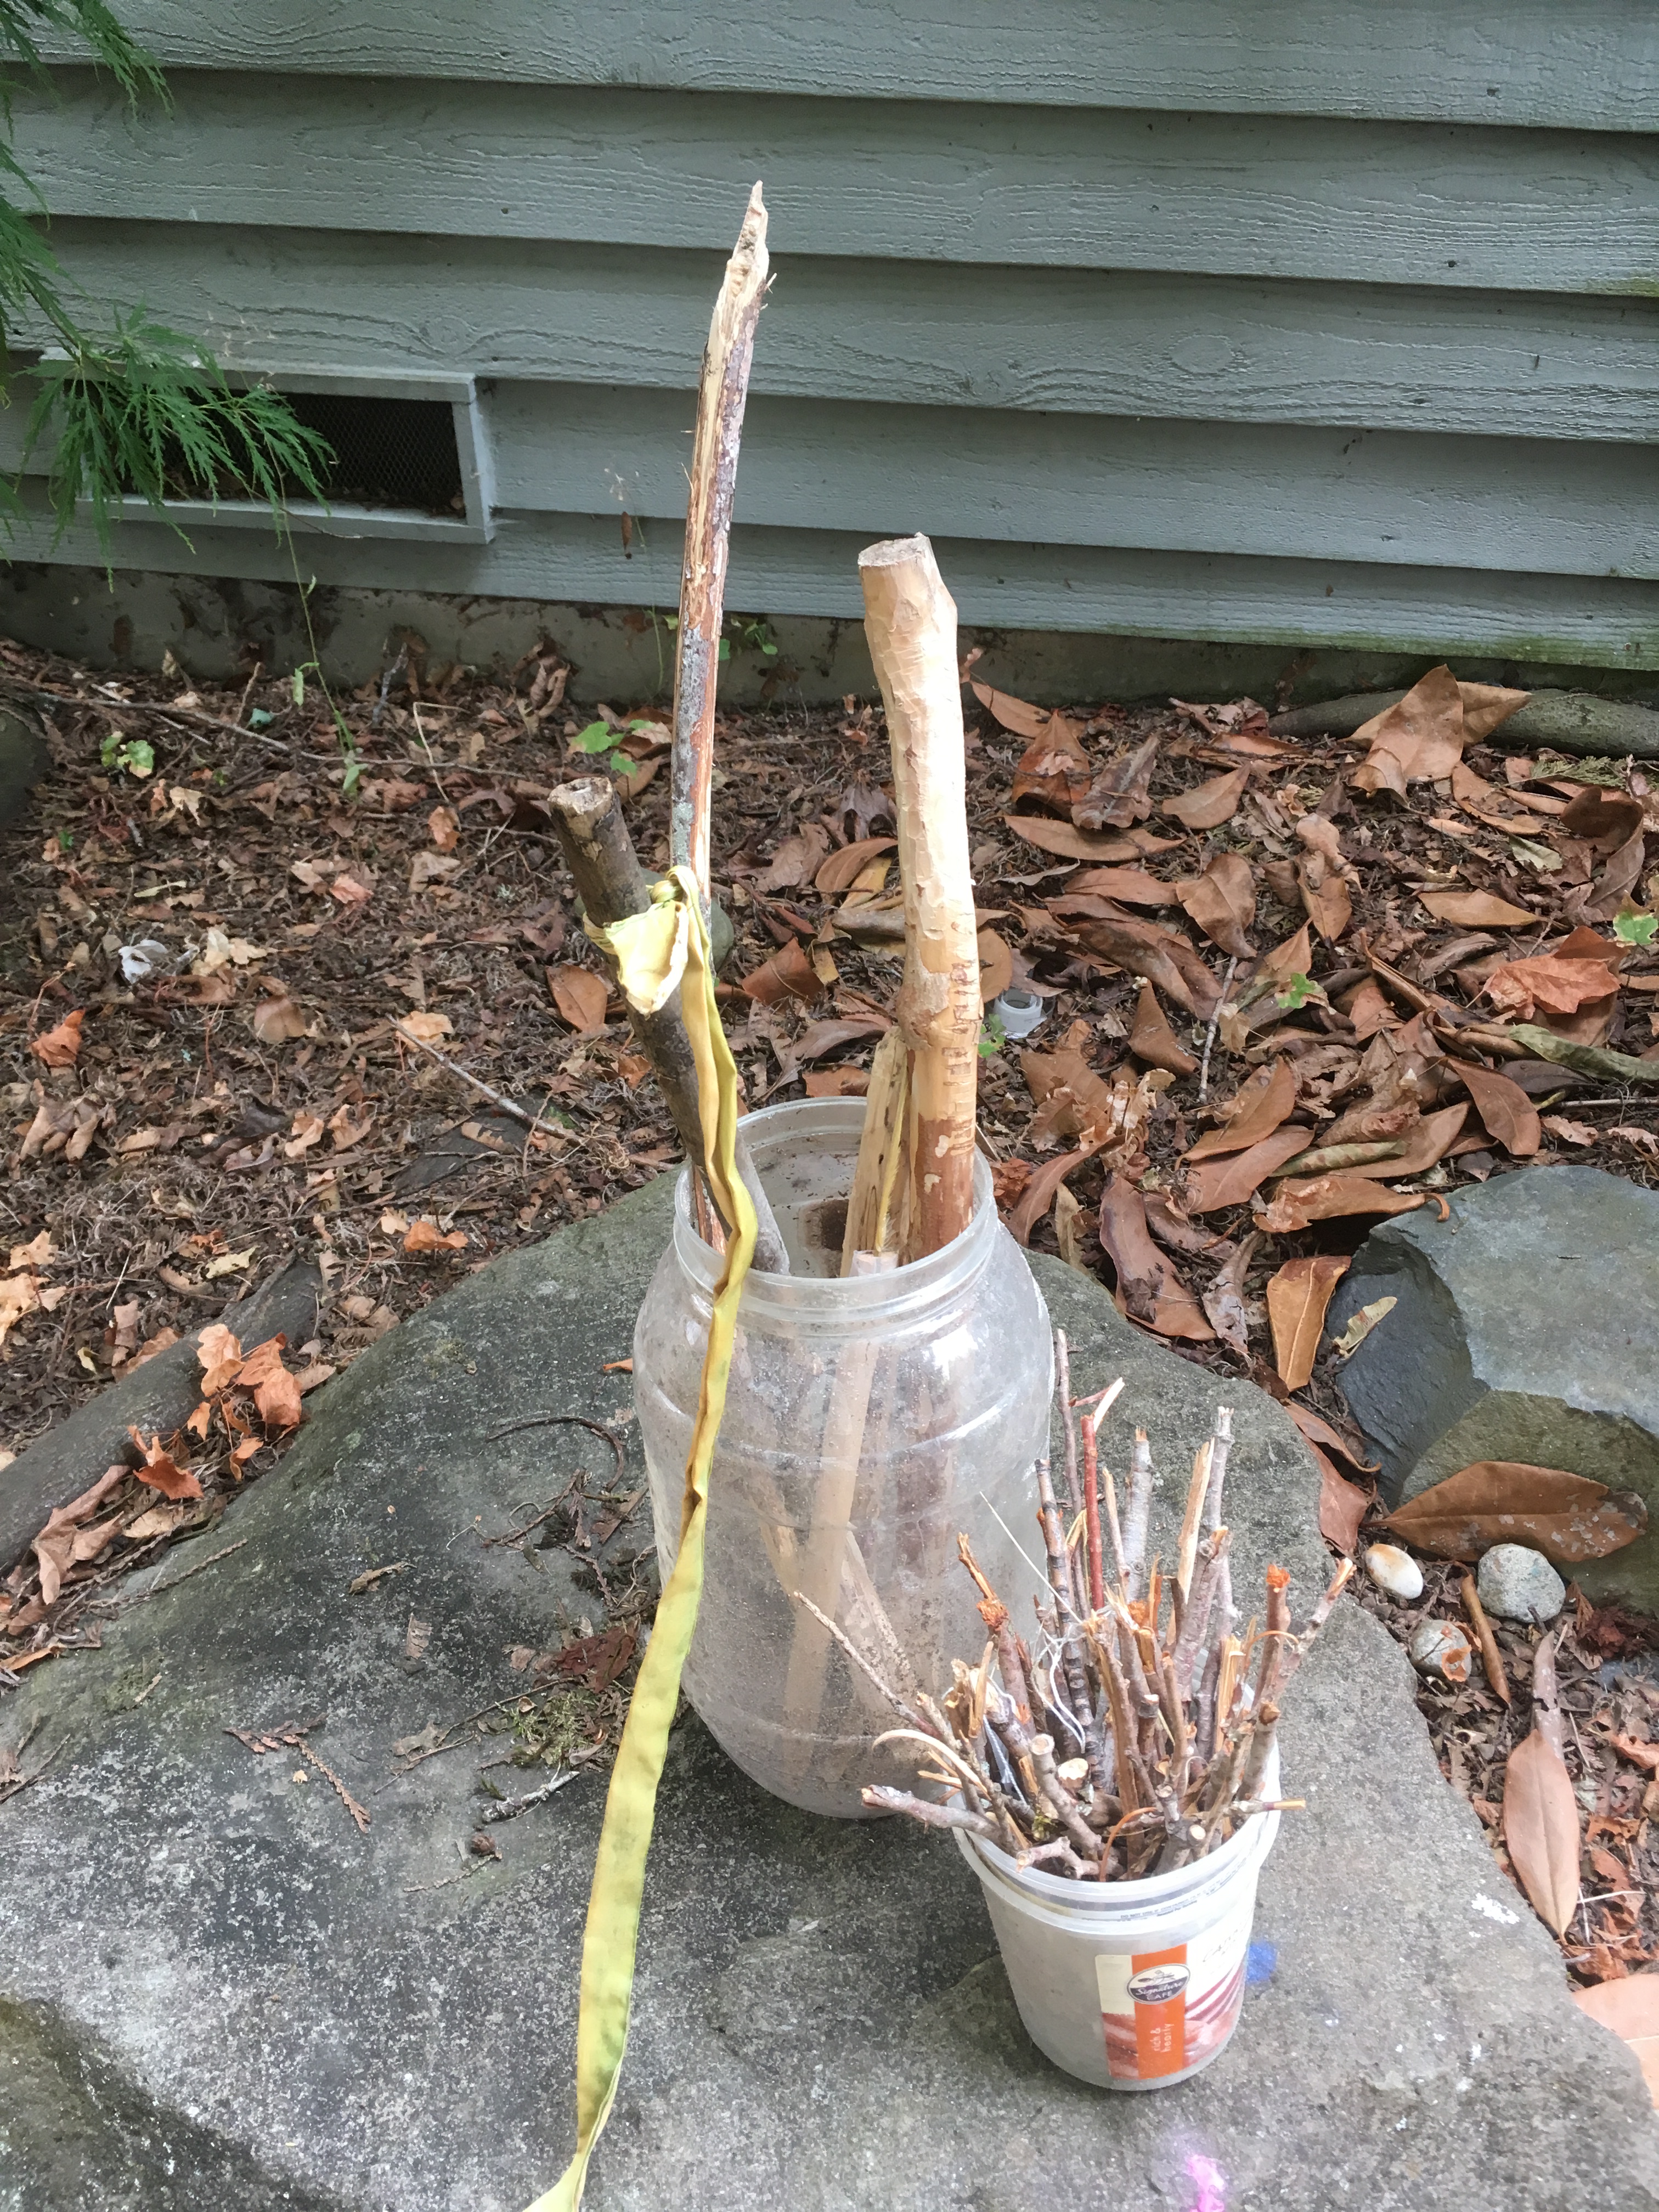
They spent a lot of time stripping bark from sticks. Some they used for tent pegs, some they sharpened to make arrows and sometimes they simply whittled the sticks for fun.
They also learned to split pieces of wood with a knife. They used a thick stick as a hammer to push the knife through the wood.
They attempted to make a spoon, like one of the contestants on Alone, but hollowing out wood was a little tricky with their knives. They found it much easier with the multi tool.
They came up with all kinds of imaginative projects,some more successful than others. In the video my daughter demonstrates how she is making a rain collector. The large stick on the floor is the one they used as a hammer, to split sticks. You can clearly see the difficulty the girls had with hollowing sticks. This project remained unfinished, which is just as well considering we haven’t had any rain this summer!
I can’t wait to see what they achieve as they become more skilled.


 If you like this lesson and you’d like to save the idea, use this image to save it to Pinterest. You can find my other art lessons and those that inspire me, on my