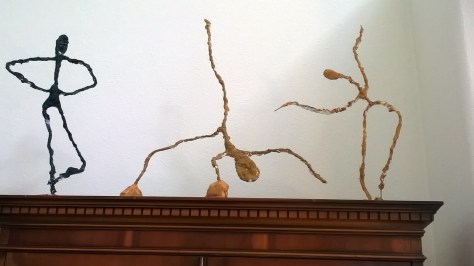
Since we hadn’t yet explored any three-dimensional art, our final art lesson this year was inspired by the sculptures of Alberto Giacometti.
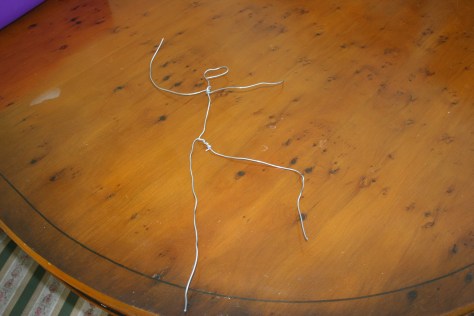
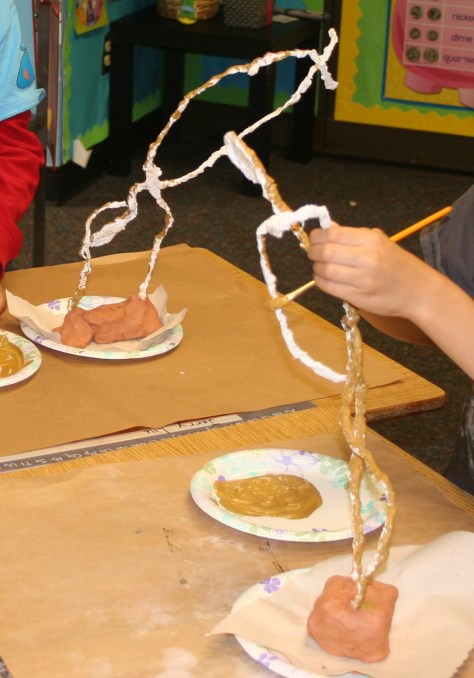
Photo Credit Art PoskanzerStep 1: Make the shape of the person using wire.
I pre-cut three pieces of wire. The longest piece for the legs, slightly shorter for the arms and a shorter piece for the torso and head. With my own children, I would allow them to cut the wire with wire cutters but with only an hour, I wanted to make sure we had time to complete the sculptures. The children bent the legs into shape, looped a head into the shorter piece and joined the pieces by twisting them together.
Helpful Tips
Some of the children needed help with this part and some of the joins were a bit wobbly. With very young children you could make the wire a structure ahead of time and let the children bend it into a pose.
Our trial sculpture had a pose with arms on hips. This was difficult to keep steady and needed a lot of adult help. Older children may be fine but since this was a larger group of 7-year-olds, I suggested they make a pose that wasn’t touching another part of the body.
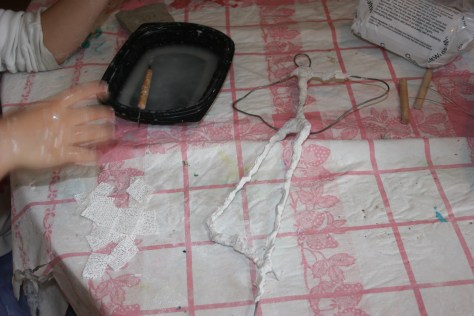
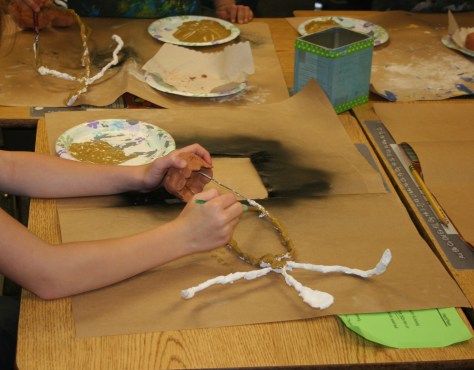
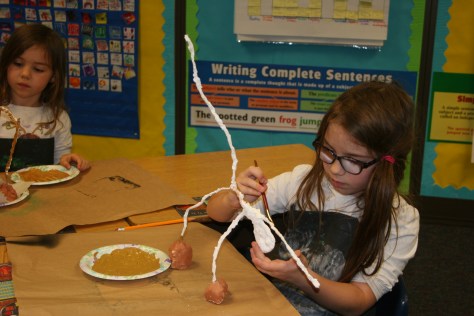
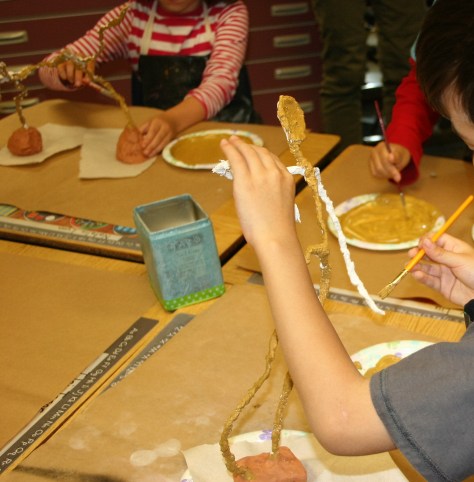
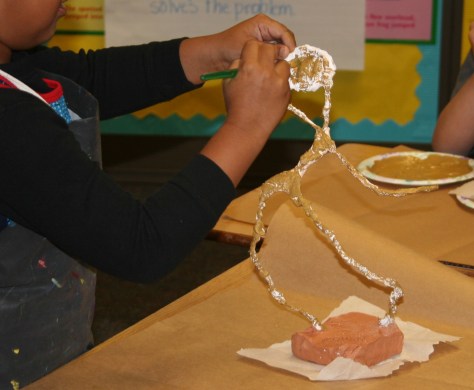
Step 2: Cover the wire with plaster bandage.
Each child had a pot of water and a pot of pre-cut pieces of plaster bandage. Dip the plaster bandage in water for five seconds then wrap or squish around the wire, smoothing out any holes with your finger.
Helpful Tips
Some children found it easier to work with small pieces, as in the picture but some preferred slightly longer pieces that they could wrap. I would suggest giving children a mixture of sizes.
Start with the joins, if they are a bit wobbly, wait a few minutes for these to dry ( you may need a few layers ) and then the model will hold still without moving.
Keep the water pot and plaster bandage away from each other. If the plaster bandage gets wet and is not used straight away, it won’t work and will crumble away.
Leave a section of wire at the bottom of the legs uncovered for inserting in the stand.
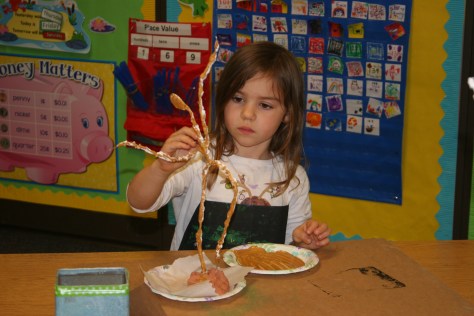
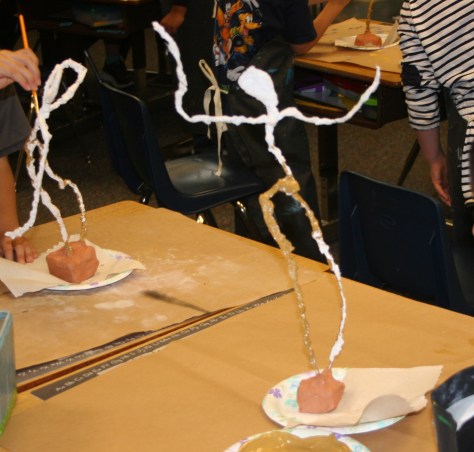
Step 3: Make a stand.
We used air-drying clay for the stand because it was heavy enough not to tip but easy to insert the wire into. The shape of the stand was dependent on the way the model balanced. Some models required clay moulded around the legs, others needed a wide base and some had two stands to help it balance. Working out how to balance the model on a stand was a challenge to some.
Helpful Tips
Place the finished models on a piece of paper towel to dry to avoid the clay cracking.
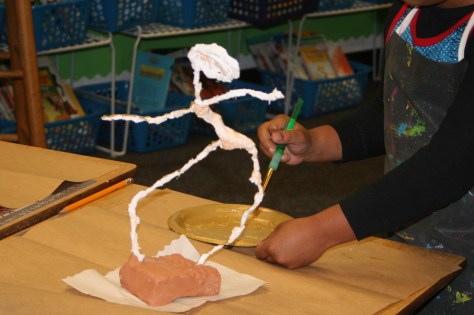
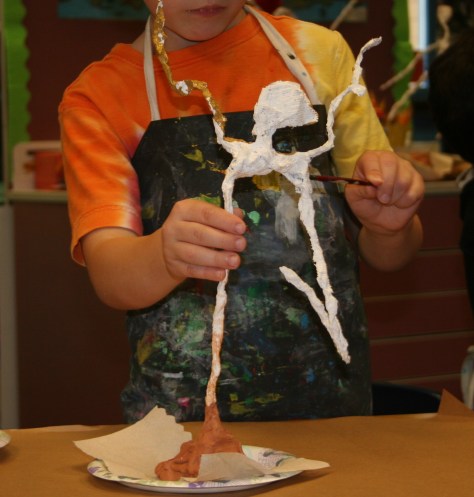
Step 4: Paint the sculptures.
We used acrylic paint with a gold metallic sheen to replicate bronze, Giacometti’s chosen medium.
I think they look great and I’d love to try them again to see what magical creations older children would make.
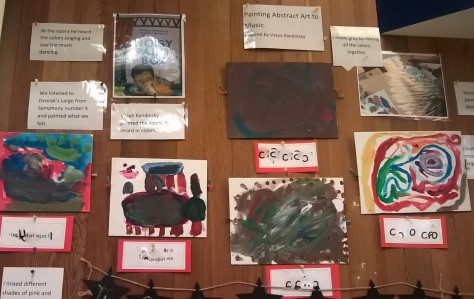
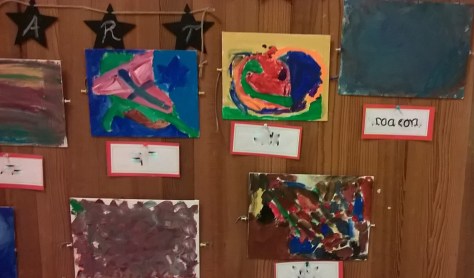
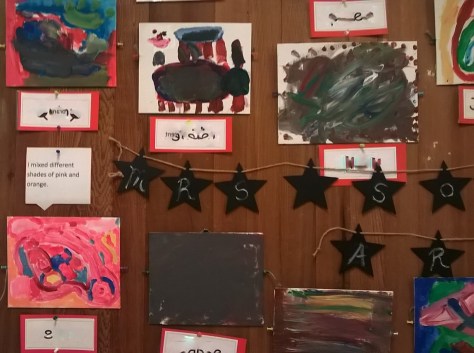
One way to ensure that you don’t end up with a wall of identical paintings is to introduce children to abstract art. We used the book The Noisy Paint Box: The Colors and Sounds of Kandinsky’s Abstract Art as a starting point. The book tells the story of Kandinsky’s ability to ‘see music’ and ‘hear paintings’.
I explained that abstract art is not about creating a particular thing but is about expressing how you feel.
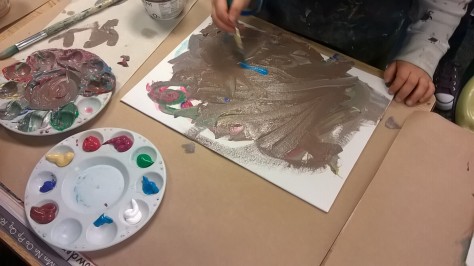
Each child had a pallet of acrylic paints, 2 different sized paintbrushes, a canvas, a pot of water and paper towel to wash and dry the brushes. I showed them how to clean their brushes by washing it in the water and drying it with the paper towel.
The children began when I played the music – I chose a quiet piece to add focus, Dvorak’s Largo from Symphony no. 9.
Some children were engrossed in colour mixing, while others enjoyed layering colours one on top of the other. Some concentrated on texture and others focused on shape and colour.
The strong focus on process lead to an interesting discussion with the teacher after class. We lamented the lack of time children in Kindergarten and beyond, to experiment with paint and the impact this has on their motor development. I always feel my lessons should be in at least 2 parts, one for discovery and process and the another to create a product. I wish there was time for the children to practice skills and develop. My eldest daughter attends a school where the whole curriculum is taught through the medium of visual and performing arts – are there any creative elementary teachers out there doing the same?
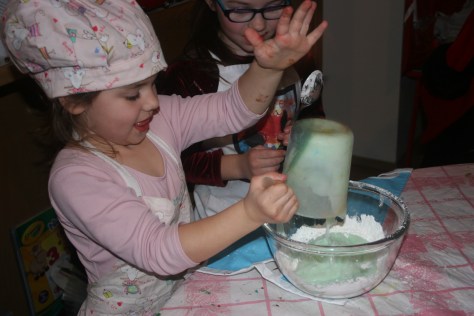
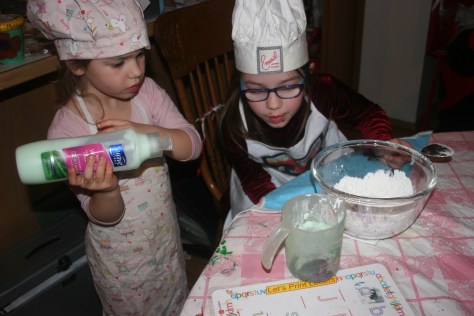
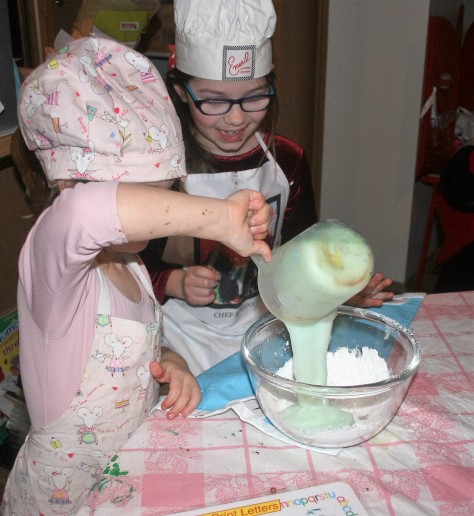
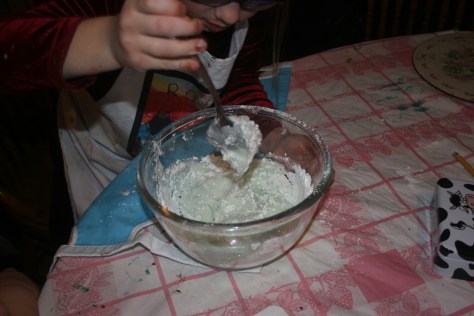
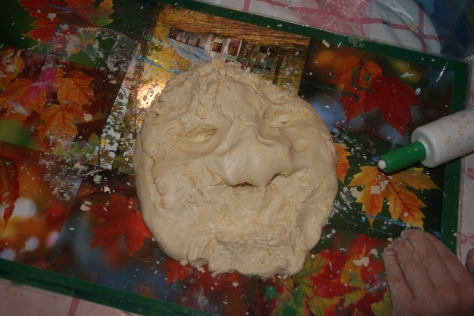
I am terrible at making play dough. For years I have experimented with all kinds of recipes, cold, cooked and microwaved but all of them turn out in a sticky mess within 24 hours. That is until a pre school teacher shared this simple formula with me. Mix 2 cups of corn starch/ corn flour with 1 cup of hair conditioner. Finally a recipe that works!
Feel your skin, it’s really nice and smooth.
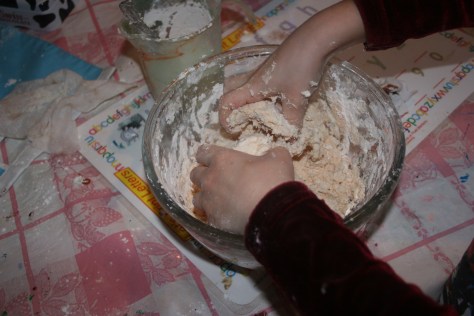
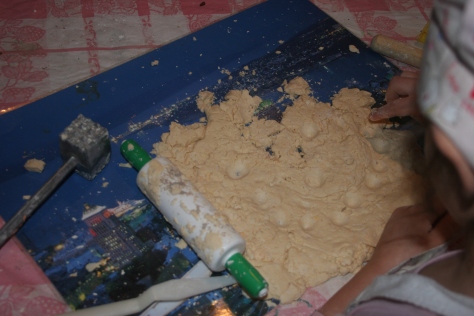
The texture is slightly less firm and more crumbly than standard play dough but it has a lovely silky texture and led to some interesting creations.
I made a face
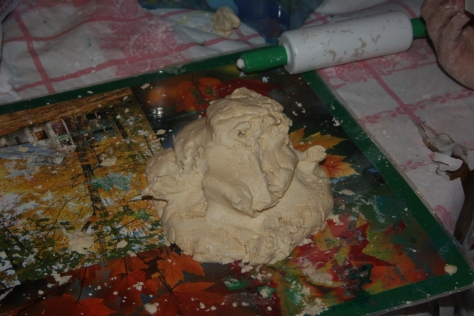
Me tooThe first time I made a snowman, it was really good and then I noticed that it kept going down all the time. It’s like a melting snowman.
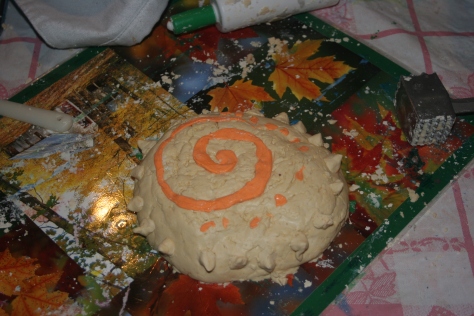
I added some silly putty to it to make this design
For this months art lesson with First Graders, I wanted a project that came from their own imaginations and displayed their creative expression.
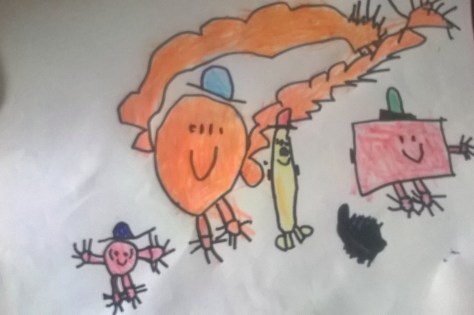
Knowing that my own children had invented wonderful monsters with charcoal, I decided to make colourful ones with oil pastel.
Some children struggle with inventing a character from their imagination, so I started the lesson with a book to provide inspiration and illustration of shape, texture and size.
I chose the book Sleepy Monsters, Creepy Monsters because the text is simple and does not distract from the visual images and the illustrations depict a variety of monsters.
We talked through the pictures, noting features such as eyes on sticks, number of legs, spikes and shapes and discussing the function of these features.
Once the story had finished I instructed them to think for a few minutes about what they would like their monster to be.
Did it have a particular function?
Where did it live?
What would it eat?
Was it a kind or scary monster?
The children then drew their outline shapes on the paper. Once I had checked the size of the monster, the children were given oil pastels to add detail and colour it in. I asked them not to leave any white spaces, except for the background so that they would be as vibrant as possible.
When the children were satisfied with their drawings, they were show how to use a Q tip/ cotton bud dipped in baby oil to blend the oil pastels to a smooth finish, without any white spaces.
Finally they outlined their drawings with a black sharpie to add definition.
The background was applied with a watercolour wash.
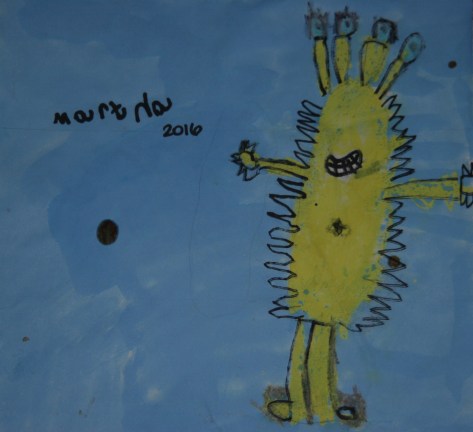
I asked my daughter about her monster.
The 2 eyes on the right can turn all the way back, so they can see behind them.
It has spikes to protect itself from people. Monsters are scared of people, that’s why they attack us.
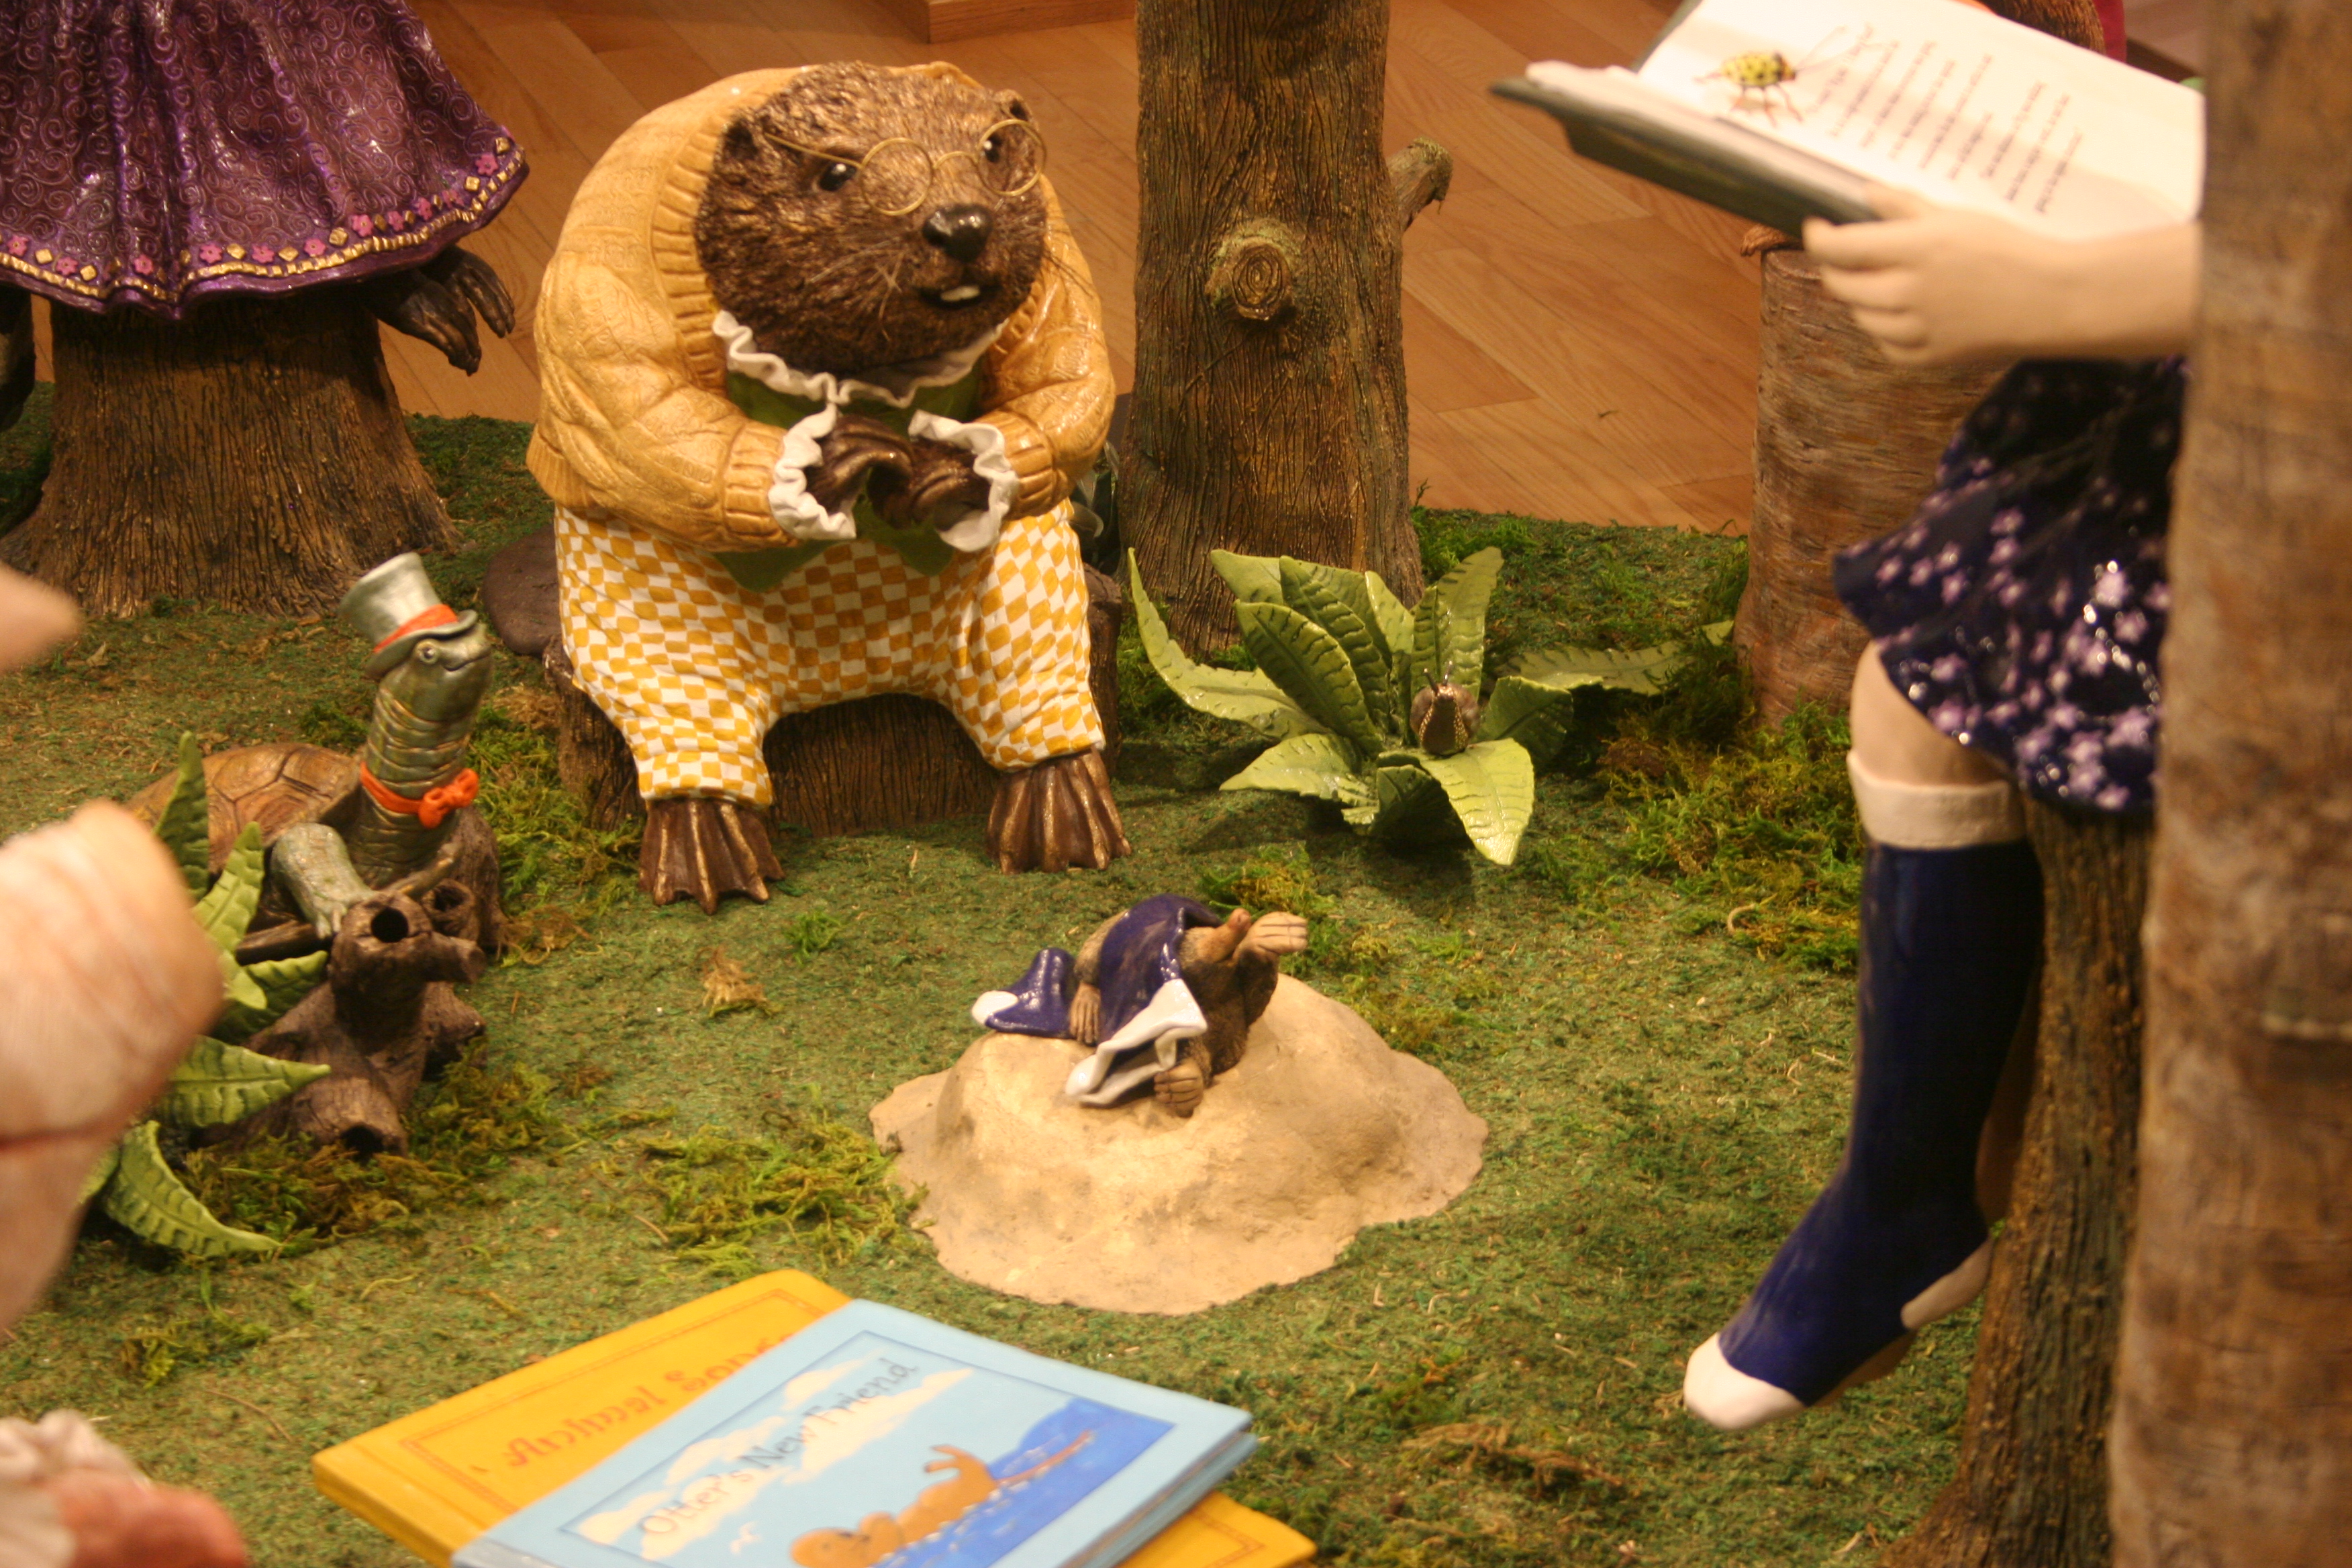
Occasionally, you come across an unexpected treasure. Anticipating a fleeting look around the Bainbridge Art Museum with the children in tow, I was pleased when the assistant greeted the children warmly and entrusted them with a task. The children were given a list of thirty animals that were hidden in Nancy Thorne Chambers’ ceramic installation ‘A Story Place’. If they could find them all, they would be rewarded with a special prize.
Motivated by the prize at hand they made their way to the exhibit. They worked together to find the life-sized animals , studying every angle of the exhibit. They were captivated by the detail and wondered how something so delicate was made and transported to the museum. The animals are reminiscent of Beatrix Potter characters and took me back to my childhood passion for those stories.
My favourite piece was the mole wrapped up in the girl’s sock and the children loved the girl and boy mouse, huddled together with their tiny tea tray.
A Story Place remains at Bainbridge Art Museum until June and is worth seeing if you are visiting Bainbridge Island with children. Entry to the museum is free of charge so visiting this installation alone is worthwhile.
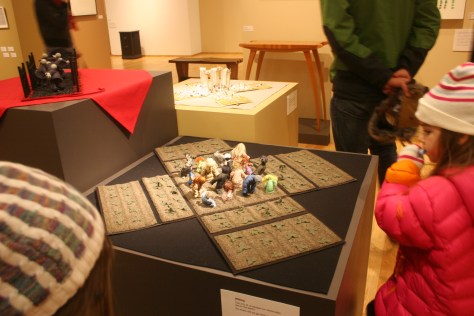
The children were equally compelled by the adult exhibits. It’s easy to assume that children will find art galleries boring but their fascinated faces reminded me that children often find pleasure in unexpected places.
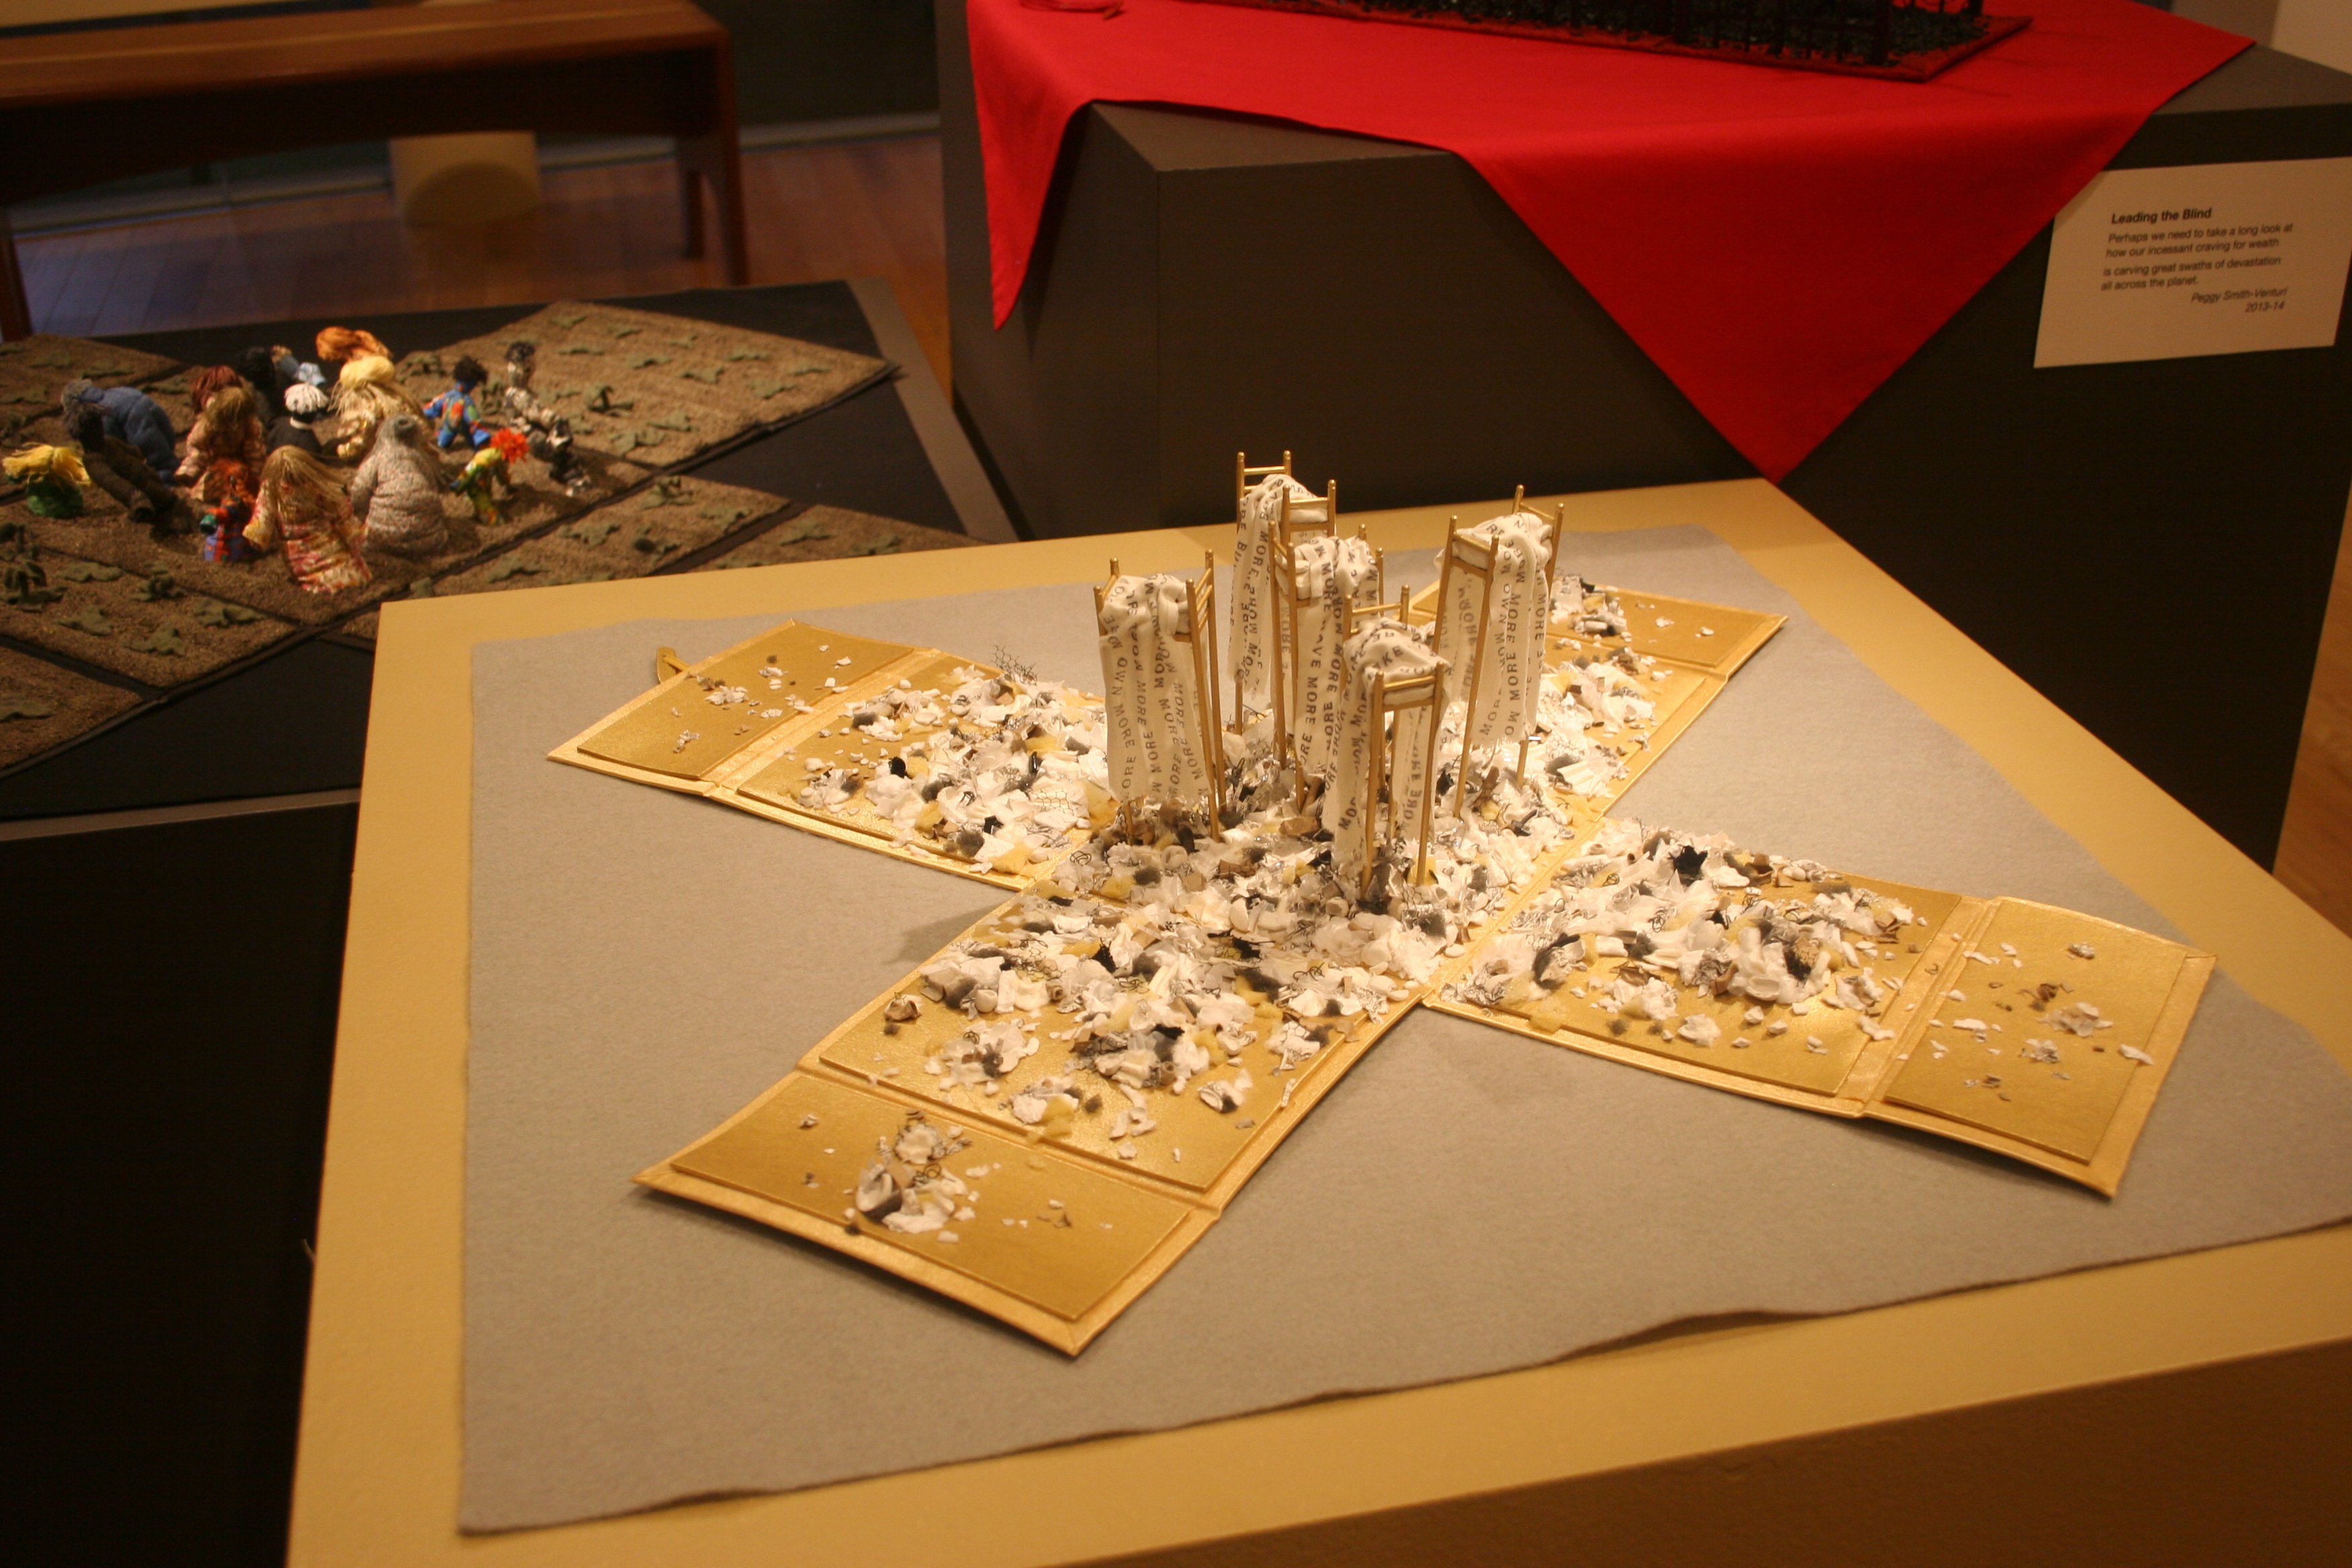
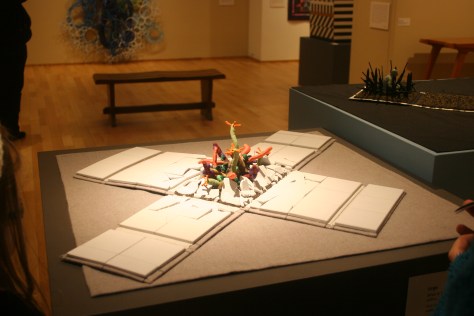
They were mesmerised by models that fold into boxes by Nancy Smith-Venturi and wouldn’t leave until they had seen the slide show of the whole collection.
The younger children wanted to understand each of the models and read the descriptions with interest.
‘What does this one say?’ asked my youngest pointing to a textile on the wall. I read the description. ‘How does it look like wind?’ she asked. ‘It could be because it moves’ I replied ‘ but you might see something different, you don’t have to see the same thing as the artist.
The girls were completely absorbed by the museum and we spent a leisurely few hours there. I think we may have discovered a new passion.
Art is not part of the curriculum in our school district, instead all elementary art lessons are taught by parent volunteers. Once a month I volunteer to teach in my daughter’s class. A monthly art lesson seems a little piecemeal and I often wish that there was time to delve deeper into projects. With this in mind, I often teach lessons that inspire children to discover a new medium or learn about an unfamiliar type of art. Picture books can be a good starting point. Below are some of my favourites .
The Noisy Paint Box
My children are fascinated by abstract art. I recently introduced them to the works of Kandinsky after they created abstract art on our mirror table. This book tells the story of Kandinsky’s life as an artist and explains how he expressed his feelings and senses through painting. As a boy he felt he could hear the paint box hissing and at a classical music concert saw colours and shapes before his eyes, that expressed the music.
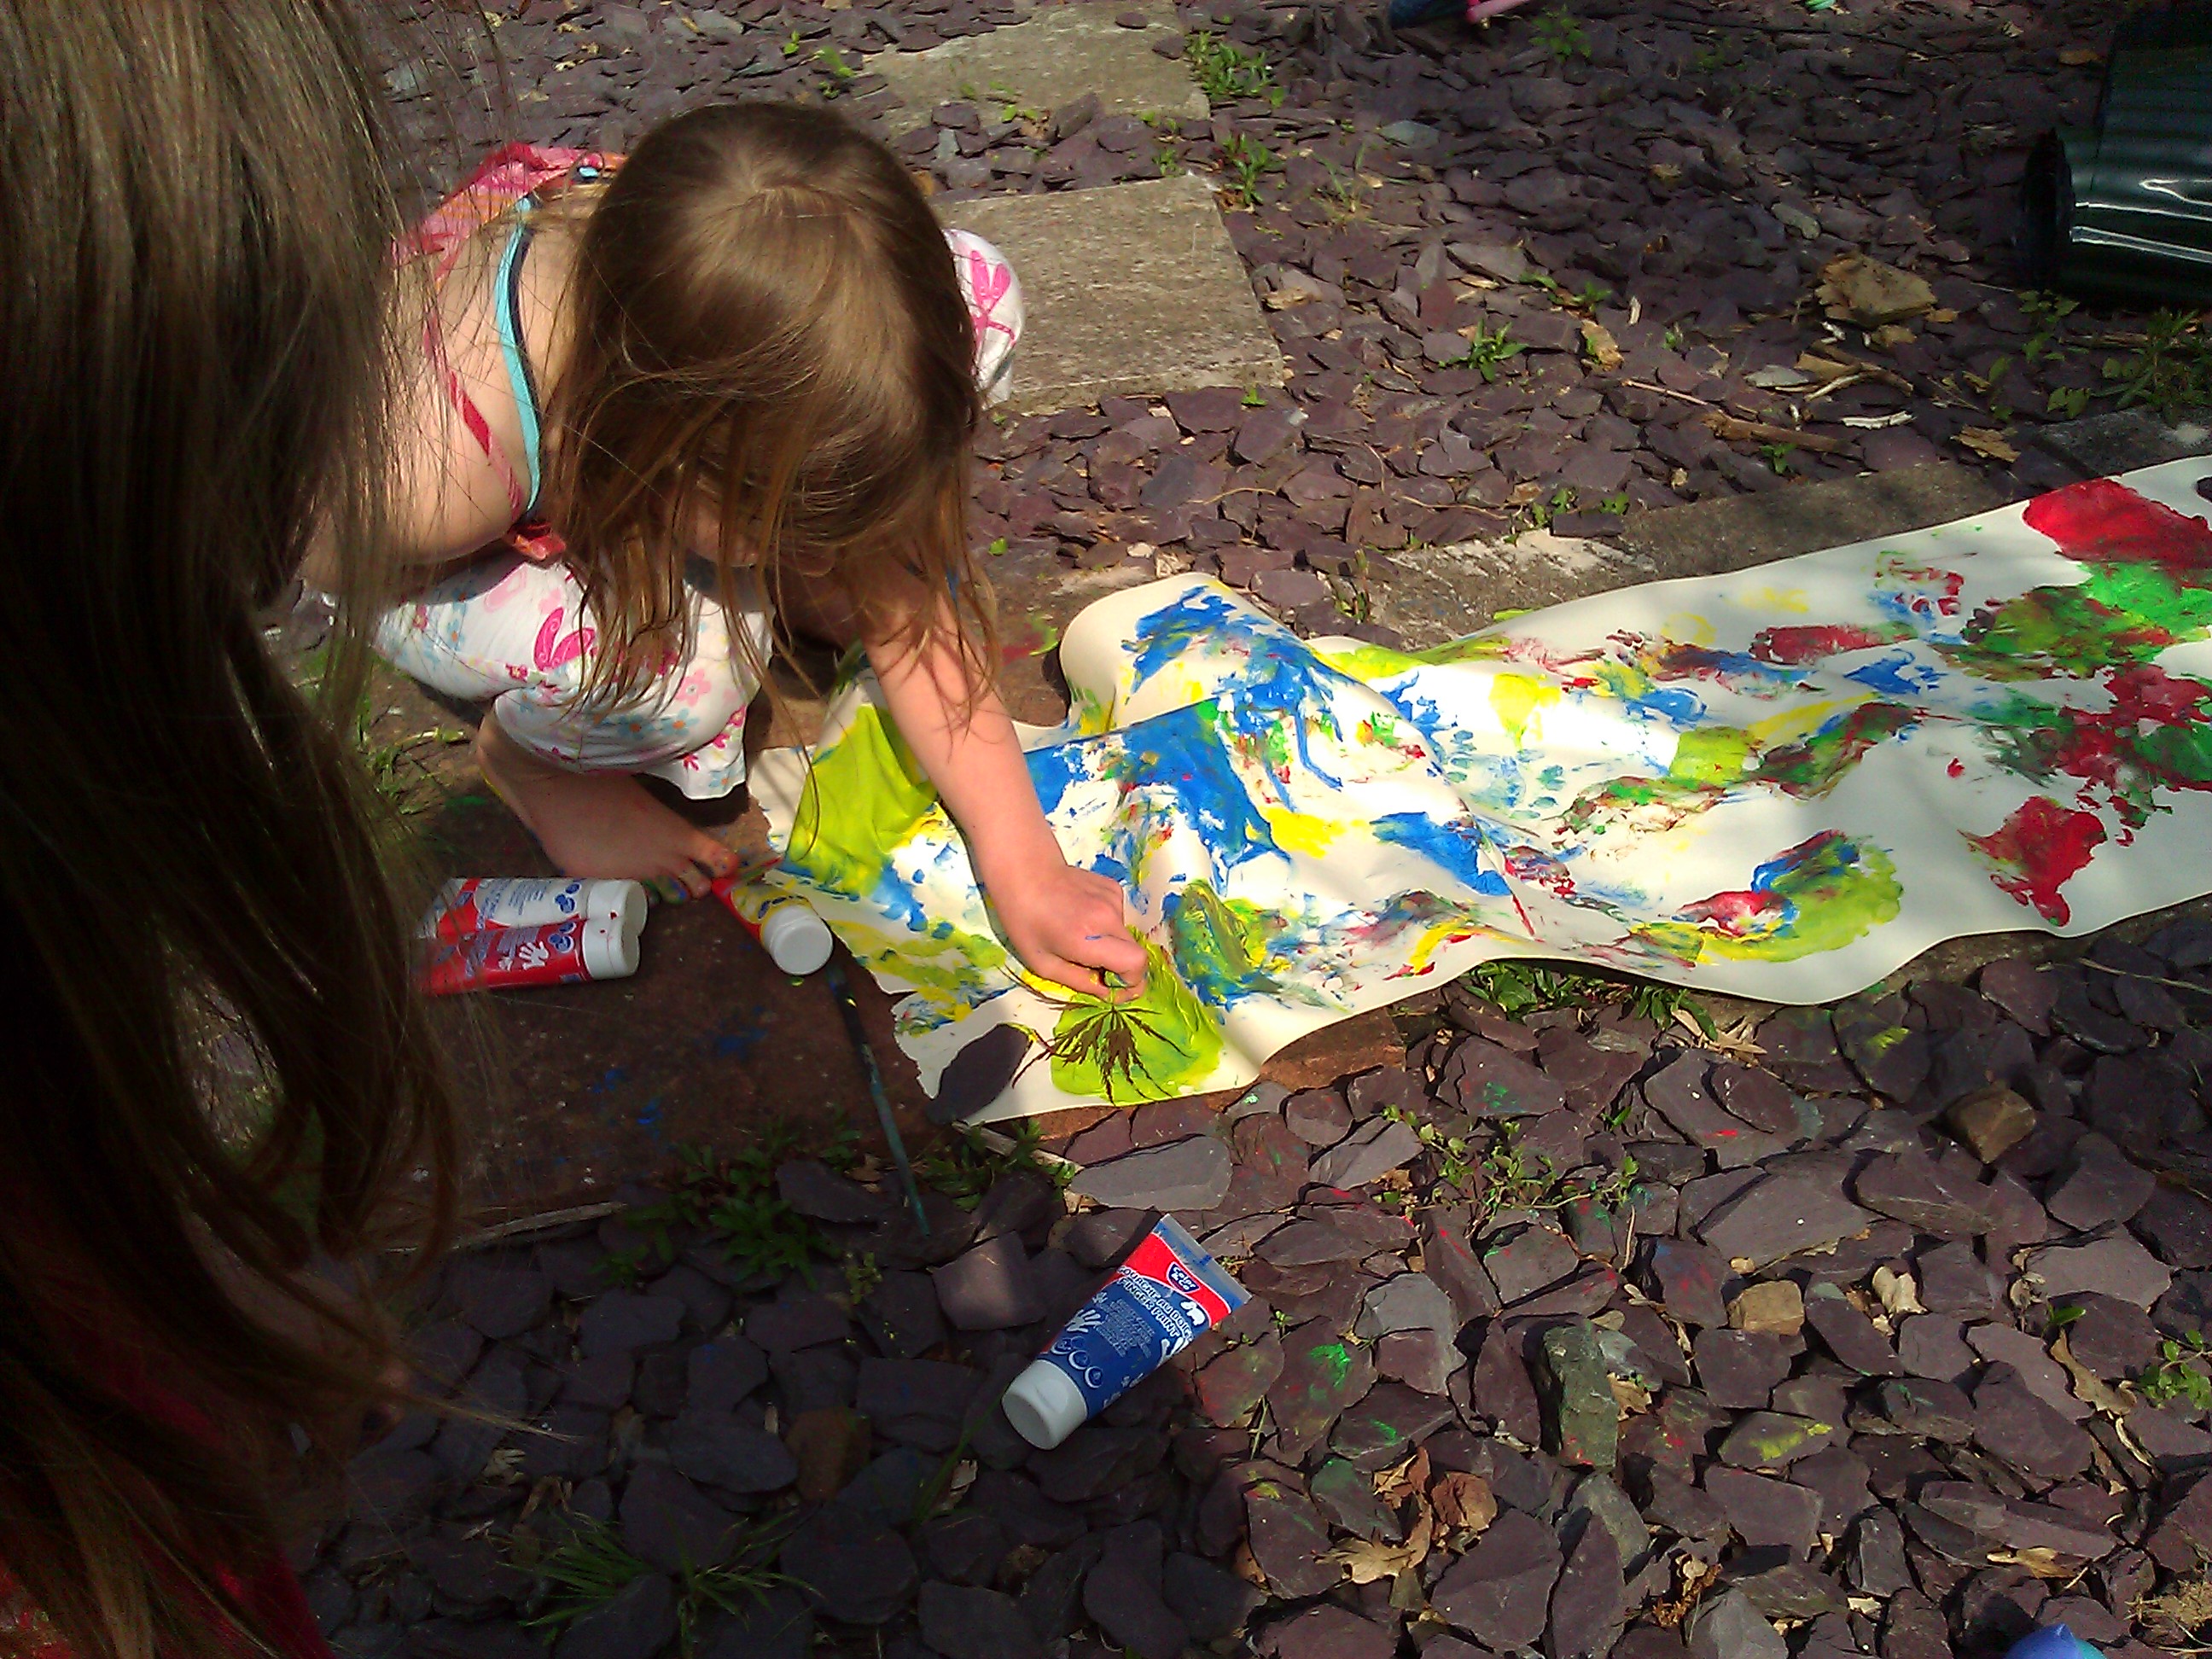
My 3 year olds latest canvas
After reading the book,encourage children to paint what they feel as they listen to a piece of classical music. Discuss their feelings and document some of their comments with the painting. Try playing different genres of music to see how their reactions change and explore together how this was reflected in their painting. A large scale collaborative painting to music could develop this theme further. Explore the differences in expression and how they all fit together to make a complete painting.
2. Korgi
The captivating black and white illustrations in this textless graphic novel inspired this project about monsters. The drawings here were in charcoal but pencil drawing or pen and ink would work equally well.
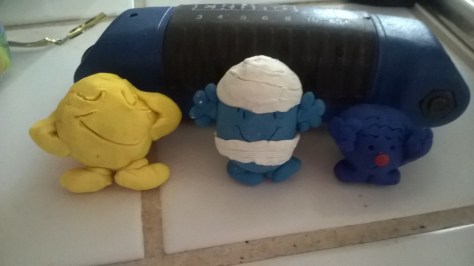
3. The Mr Men
Strangely, the Mr Men have been one of the girls favourite things to draw and model for some time. The book’s back cover displaying all the Mr Men make it easy for them to choose a Mr Man to copy.
They used polymer clay to make 3D representations. Their simple forms make them perfect for introducing young children to polymer clay or modelling smaller characters. It also helps them to see how their drawings can be translated into a 3 dimensional model.
They even created their own Mr Man – Mr Tae Kwondo.
4. How are you Peeling?
We loaned this book from the library and it was a firm favourite. On each page fruit and vegetables are photographed to represent an expression or emotion. It has inspired us to search the supermarket for interesting vegetables and would be even more fun if you grow your own. It would make a wonderful photography project.
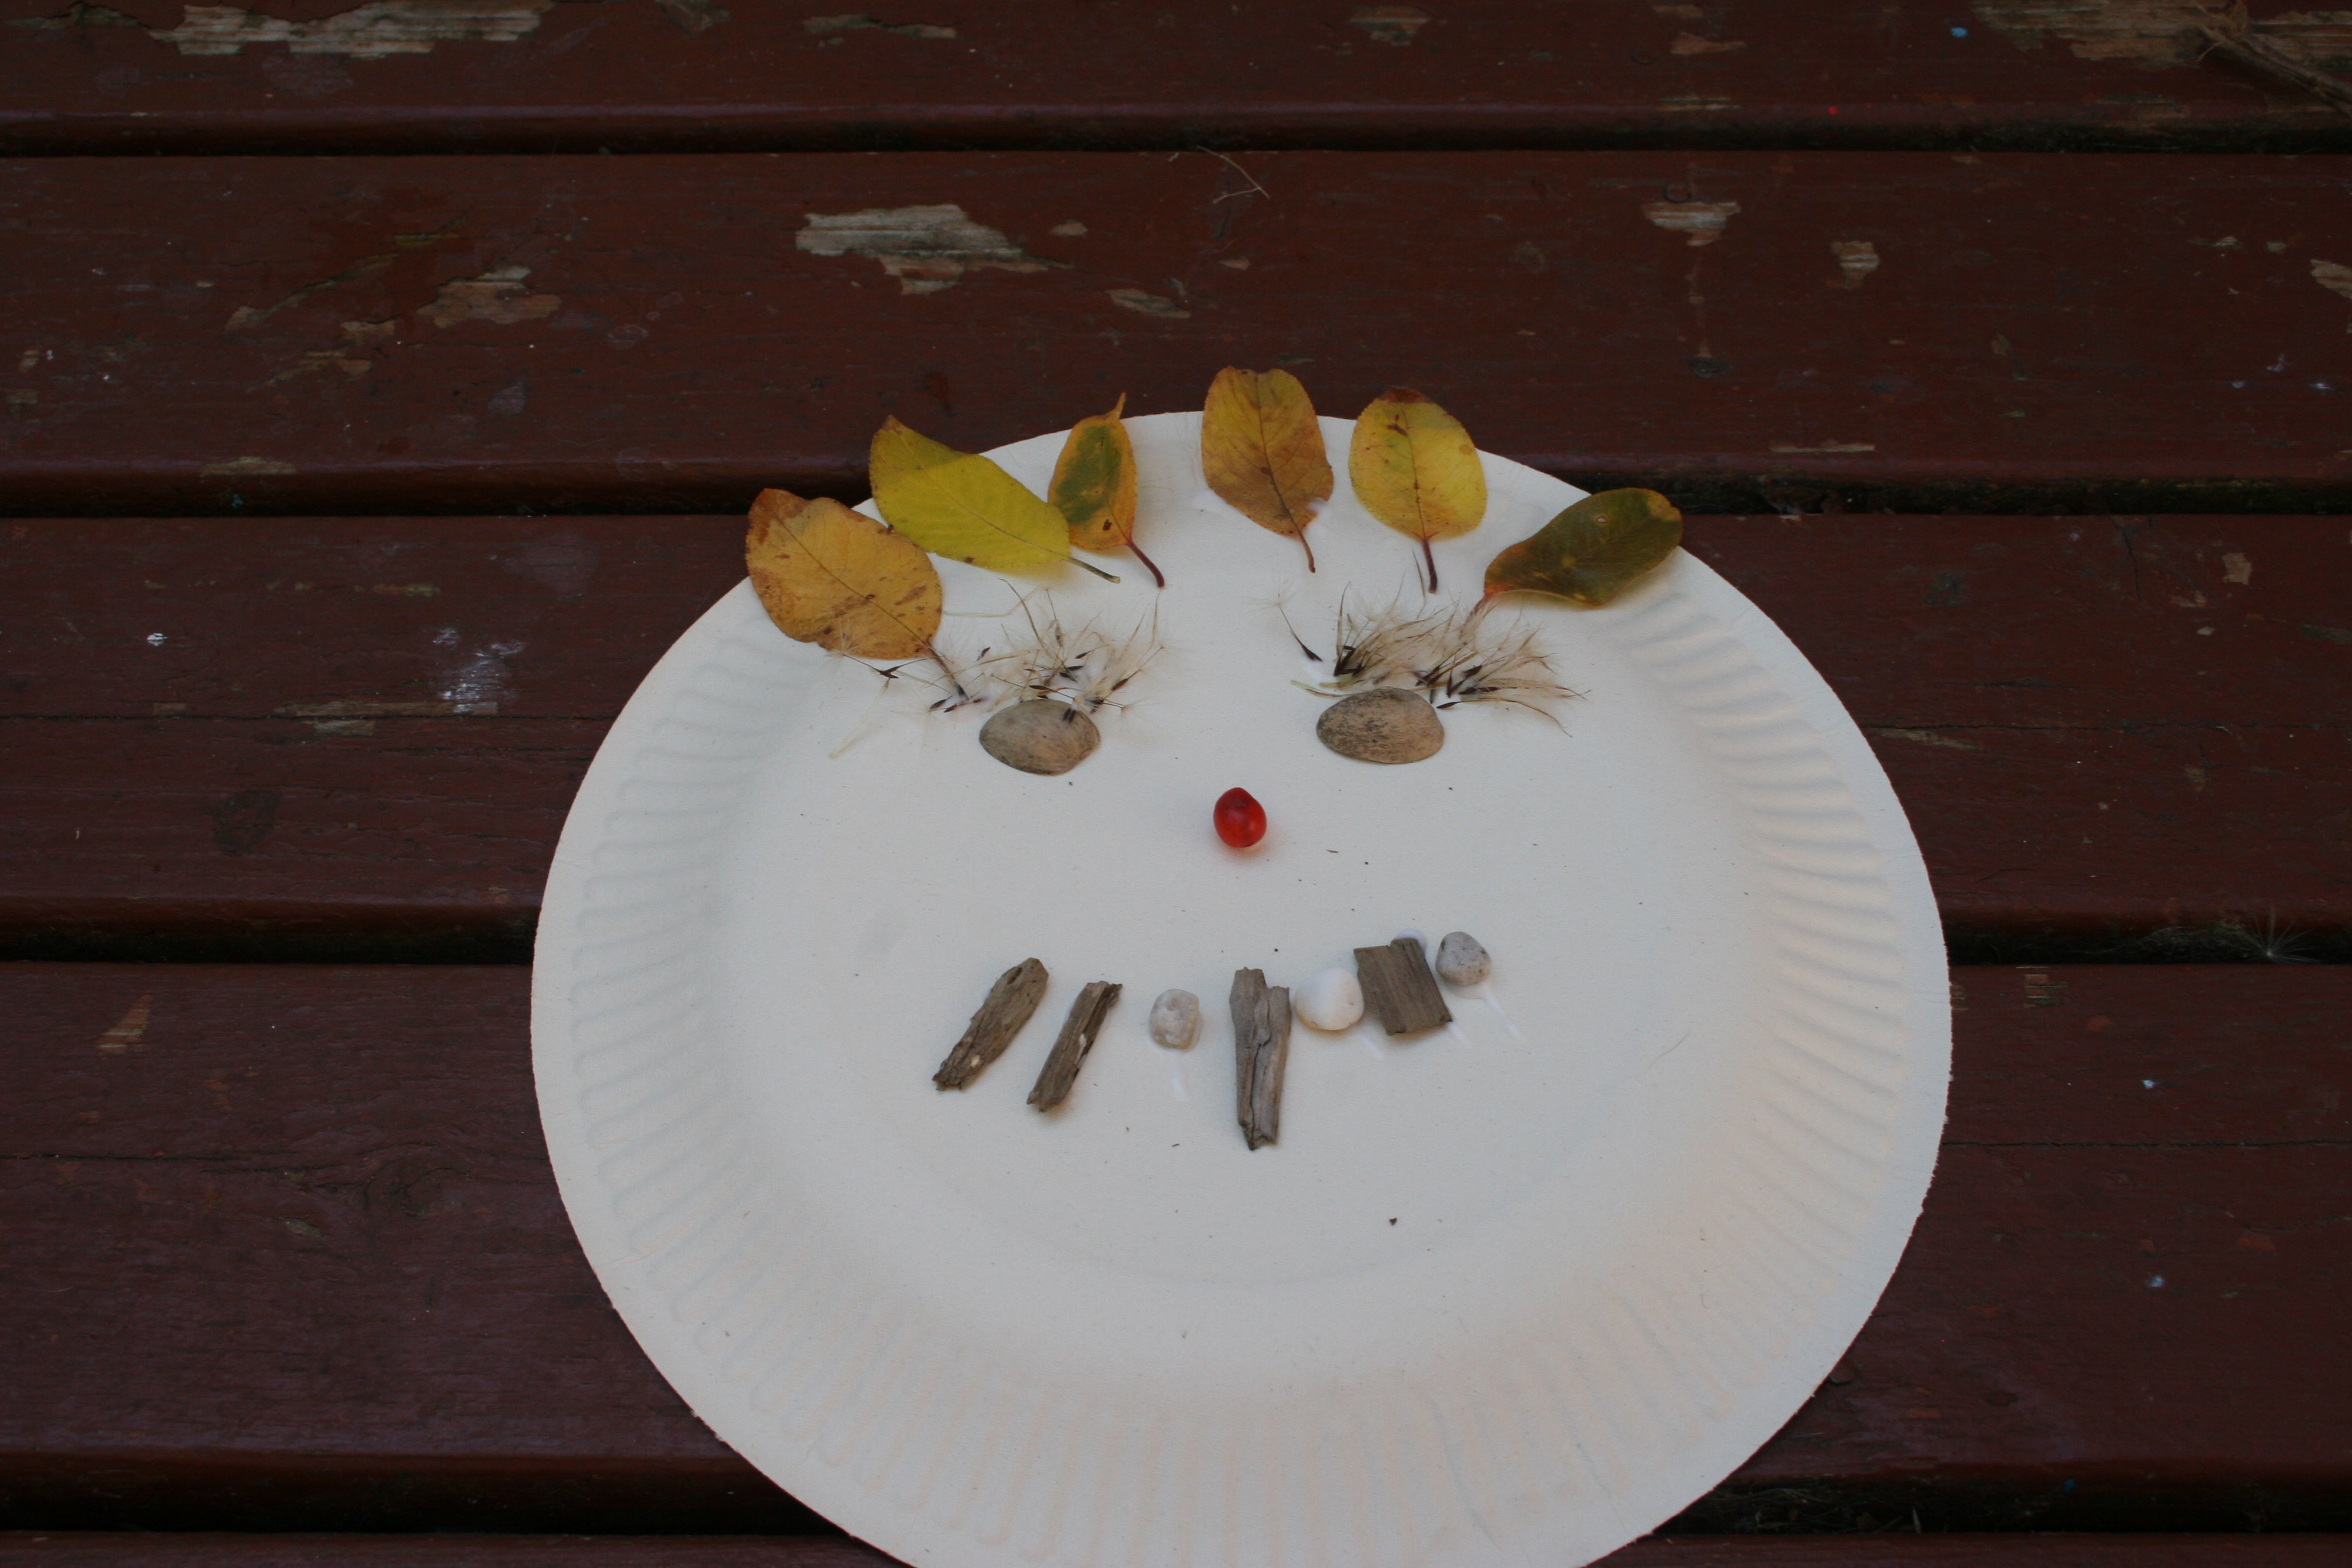
5. Leaf Man
Leaf Man is a good introduction to collage and art using natural materials. The story of leaf man is illustrated using photocopies of leaves on a colourful torn paper background. We used this for an art lesson in my daughter’s Kindergarten class and here are some of the finished projects.
Further Suggestions
The Tiny Seed – paint flicking
The Hungry Caterpillar – collage (Eric Carle describes how he creates his pictures in this slideshow.)
Camille and the Sunflowers – a story about Van Goch
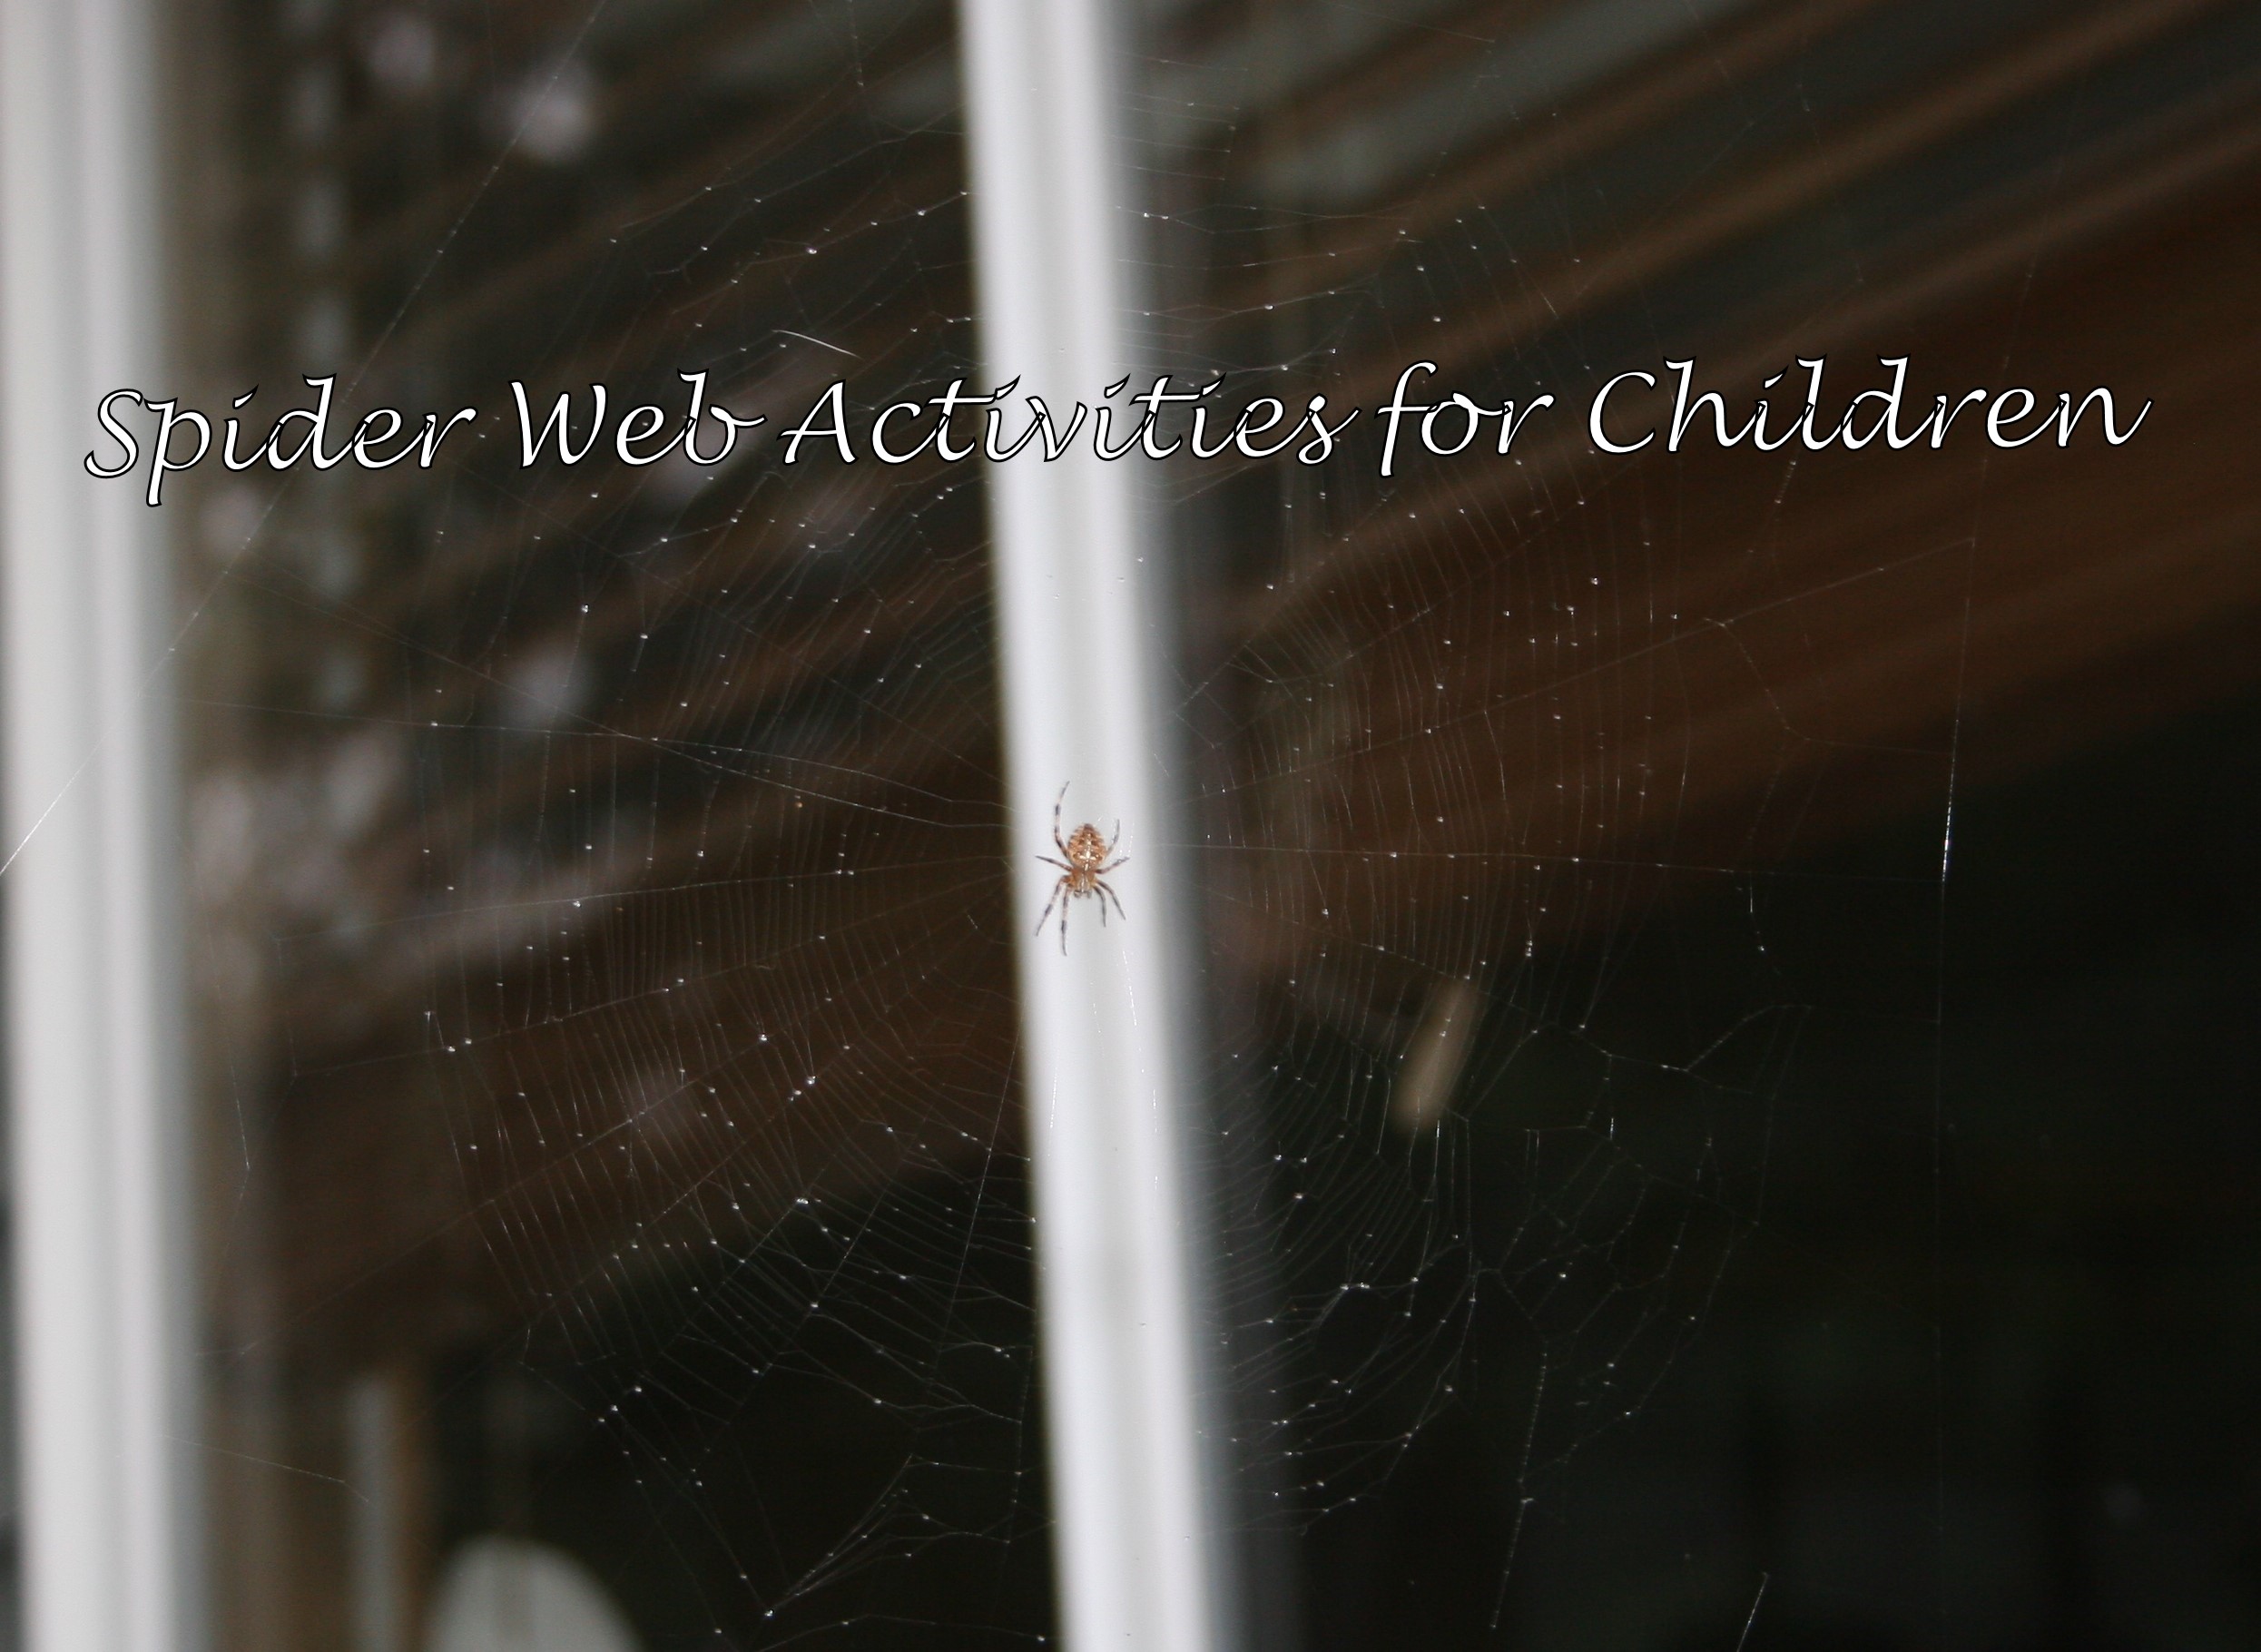
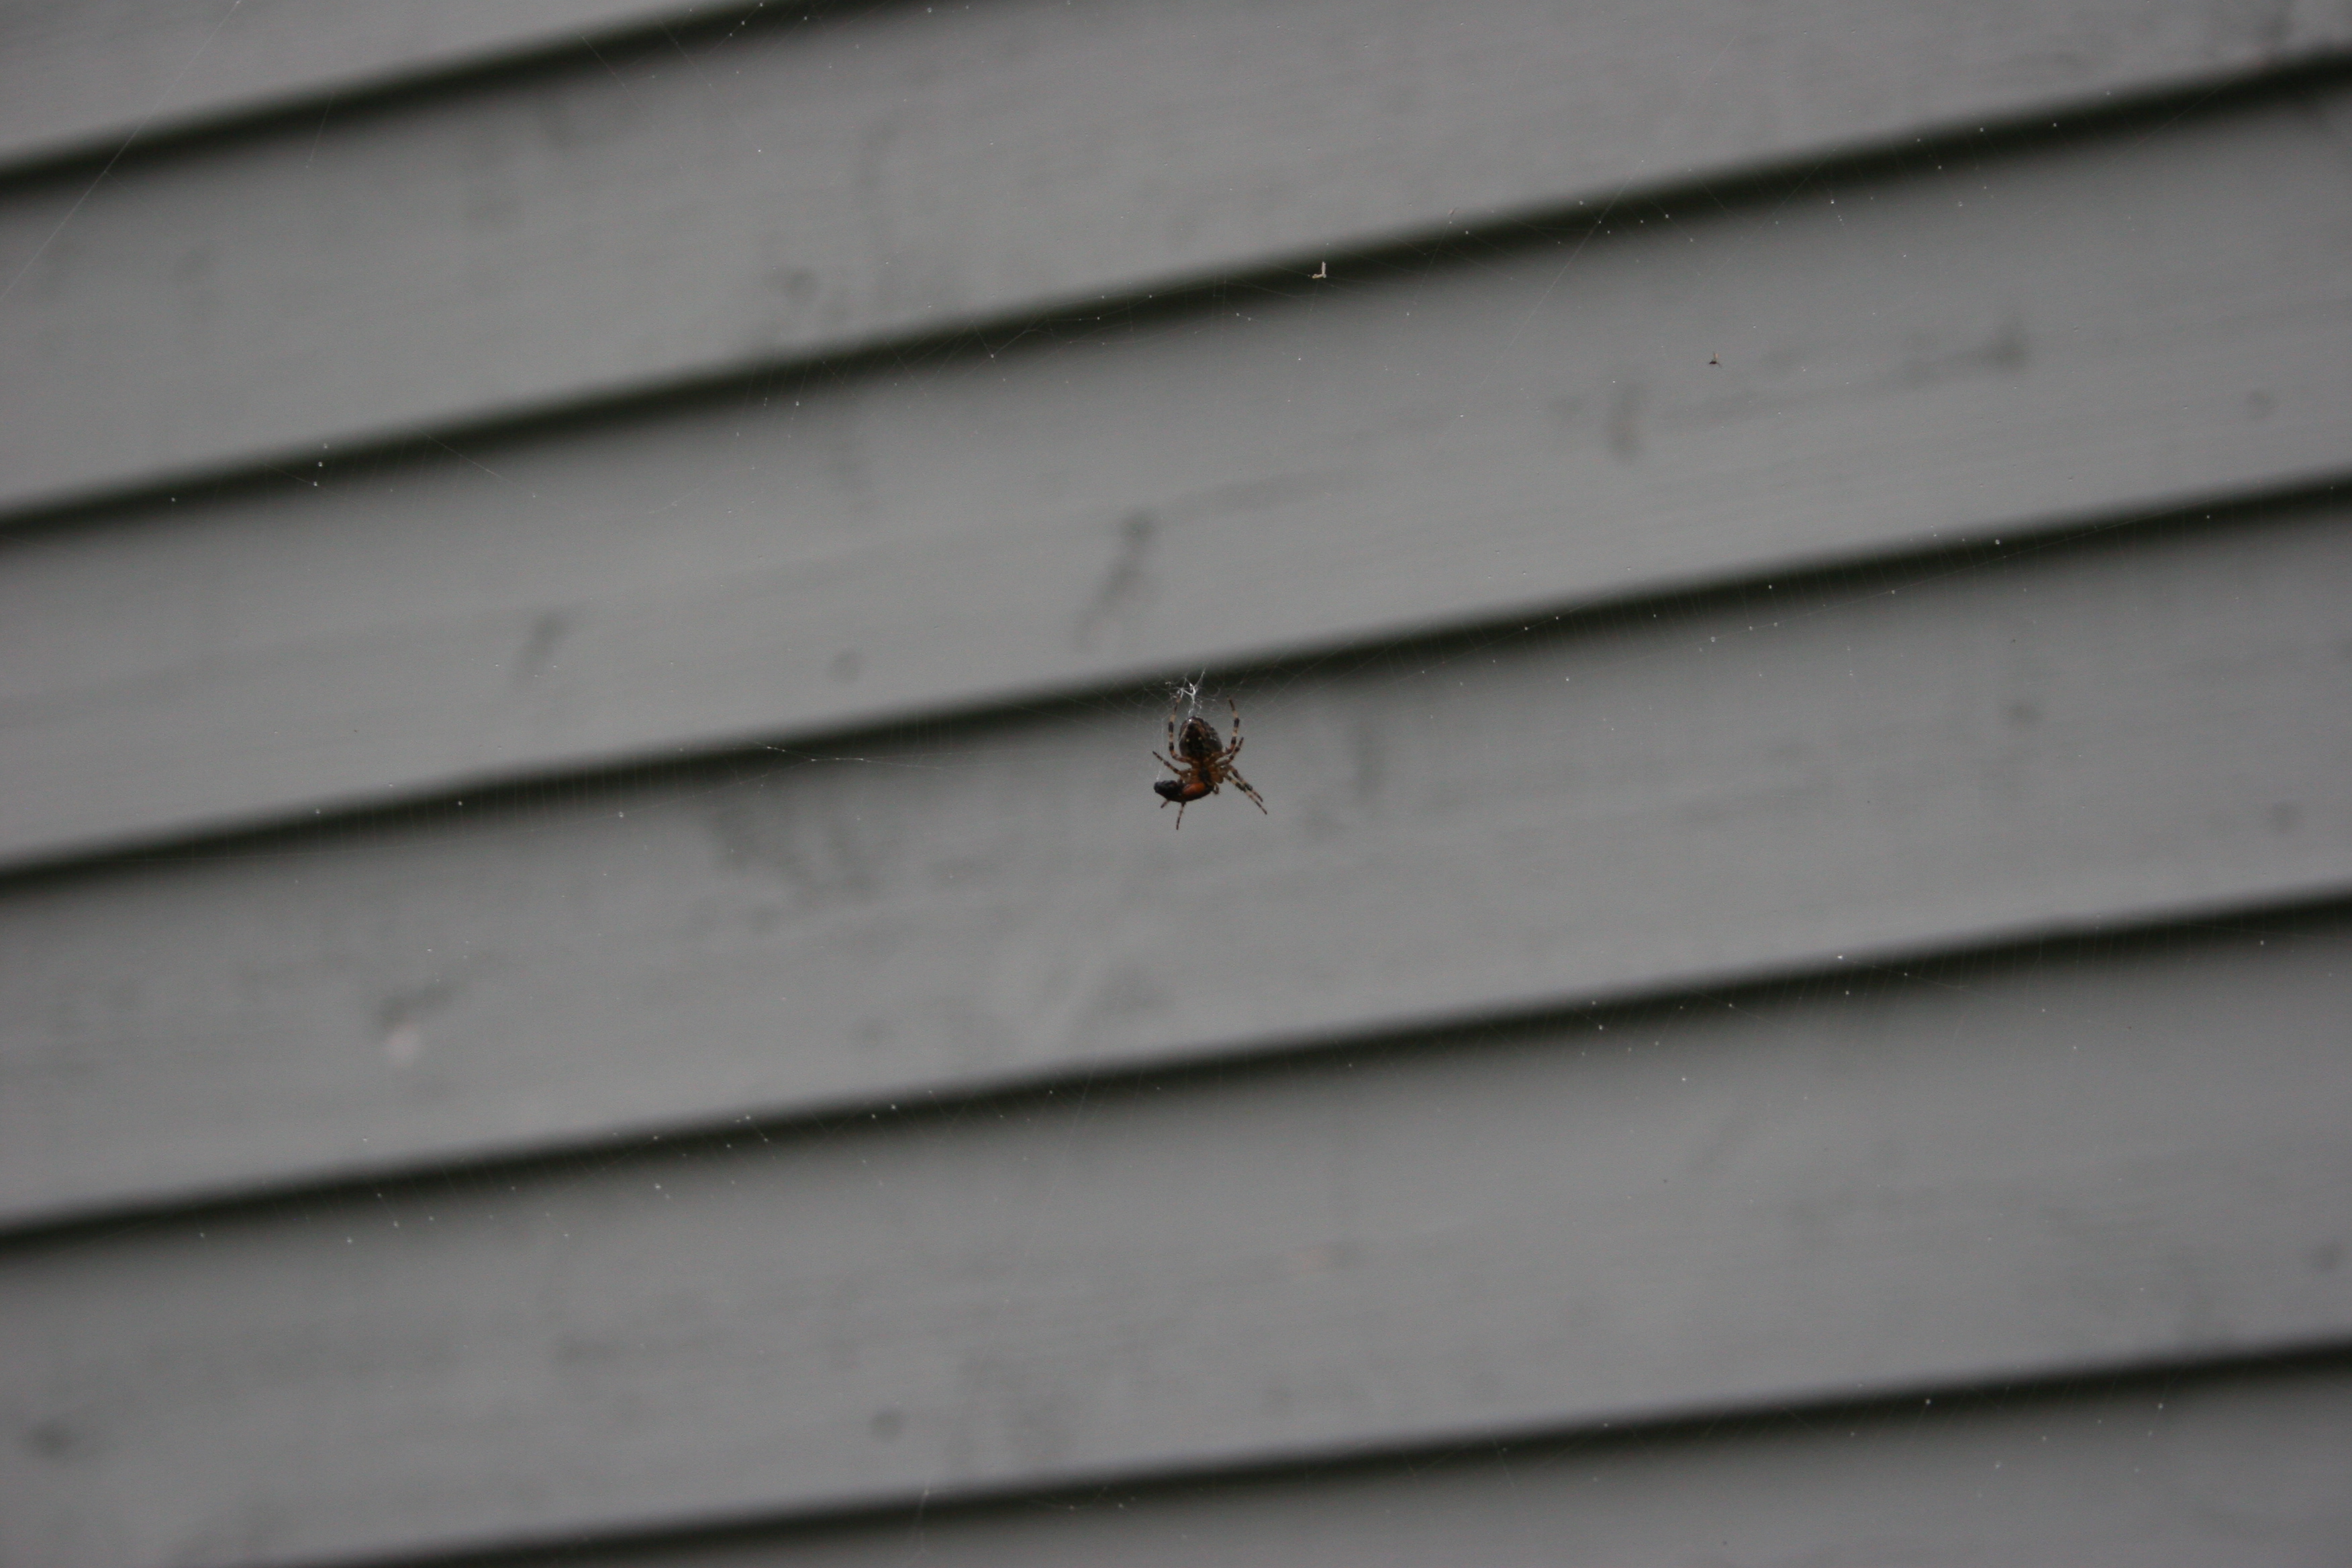
This time of the year there are spider webs everywhere. We stopped to watch a spider devouring a fly on our walk home from school and one has built a web right outside our window, so we watch his antics everyday. If your children are interested in spiders or you are looking for spider activities for Hallowe’en, here are a few we have tried.
Tie sticks together into a star shape and weave a web with wool or string around them, wrapping around each stick as you go.
Weave a spider web inside a hula hoop for a large-scale decoration.
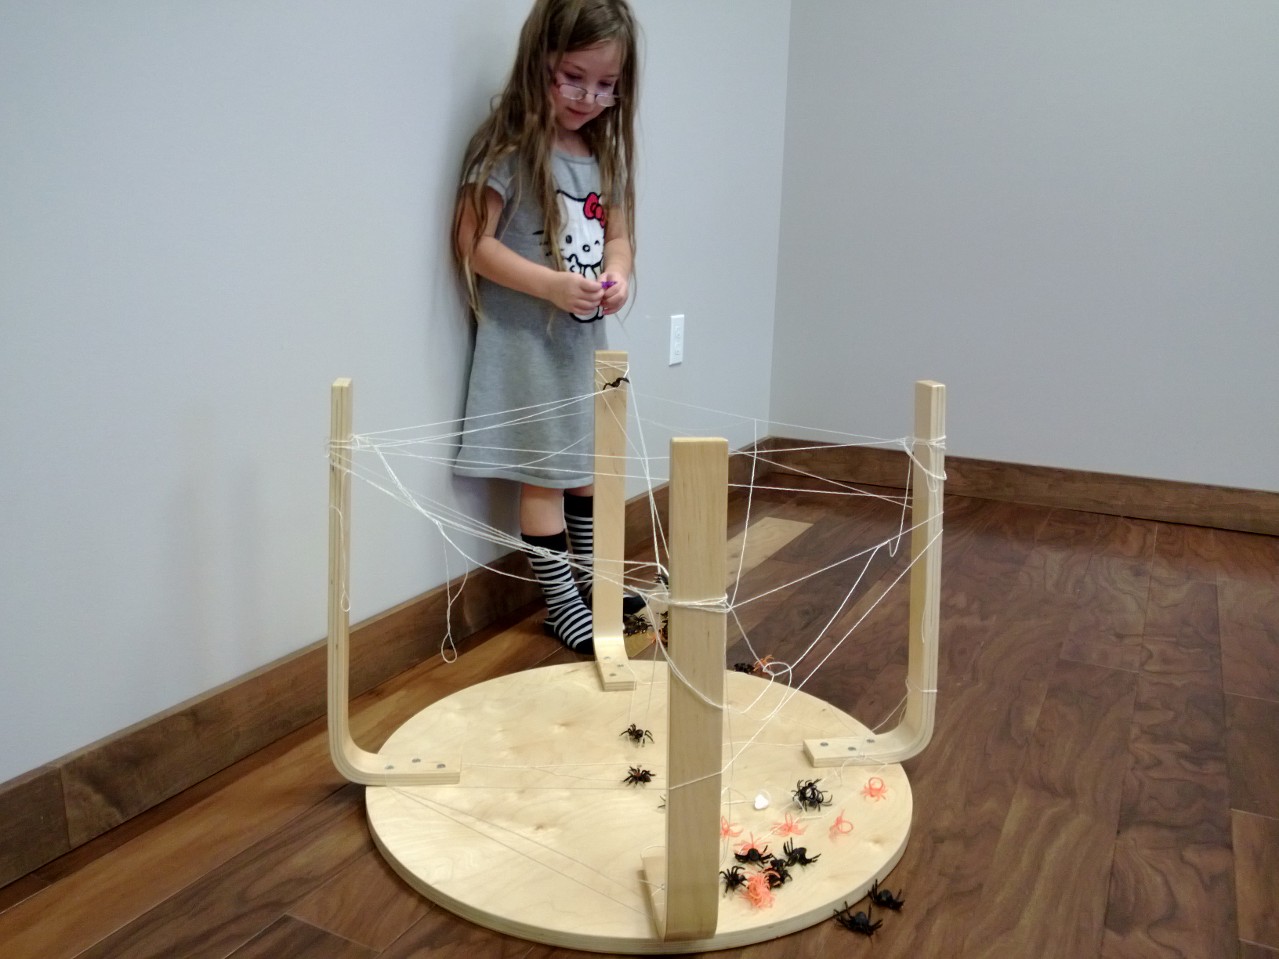
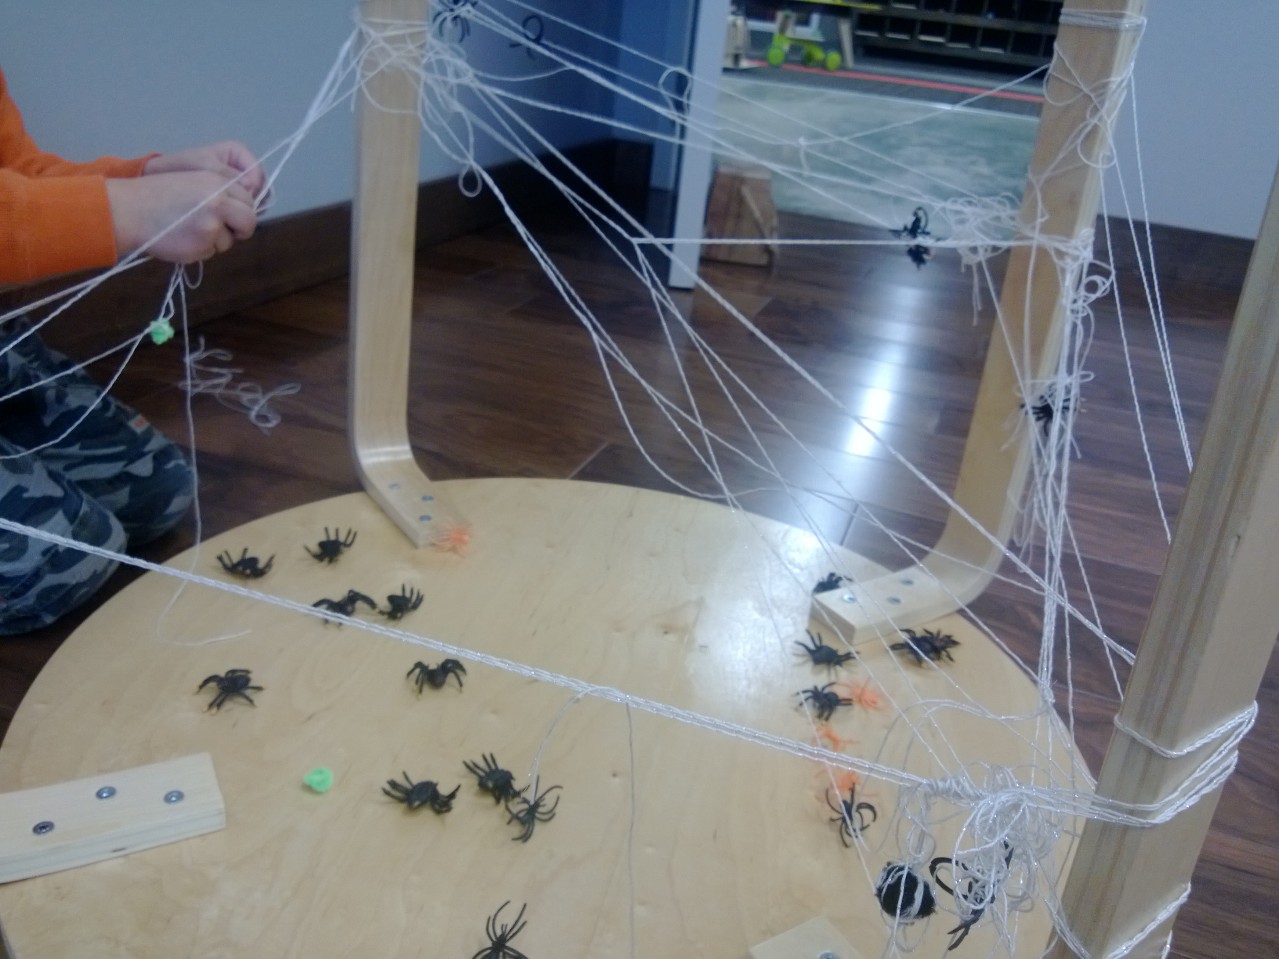
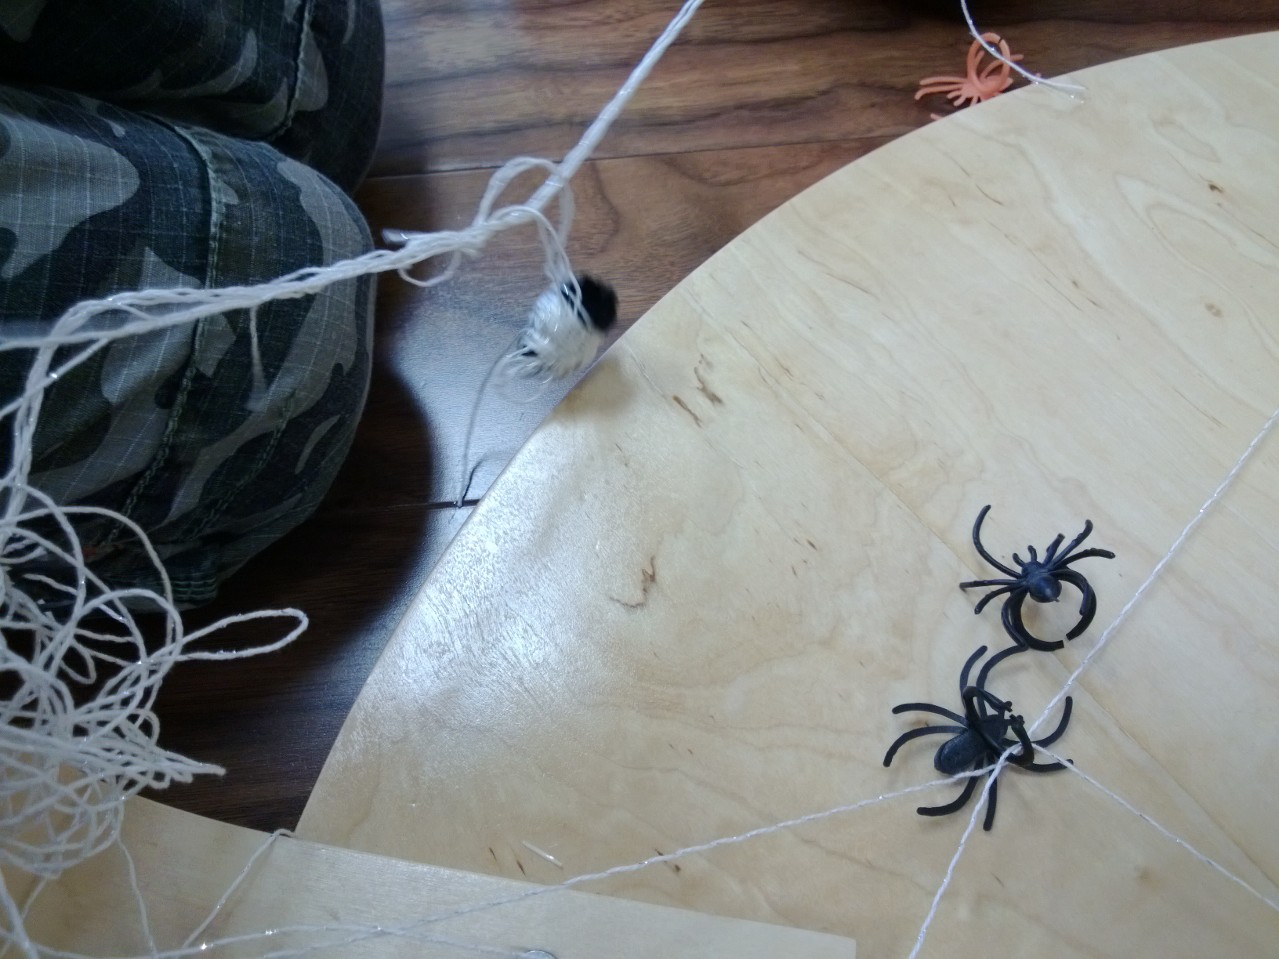
Turn a round table upside down and give the children a ball of string or yarn to make a web around the table legs.
This child had watched the spider wrap up it’s prey, so hung these around the web.
Make a Velcro web and bugs from old socks or pairs of tights. Throw the bugs at the web and see how many get stuck.
Spider web game At-Bristol
Sing the elephant and the spider web song
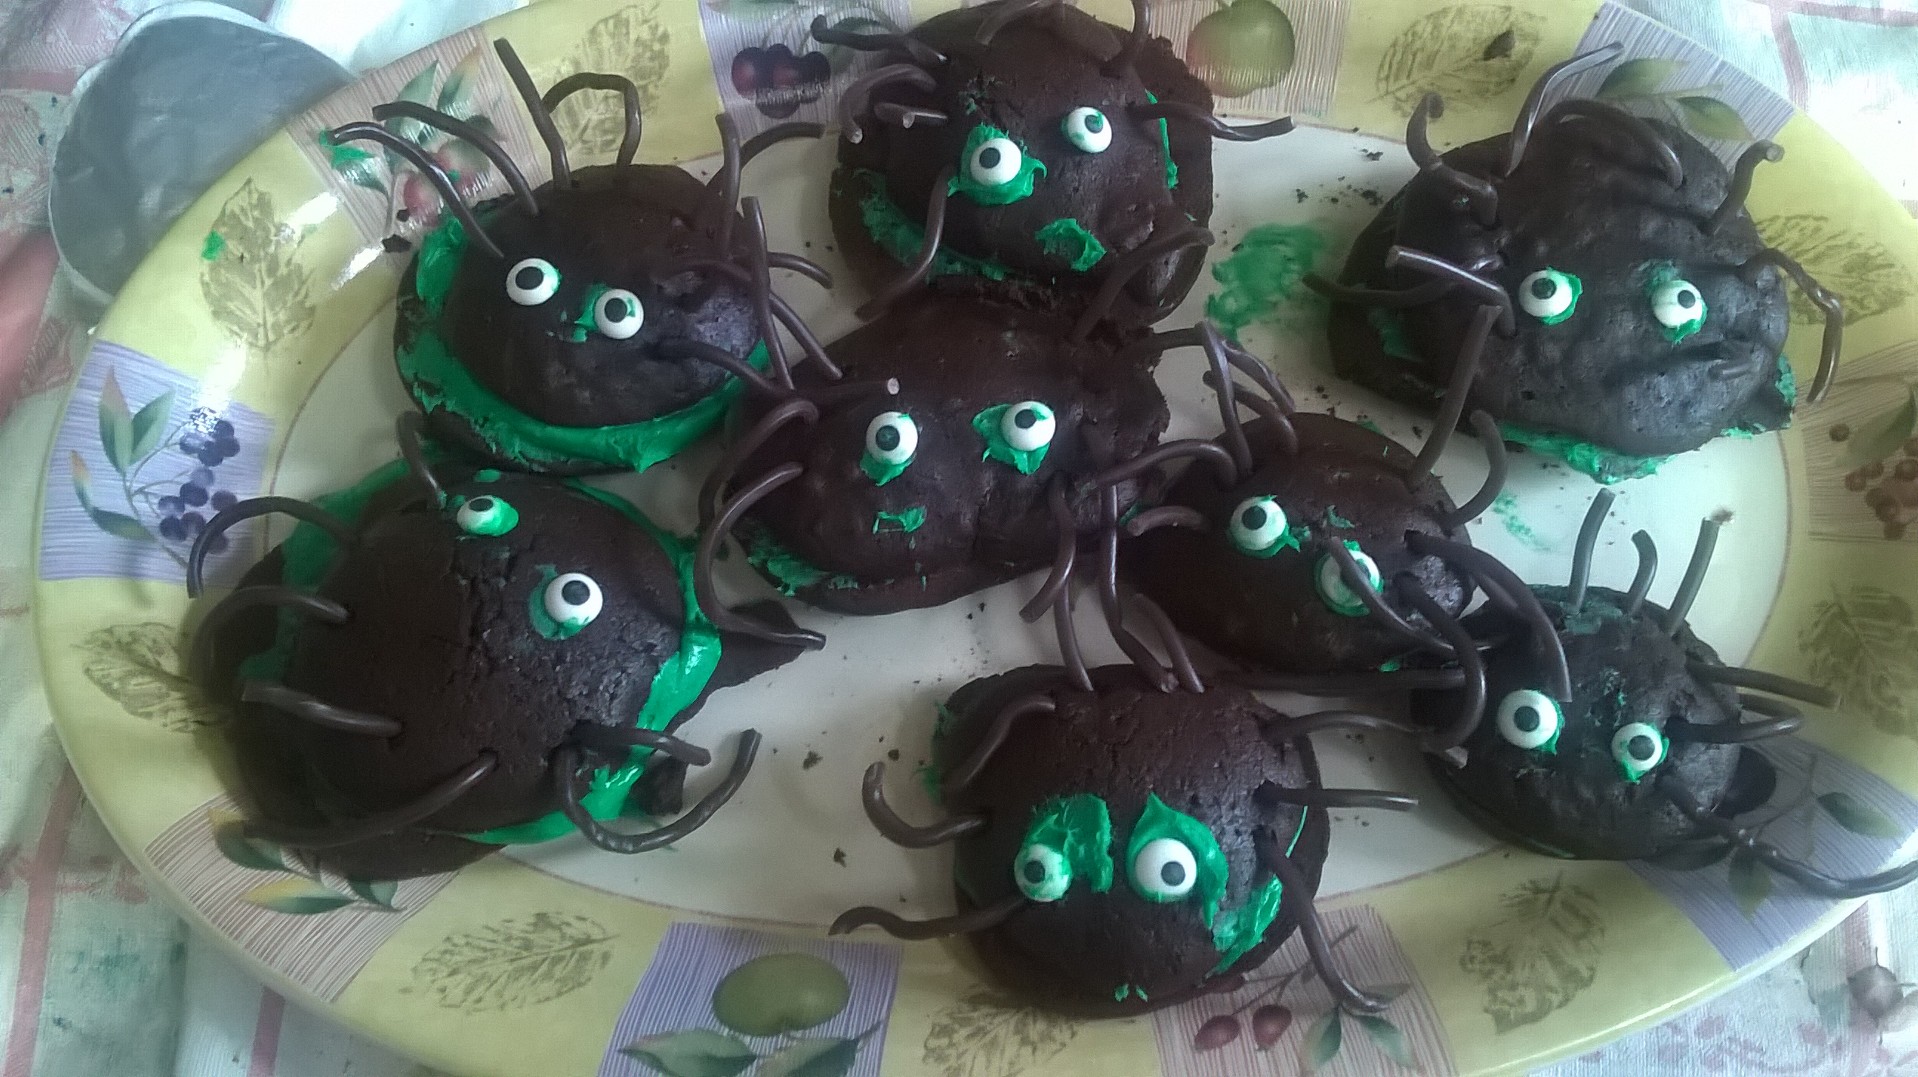
Pipe an icing spider web onto a plate and make spider cakes to fit inside.
This time of the year my garden is covered in a blanket of leaves. The girls enjoy helping to rake them up but it is a never-ending task. When leaves are plentiful there are many activities that you could take advantage of. Here are a few of our favourites.
Leaf Man
Leaf Man by Lois Ehlert is illustrated with photocopies of leaves that have been arranged to make pictures. We studied the way Ehlert uses coloured paper to create a layered background and leaves and natural materials for the main body of the picture.
We created our own pictures, starting with the background and adding leaves. The leaves work better if they are pressed beforehand using a flower press or a heavy book. Preserve them by laminating before the leaves dry out.
Painting
Young children enjoy printing with leaves or painting on larger leaves. You could also try painting with different types of leaves or dipping the stalks into paint to make marks. Dried leaves crumbled into paint could also make an interesting texture.
Leaves are perfect for investigating colour mixing. Give each child a leaf and ask them to try to mix the matching colour. Younger children could paint the colour onto their leaf, print it on paper or paint around the outline, older children may like to try an observational painting of their leaf. Small square canvases or watercolour paper would make them extra special.
Leaf Rubbing
Sometimes young children find this difficult so experiment with different colours and materials, like crayon, pencil, chalk, pastels or charcoal to decide which makes the most effective rubbing.
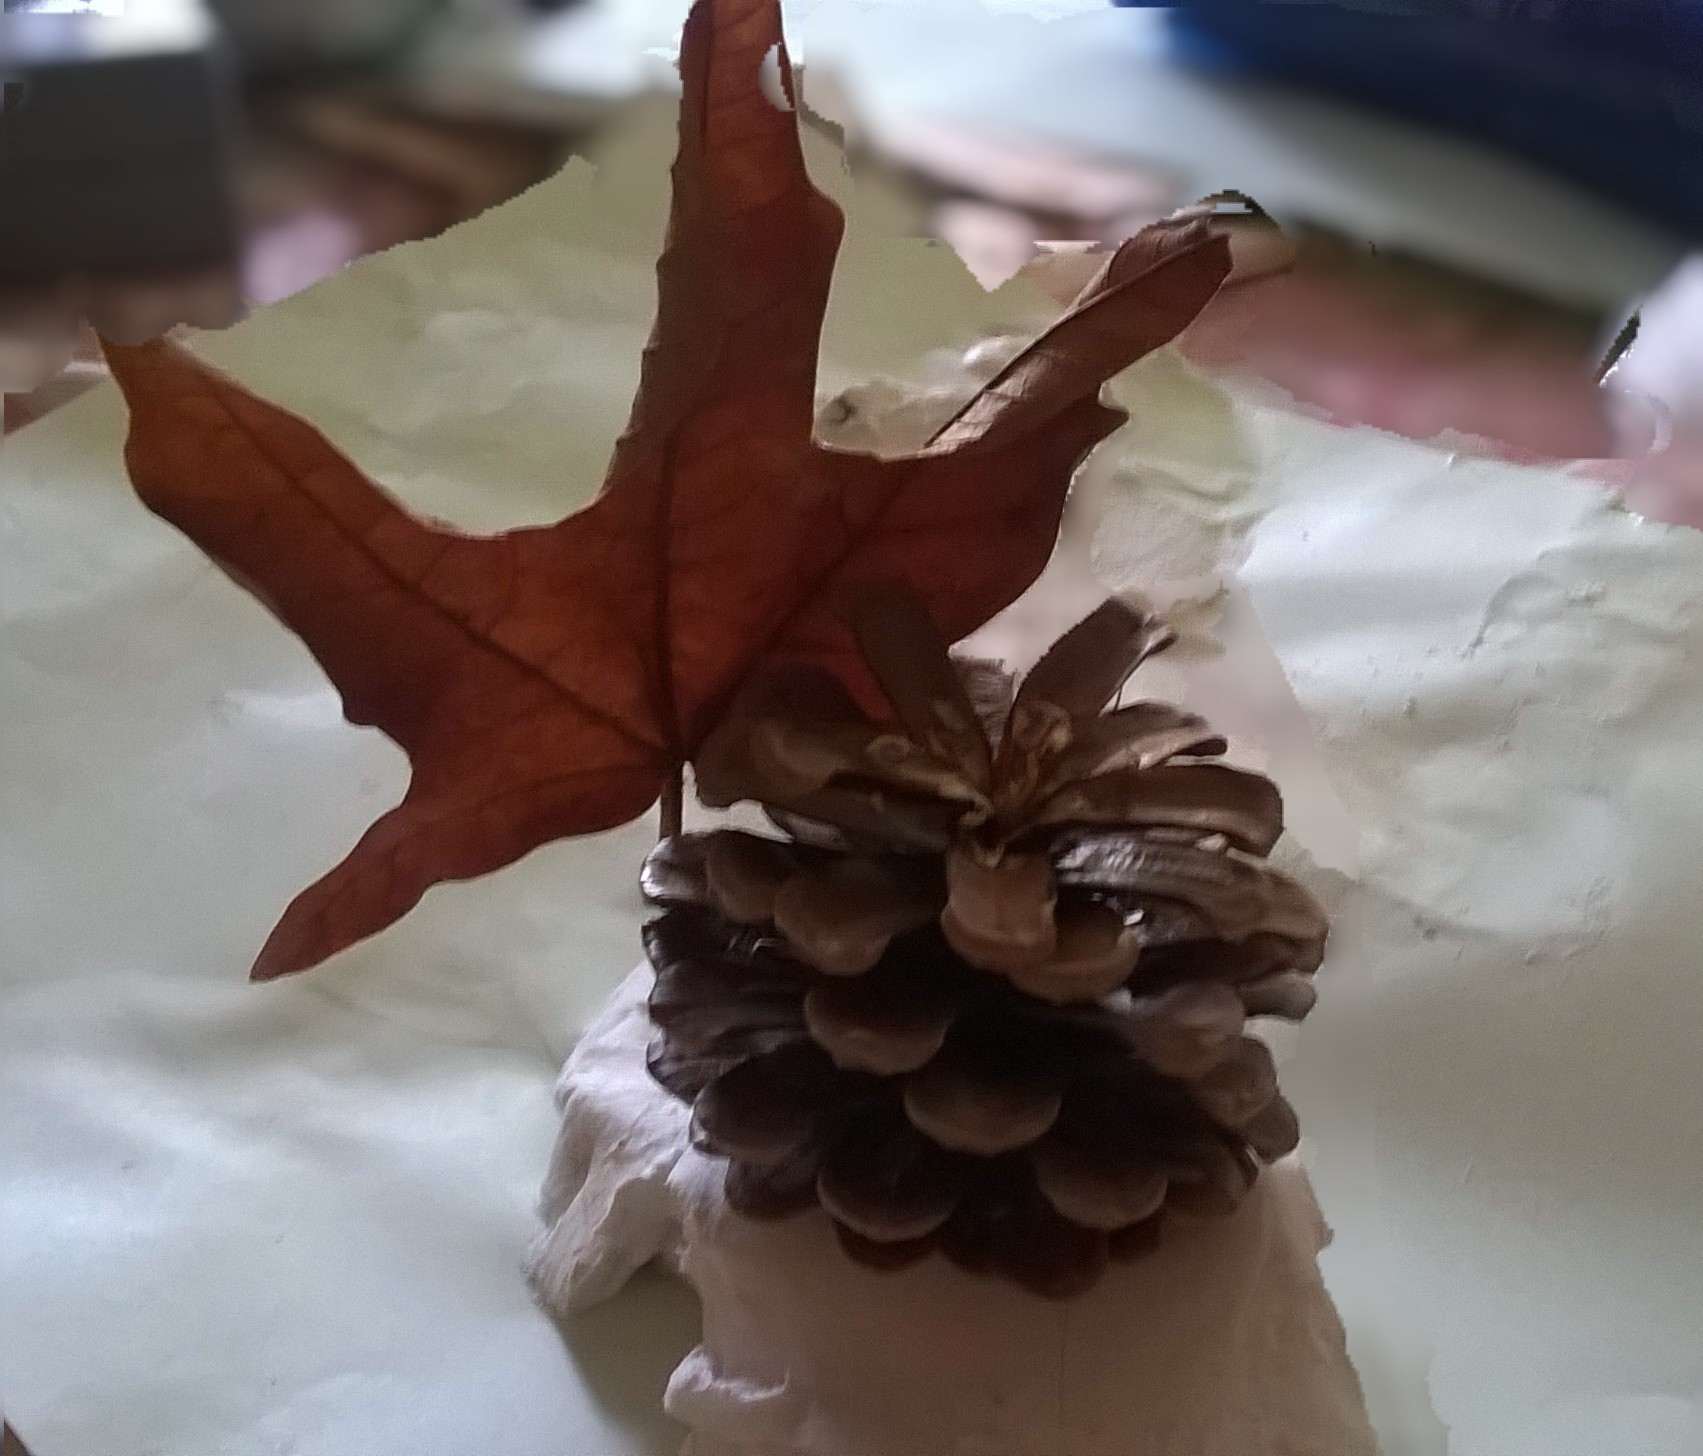
Leaf Mosaics, Patterns and Sculptures
Use leaves to create mosaic patterns and pictures. These could be individual or large group projects.
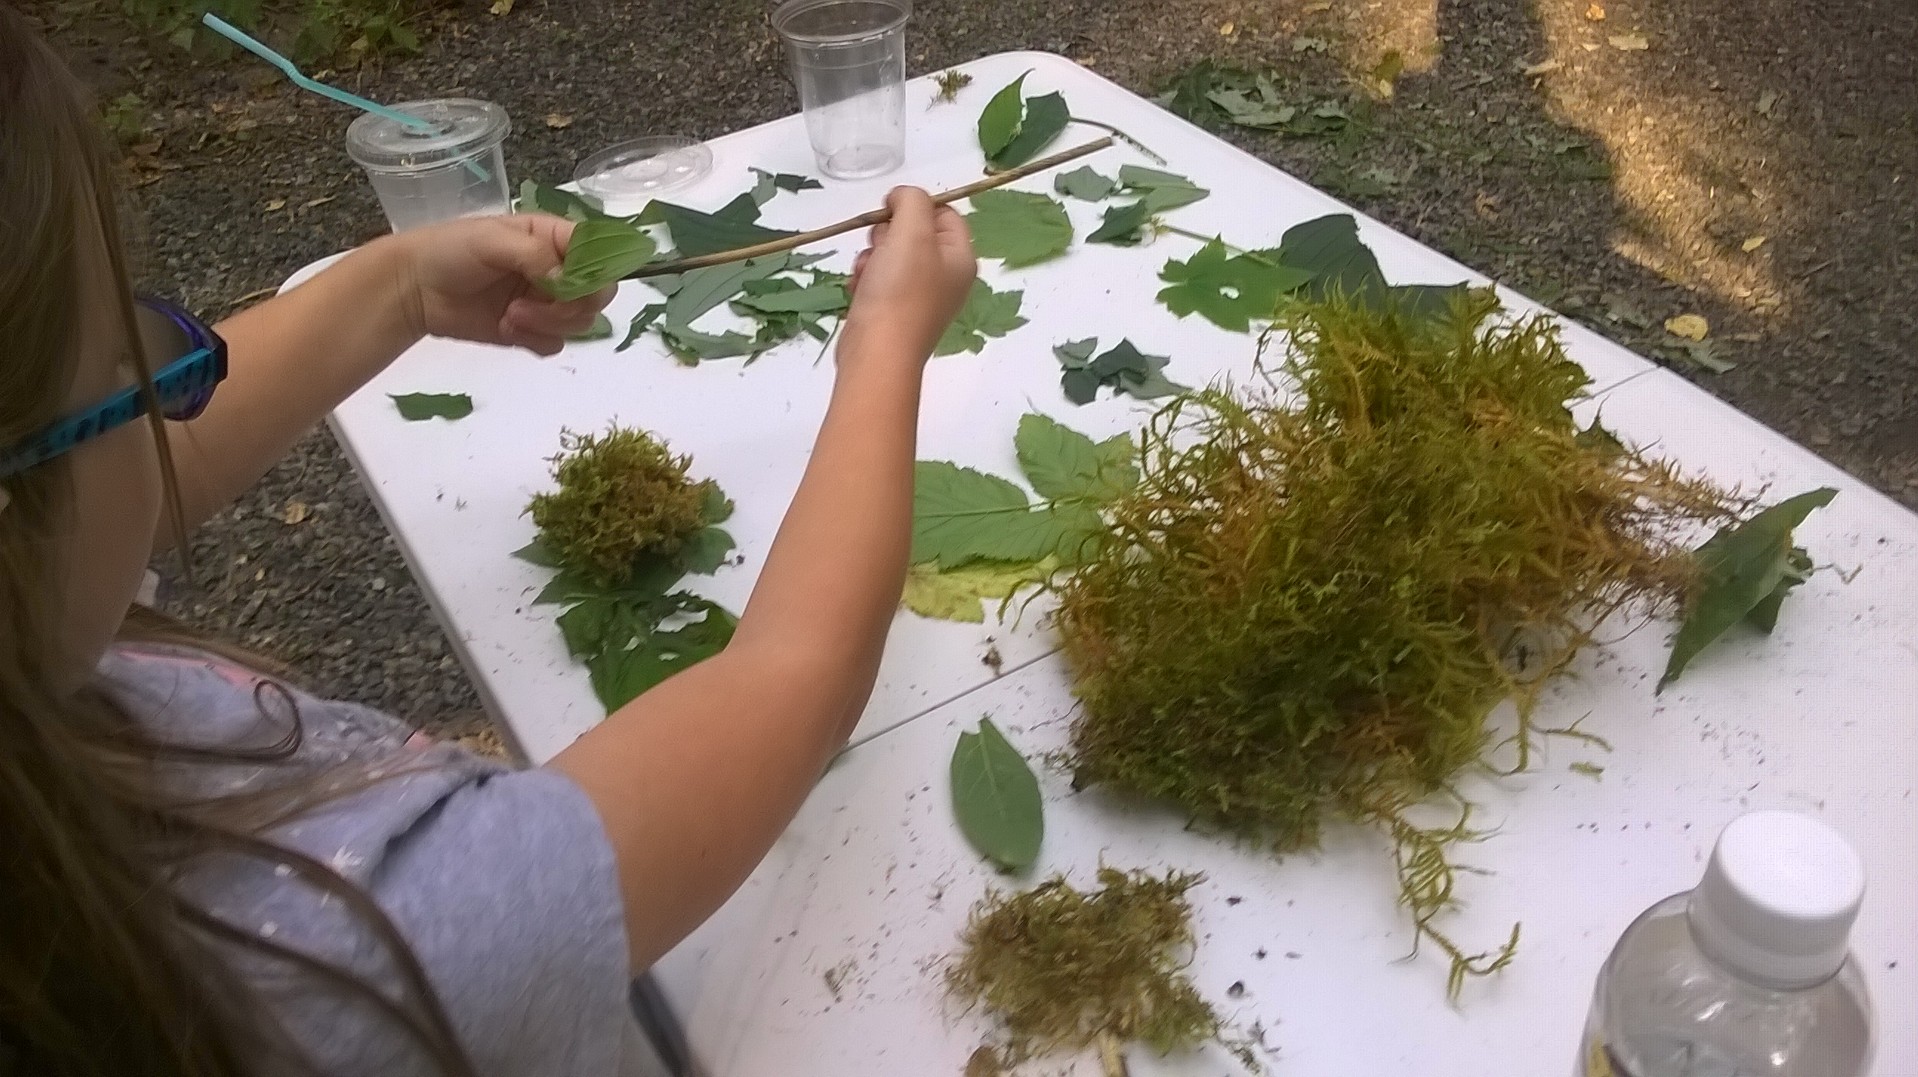
The girls collected leaves on a camping trip and used them to thread onto sticks to create clothes for their stick people.
Clay
Leaves make interesting imprints in clay or they can be used as a template to cut around. Clay leaves make great bowls, tiles or mobiles.
Sensory Play and Loose Parts
Collect leaves and put them in a sensory bin – investigate what happens to them over time. Add interesting objects hidden amongst the leaves or toy woodland animals and bugs for small world play.
If you have leaves outside how do the children use them as loose parts?
My children built a bonfire……
Buried their feet….
and added them to a potion.
Use them as a Filler
Last Halloween we made spiders to hang on the bushes outside. The bodies were made from black bags stuffed full with leaves. You could also use leaves to stuff scarecrows or guys for bonfire night.
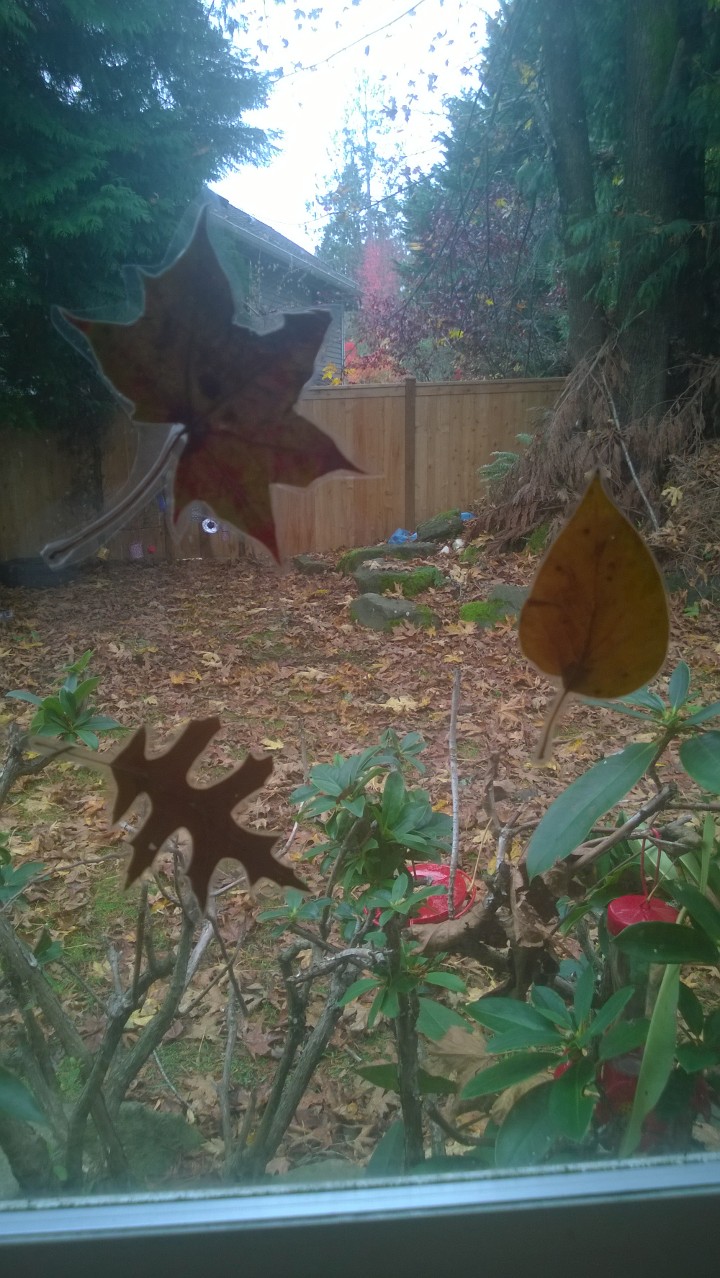
Laminate them
Over a period of time we collected interesting leaves and laminated them. They looked great on the window and I challenged the girls to find out which trees they belonged to. I think they would also make an eye-catching mobile. This year we are using the laminated leaves to see if they can find matching leaves in the neighbourhood. Laminated leaves could be used for all kind of things. We have used them as gift tags, to play matching pairs and they look great on the light table.
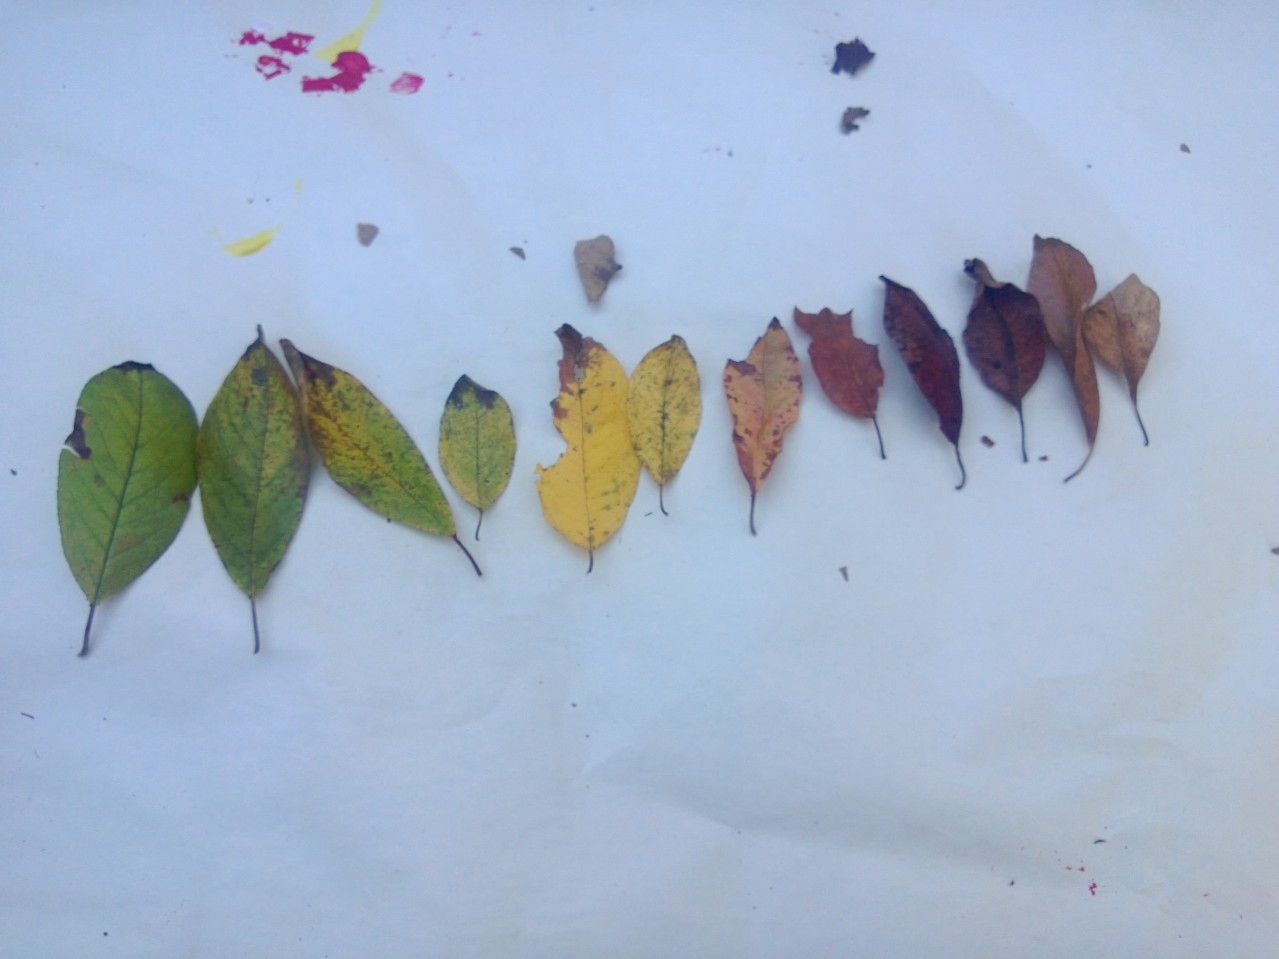
Leaf Rainbows
If you collect leaves gradually from the same tree or bush as they change colour you can make a leaf rainbow.
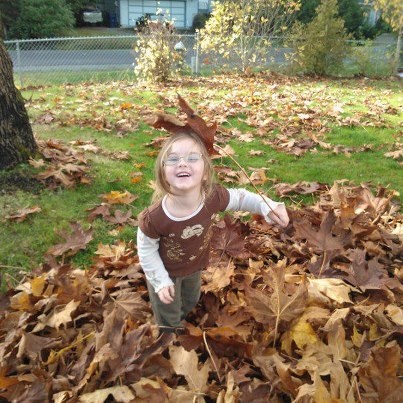
Before you decide to rake all the leaves away, take a look at this face, I think it says it all.
The girls often enjoy mirror play, I’ve tried a number of different types. I love this big one but it is very fragile and difficult to store. For small projects, I have an oval mirror in a tray but it isn’t big enough for more than 2 children to play with. Unframed circular mirrors work well, but I’m yet to find a suitable one. We also use Ikea mirror tiles, these are portable and I can change the arrangement to suit the project but the pointed edges bother me.
Suddenly it came to me – “why not stick the mirror tiles onto a table?” I sent out a plea for a table to my Buy Nothing group. I didn’t expect to find one that was the perfect size but within 30 minutes I had been offered a table that would fit the tiles perfectly. The mirror tiles come with sticky pads for mounting to a wall. These were perfect for attaching the mirrors to the table. I taped the sharp corners with duct tape and a vanity mirror was placed against the wall. In a preschool setting I would mount more tiles to the wall and put the table in front to allow for seamless reflections. The border around our mirror makes it difficult for small items to be reflected in the upright mirror.
A couple of small card mirrors and a few loose parts led to fun explorations.
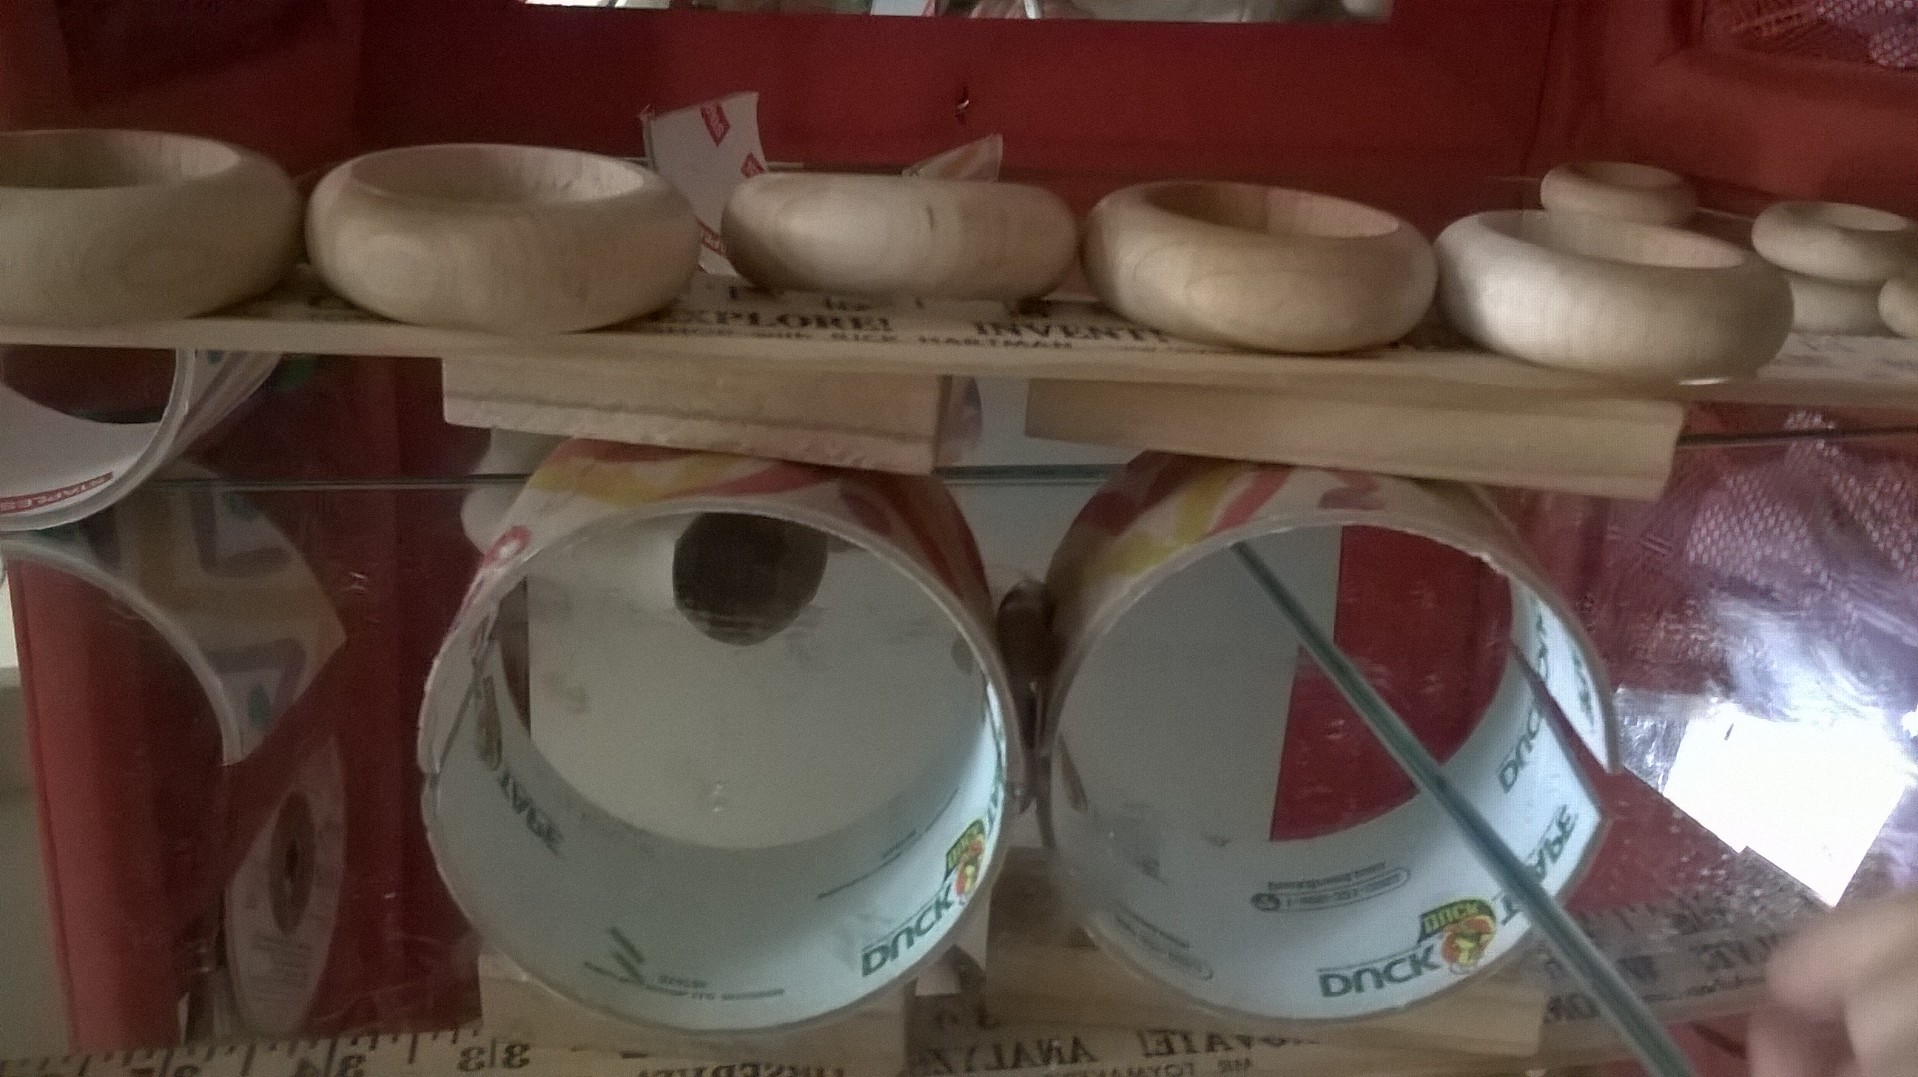
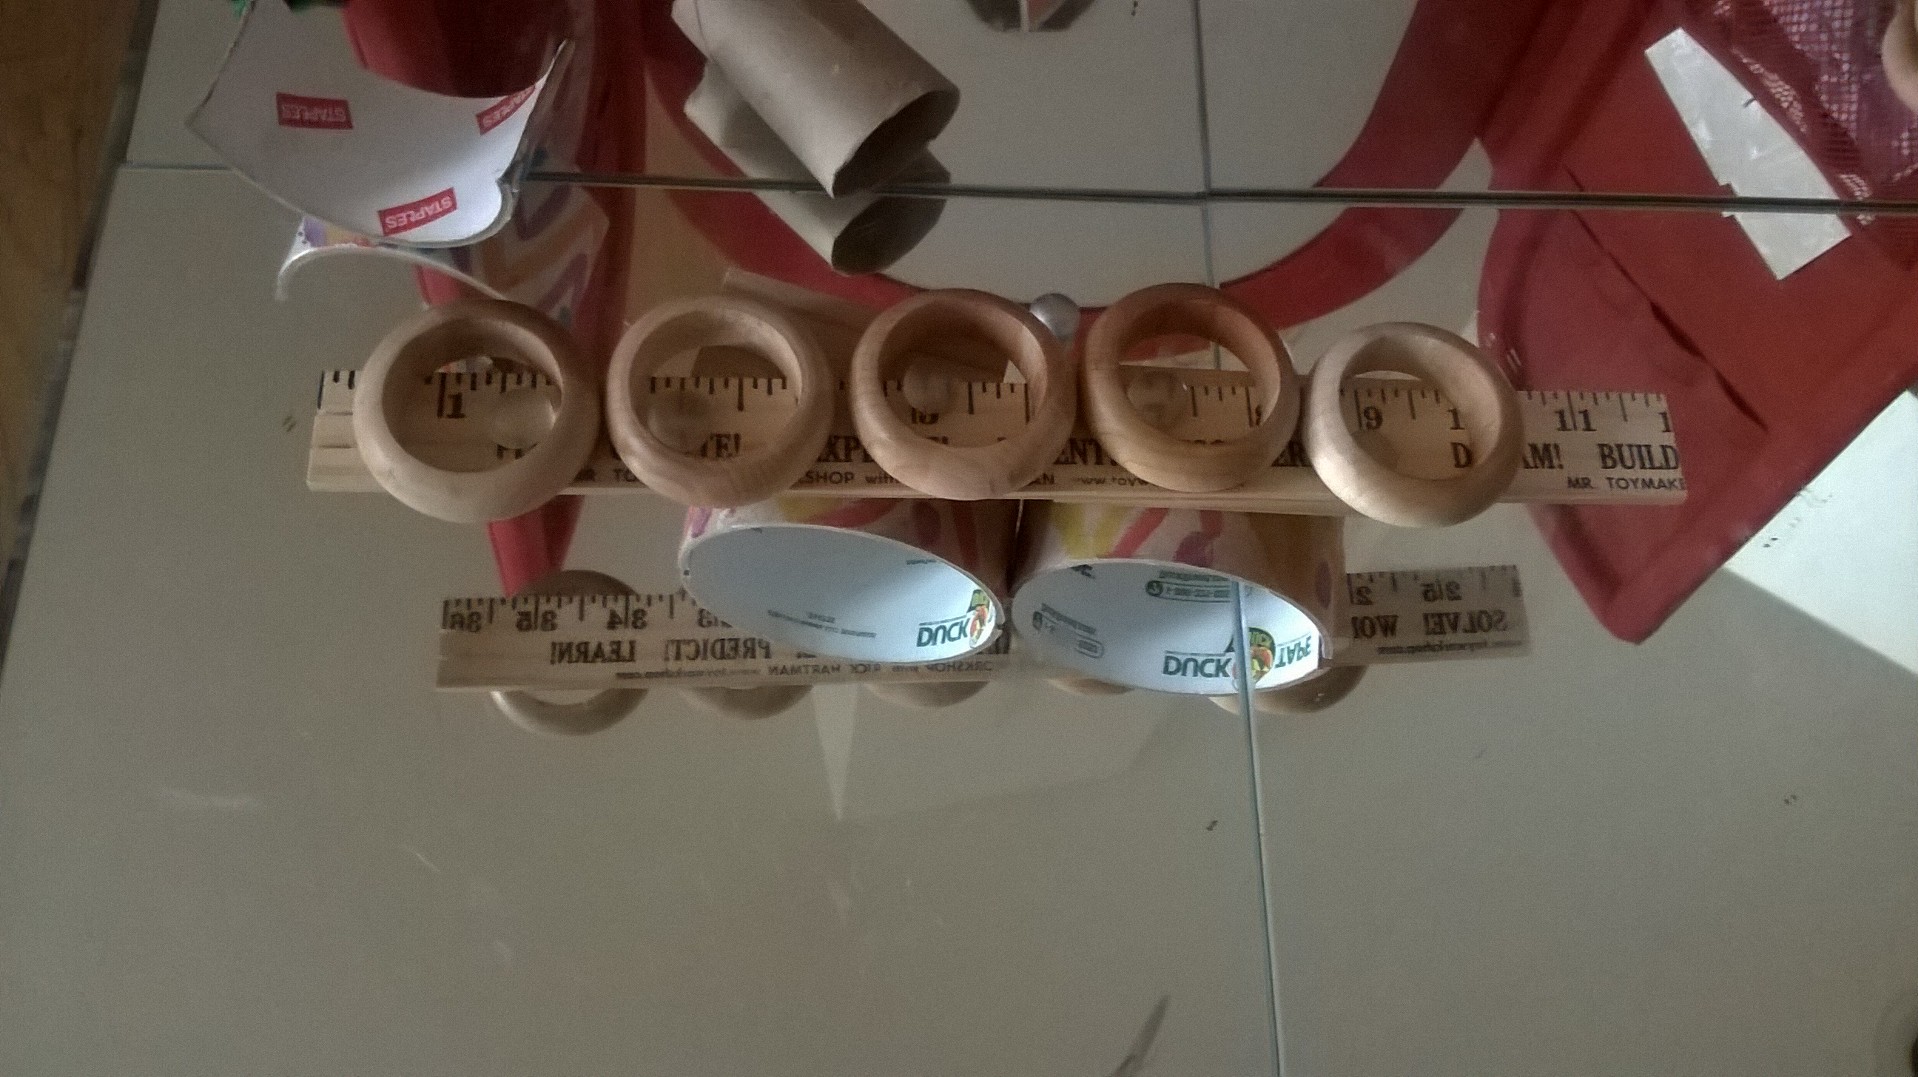
I cut the insides of a roll of tape in half and placed them on the table with a few wooden rings.
“It looks like wheels. I’m going to make a car”
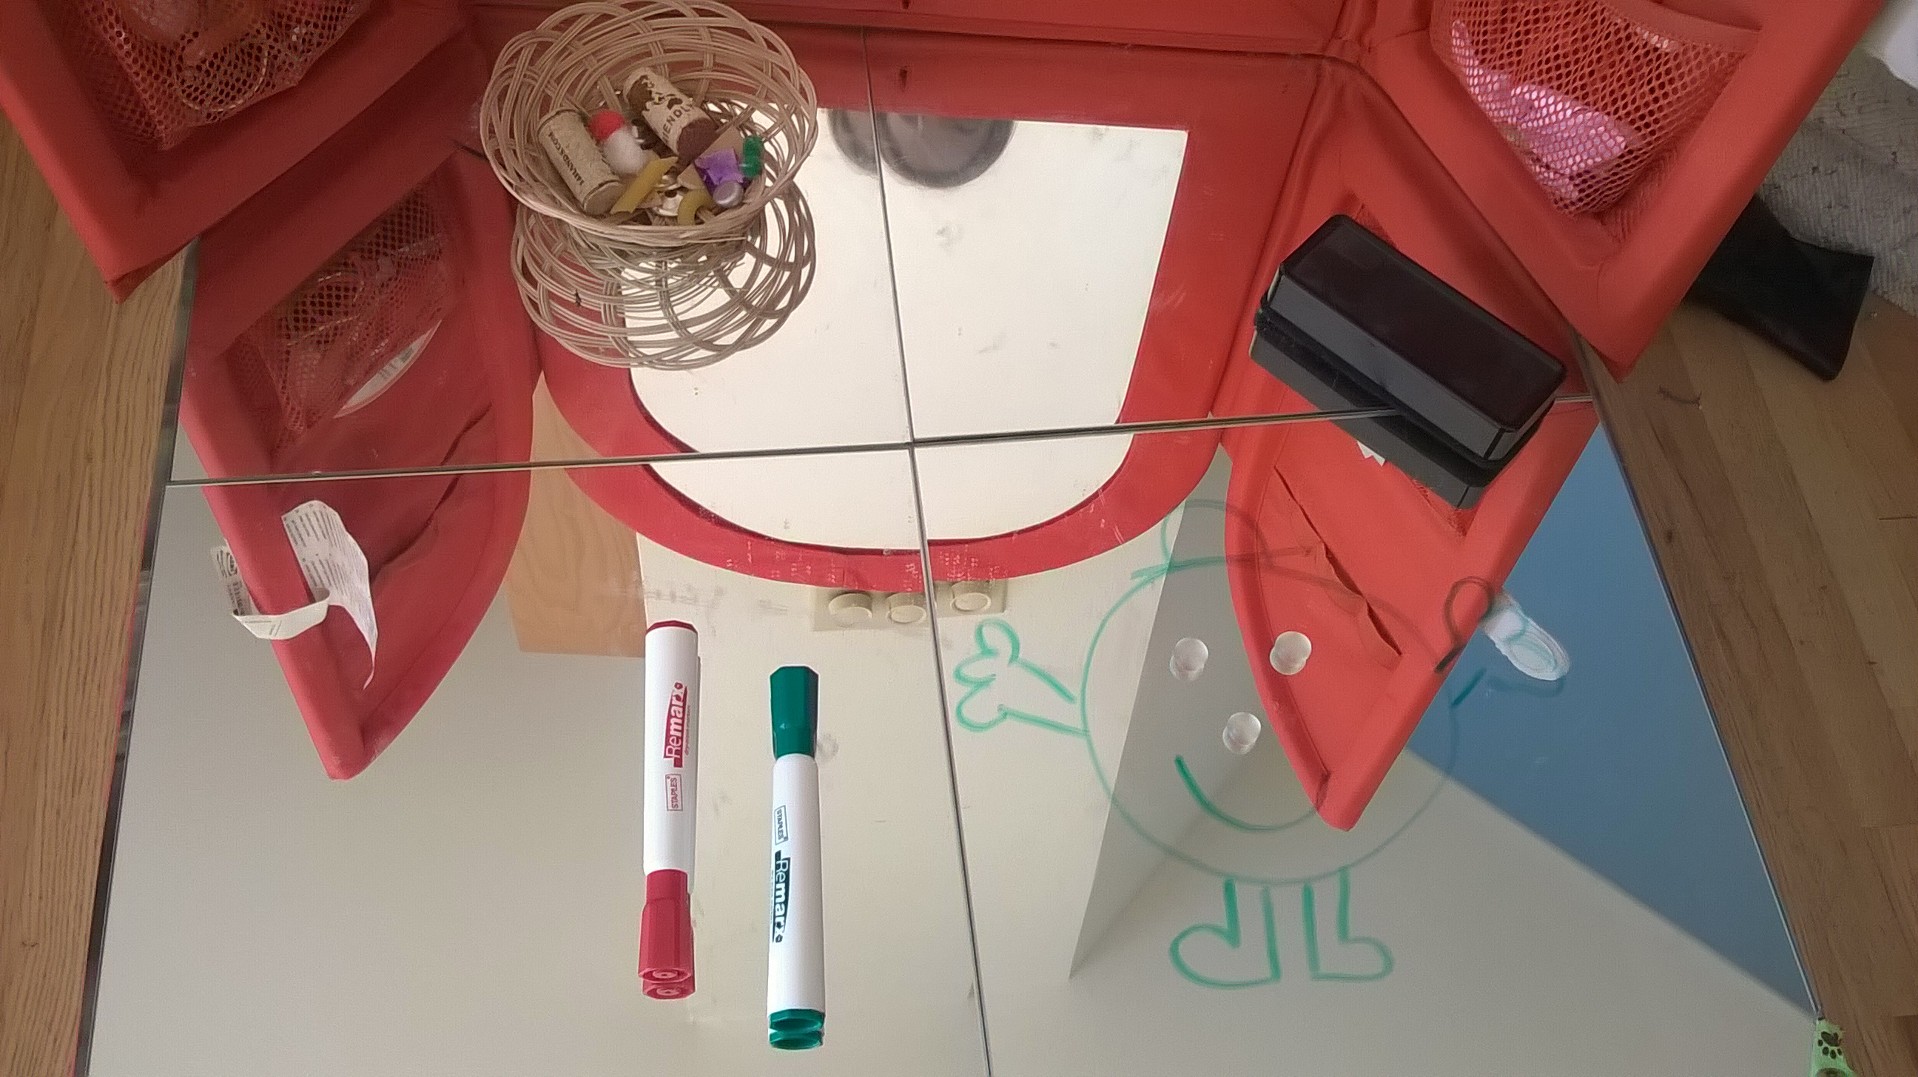
To keep the interest going, I changed the materials regularly. The loose parts, building bricks and mirrors maintained interest for only a short time. Knowing that my children love to draw and write, I decided to leave white board markers and a rubber on the table to see if this would engage them.
This arrangement was perfect and by far the most popular so far.
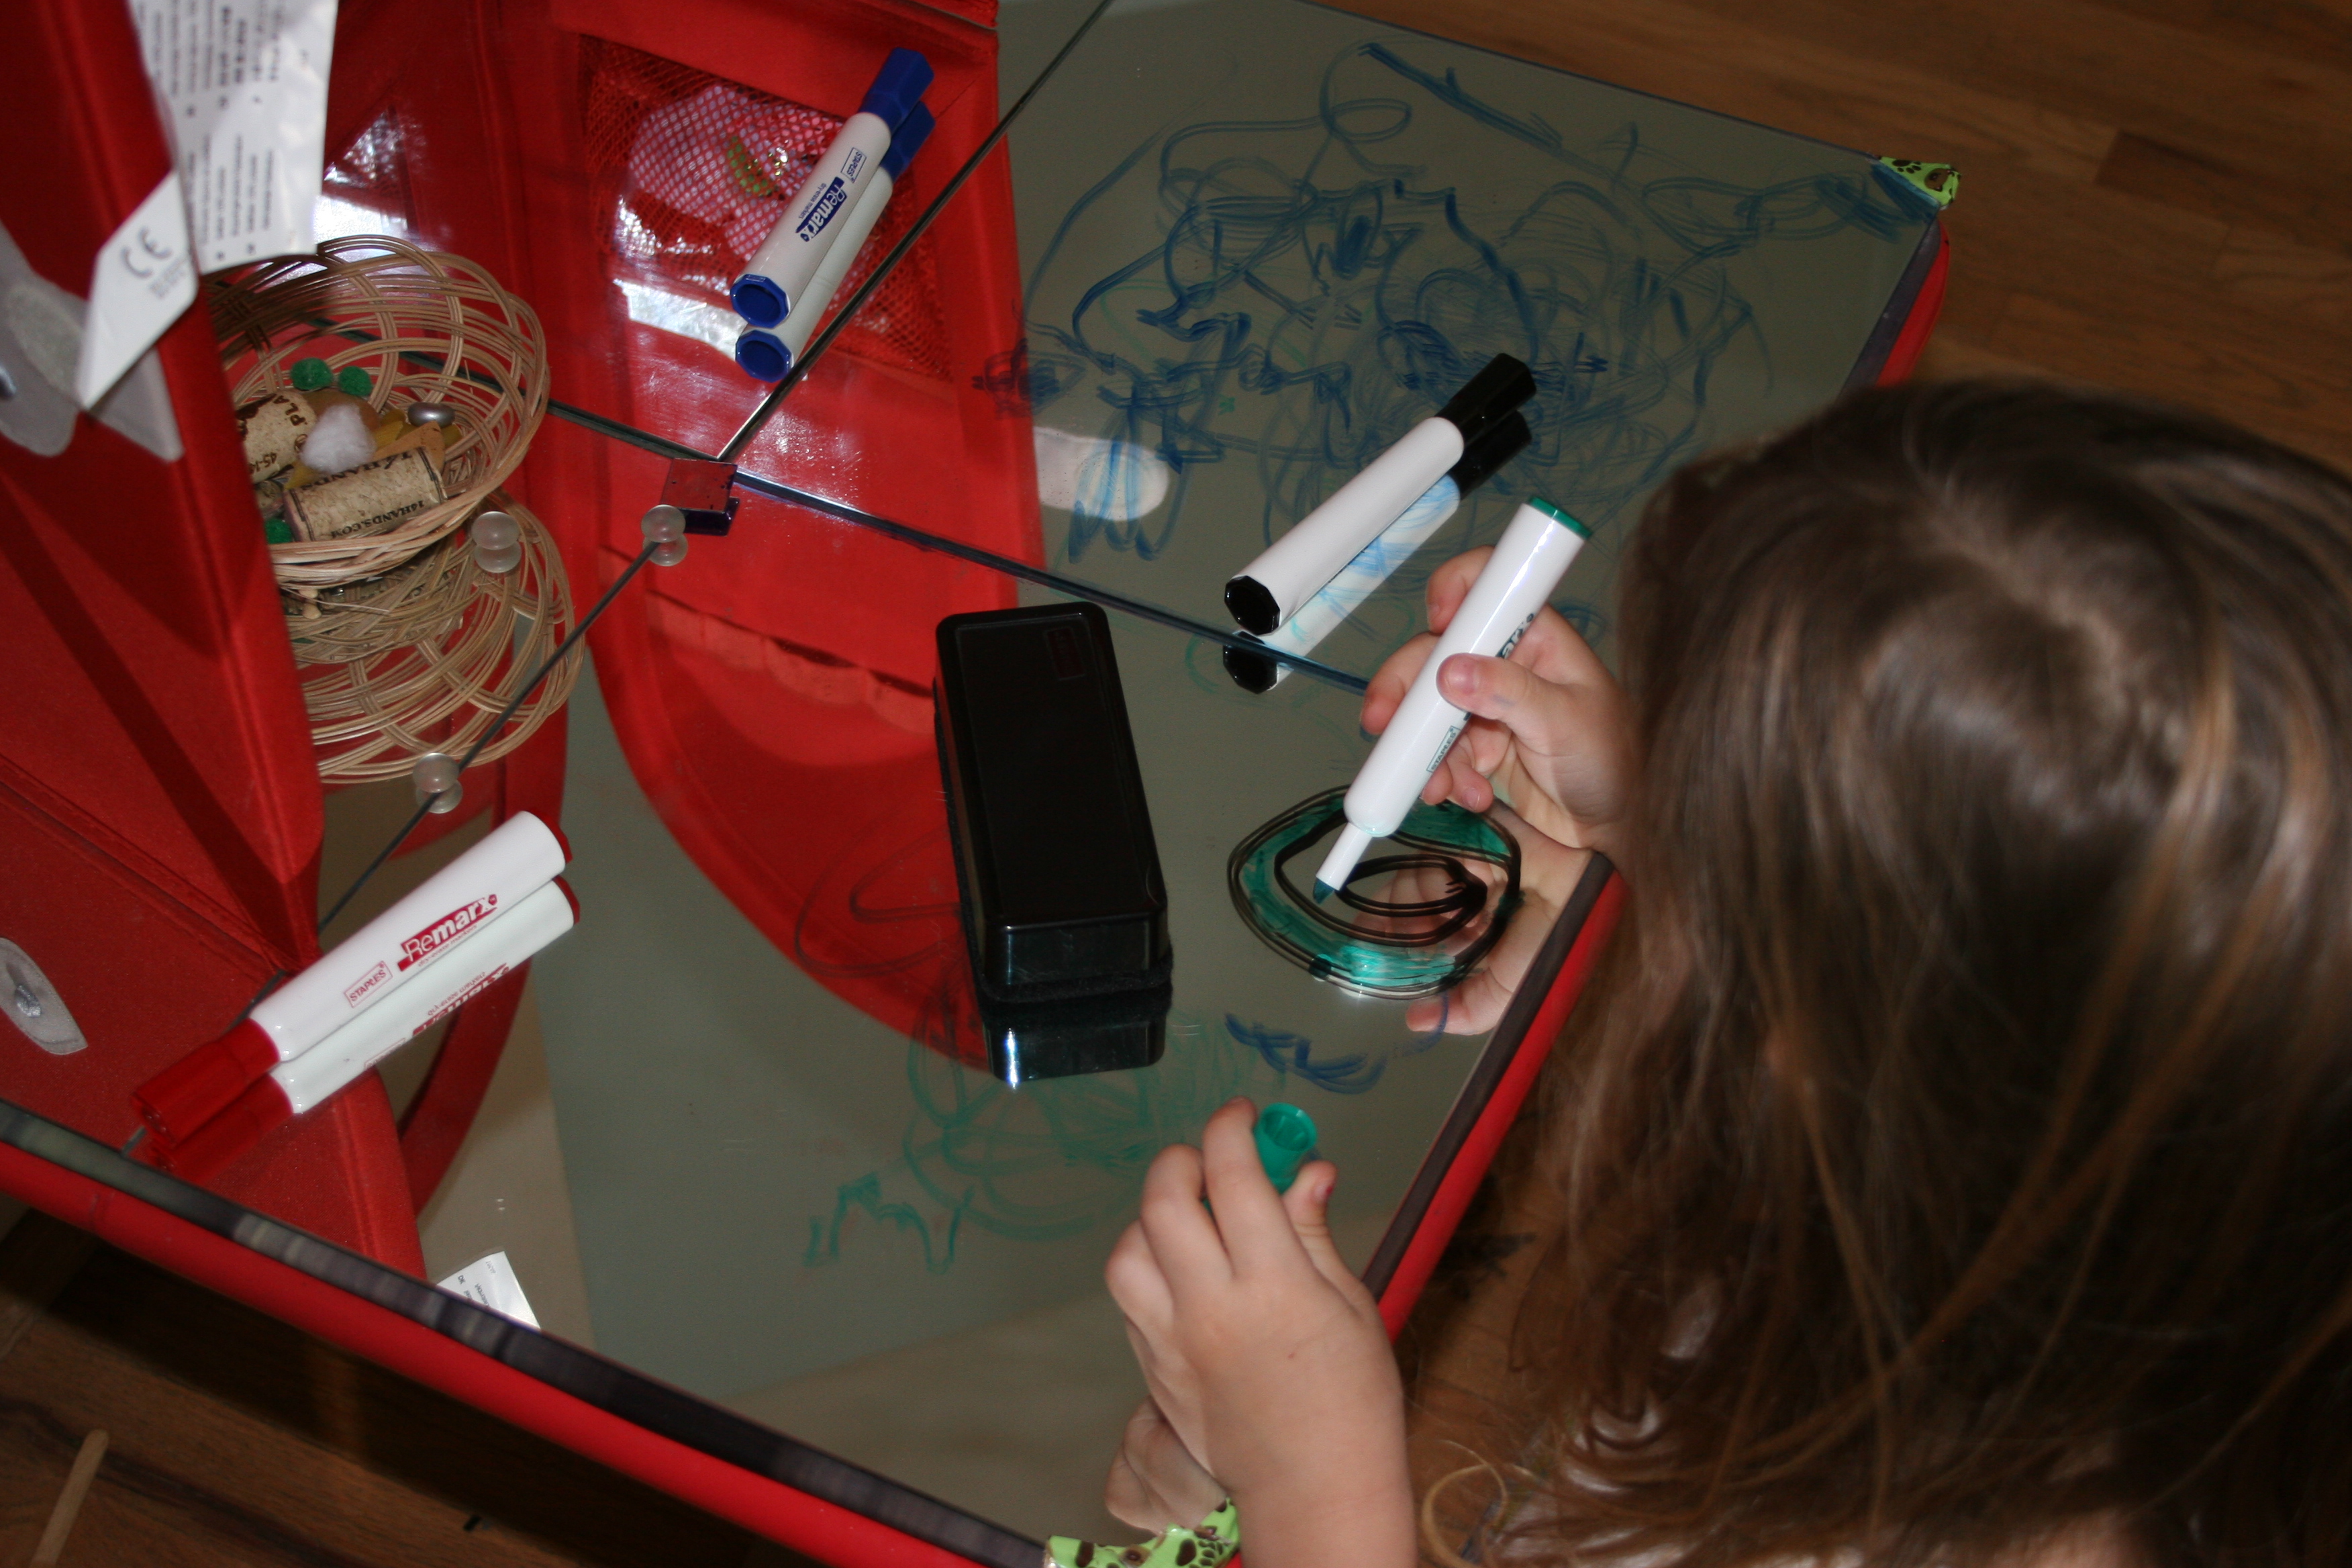
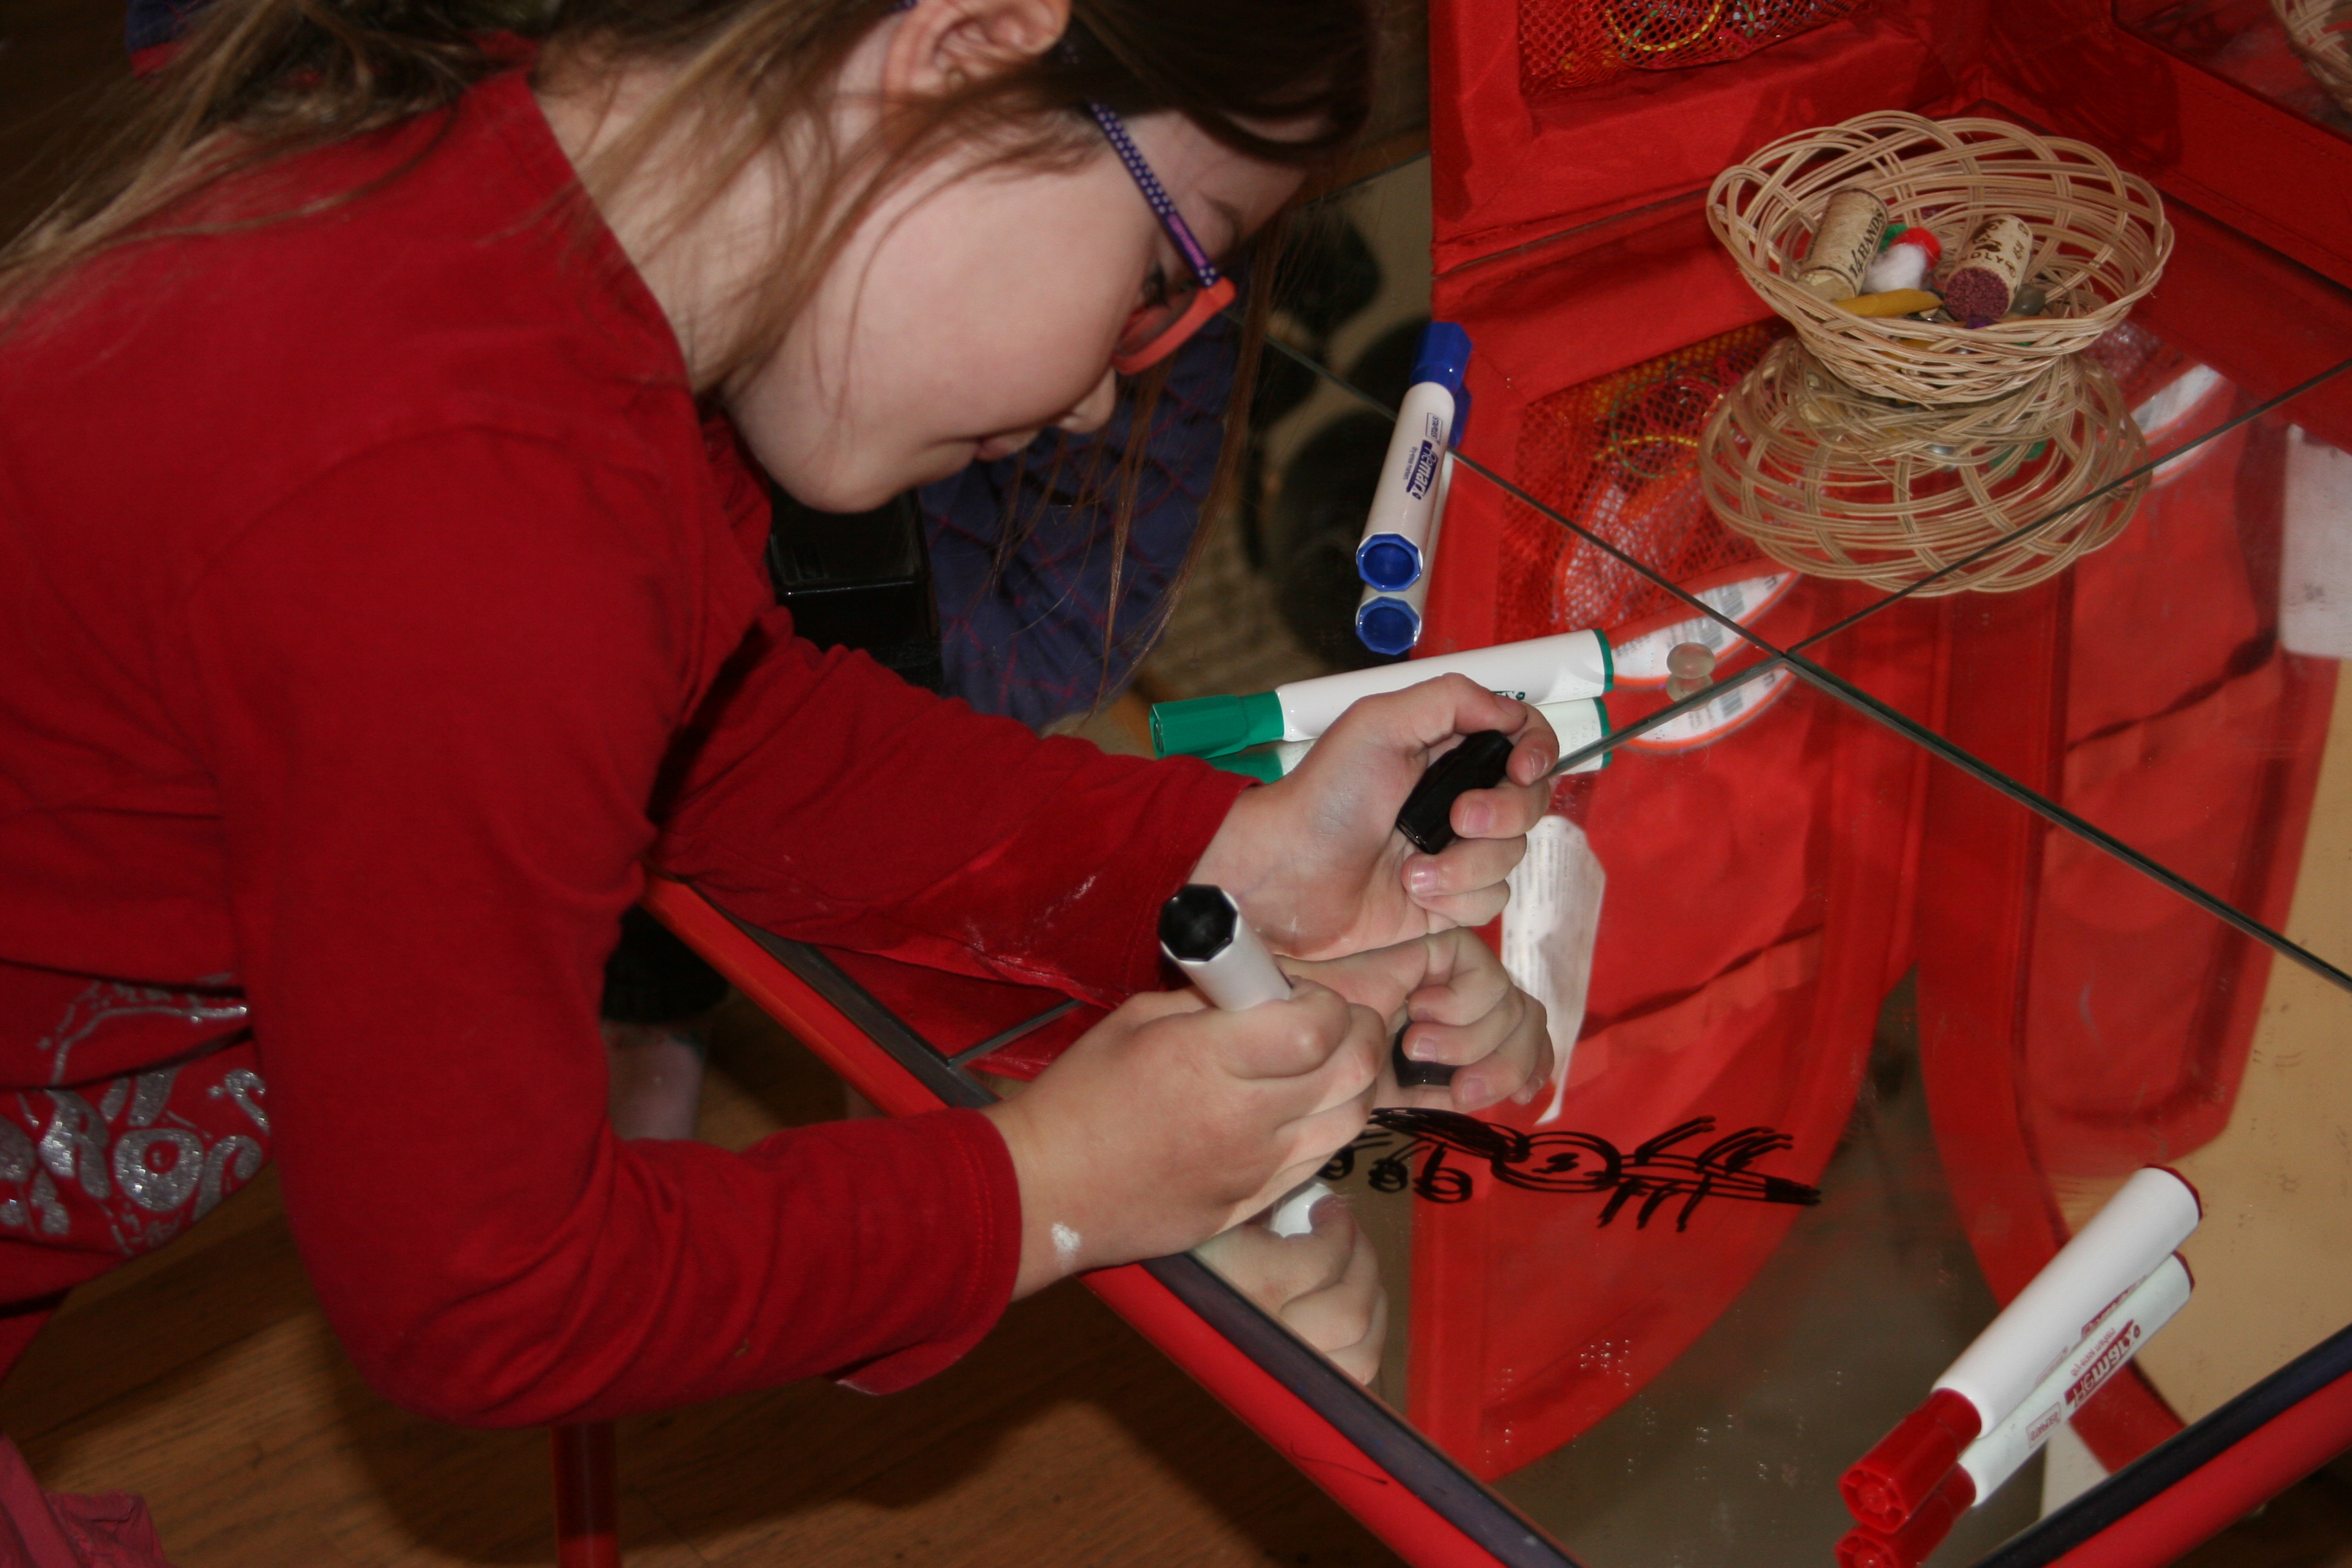
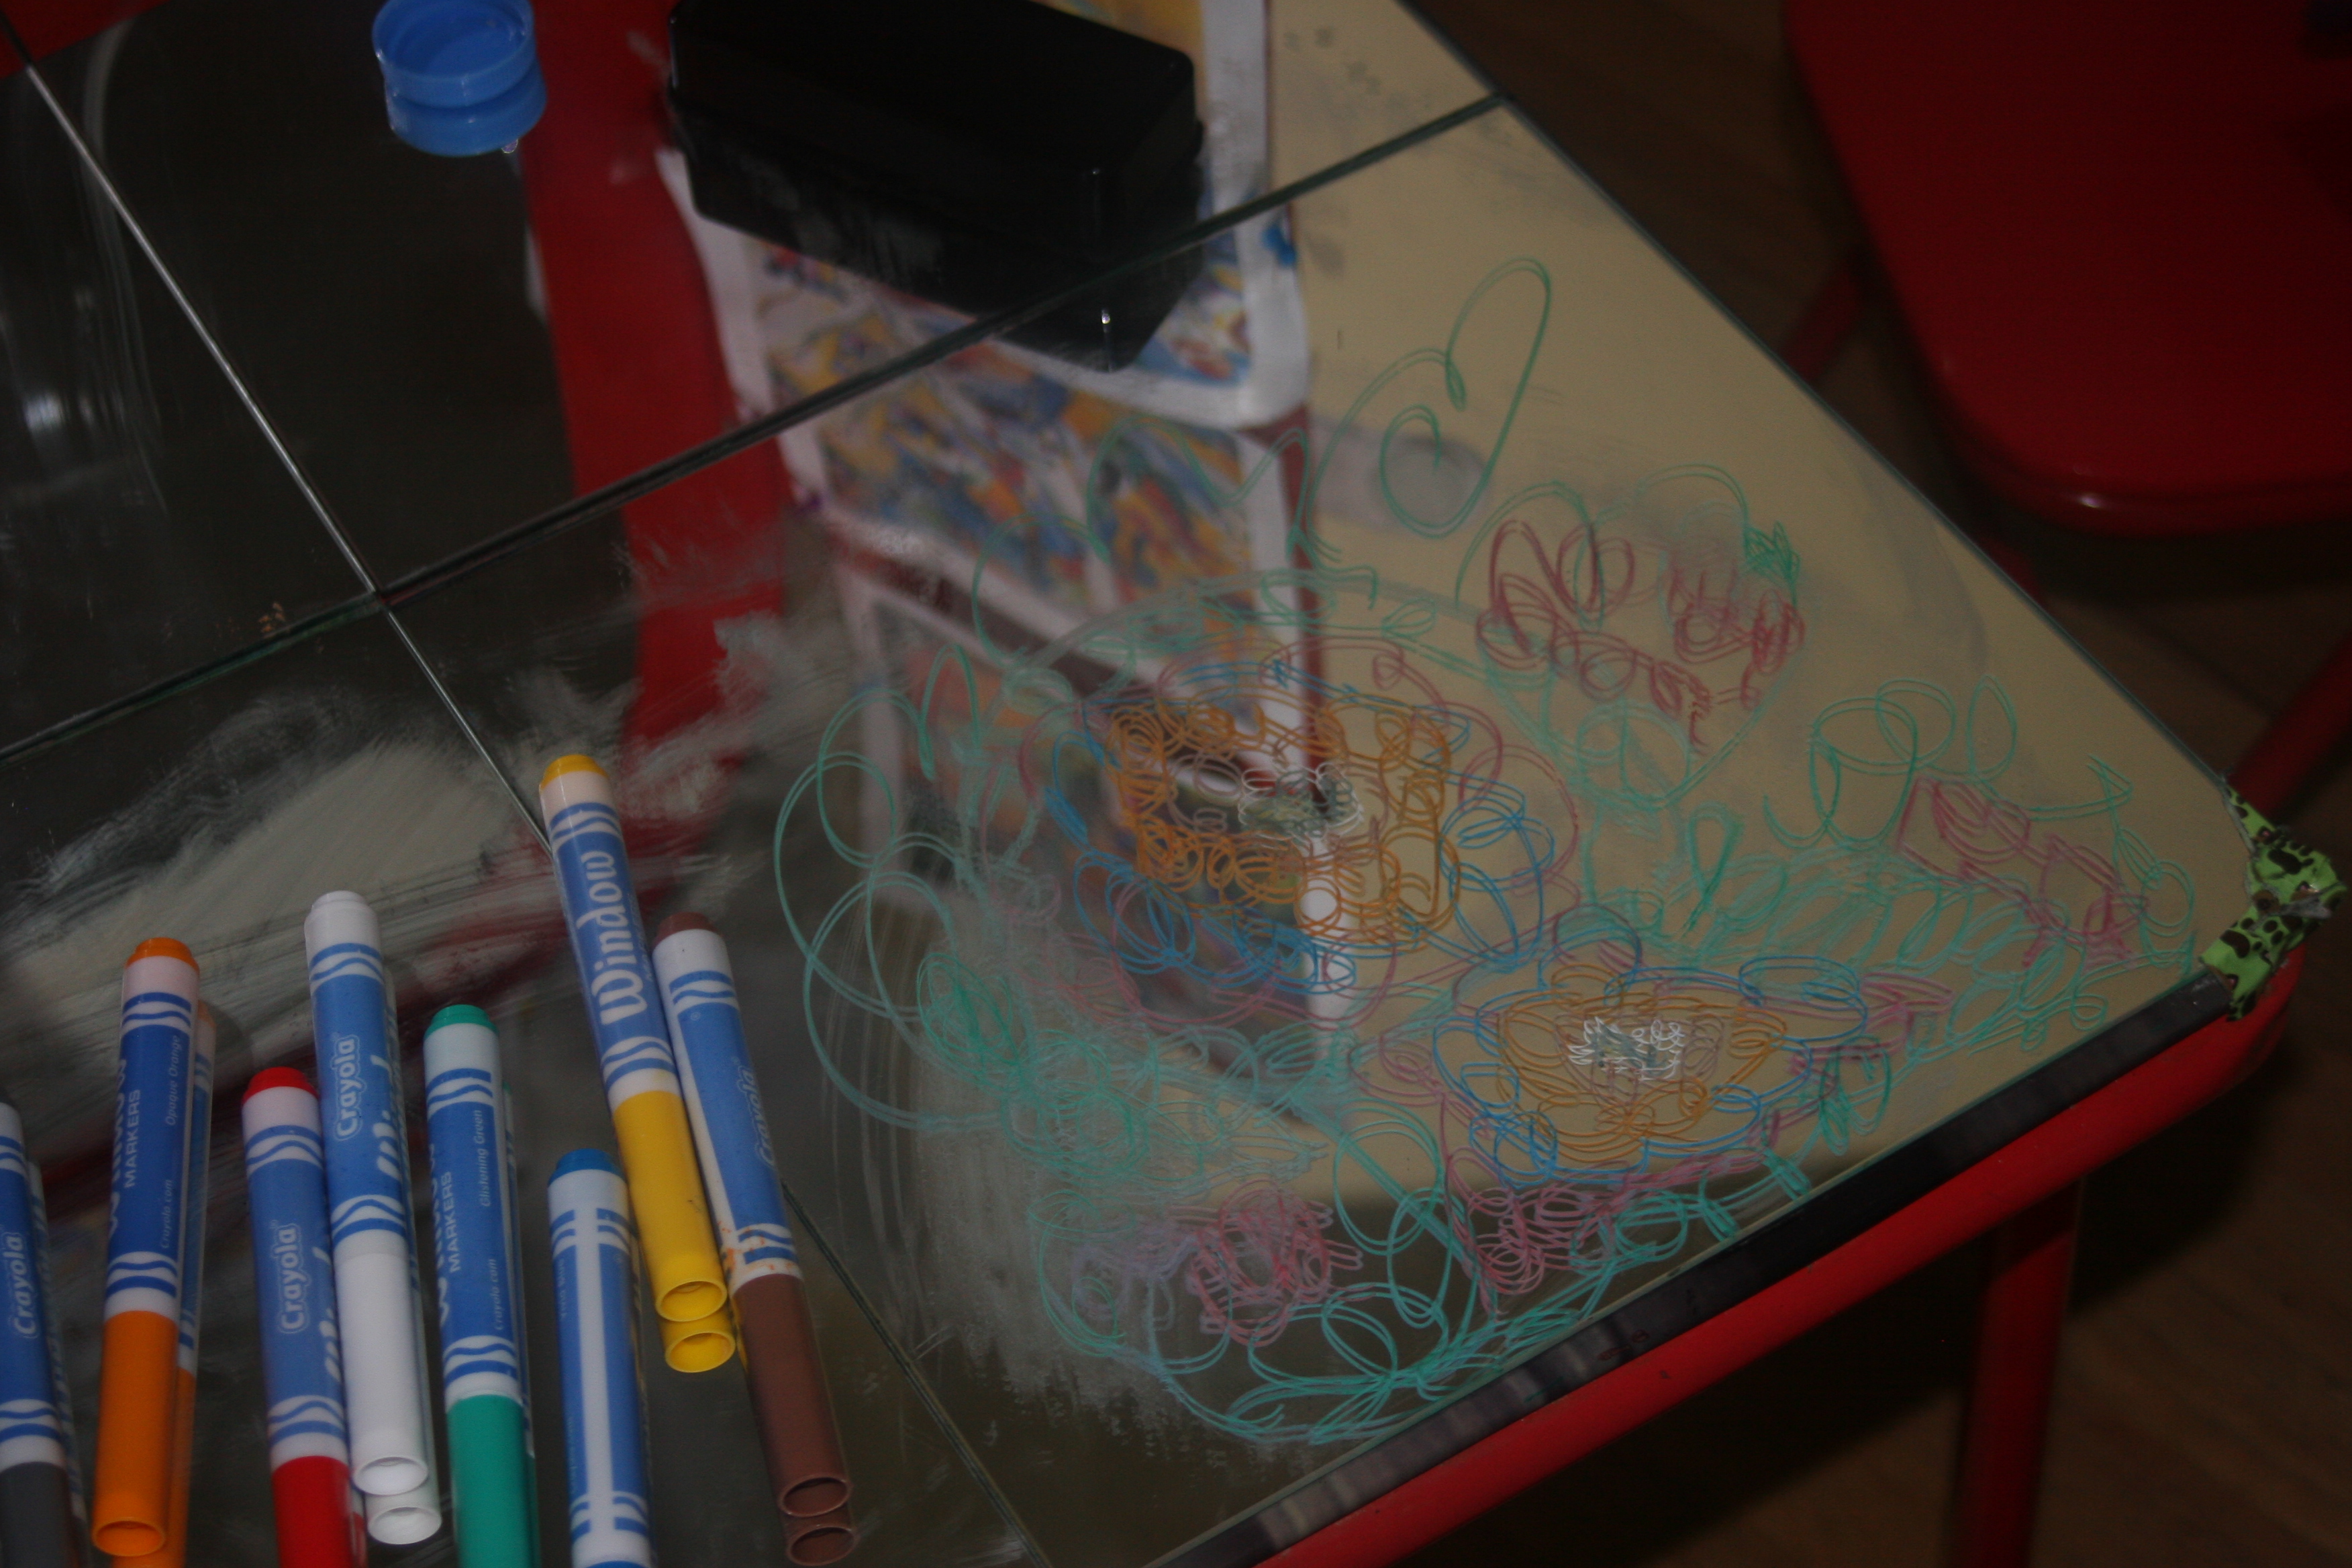
To add variety, I purchased a pack of glass markers. This was a very different experience. The girls discovered that the pens were difficult to erase. They liked that they no longer needed to avoid erasing part of the picture with their sleeve. It took more effort to erase and the girls experimented with the best ways to do this. Since they love to use cleaning sprays, I showed them how to use a small amount of glass cleaner to remove the pens quickly.
I noticed that the style of drawing changed when I introduced these pens. The girls drew intricate patterns using the colours and adapting their movements to light touch of the pens.
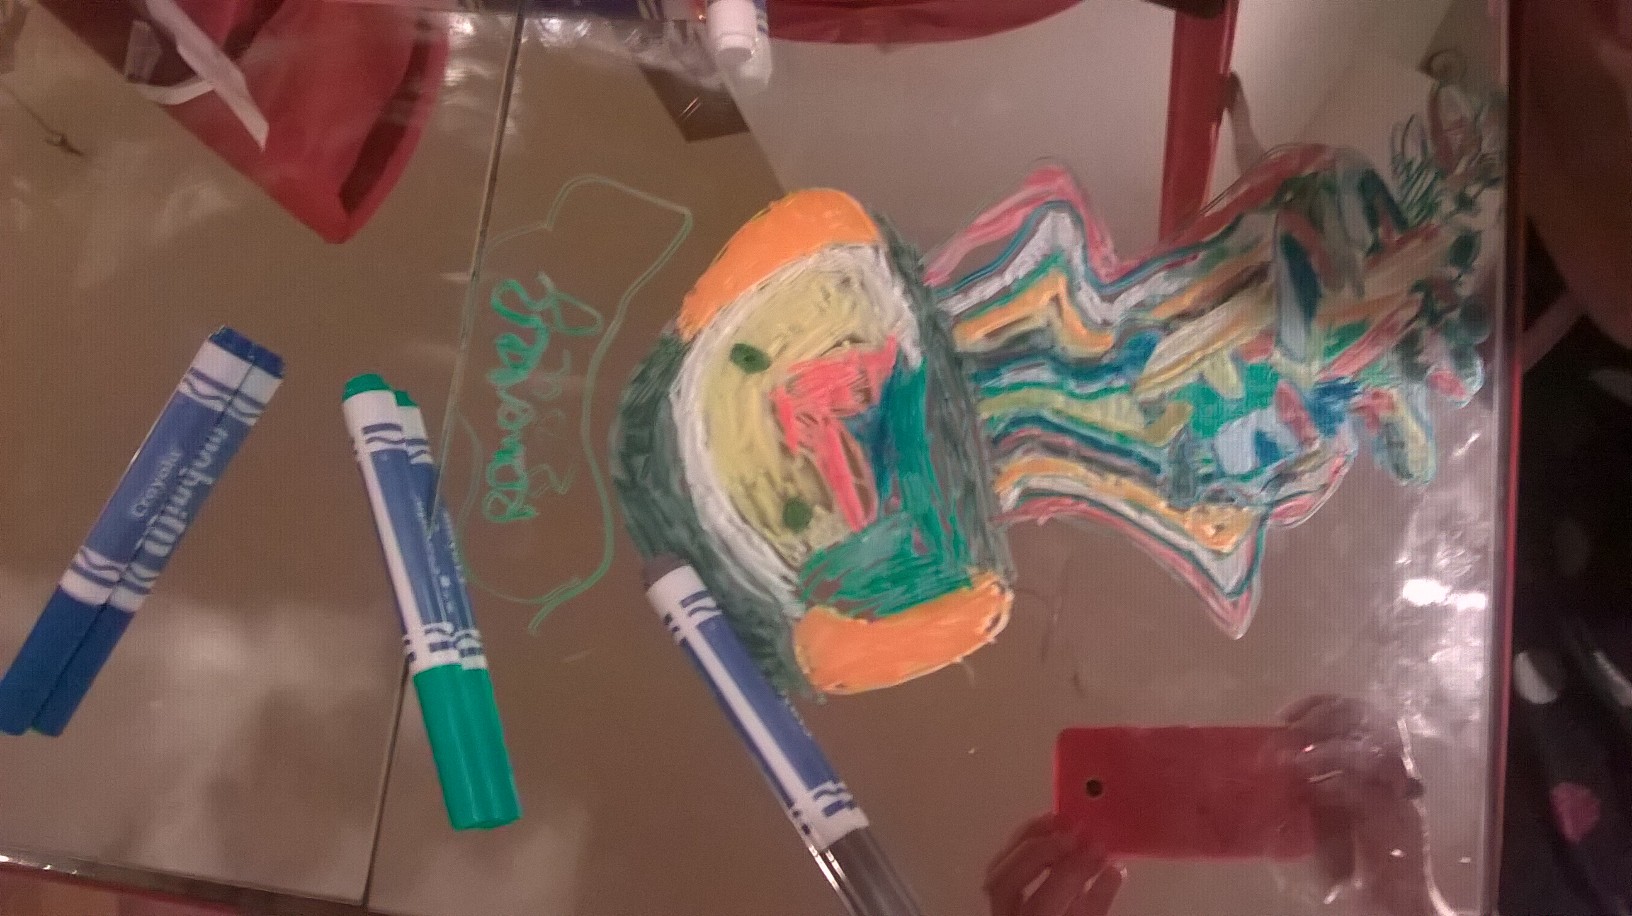
This one reminded me of Kandisky ( and a pattern in one of the earlier photographs is reminiscent of concentric circles).
“I like drawing random things that come into my head. Then they don’t have to be anything” said my 6-year-old.
I explained that this is called abstract art. I have an artist friend and we all visited her exhibition recently. I told them that this was the kind of art that she makes.
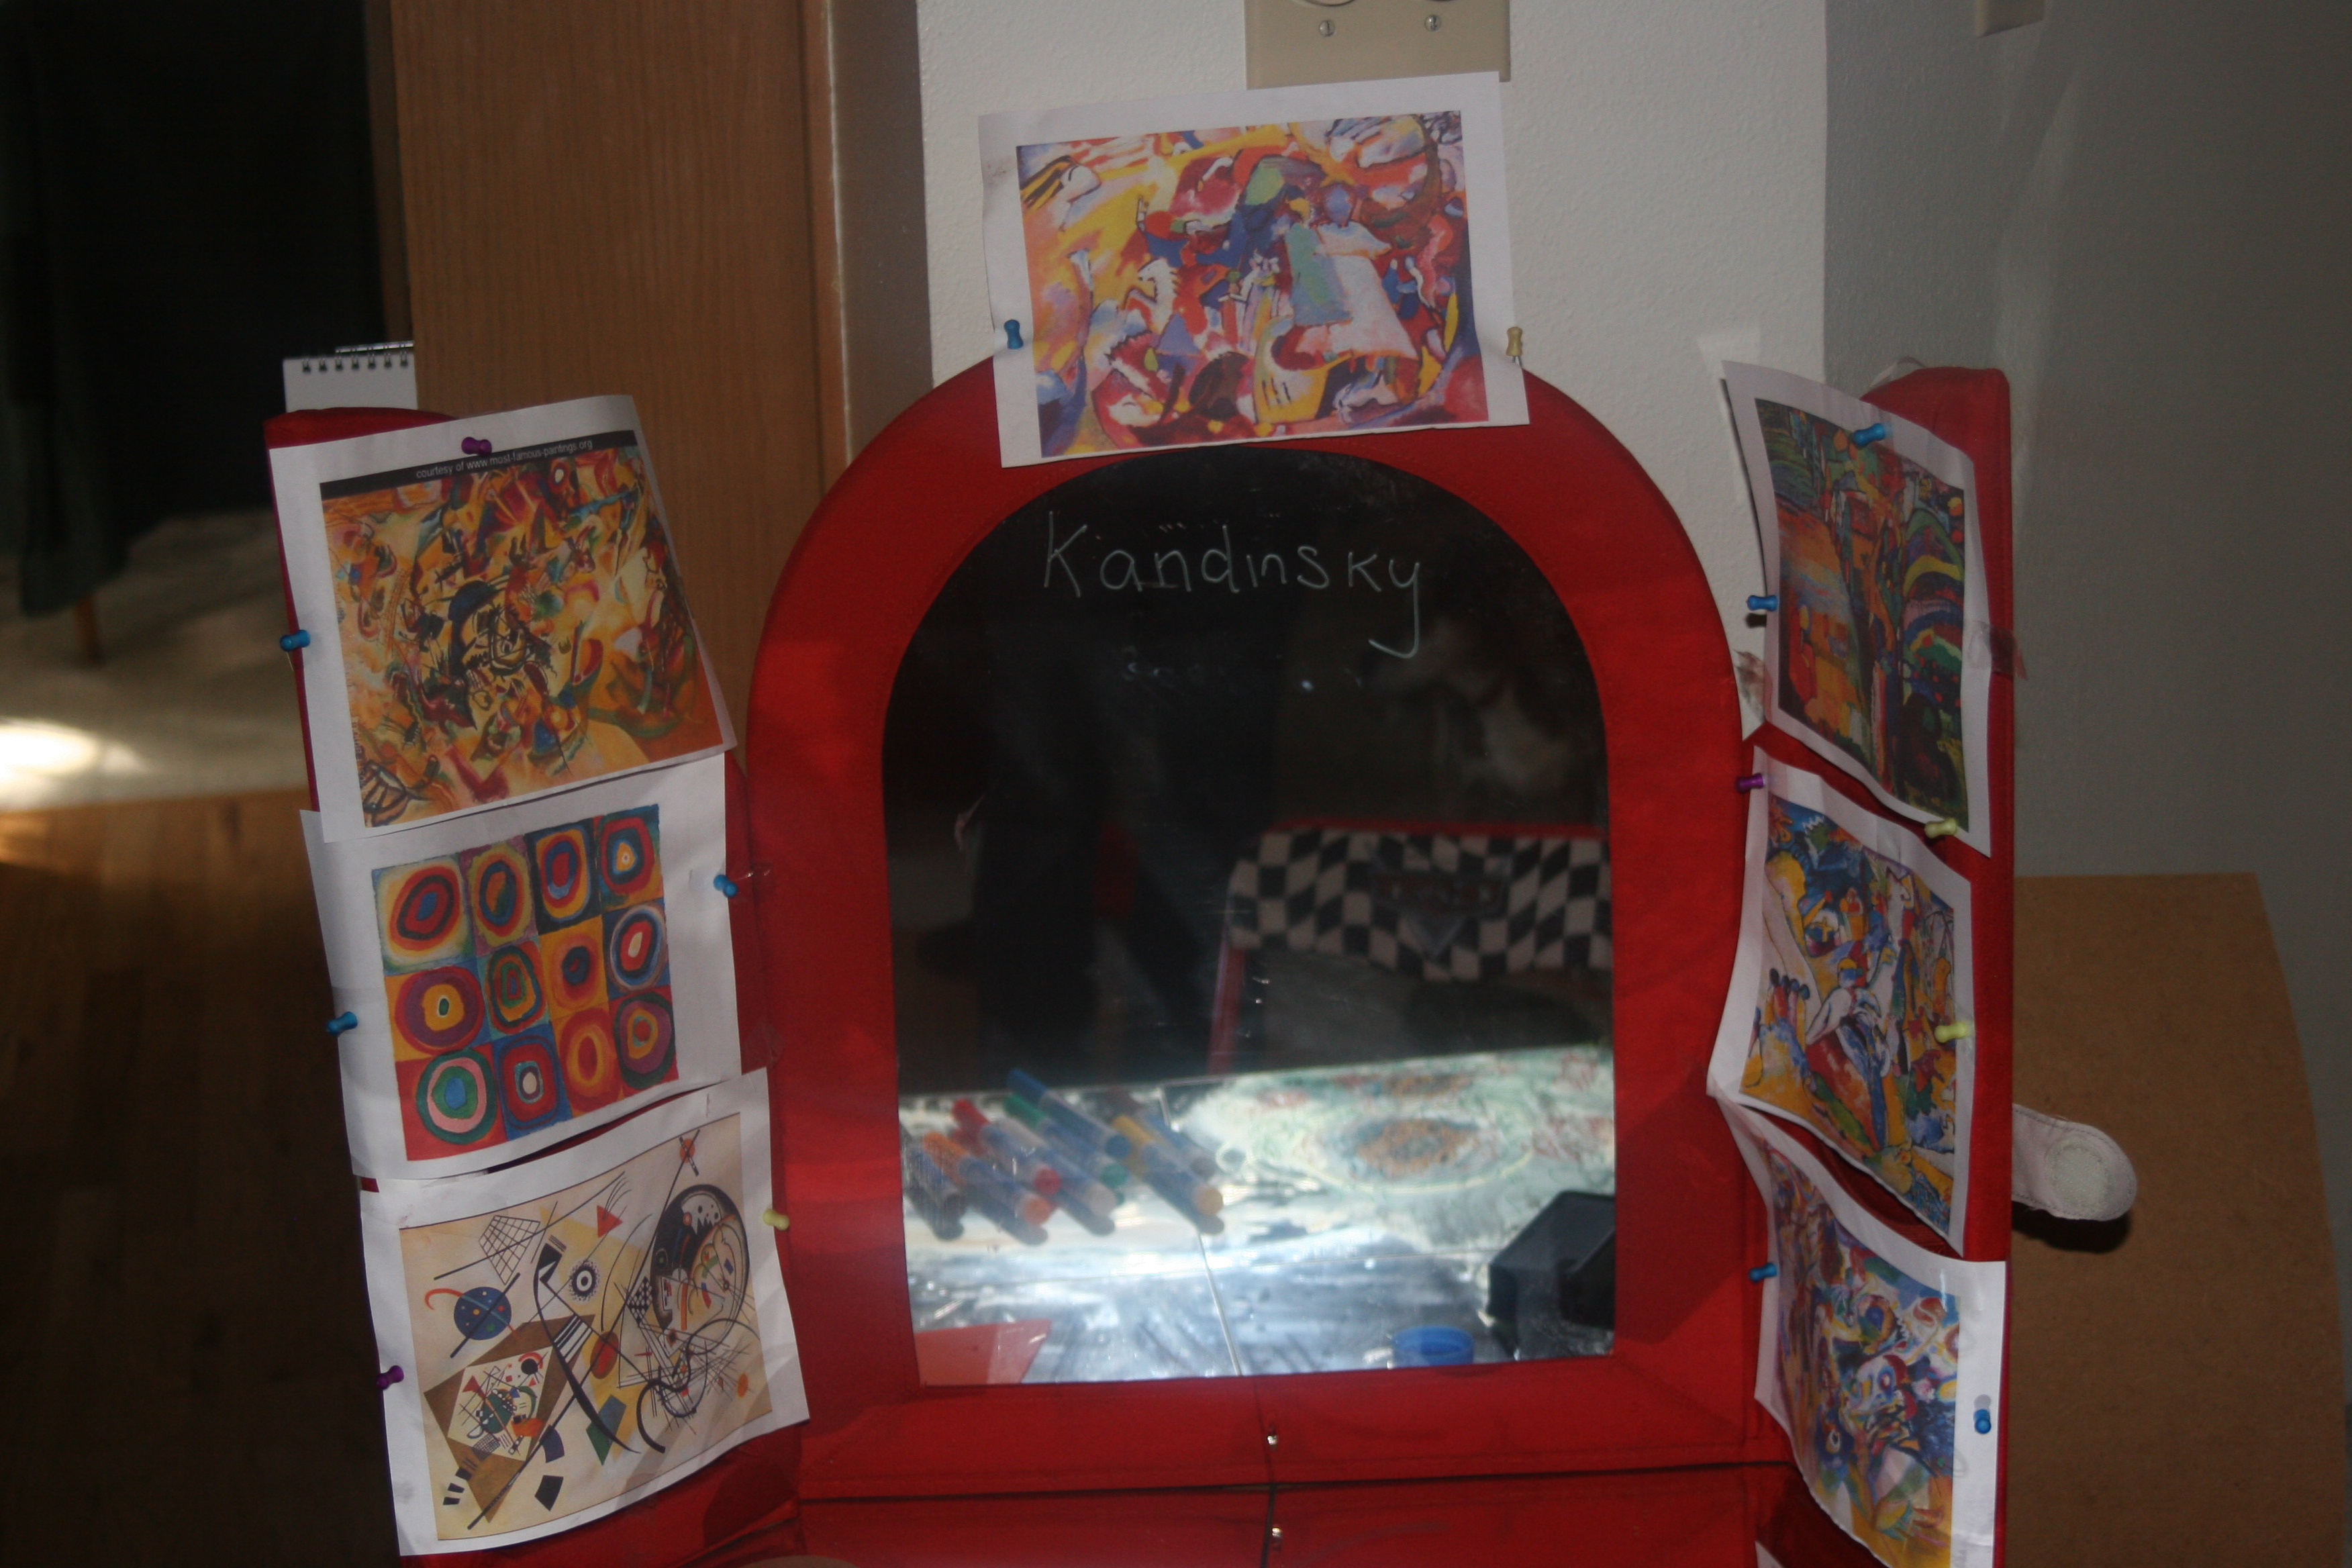
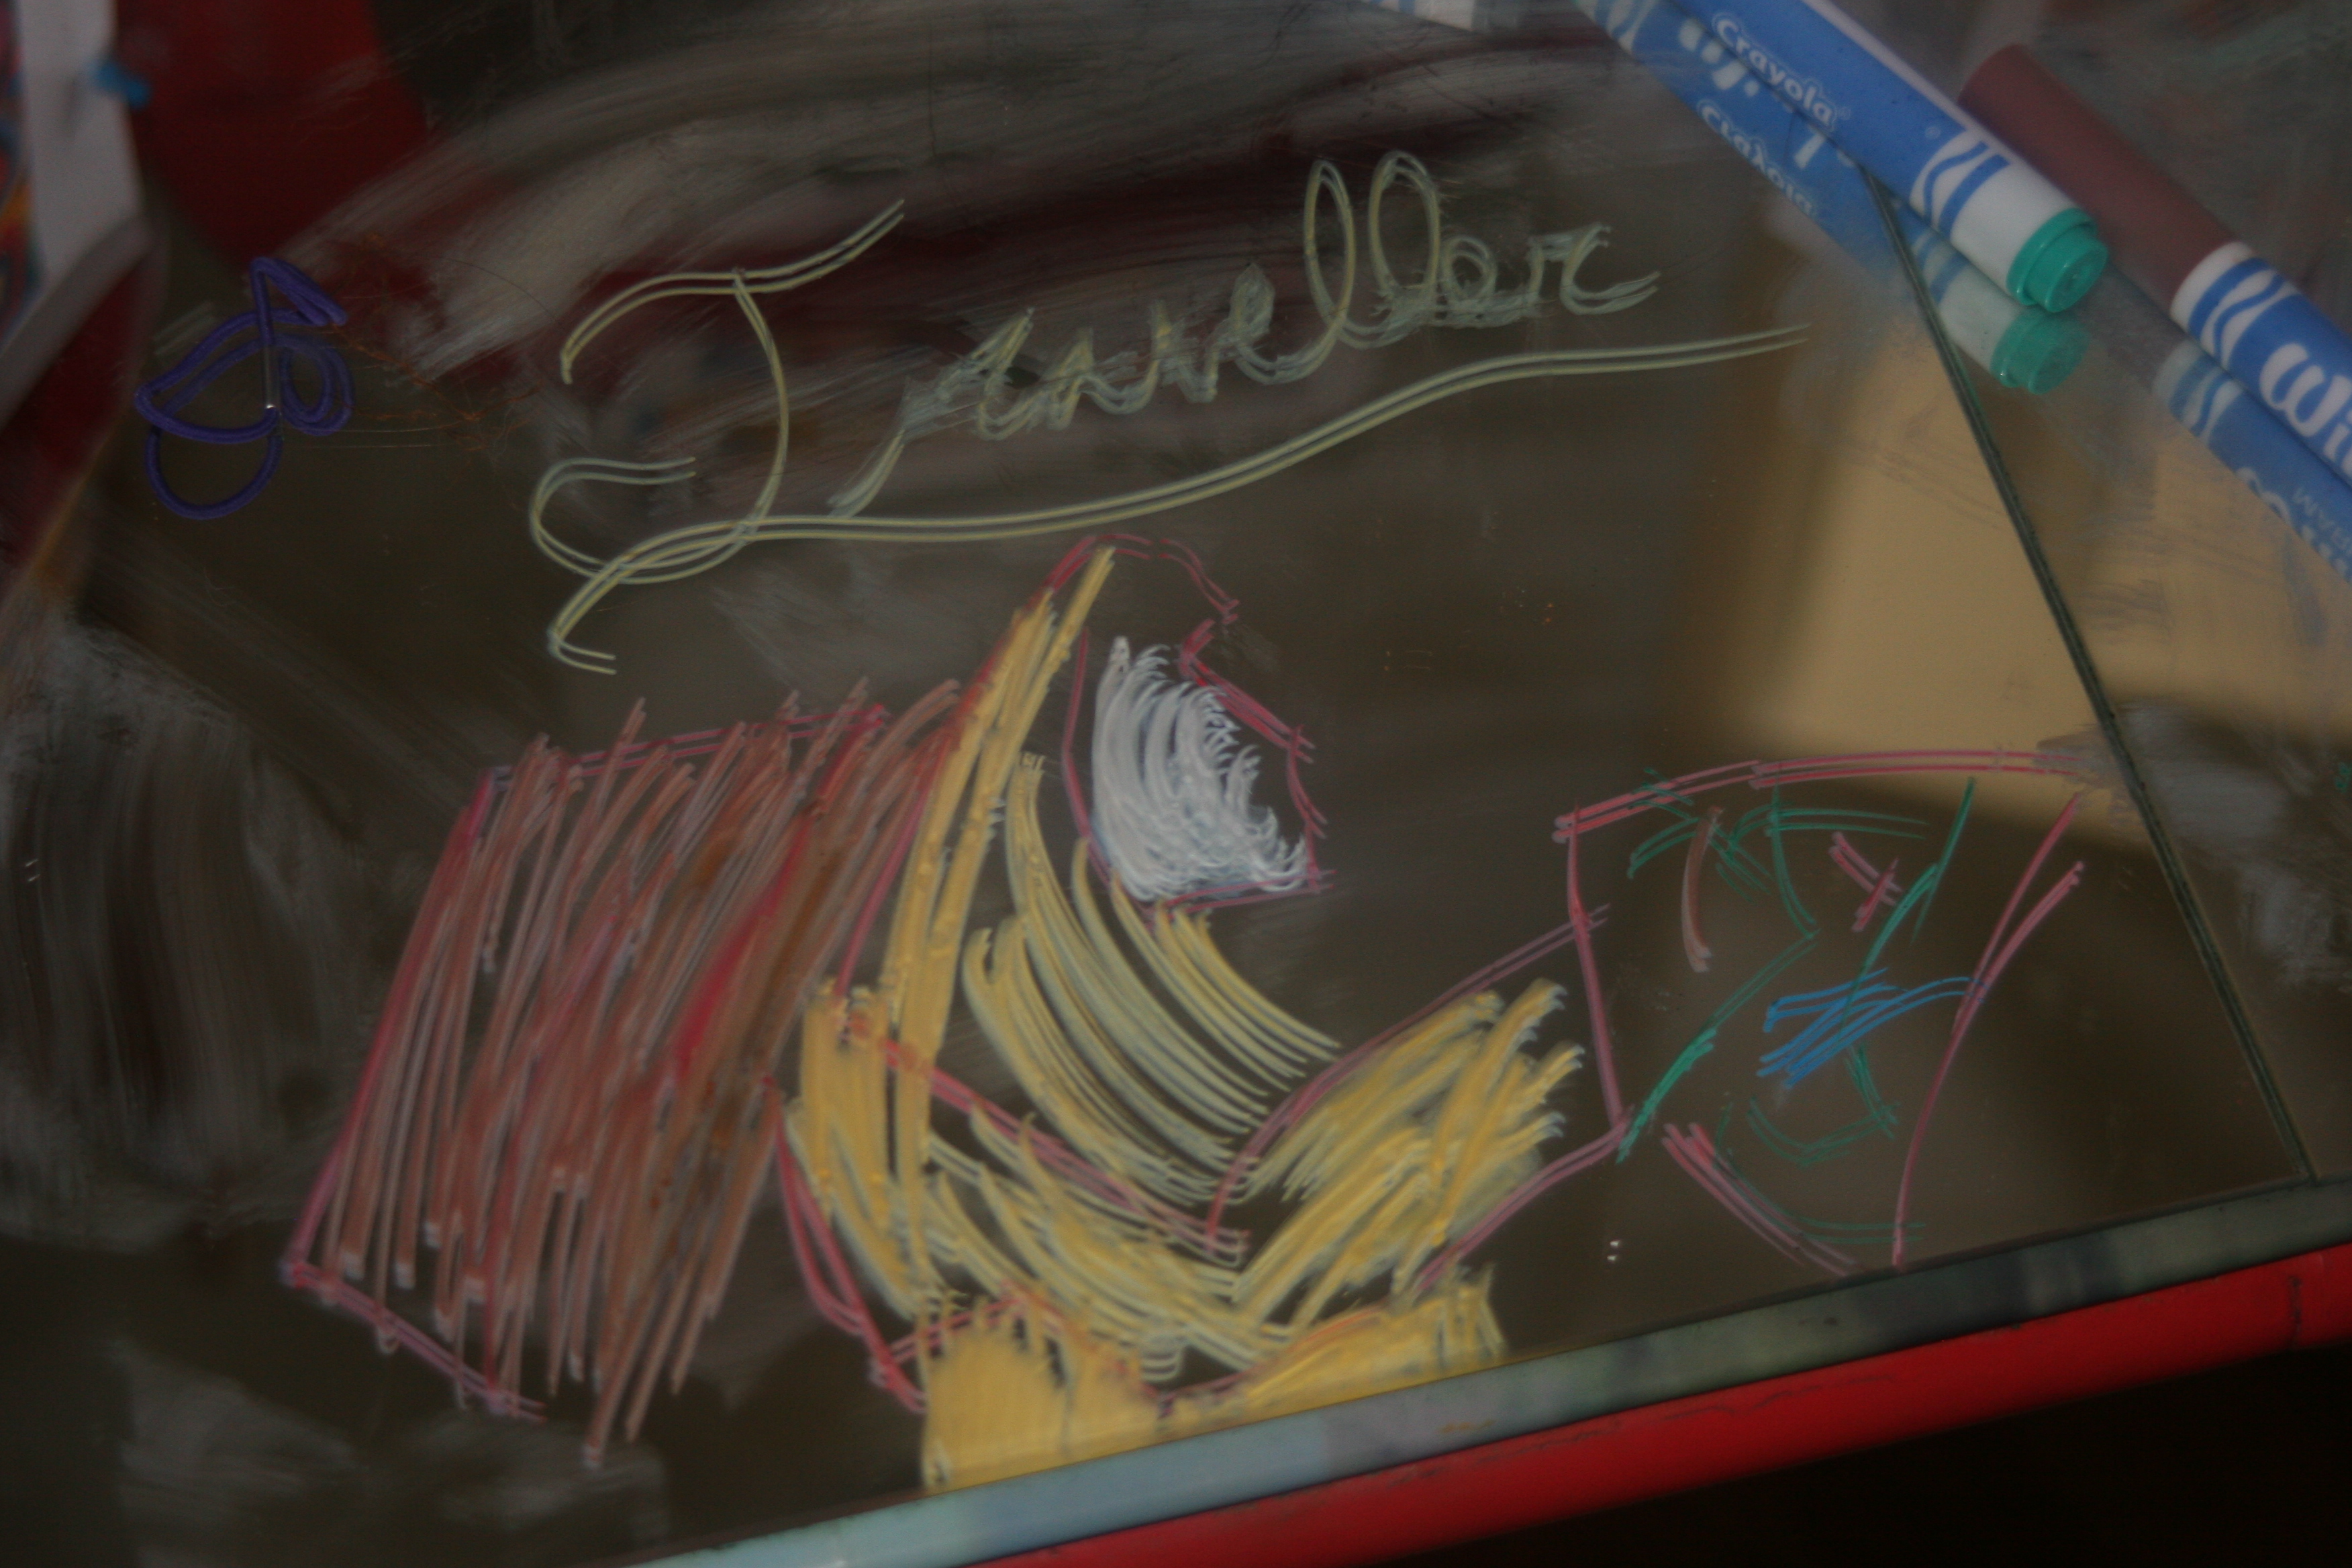
Later, I printed some Kandinsky paintings, placing them around the edge of the vanity mirror.
“Why did you name this one the traveller?” I asked.
“He looks like he has a bag on his back and the multi-coloured bits look like a map”
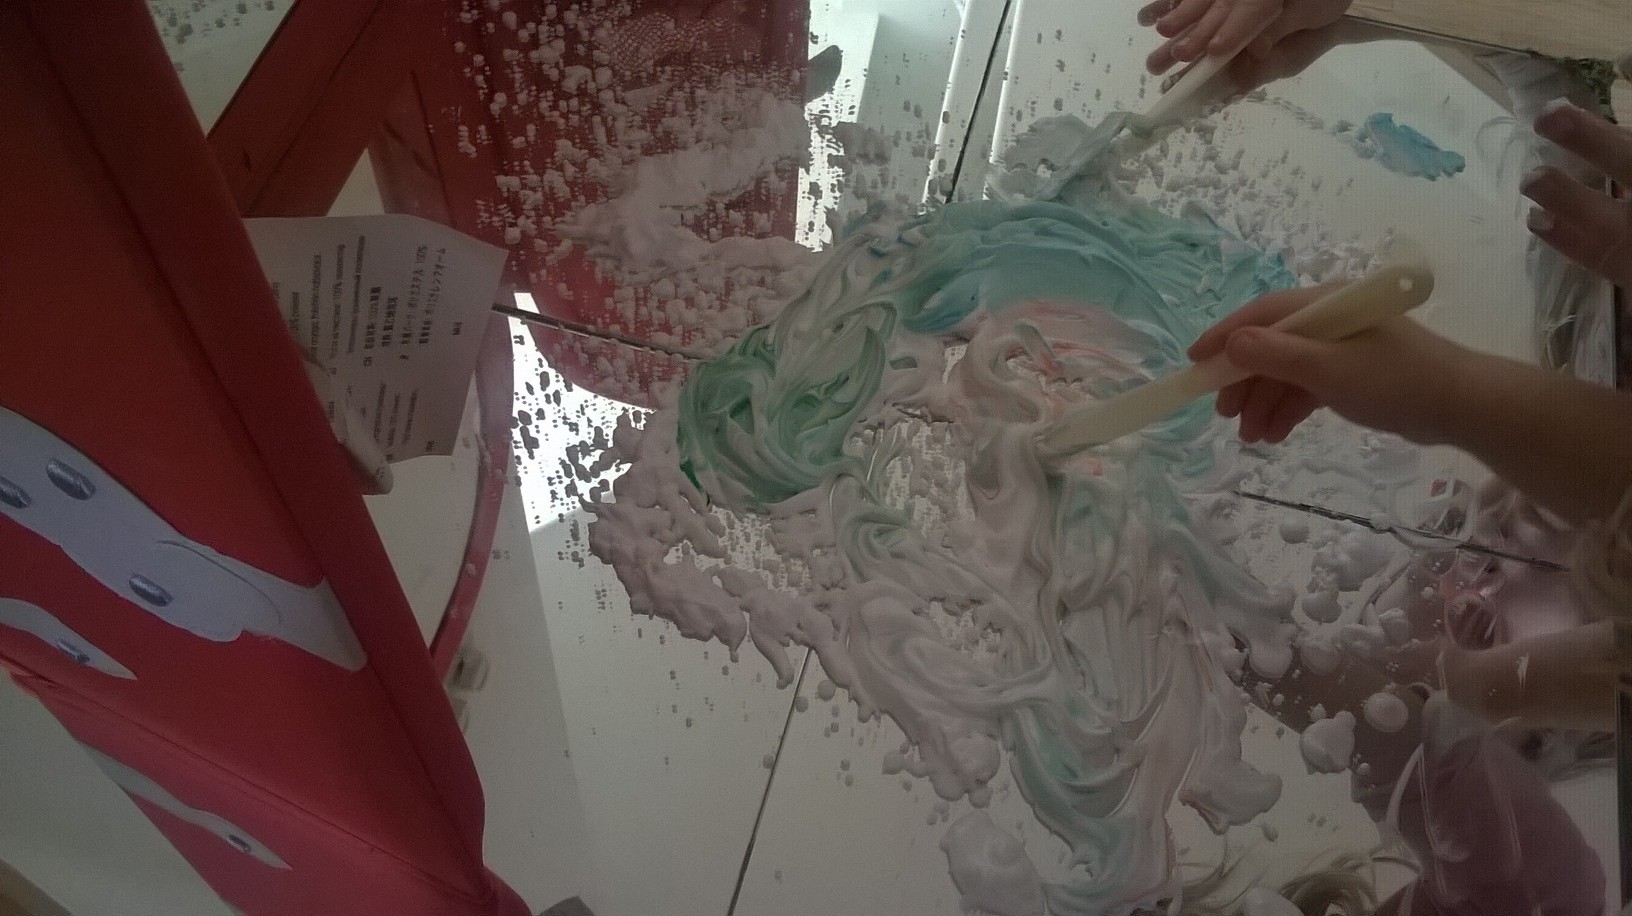
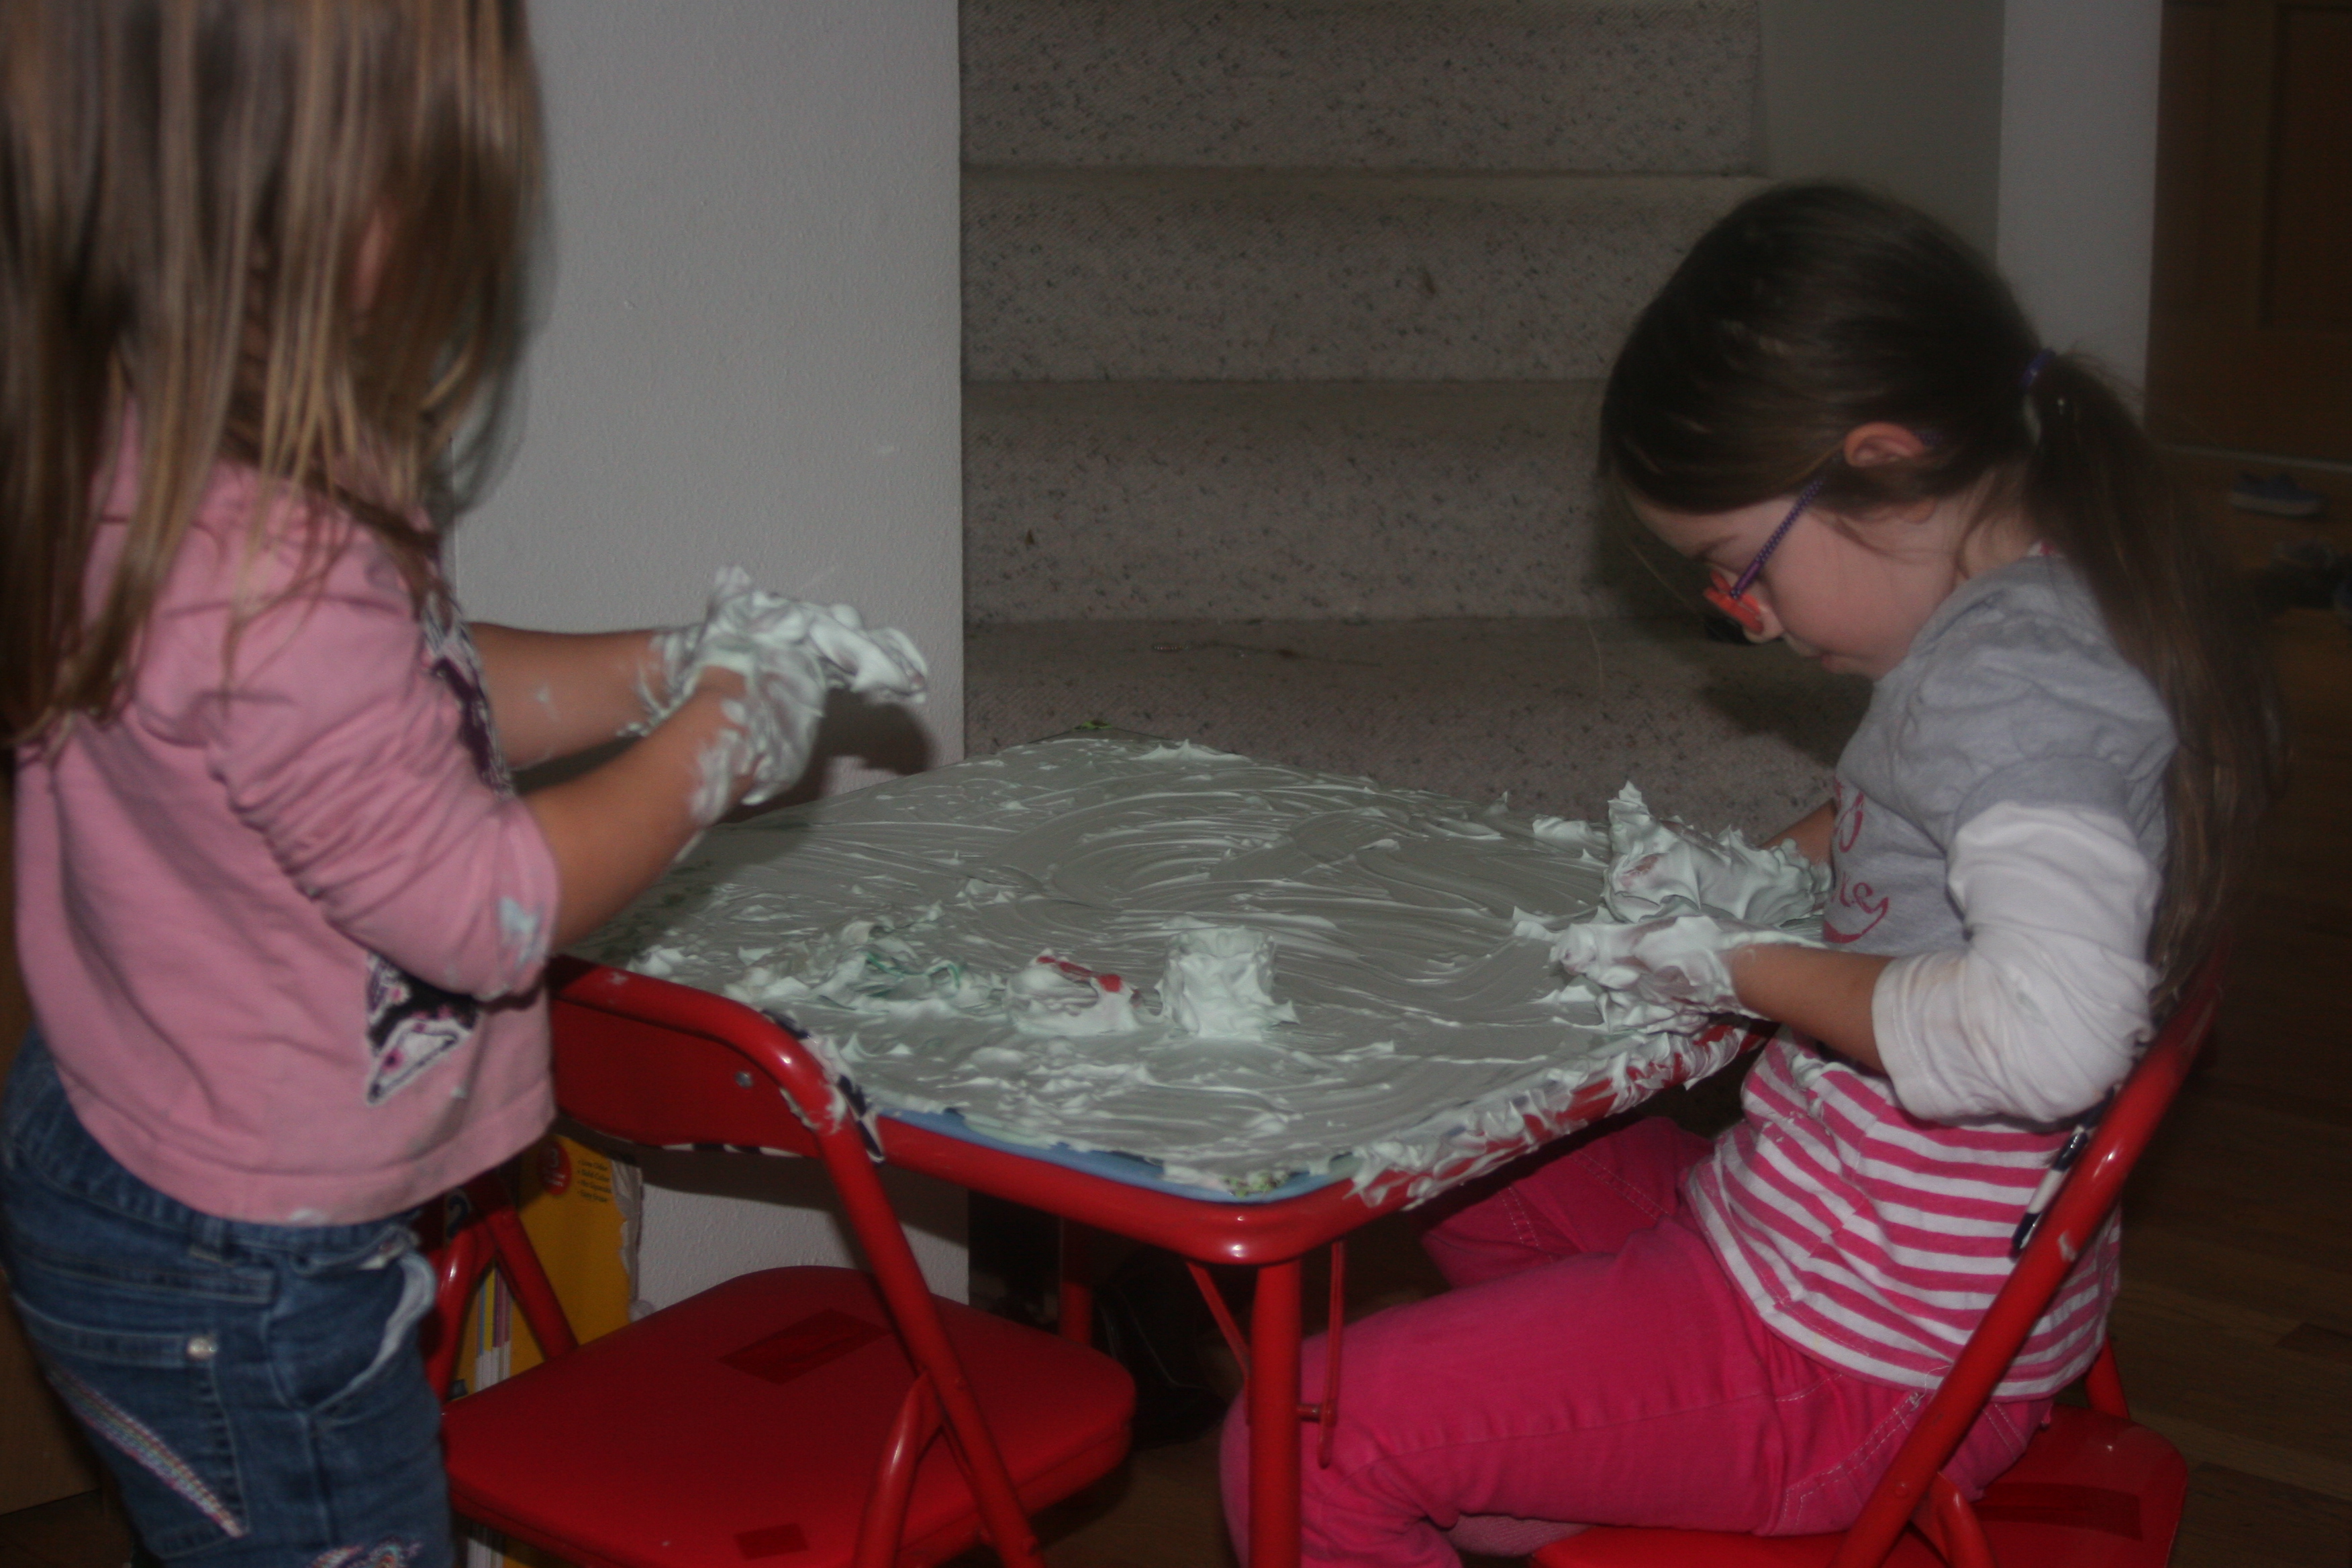
The mirror table is also the perfect surface for shaving foam.
On a flat, even surface their natural instinct was to cover all the space, smoothing it over like icing a cake.
They began to create a story.
How about we’re the servants and it is the queen’s birthday and she wants us to decorate everything?
Now we need it all smooth again. We are the servants.
Wait, she said decorate everything. How about our hands? Oh no there are some gaps.
Maybe the queen will be mad. Come on we’ve got to make it smooth.
I don’t think she’ll be mad. She is the nicest queen. Everyday for pudding she gives us cupcakes.
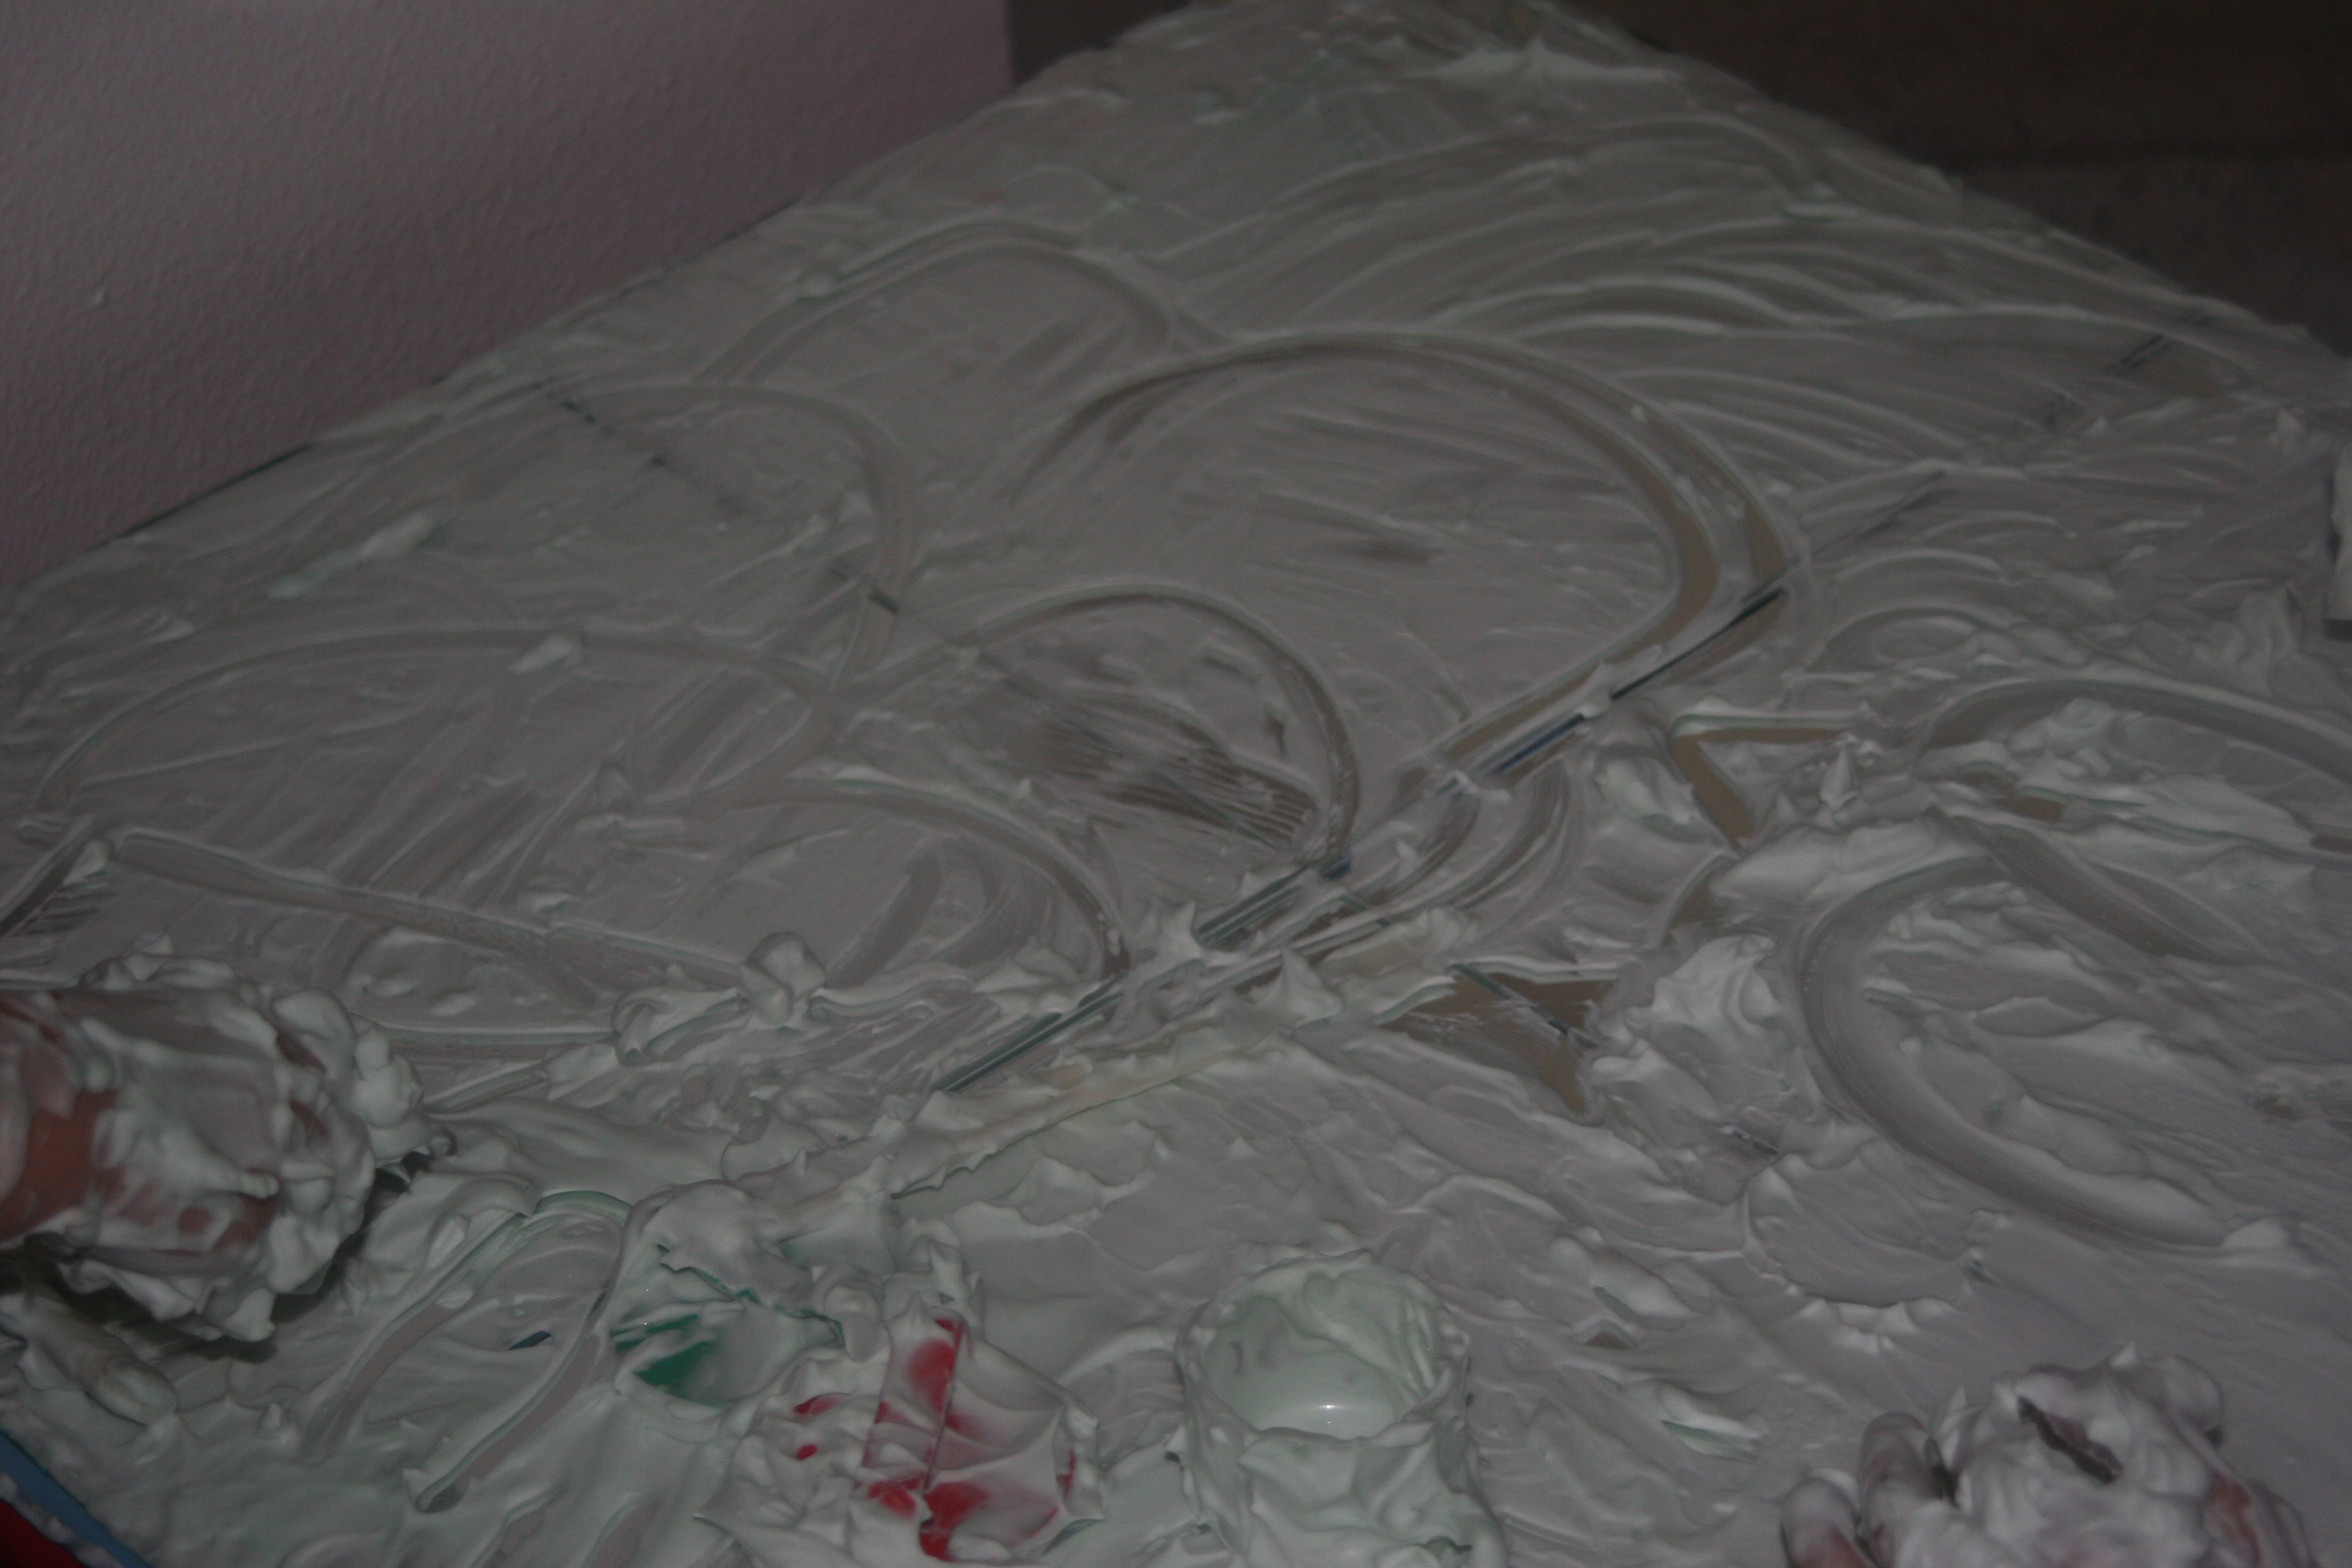
It’s all textury, move your hands around like this.
Or I could do an M – like this.
The scenario soon changed to one where they were at school.
There is lots and lots of art but you don’t like doing it, do you?
Of course I do, why wouldn’t I? I love it
No, but remember we’re playing a game where you don’t like being creative . You just like playing video games and stuff.
I know, this is creative and you don’t like it. Pretend when someone asks you to do something creative you just say ” but when can I watch tv?”
Do you know what I’m going to do next?
No
Neither do I but it will be something creative.
How about you make a snowball?
The girls abandoned a game of Minecraft when I put the foam out. It is interesting that they were exploring ideas about creativity in their play.
I had an interesting conversation with a grandmother at one of my recent classes. In the class we decorated pebbles. The children were aged 2-4 and she had joined with a 2- year-old who was fascinated by stones. He drew on the pebbles and then she helped him to add eyes.
When she took her grandson home, her daughter looked at the stones and remarked that it was not his own work. She felt that during her own childhood, her mother had never been satisfied with her art projects. She would always offers suggestions for improvement, rather than accepting it the way that she wanted it and felt strongly that she would encourage her son to express things in his own way.
At the next art session, the grandmother was clearly reflecting on this with interest. She stood completely back from the child as he was scribbling and snipping, without any interference and discussed her daughter’s comment with me.
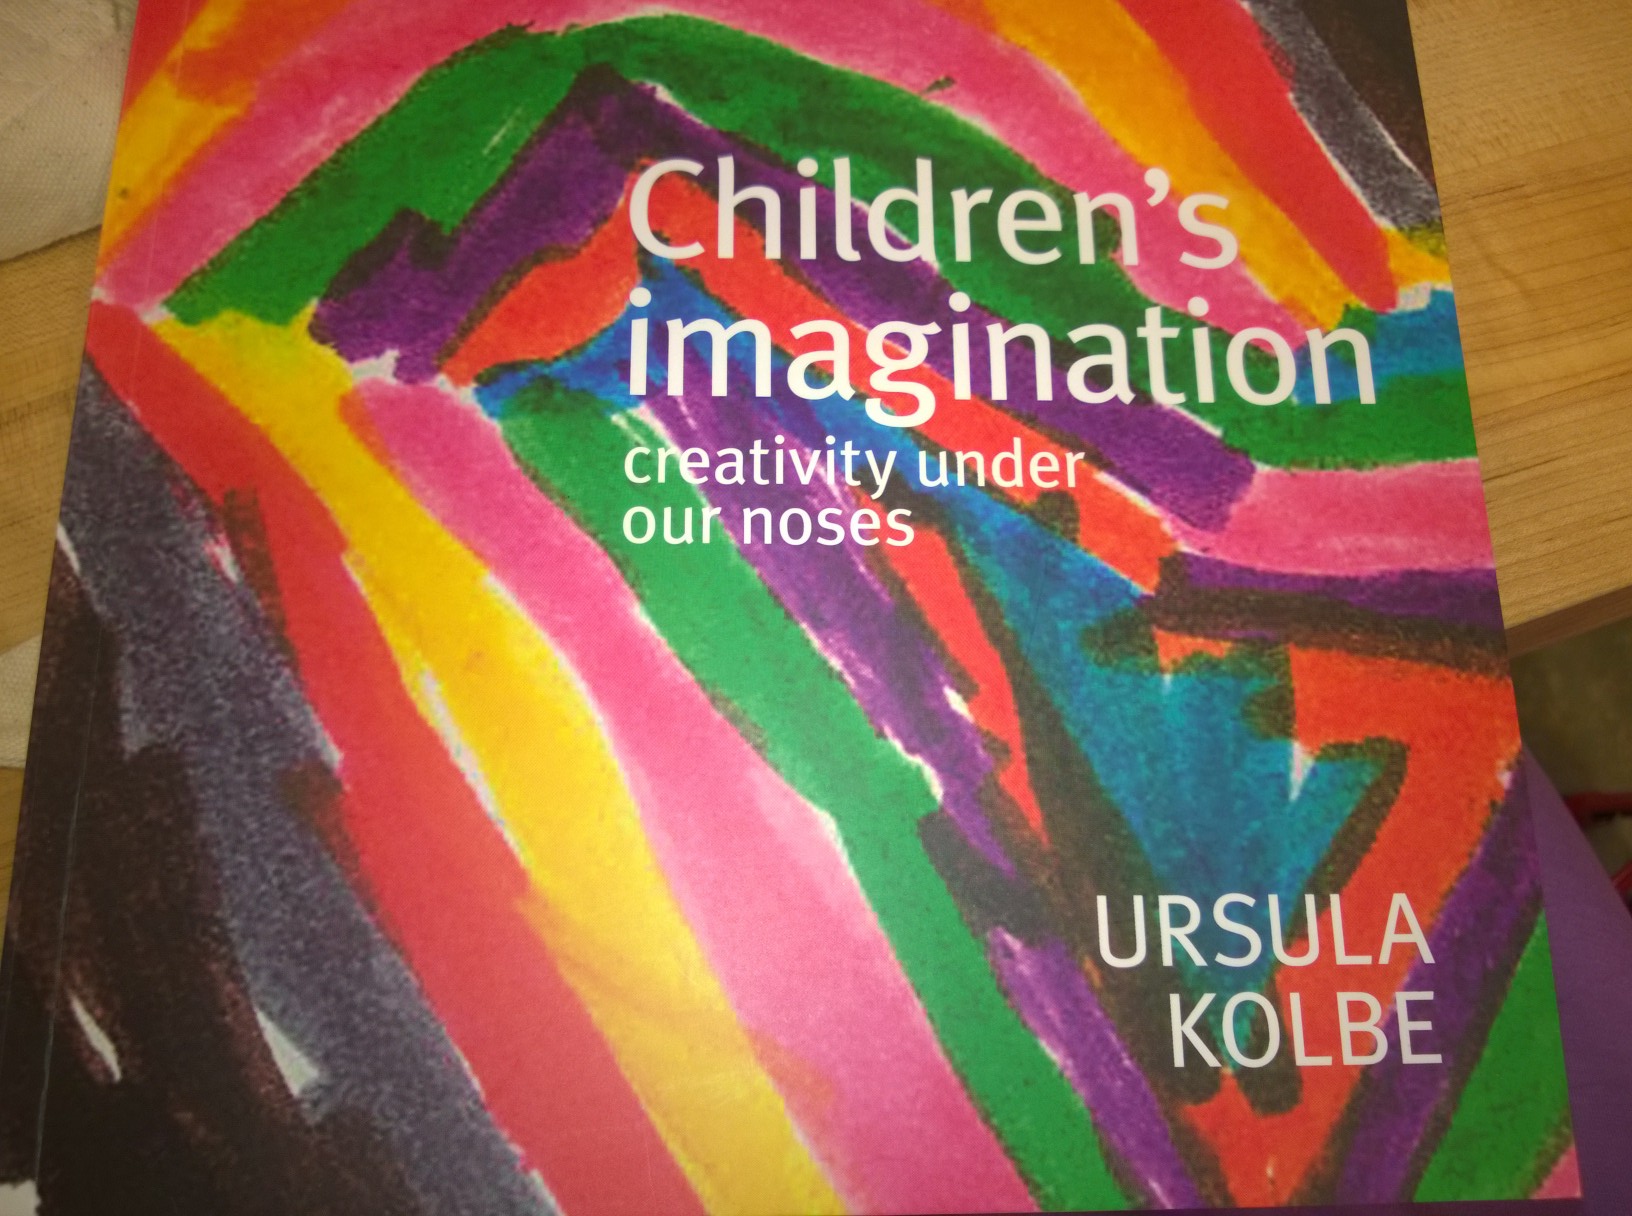
I found her reaction interesting; she clearly wasn’t comfortable with the distance but wanted to respect her daughter’s wishes. We discussed the balance between taking over and being on hand to help or extend learning. I explained my response to children when they are learning to draw, discussed in ‘I Don’t Know How to Draw Ducks’ Feet’ – How to Support Young Childrens’ Drawing,” Sometimes it is hard not to take over when a child says they can’t do something but a little support can encourage a child to trust in their own ability. Thankfully, I had recently finished reading Ursula Kolbe’s latest book Children’s Imagination: Creativity Under Our Noses
The role of parents in nurturing creative children is the main theme of the book. It encourages parents to see that creative play can arise from the simplest things and that letting go will foster children’s imagination.
If we want to nourish children’s creativity what exactly is the adult’s role?
“All too often we adults feel the need to label, to continually teach, wheras close attention and companiable silence are often more valuable. Valuable because then anything can happen” Kolbe says.
The role of the adult is to:
Provide Resources
The adult’s role is to provide interesting materials. A constant stream of new materials, however, leaves little room for development of expression. If, on the other hand, a variety of materials are easily accessible, children can choose those that interest them.
The greatest possibilities occur, as children ask “what can I do with this?” Perhaps,this is why children love the outdoors, where loose parts are plentiful. At home, I keep paper, pencils, scissors, watercolour paint, brushes tape and glue next to our kitchen table. Most mornings the girls will go to the shelves, take a piece of paper and scissors and create something. My kitchen table is rarely clear but I love to listen to their stories as they draw their latest picture or make a sign for imaginative play.
Observe and Listen
One of the simplest pleasures is to sit and observe a child or group of children at play. The little pearls of wisdom that children offer could otherwise be missed. Observing encourages teachers and parents to question why things happen or how play can be extended . Loris Malaguzzi describes it as
“Catching the ball that children throw us.”
It is easy for parents and teachers to find a wealth of activities for their children to do but most of the time it isn’t necessary. If we follow the children’s lead we can become their supporter, encourager and co-explorer explains Kolbe.
“A steady diet of adult-chosen, one-off activities denies children opportunities to find the extraordinary in the ordinary for themselves”
Time and Space
The most important things we can give children are time and space. Our role, is to provide inviting materials and allow children unhurried time to explore them, revisiting as many times as they would like. Unhurried time is almost impossible at school, where a strict timetable needs to be followed. I think it is vital therefore, to provide this at home. My children were upset recently at a local playcentre, because their things were tidied away before they had finished playing. Leaving things out for a while shows that their creations are valued and allows them to modify and expand their ideas. Ask children if they have finished before tidying or encourage them to clear their own materials, so that you can be certain they are finished.
Show Interest Without Intrusion
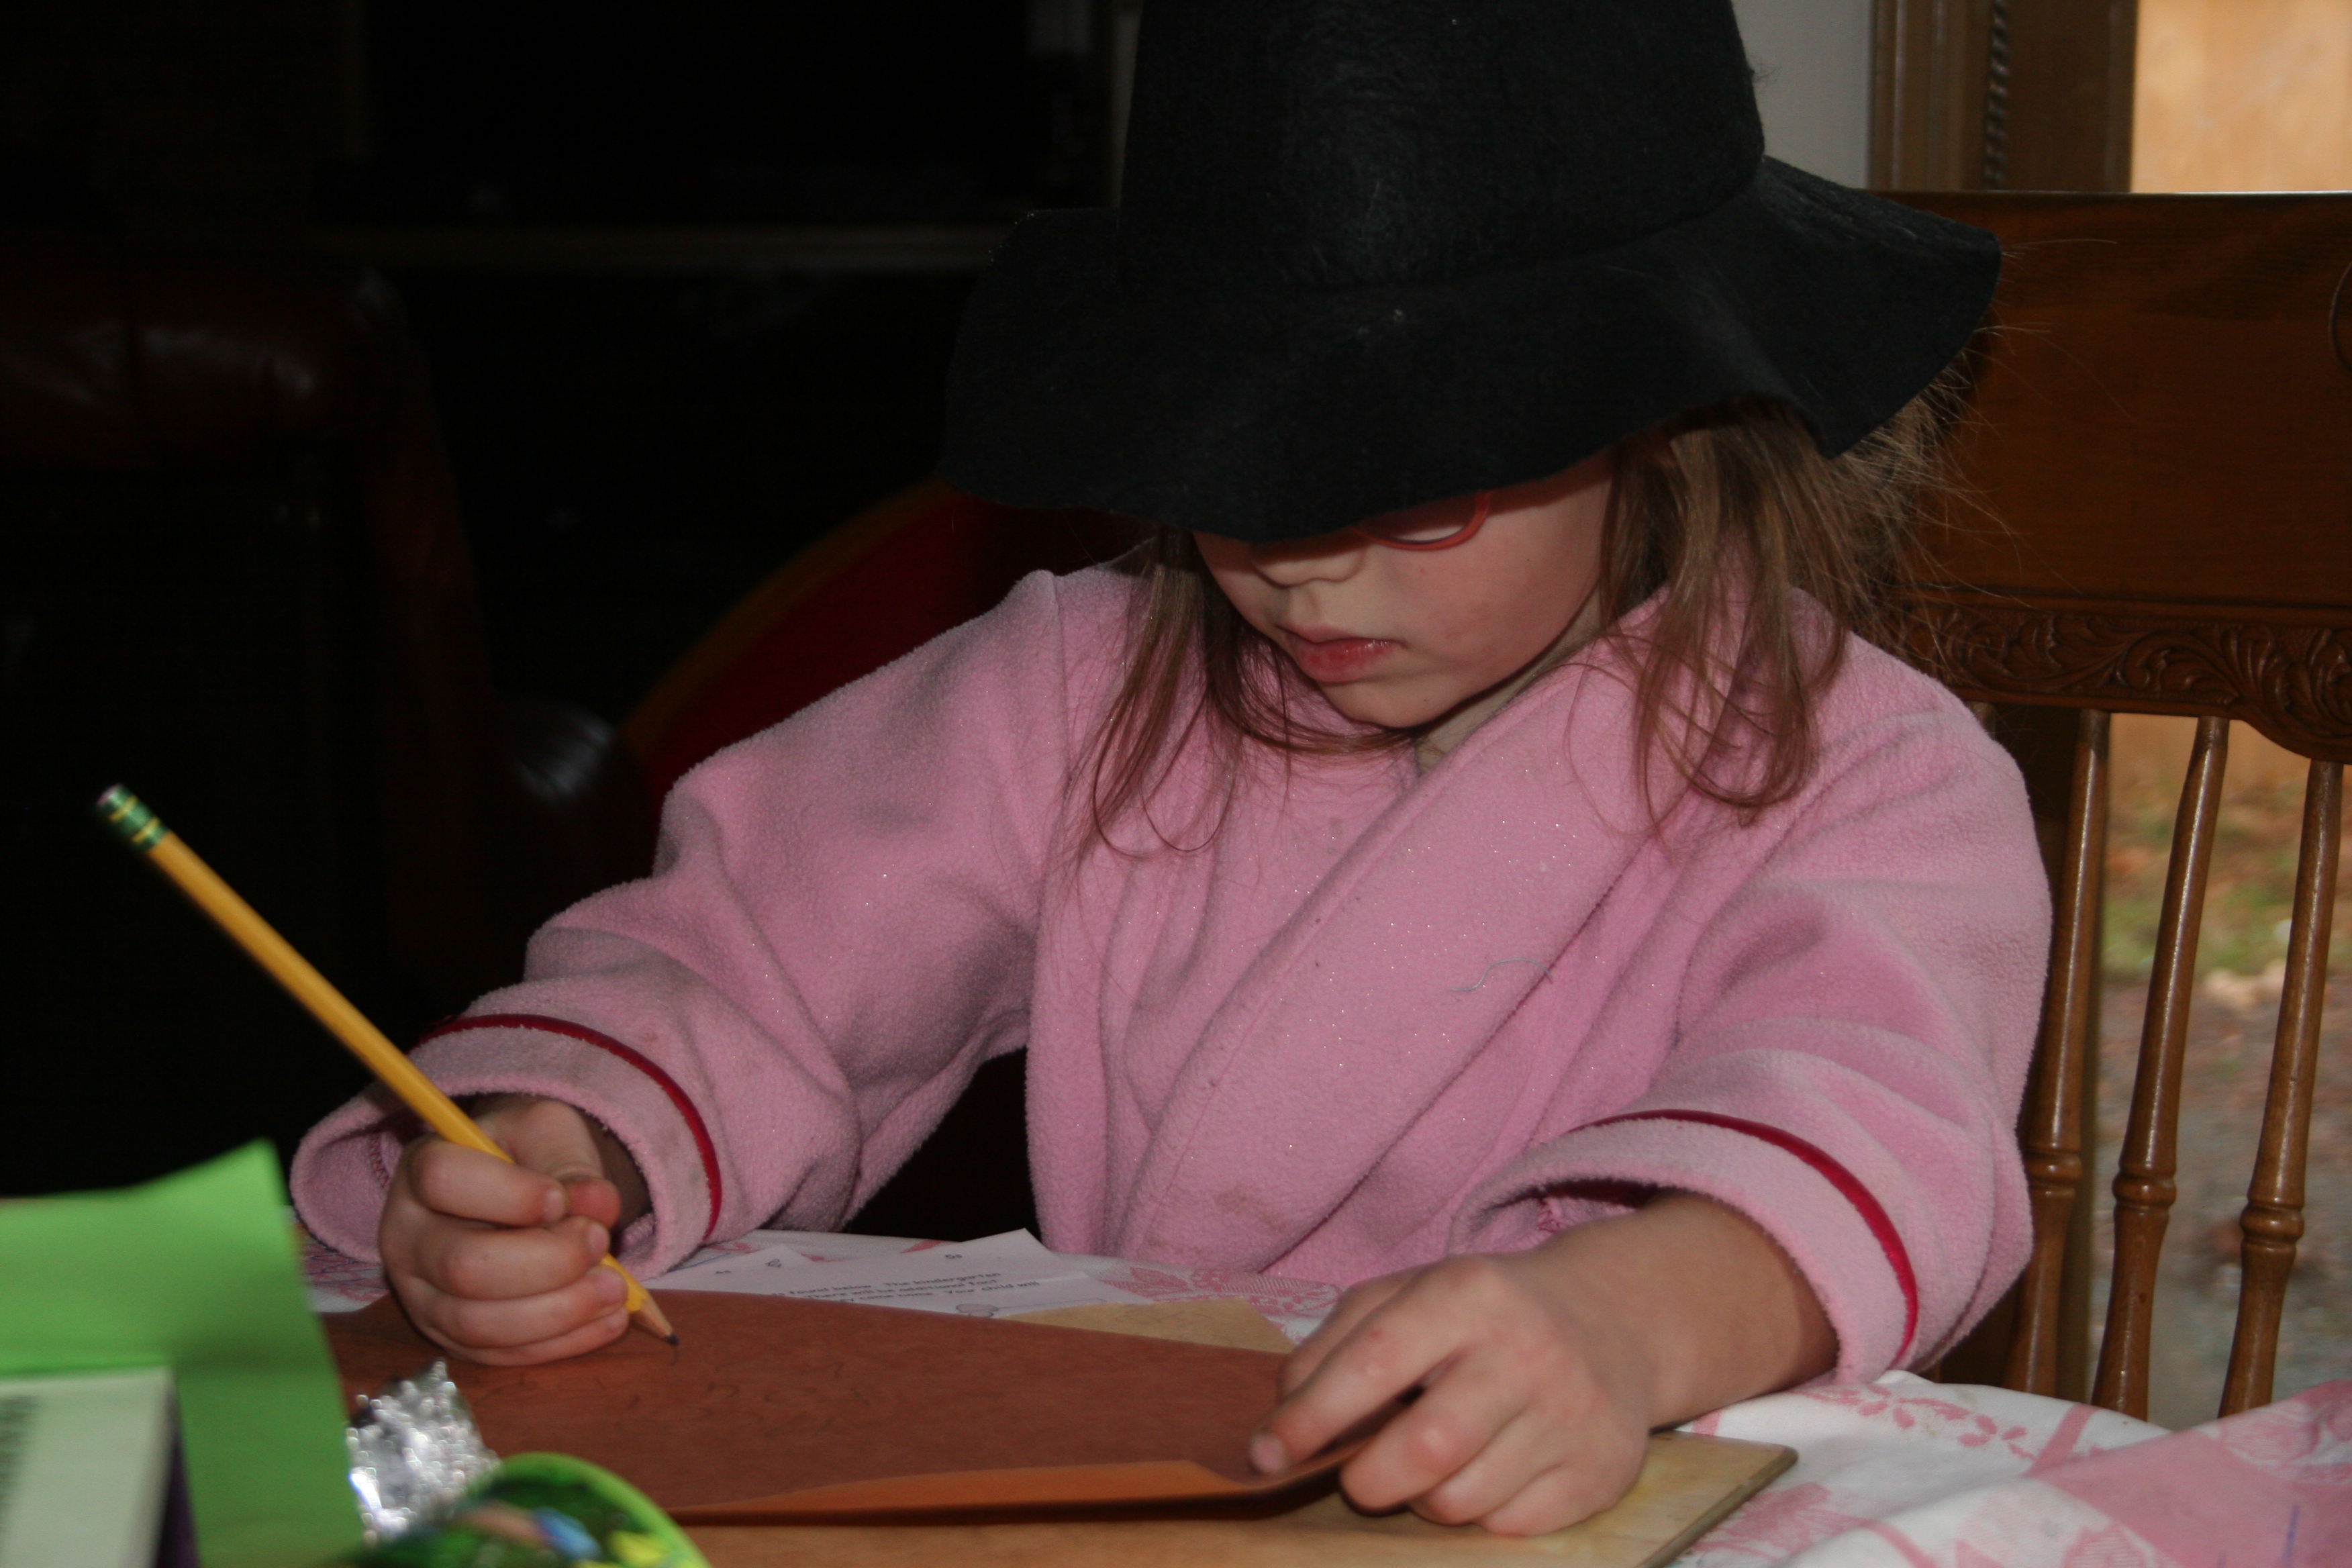
If we sit near children as they draw, build, paint and play imaginatively, they will begin to tell us the story behind it. We will learn far more about their inner thoughts and motivations than we would by questioning children about what things are and offering endless suggestions. Let them lead play and show interest in what they do. My children don’t mind when I observe their play, taking photographs and writing notes. They ask me what I am writing or if they can see the photographs. It shows them that I am interested in what they do and value it enough to record their thoughts. I explain that I am telling the story of their play, so that we can remember and share with other people far away. Sometimes I stay indoors and watch from a window or listen from afar. It is important that they have times without any adult nearby, to develop their own ideas and find their own solutions to challenges.
Kolbe’s book is a wonderful insight into the things that ignite children’s imaginations and how parent’s can nourish and support this. The examples in the book are simple but inspiring and don’t require expensive resources or time consuming planning. The close of each chapter includes a written conversation between Kolbe and Susan Whelan, a parent. They talk through their observations of the anecdotes in the book. I particularly liked this aspect, as it gives it a personal element and shows the importance of reflecting with others to obtain a deeper understanding.
I read this book at a time when my youngest daughter is eager to share her stories through drawing and painting, imaginative and sensory play. It reminded me that these moments are precious and to take time to listen and record them.


 One way to ensure that you don’t end up with a wall of identical paintings is to introduce children to abstract art. We used the book
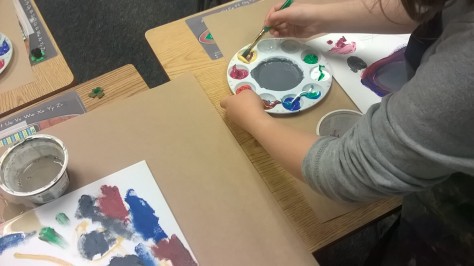


 The adult’s role is to provide interesting materials. A constant stream of new materials, however, leaves little room for development of expression. If, on the other hand, a variety of materials are easily accessible, children can choose those that interest them.