I’d never heard of a Children’s Museum before I moved here but as I entered the door I was greeted by a little bit of play heaven. I think I was more excited than the girls. My 9 -year-old remarked
It’s not really a museum is it?
True not in the traditional sense.
According to Wikipedia, Children’s museums are institutions that provide exhibits and programs to stimulate informal learning experiences for children. In contrast with traditional museums that typically have a hands-off policy regarding exhibits, children’s museums feature interactive exhibits that are designed to be manipulated by children. The theory behind such exhibits is that activity can be as educational as instruction, especially in early childhood.
In essence it’s like walking into a really well- resourced nursery or pre-school. I loved that many of the exhibits used simple, cheap materials that could be replicated at home, like a blackboard with a pot of water and brushes. I particularly like these; they would be a great addition to a child’s bedroom wall, garden fence or in a toddler room at nursery.
The girls loved this one and played with it for ages – even my 9-yr-old was fascinated.
The water area was a huge hit with my youngest. My favourite was a water bath with a transparent window so that you could see what was happening under water.
This slideshow requires JavaScript.
Behind the glass is an area for art based activities – musical instruments, painting, movement with ribbon sticks and scarves and drawing. The metallic walls made it so easy to dry and display pictures. What a great idea for a messy play room.
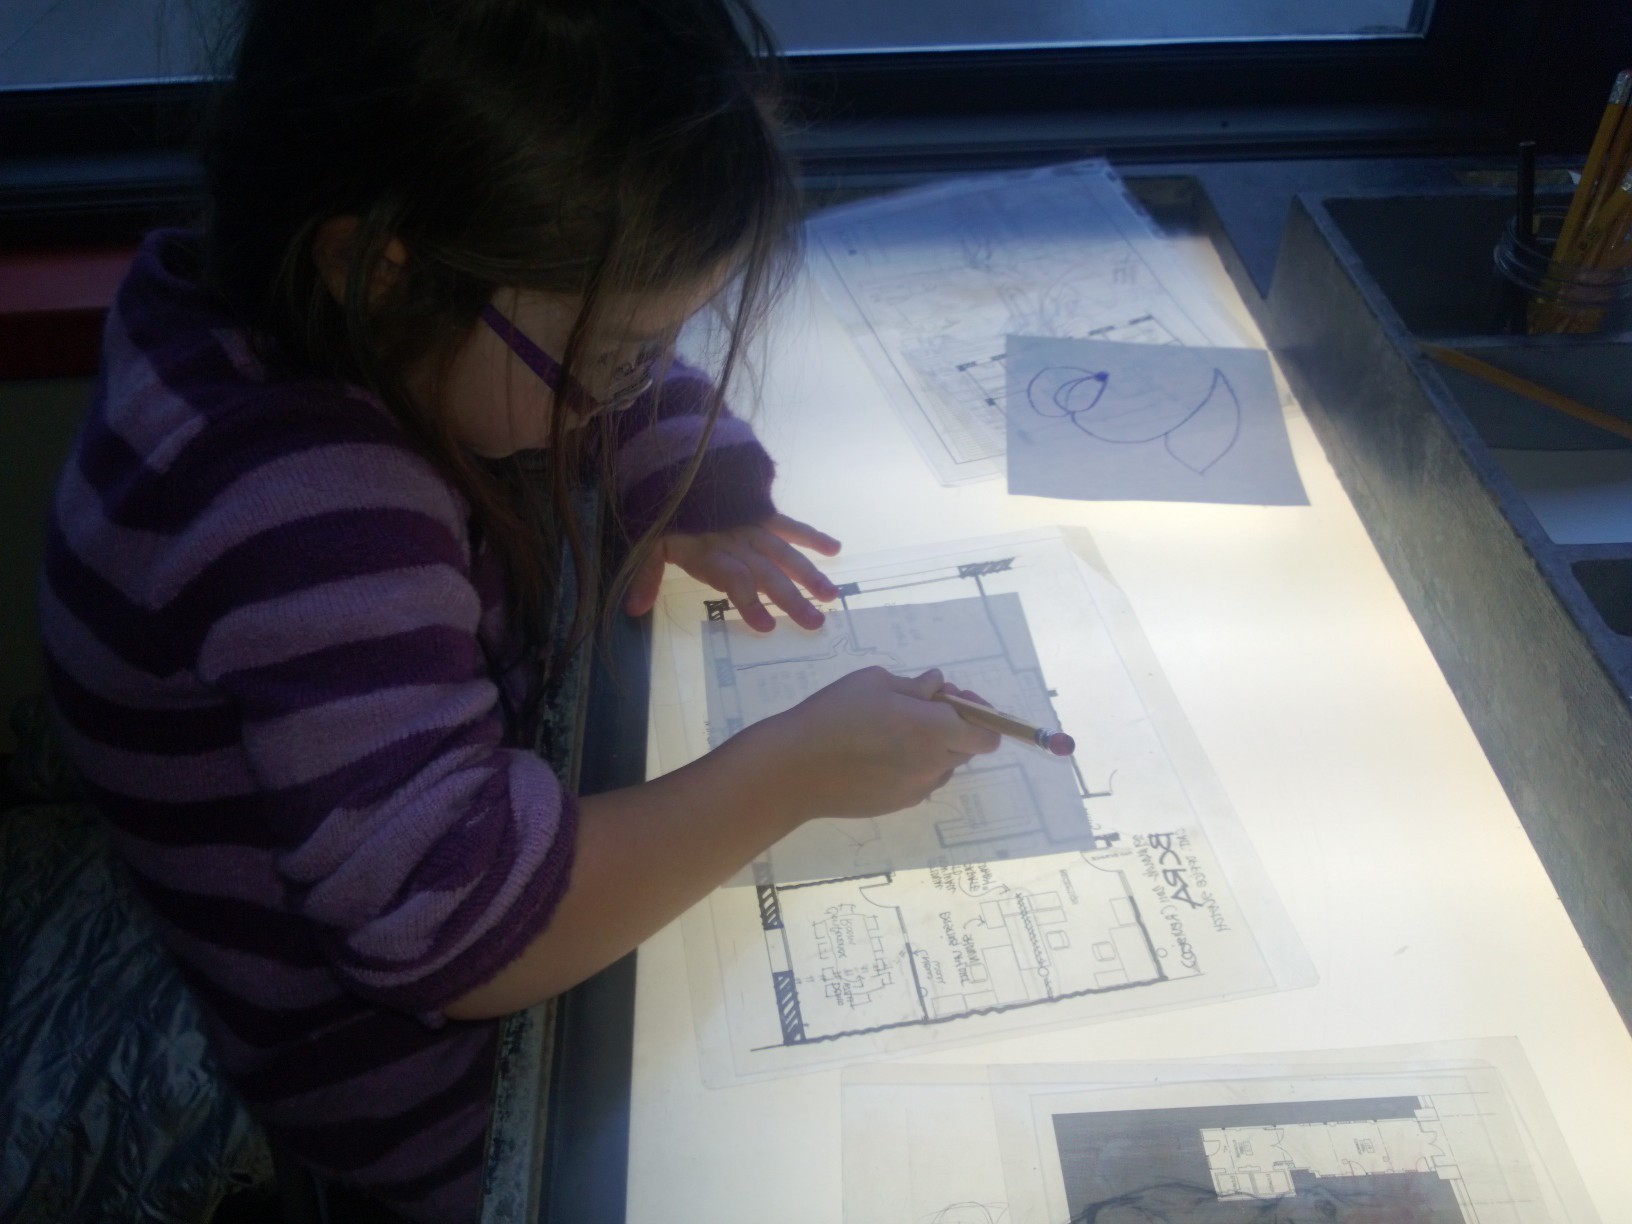
There were 2 light tables in the space with very different activities, the girls chose to trace and draw.
My eldest loved den building best of all. The smaller structures were not very stable so she negotiated with the other children in the space to create a big den together.
It isn’t very good – it keeps falling down
We built one together
More building – drainpipes and gutters
I’m so glad we discovered Children’s Museums and I’m looking forward to visiting the others in the area and sharing more ideas.
When considering the question of how to teach preschool art it is helpful to first consider the meaning of ‘art’ for our youngest children.
What is Children’s Art?
As adults, artists are generally referred to in terms of the product they create – painters, sculptors, musicians or dancers. When we create ‘art’ we might think about what we are going draw or make before we begin.
When children explore art there is much less emphasis on the finished product – they might say they are going to draw or make something specific but often this evolves into something else during the process.
As I watch my children involved in what we may traditionally term ‘art’, I find that creative expression isn’t their only interest and there is certainly very little focus on the finished product. Sometimes they are practising skills. My youngest for example likes to snip paper into tiny pieces but if I suggest she might like to make a picture with the pieces, she isn’t interested. As children get older the finished product becomes more important. My pre-schoolers will often remark that they don’t know what it is going to be yet, whereas my 9-year-old often has an idea before she starts. Does this change occur naturally or do adults teach them that this is what ‘art’ is?
My younger girls’ ‘art’ is about exploration. They ask questions like ‘what happens if?’ Through this exploration they see themselves as competent in the knowledge that there is no right or wrong way to do things. This give them the confidence to explore further.
The Salad Spinner Project
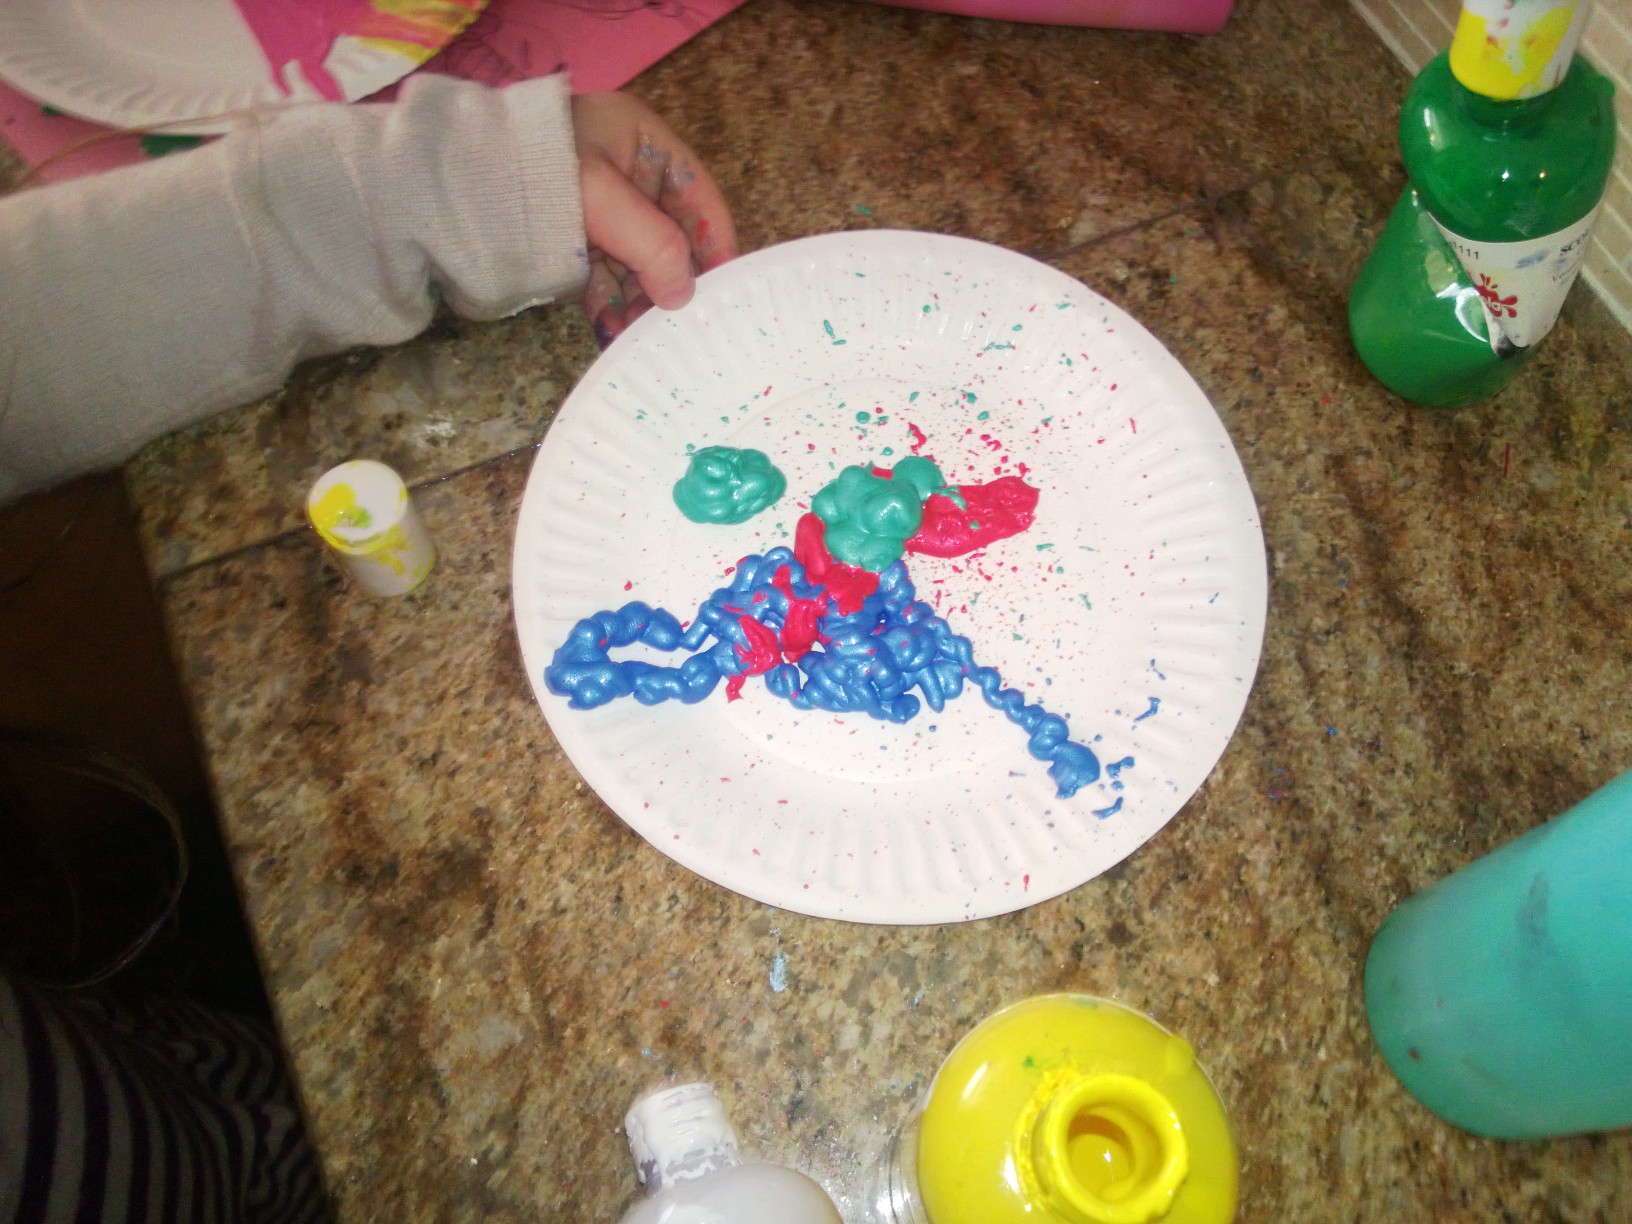
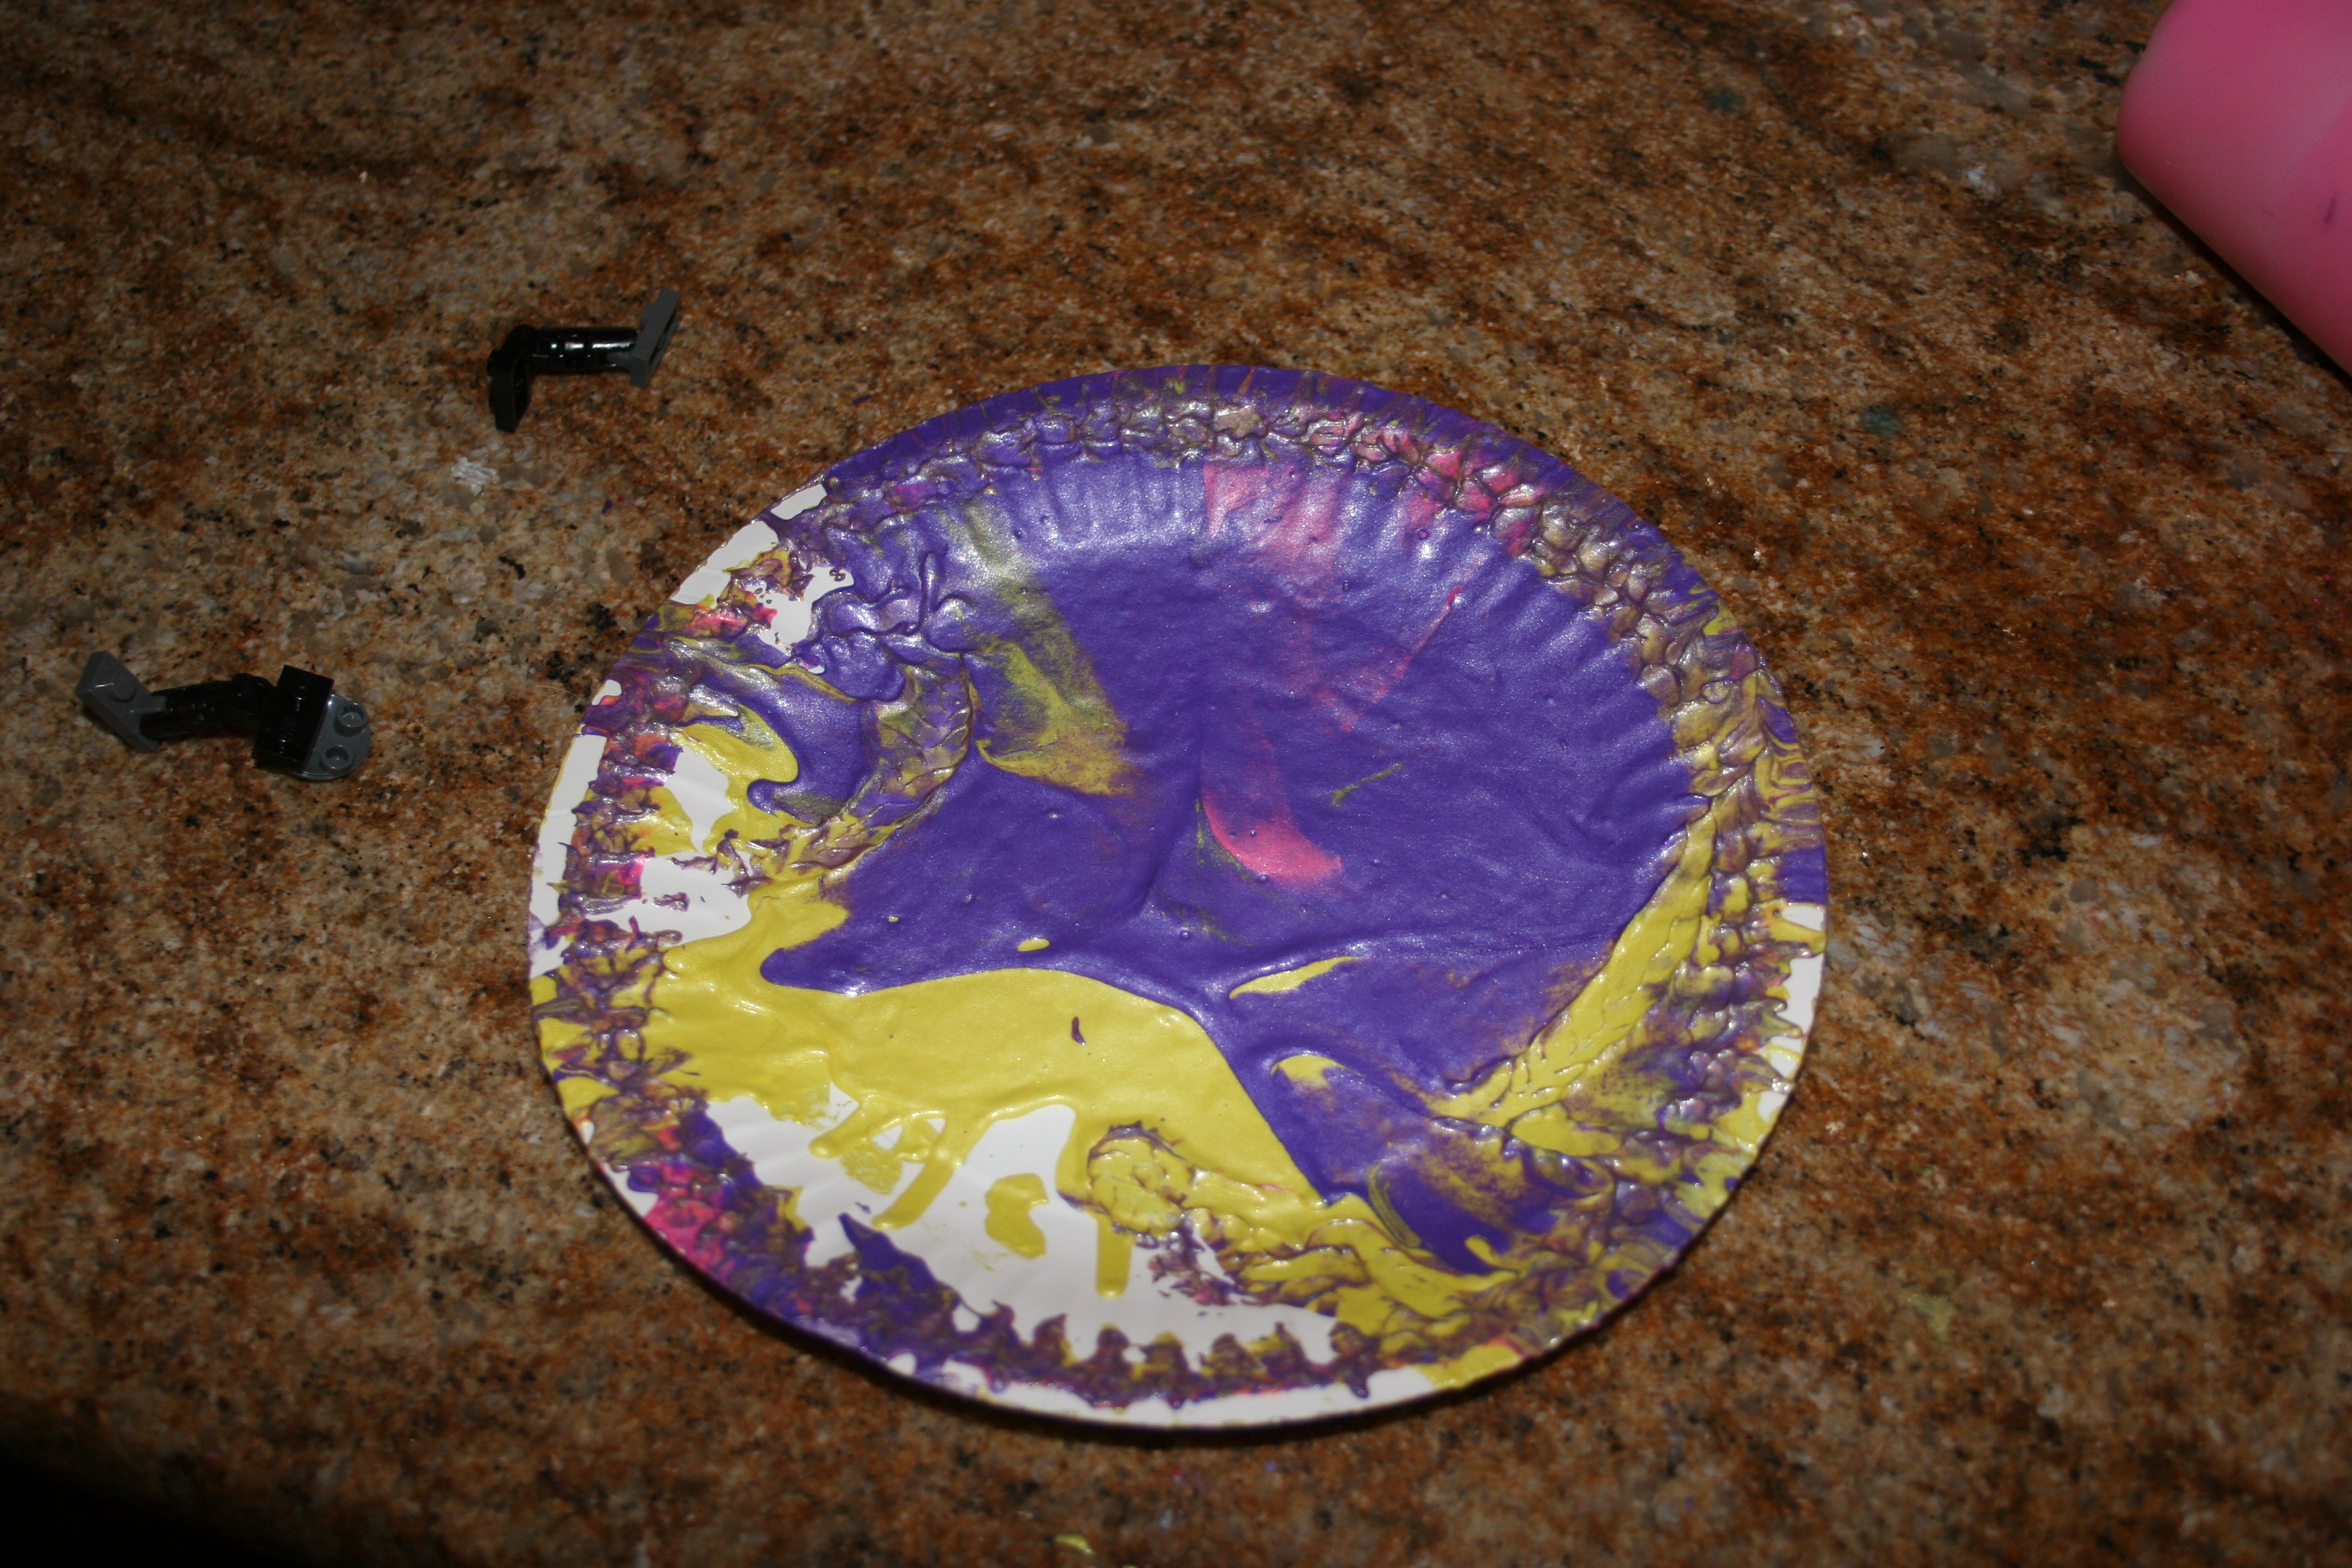
An example of a process oriented art project was inspired by a visit to the Children’s Museum where the children made pictures using a salad spinner. The directions were simple:
1. Put paint onto a paper plate
I’ve chosen 3 colours
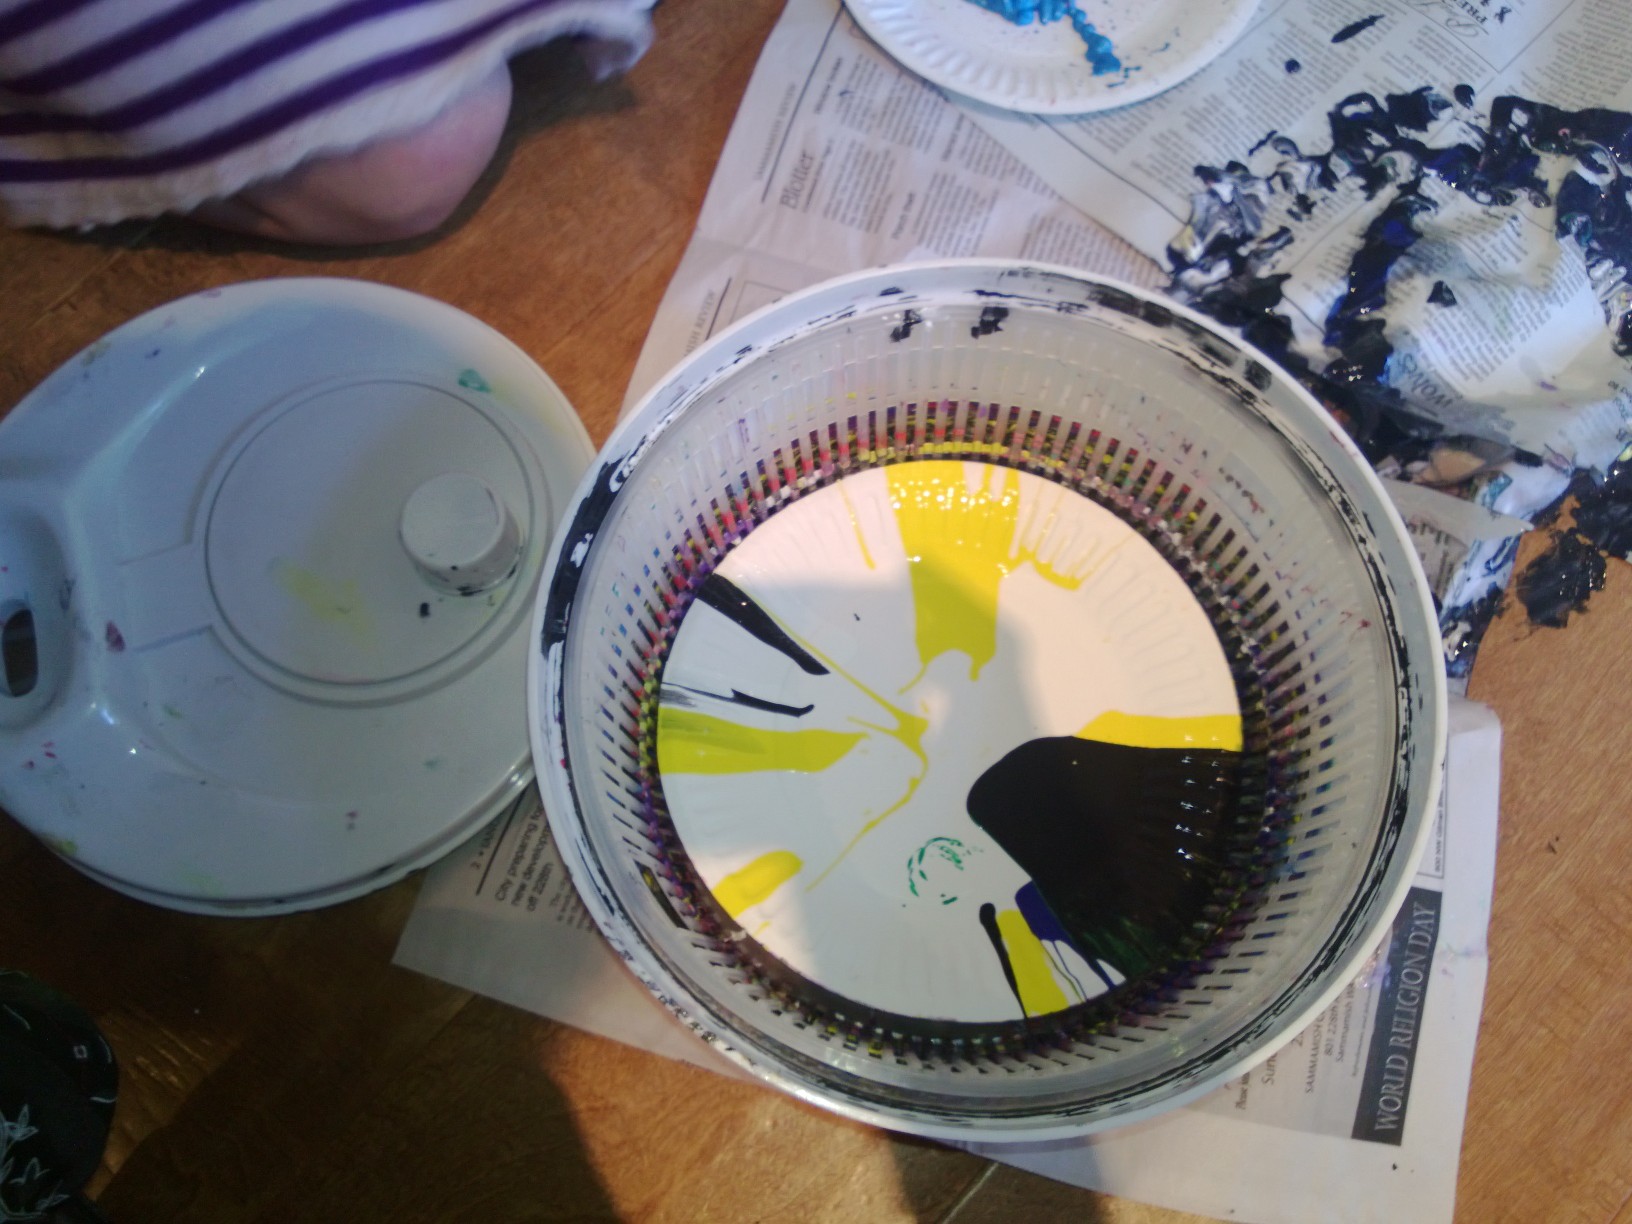
2 .Place the plate inside the spinner and put on the lid. Place the spinner onto a cloth or newspaper, the holes in the bottom of the spinner allow the paint to come through.
3. Spin
4. Check results
They watched as the pictures took shape changing according to the colours chosen and how much paint they put on.
There is potential for this activity to become a product oriented if the adult takes over. The key to making it process oriented is to offer choice and allow the children to freely explore the materials.
How the Project Evolved
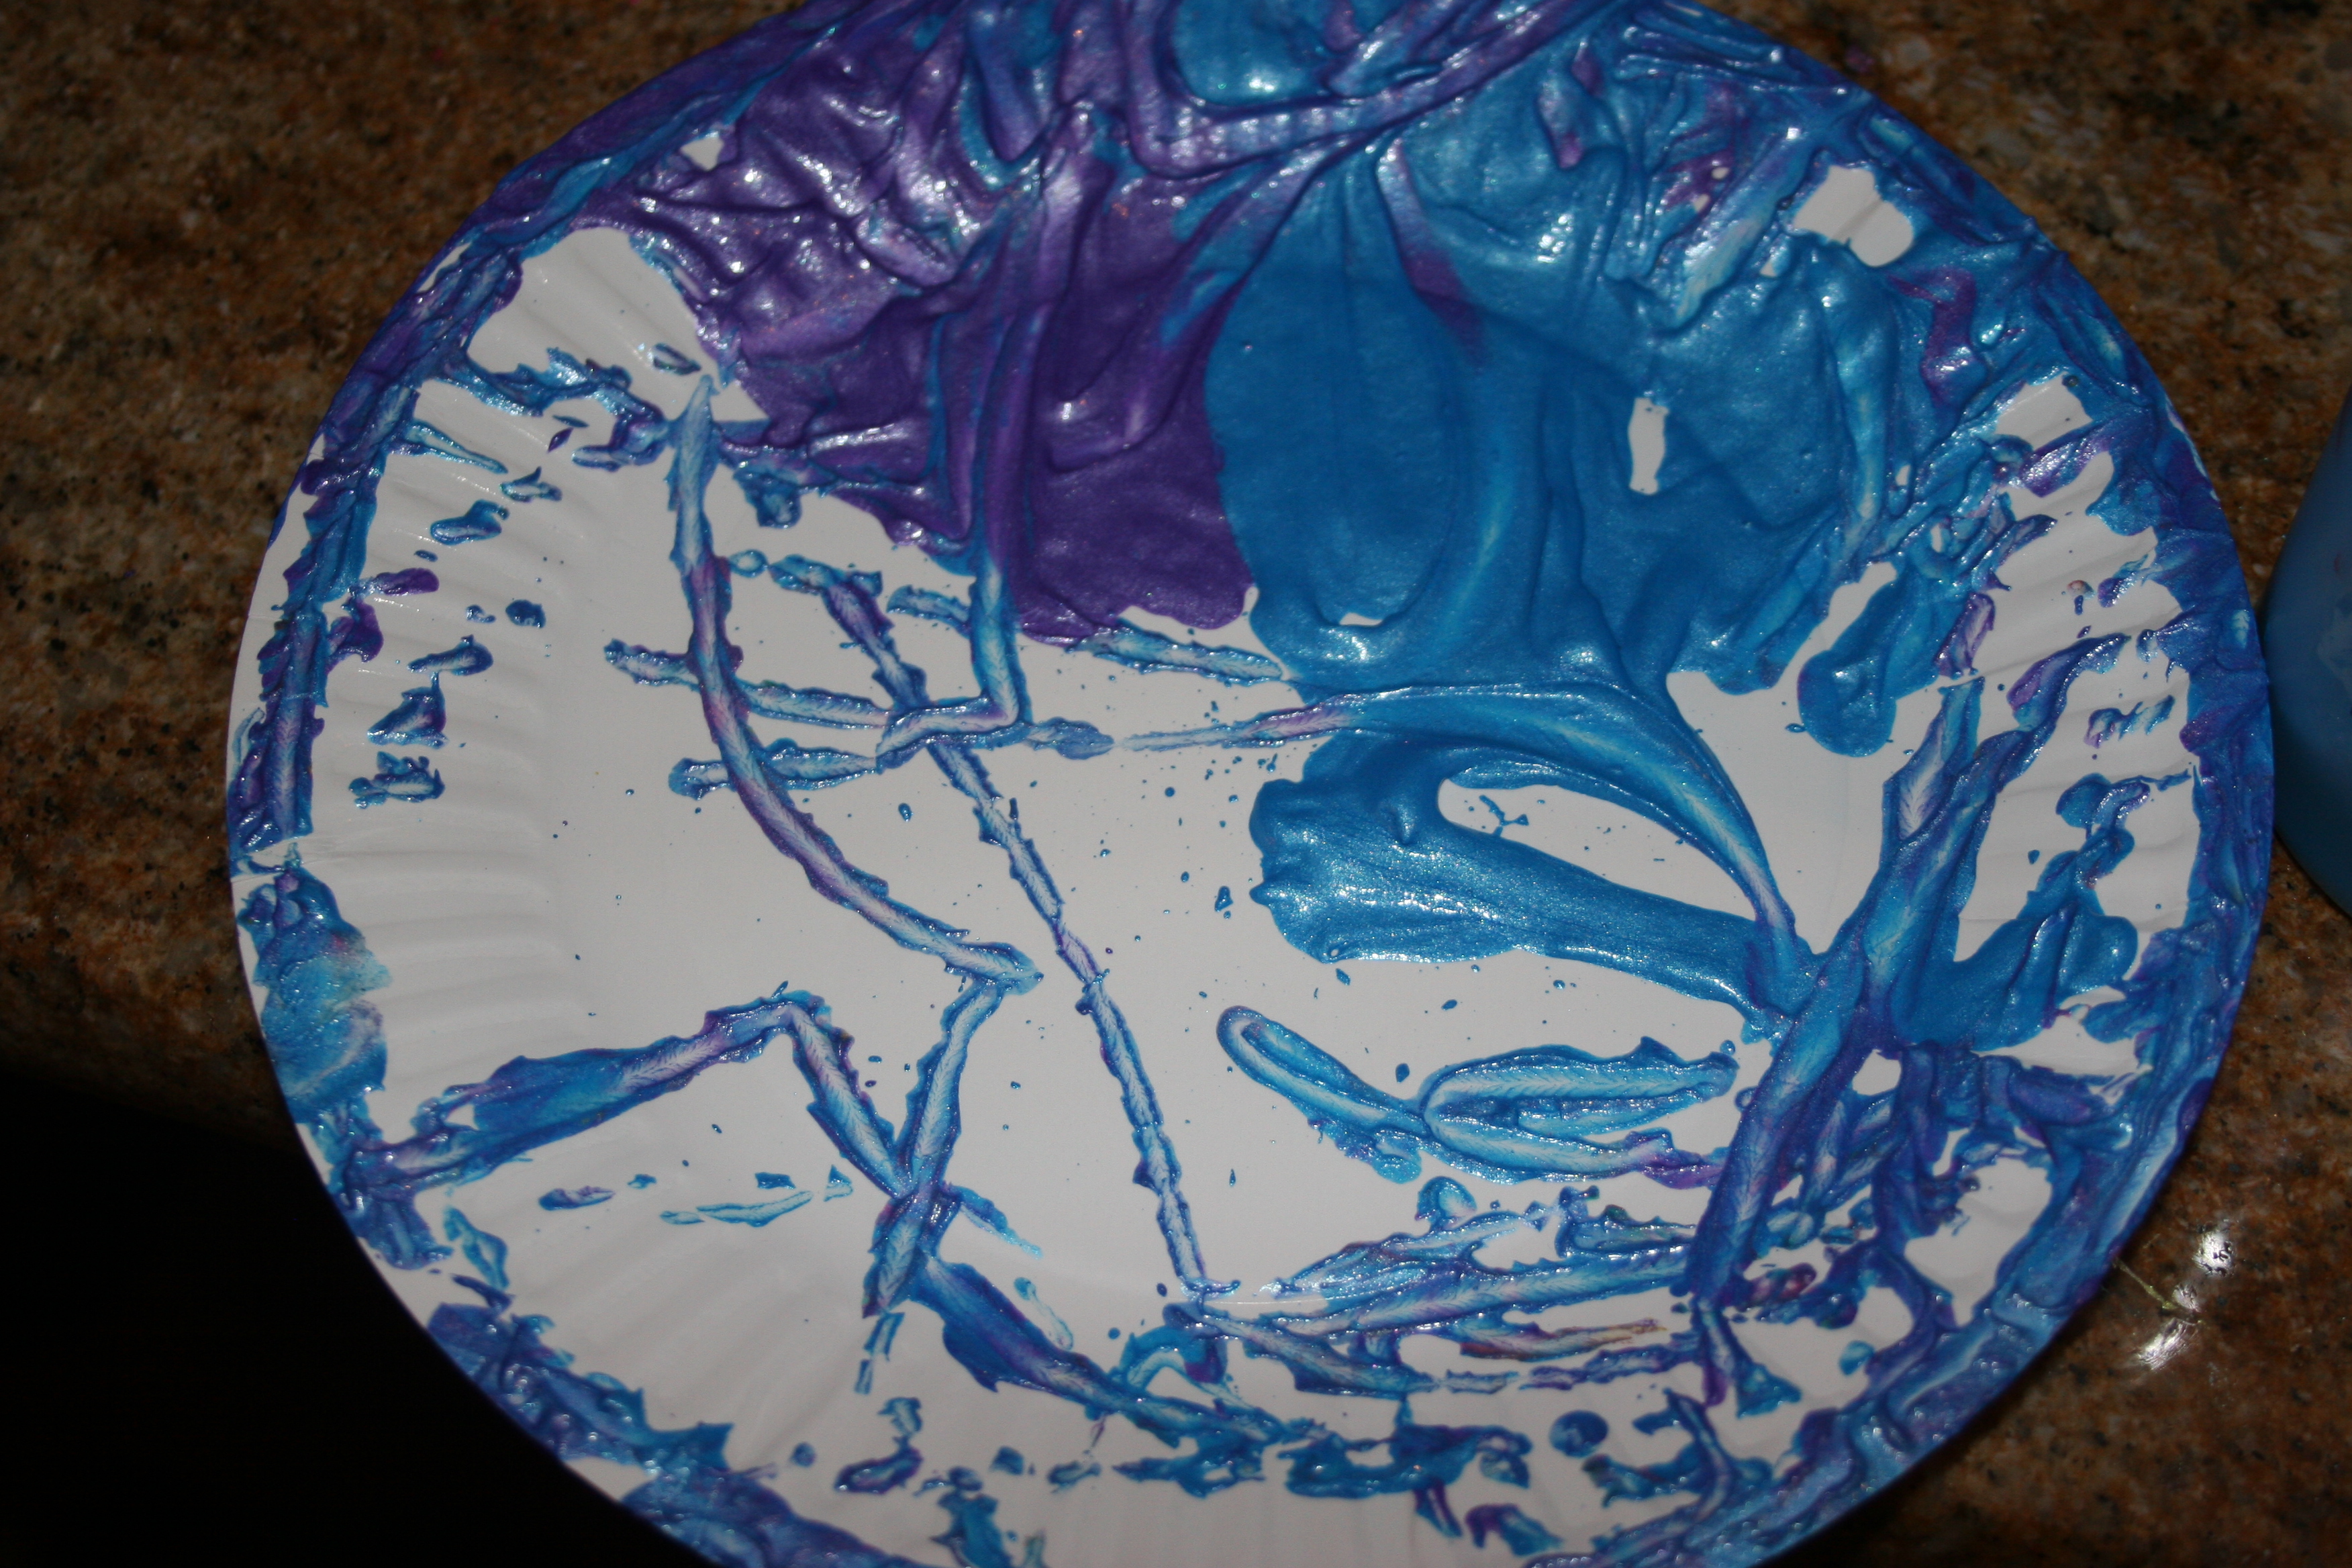
The pictures the girls had made at the museum had colours that ran into one another producing a marbled effect but the paints we used at home were thicker so produced very clear lines with little mixing.
They explored all the possibilities:
I’m choosing two colours.
What if I just put a bit of paint on?
I’ve put lots of paint on this one.
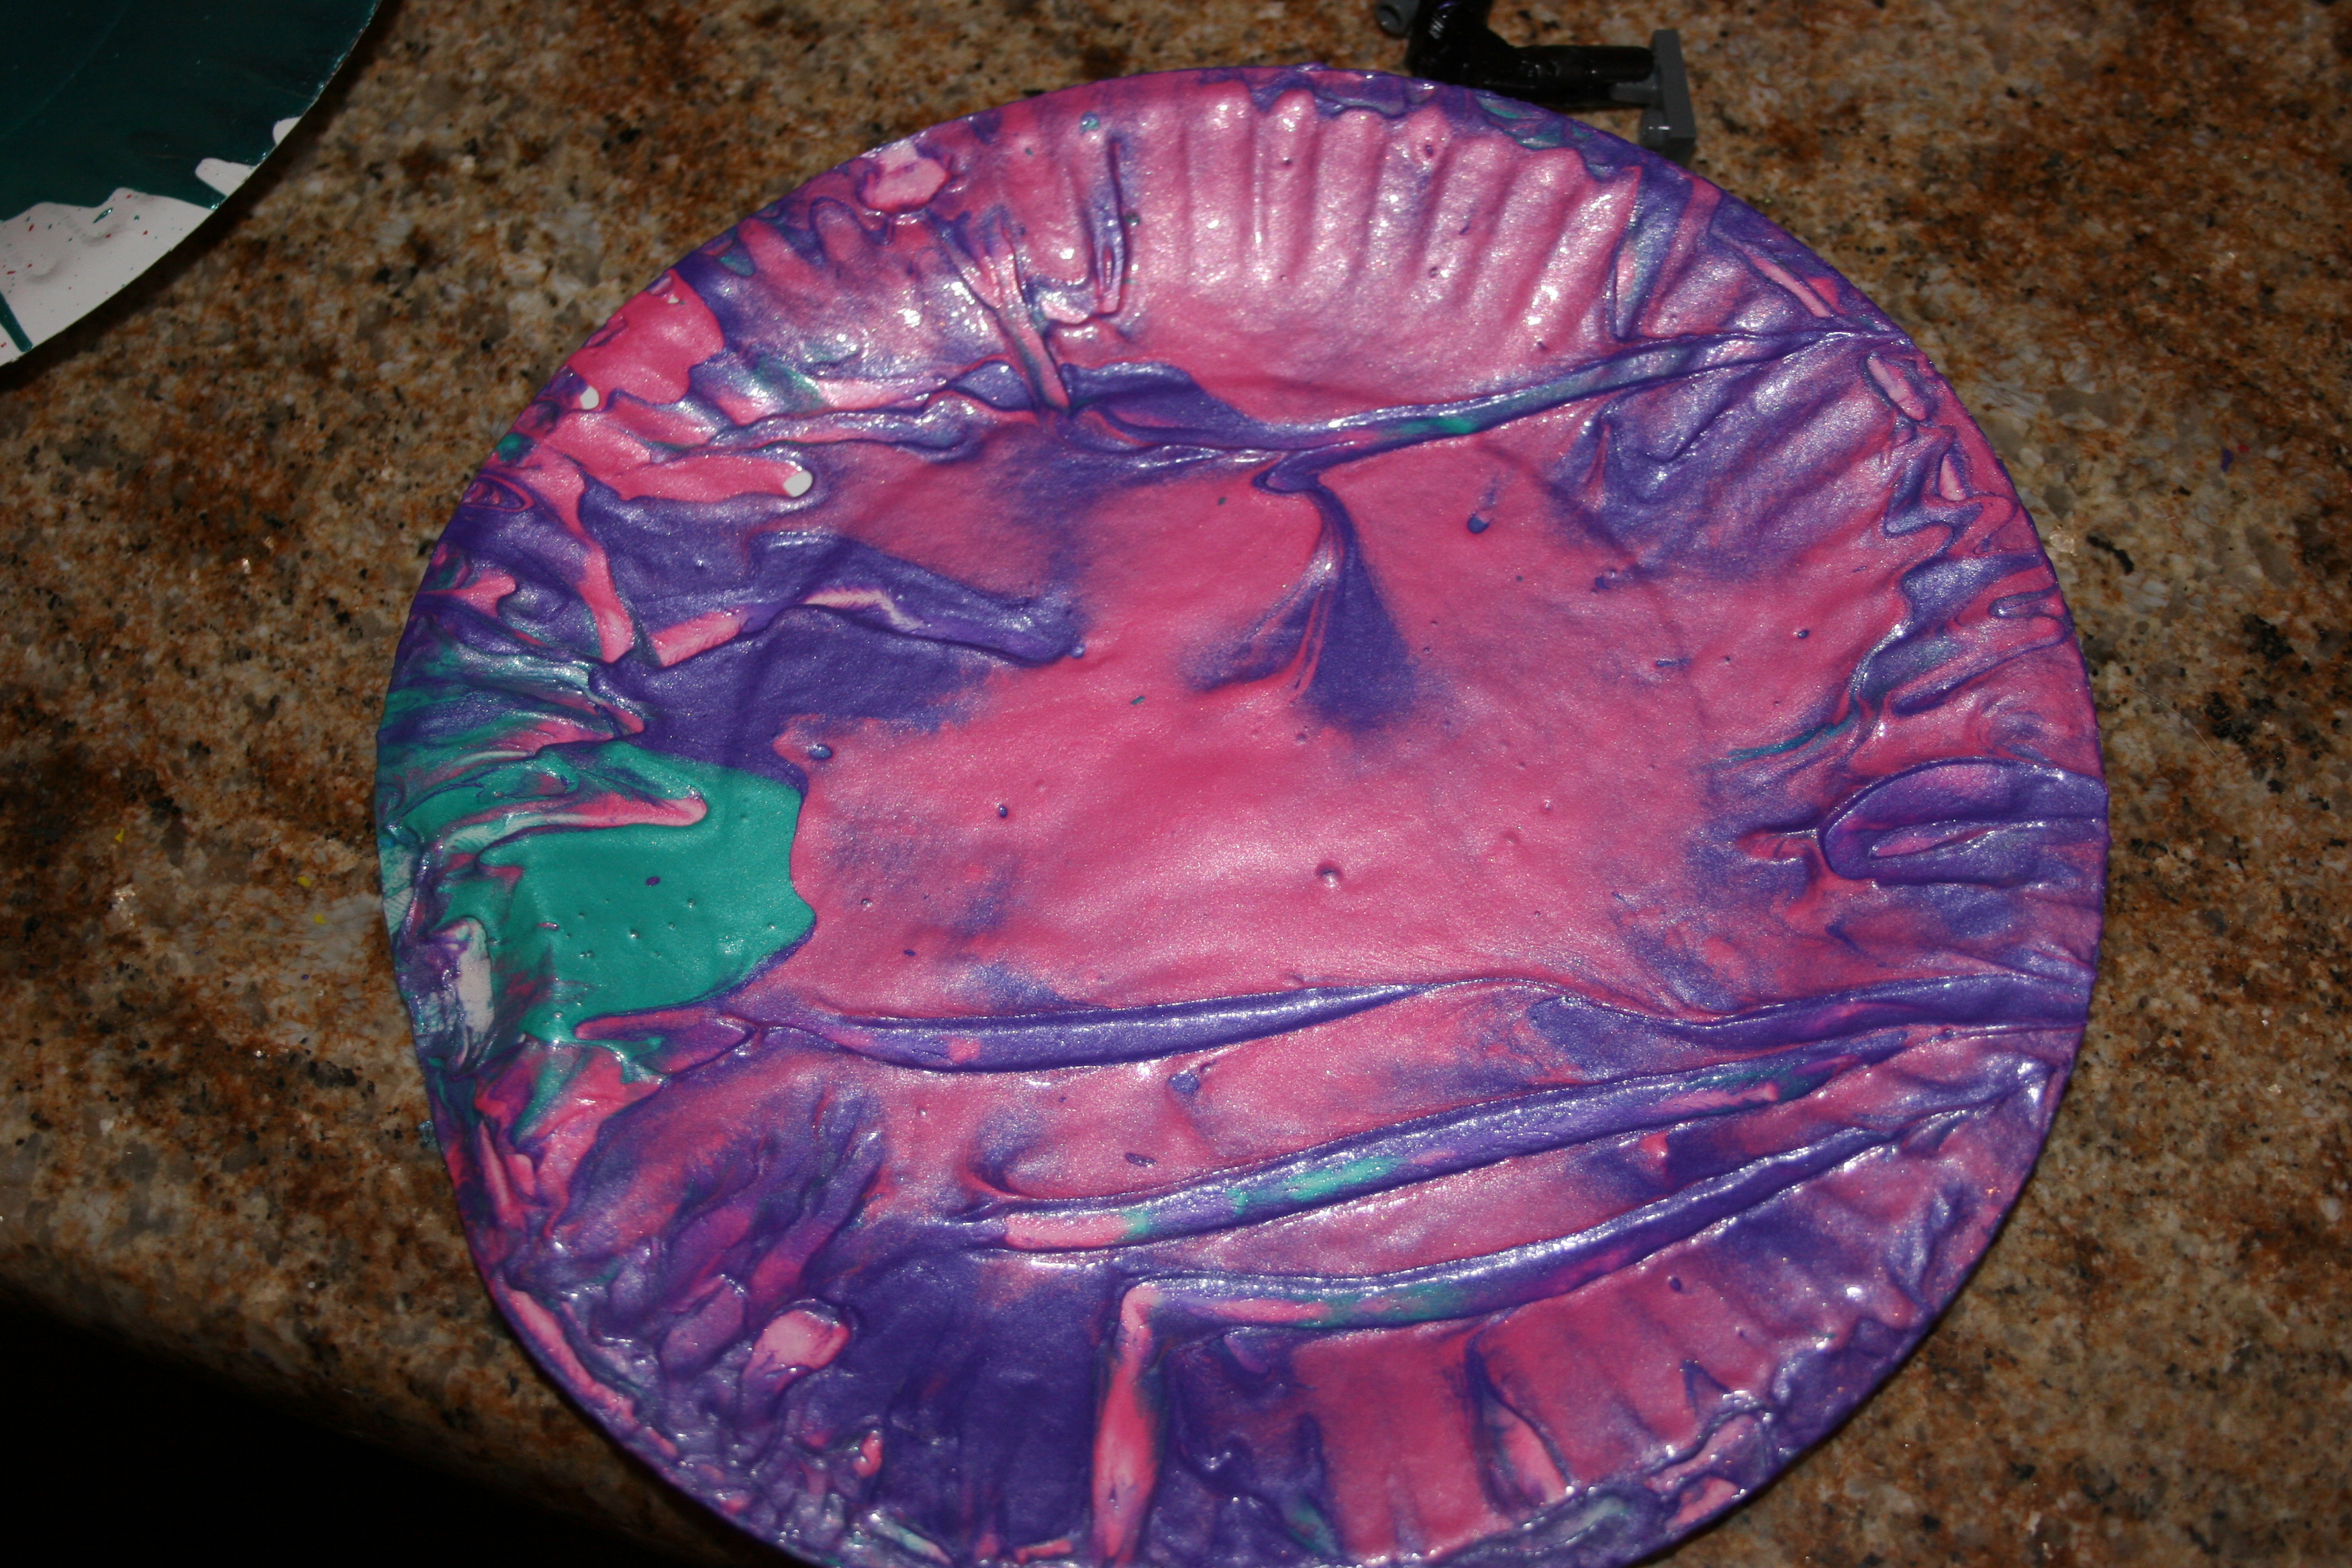
Which one is your favourite?
The next time we got the salad spinner out I suggested they might like to add things to the spinner to see what happened.
I know lets put balls in.
First they tried a golf ball
It makes a kind of bumpy pattern
They put it back in a number of times spinning the spinner at different speeds to see how the pattern evolved.
Next they tried marbles. The marble made tracks across the plate
It looks like a puzzle
The next attempt came out differently
When we put marbles in it makes a noise. Sometimes they get stuck in the sides and we have stop.
Hmm, Maybe if I spin it faster
Still no change.
I could try more marbles
Still no change.
Suddenly my 5-year-old had an idea
I know; it’s because I used too much paint. The one with tracks on didn’t have so much paint on so I need to use less paint.
The learning and creative thinking in this project is clearly evident so why would we plan art with a finished product as our starting point?
Process v Product
Sometimes as early educators and parents it is difficult not to plan art projects in terms of the finished product. Certainly years ago when I worked with older children we would often plan workshops and sessions in terms of what we would make. We all like our children to come home from preschool with something they have made. Teachers sometimes argue that parents expect their children to come home with something at the end of the day. It is difficult to be enthusiastic about yet another drippy painting or cardboard box construction.
This is often given as a justification for producing heavily adult directed arts and crafts. Starting from an adult viewpoint in this way often means that the children don’t do very much themselves. I have observed teachers presenting children with pre-drawn templates, ready cut outlines and telling them what they need to stick where – sometimes the child isn’t even allowed to do the sticking themselves. The children may come home with something pretty to put on the wall but what have the children learned, how much enjoyment have they had and have they actually made it themselves? Furthermore, if we show children at a young age that there is only one way to do things we destroy their enthusiasm to do things for themselves. Is this why we often hear older children say ‘I can’t draw’, ‘ I don’t know what to make’ or ‘It doesn’t look right’.
When you allow children to freely explore materials they begin to understand the properties of media, they learn that art can be a series of explorations and they are allowed to become absorbed in the joy and relaxation of the artistic process. Sometimes they will want to make something specific but allow them choice in the materials and tools they use and encourage them to try out things for themselves.
Creative thinking isn’t neat and tidy. An artist will paint many sections of a painting exploring colour texture and shape before finally coming up with a finished product. Think about the work of an author who writes and rewrites many times with crossings out, arrows and notes all over the paper. A finished product will come eventually but it is a long way off. Allow children to explore in this way, let them make a mess and do things their own way.
As Peter Dixon puts it
Your children are at a stage where the process of doing things
LOOKING, SEEING, FINDING, FEELING, INVESTIGATING etc.
is far more important than the end product sought by some parents. …The process of their work – might look messy, scribbly or completely unrecognisable to us but to your children it is utterly meaningful and an essential part of their mental and physical growth and development. Please honour – please respect your child’s own way of thinking. It might seem unusual but it is their birthright. It is the foundation upon which they will build all future understanding.
The Adults Role
Process oriented art doesn’t mean that you leave children alone with a huge amount of materials. The adults role is to organise the materials so that the children can find what they need easily. Sometimes this means setting out particular materials for example you may want them to explore with charcoal and erasers. It can also mean setting up an organised art station with neatly labelled pots and drawers that the children can choose materials from.
If the adult works alongside the child creating their own projects then they can inspire children and demonstrate techniques. They will be able to encourage children to develop their projects by asking questions
What happens if…..?
Have you tried this……?
What else could you add?
persuading them to try different materials and techniques.
If you log children’s comments and questions, displaying them alongside finished pictures and photographs of the process, it will help to show the value of process oriented art.
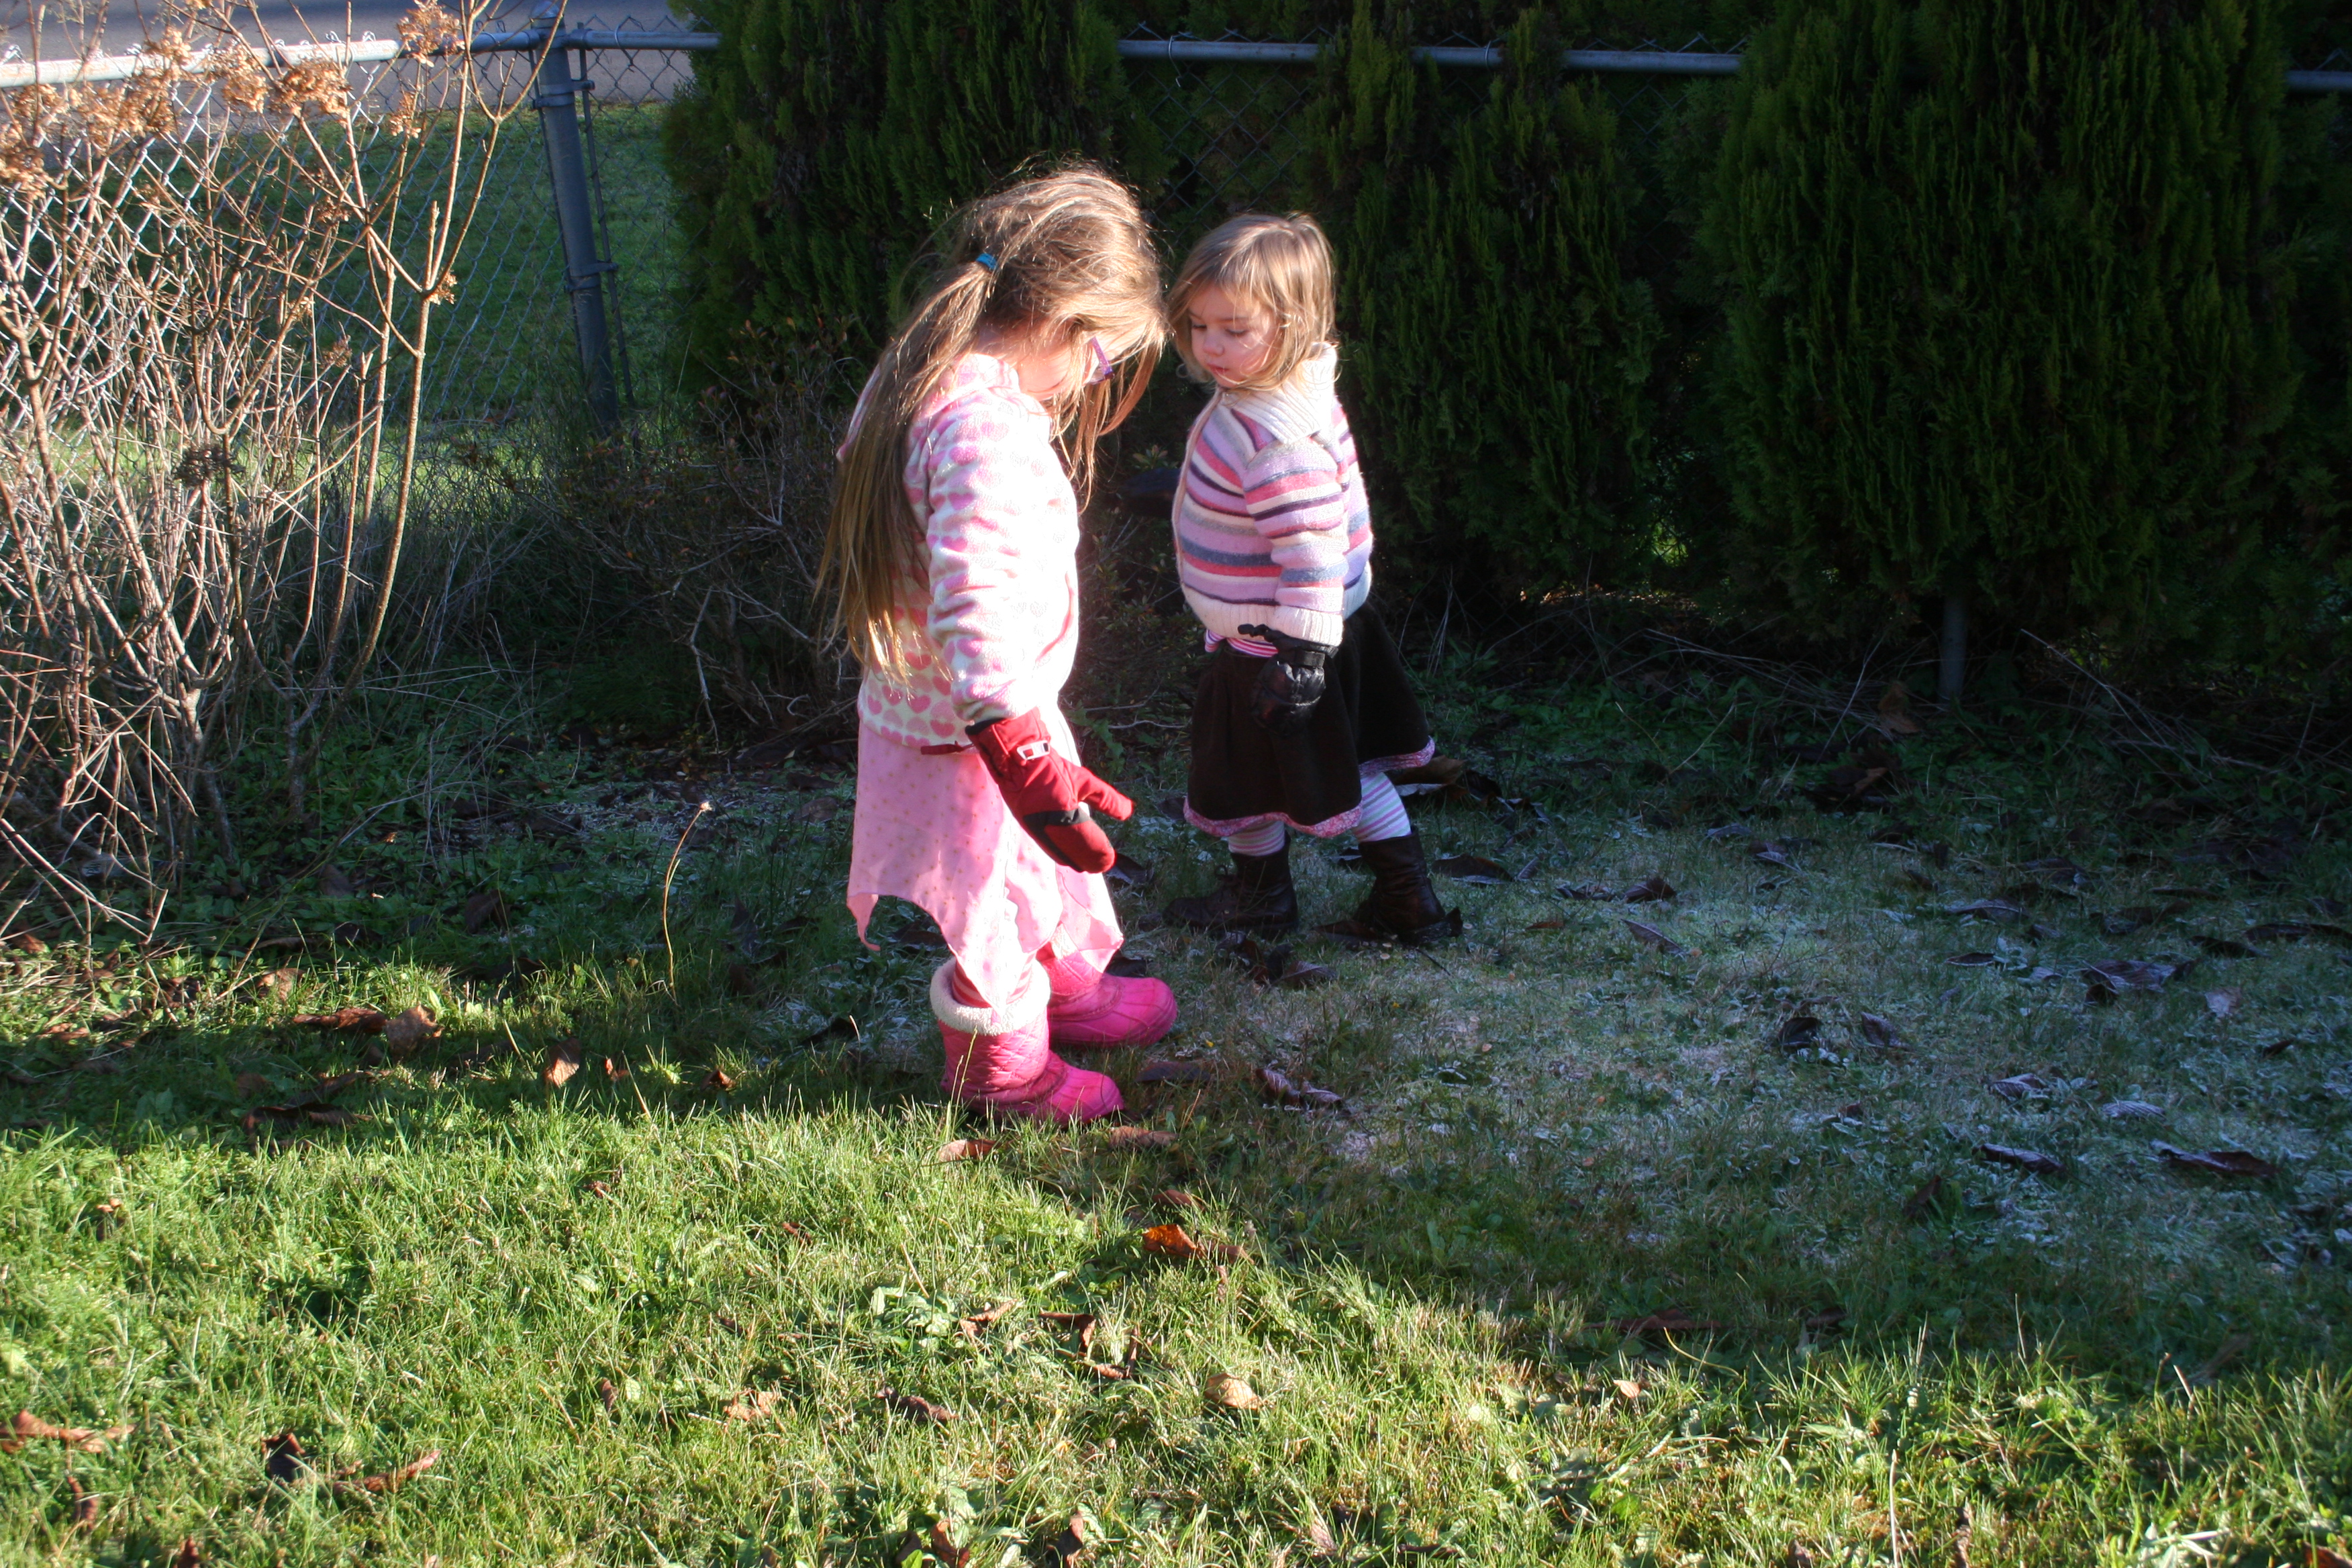
I used to love frosty days when I was a kid because we could play on the way to school pretending to ice skate or breathe like a dragon. The same sense of wonder came over my girls when they looked out on a clear frosty morning. They dressed quickly and rushed outside to see if they could find ice . They found ice on top of the water table and in containers that we have on the deck.
They soon learned that ice is very cold!
Later in the morning the girls put on their gloves to go out on an ice hunt.
Look there is water and a leaf is floating. The ice has edges, I think there is water underneath.
I removed the lid from the water table. The girls were very excited to find ice inside there too. We added the penguins play set and a few whales.
We made a slide for the penguins with some of the broken ice.
When we got to the front of the house we found a small patch of frost.
Why is it frosty here and not anywhere else?
Because the sun made it melt.
So, why didn’t this bit melt?
It was in the shade.
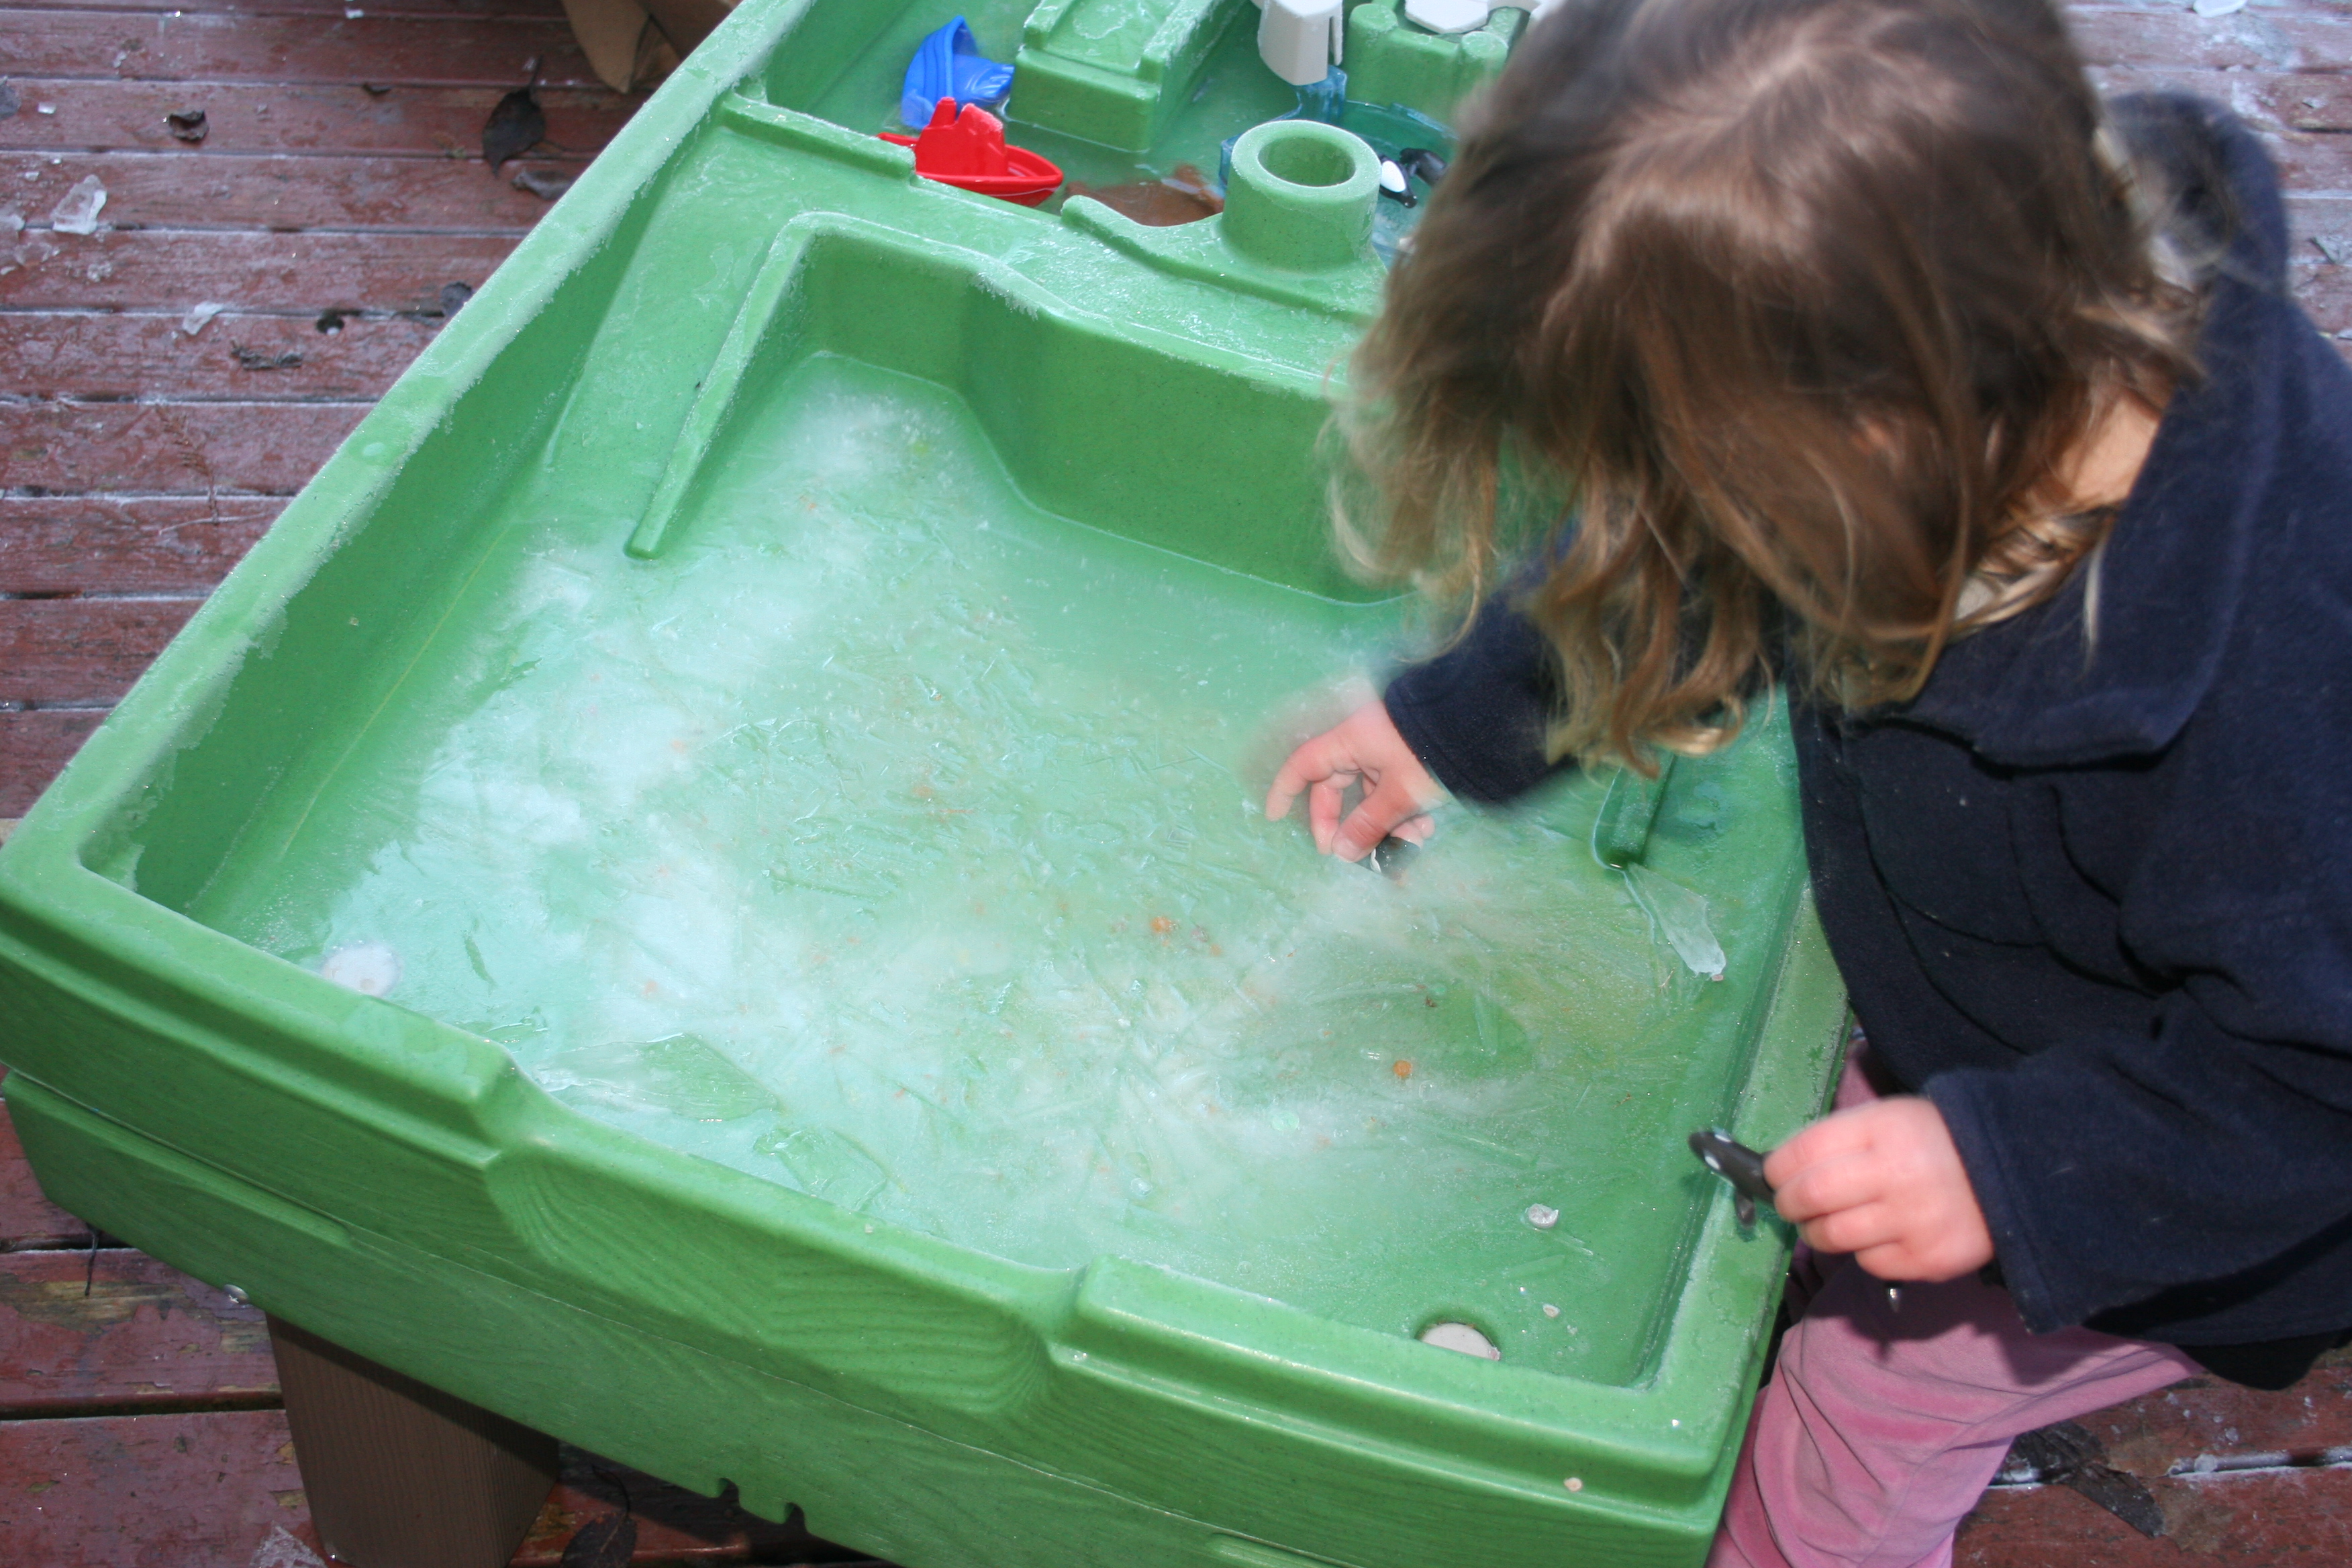
We decided to leave the lid off the water table to see if we could get even more ice the next day. When they woke up the next day the girls were desperate to get out before any of the ice had melted.
First they checked the water table.
The ice was thick and some of the penguins were buried underneath.
Let’s see what else we can find.
This slideshow requires JavaScript.
We went back to the water table where the girls found 2 scoops filled with ice.
We can’t get it out.
Shall I run it under the hot tap like I do with the ice lollies?
Yes please
Next the girls turned their attentions to the animals stuck in the water tray.
Please can we get them out? Can we put hot water on them too?
Yes. I’ll get some.
We poured water onto the ice to free the animals, they could feel the hot water making holes and as we poured more on they were able to free them.
The other side of the water tray made a perfect ice rink for the penguins.
I’m so glad we are home pre-schooling on days like this. Our next project is to make ice decorations for the tree at the front of the house and using pirate treasure maps they made earlier in the week, hunt for coins buried in the ice. My pirate obsessed girls will be armed with special pirate tools and a bit of magic sea salt. Arrrr.
Shadows provide extraordinary educational opportunities. Not only do they raise a spontaneous curiosity in the child, stimulating his imagination and exercising his emerging intellectual abilities but they are also omnipresent (even more than sand, stones, water or “pencil and paper”, because you only need a bit of sunlight or even a candle to produce them). Perhaps more effectively than other things, shadows can nourish the child’s need to do and to experiment given the ease with which the variables involved in their formation and transformation can be manipulated.
( Guido Peter – The Hundred Languages of Children)
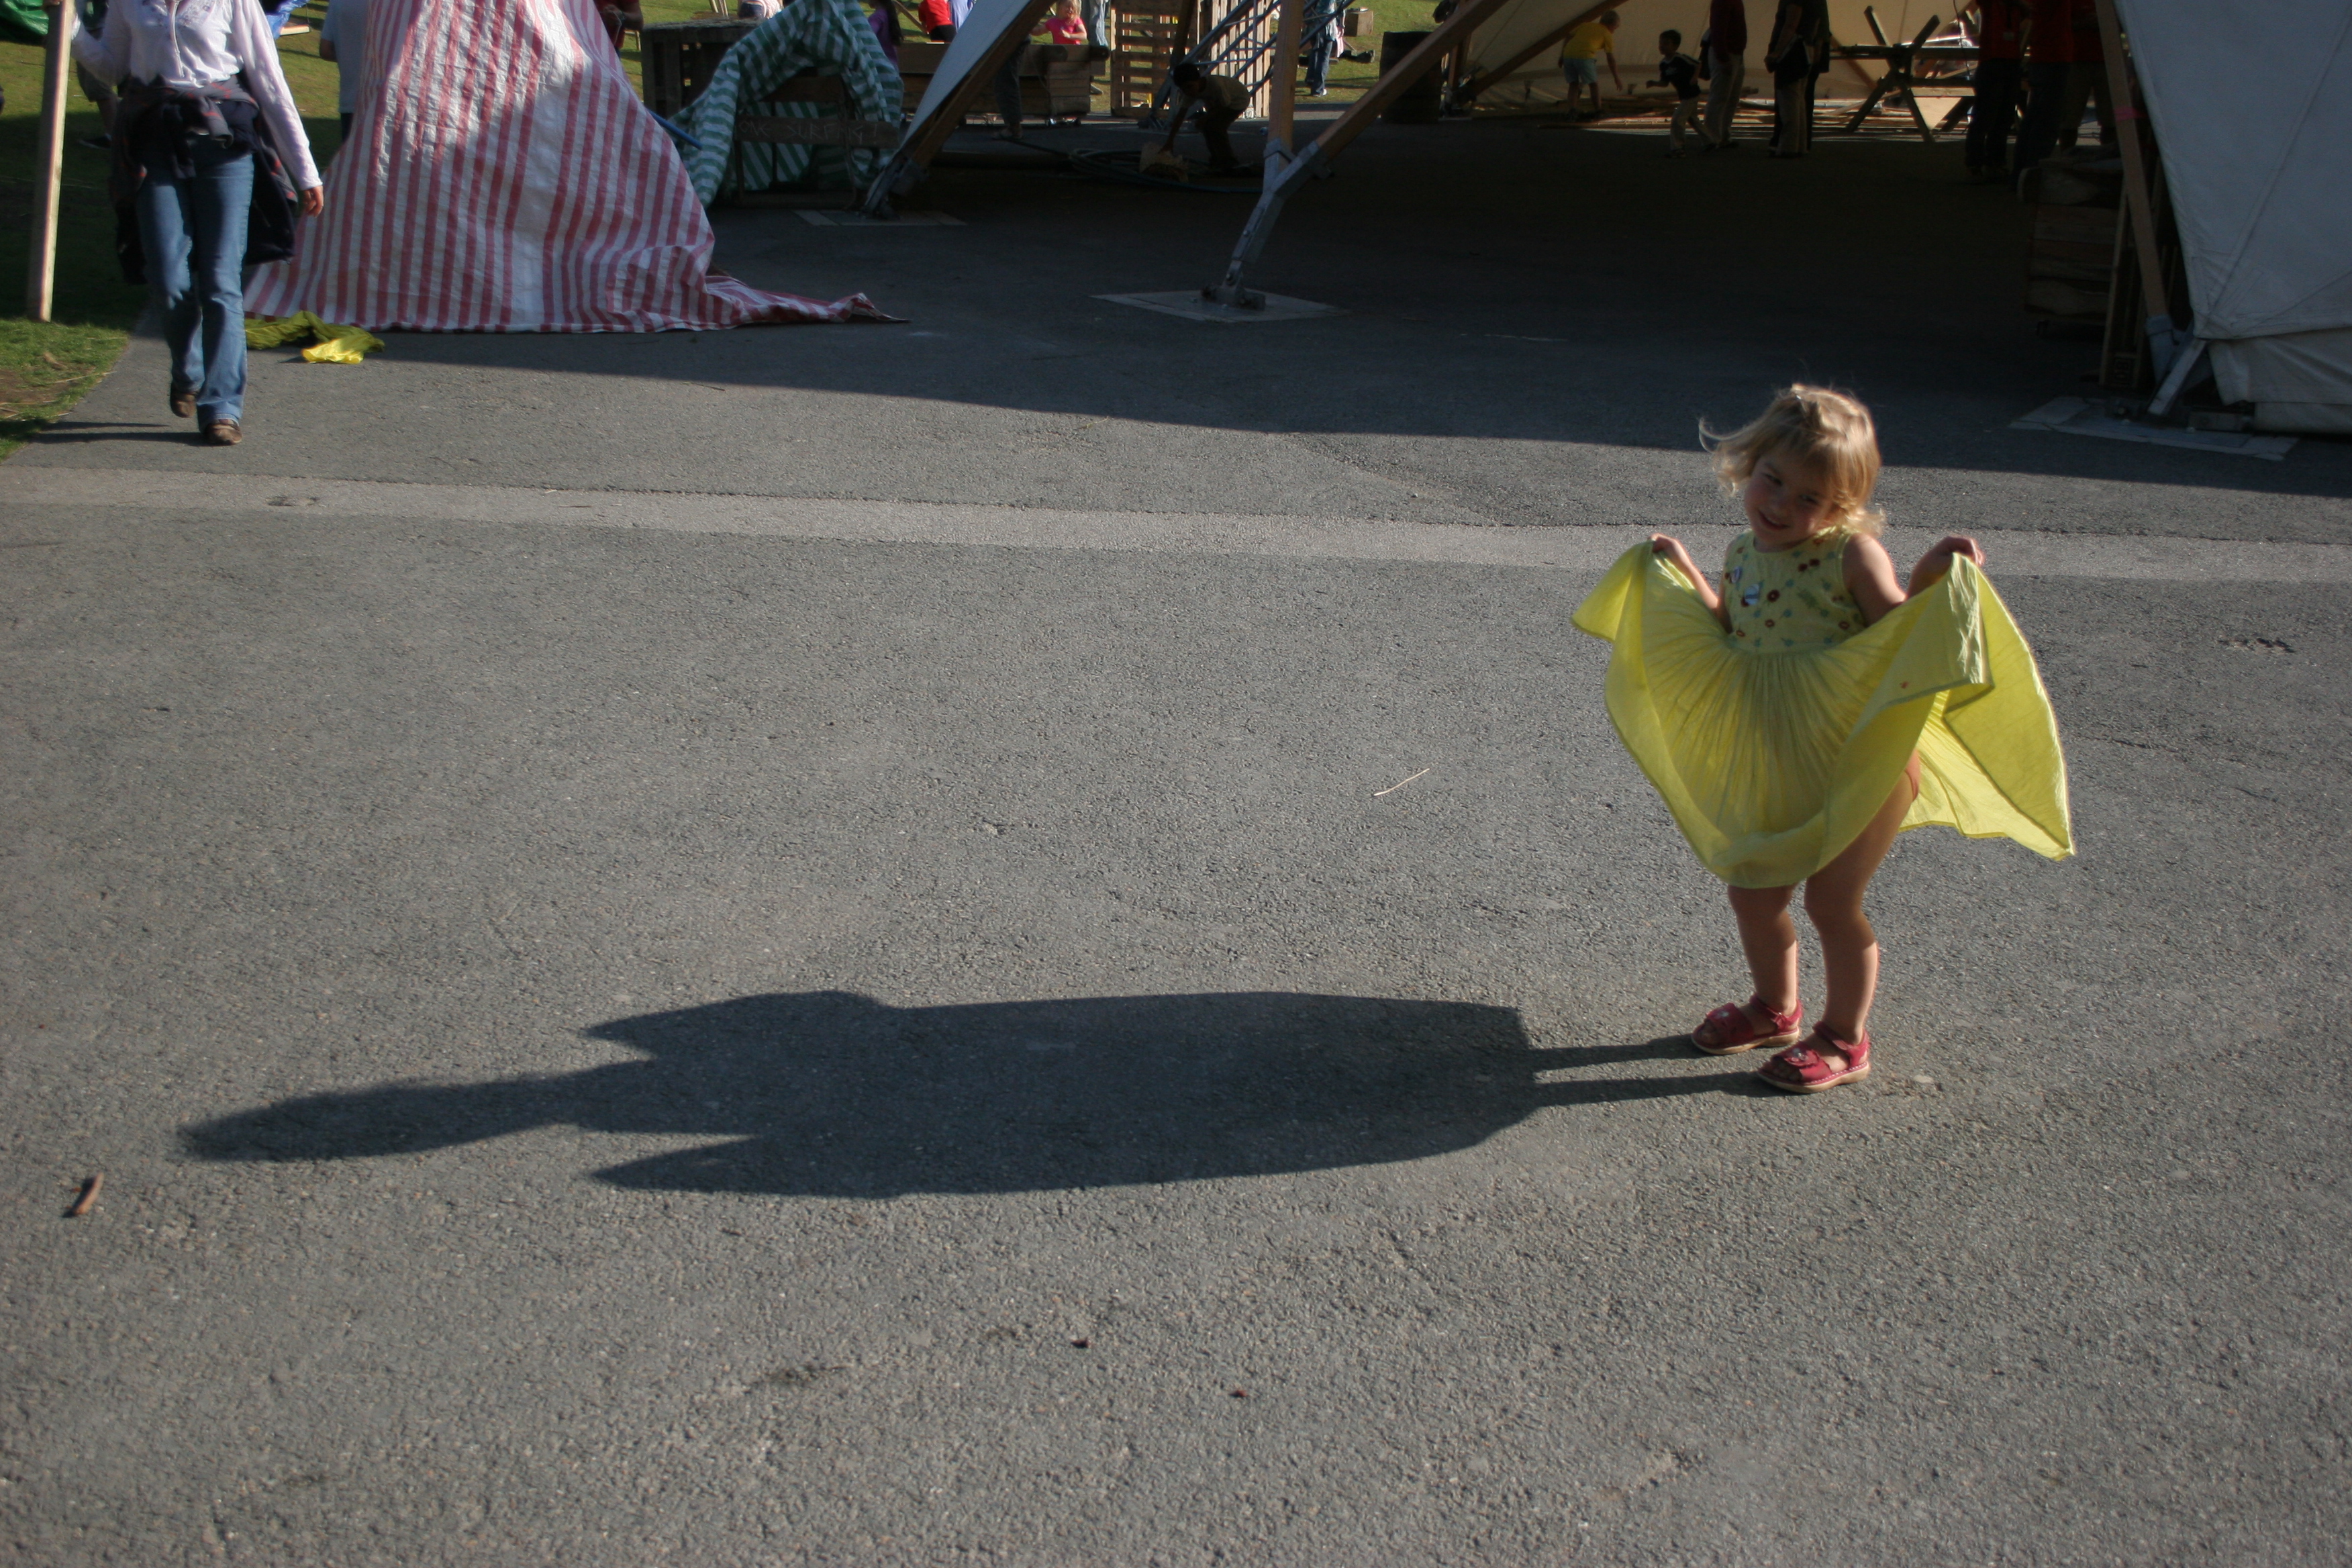
My youngest has become increasingly fascinated by shadows. As we walk along she shouts
I can see your shadow
or
my shadow is long
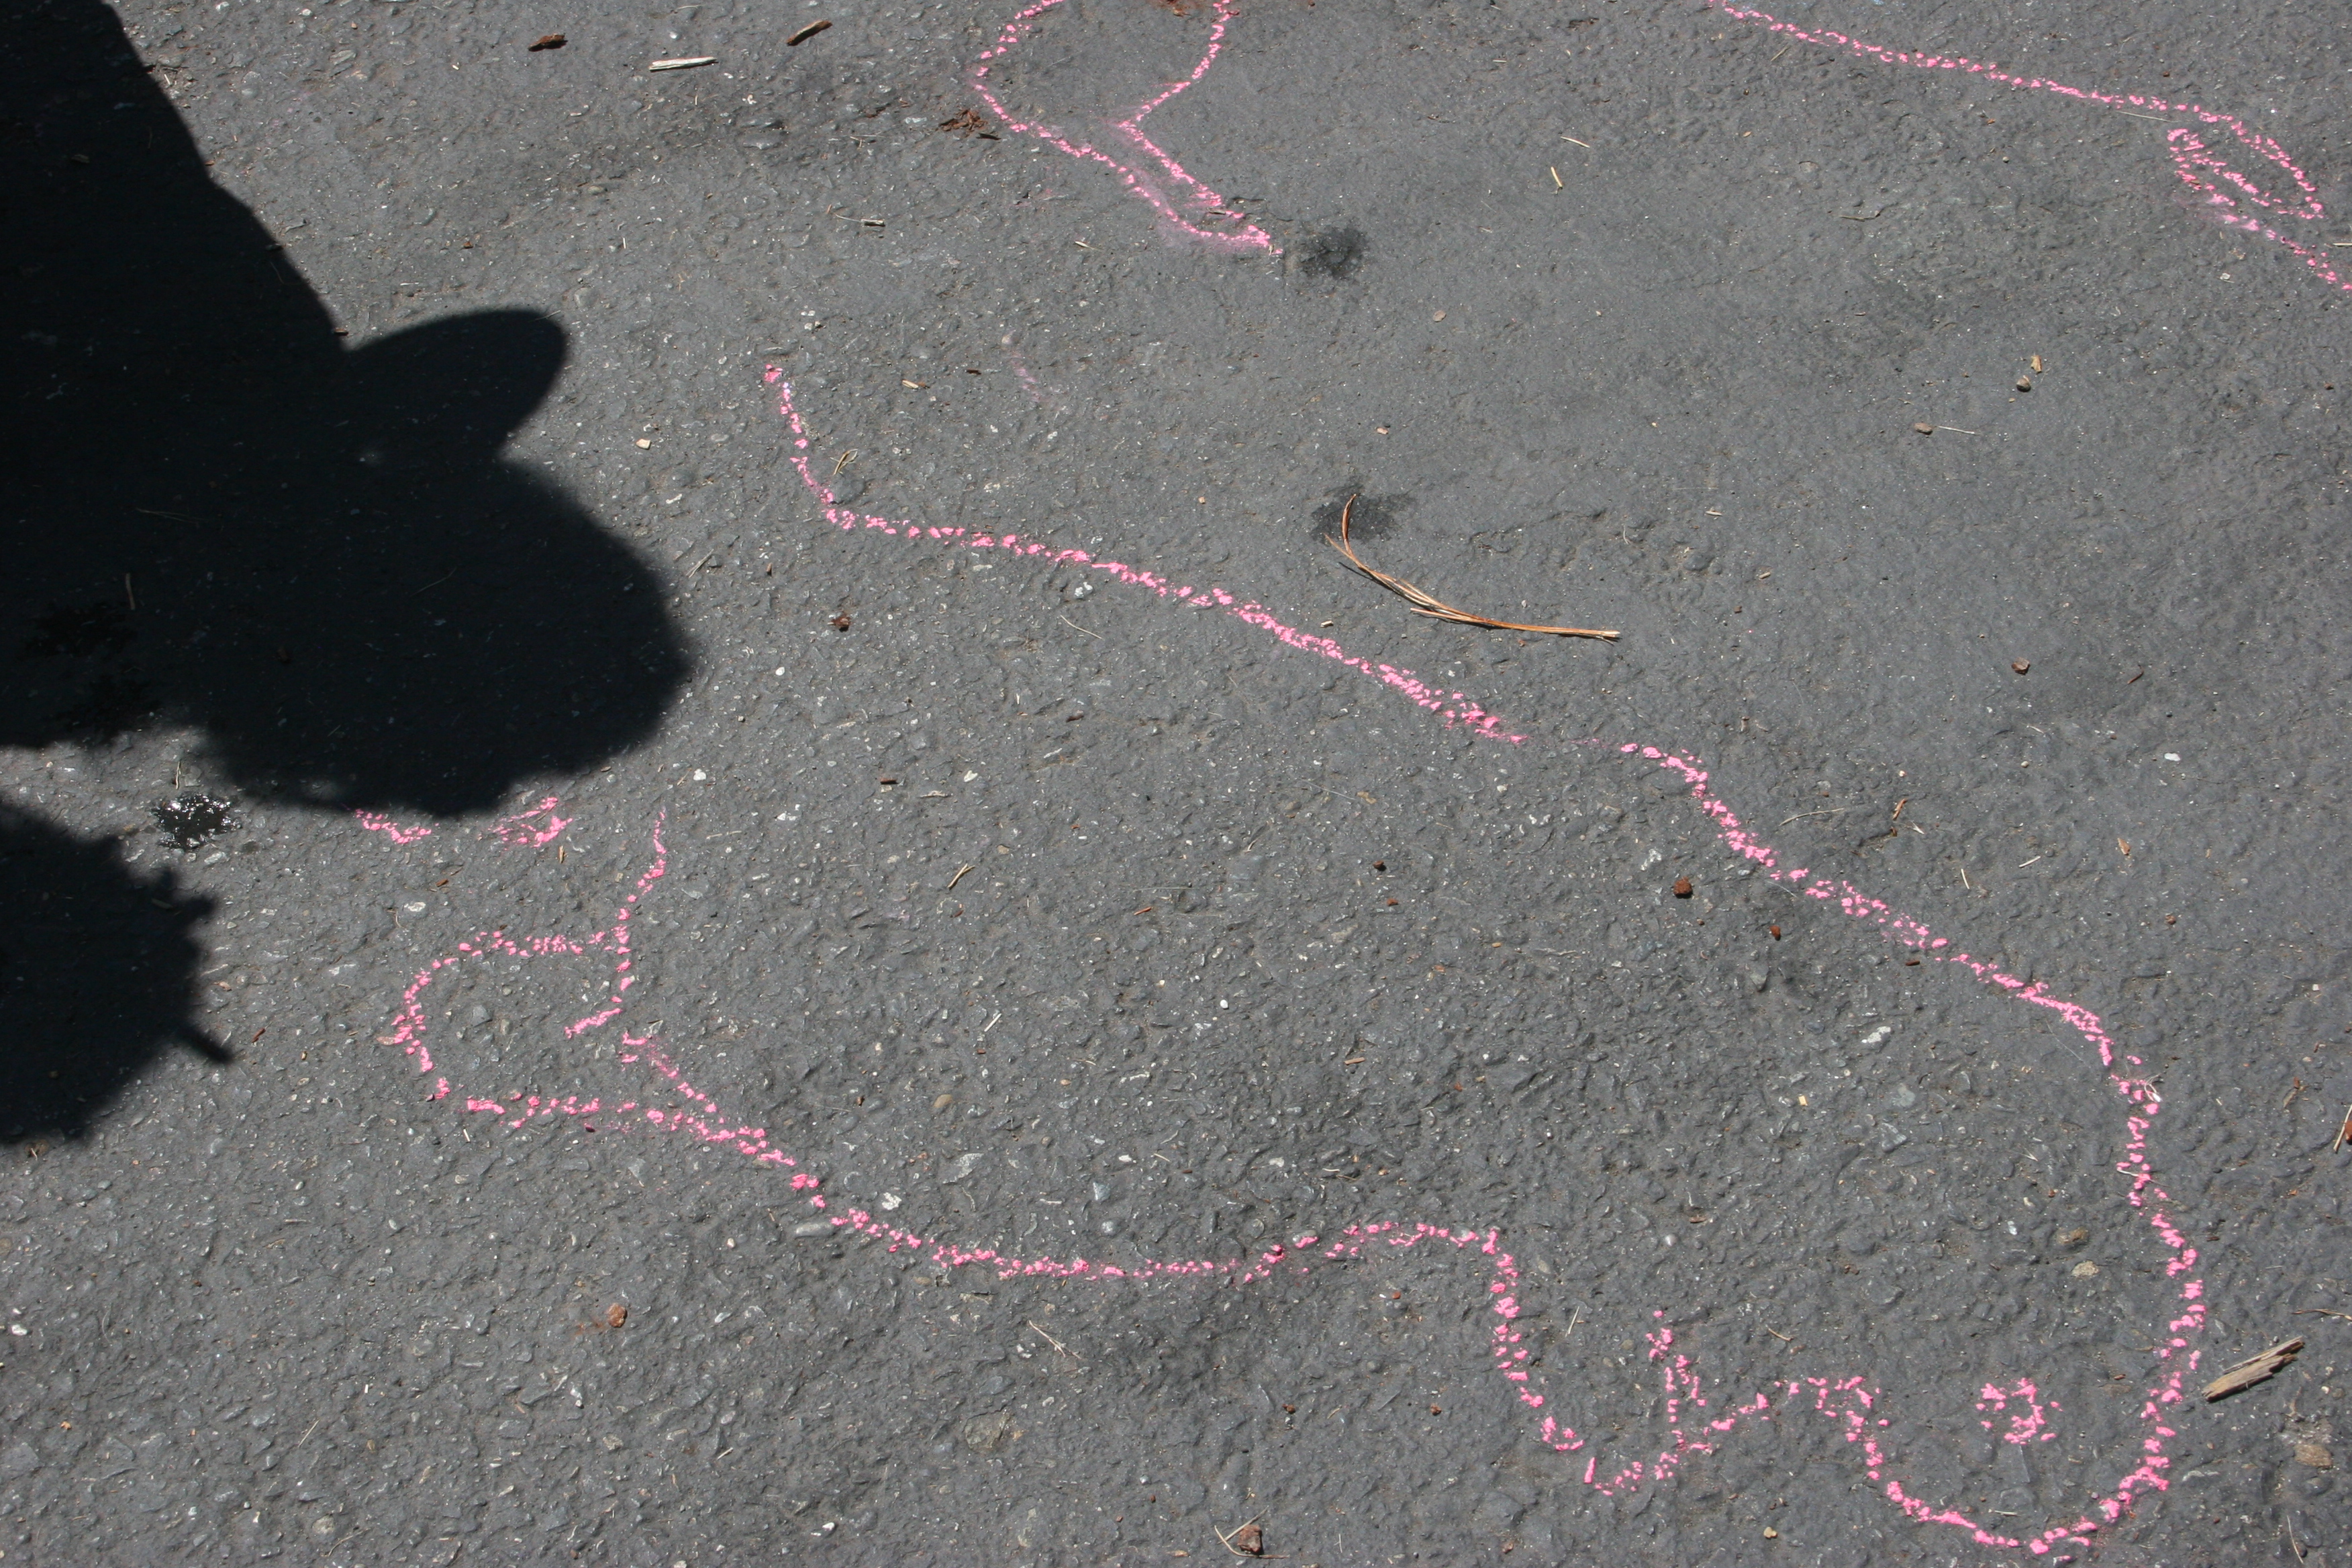
With this in mind I thought it would be a nice idea to make shadow shapes and draw around them with pavement chalk. Some shapes worked better than others, my youngest daughter’s shadow looked a little like an embryo!
The girls drew around them. They were particularly interested by the fact that they couldn’t see the whole of their legs. It was a very hot day so only my 4- year- old wanted to colour in the detail. They were very proud of them and pointed them out to their dad every time he walked over the driveway.
drawing around shadows
The finished outline
pavement chalk
the finished drawing
My 4- year -old has very poor eyesight and needs practice copying and tracing shapes to enhance her perceptual motor skills . I hate the idea of sitting her down with worksheets so I thought shadow tracing might be a nice alternative. We took a number of objects outside to draw around. We even attempted to draw around her bike, which was a little tricky.
Later in the week we were playing with blocks in the house.
My 2-year old declared
I have a shadow, it’s behind me
Where is the shadow coming from? What makes it appear?
Maybe the fan.
Okay, so let’s turn the fan off and see if they disappear. Has it gone?
No
My 4-year-old had an idea
I know maybe it’s the light, let’s turn it off. It’s gone!……………oh hang on it’s still there, it’s just fainter.
Shall we see if we have a shadow outside today?
We don’t have a shadow……. Oh wait, when you sit down there is a bit of a shadow.
No shadow
When we sit down there is a bit of a shadow.
Why do you think that happens?
I don’t know. Let’s see if there are any shadows on the grass. No, not even the dog.
Do the trees have shadows?
Yes and the bushes.
investigating shadows near to the ground
My 2-year-old had an idea,
Maybe the sun has taken away our shadows.
No, that’s not right because the sun makes the shadows.
Maybe when the sun is not there it takes them away?
I know, let’s draw a sun and see if they come back.
drawing a sun to bring the shadows back
I know we can stand in the sun and make it bright colours to see if it comes out.
In the meantime my 9-year-old came to join us. I told them the girls had a bit of a problem that they were trying to solve and wondered if she could work it out.
Why is it that when it is cloudy there are no shadows but when things are close to the ground there is a small shadow?
Maybe it’s because it is darker when you are close to the ground
But there is no sun and you need light to make a shadow.
Yes, but if it was dark I couldn’t make a shadow because it couldn’t get darker.
If we were in the sun and it was too bright what would we do?
Stand in the shade.
What makes the shade?
A tree.
So what is happening to make the shade?
I don’t understand.
I drew a picture of the sun in the sky with a stick person stood underneath and a tree with a stick person underneath the tree.
Oh, the tree gets in the way of the sun.
At that moment as the girls were standing in their picture of the sun, the sun came out.
They stood in the sun and hey presto the sun came out. Look, it worked the sun came out!
I think we might work on reflections as a starting point for our pre-school year . We could
Resurrect the shadow puppet theatre
Use the projector to make and investigate shadows
Place paper on the windows and observe and trace shadows
Continue to talk about and ask questions about shadows when we are out and about.
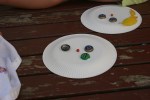
I’ve got an idea Mummy. How about we get the plates we use for barbecues, collect lots of things from around the garden like leaves and sticks and stuff and make people.
Great idea. You could use things from the loose parts station too.
I know, we could use bottle tops for eyes. There are 4 of us so we need 8.
We need 8. We have 10 let’s throw 2 of them away. Now that’s right.
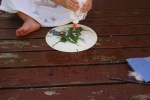
Oh no! We are not allowed to pick leaves from the trees and it isn’t autumn. How will we get leaves?
Look there are some nice little yellow leaves on the floor. Where did they come from?
This tree up here.
That looks like a cherry tree, there are red fruit on it but they are very small.
I’ll pick one and see if there is a stone inside. Yes there is, they are cherries. We could use them for a nose.
My 2 year-old started making a face but soon became more interested in exploring what the glue did. She then brought her watering can and watered her face.
Starting to make a face.
I’m sprinkling grass on mine.
I need more glue.
I’m putting water on mine, it makes it all soggy.
Just as with the clay my 2-year-old has very different interests and plays at a different level to her sisters but that never prohibits her joining in.
When I taught at nursery school, clay was readily available to the children on a daily basis. I’ve seen very few pre-schools since that use clay daily. Most settings use dough, but why not clay?
It may be that it is too expensive, dough can be made very cheaply but air drying clay is an expensive resource. If clay is stored and looked after properly however, and used to enhance the children’s play rather than simply to make models to take home this needn’t be the case.
How to store and look after air drying clay
It is essential to keep your clay damp. Store it in a bucket or lidded container and place a damp flat rock in the bottom. The clay should then be moulded into cubes smoothing out any cracks. Make a thumb sized hole in each cube and fill the hole with water. Occasionally spray the clay with water. The clay will keep for a considerable amount of time like this. Should you feel the clay drying out cover the clay with water and leave for 48 hours.
It was a rare exception when children asked for their creations to be dried, painted and taken home. Mostly they would build the blocks of clay on top of each other, stick things in it, roll it out, and bash it with hammers and were happy to put it back in the clay bin at the end of the session. Occasionally we would have a focused activity on techniques like pattern making, how to join 2 pieces of clay together or moulding around wire. A group of 4-year-olds worked on a long-term project about self portraits . They looked closely at their faces in the mirror and drew a number of self portraits with adult guidance to enhance the detail. These were transferred to clay models. The accuracy with which they translated their drawing into the representation in clay was astonishing.
The Benefits of Playing with Clay
Clay inspires creative thinking
Clay is far stronger and more malleable than dough which makes it far better for modelling.
Children (and adults) find working with clay engrossing
Clay can offer children emotional contentment, they can knead and manipulate the clay to ease anxieties.
Children with lots of energy or displaying aggression can dispense some of this on a large block of clay. You can hit a piece of clay with force without it disintegrating to nothing.
Children are able to problem solve by making mistakes and working out how to fix them.
The Developmental Stages of Working with Clay
0-2 Years
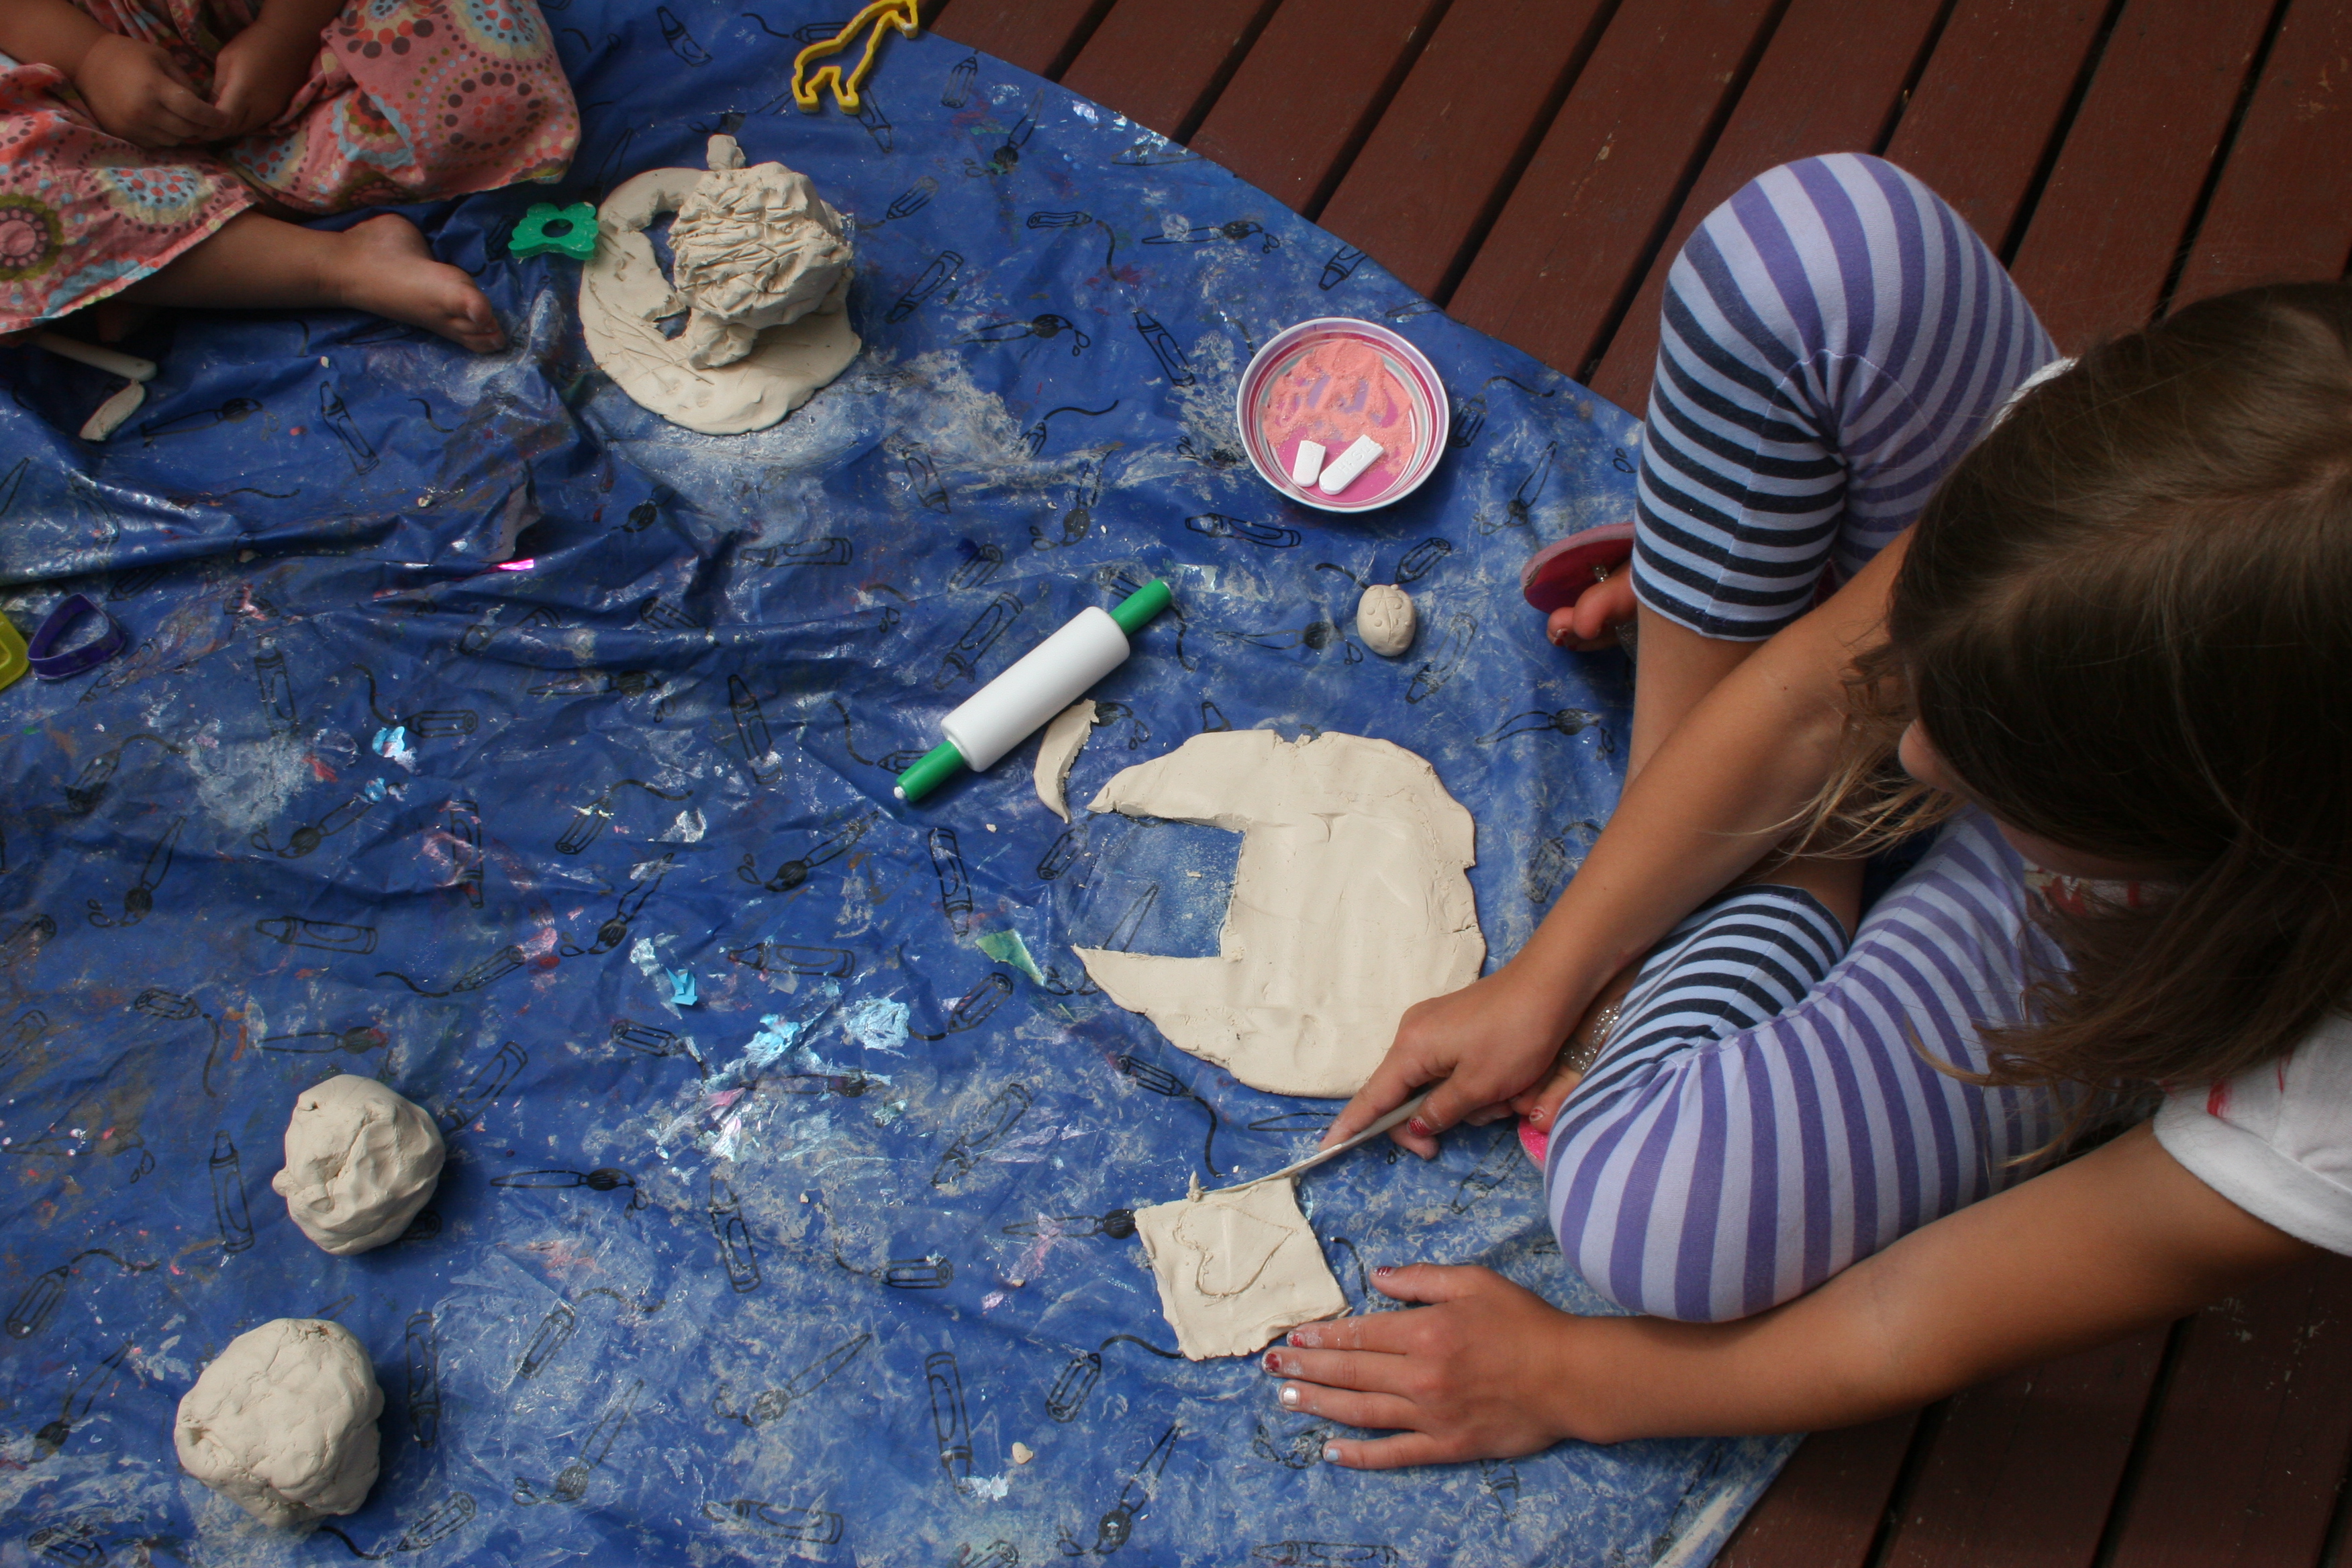
For these children large blocks of clay are best, the bigger the better. Lay a piece of plastic sheeting on the floor and allow the children to experience the clay with their whole bodies, they can sit on it, make impressions in the clay and pull pieces off. It might be better served as an outdoor activity with this age-group but it depends on your space. Allow the children to explore the clay with their hands, build towers with clay blocks or offer tools if they are reluctant to touch it.
2-3 Years
Experiment with the different things that clay can do. Let them build, flatten, roll, pile and stick objects in the clay. A finished product is not necessary at this age, allow them to integrate loose parts from the environment. Investigate what happens when you spray the clay with water.
3-4 Years
Some children will be ready to make simple models so you could begin to demonstrate how to join 2 pieces of clay together. Many children will prefer to use clay in their imaginative play, making cakes or lots of tiny peas. Include small world objects with the clay perhaps rolling out a flat piece for the play people to walk on or build a rocky swamp for the dinosaurs. Continue to introduce natural materials.
4-5 Years
Children will now begin to build things for their small world play, chairs for the house or shelters for the animals. Once the children are confident you could set them projects like build a bridge for the Billy Goats Gruff or a bed for the 3 Bears. Clay can now be used to support mark-making teach children to draw and write on clay with sticks, twigs or blunt pencils.
5+ years
The children will be keen at this age to make a finished product. Show the children examples of clay sculptures as inspiration. Encourage them to translate both imaginative and observational drawings into clay models. Support group work, building one large co-operative model.
You will see in the gallery below how my children of different ages play with the clay. My 9-year-old goes straight into making a model, while her 4-year-old sister starts by making a pizza, practicing rolling and cutting. She soon copies her sister and starts to make a bowl. Both girls encounter problems with their models and work out how to fix them. My 2-year-old is happy to squish the clay, making marks with knives and then moves the pieces around the garden, collecting loose parts and piling blocks together.
On the way home from school we were talking about quills. My Harry Potter obsessed 9-year- old had made a quill by putting a biro refill into a feather.
My four-year old asked
Do we have any ink?
No but we can use paint.
We painted with feathers when I was little didn’t we?
We can do that tomorrow if you like. We could use the Peacock feathers we collected at Remlinger Farm.
This slideshow requires JavaScript.
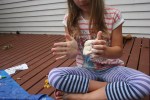
I set the paints up with a few feathers.
painting with the feathery part made some nice patterns
My 2-year-old suddenly declared
I wrote the word ‘buh’
Buh for bat.
She has been playing a Sesame Street alphabet game on the iPad and is beginning to talk about letters and letter sounds.
Her 4-year old sister asked
How do you spell bat?
How do you think you spell it? What does it begin with?
Buh
That’s right and what other sounds are in bat?
Bat…. t
Yes, so what is the middle letter?
Bat…b…a…t….. a. B..a..t spells bat.
After a little bit of impromptu literacy I had a brain wave. The girls are really interested in pirates at the moment and I thought we might be able to do some writing with feathers, make a pirate map or maybe we could make a wizard’s spell.
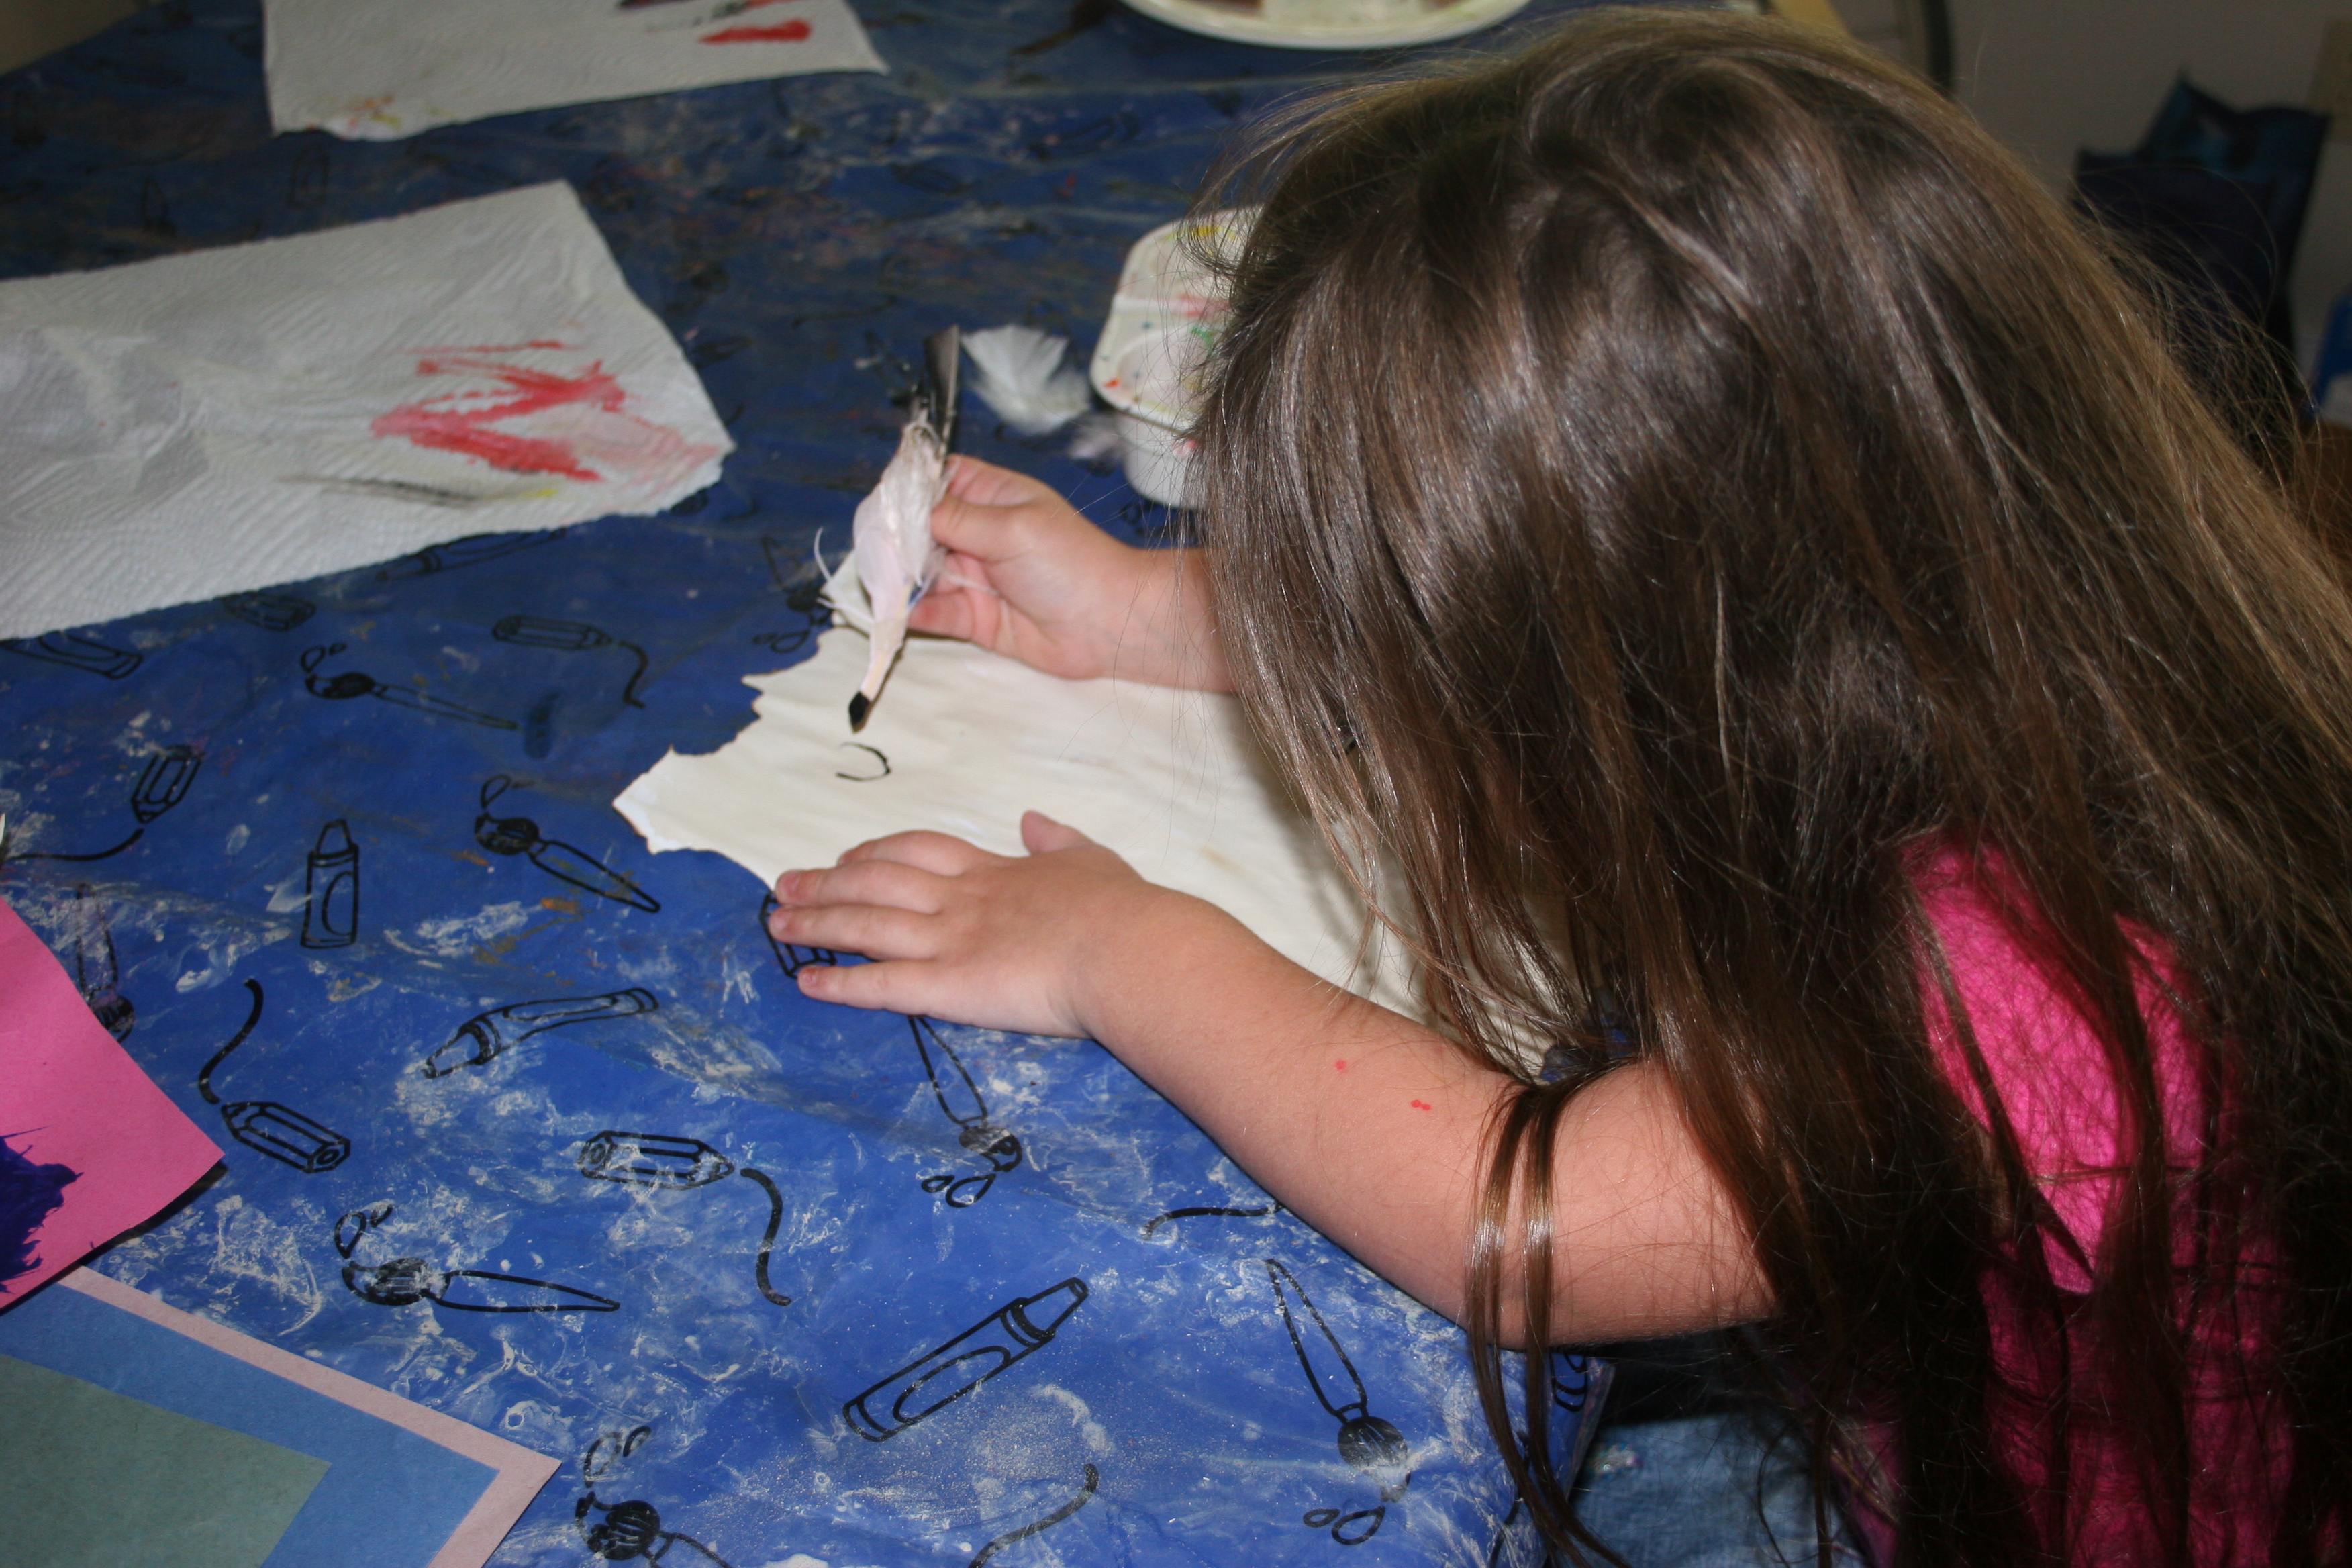
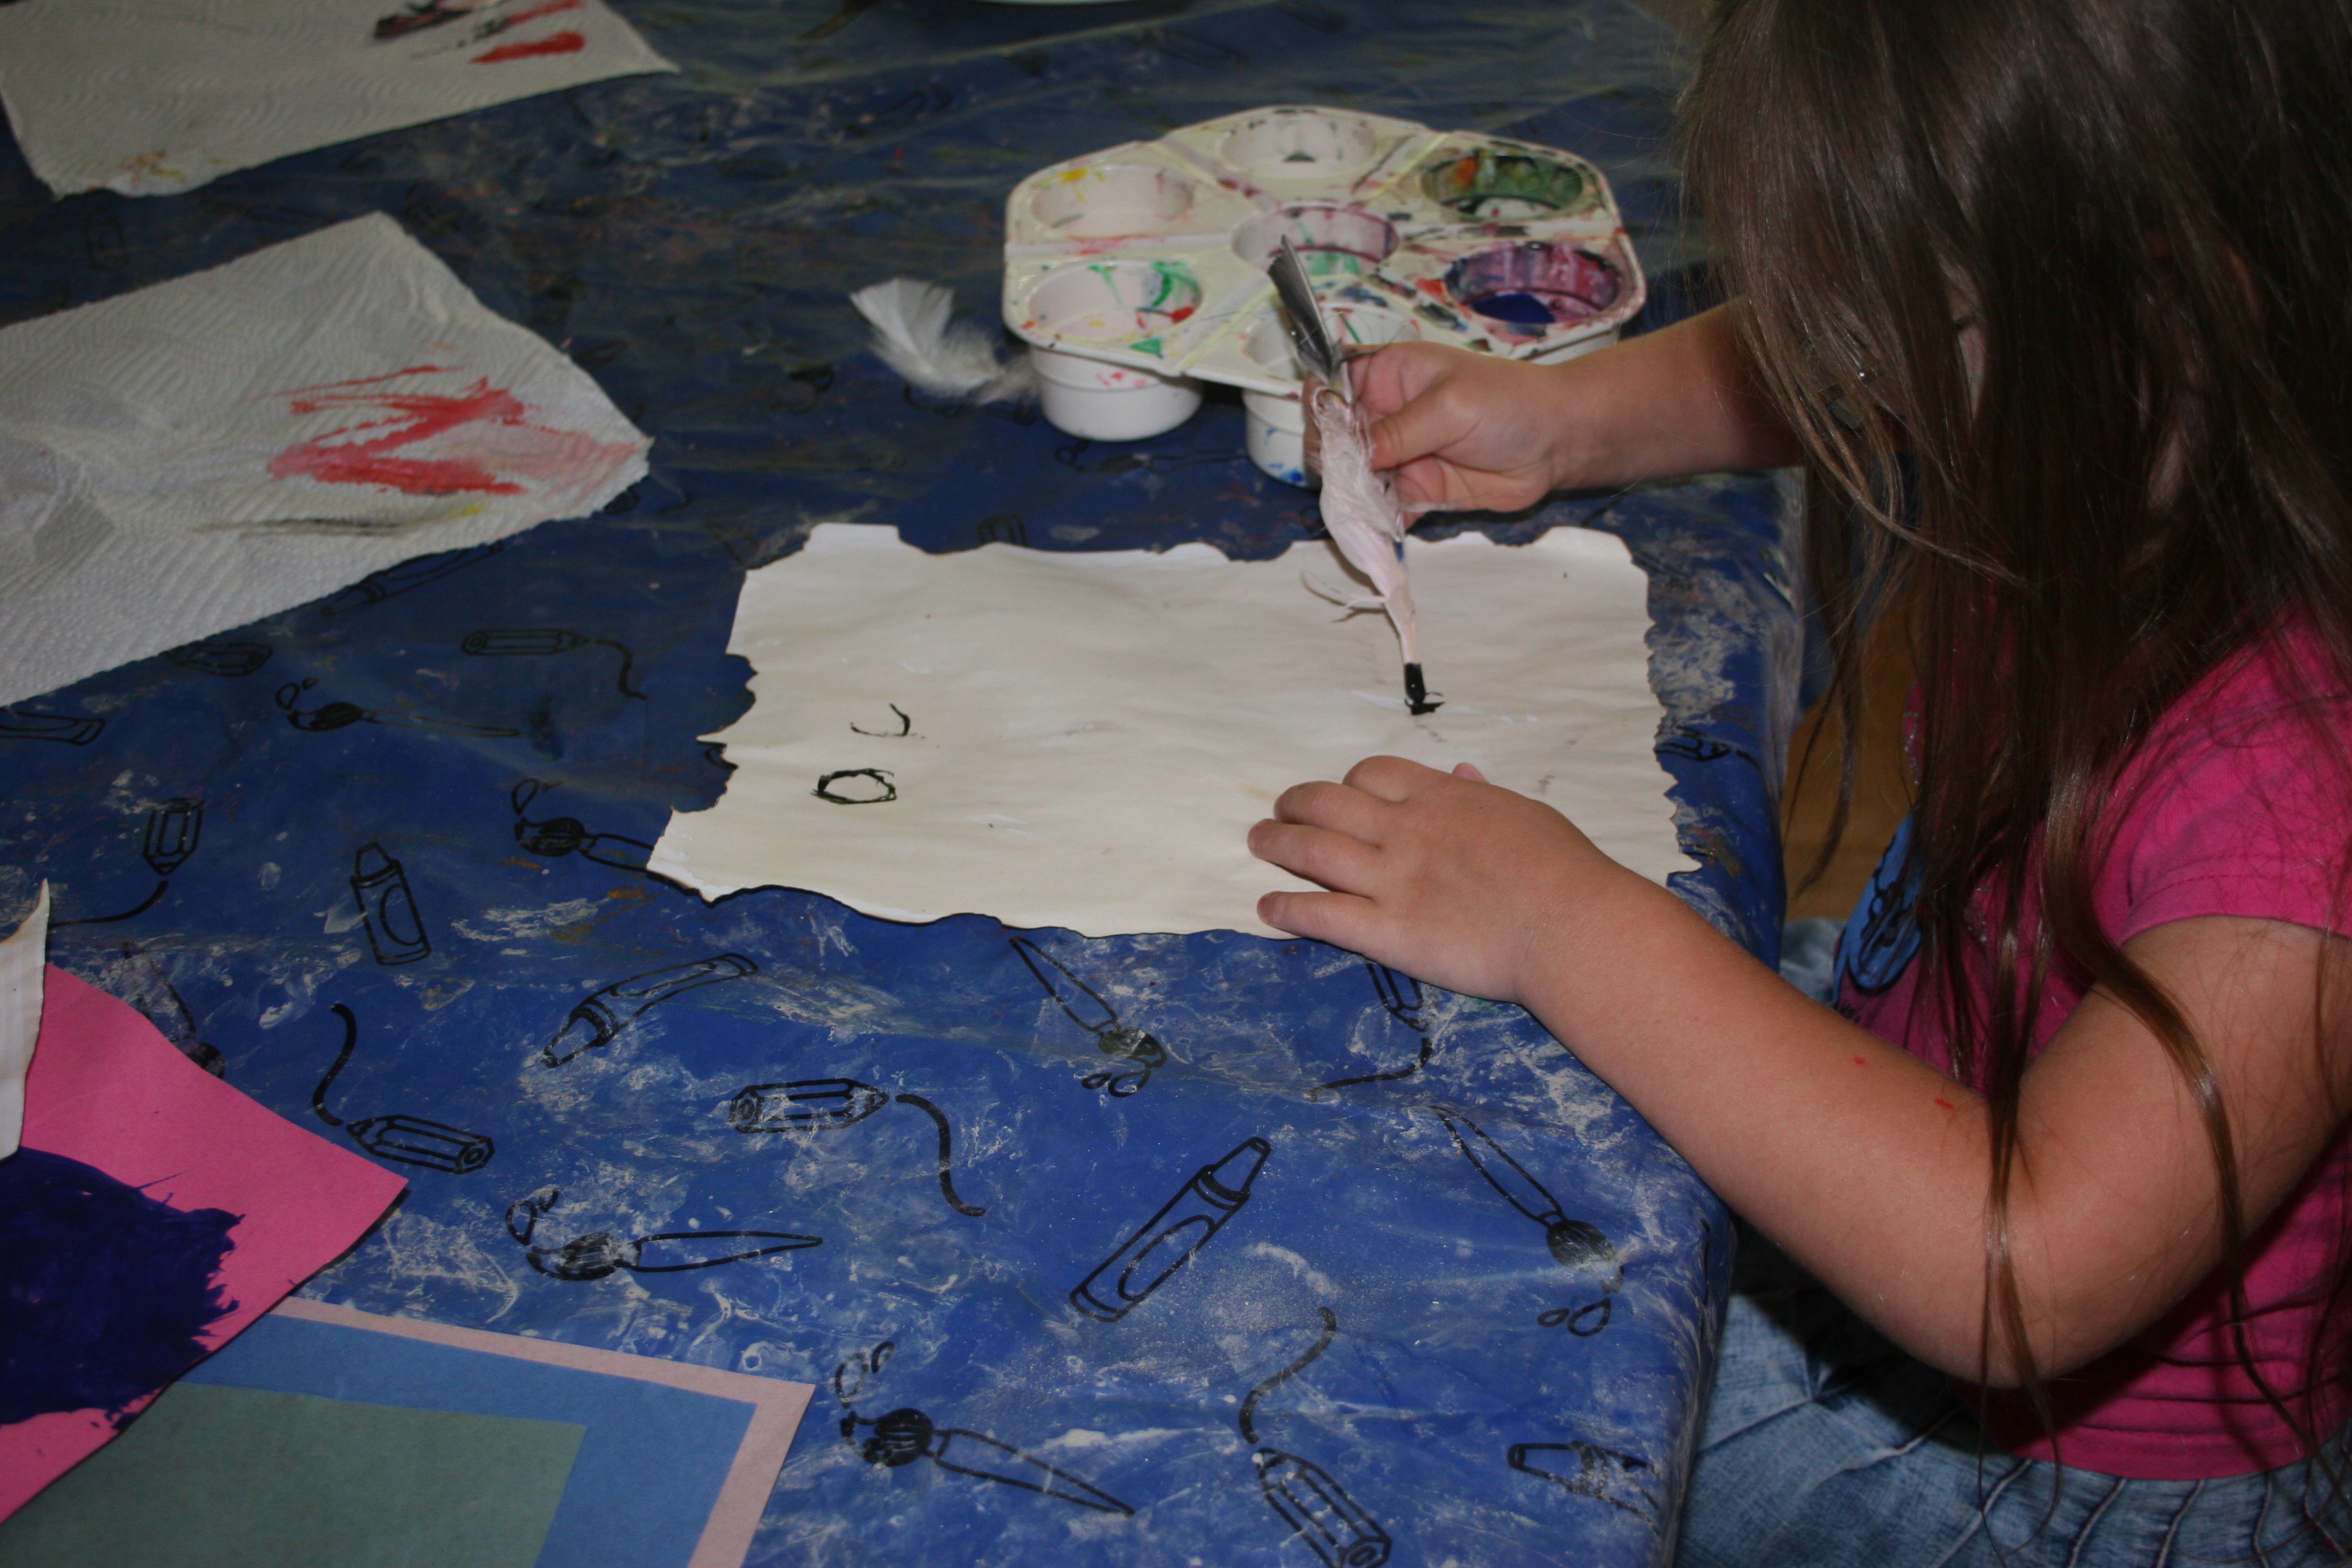
I stained paper with coffee
When it was dry I singed the edges to make it look like an old scroll.
I asked the girls what they would like to do. They decided on a Wizard’s spell.
It will be funny because we don’t even know how to read and write……………. Maybe Wizards write differently to people.
I think this would be a great way to encourage boys in their mark making.
Set up a desk in a role play pirate ship with ink and quills
Make a spell book for children to add their own spells
Add a few feathers and a small pot of paint to your mark making area
Make treasure maps and encourage the children to mark the treasure with an X.
Literacy for under 5’s shouldn’t be about sitting at a table learning letters, tracing over letters or using flashcards. It can be brought into any aspect of play and when children are ready and interested in letters and sounds they will talk about it, ask questions and experiment. Make it fun, make it relevant and they will learn.
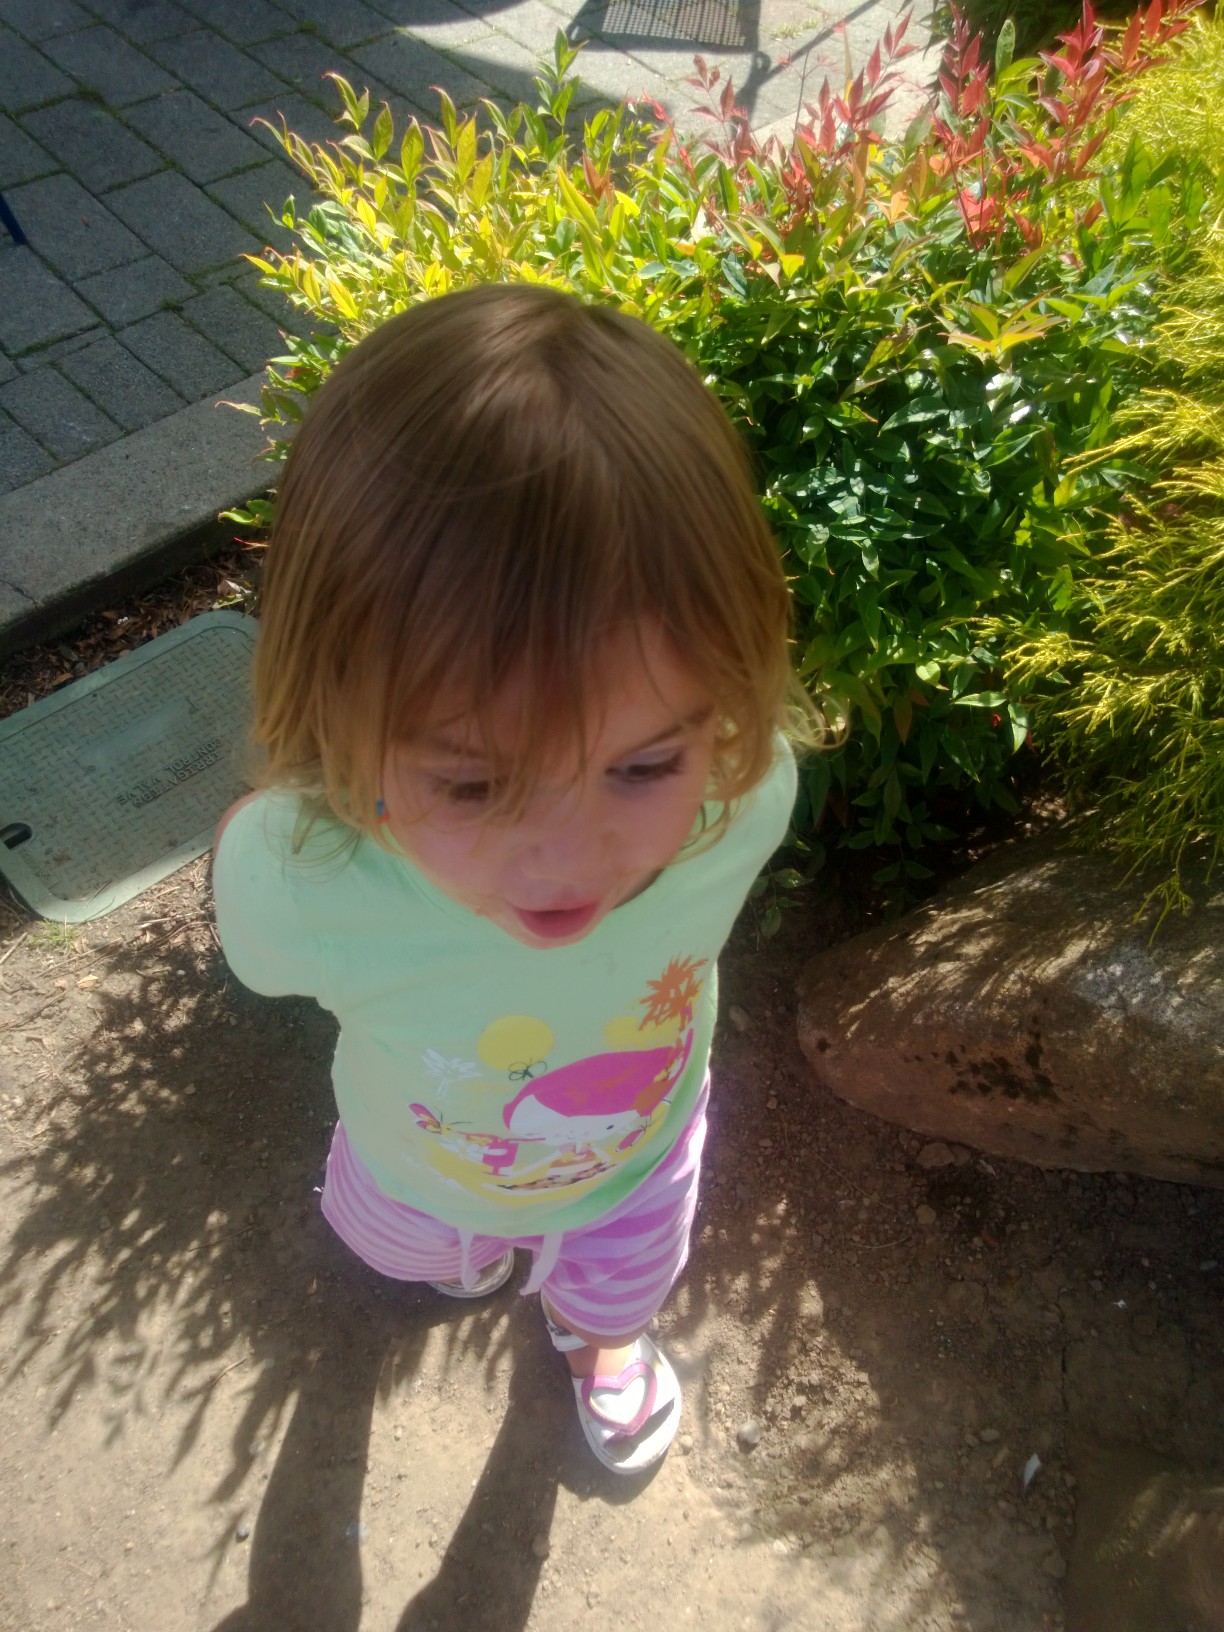
I laughed to myself as I watched my 2-year-old playing in the borders, hiding a stick in the bushes and drawing in the dirt. A few feet away was a very expensive sensory playground with musical instruments, water features and a little bear cave. It was very impressive, but the lure of a stick was just too great. Given the choice I’m sure regardless of the expensive equipment we provide, most children are happy with a stick, a pile of stones, or a tub of water.
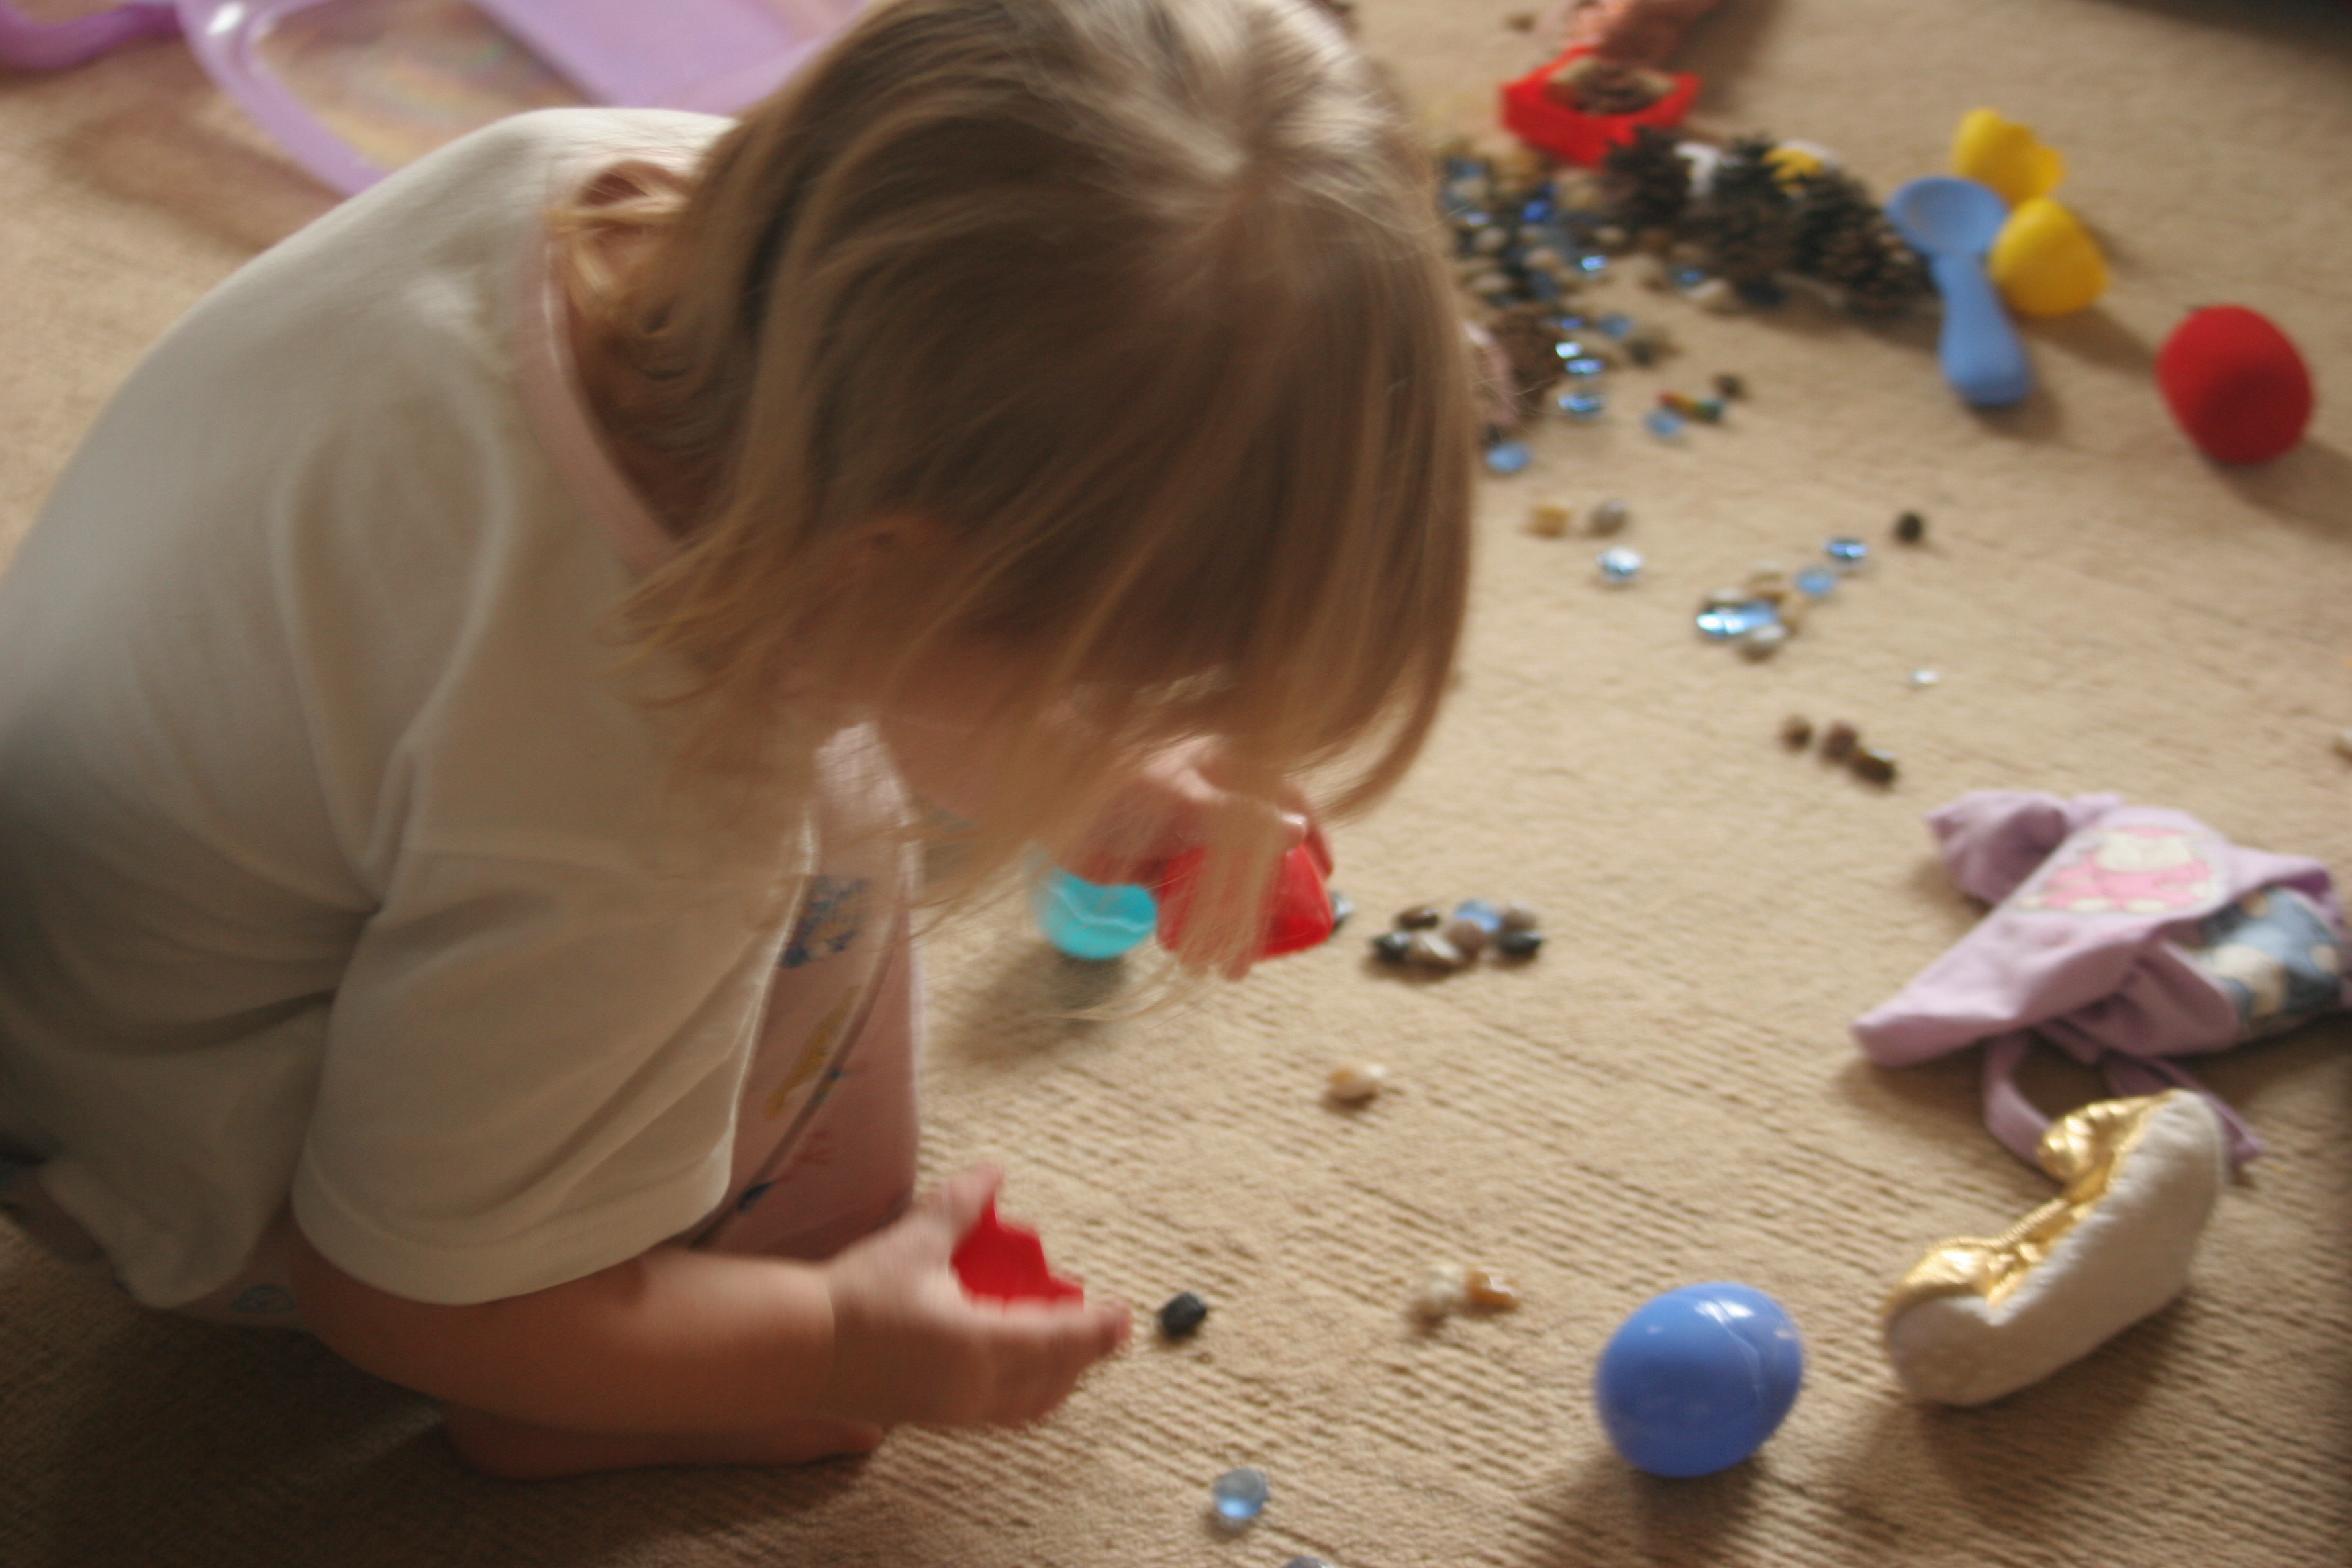
My eldest was obsessed with tiny stones when she was small. Everywhere we went she would stop to pick them up or take them home in her pockets. If we were in the garden she would make collections of little stones and spend hours moving them from one place to another. She was very young at the time but I never stopped her for fear that she may swallow them. I simply made sure I was sat nearby so that I could see what she was doing.
filling eggs with stones and glass beads.
My 2-year -old loves sticks. We have 2 rules:
No sticks in the house
Do not point sticks at people’s eyes.
Sometimes they are magic wands, Sometimes fishing rods or sometimes simply something to carry around. Every stick is greeted with equal excitement.
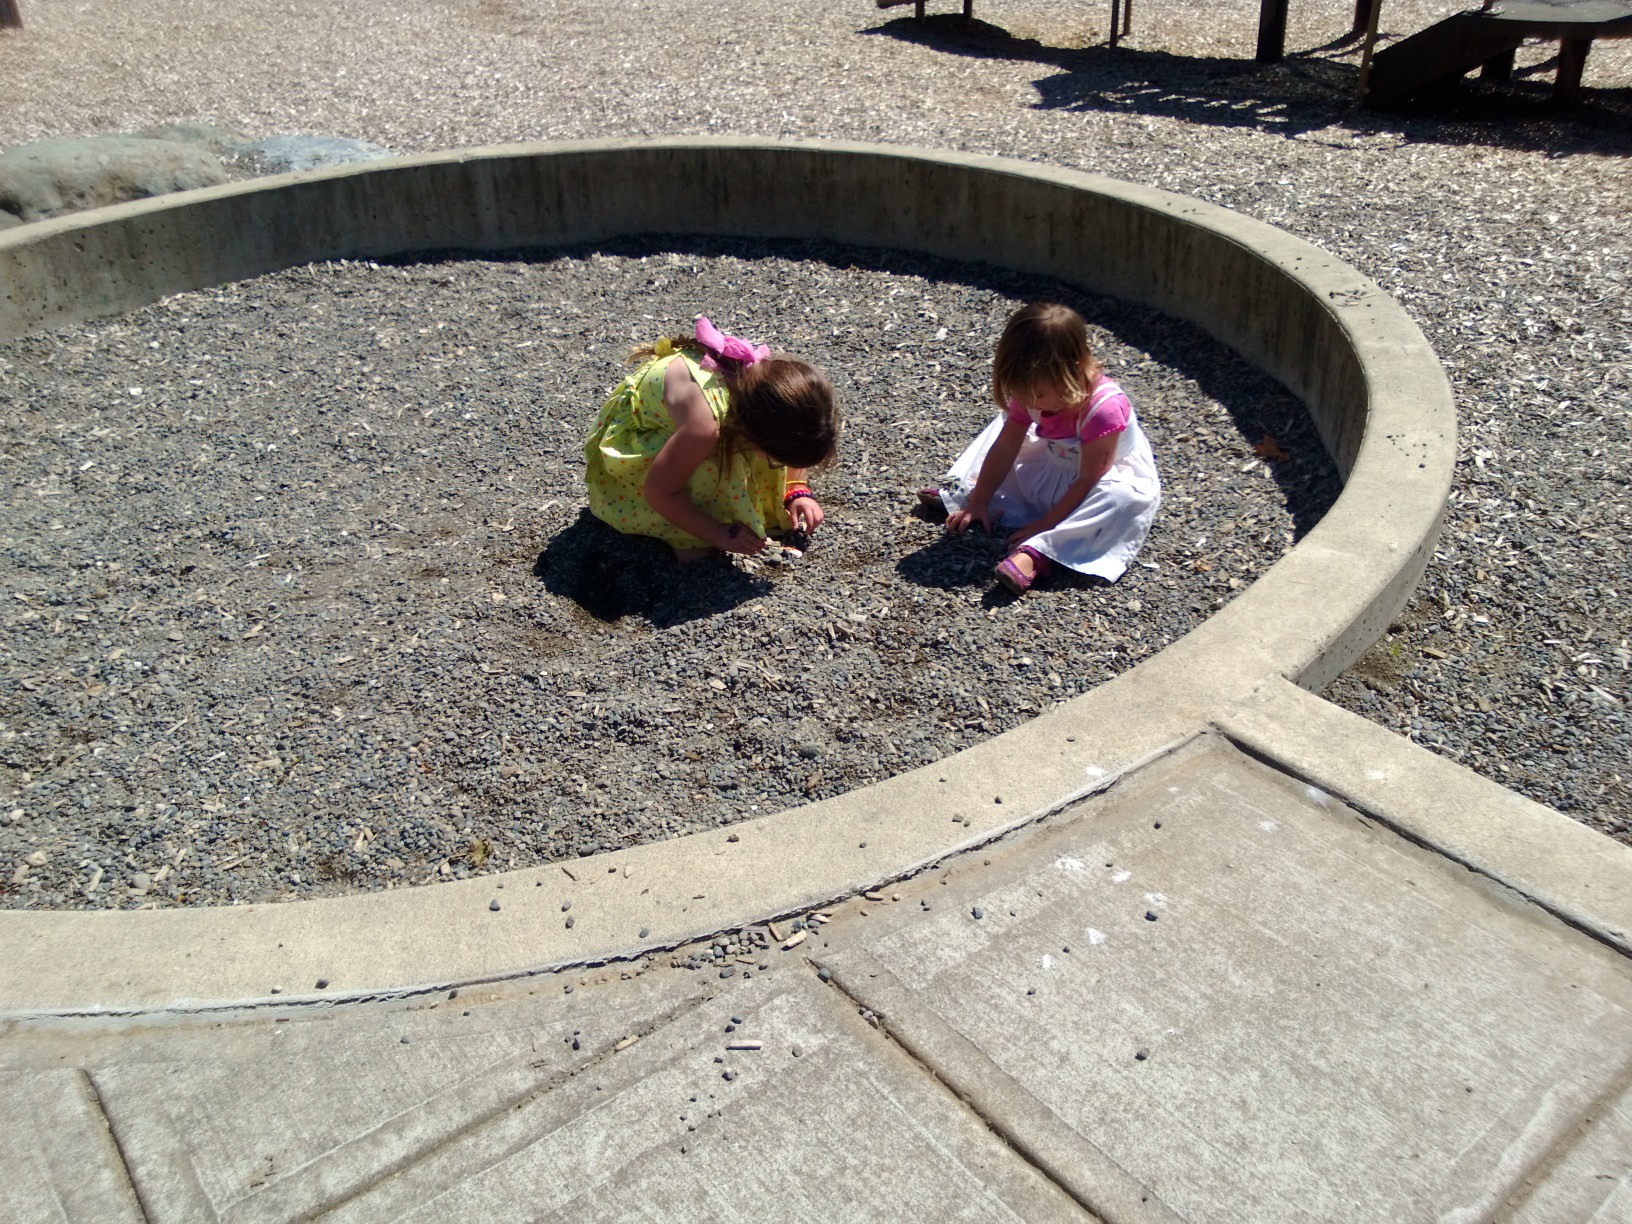
All 3 children play for hours in the sand pit. When I first moved to the US I didn’t think the girls would like the grey, gravelly play sand they have here. I was wrong, they love it as much, if not more than the fine golden sand we had in the UK. Even at the park they chose to play in the dirty gravel rather than on the equipment.
The Theory of Loose Parts
In 1972 the architect Simon Nicholson devised the Theory of Loose Parts. It grew from the notion that all children love to interact with variables. Variables can be anything from materials and shapes to media such as gases and fluids and are used to discover, invent and have fun. The theory of loose parts is as follows
‘In any environment, both the degree of inventiveness and creativity, and the possibility of discovery are directly proportional to the number and kind of variables in it. (Nicholson 1972)
Put simply, the playground with static play equipment will not offer a child the opportunity to discover and create their own scenarios as freely as one that is less predictable or restrictive and offers moveable objects that can interact with the child’s play. A swing is a swing but the gravel can be a home for a bug, fairy dust, a cake, something to draw in, a track for a car and other endless possibilities.
We have the perfect garden for playing with loose parts, with an abundance of trees, pine cones, stones, dirt etc. I decided to organise these a little to see if it would change the way the children played with them.
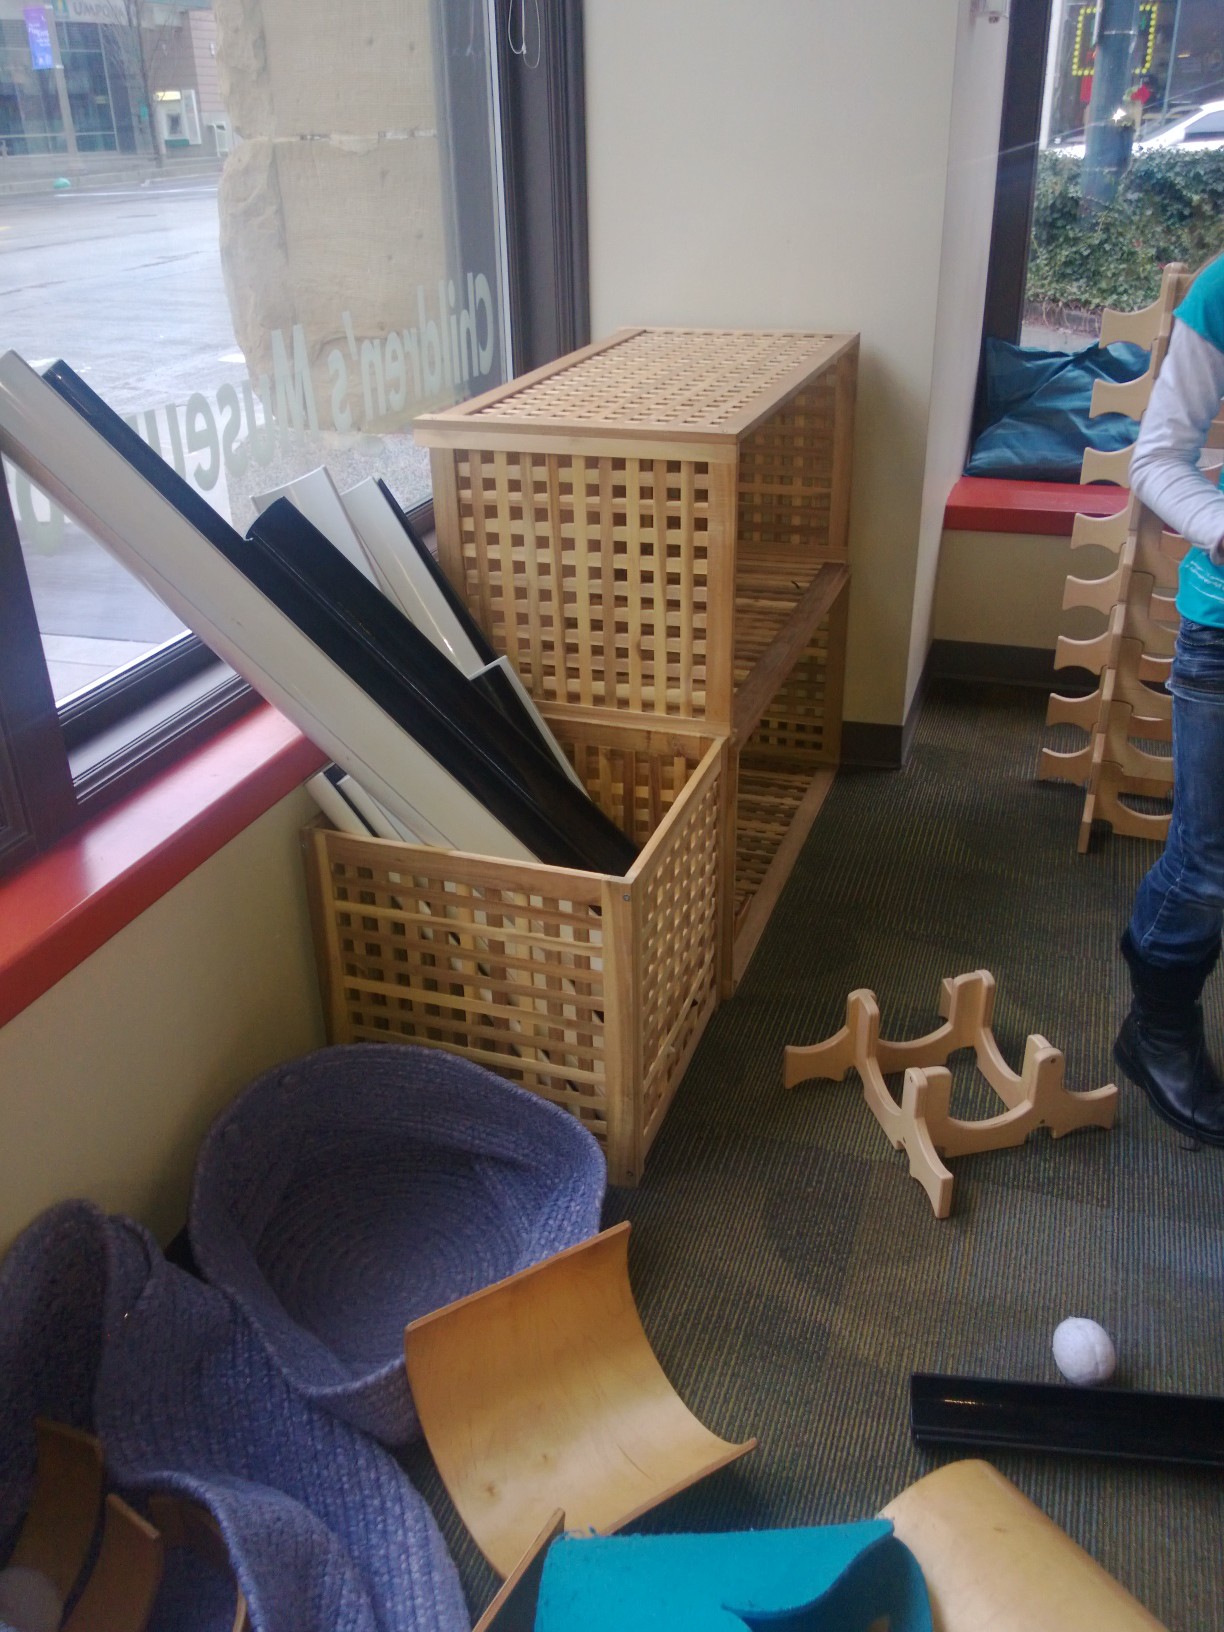
Storage for Loose Parts
We had an old clothes horse in the garden that was waiting for a purpose. I bought a few hanging baskets and hung them on the clothes horse along with a few other baskets I had found. I also clipped a variety of containers to the clothes horse using an underwear dryer (we also use this for drying paintings).
Using the clothes horse means that it is fully portable making it easy to move out of the rain or to the sandpit, paddling pool or lawn .
The Slide show illustrates some of the things we collected .
This slideshow requires JavaScript.
Other ideas for loose parts that can be stored outdoors
sticks, twigs
glass beads, marbles, buttons, bells, beads
feathers
lolly sticks
pegs
acorns, conkers and seeds,
string
large things like pallets, tyres, flowerpots, fabric, boxes, pots and pans, tubes, guttering, bamboo canes, bricks, planks, logs, driftwood.
I love to see the children using their environment to stimulate imaginative and creative play. Here are some of my favourites.
We could build a boat
Carrying a rock to build a boat on the beach (the family were sailing). Moving heavy objects around was a key part of the play.
Come on row faster!
What happens when I bang the stick with a pebble?
The youngest became absorbed in pebbles and sticks, abandoning the project for a while.
Let’s ride on a horse together
Using loose parts with a large piece of clay
I’m putting them on the top
The finished product
1 year old transporting pistachio nut shells
moving from one container to another
Making a bed with magazines
Let’s put the stones in here and make a magic potion
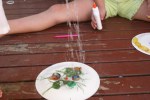
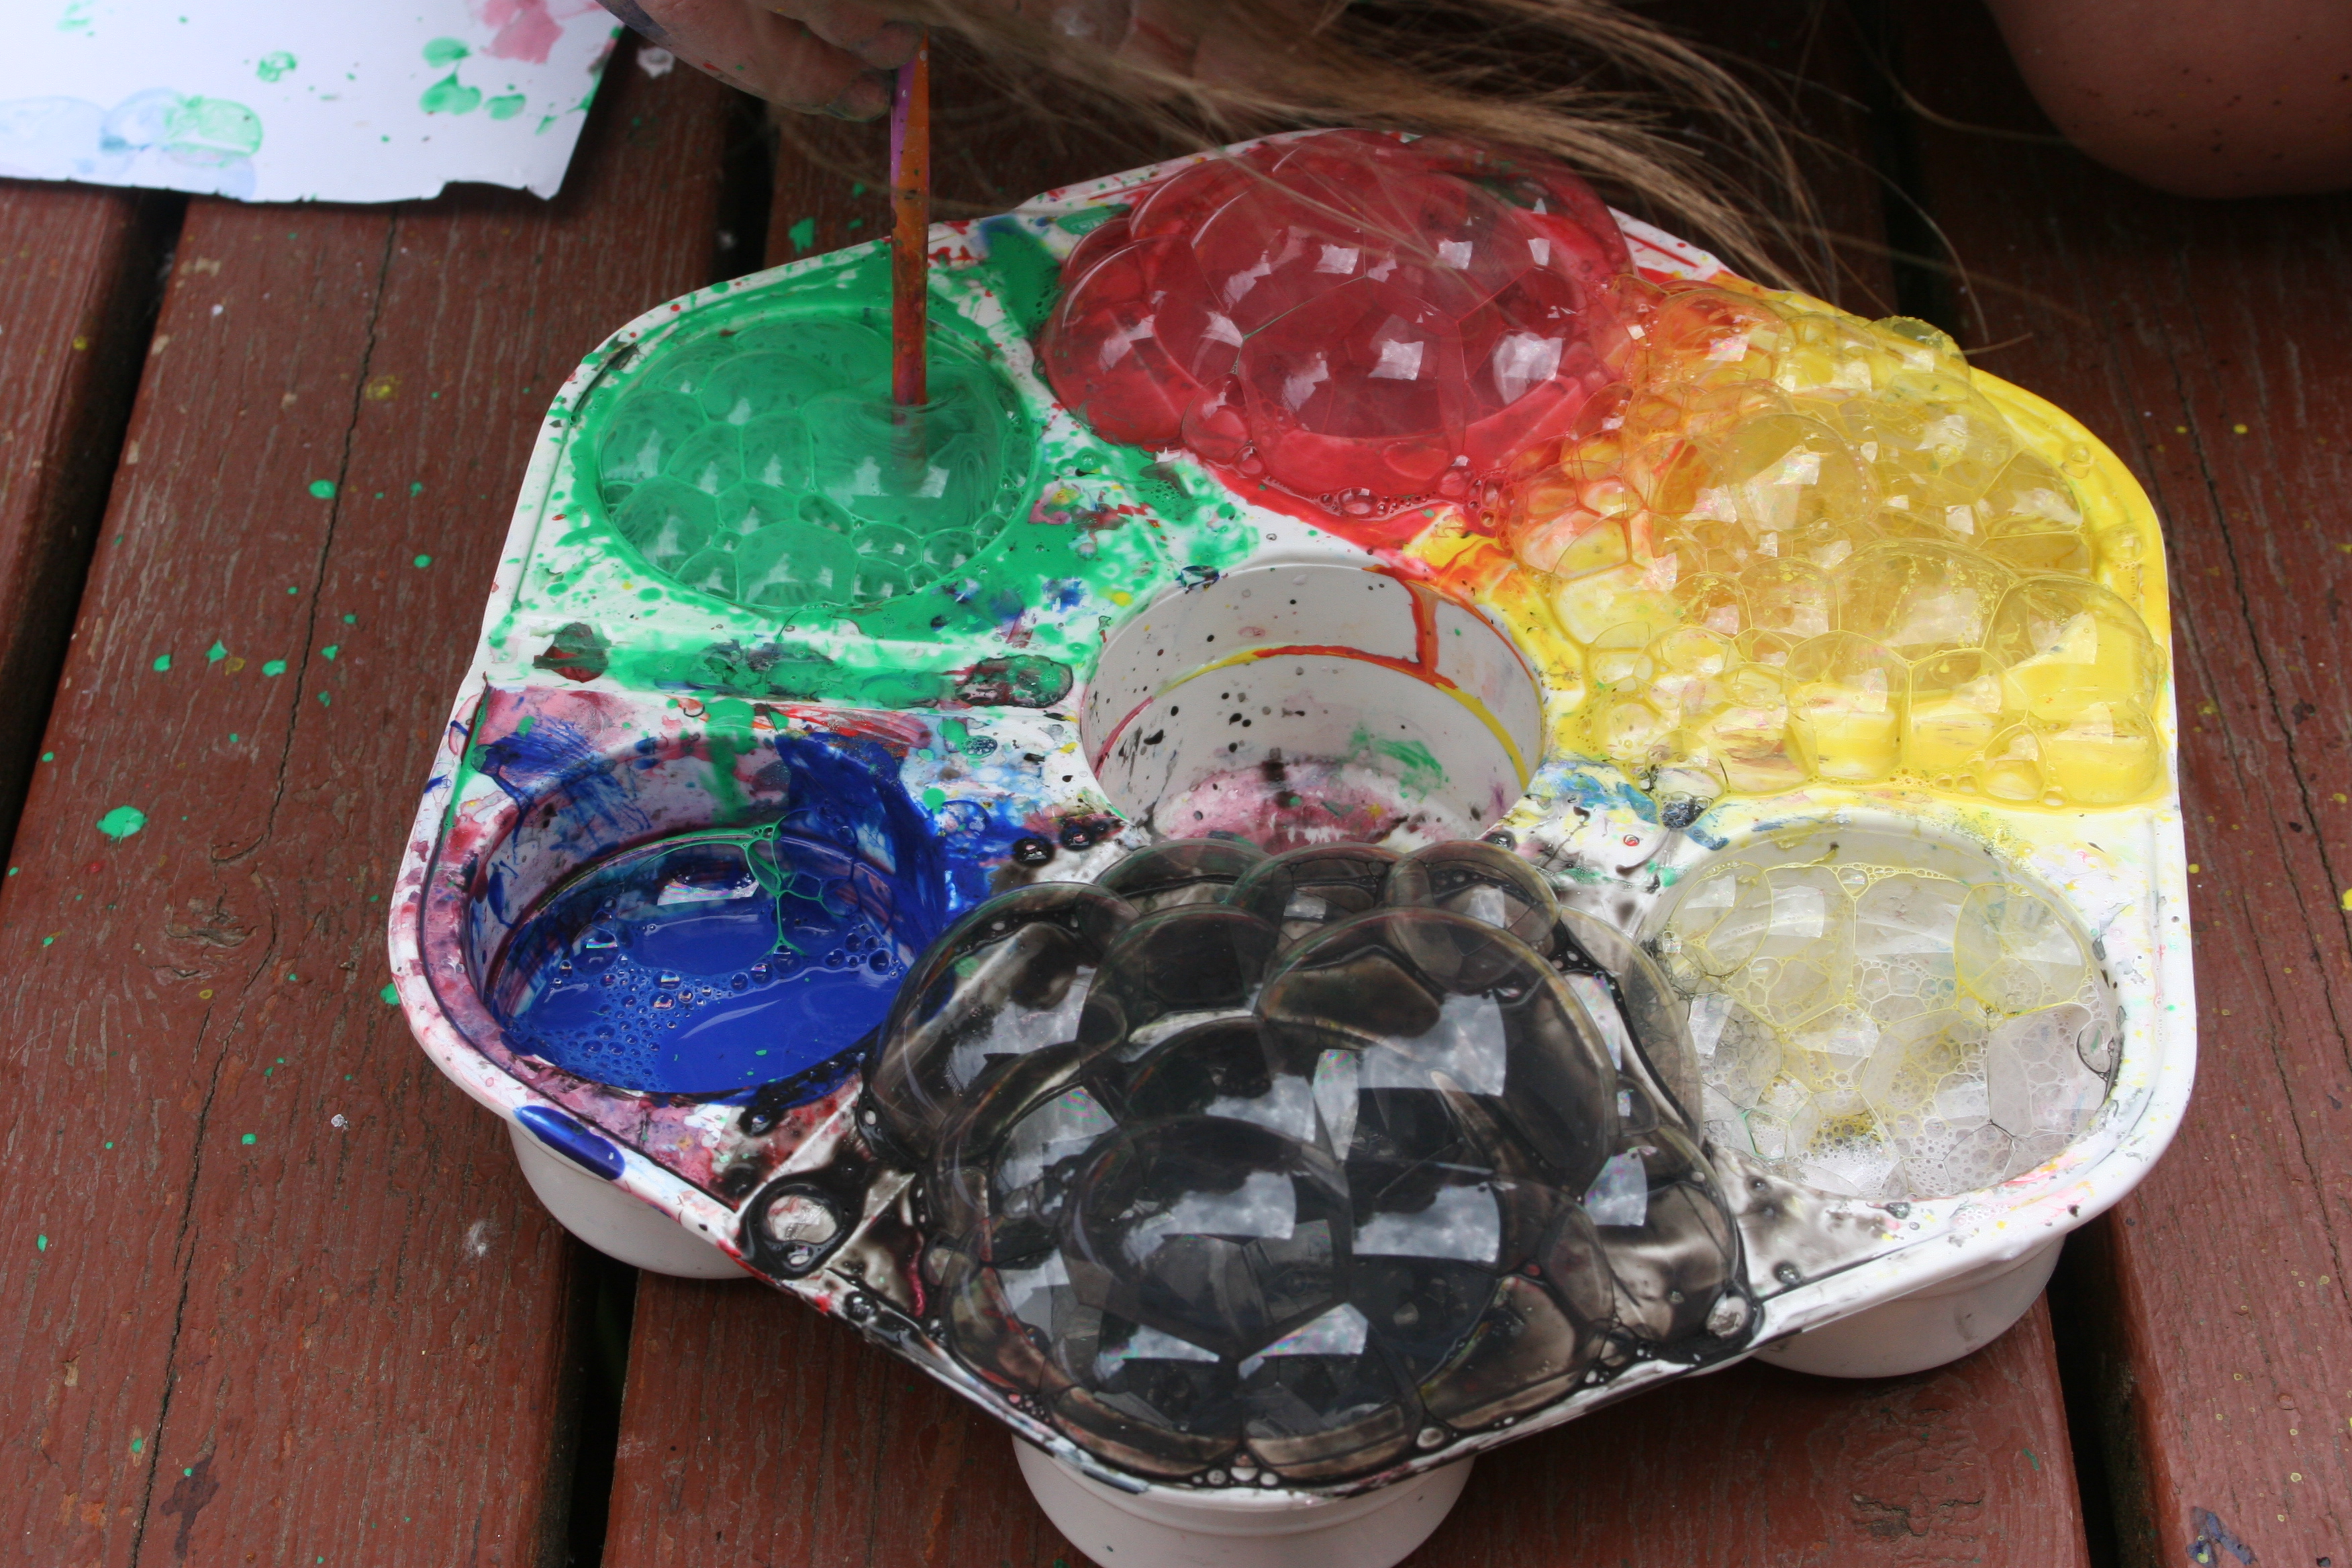
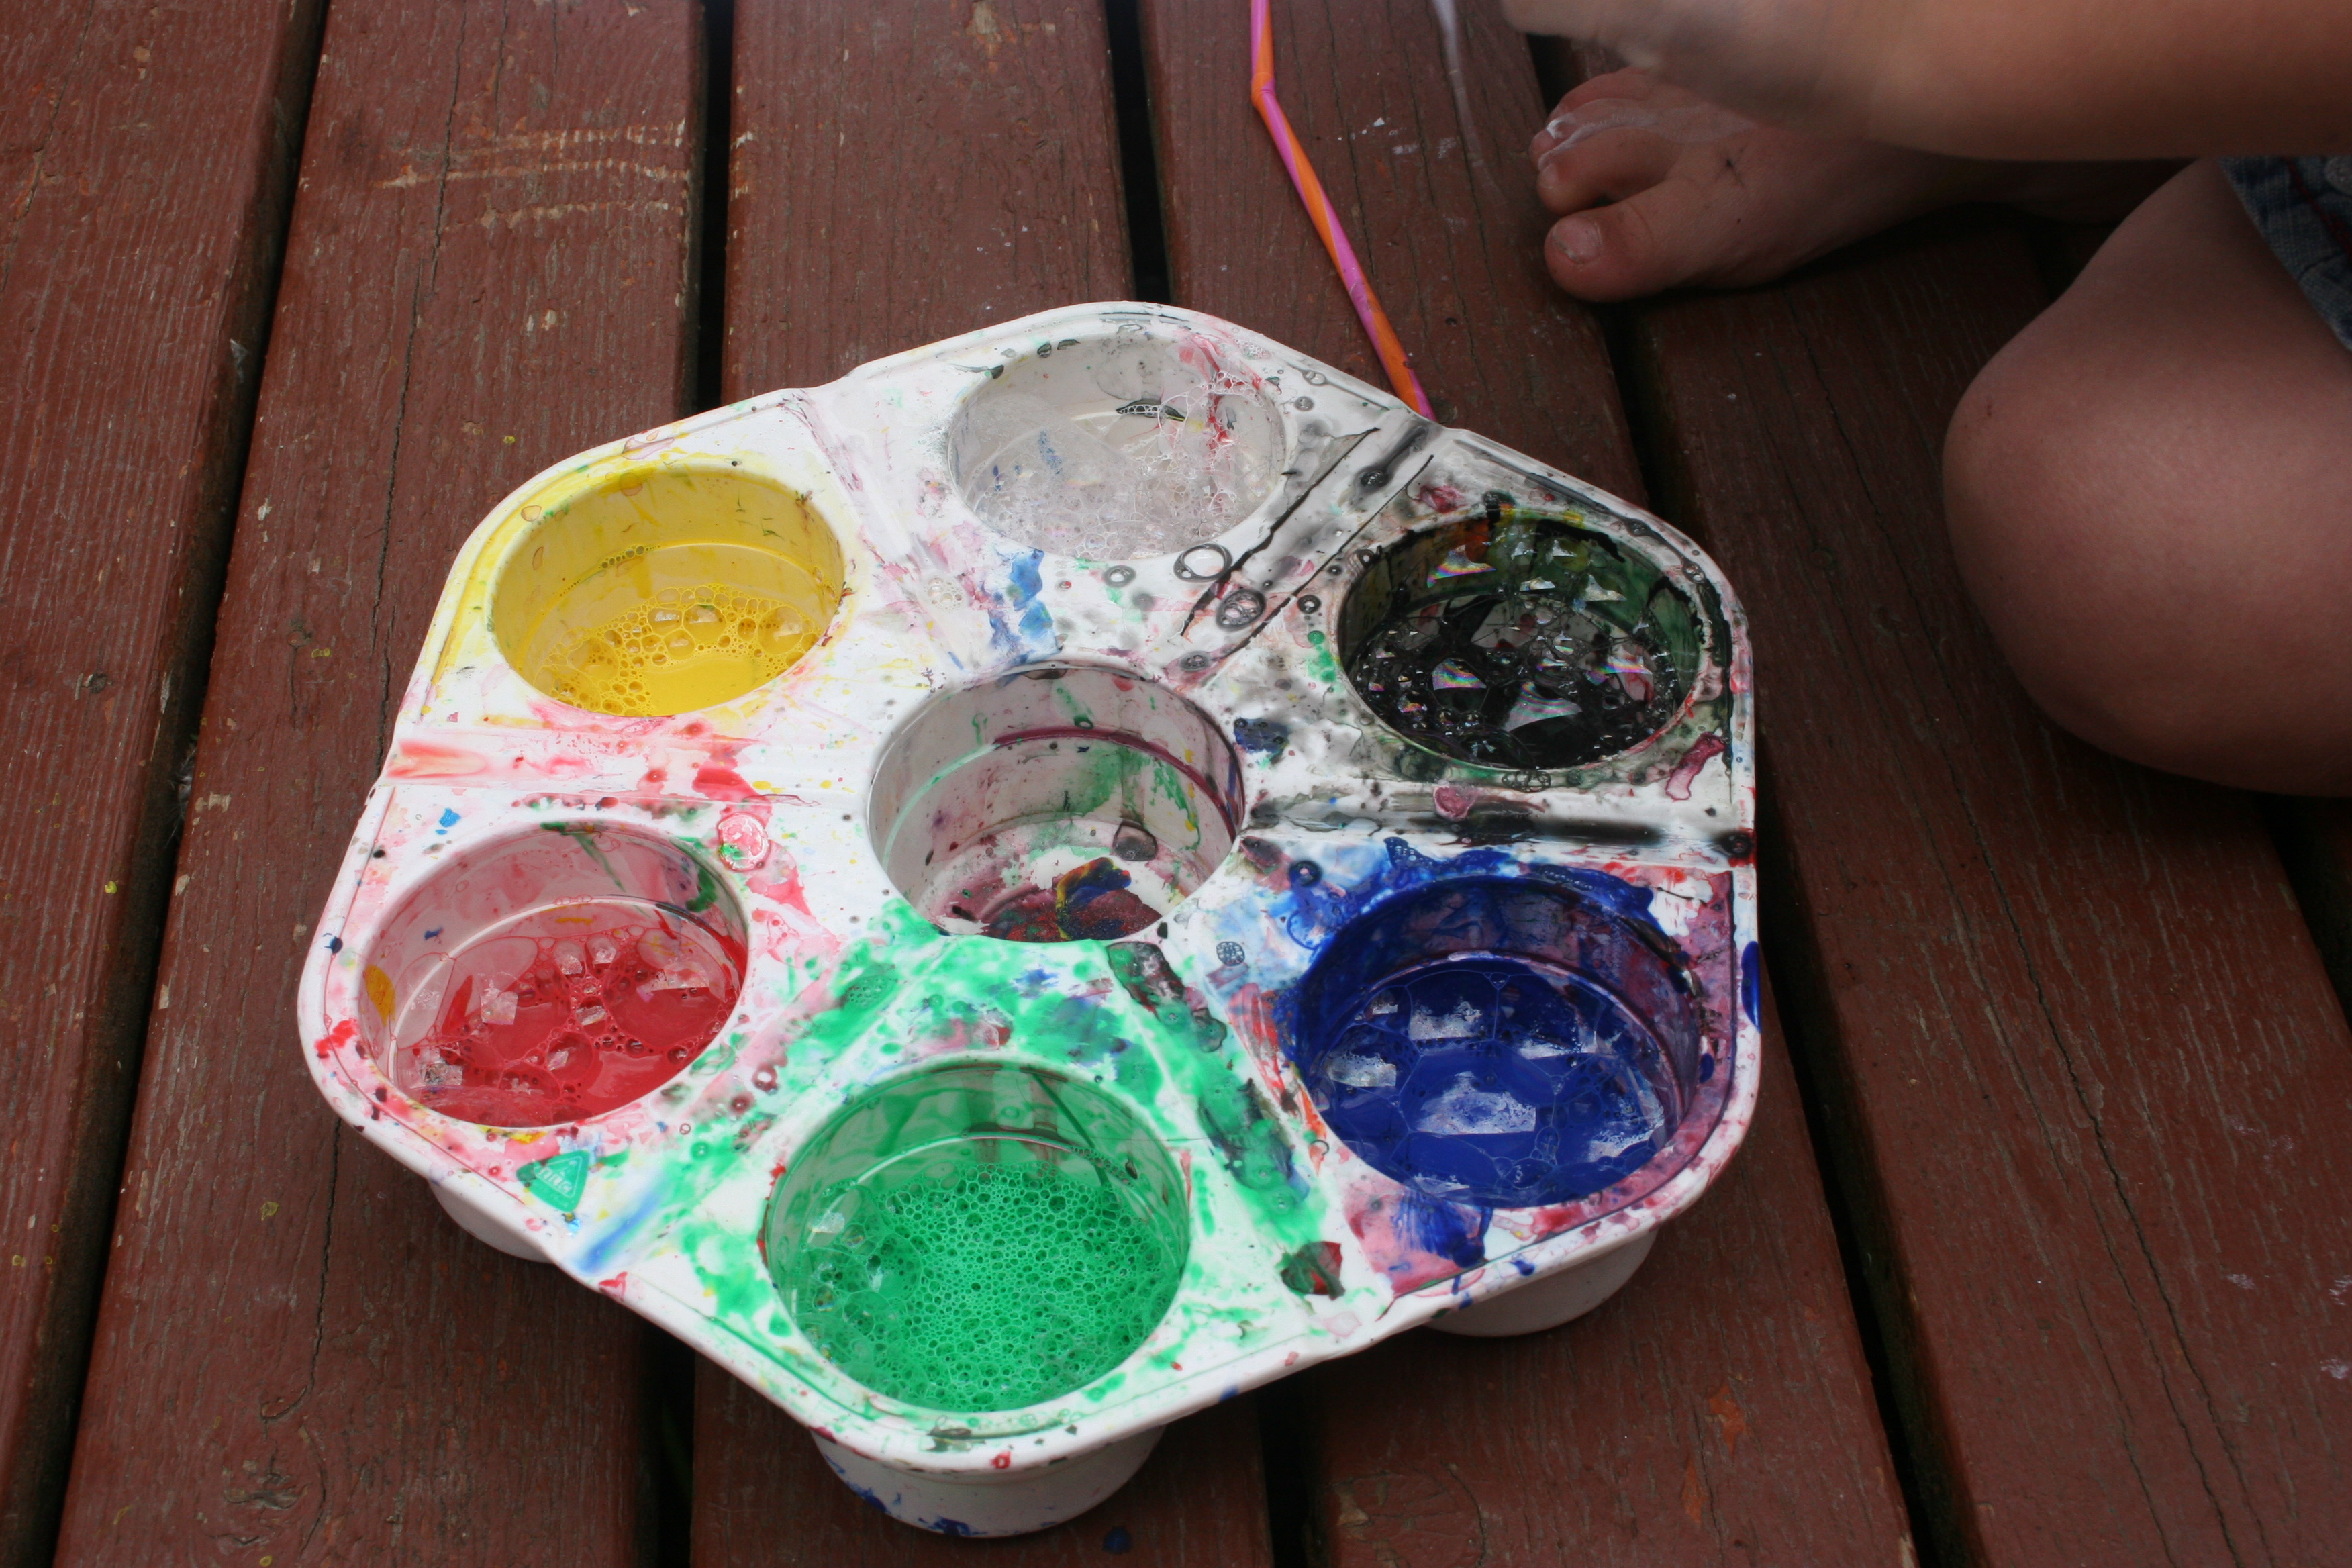
My kids love messy activities but sometimes it’s just a little too much to handle indoors.
We decided to do some outdoor painting.
A small amount of paint, a squirt of washing up liquid and a few drops of water were mixed in our pallet.
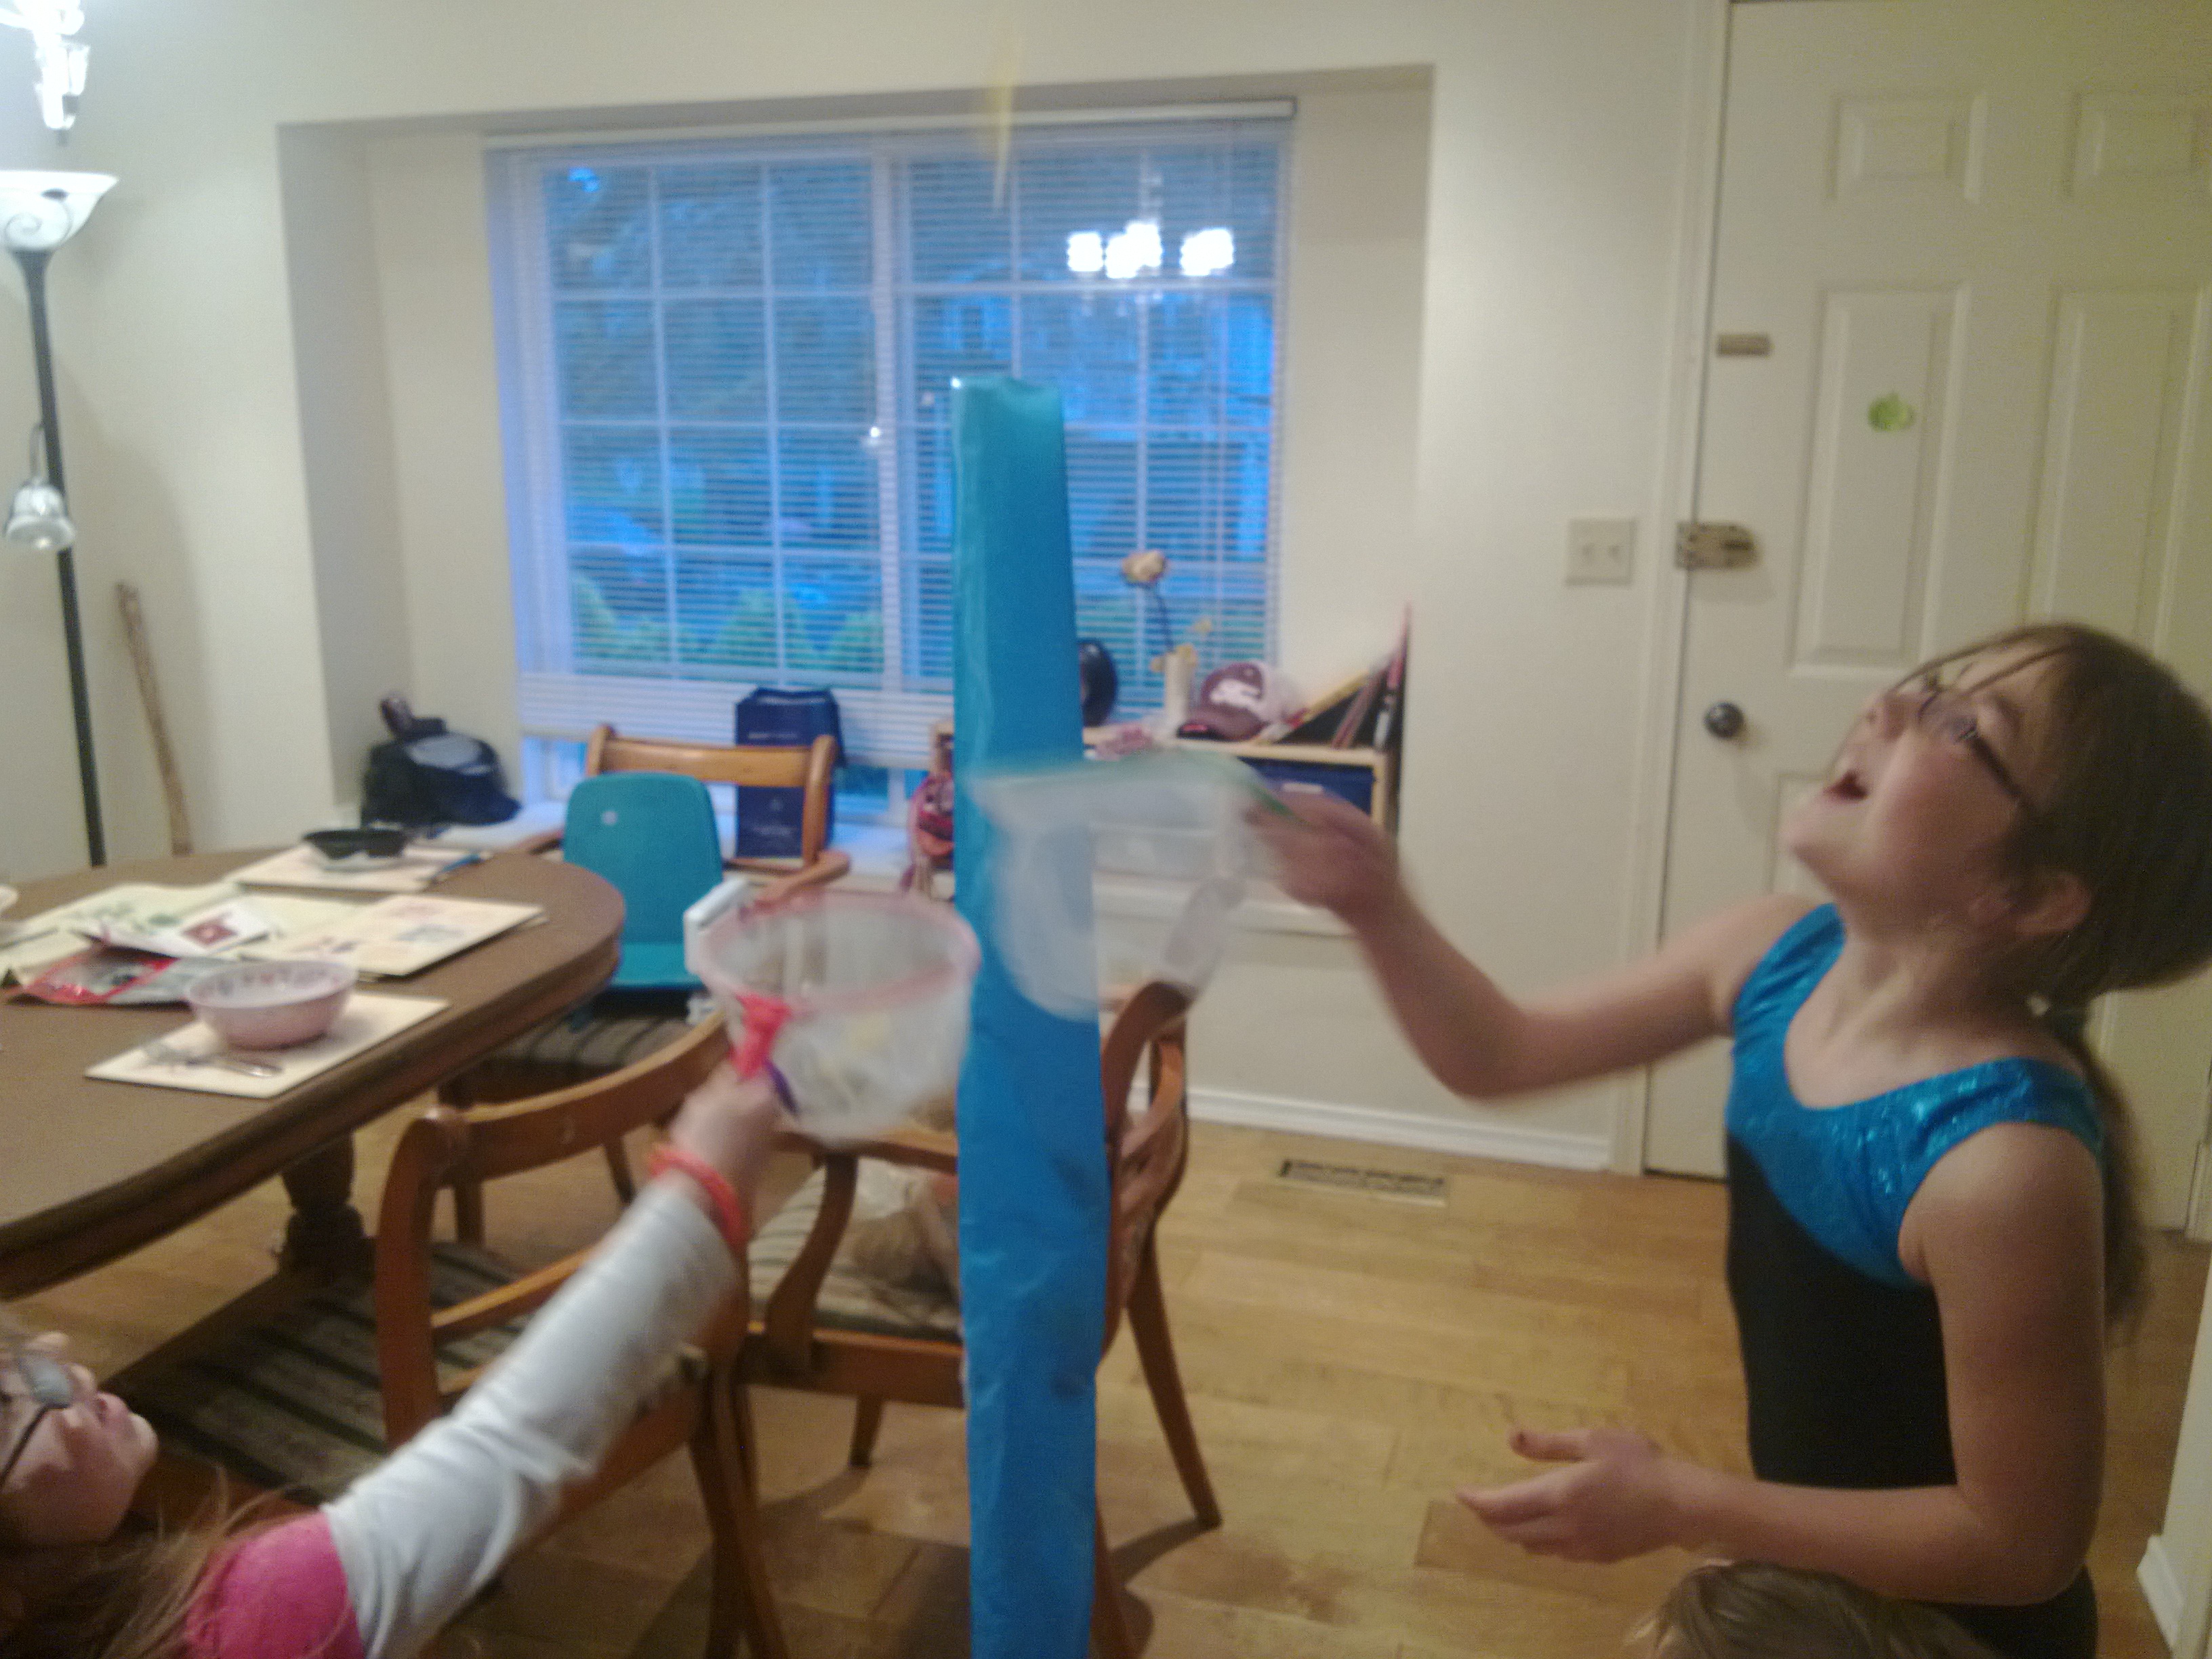
I showed my 4-year-old how to blow bubbles with a straw. We talked about the difference between blowing and sucking.
What will happen if you suck the straw?
I’ll drink the paint. Yuck!
It’s like the wind, the wind blows but it doesn’t suck.
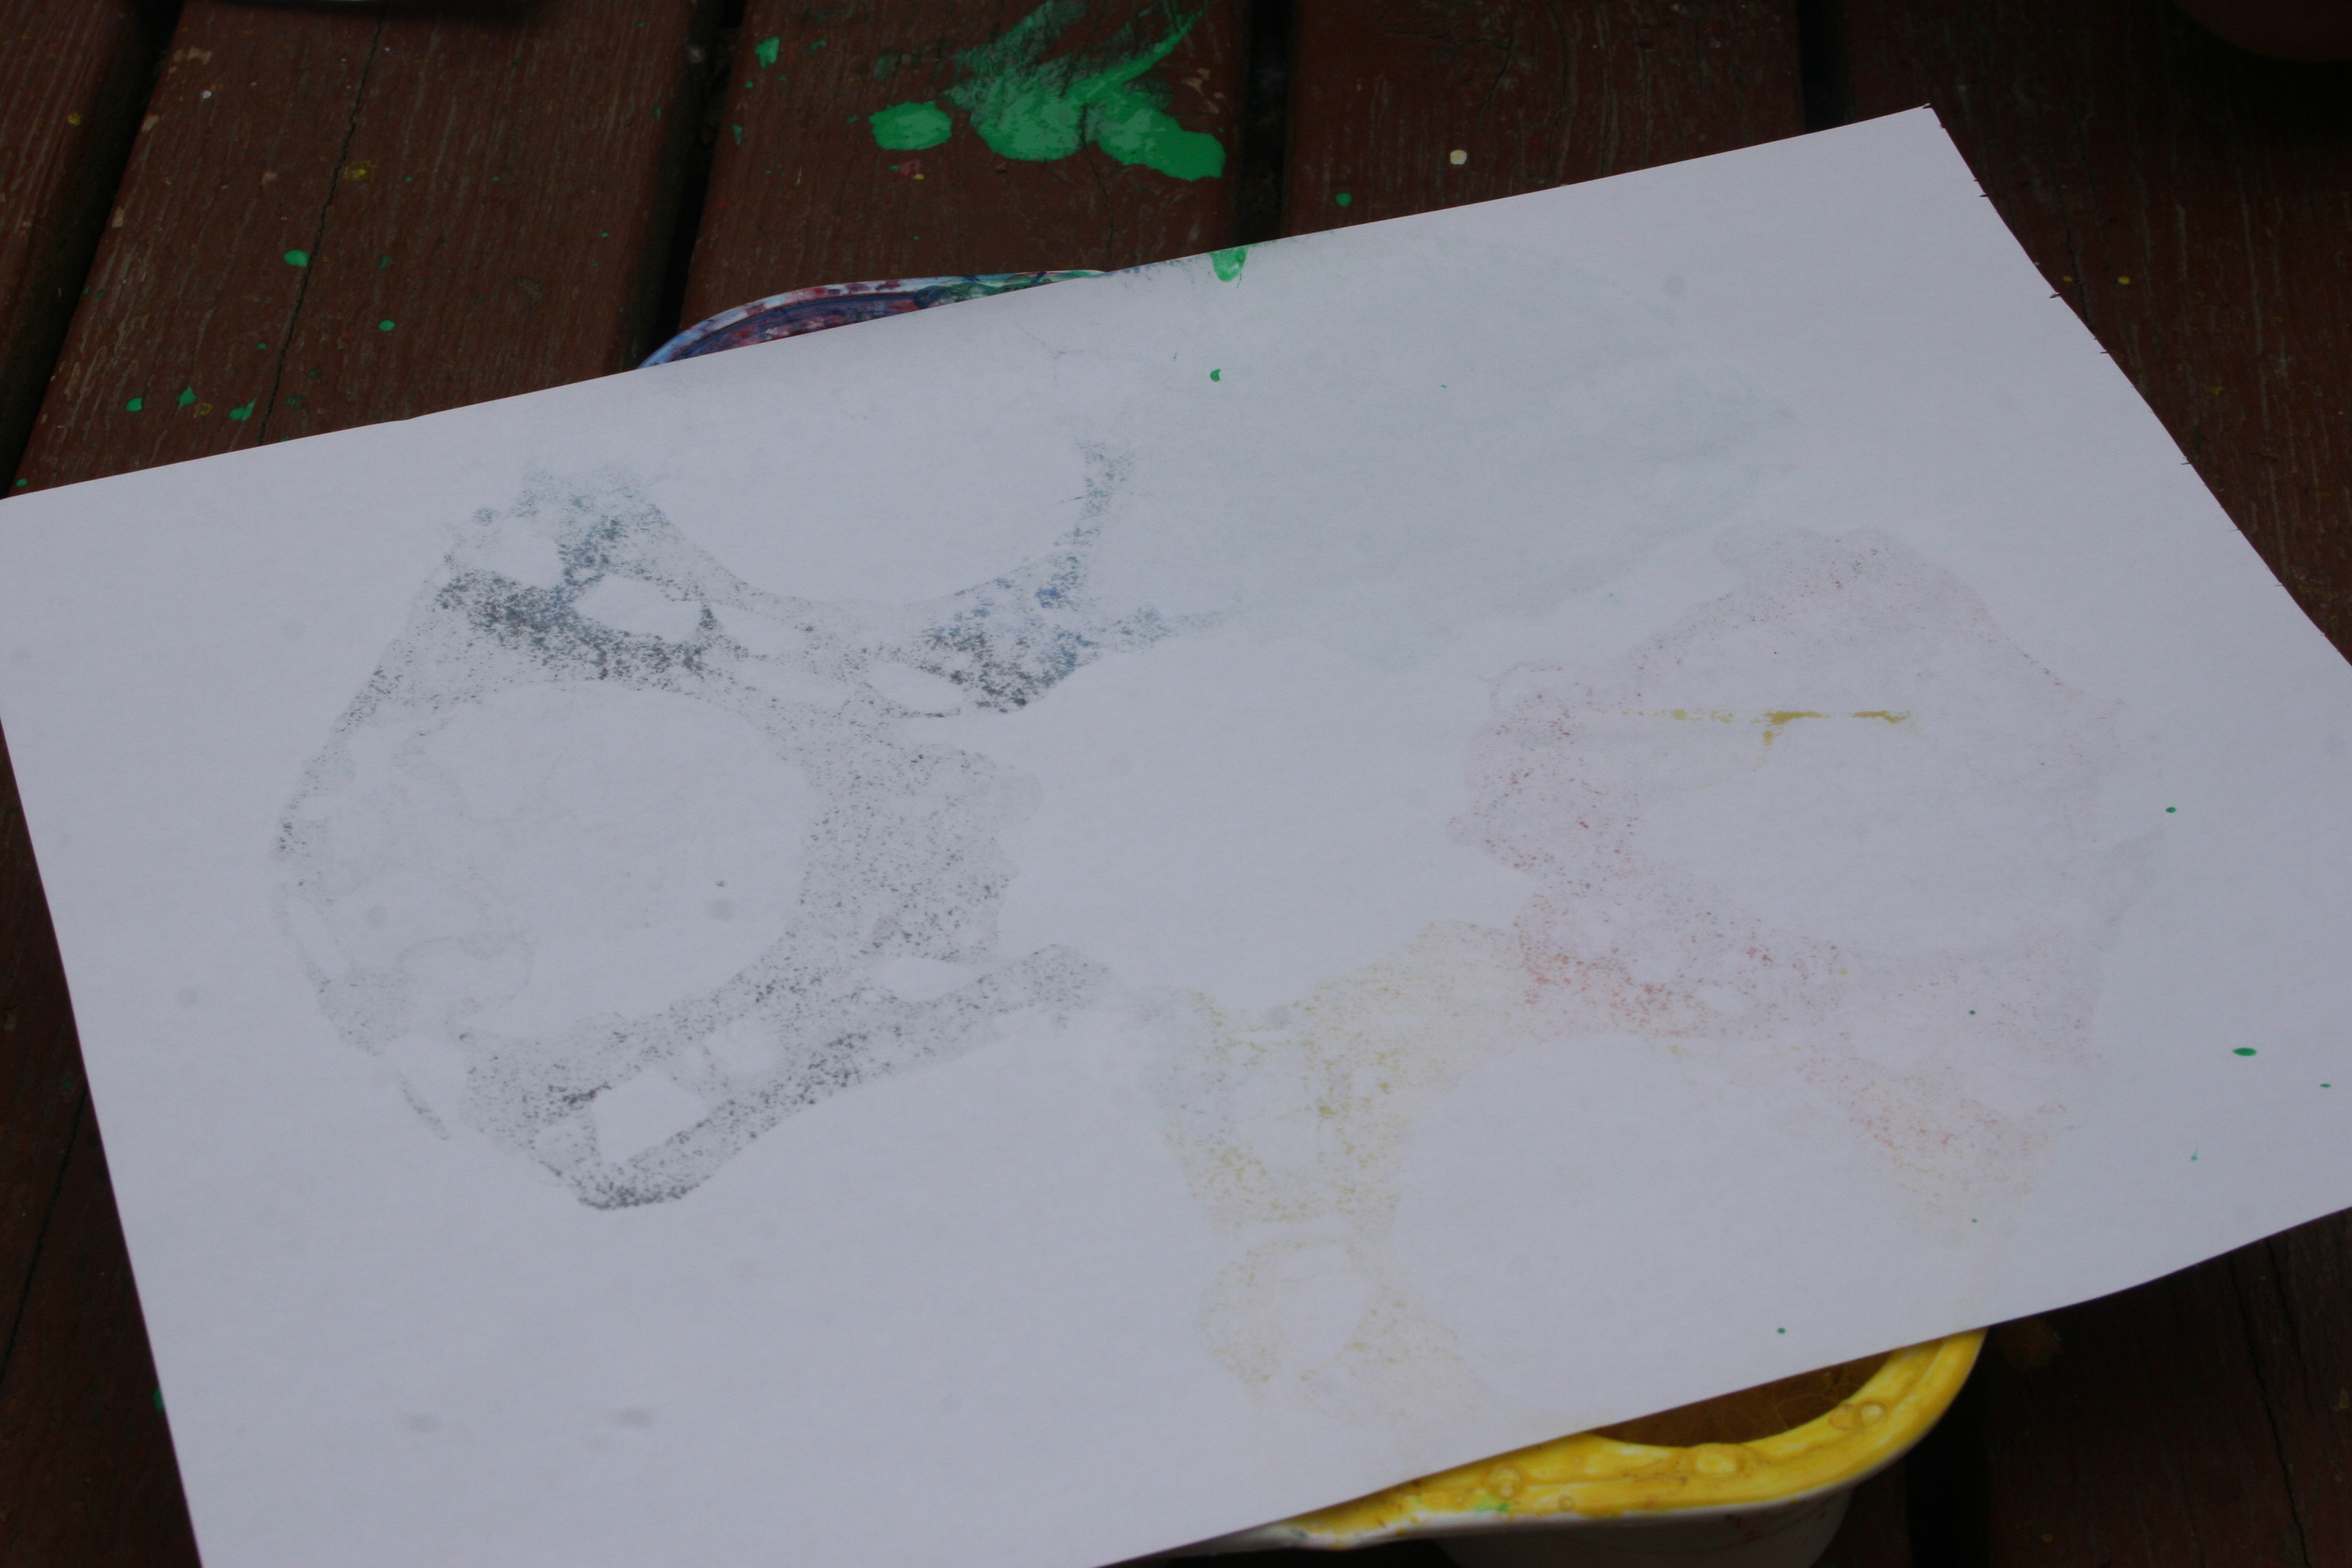
We tried to make the bubbles come over the top. We found that we needed to blow gently. They still didn’t quite bubble enough so we carefully added more water and tried again.
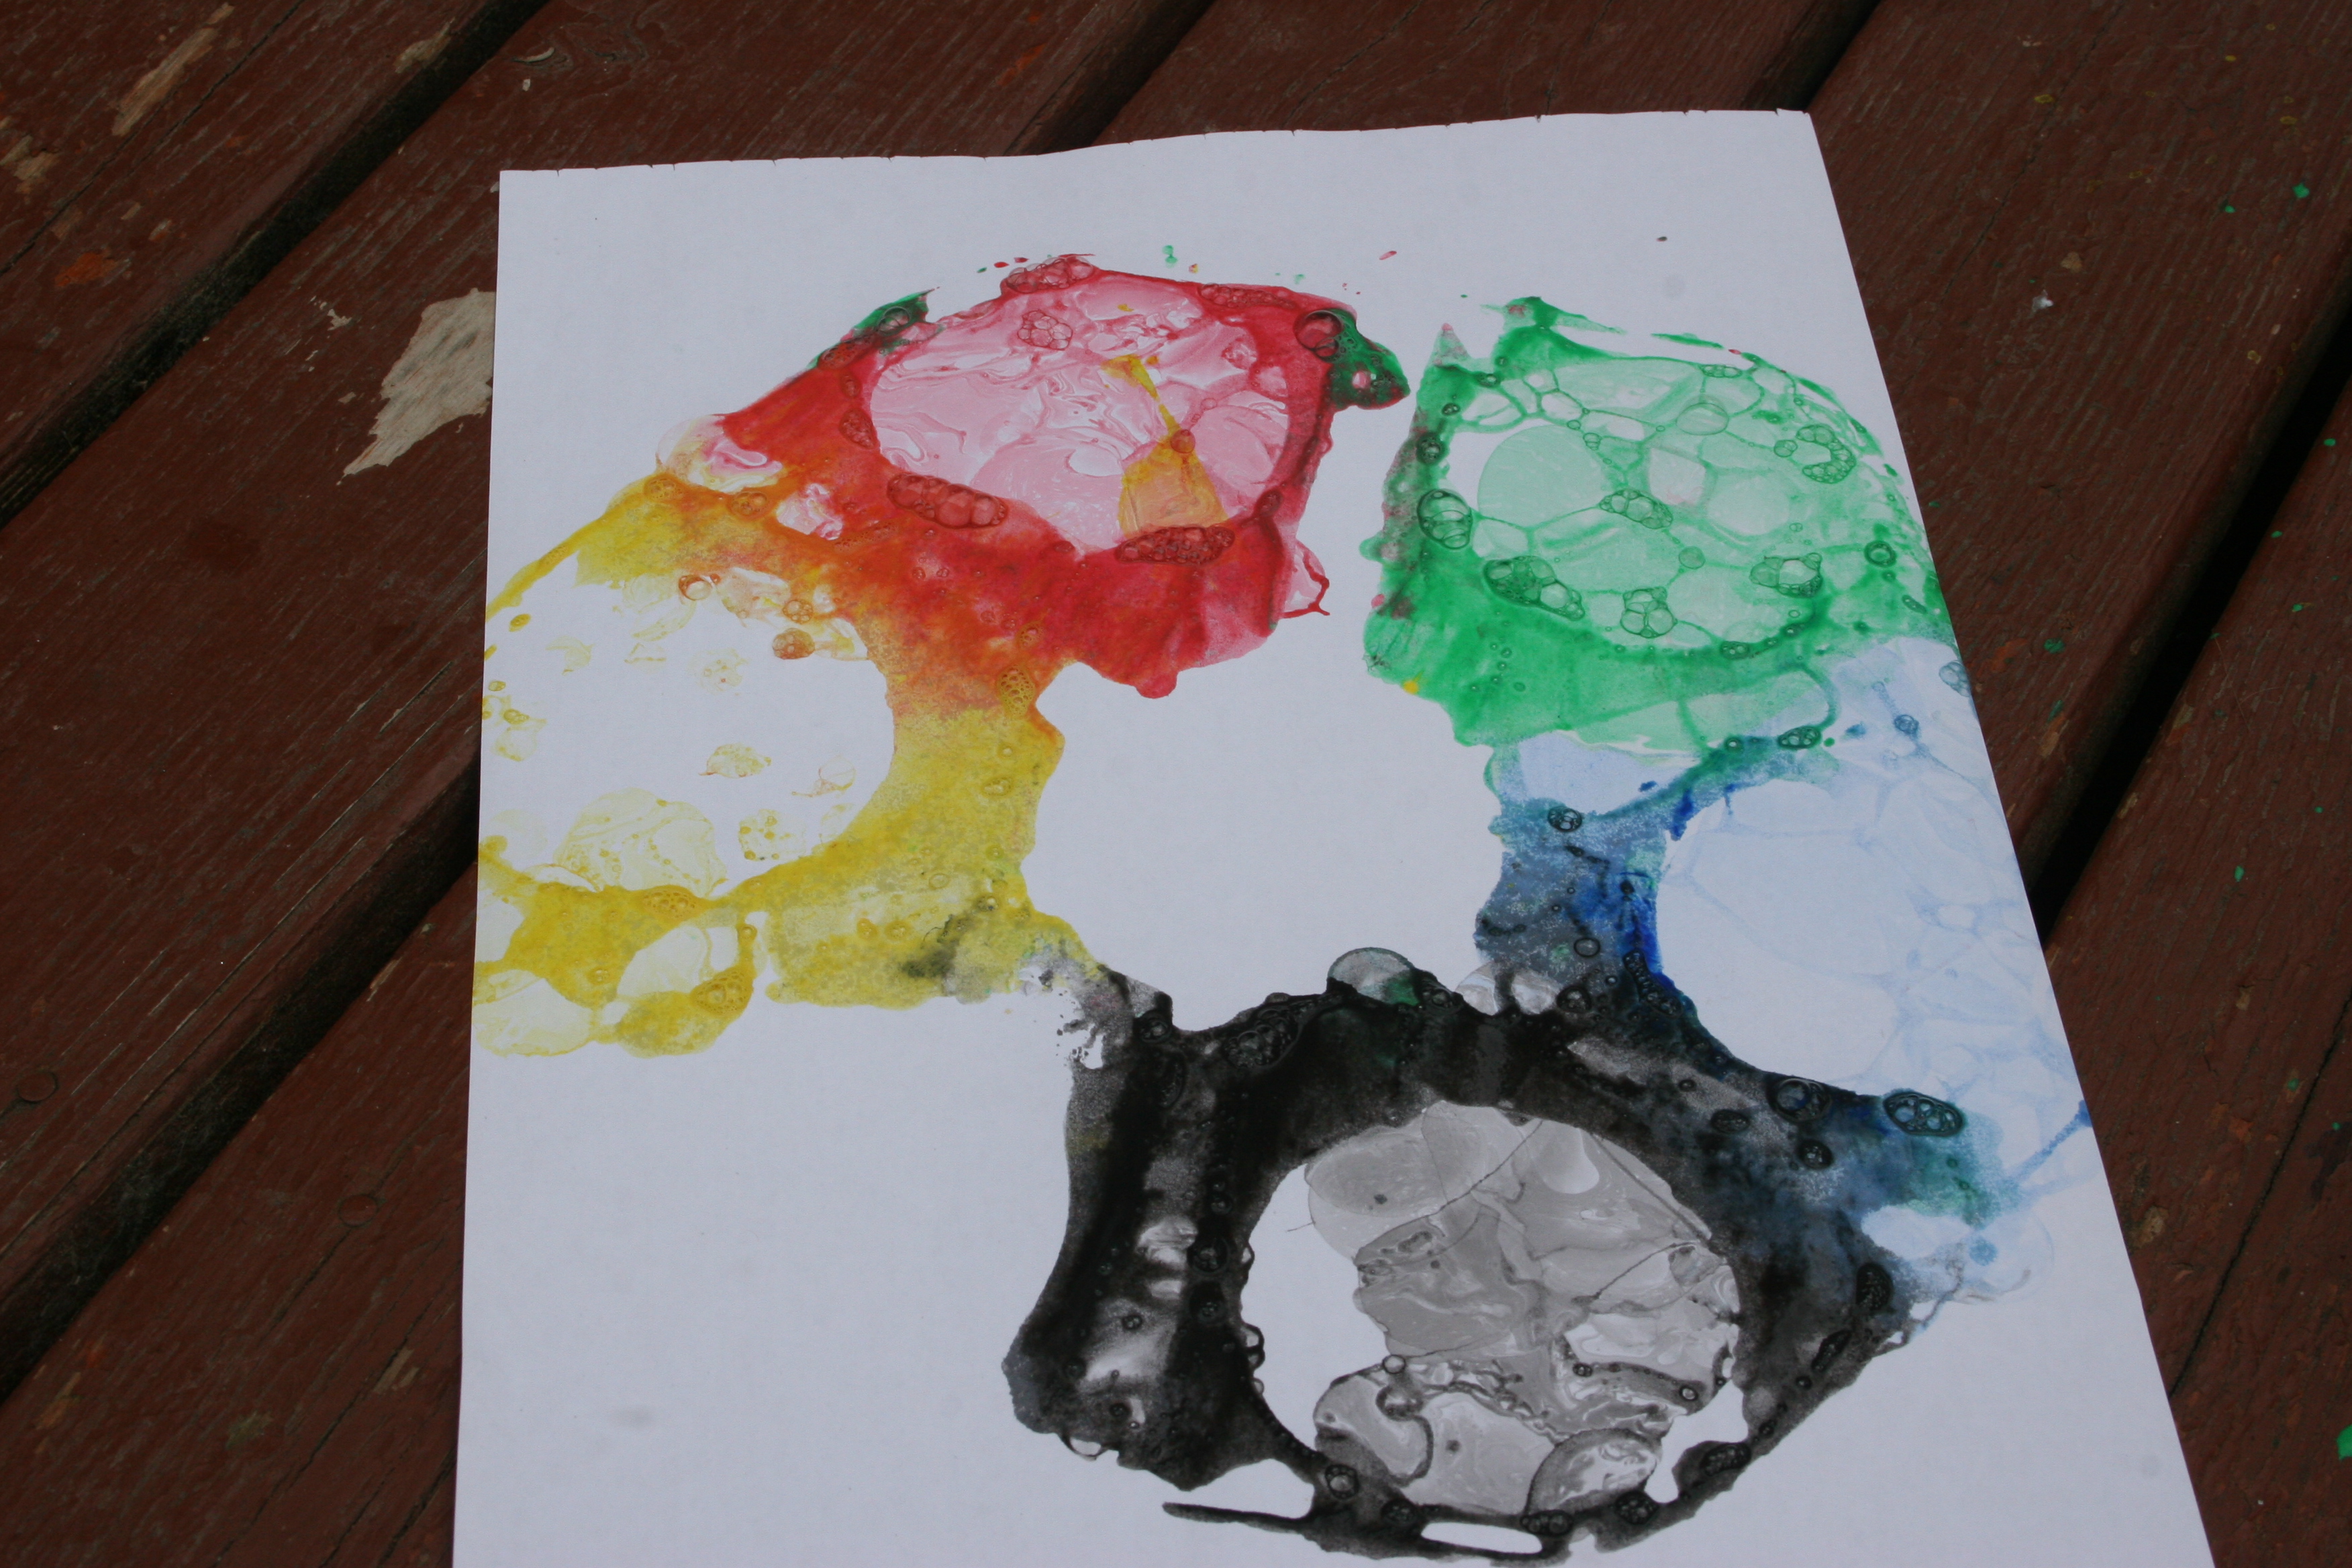
We placed the paper on top to make bubble patterns.
Next she made a bubbly hand print.
Time to get clean.
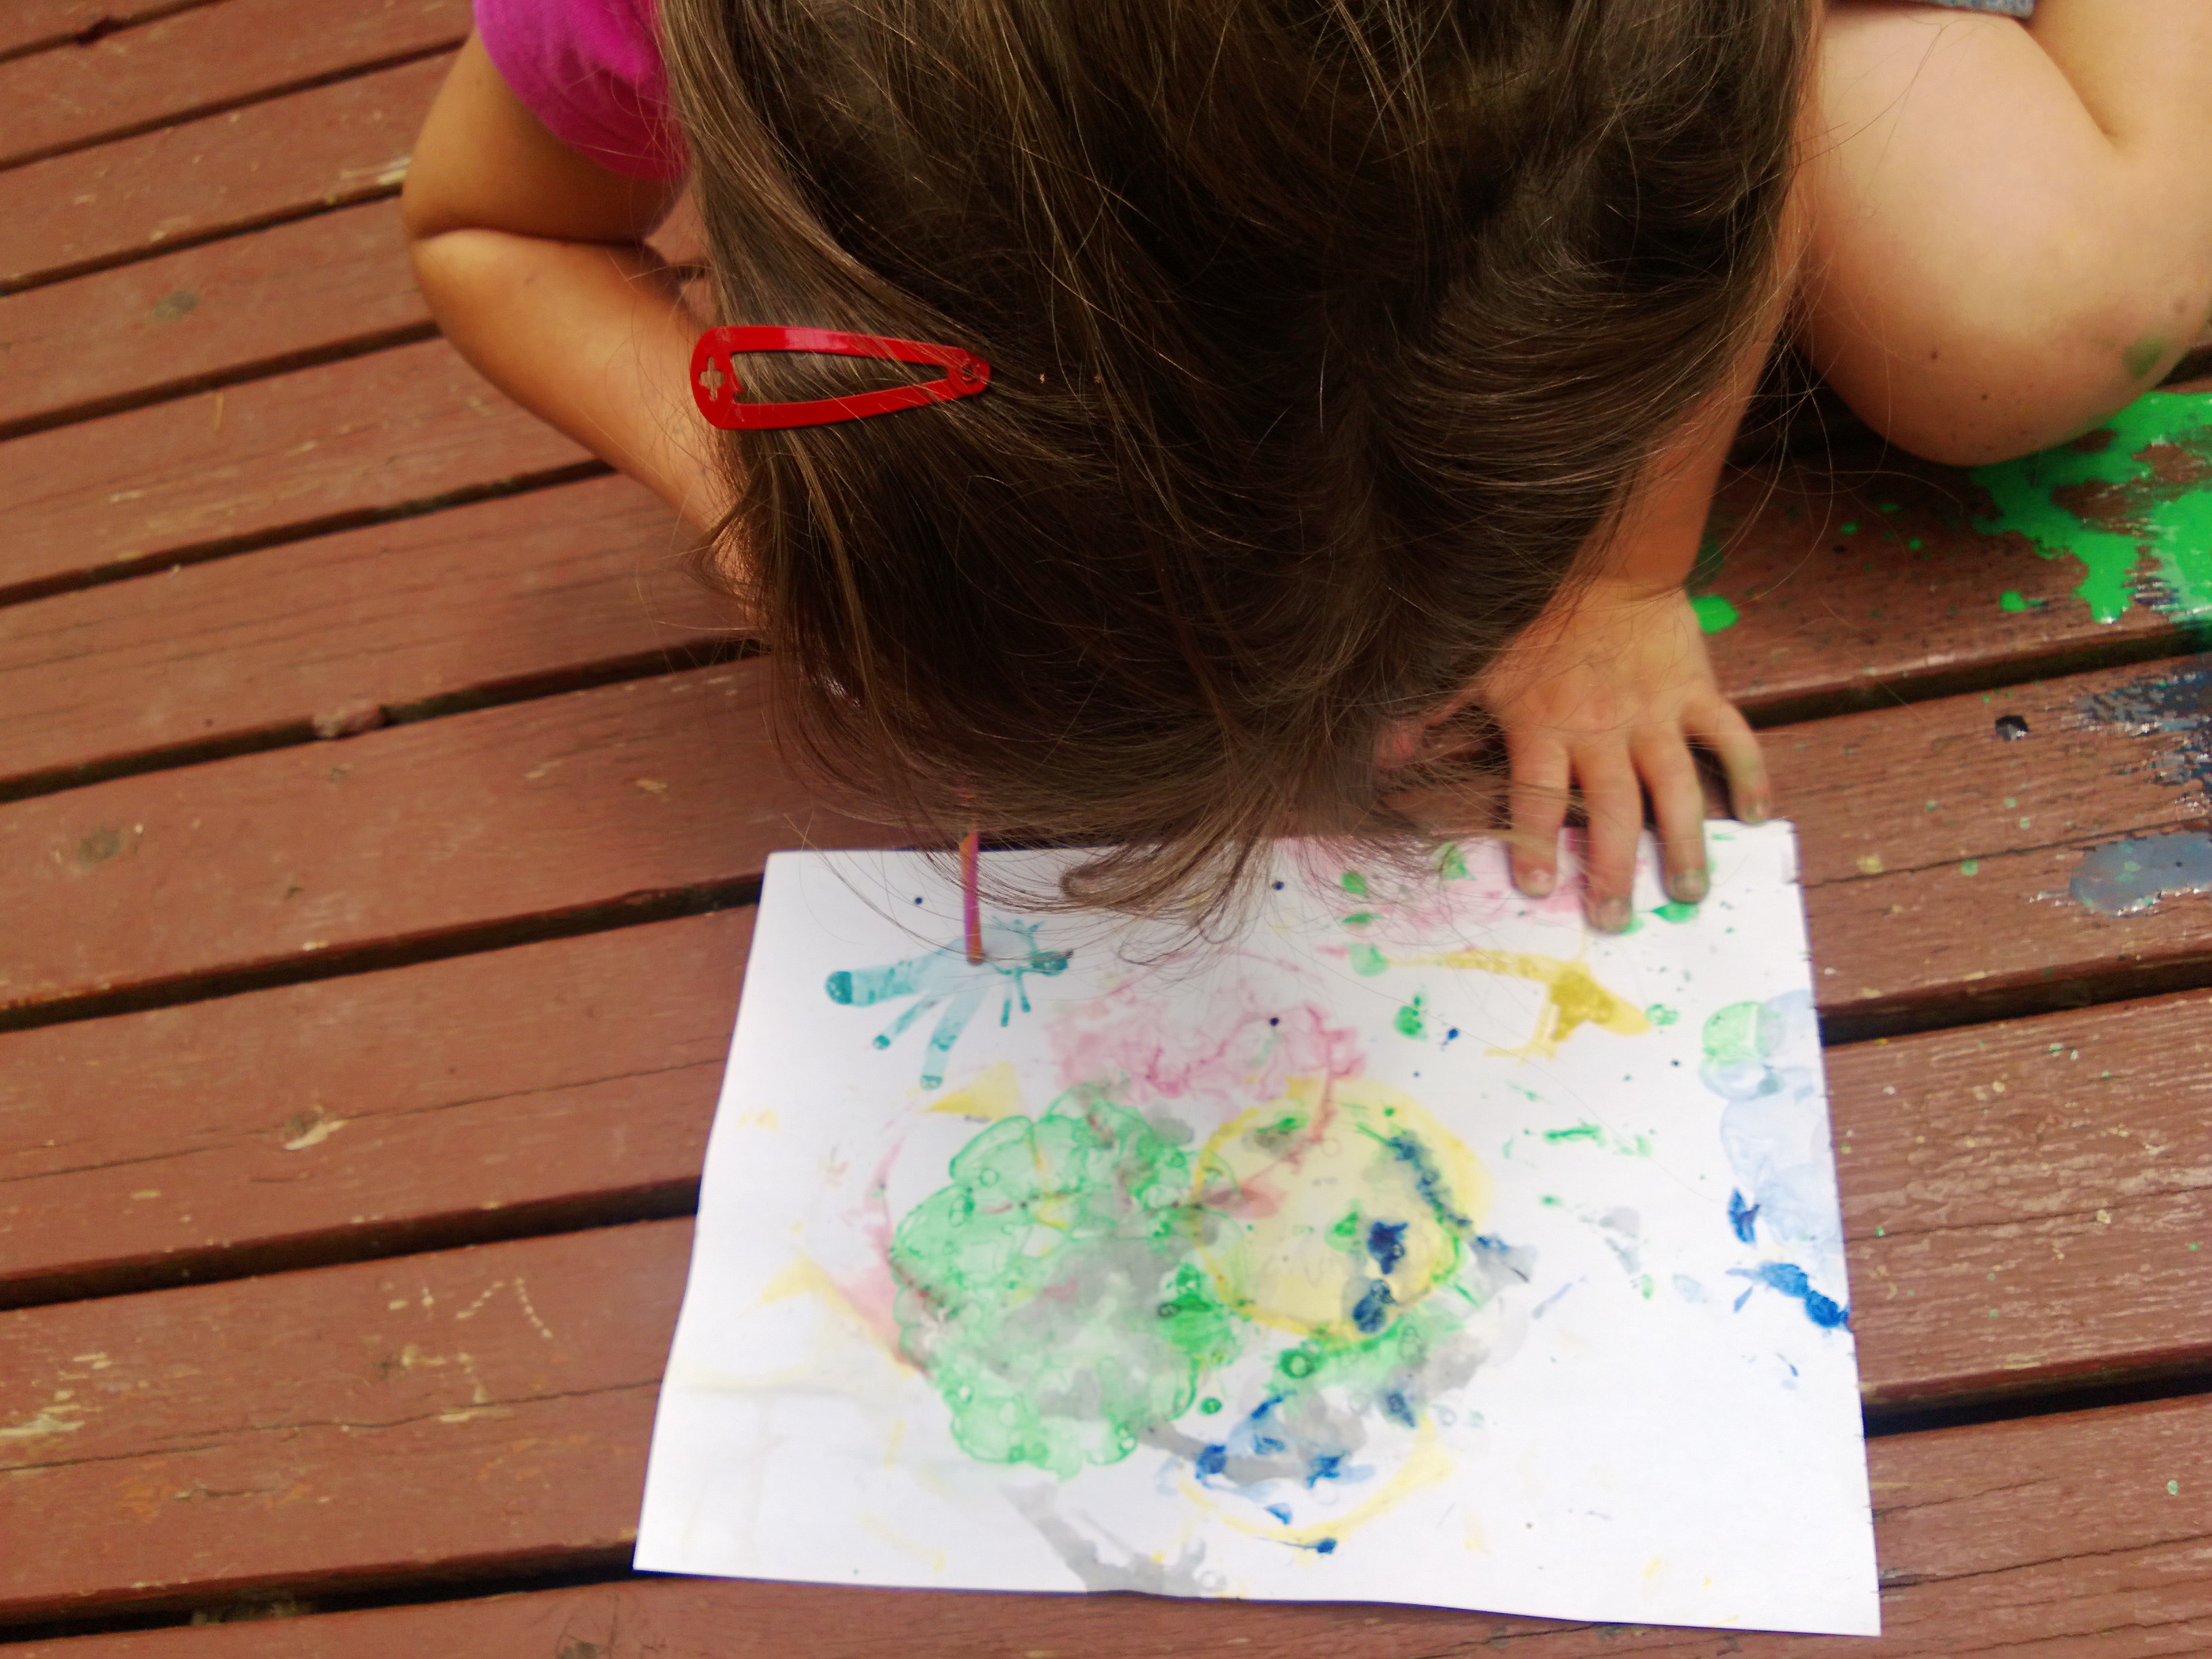
When the paint overflowed onto the deck she discovered that you could do something else with the straw.
The paint moves and makes patterns when you blow it with a straw.
Blowing the paint on the paper with the straw made a whole new type of painting.
This morning we were playing a game of Elefun, the game where fabric butterflies are blown from an elephant’s trunk for the children to catch in nets.
I know, let’s go and catch butterflies outside.
My 4-year -old quickly ran outside to look around the garden for butterflies. I explained that we needed to be quiet and still if we were to find any butterflies. Butterflies are attracted to red, yellow, pink and purple so we looked for flowers in these colours and waited.
I might find a butterfly, they like red and yellow so they might land in my net.
If we are very quiet we might catch a butterfly.
The hunt for butterflies was not very successful so they started to look for other creatures instead.
I’m trying to catch butterflies. what else can I find to put in my net?
No butterflies in here.
These leaves are really soft. We’re not allowed to pick them but we are allowed to stroke them.
No butterflies but lots of bees
They found a woodlouse (or roly-poly as the kids here call them) and lots of bees but no butterflies.
I know let’s make some butterflies out of paper.
I cut out some paper butterflies. The girls wanted to decorate them with stickers but I could only find white ones.
I know let’s draw patterns on the white ones. Now you hide them and we can find them and catch them in our nets.
We didn’t have any coloured stickers so the girls decorated white ones
The finished butterfly, without instruction my daughter decorated it with Symmetrical wings. ‘Butterflies never have 2 wings that are different’.
I hid them in the bushes. Found one! Now I have 1,2,3.4 butterflies, only 4 left to find.