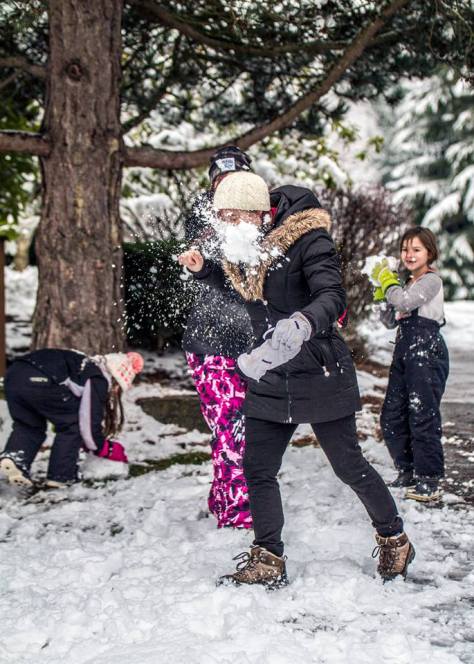
A snow day is always a treat but after a few days off school, enthusiasm wanes. Try some of these snow day play activities to keep your kids entertained.
Sledging
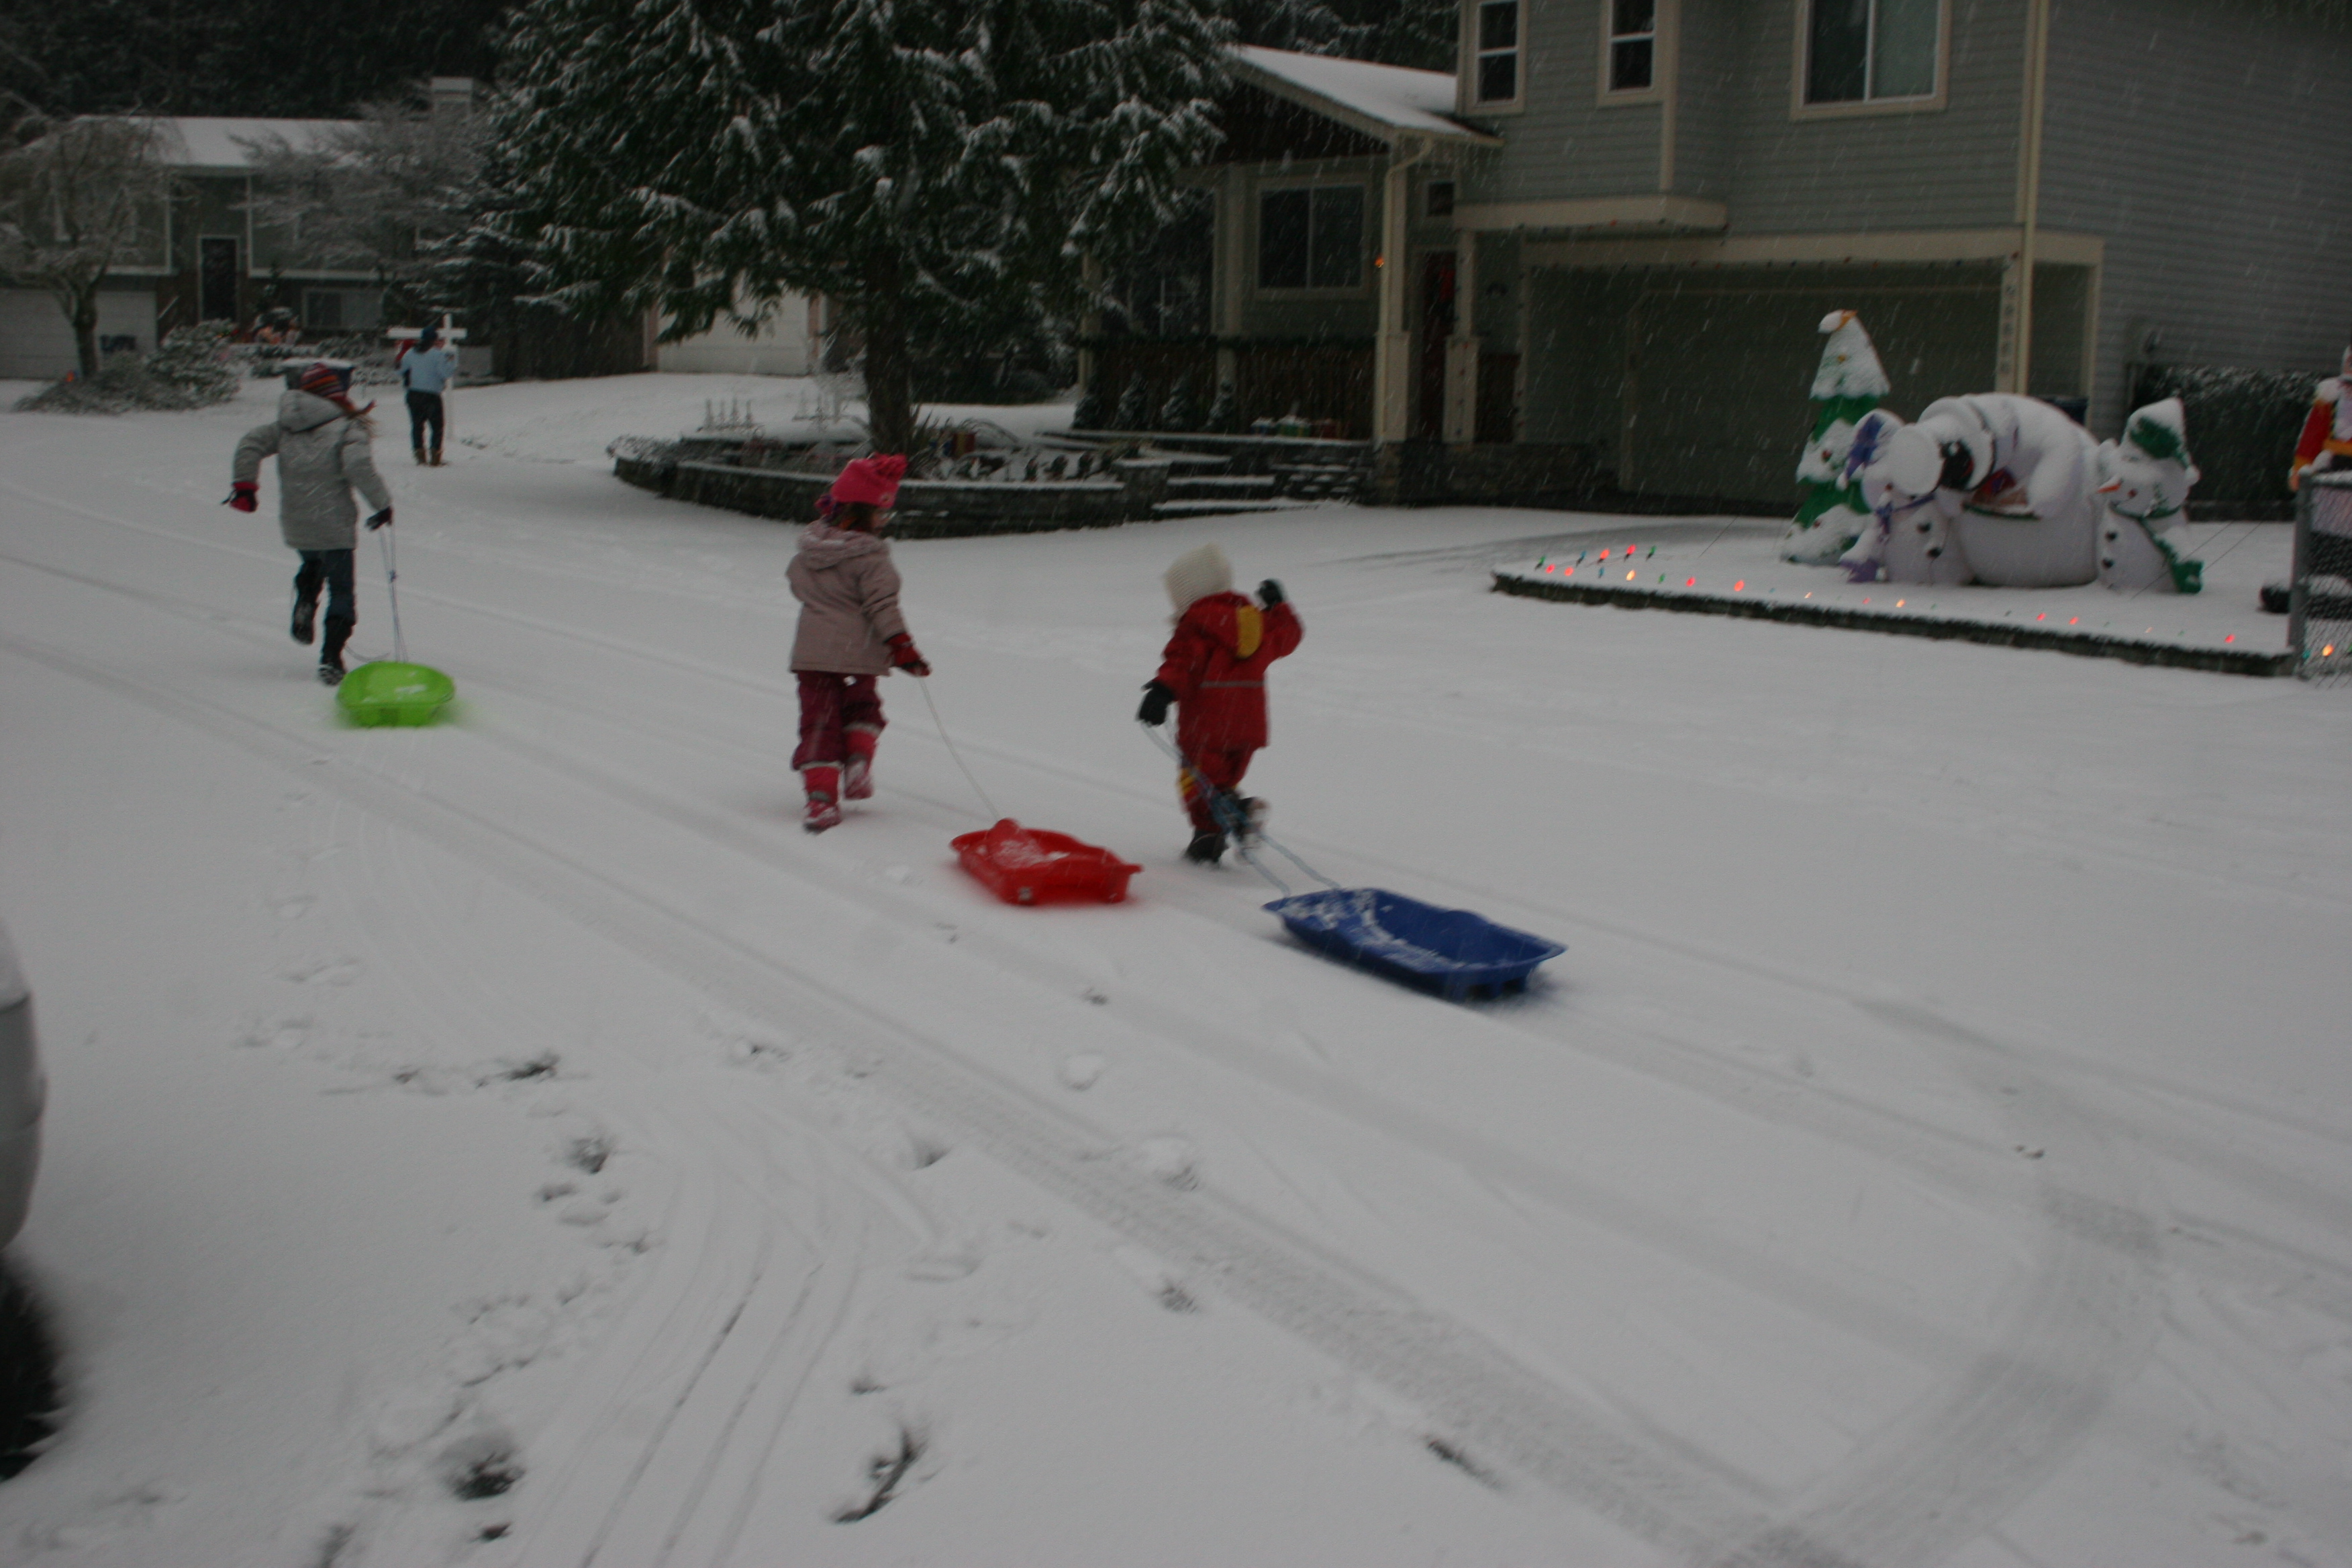
Sledging is always great fun, it was always my favourite snow activity as a kid. You could shake it up a bit with some Winter Olympic themed bobsledding. Lie on your front while being pushed down the hill shouting oy, oy, oy. You could race one another too.
Snowmen
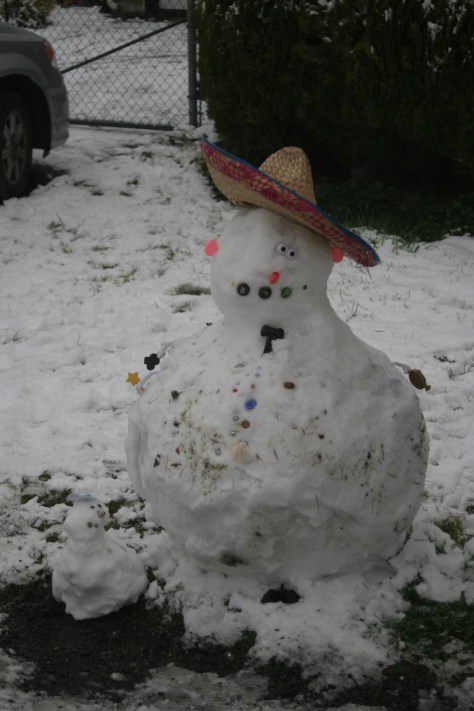
See if you can roll a really big ball to make a body. Sometimes kids find this difficult but if you I start it off and everyone joins in to help, it is lots of fun.
This slideshow requires JavaScript.
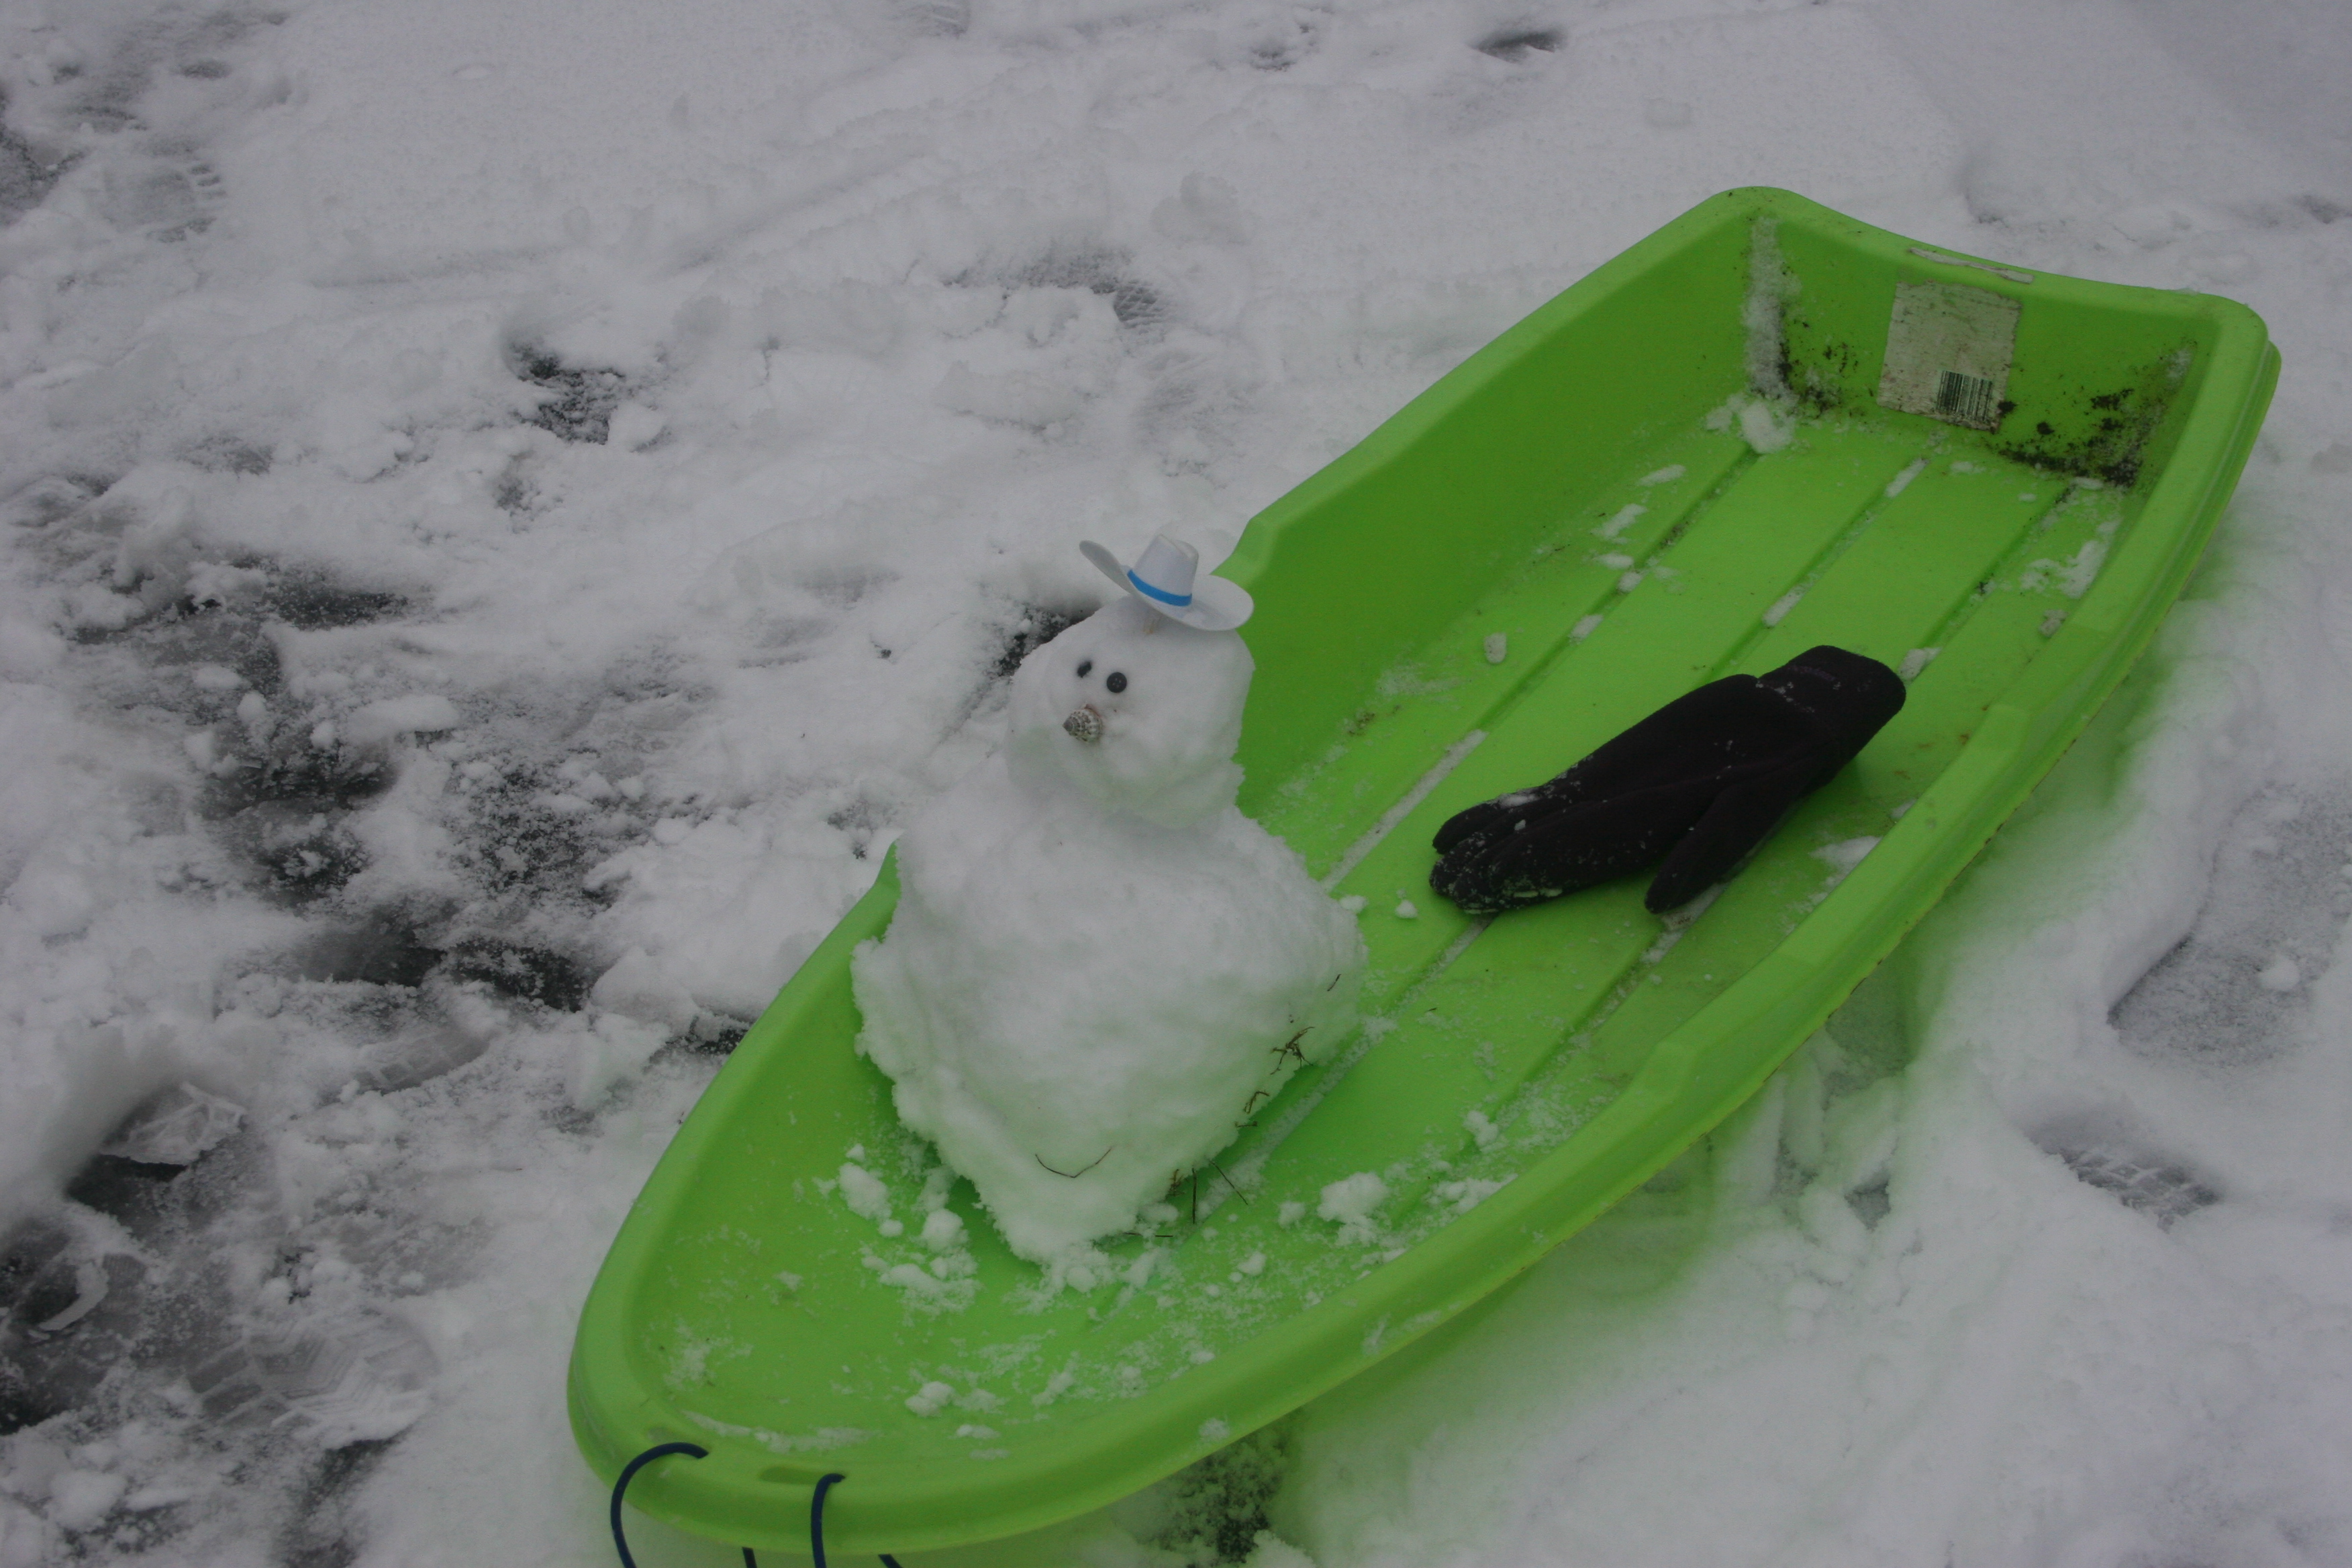
Make a baby snowman and pull it along on a sledge.
Add accessories such as buttons, hats and scarves or Mr Potato Head features.
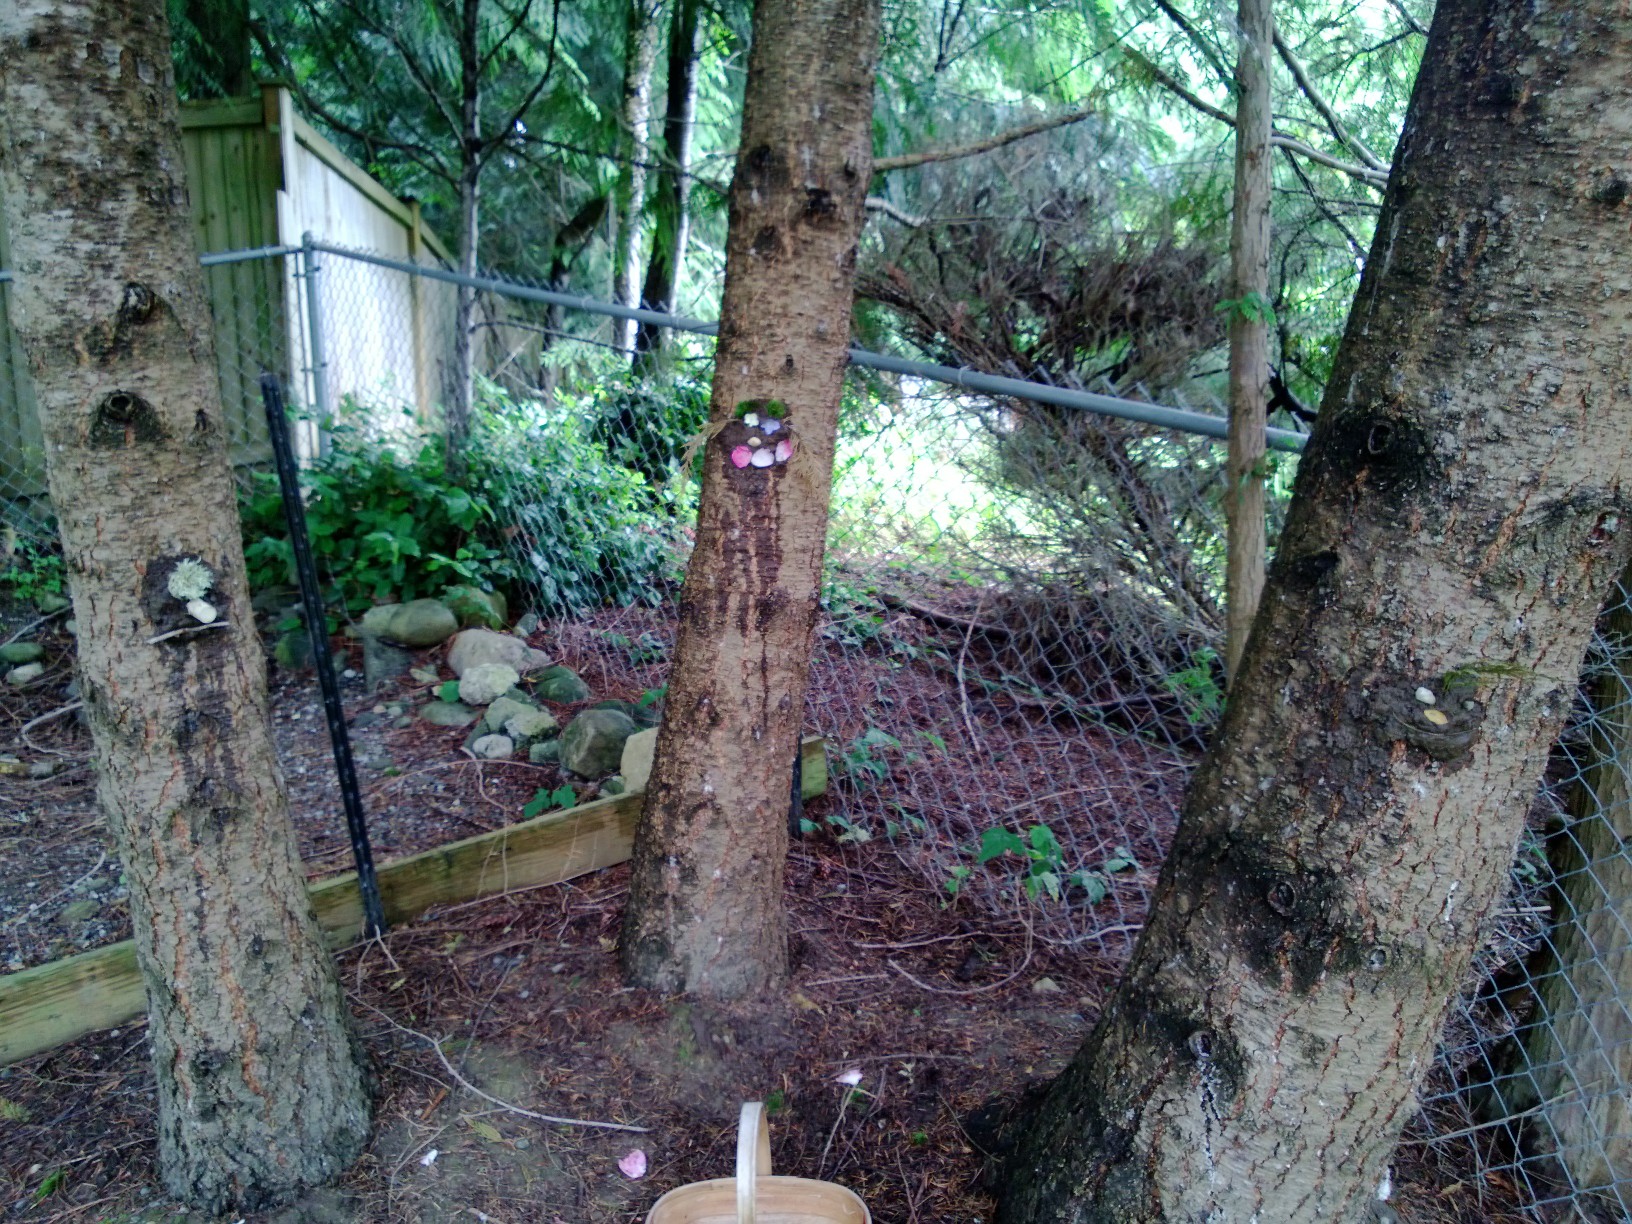
Even without much snow you can make miniature snowmen and add an origami hat.
tiny snowman perched on the fence
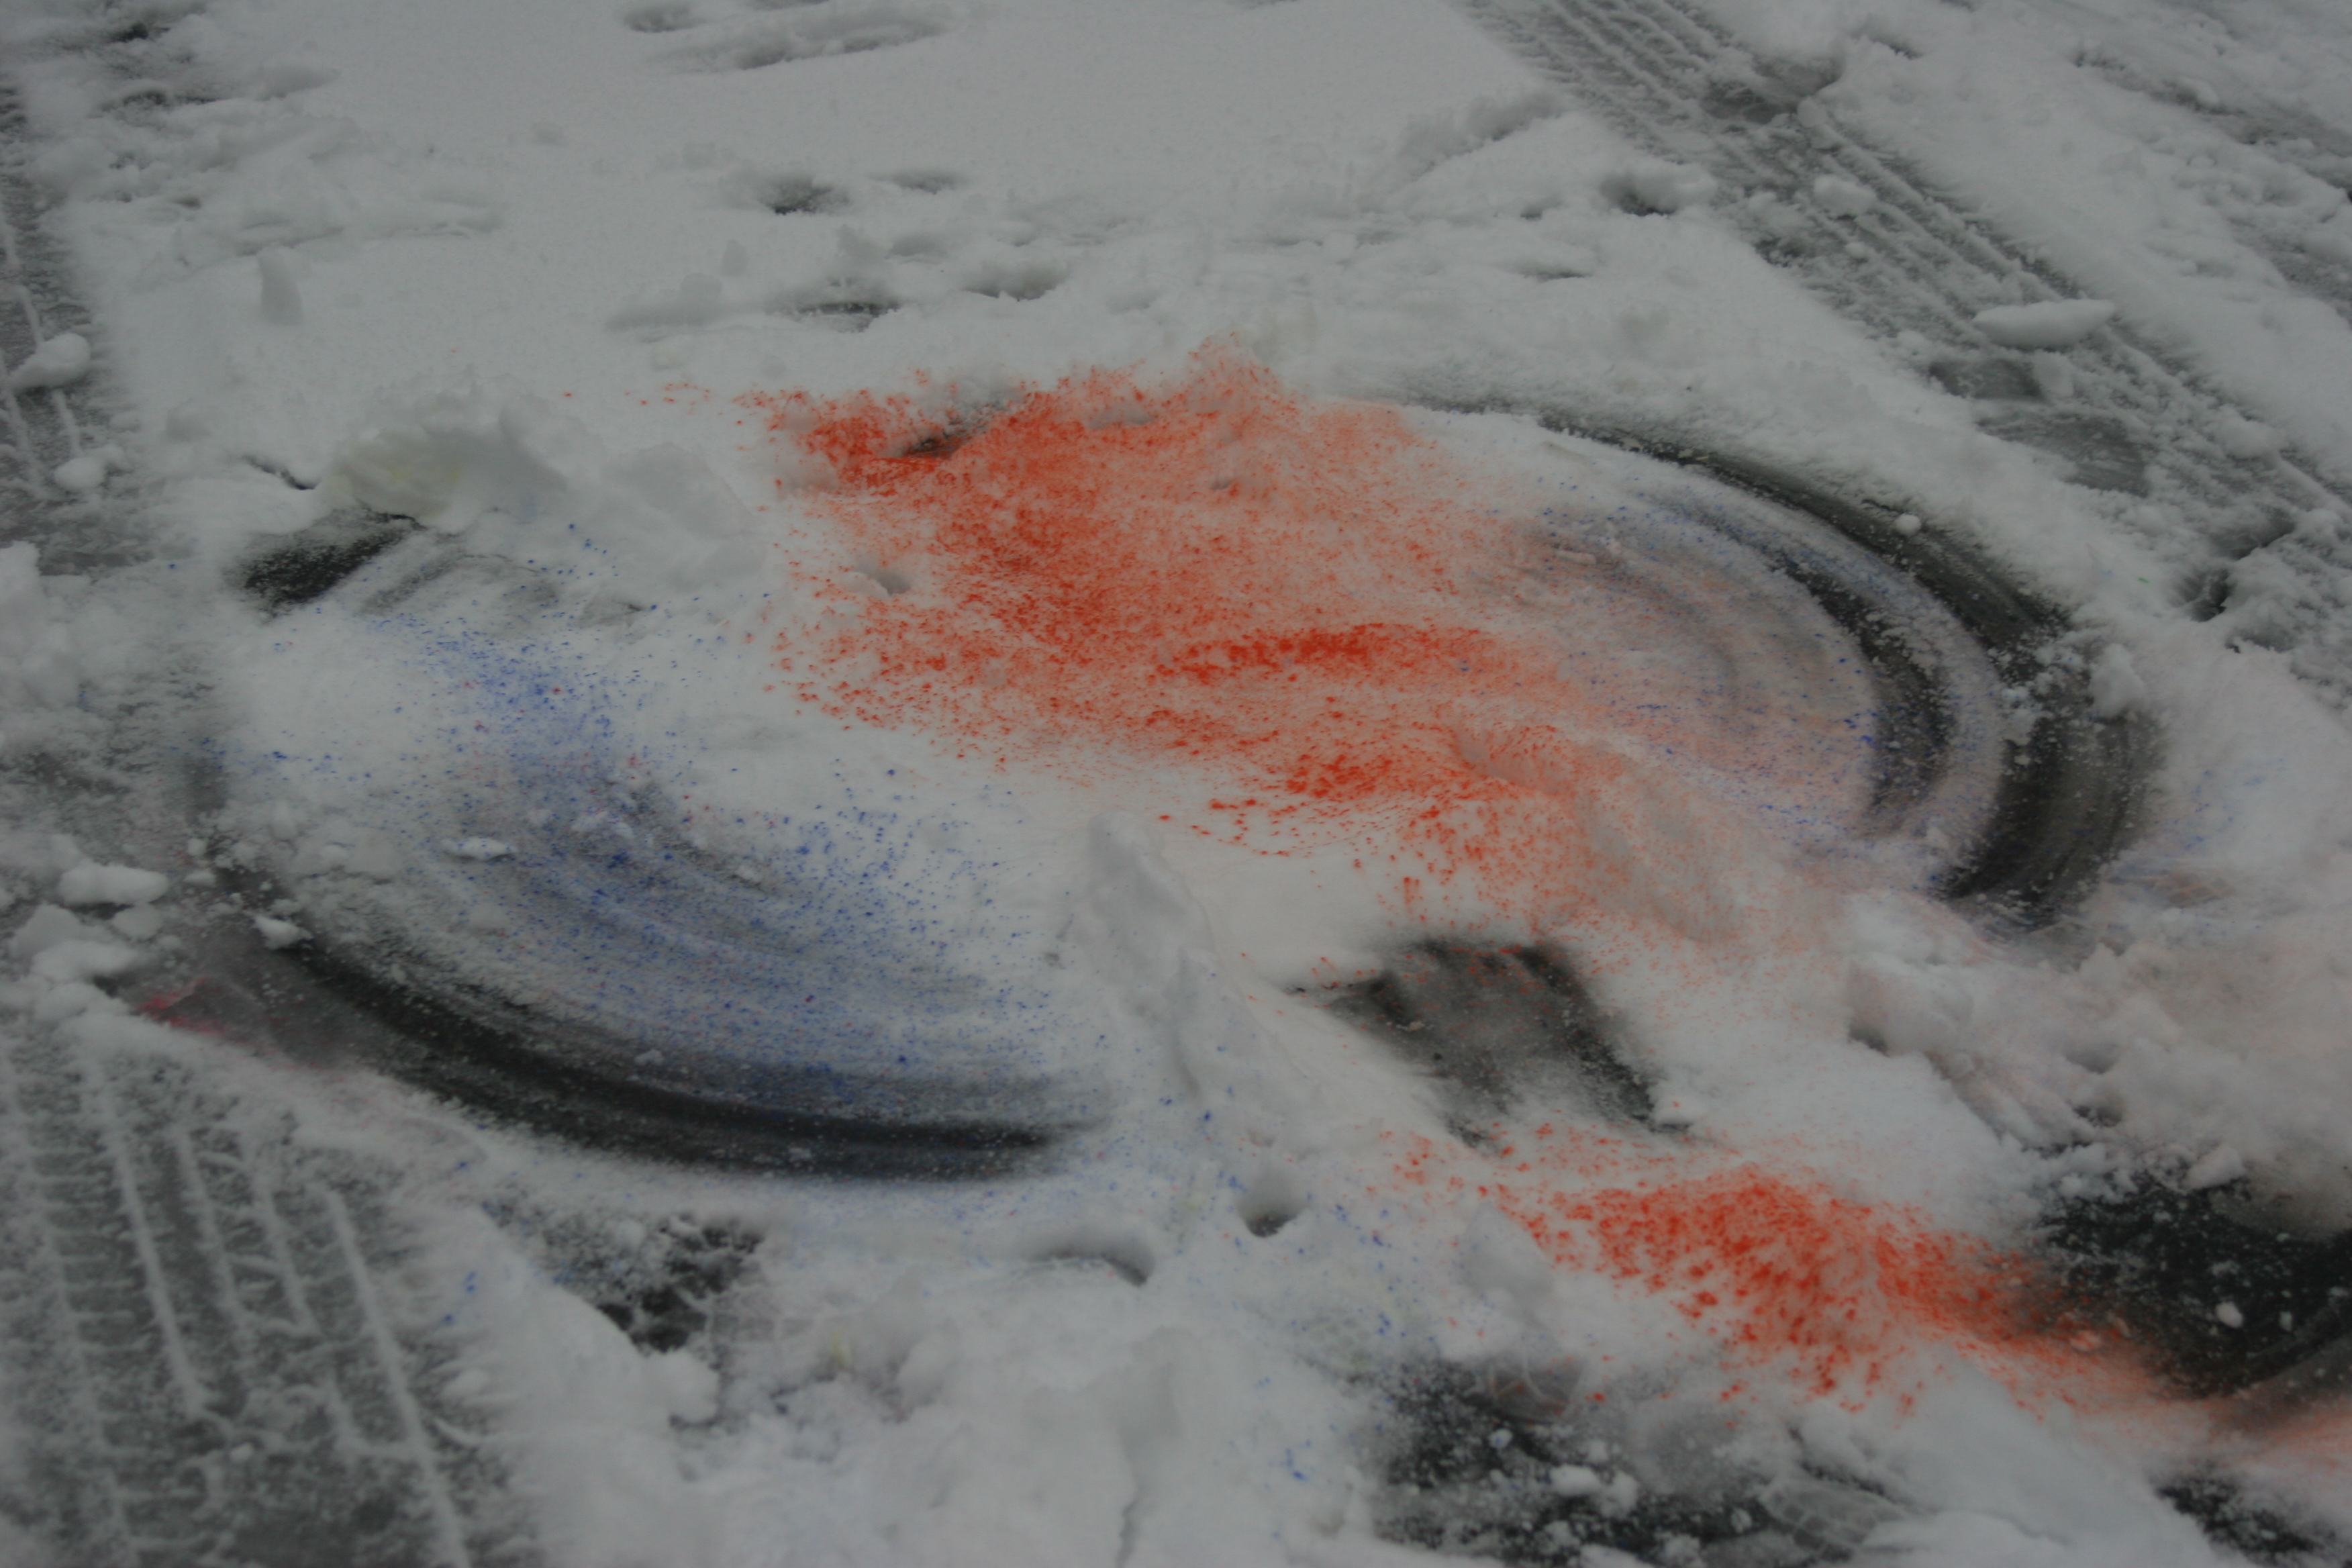
Snow Painting
Fill glitter sprinklers or herb containers with powder paint. Little ones enjoy sprinkling it around while older children draw pictures in the snow. You could use fingers or sticks to draw and colour them in.
Make a snow angel and colour it with paint.
Paint a snow sculpture
Build a snow sculpture and add colour with block water colours painted on with brushes. You could also paint pictures on the snow.
Winter Olympic Fun
It can be great fun to stage events from the Winter Olympics. Ice hockey, curling, skating and skiing are fun events to try even without snow but with snow on the ground they are even more fun.
What had originally been an icy art project, unexpectedly turned into a fascinating science investigation.
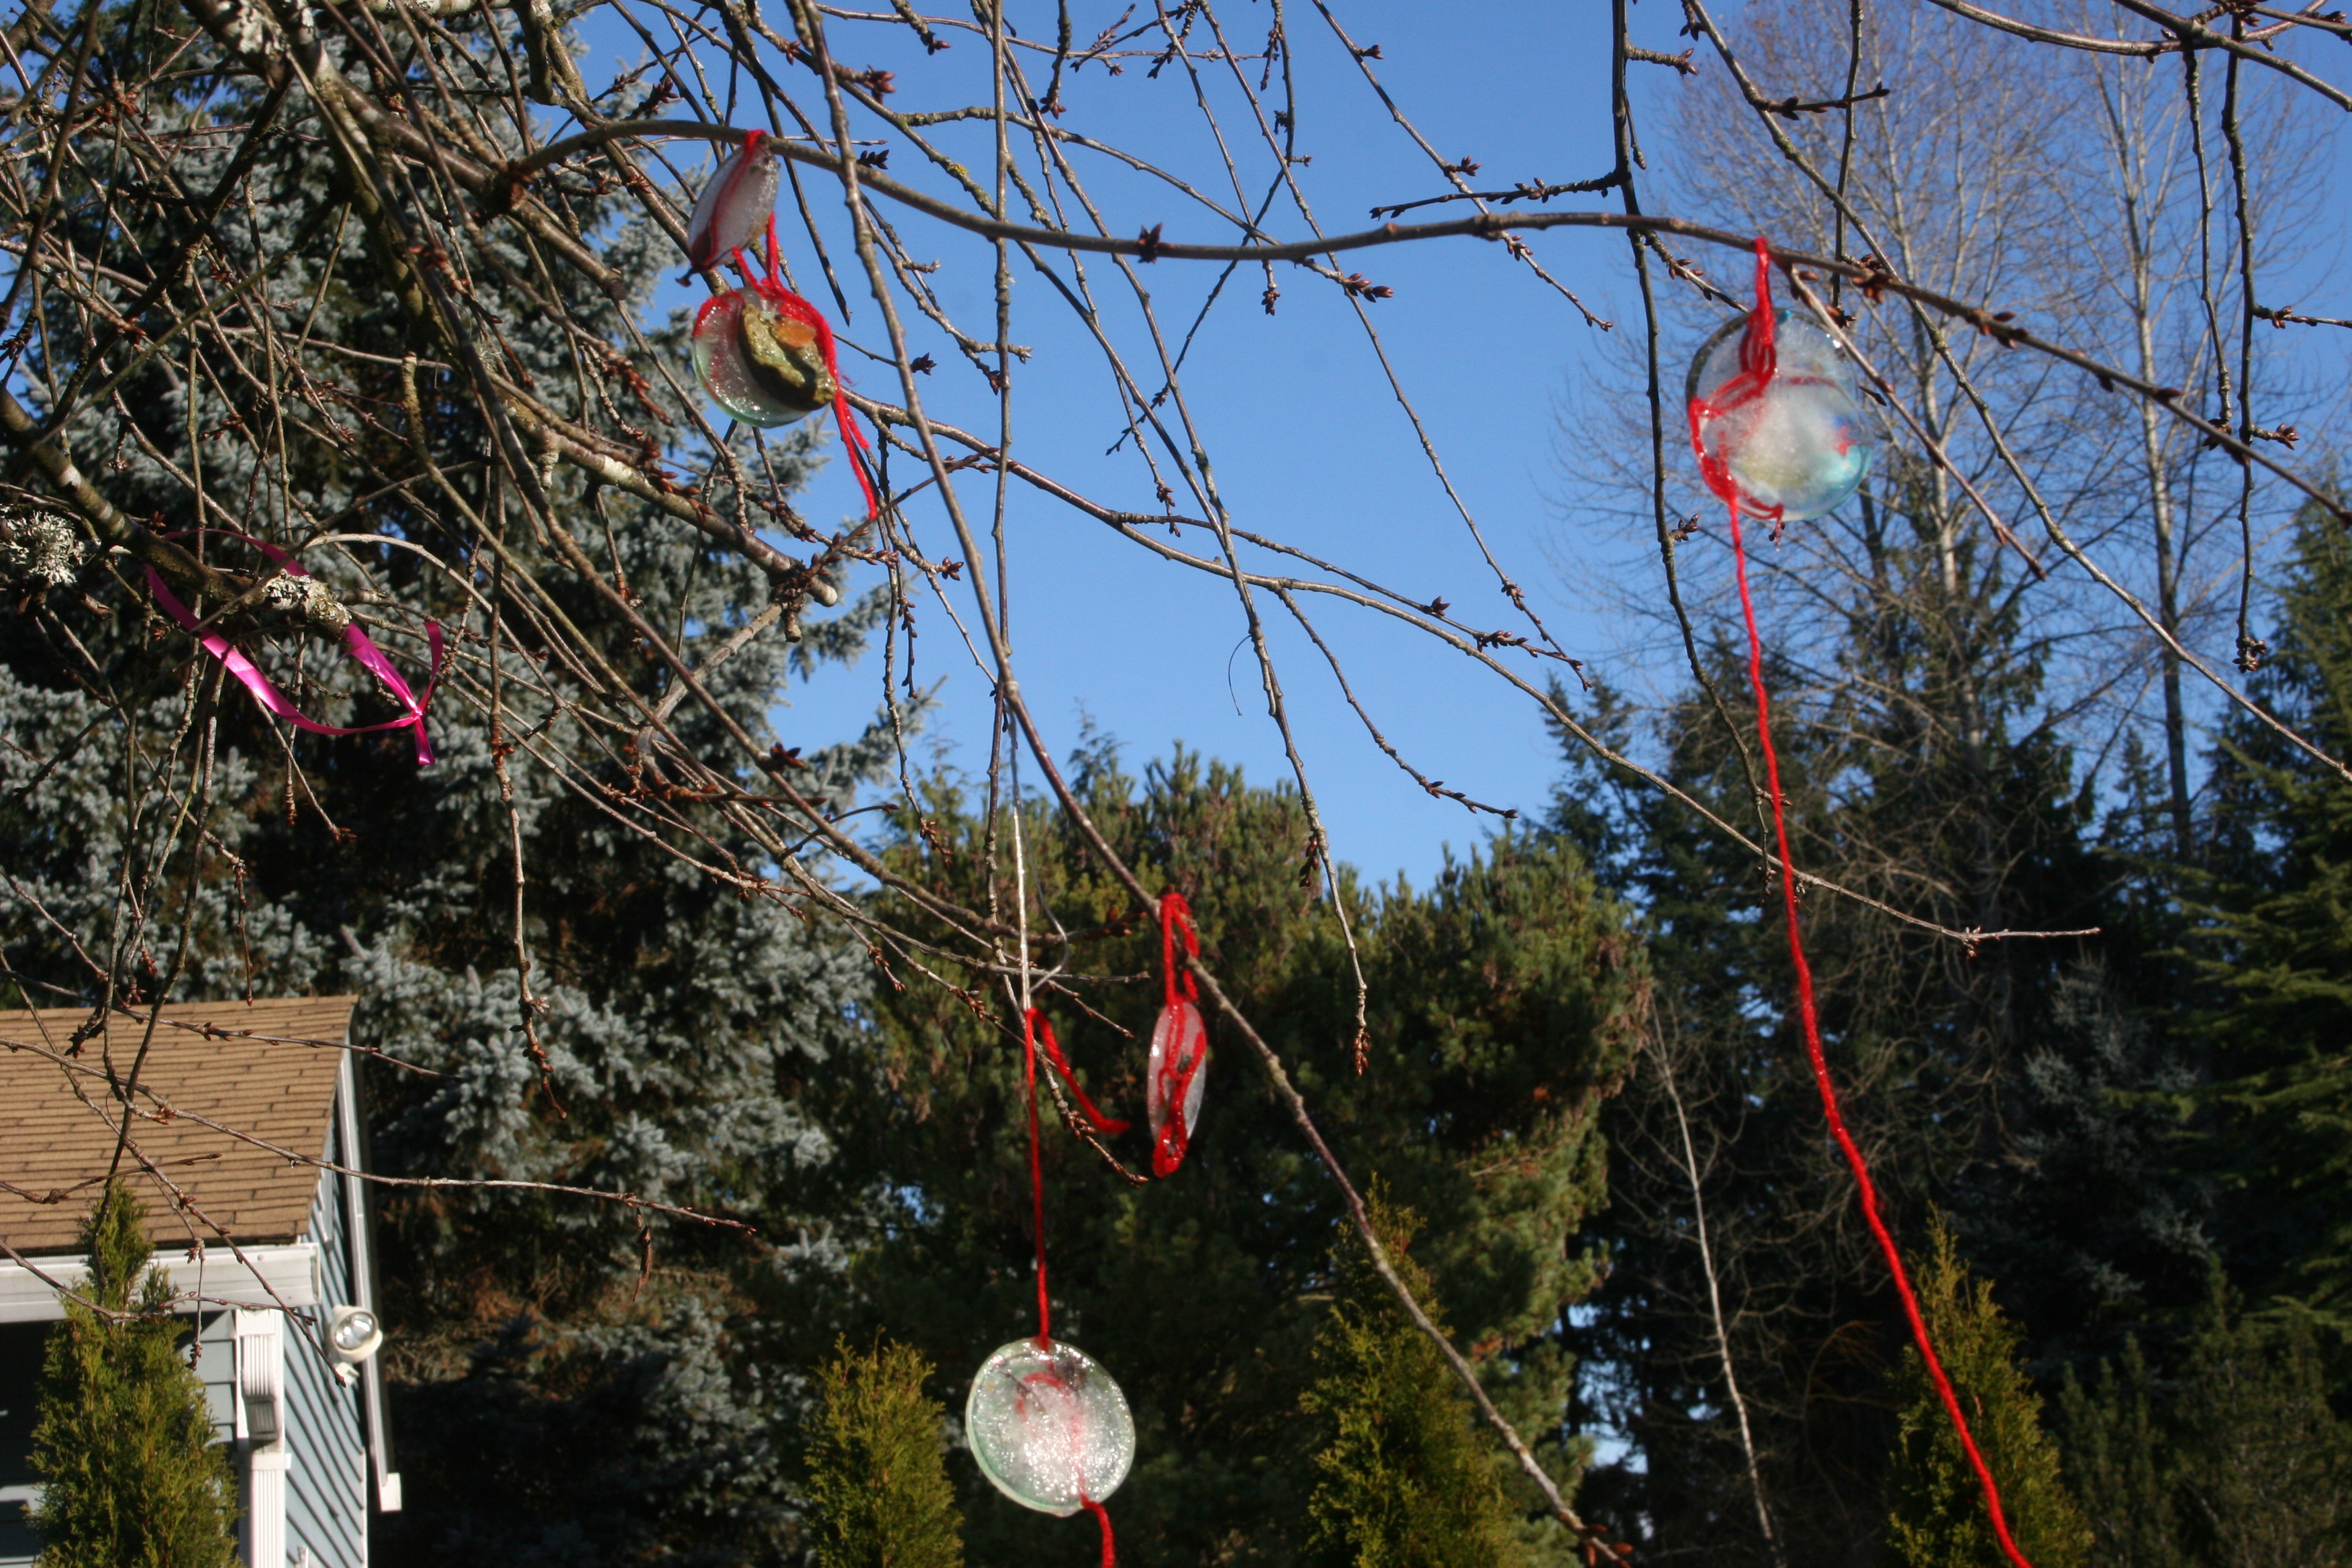
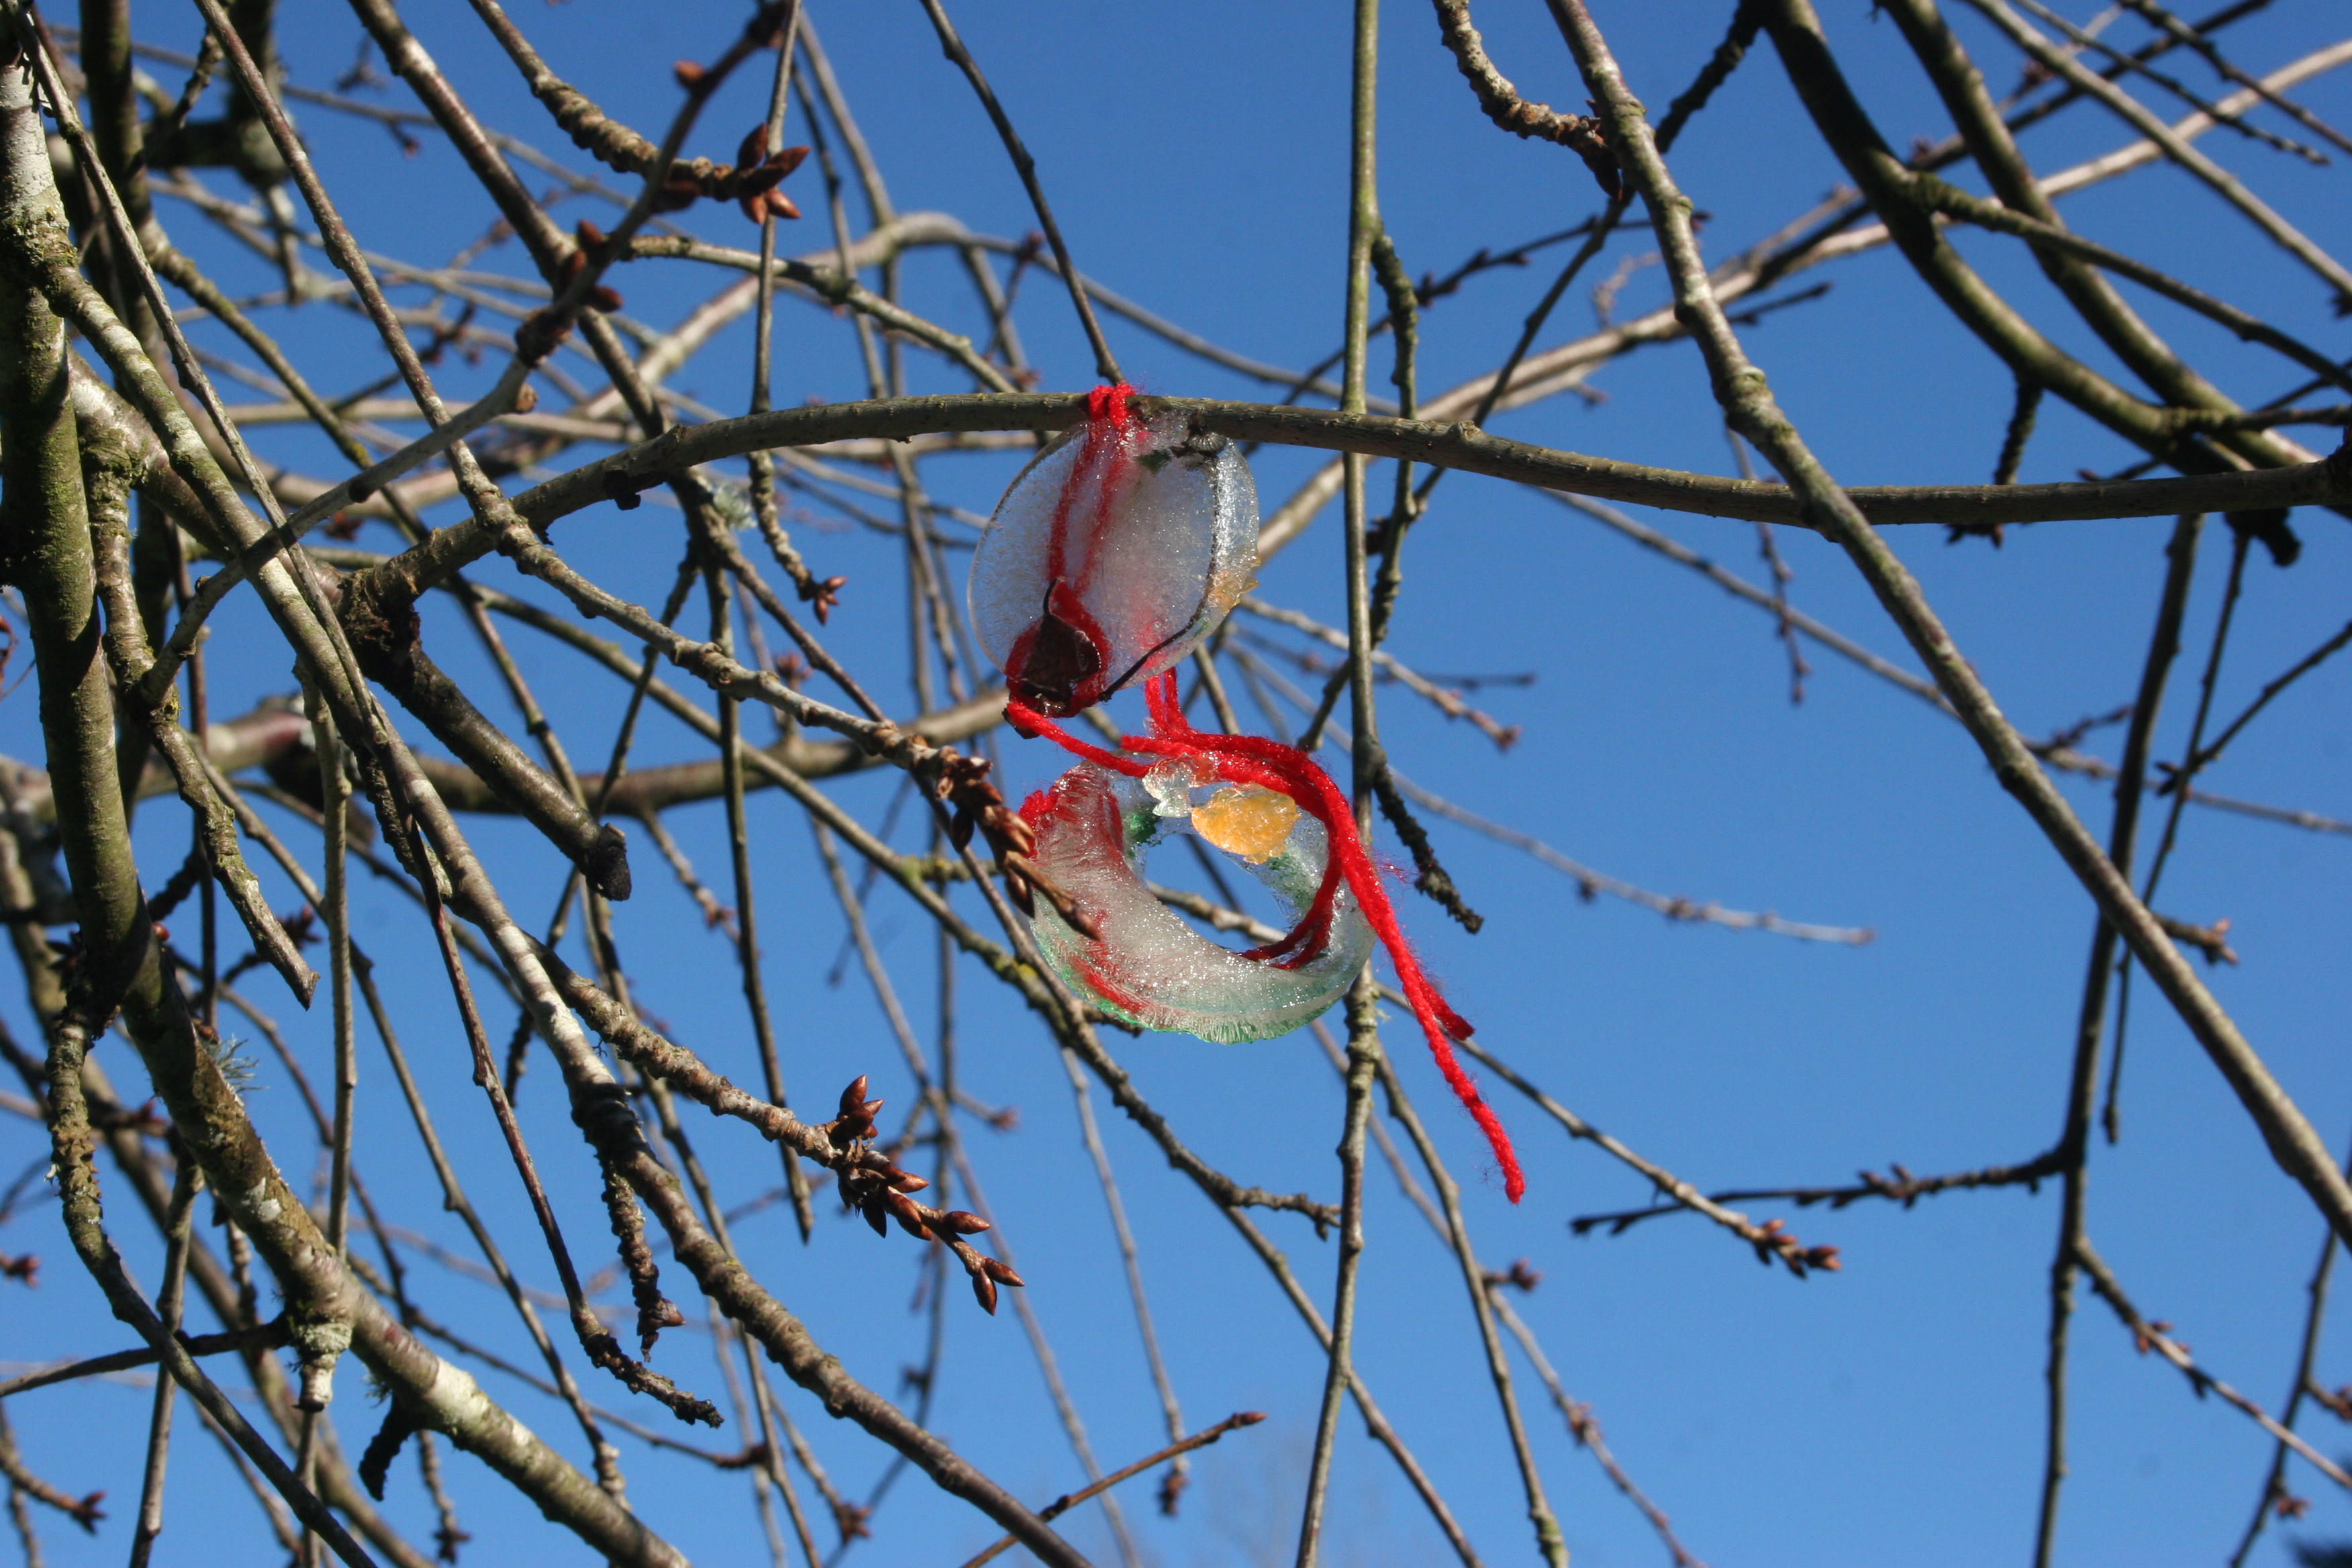
A few weeks ago we filled up my baking tins with water that we coloured with powder paint and dropped all manner of things into them. Shells, berries, leaves, sequins, buttons and even a stone were placed inside to make ornaments for our tree. The weather unfortunately instantly became warmer, so we had to wait some time before they were ready to hang. Even then, only the top layer of ice had frozen and within an hour of hanging them on the tree they had melted. We also discovered that if you colour water with powder paint it separates once it begins to freeze, so most of the ornaments were not the lovely colour we had hoped for.
The girls have been peeking outside every morning to check if there is any ice. This week they were rewarded with below freezing temperatures. The ice ornaments were finally ready! We hung them on the tree. The sun was shining and the tree stands in the sun until mid afternoon. I wasn’t sure how long they would stay this time as ‘plop’ one fell down from the tree.
Let’s put it by the door. That’s in the shade – it might make a nice present for Father Christmas.
A present for Santa
As we went inside I asked the girls to watch the ornaments from the window.
They are melting.
How do you know?
They’re wet and they’re dripping down.
What do you think will happen as they melt?
I don’t think it will fall off the string because the string is attached. It will just melt and the floor will be wet.
When we went out later there were more interesting observations
Look this one has holes in it. It might break not melt.
Can I touch one?
Yes sure.
It’s cold and wet.
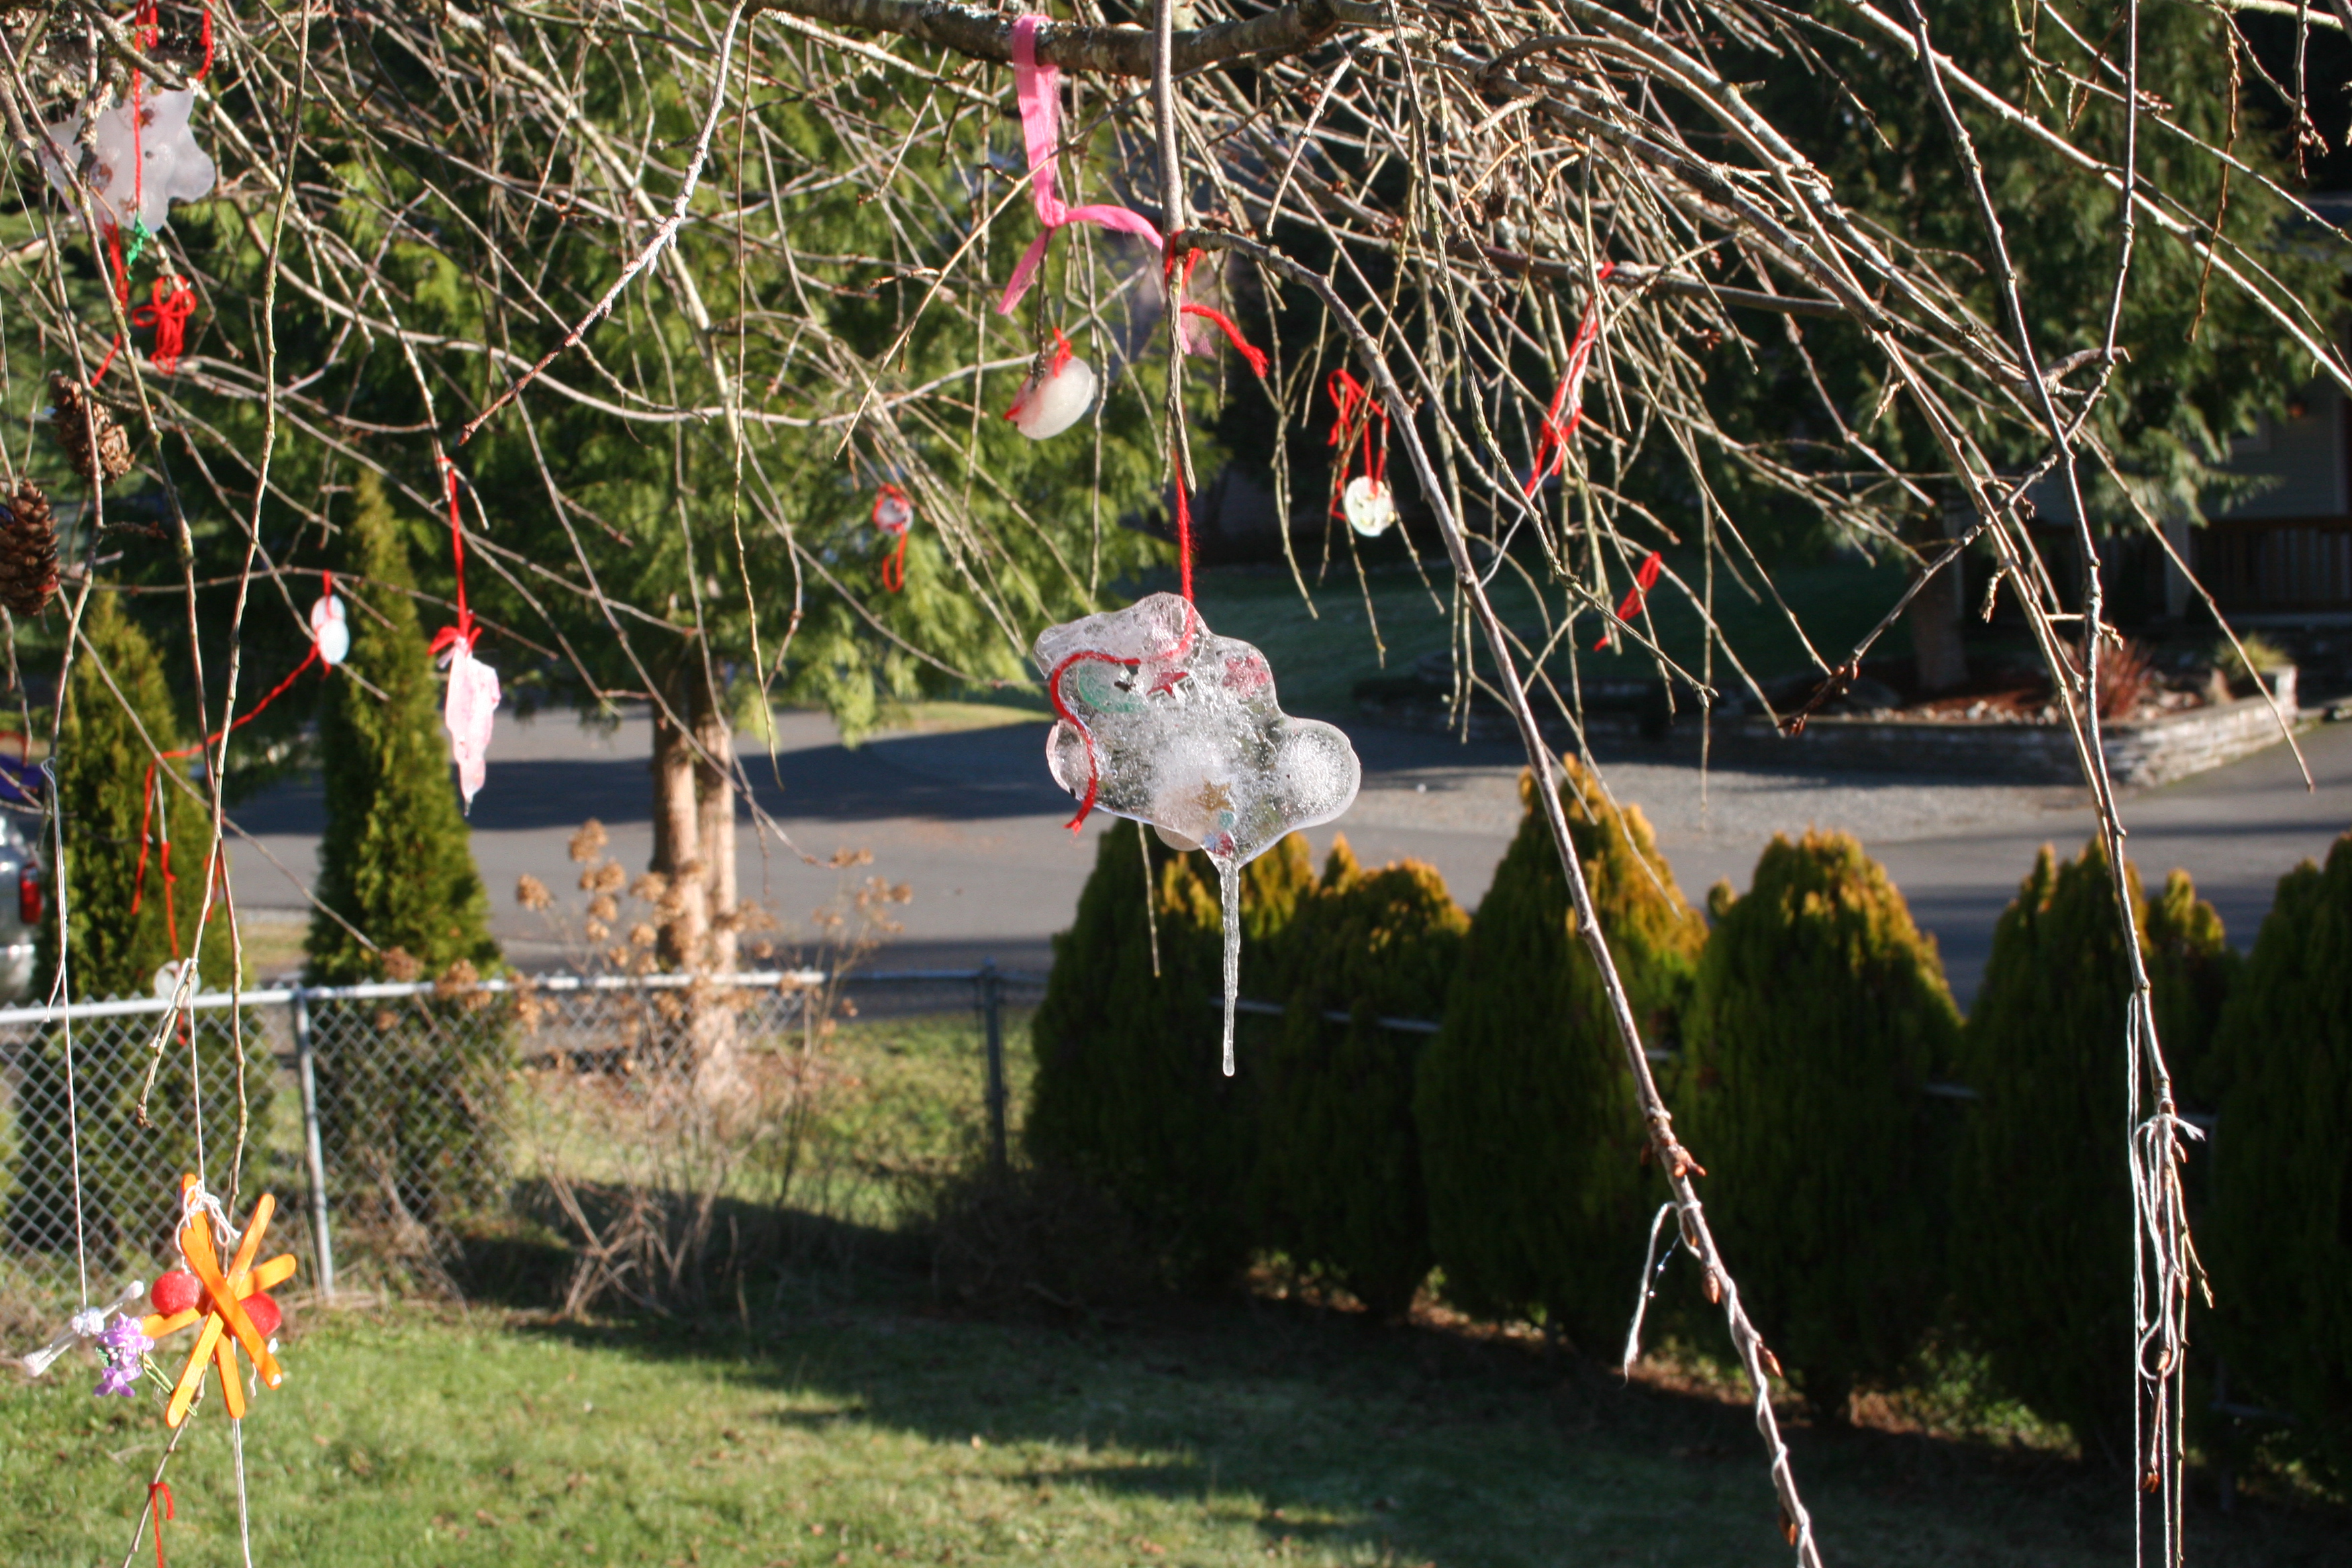
Within an hour or so the tree was in the shade and the temperature was beginning to drop. We noticed that the drips were starting to turn into little icicles.
The girls thought this was really cool and the next day even more so when we saw large icicles had formed.
They rushed outside to feel them, touching them gently so that they didn’t break off.
A Winter Pirate Treasure Hunt
The weather was so cold that during the late afternoon I sneaked into the garden with a jug of water and some pirate coins. I put the coins in various containers and poured a little water on the top.
In the morning I invited the girls on a pirate treasure hunt. First they needed to make a map. I had some coffee stained and singed paper that in true Blue Peter fashion I had prepared earlier.
Next they needed their pirate toolkit:
A hammer
A spoon
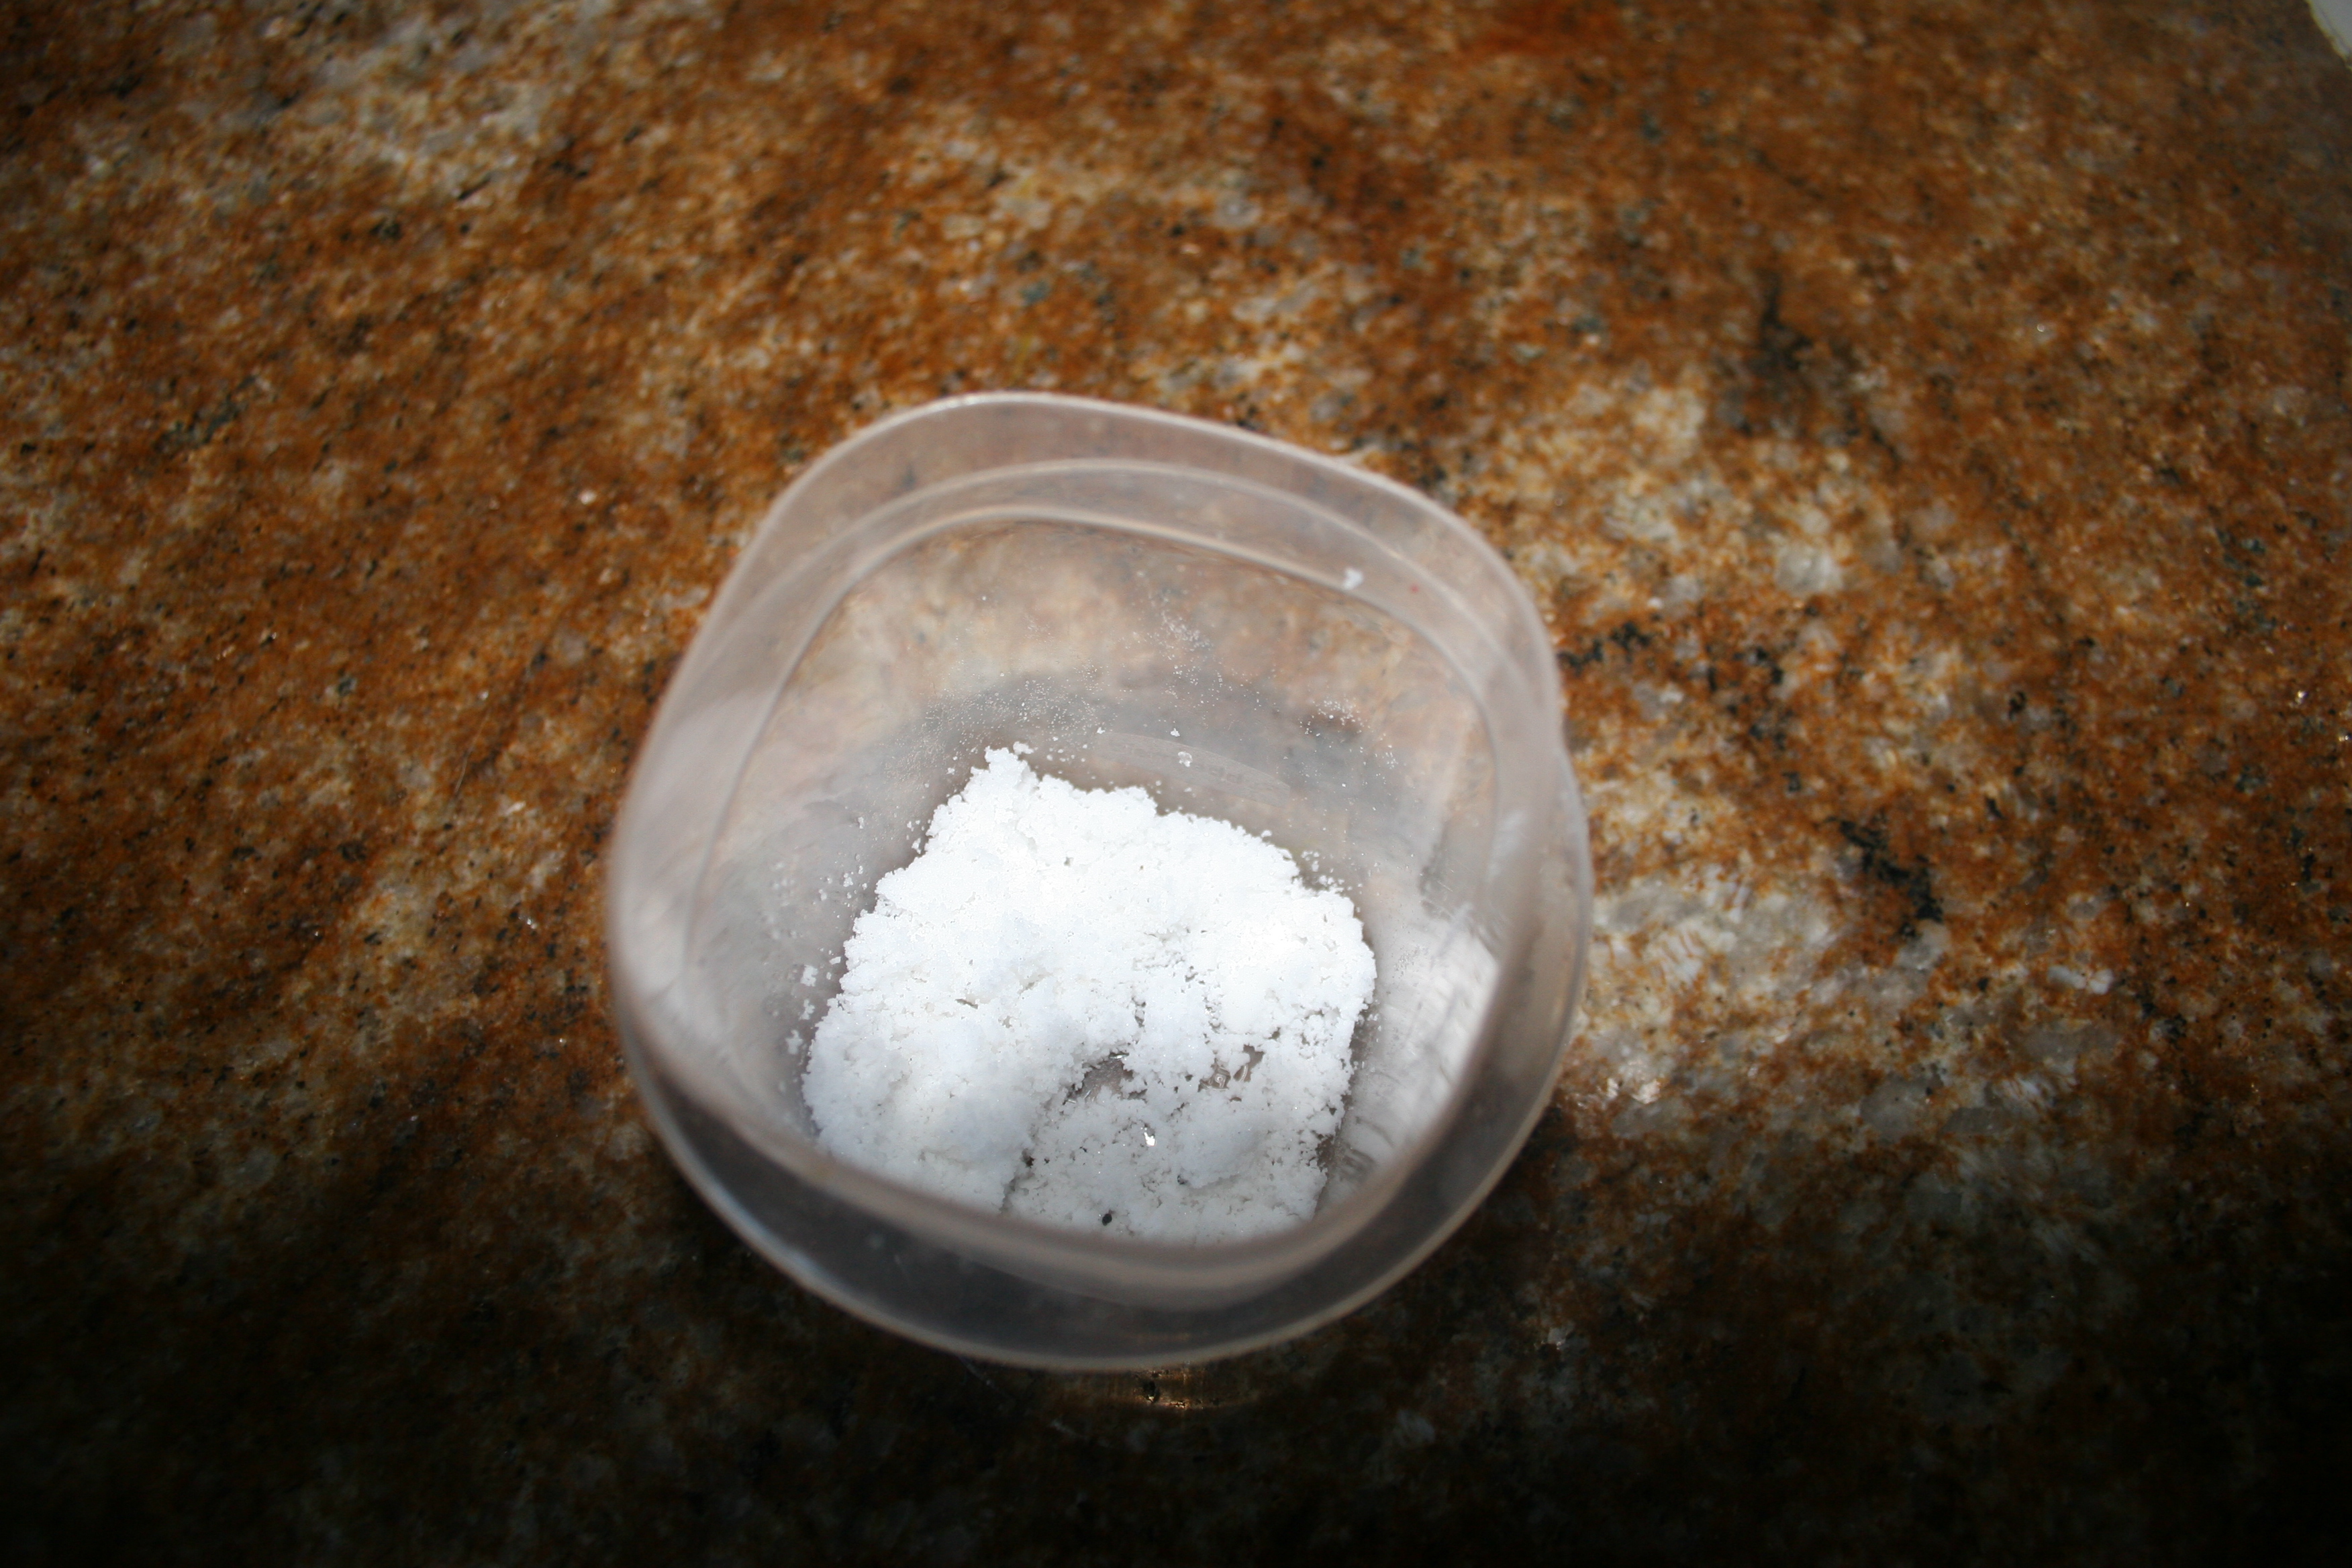
A pot of pirate sea salt
Ready Mummy
Out they went and quickly found coins. The hammers were their first choice. They weren’t very successful so then they tried the salt. They found that if they used the spoons and the salt they could gradually get down to the coin and hook it out.
Got it!
This could take ages, if we got a jug of hot water it might be quicker.
The ice is still there you just can’t see it.
Drop it in the water
We were talking about the sea salt later in the day.
How do the pirates get salt from the sea?
Good question. The salt is in the water so how do you think they could get it out?
I don’t know.
Shall we try it?
Yes.
Little Scientists
What do we need to do to make the salt disappear into the water?
We need to dissolve it
How? Do you remember how we made jelly dissolve or the sugar water we make for the hummingbirds?
We put hot water on it. Let’s be scientists and do an experiment.
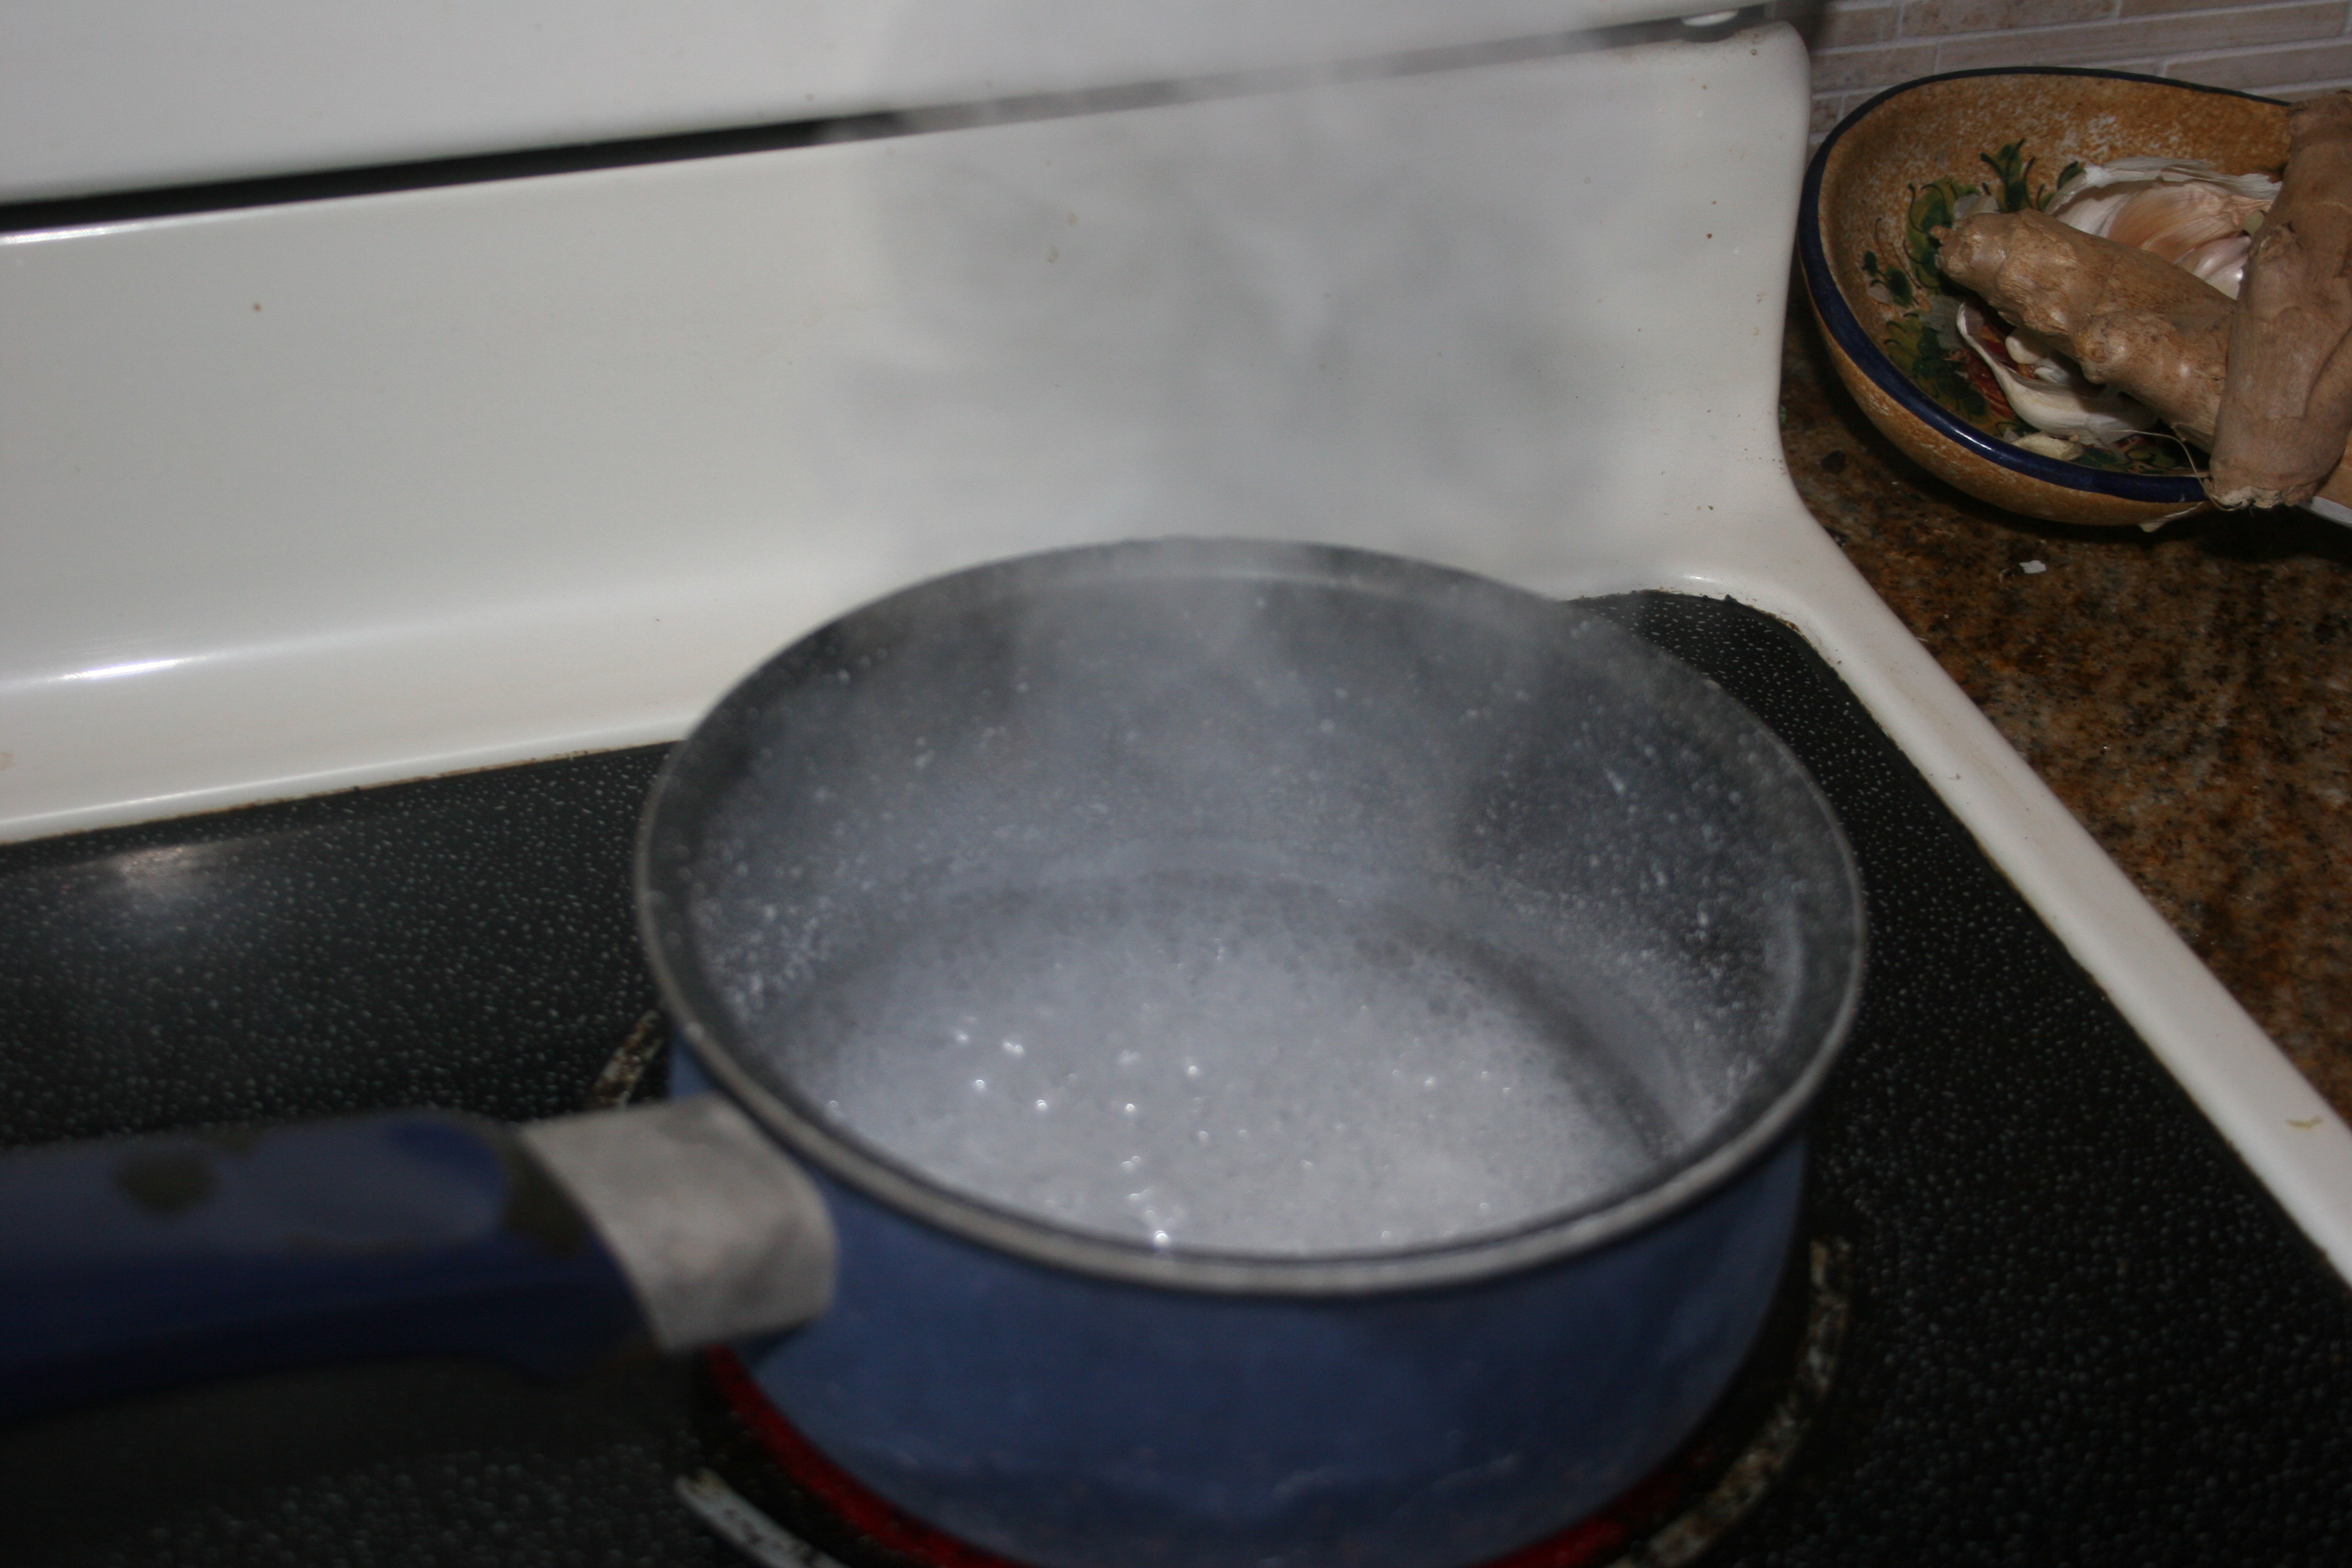
The girls helped to stir the mixture until all the salt had dissolved. We poured the mixture into a pan and put it on the stove.
What happens to water when it gets cold?
It turns to ice
What about when it gets hot?
I don’t know.
Watch. What can you see.
steam
If I put this spoon over the steam what can you see on the spoon.
It’s wet – water.
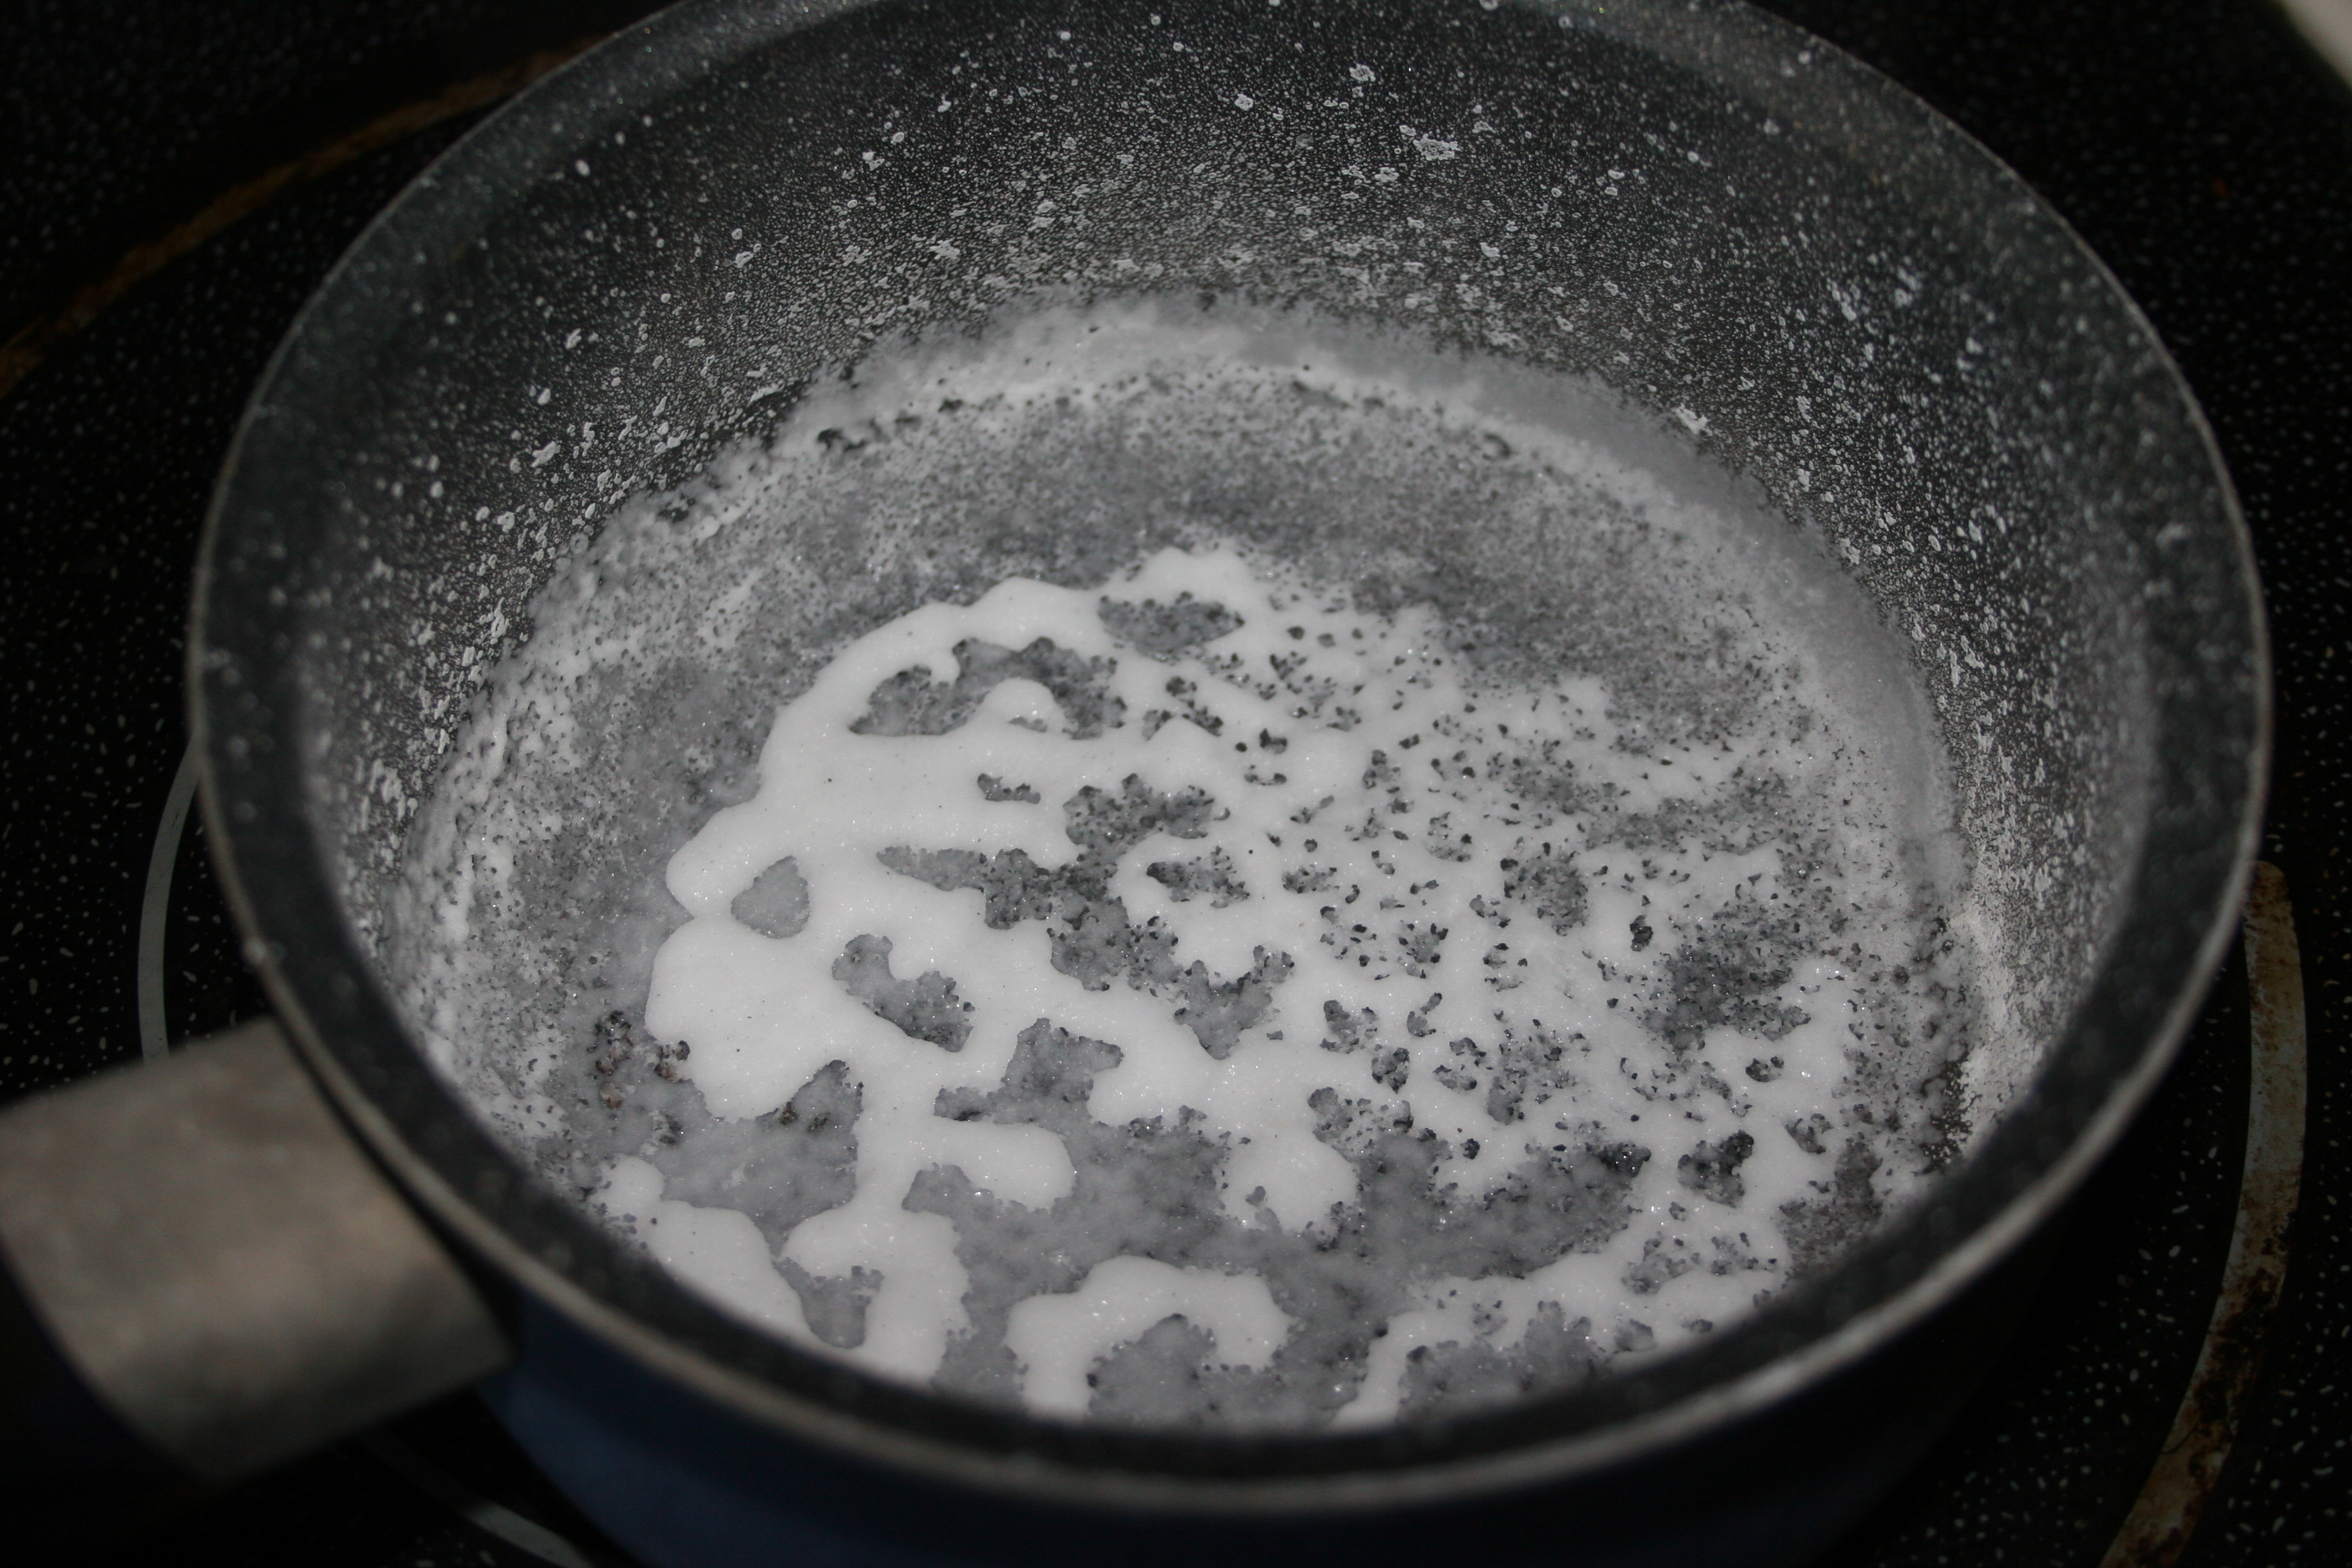
Yes the water is turning to steam. Now look what’s happening in the pan. What do you think the white stuff is?
I don’t know. Is it steam.
No. The water has gone now so what is left?
salt.
We had another idea for an experiment. If we put the salt back in water and then left it outside would it freeze?
I used to love frosty days when I was a kid because we could play on the way to school pretending to ice skate or breathe like a dragon. The same sense of wonder came over my girls when they looked out on a clear frosty morning. They dressed quickly and rushed outside to see if they could find ice . They found ice on top of the water table and in containers that we have on the deck.
They soon learned that ice is very cold!
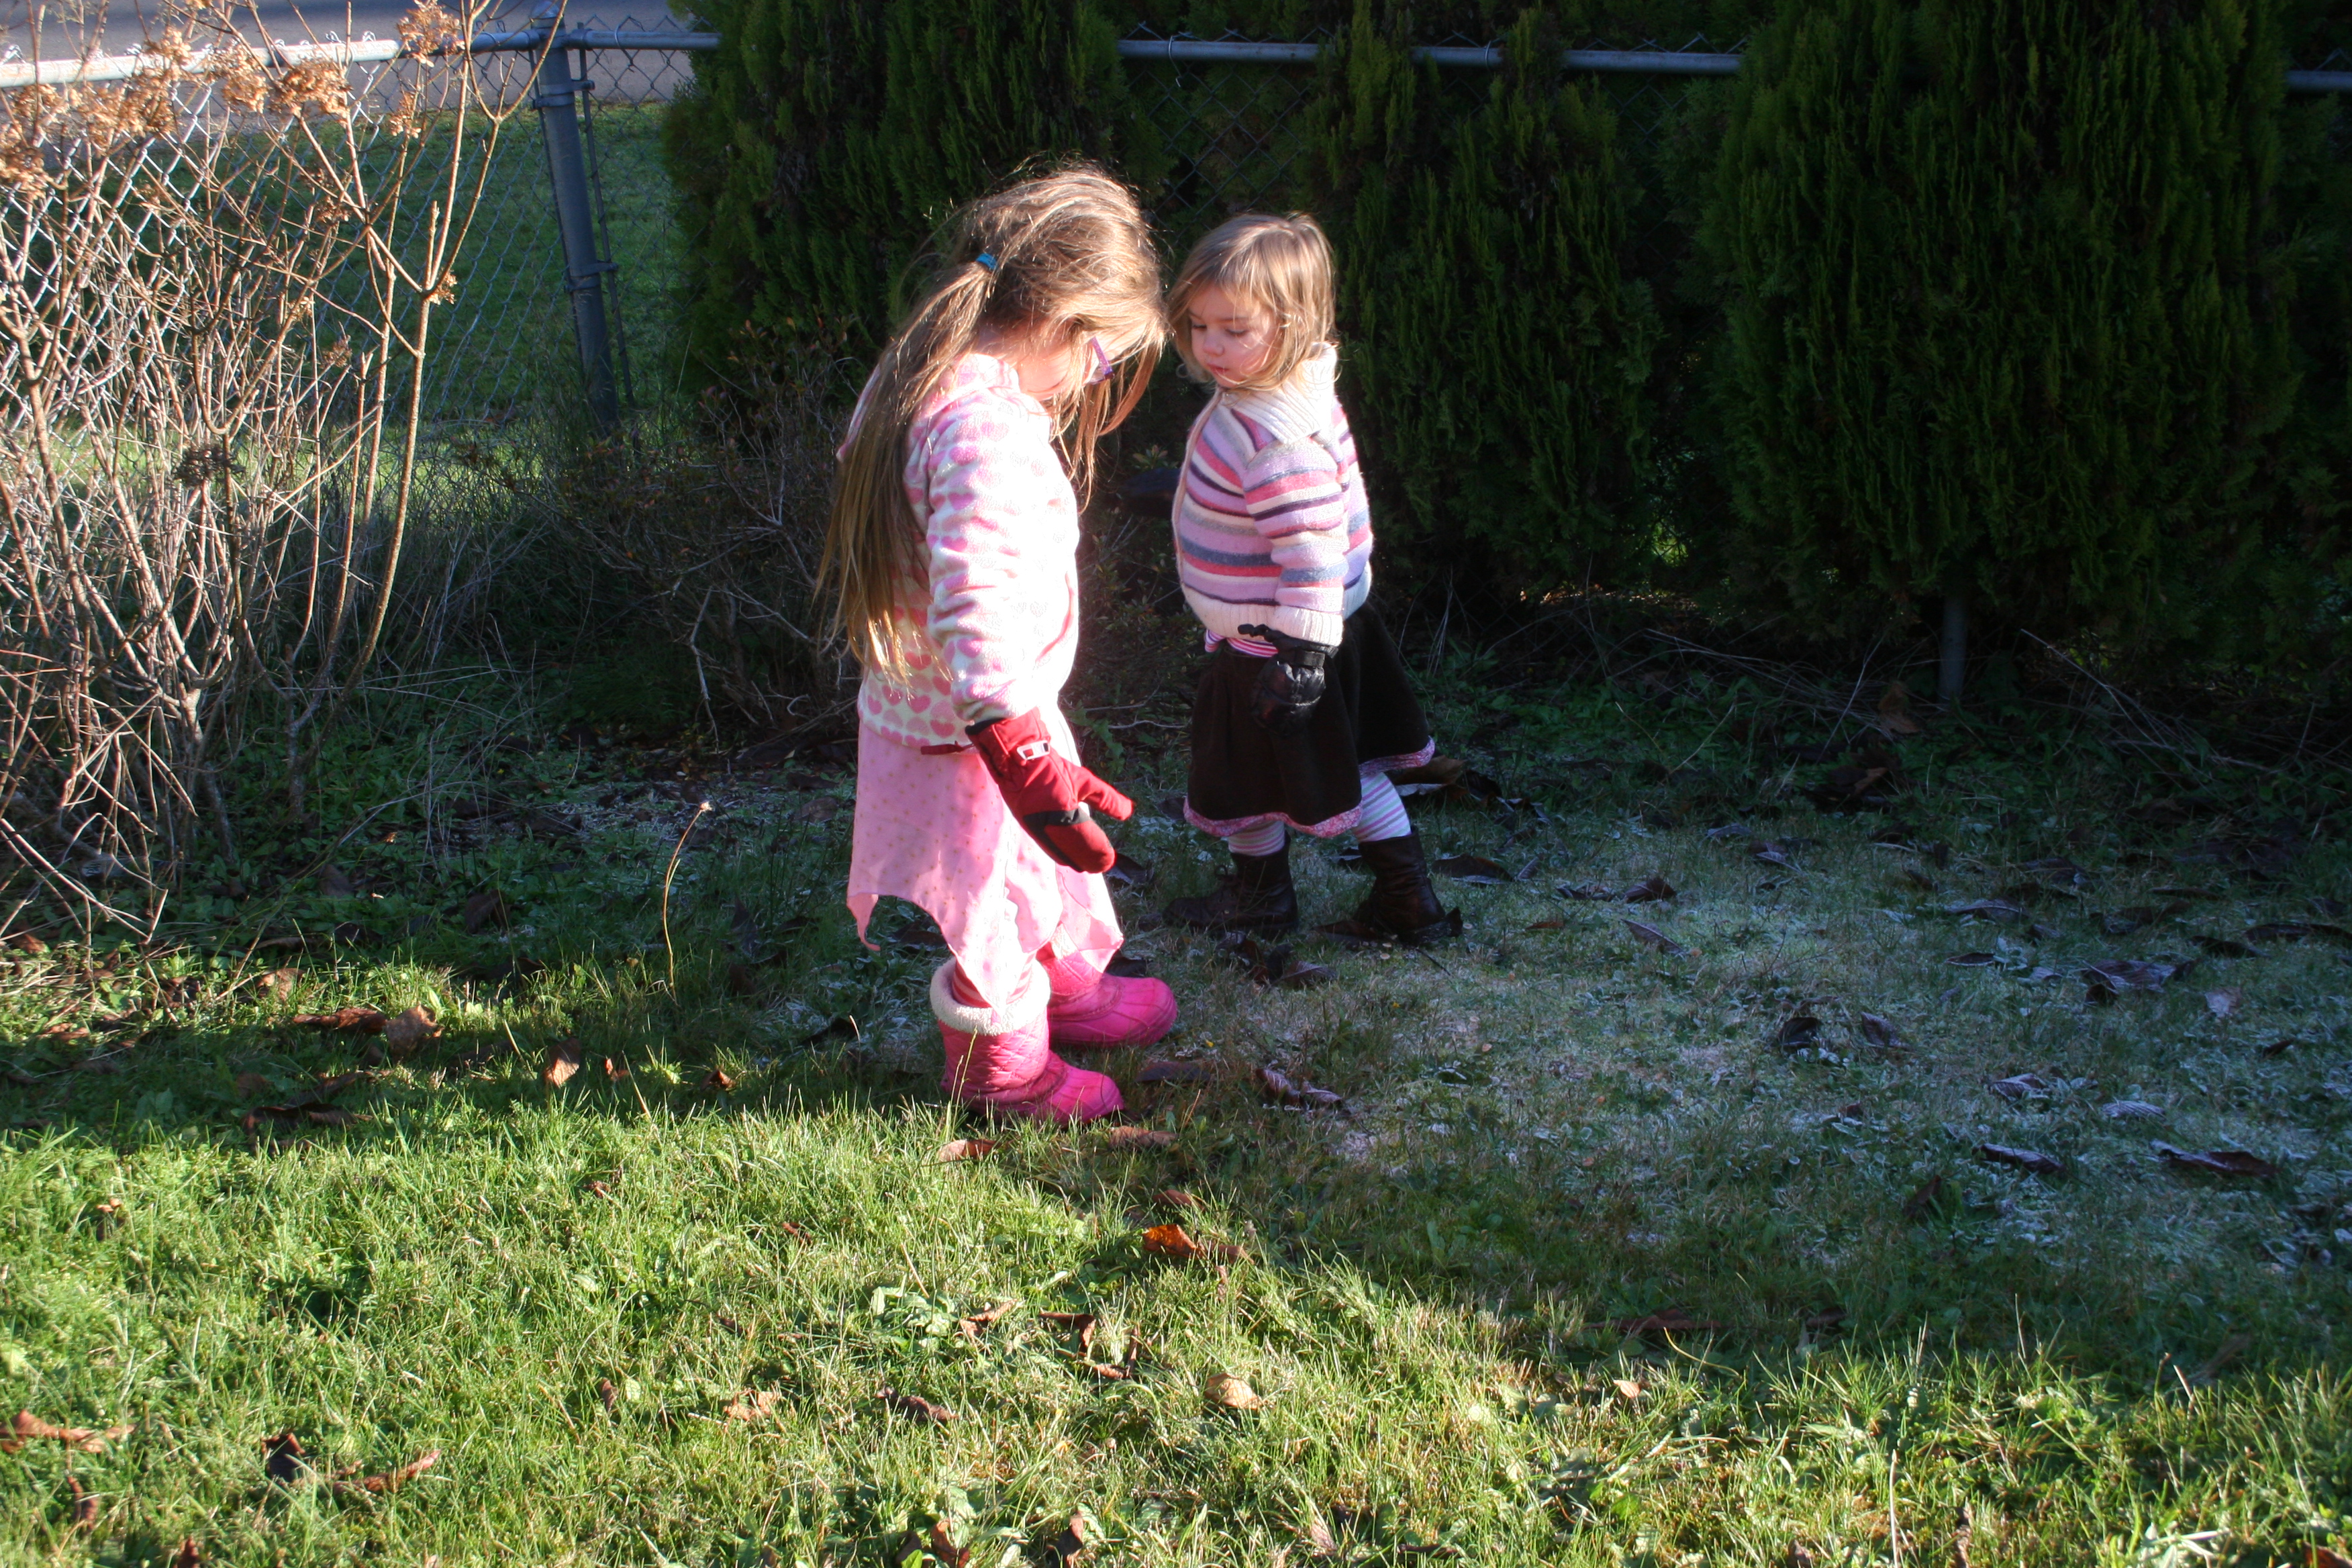
Later in the morning the girls put on their gloves to go out on an ice hunt.
Look there is water and a leaf is floating. The ice has edges, I think there is water underneath.
I removed the lid from the water table. The girls were very excited to find ice inside there too. We added the penguins play set and a few whales.
We made a slide for the penguins with some of the broken ice.
When we got to the front of the house we found a small patch of frost.
Why is it frosty here and not anywhere else?
Because the sun made it melt.
So, why didn’t this bit melt?
It was in the shade.
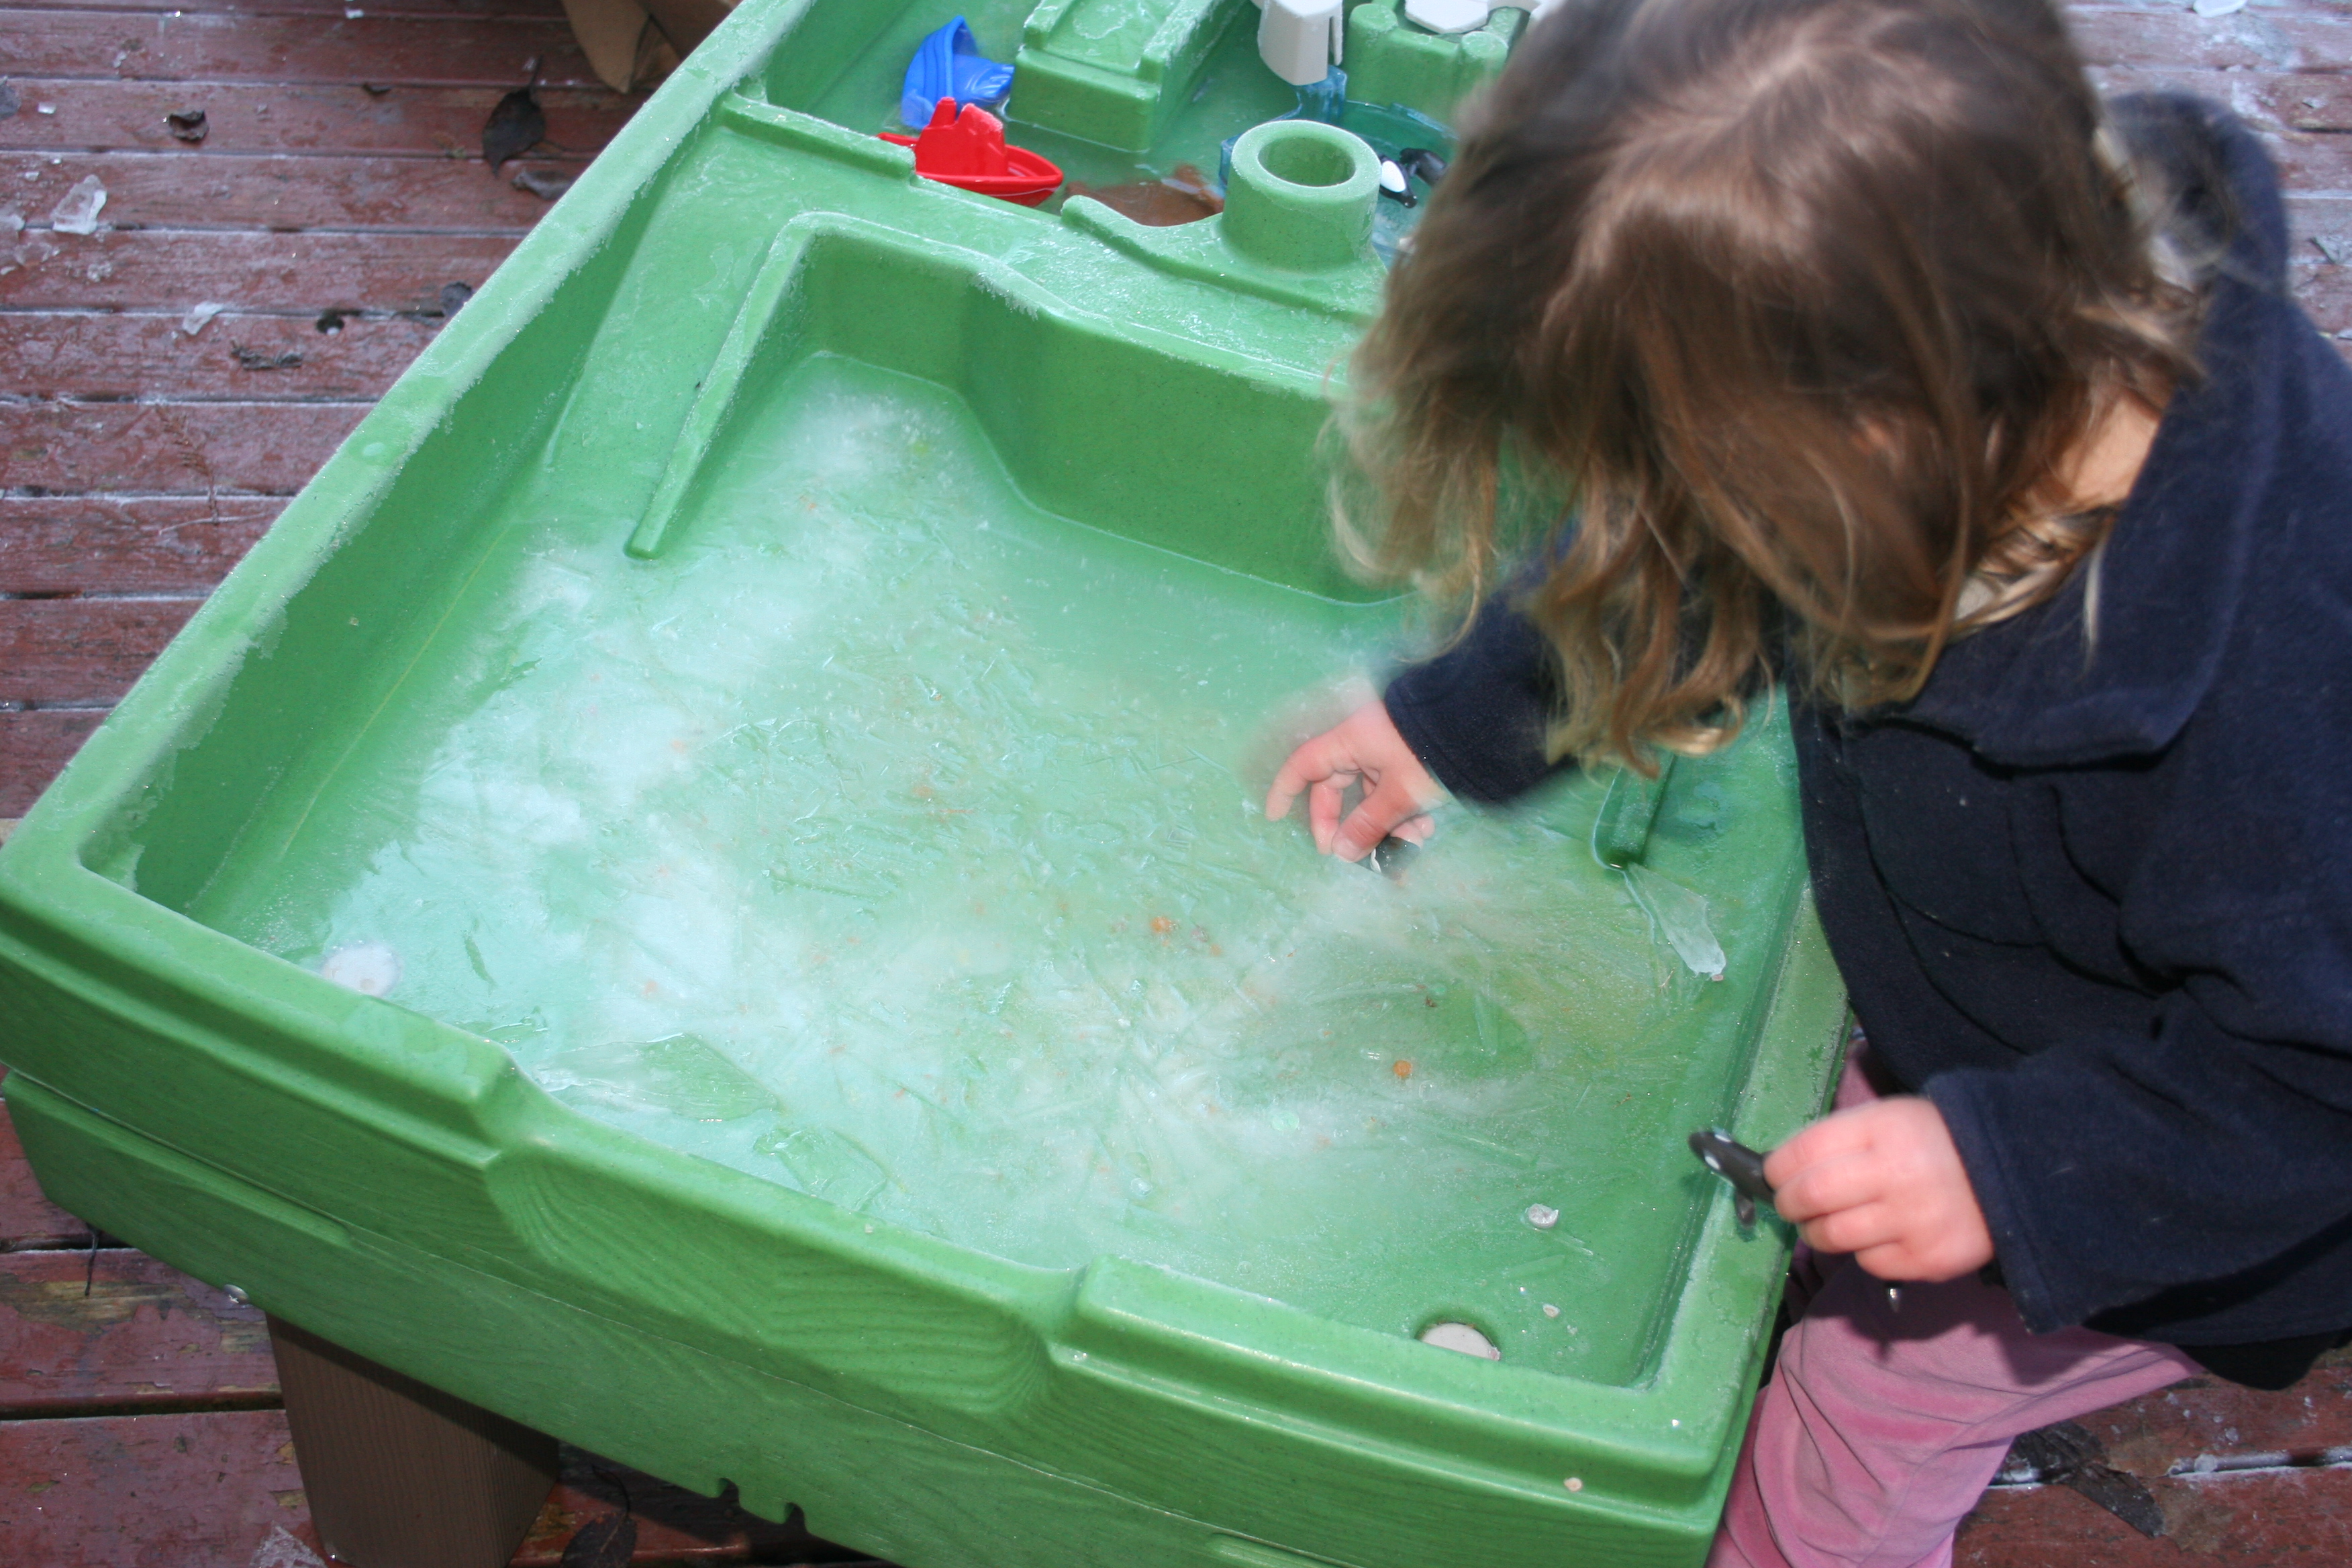
We decided to leave the lid off the water table to see if we could get even more ice the next day. When they woke up the next day the girls were desperate to get out before any of the ice had melted.
First they checked the water table.
The ice was thick and some of the penguins were buried underneath.
Let’s see what else we can find.
This slideshow requires JavaScript.
We went back to the water table where the girls found 2 scoops filled with ice.
We can’t get it out.
Shall I run it under the hot tap like I do with the ice lollies?
Yes please
Next the girls turned their attentions to the animals stuck in the water tray.
Please can we get them out? Can we put hot water on them too?
Yes. I’ll get some.
We poured water onto the ice to free the animals, they could feel the hot water making holes and as we poured more on they were able to free them.
The other side of the water tray made a perfect ice rink for the penguins.
I’m so glad we are home pre-schooling on days like this. Our next project is to make ice decorations for the tree at the front of the house and using pirate treasure maps they made earlier in the week, hunt for coins buried in the ice. My pirate obsessed girls will be armed with special pirate tools and a bit of magic sea salt. Arrrr.
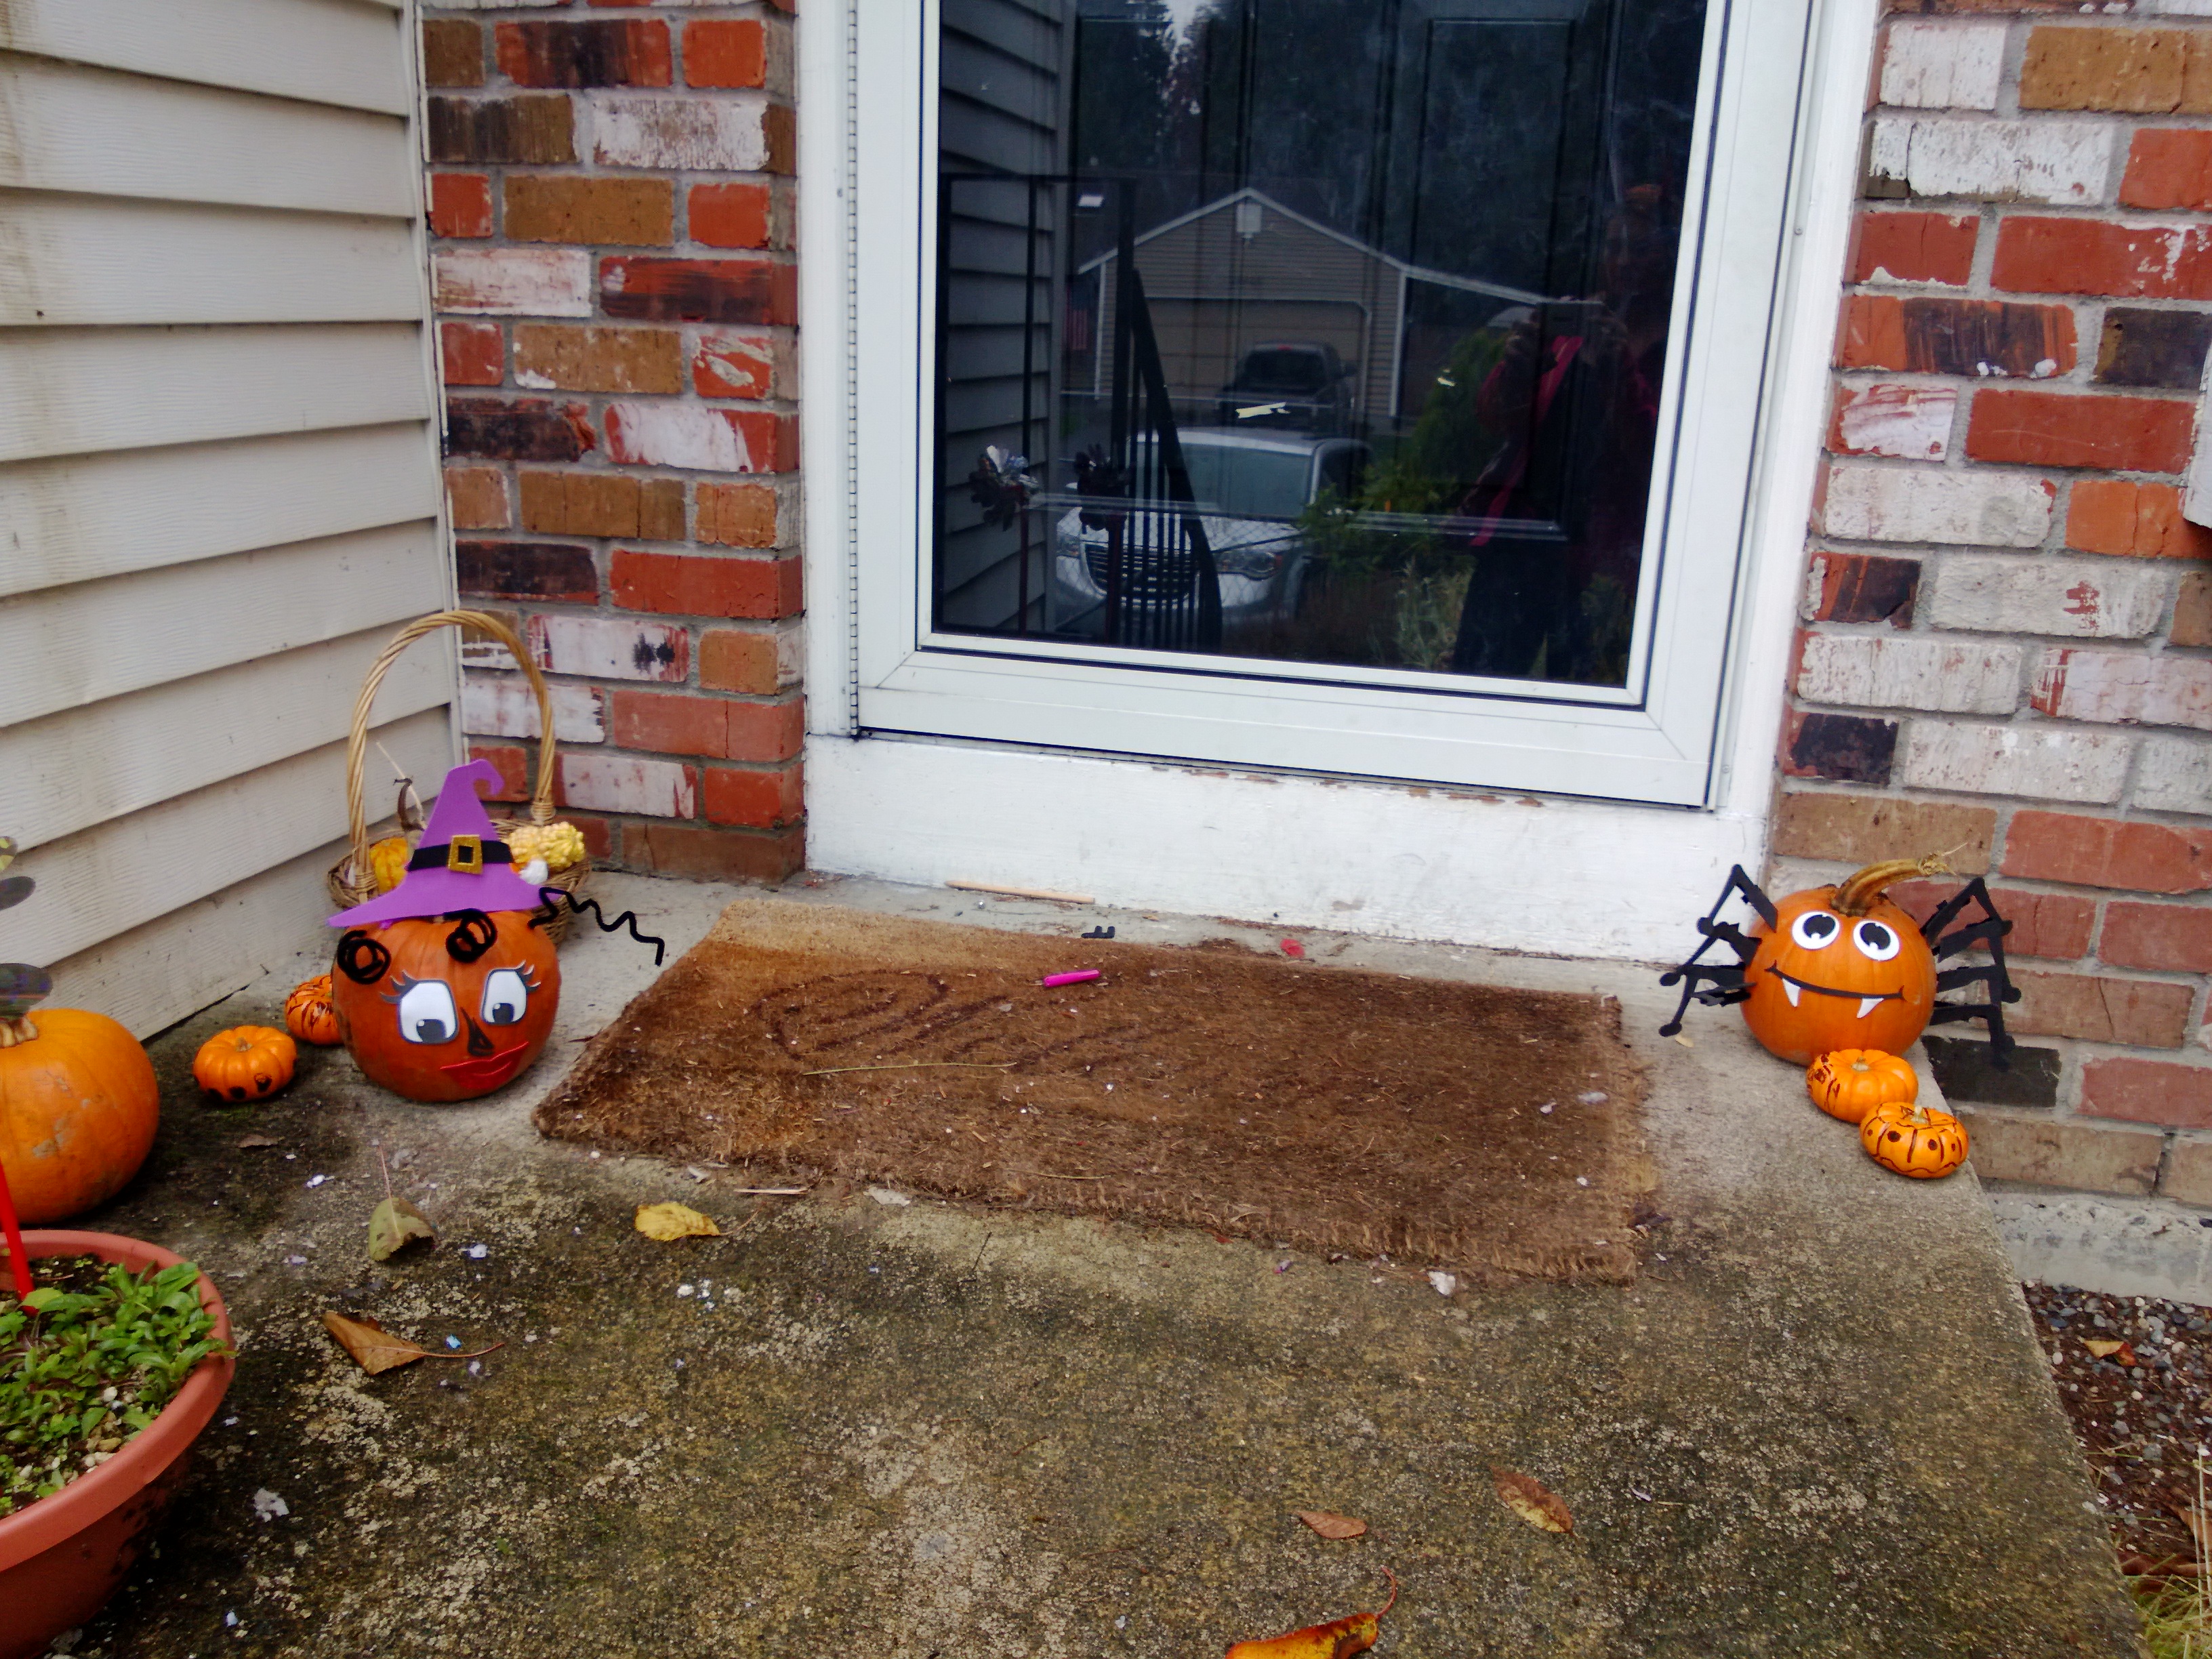
We were a little disorganised this year and didn’t get our pumpkins until Hallowe’en. It seemed such a shame to throw them away almost as soon as we had made them. To avoid this the pumpkins were incorporated into our play, building on the children’s interest in pattern making and investigating some of the questions and discoveries they made when we visited the pumpkin patch.
One of the things I love about living here is that we don’t have to go to the supermarket to buy our pumpkins because there are pumpkin patches everywhere. I love that the children can find out how pumpkins grow by wading their way through the leaves and mud to find the perfect pumpkin.
This slideshow requires JavaScript.
Pumpkin Play
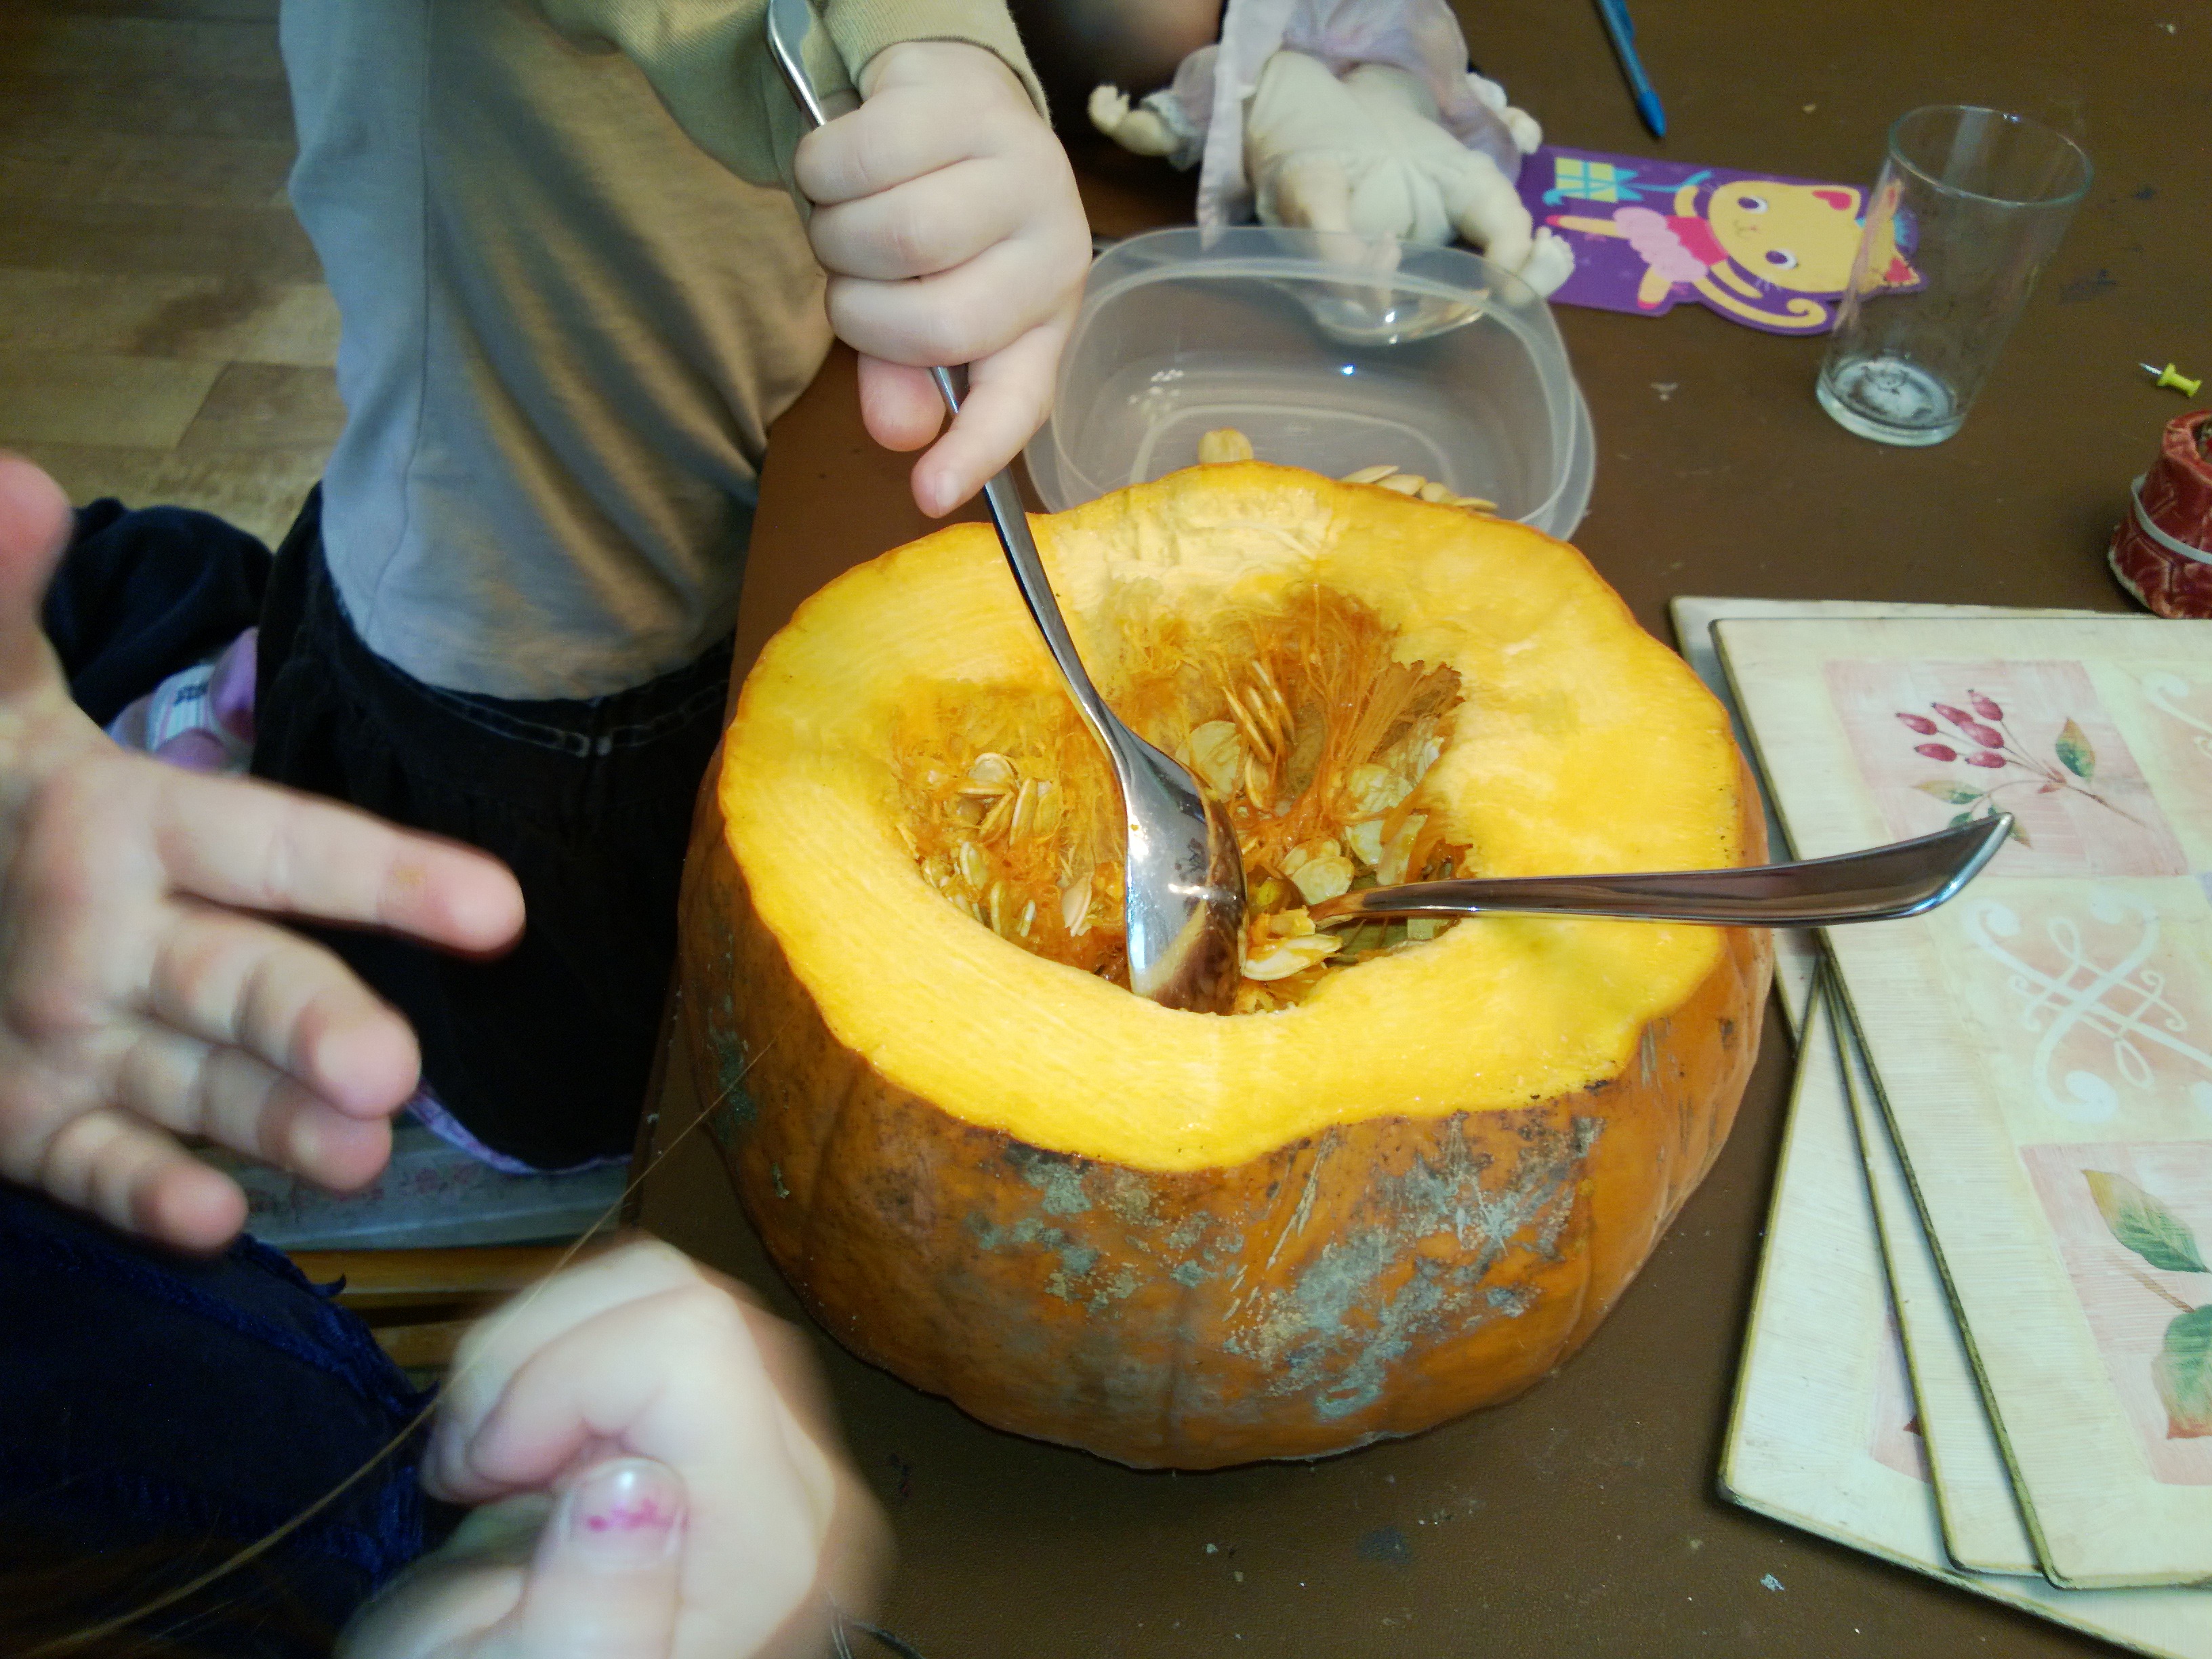
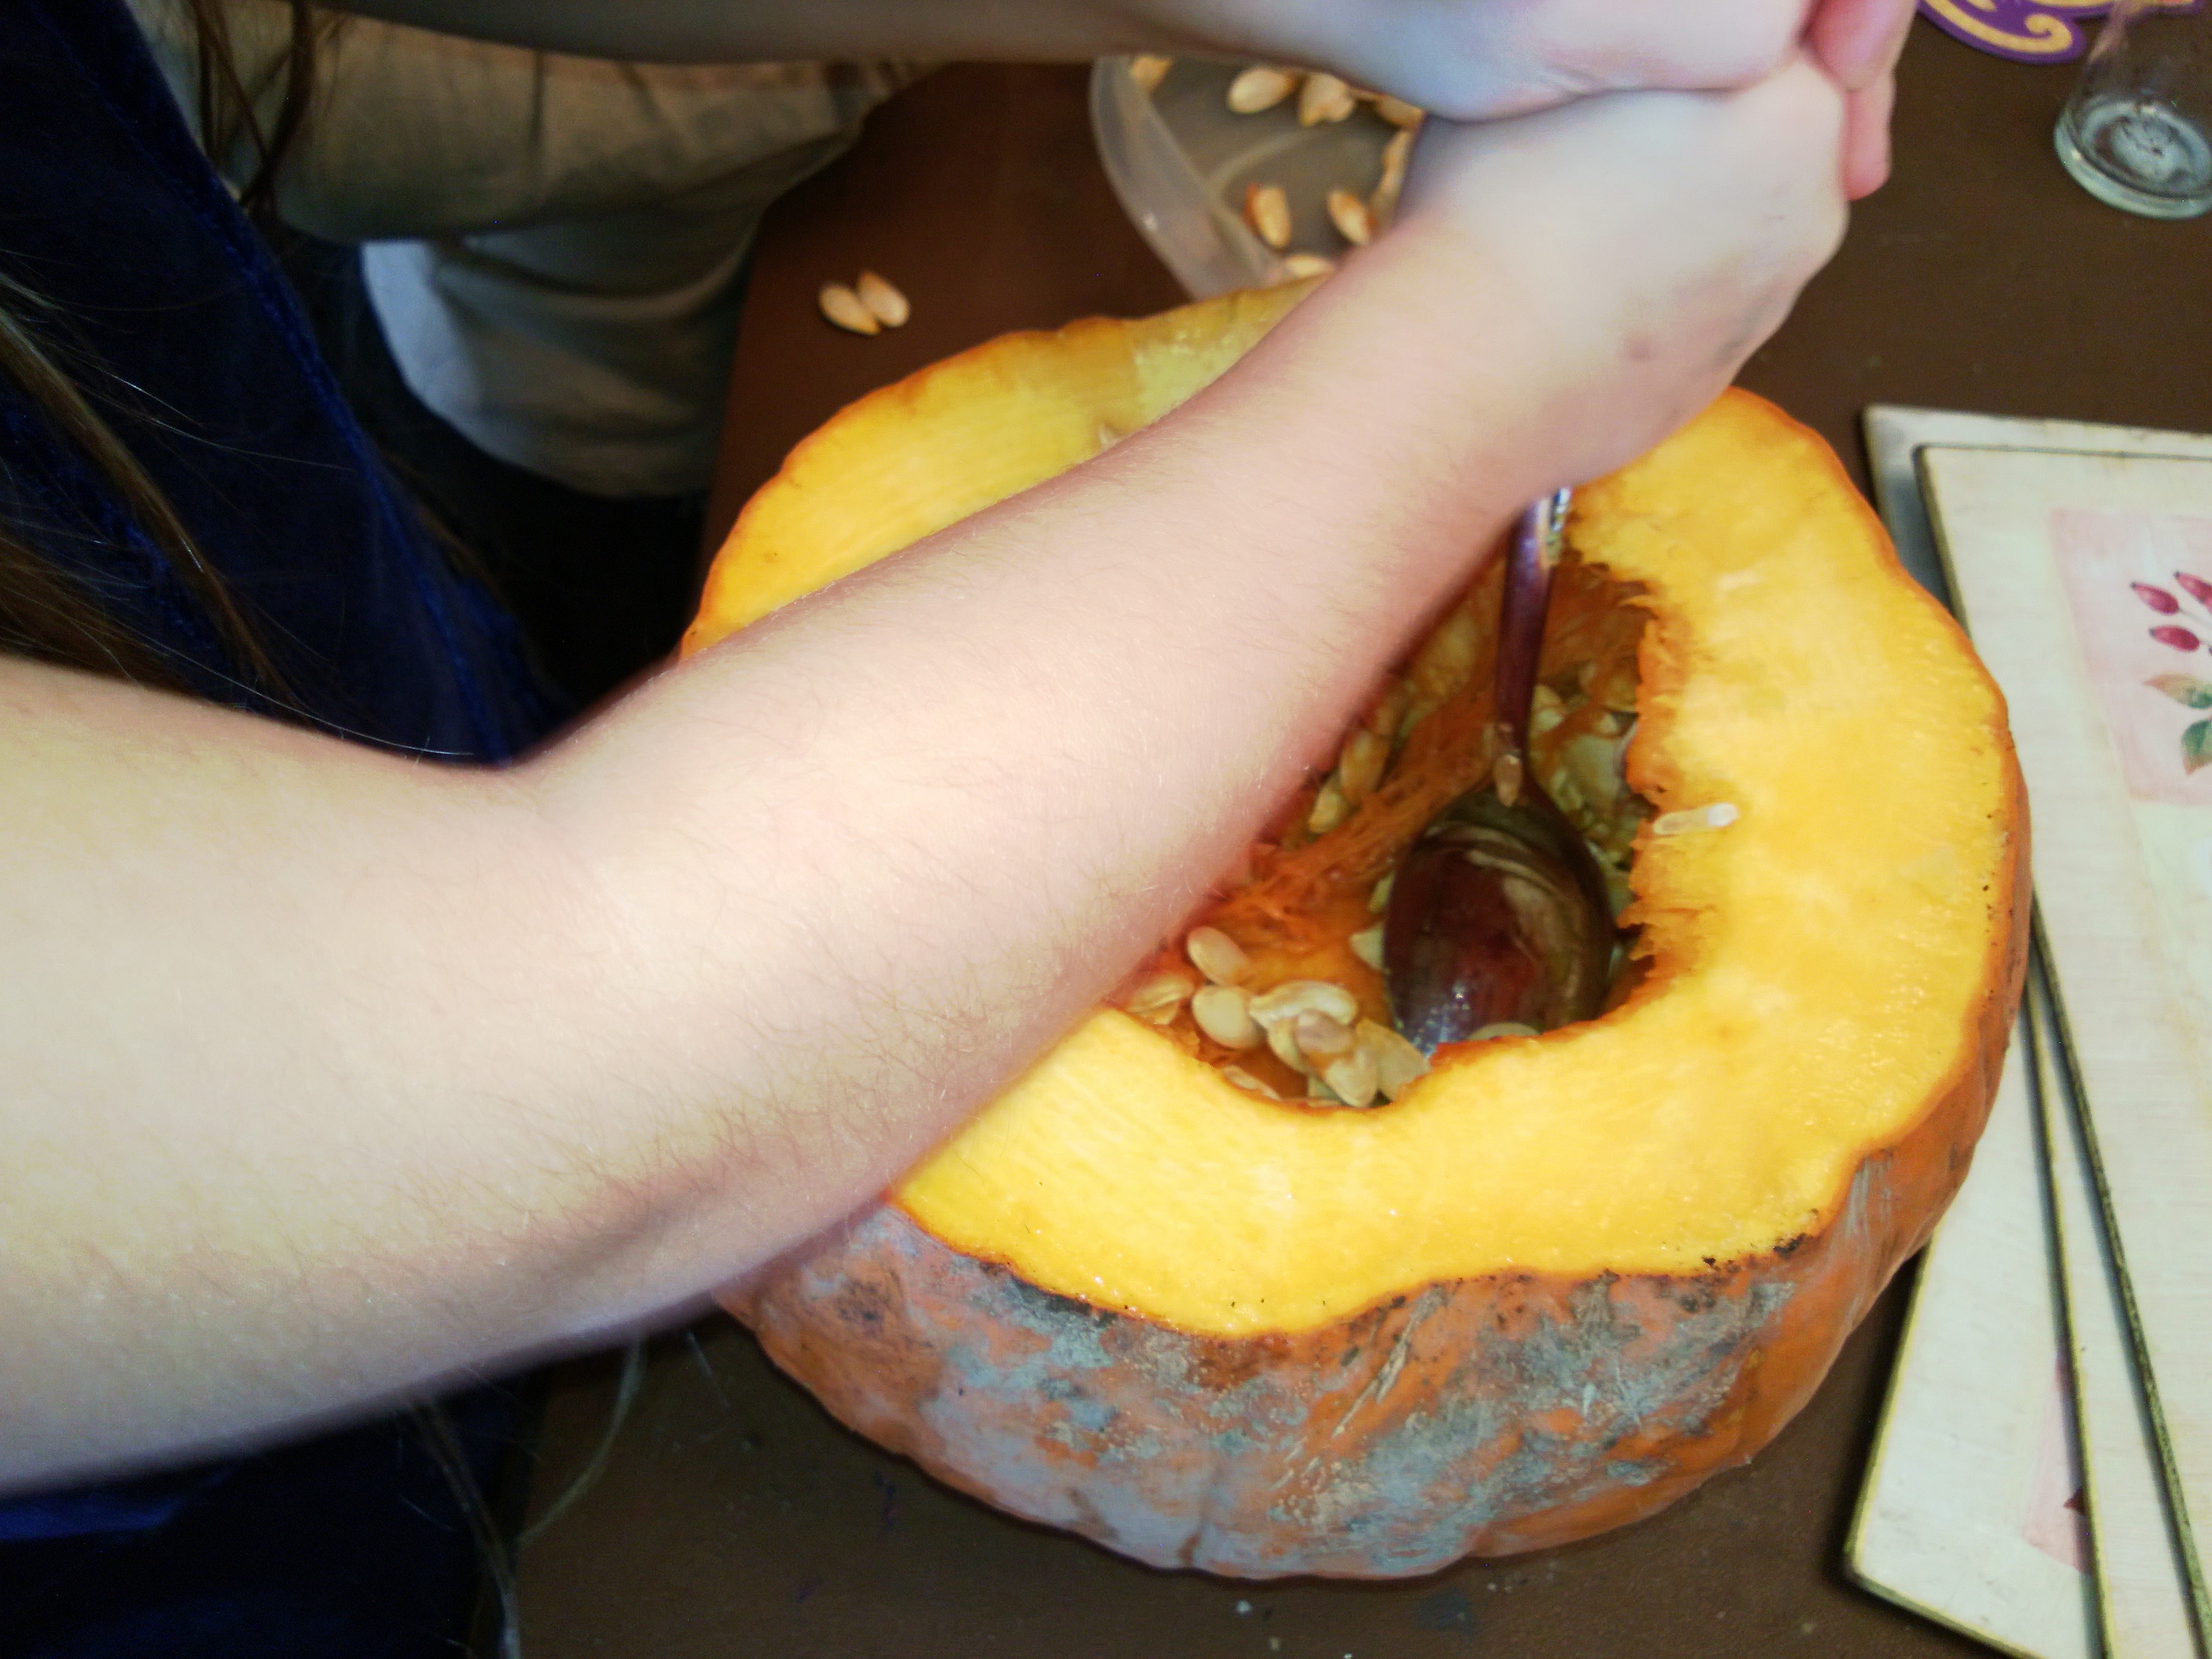
Exploring Inside a Pumpkin and Learning about Seeds
I removed the top of one of the pumpkins and gave the girls spoons to explore what was inside.
Look at all the seeds, they look like lemons but with no other sideIt’s a slother pumpkin. It feels really cold. There are lots of stringy bits, they look like messy hair.
We talked about saving the seeds for the Spring, so that we could try to plant pumpkins in the garden next year. This lead to a discussion about how the seeds were spread.
How do the seeds get out of the pumpkin if they are in the pumpkin patch?
The pumpkin gets mouldy and then the seeds can come out.
Do you know how the seeds are spread?
No
What happens to a dandelion seed?
Where are the dandelions seeds?
The seeds are on the dandelion clock.
Oh so they get blown around.
Yes. Does this happen to the pumpkin?
No
We talked about how the animals spread the seeds – the girls thought it was a bit disgusting to talk about poo so we left it at that but later read ‘The Tiny Seed’ by Eric Carle to remind ourselves how other seeds are spread.
2. Scientific Experiments
How Does the Pumpkin get Soft?
I think we eat this bit because it’s all juicy but it is hard. How do we make it soft?
Hmm, can you think of any ideas?
I know we could make it wet and then dry it.
We could sprinkle it with soft sugar.
We could cover it with a bag.
We covered one half of the pumpkin with a warm flannel to see what would happen.
We sprinkled the other half with caster sugar.
After 30 minutes we checked to see what had happened.
It didn’t work, it just got wet on my side.
What about the sugary side?
It feels softer, the sugar is softer but the pumpkin is hard.
I asked the girls if they could remember how I made spaghetti squash soft (when I tried to cut it, it was so hard I cut my finger instead). They couldn’t remember. I said that they had been along the right lines when they decided to warm it.
How could we warm it?
Put it in the microwave
or?
The oven.
Yes that’s how I made the squash soft.
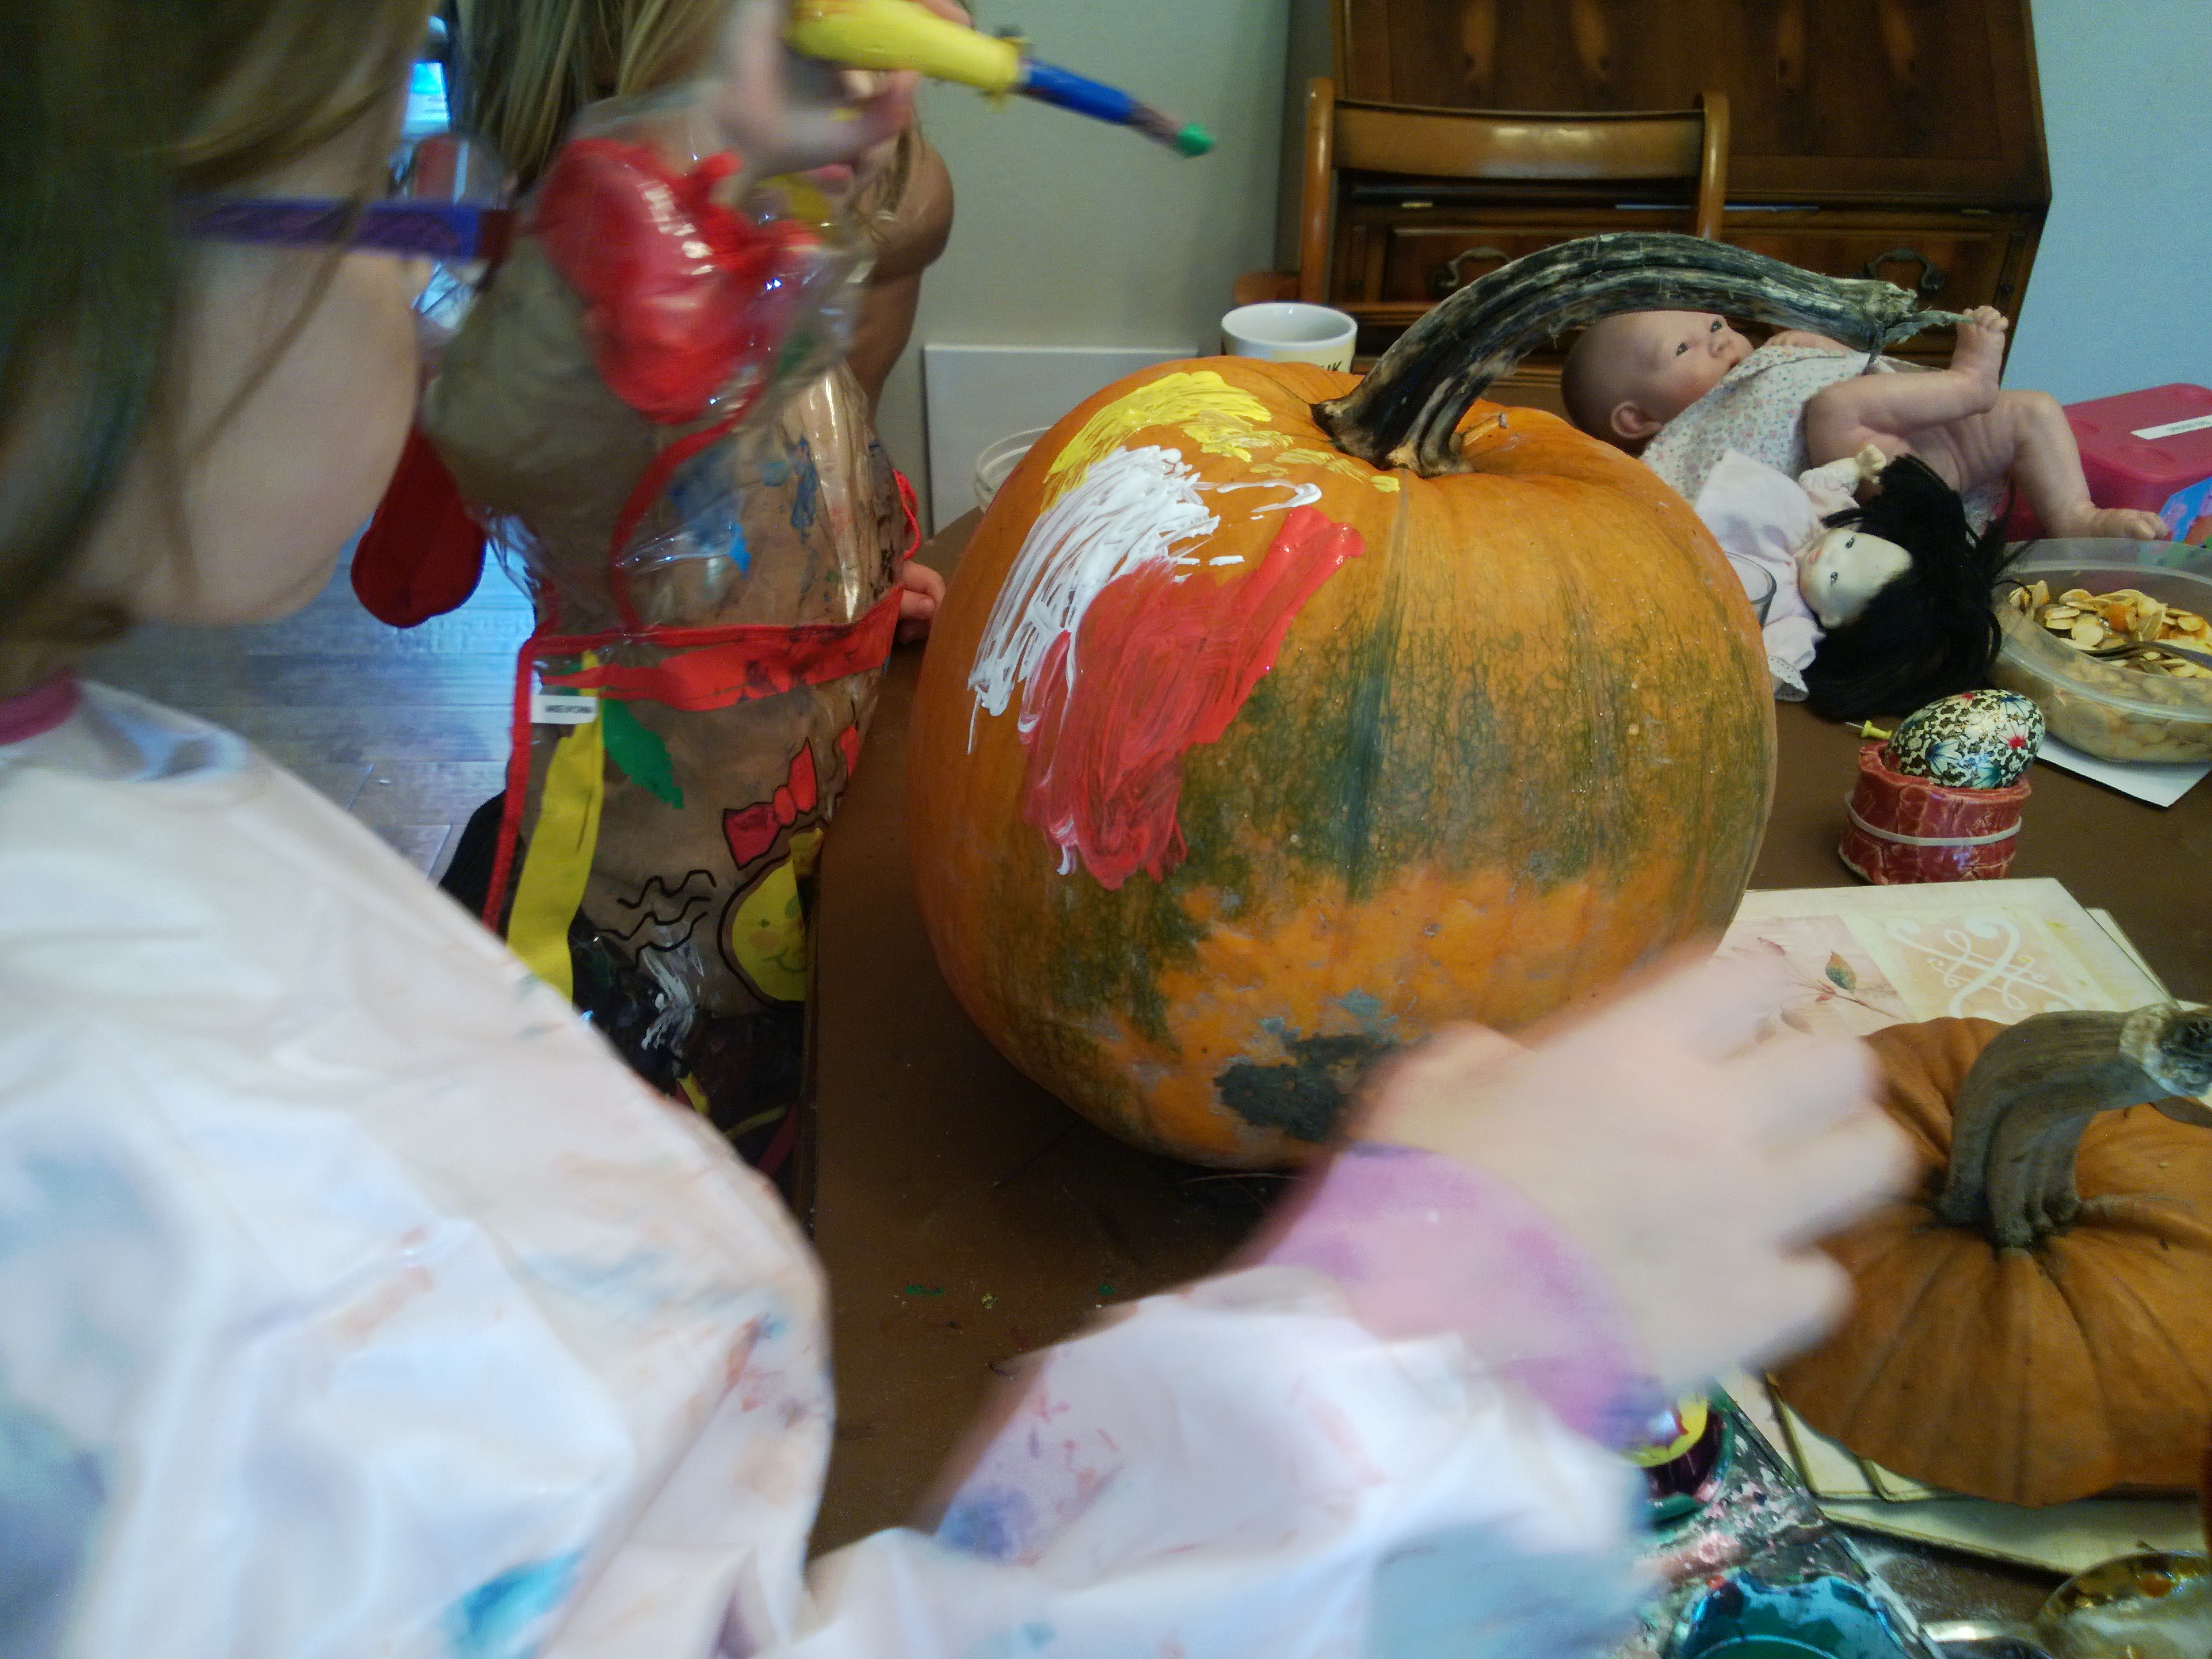
3. Paint a Pumpkin
We painted our largest pumpkin with acrylic paint. The acrylic paint remains shiny .
4. Make a Squirrel Feeder
With the painted pumpkin we made a squirrel feeder by removing a section at the front and sprinkling it with birdseed. We often have squirrels in the garden but this gave us a good opportunity to watch them close up.
Filling the feeder with seed
Here comes the squirrel
squirrel feeding
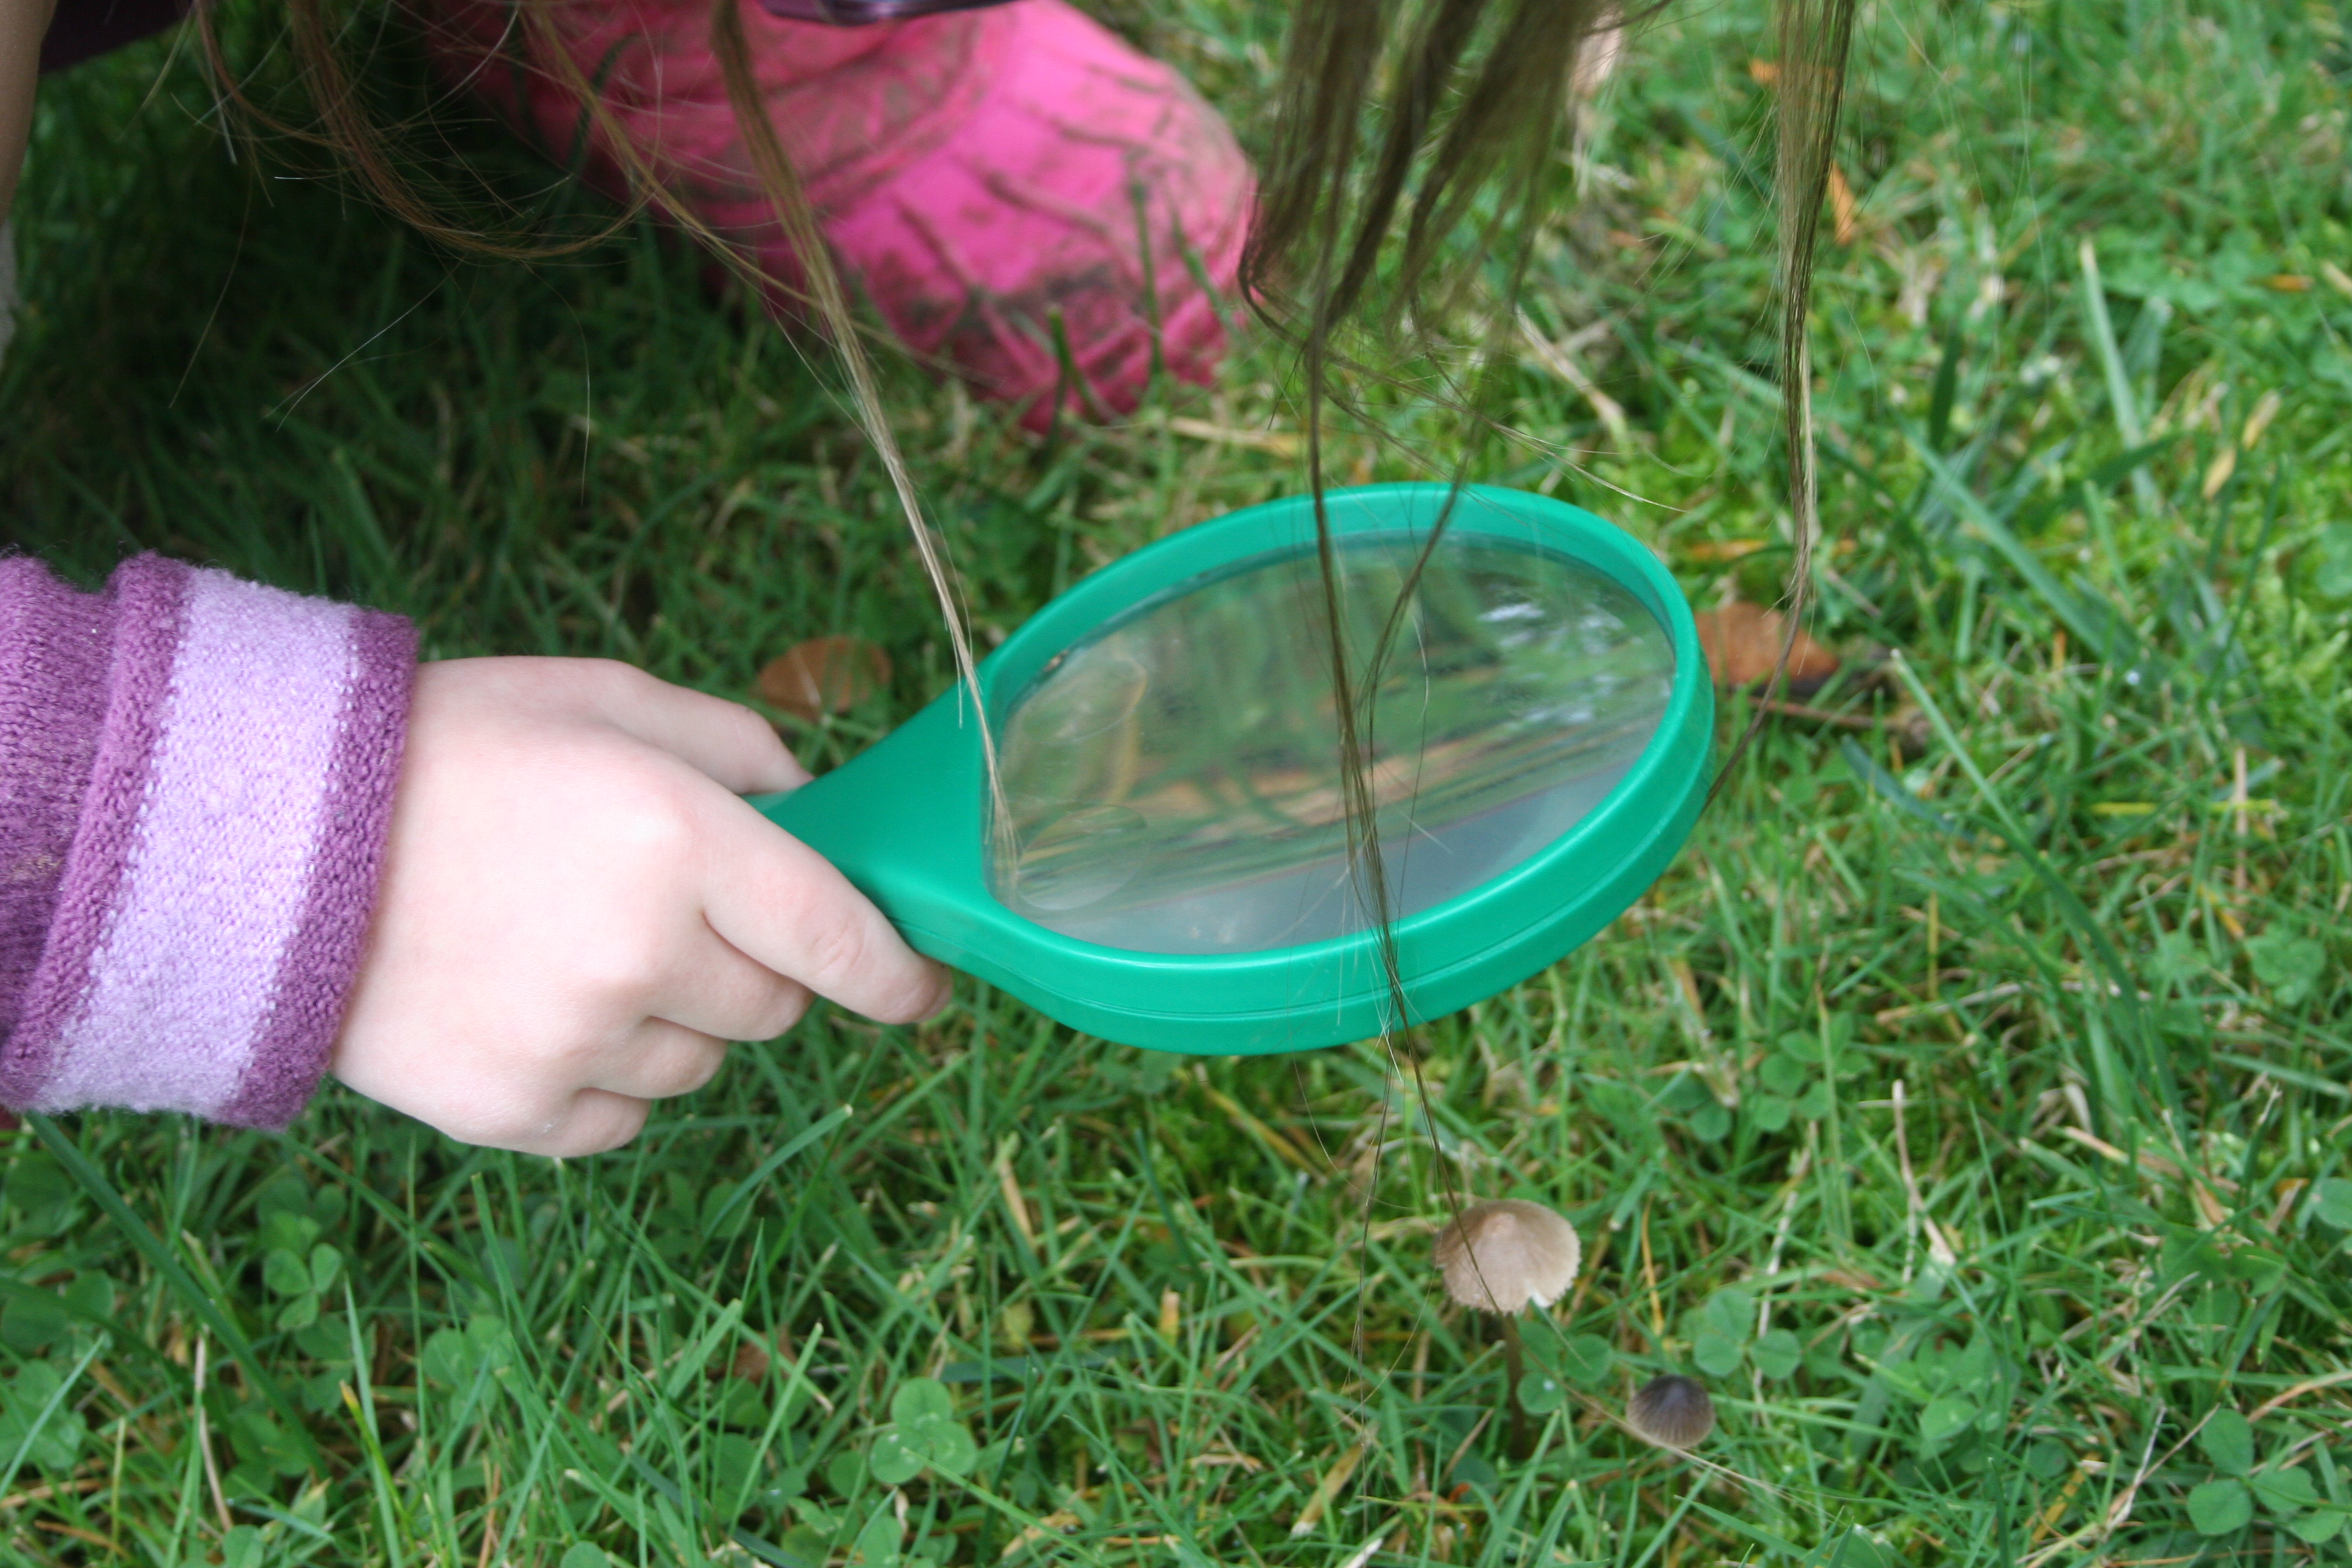
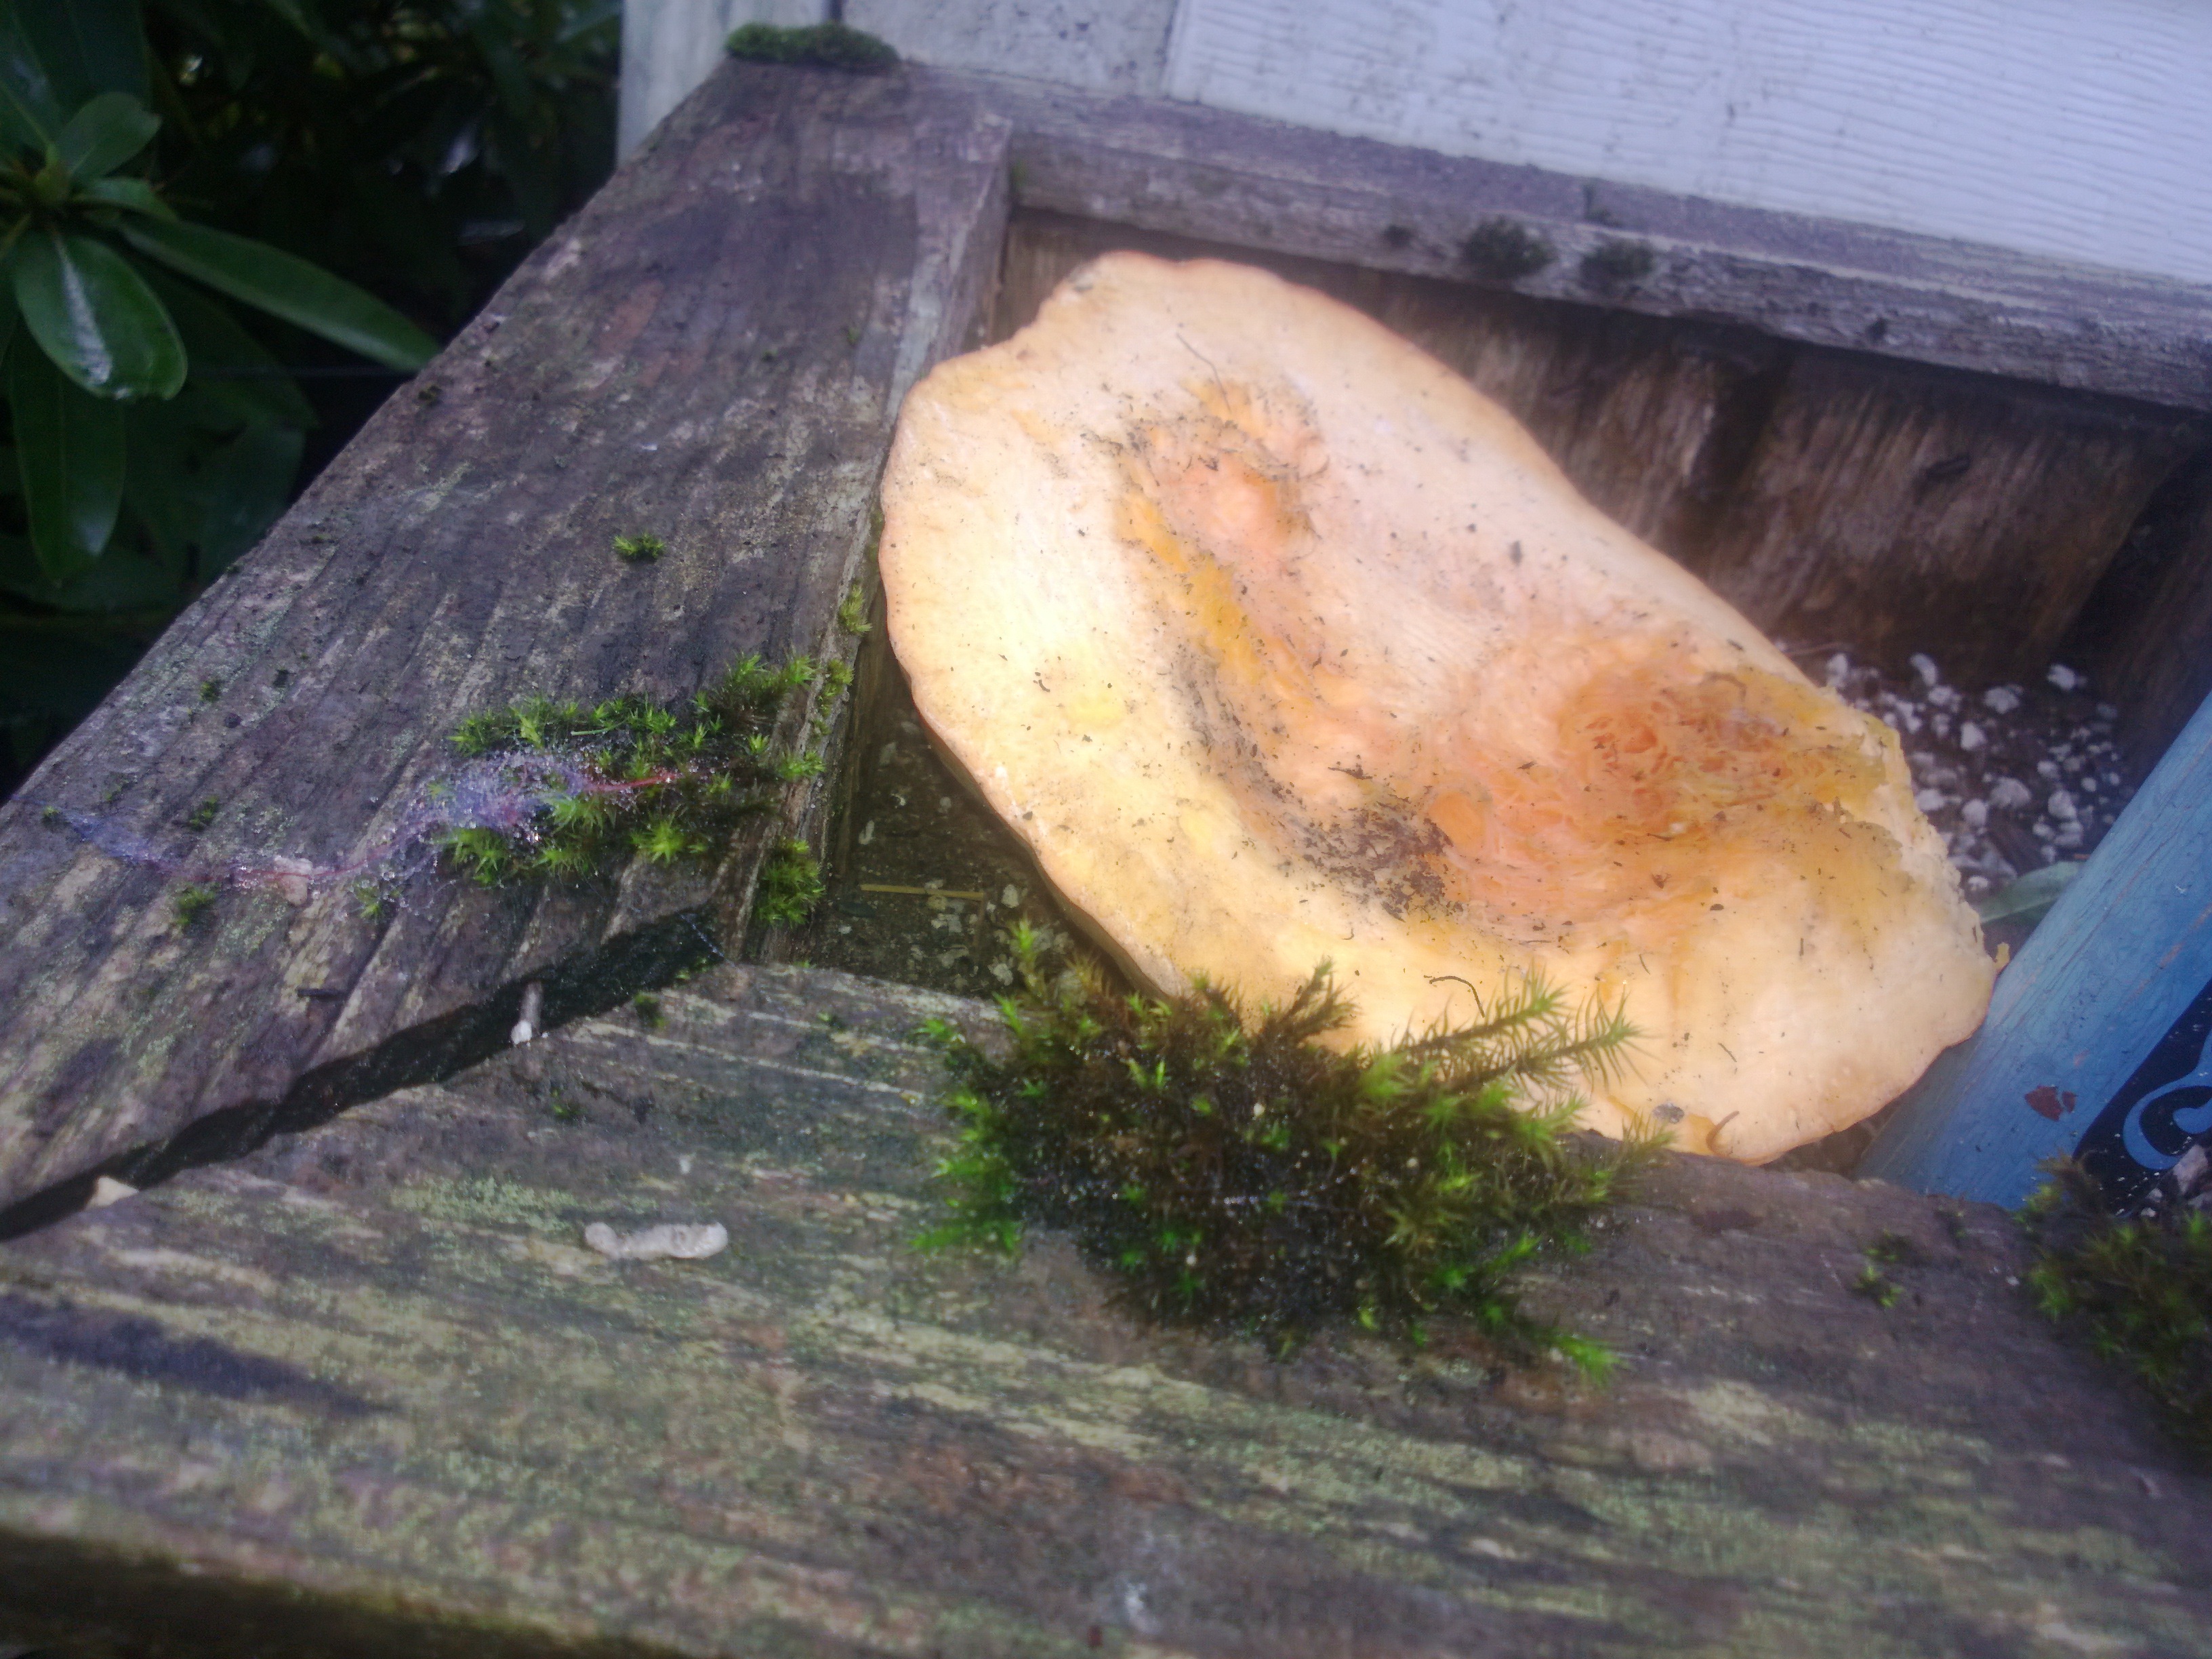
5. Fairy Toadstools
Our garden is full of toadstools in this damp Autumnal weather and we have been exploring them to see if we could find any fairies.
Turning the top of the pumpkin upside down made a perfect fairy toadstool for our flower-pot. We are also going to watch and document what happens as the pumpkin starts to decay. It might make a nice art or photography project for the girls.
6. Pumpkin Poetry
I helped the girls to make up a poem about a pumpkin using some of the descriptions I had recorded them saying.
Pumpkins by my 5-year old
Pumpkins are very orange
Inside they have seeds
The seeds look like lemons
And feel slimy and cold.
Around the seeds it is orange and stringy
It looks like crazy hair.
The bottom is lumpy and chunky
I call it the core.
7. Pumpkin Juice.
I sliced and peeled the pumpkin we had been exploring and we used it to make pumpkin juice.
Ingredients (quantities according to taste)
Pumpkin
Apple
Carrot
Ginger
Sprinkle with cinnamon.
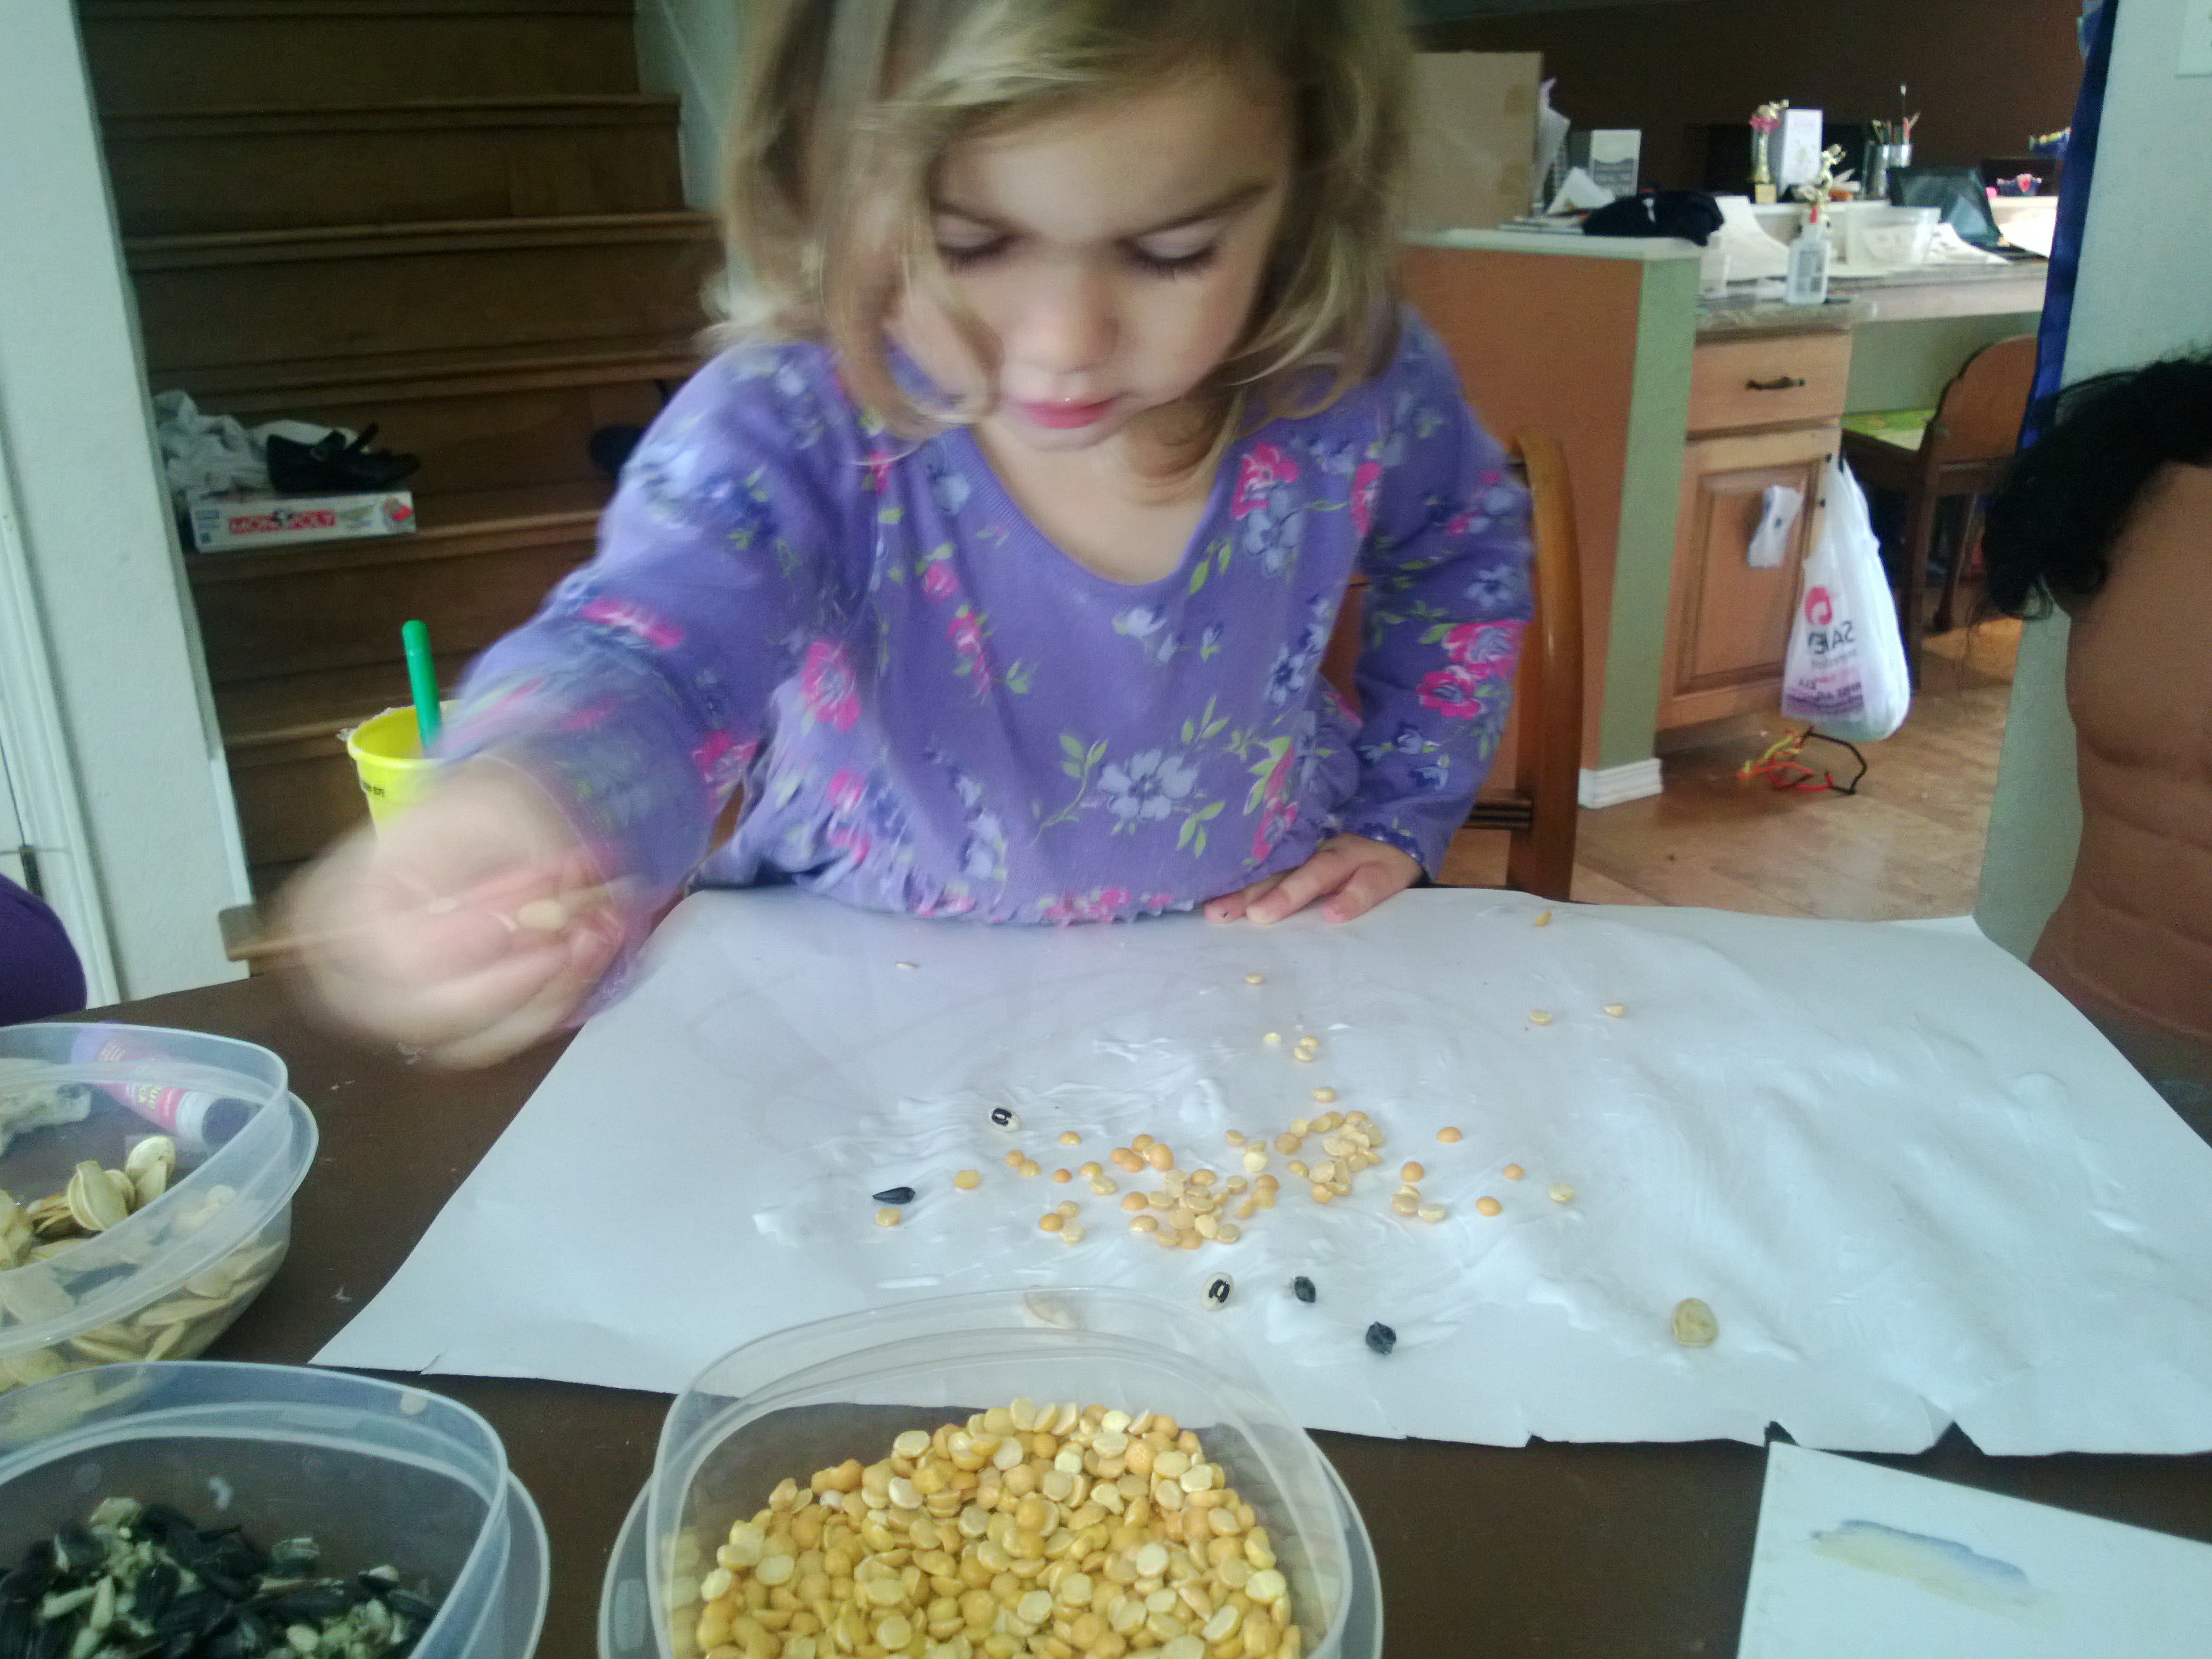
8. Seed Collage
One of our current topics is pattern. We used the pumpkin seeds alongside other seeds and pulses to make collages.
9. Roasted Pumpkin Seeds
As a healthy snack we tried roasted pumpkin seeds. Sprinkle with oil, salt and pepper and roast in the oven for 25 minutes.
10. Mr Potato Head
We still have one small sweet pumpkin left to make into a pumpkin curry.
Further ideas
Use the seeds for measuring in a balance scale
Use the seeds in a play or mud kitchen
Put a hollow pumpkin in the water tray
Make pumpkin cookies
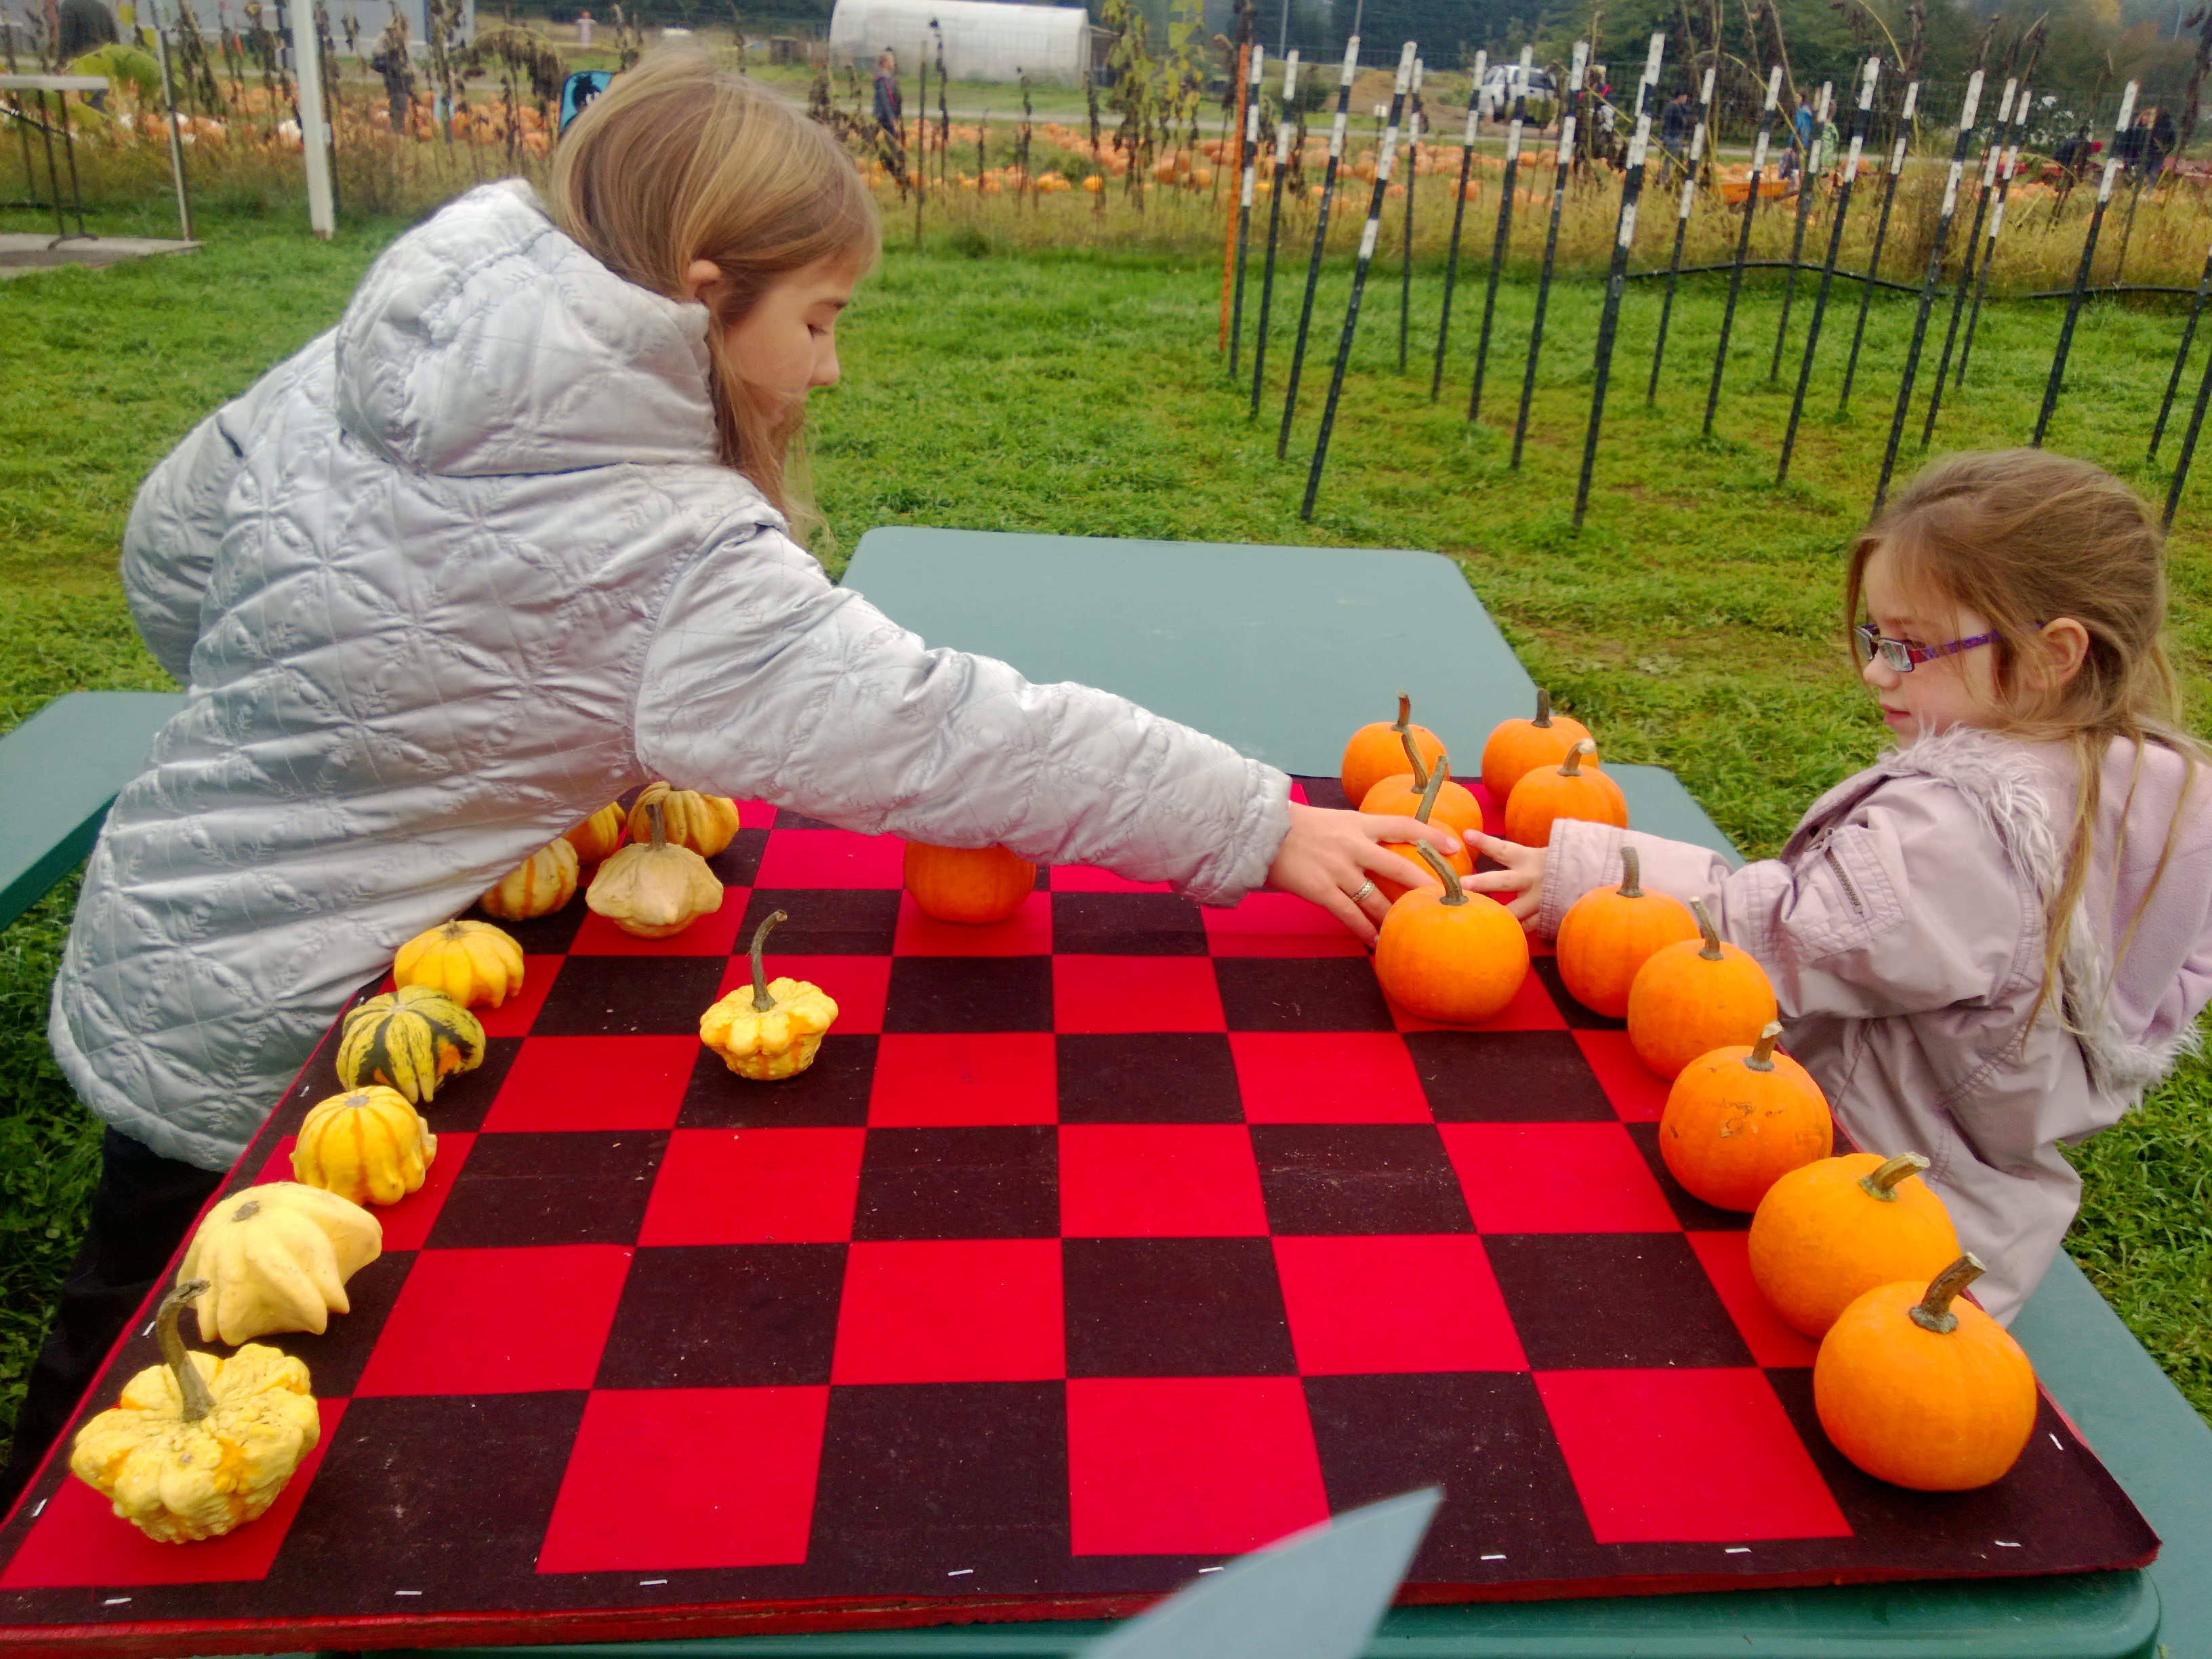
Make pumpkin drafts or checkers
Roll pumpkins down a hill and see which one reaches the bottom first.
Give children trays of seeds with scoops and containers.
Use the seeds with clay or pumpkin scented playdough.
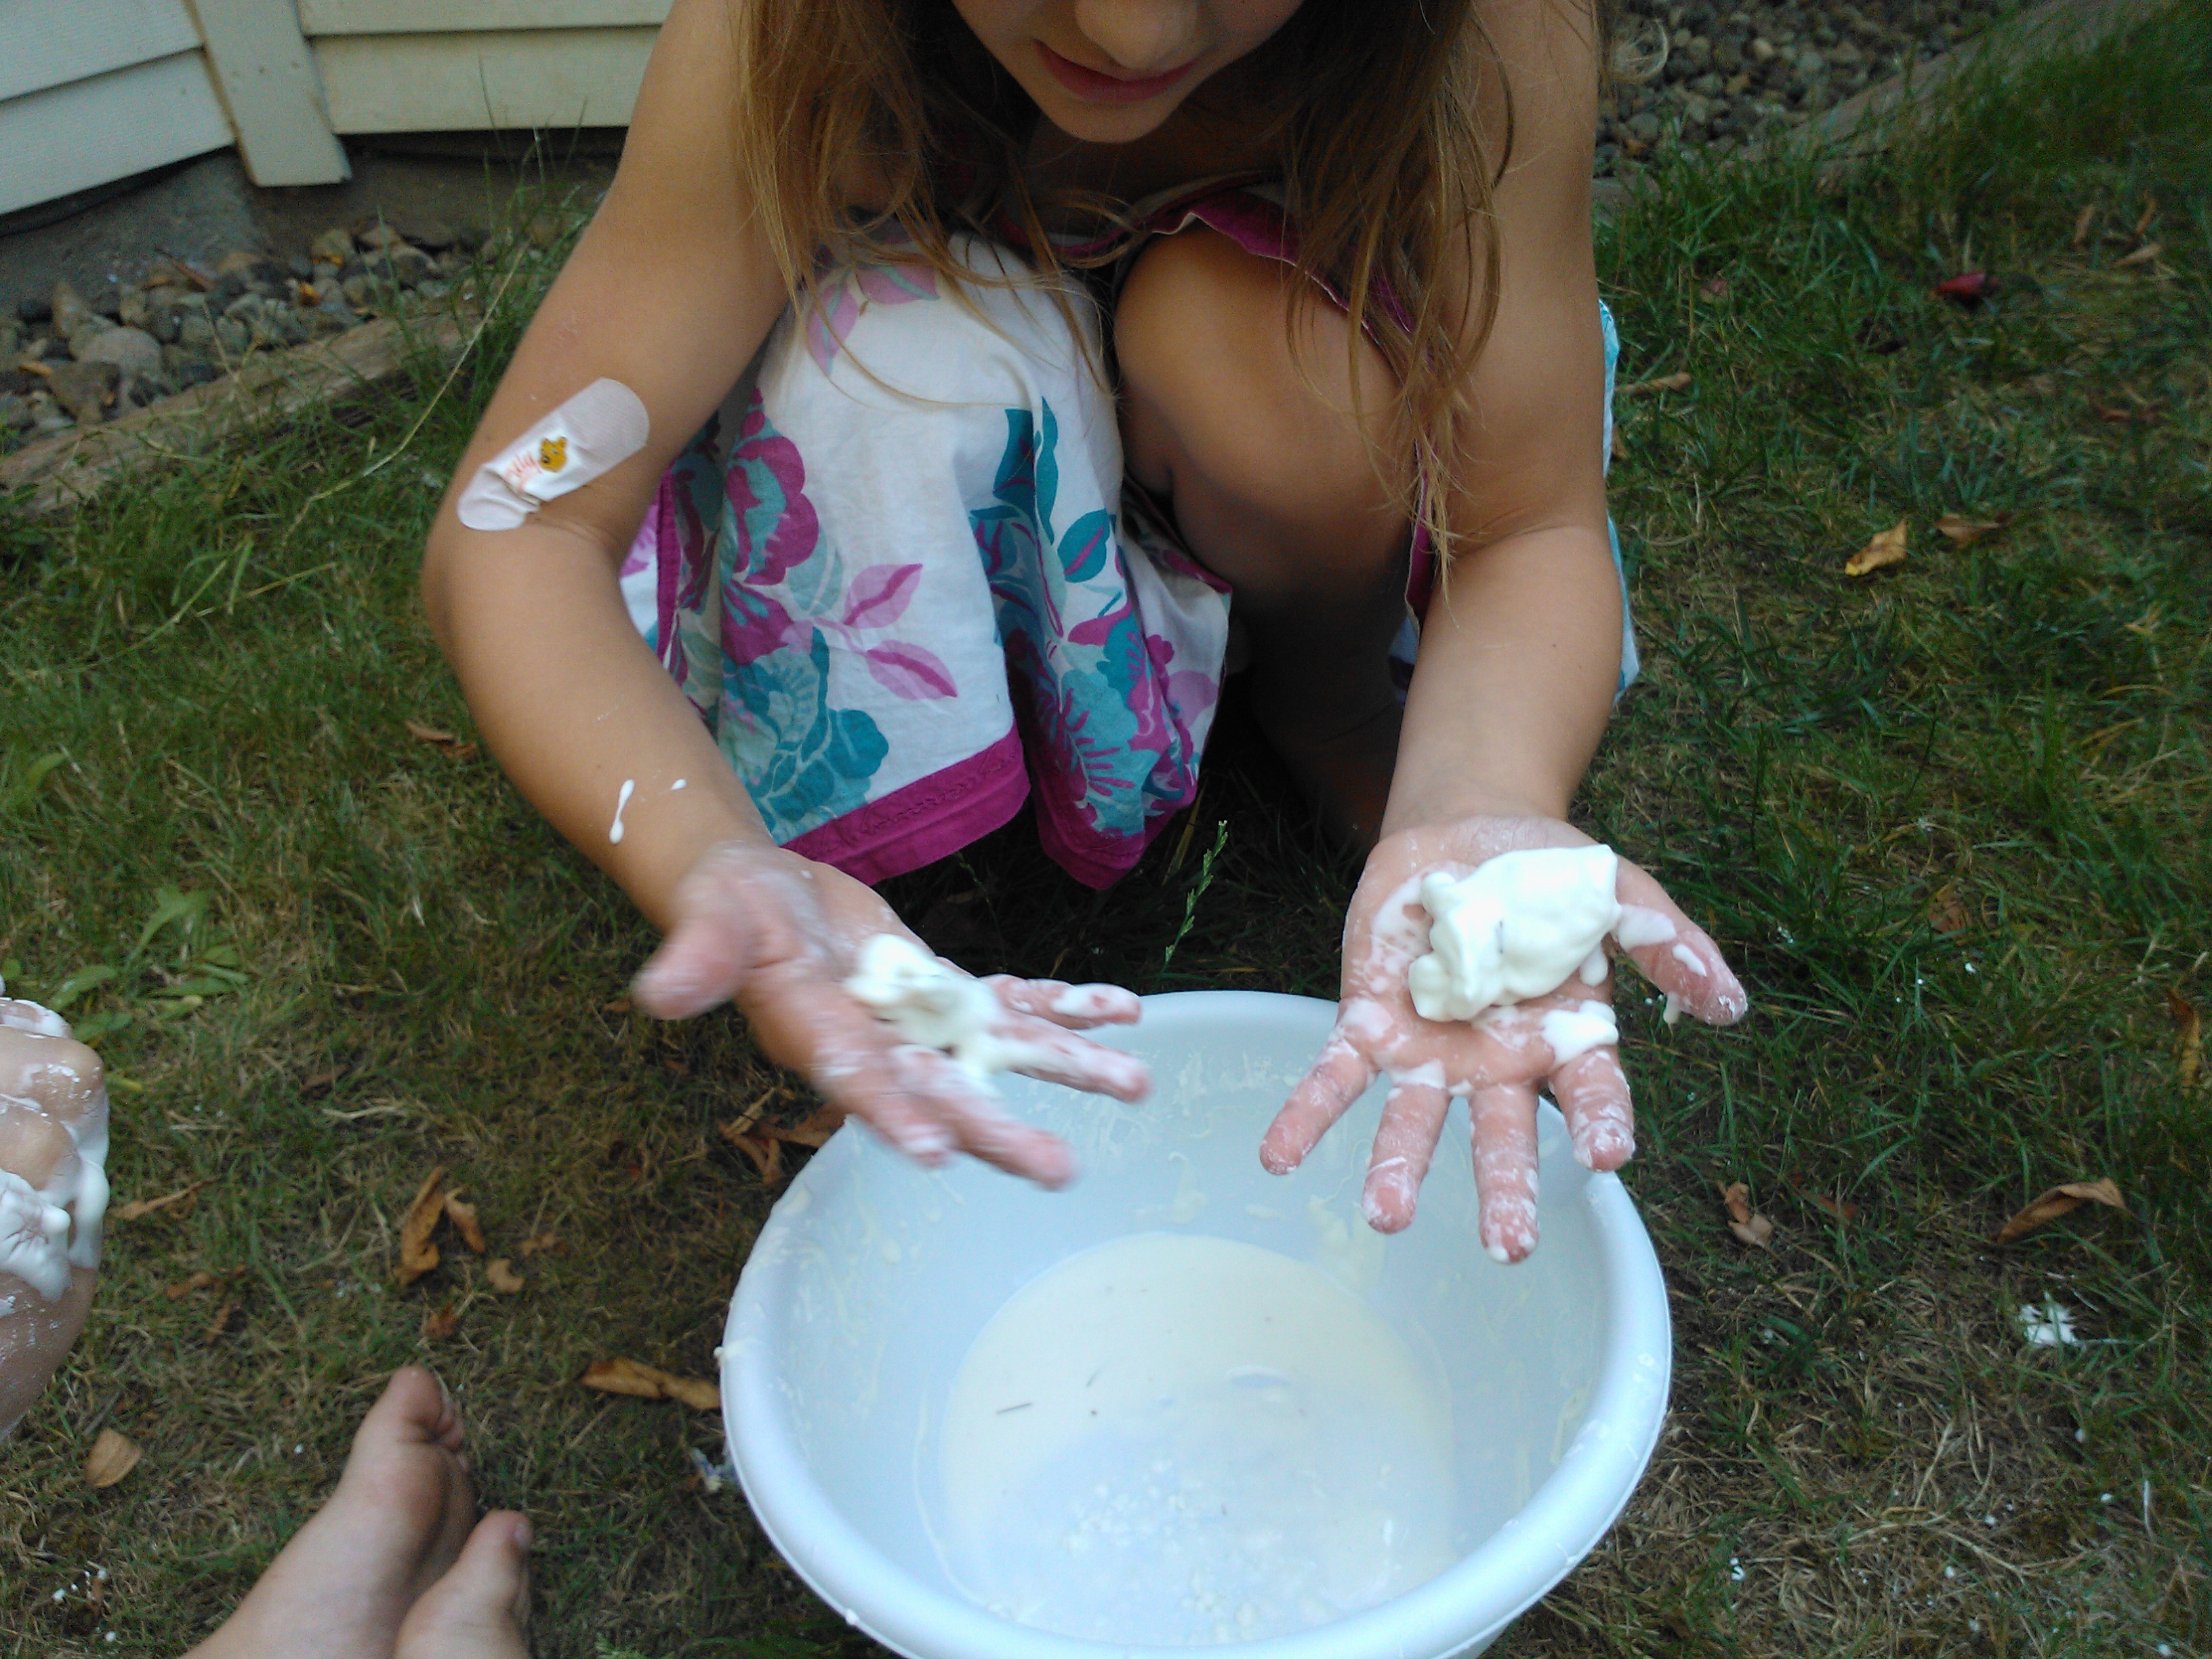
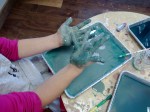
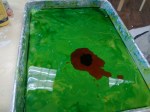
We haven’t played with ‘goop’ for a while. Usually we play with ‘goop’ in the garden so that the girls can make as much mess as they like and explore it with their whole body. Today there was an indoor ‘goop’ session at Romp so we decided to visit to see what was in store.
For those who don’t know what ‘goop’ is, it is a mixture of cornflour/cornstarch and water and makes an interesting consistency that is half solid and half liquid.
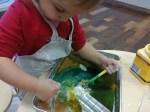
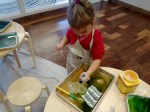
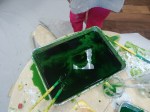
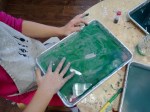
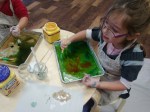
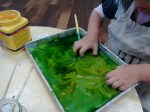
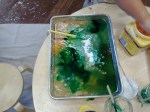
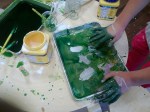
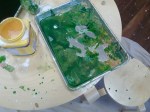
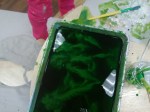
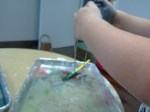
At the session today the ‘goop’ was arranged in trays with food colouring, paint brushes and sticks for mixing and scraping. The girls were in their element – messy play, scientific exploration and colour mixing all rolled into one.
I gave the girls permission to explore it with their hands, yes they had coloured hands for a while but the comments and questions were far richer once they got their hands dirty.
Look at my pattern
What colour will this make?
Look at the colour I made
Look I’m a frog all in green
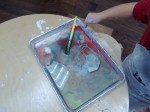
when you squeeze it and put a lot of pressure on, it drips.
Whenever I run my fingers through it the bits under my fingers go hard.
Can you build with it?
If I drizzle it really close it goes solid.
I made a poppy
It’s too watery. How will I make it unwatery? I know put lots of flour in.
When you sprinkle it, it sinks in.
How did you make it colourful?
Do you think that if it was really dry it would make a track? No it just drizzles back.
Maybe it would work if you open up a big enough area.
Look at this. It’s dark on the top and light underneath – sort of neon.
Why is the cornflour always blue whatever colour you mix?
I love the questions that arose from the play. I’ll definitely be putting ‘goop’ in the water tray soon to see if we can work out any answers.
Some of Roald Dahl’s books are a little gruesome for pre-schoolers but I have just started reading some of the less scary ones to my 4-year old. We are currently reading ‘James and the Giant Peach’, she has watched the film of ‘Charlie and the Chocolate Factory’ and we recently finished ‘George’s Marvellous Medicine’.
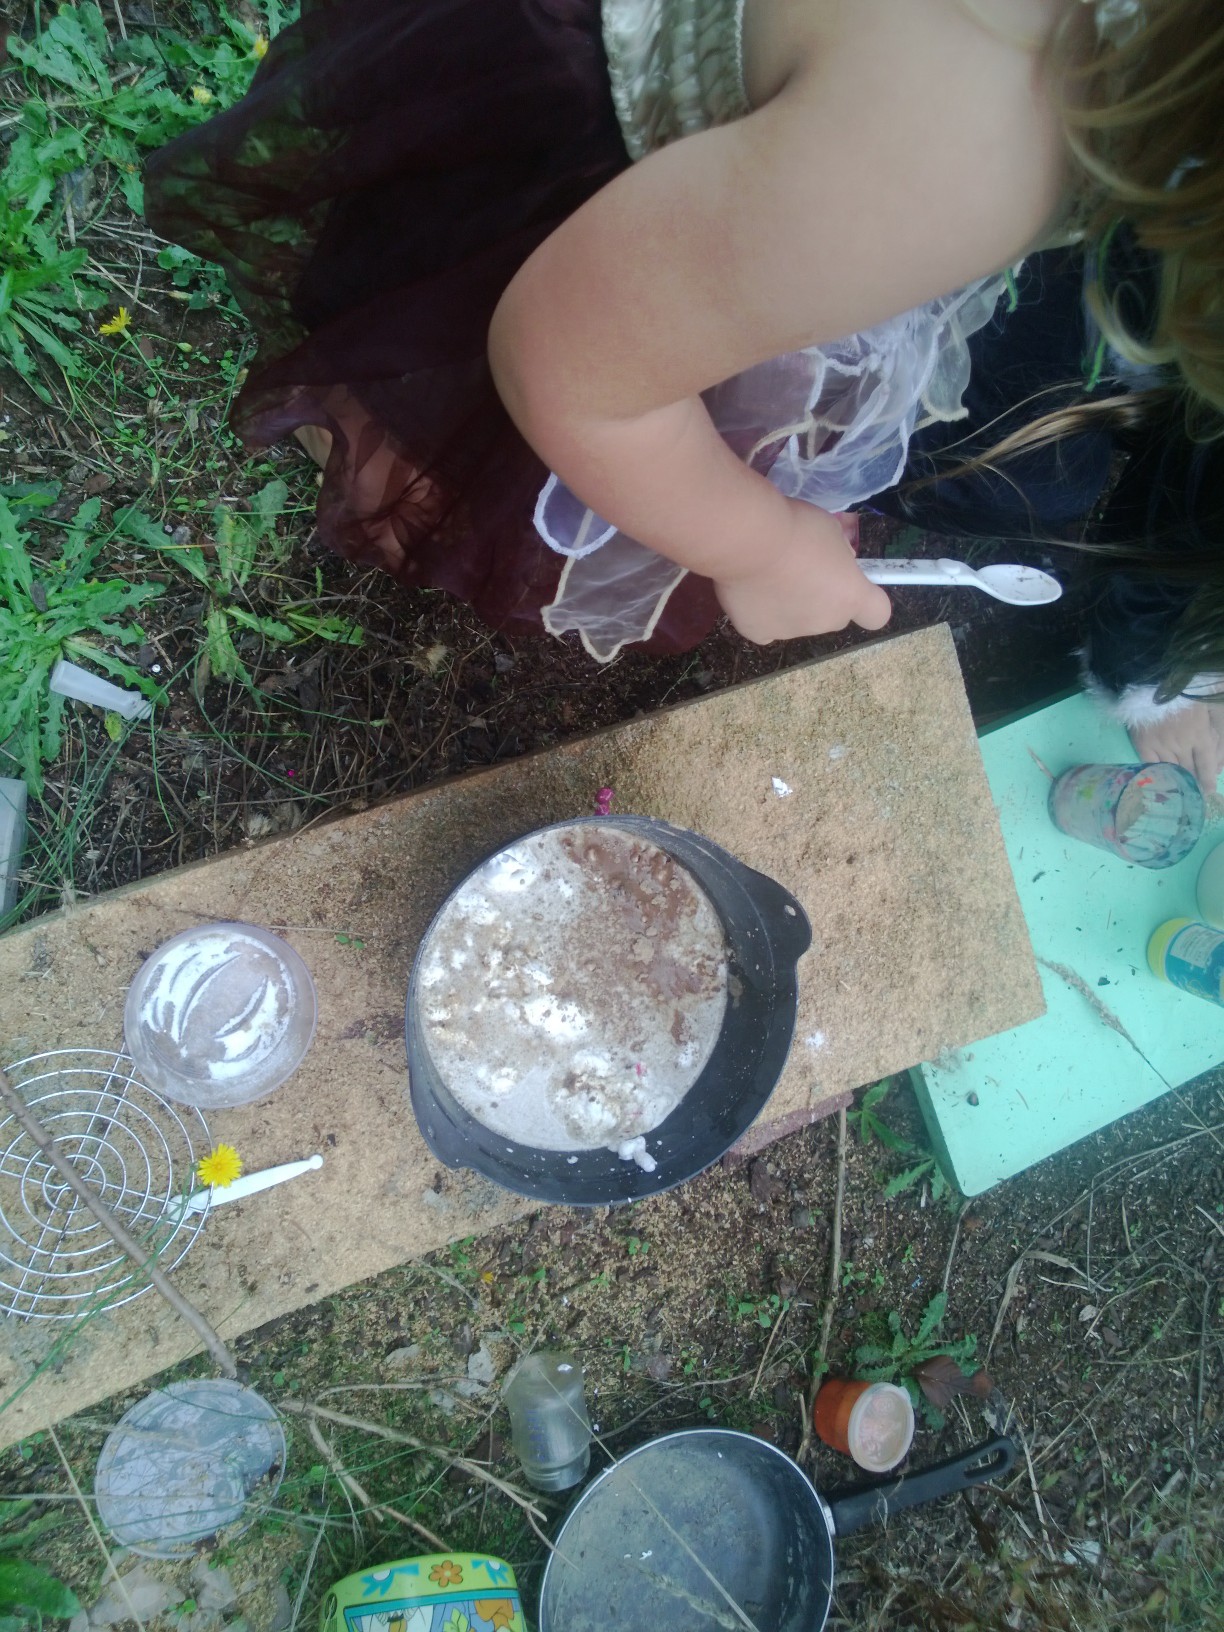
One of her favourite activities is potion making, so she really loved the story of a boy who empties out every container in the house to make a special medicine. I have to leave the girls toiletries out of reach to avoid them emptying bottles to make potions but that doesn’t stop them sneakily taking their dad’s, sister’s or my toiletries or climbing onto the stool to get food colourings from the cupboard.
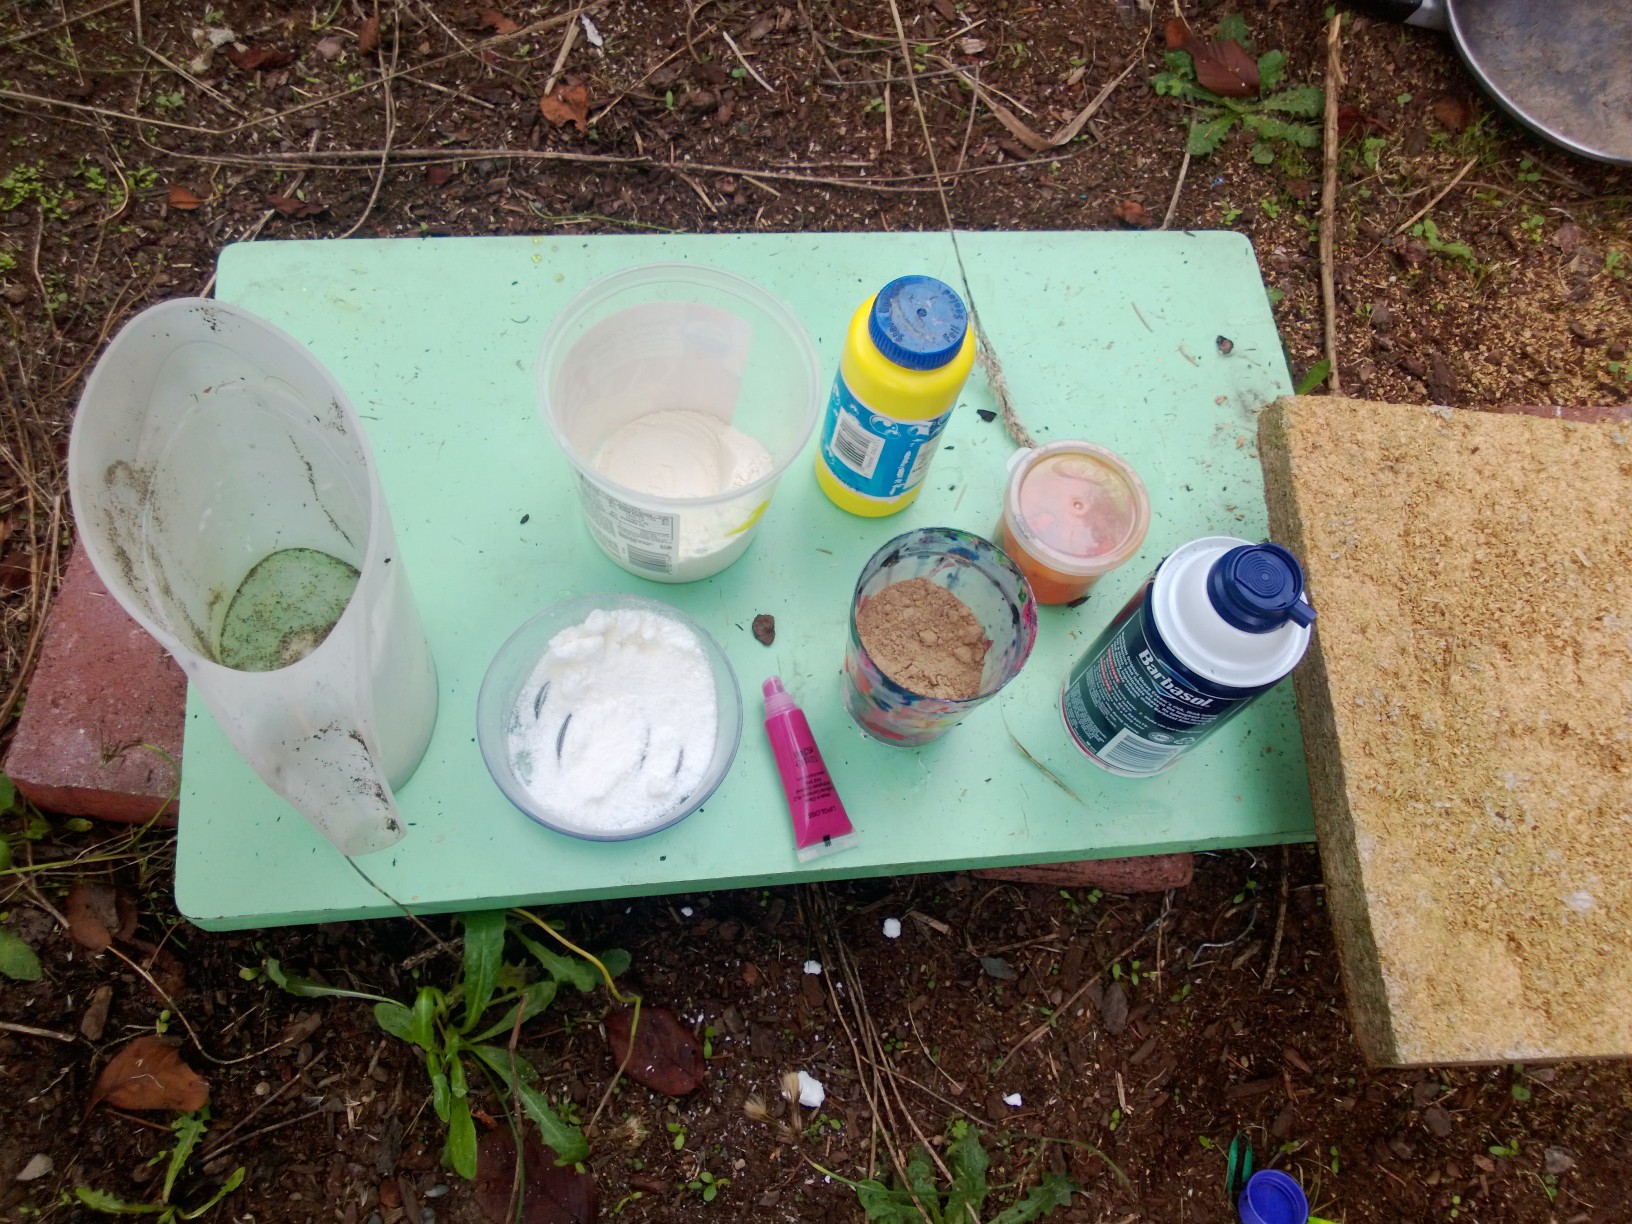
I set up the mud kitchen in the garden with some of the ingredients from George’s Marvellous Medicine and a cauldron for mixing it in.
Shadows provide extraordinary educational opportunities. Not only do they raise a spontaneous curiosity in the child, stimulating his imagination and exercising his emerging intellectual abilities but they are also omnipresent (even more than sand, stones, water or “pencil and paper”, because you only need a bit of sunlight or even a candle to produce them). Perhaps more effectively than other things, shadows can nourish the child’s need to do and to experiment given the ease with which the variables involved in their formation and transformation can be manipulated.
( Guido Peter – The Hundred Languages of Children)
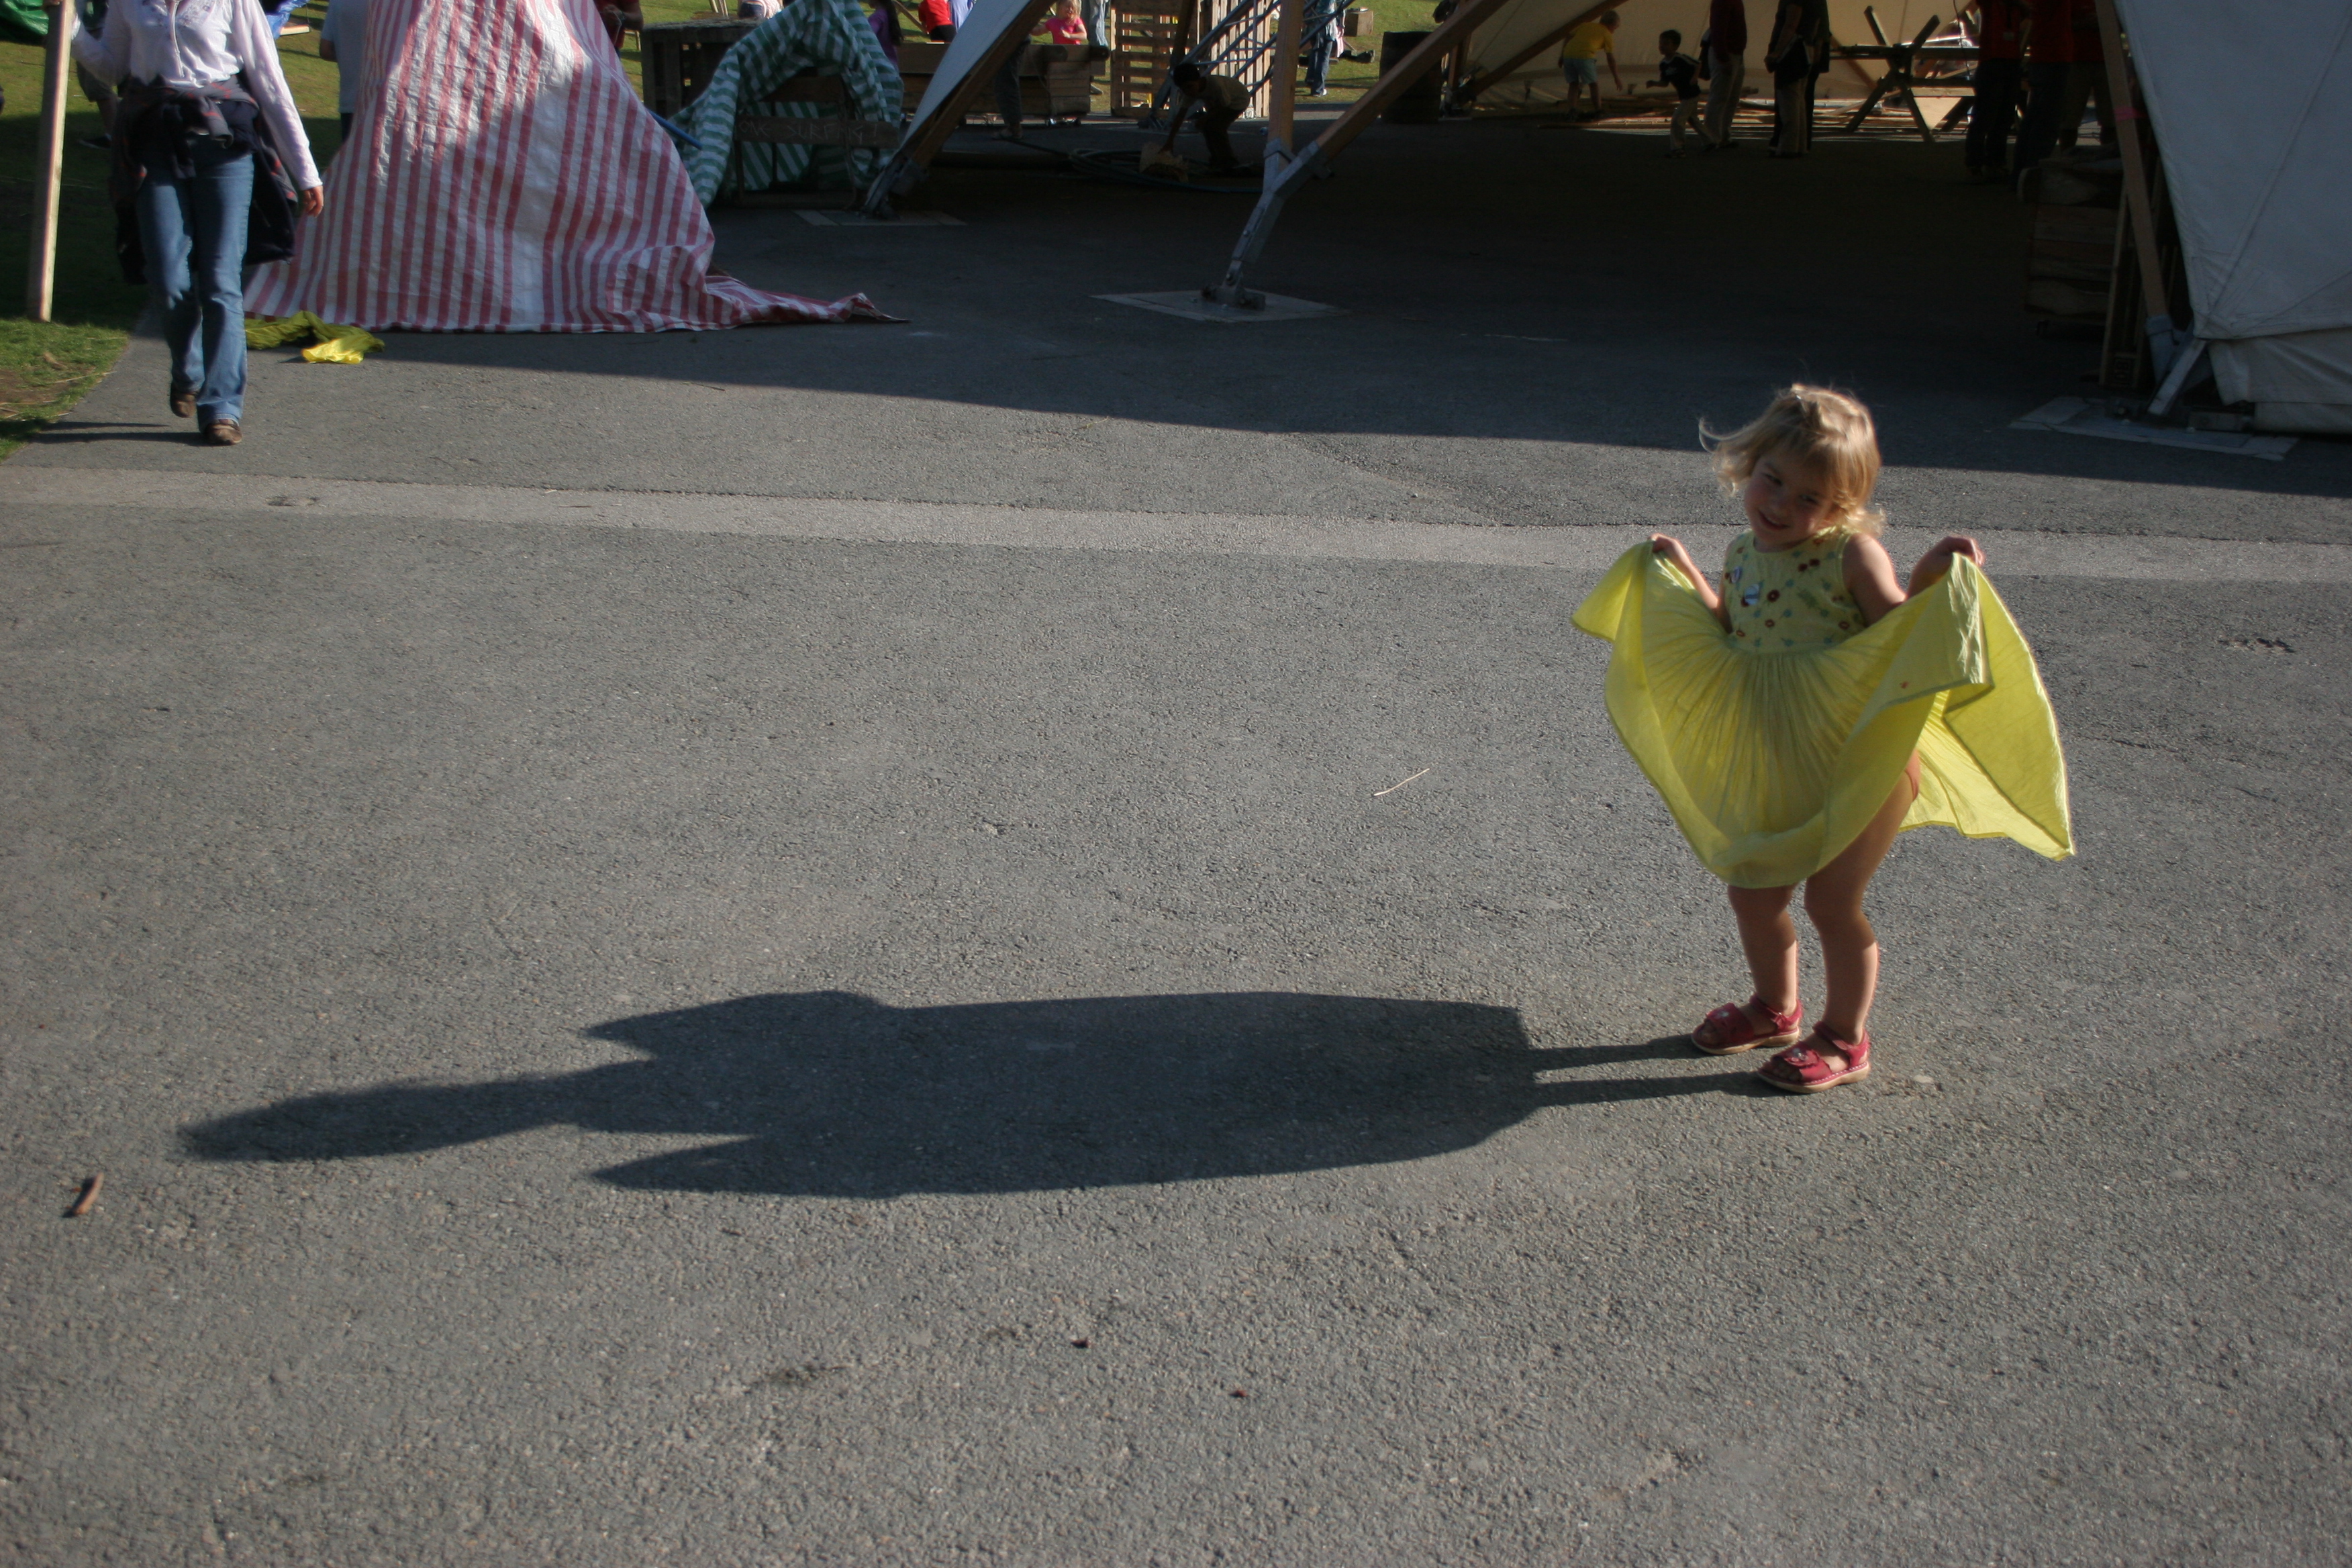
My youngest has become increasingly fascinated by shadows. As we walk along she shouts
I can see your shadow
or
my shadow is long
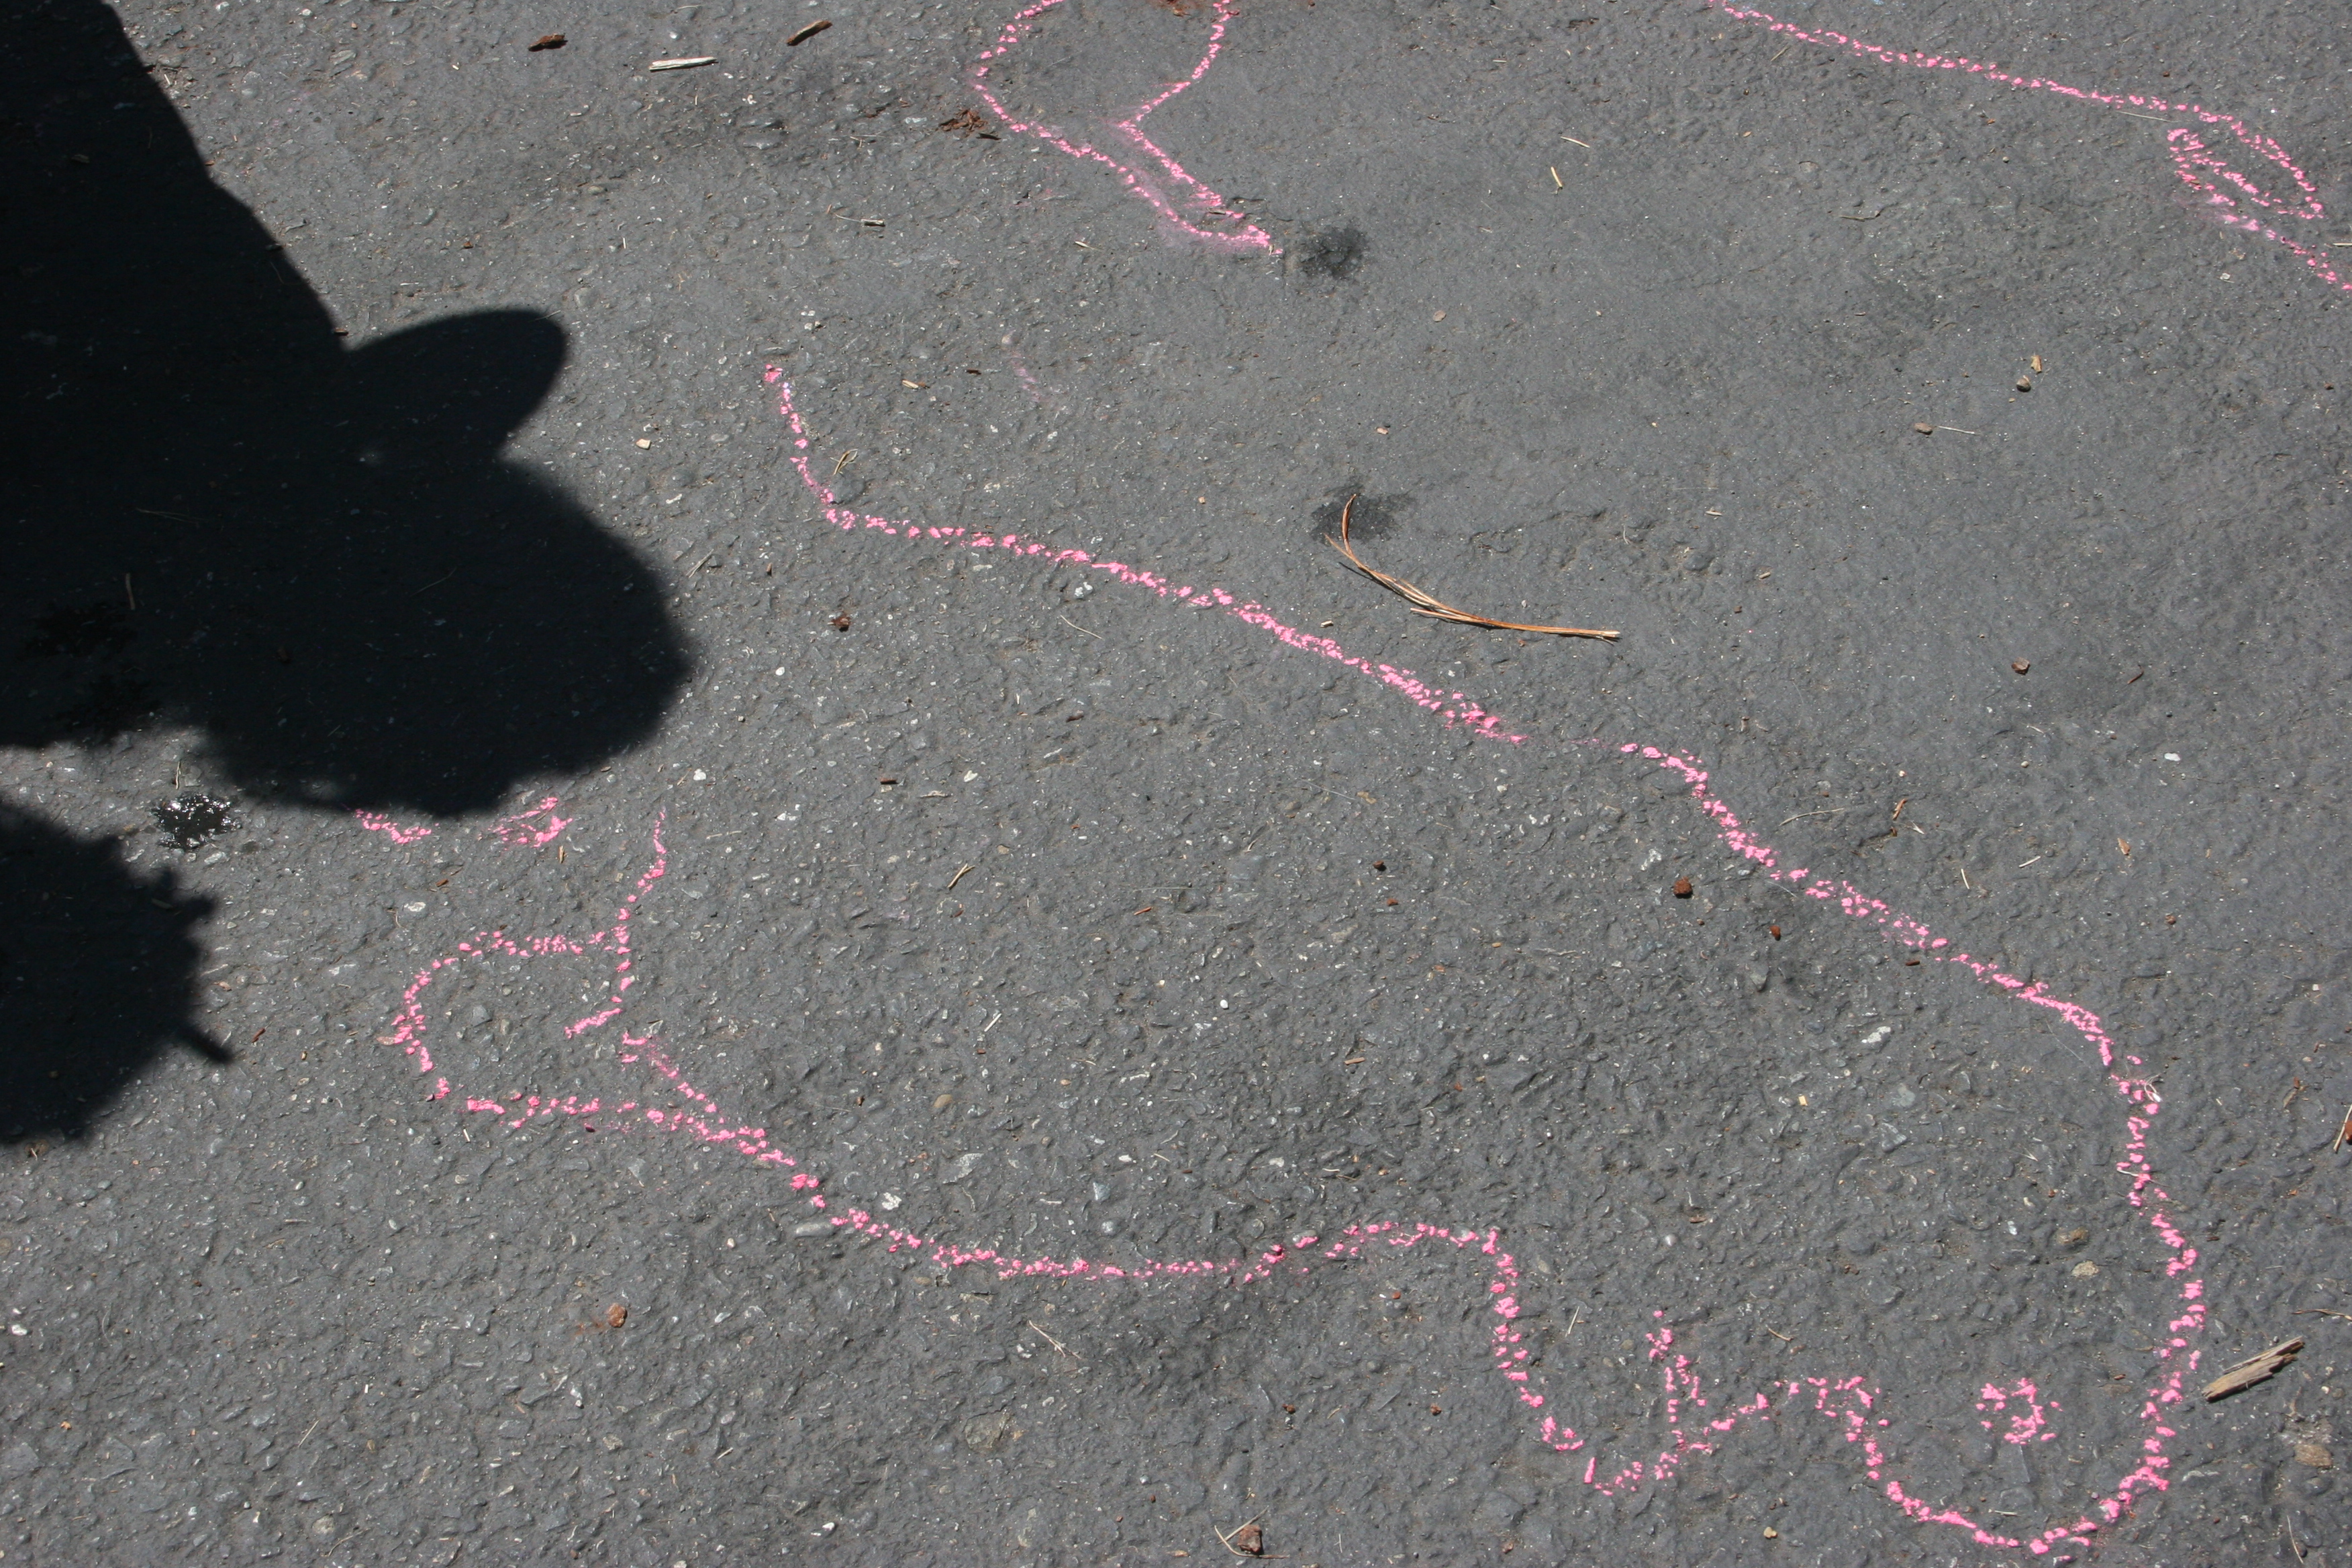
With this in mind I thought it would be a nice idea to make shadow shapes and draw around them with pavement chalk. Some shapes worked better than others, my youngest daughter’s shadow looked a little like an embryo!
The girls drew around them. They were particularly interested by the fact that they couldn’t see the whole of their legs. It was a very hot day so only my 4- year- old wanted to colour in the detail. They were very proud of them and pointed them out to their dad every time he walked over the driveway.
drawing around shadows
The finished outline
pavement chalk
the finished drawing
My 4- year -old has very poor eyesight and needs practice copying and tracing shapes to enhance her perceptual motor skills . I hate the idea of sitting her down with worksheets so I thought shadow tracing might be a nice alternative. We took a number of objects outside to draw around. We even attempted to draw around her bike, which was a little tricky.
Later in the week we were playing with blocks in the house.
My 2-year old declared
I have a shadow, it’s behind me
Where is the shadow coming from? What makes it appear?
Maybe the fan.
Okay, so let’s turn the fan off and see if they disappear. Has it gone?
No
My 4-year-old had an idea
I know maybe it’s the light, let’s turn it off. It’s gone!……………oh hang on it’s still there, it’s just fainter.
Shall we see if we have a shadow outside today?
We don’t have a shadow……. Oh wait, when you sit down there is a bit of a shadow.
No shadow
When we sit down there is a bit of a shadow.
Why do you think that happens?
I don’t know. Let’s see if there are any shadows on the grass. No, not even the dog.
Do the trees have shadows?
Yes and the bushes.
investigating shadows near to the ground
My 2-year-old had an idea,
Maybe the sun has taken away our shadows.
No, that’s not right because the sun makes the shadows.
Maybe when the sun is not there it takes them away?
I know, let’s draw a sun and see if they come back.
drawing a sun to bring the shadows back
I know we can stand in the sun and make it bright colours to see if it comes out.
In the meantime my 9-year-old came to join us. I told them the girls had a bit of a problem that they were trying to solve and wondered if she could work it out.
Why is it that when it is cloudy there are no shadows but when things are close to the ground there is a small shadow?
Maybe it’s because it is darker when you are close to the ground
But there is no sun and you need light to make a shadow.
Yes, but if it was dark I couldn’t make a shadow because it couldn’t get darker.
If we were in the sun and it was too bright what would we do?
Stand in the shade.
What makes the shade?
A tree.
So what is happening to make the shade?
I don’t understand.
I drew a picture of the sun in the sky with a stick person stood underneath and a tree with a stick person underneath the tree.
Oh, the tree gets in the way of the sun.
At that moment as the girls were standing in their picture of the sun, the sun came out.
They stood in the sun and hey presto the sun came out. Look, it worked the sun came out!
I think we might work on reflections as a starting point for our pre-school year . We could
Resurrect the shadow puppet theatre
Use the projector to make and investigate shadows
Place paper on the windows and observe and trace shadows
Continue to talk about and ask questions about shadows when we are out and about.
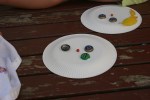
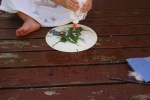
I’ve got an idea Mummy. How about we get the plates we use for barbecues, collect lots of things from around the garden like leaves and sticks and stuff and make people.
Great idea. You could use things from the loose parts station too.
I know, we could use bottle tops for eyes. There are 4 of us so we need 8.
We need 8. We have 10 let’s throw 2 of them away. Now that’s right.
Oh no! We are not allowed to pick leaves from the trees and it isn’t autumn. How will we get leaves?
Look there are some nice little yellow leaves on the floor. Where did they come from?
This tree up here.
That looks like a cherry tree, there are red fruit on it but they are very small.
I’ll pick one and see if there is a stone inside. Yes there is, they are cherries. We could use them for a nose.
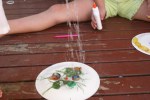
My 2 year-old started making a face but soon became more interested in exploring what the glue did. She then brought her watering can and watered her face.
Starting to make a face.
I’m sprinkling grass on mine.
I need more glue.
I’m putting water on mine, it makes it all soggy.
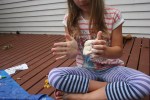
Just as with the clay my 2-year-old has very different interests and plays at a different level to her sisters but that never prohibits her joining in.
When I taught at nursery school, clay was readily available to the children on a daily basis. I’ve seen very few pre-schools since that use clay daily. Most settings use dough, but why not clay?
It may be that it is too expensive, dough can be made very cheaply but air drying clay is an expensive resource. If clay is stored and looked after properly however, and used to enhance the children’s play rather than simply to make models to take home this needn’t be the case.
How to store and look after air drying clay
It is essential to keep your clay damp. Store it in a bucket or lidded container and place a damp flat rock in the bottom. The clay should then be moulded into cubes smoothing out any cracks. Make a thumb sized hole in each cube and fill the hole with water. Occasionally spray the clay with water. The clay will keep for a considerable amount of time like this. Should you feel the clay drying out cover the clay with water and leave for 48 hours.
It was a rare exception when children asked for their creations to be dried, painted and taken home. Mostly they would build the blocks of clay on top of each other, stick things in it, roll it out, and bash it with hammers and were happy to put it back in the clay bin at the end of the session. Occasionally we would have a focused activity on techniques like pattern making, how to join 2 pieces of clay together or moulding around wire. A group of 4-year-olds worked on a long-term project about self portraits . They looked closely at their faces in the mirror and drew a number of self portraits with adult guidance to enhance the detail. These were transferred to clay models. The accuracy with which they translated their drawing into the representation in clay was astonishing.
The Benefits of Playing with Clay
Clay inspires creative thinking
Clay is far stronger and more malleable than dough which makes it far better for modelling.
Children (and adults) find working with clay engrossing
Clay can offer children emotional contentment, they can knead and manipulate the clay to ease anxieties.
Children with lots of energy or displaying aggression can dispense some of this on a large block of clay. You can hit a piece of clay with force without it disintegrating to nothing.
Children are able to problem solve by making mistakes and working out how to fix them.
The Developmental Stages of Working with Clay
0-2 Years
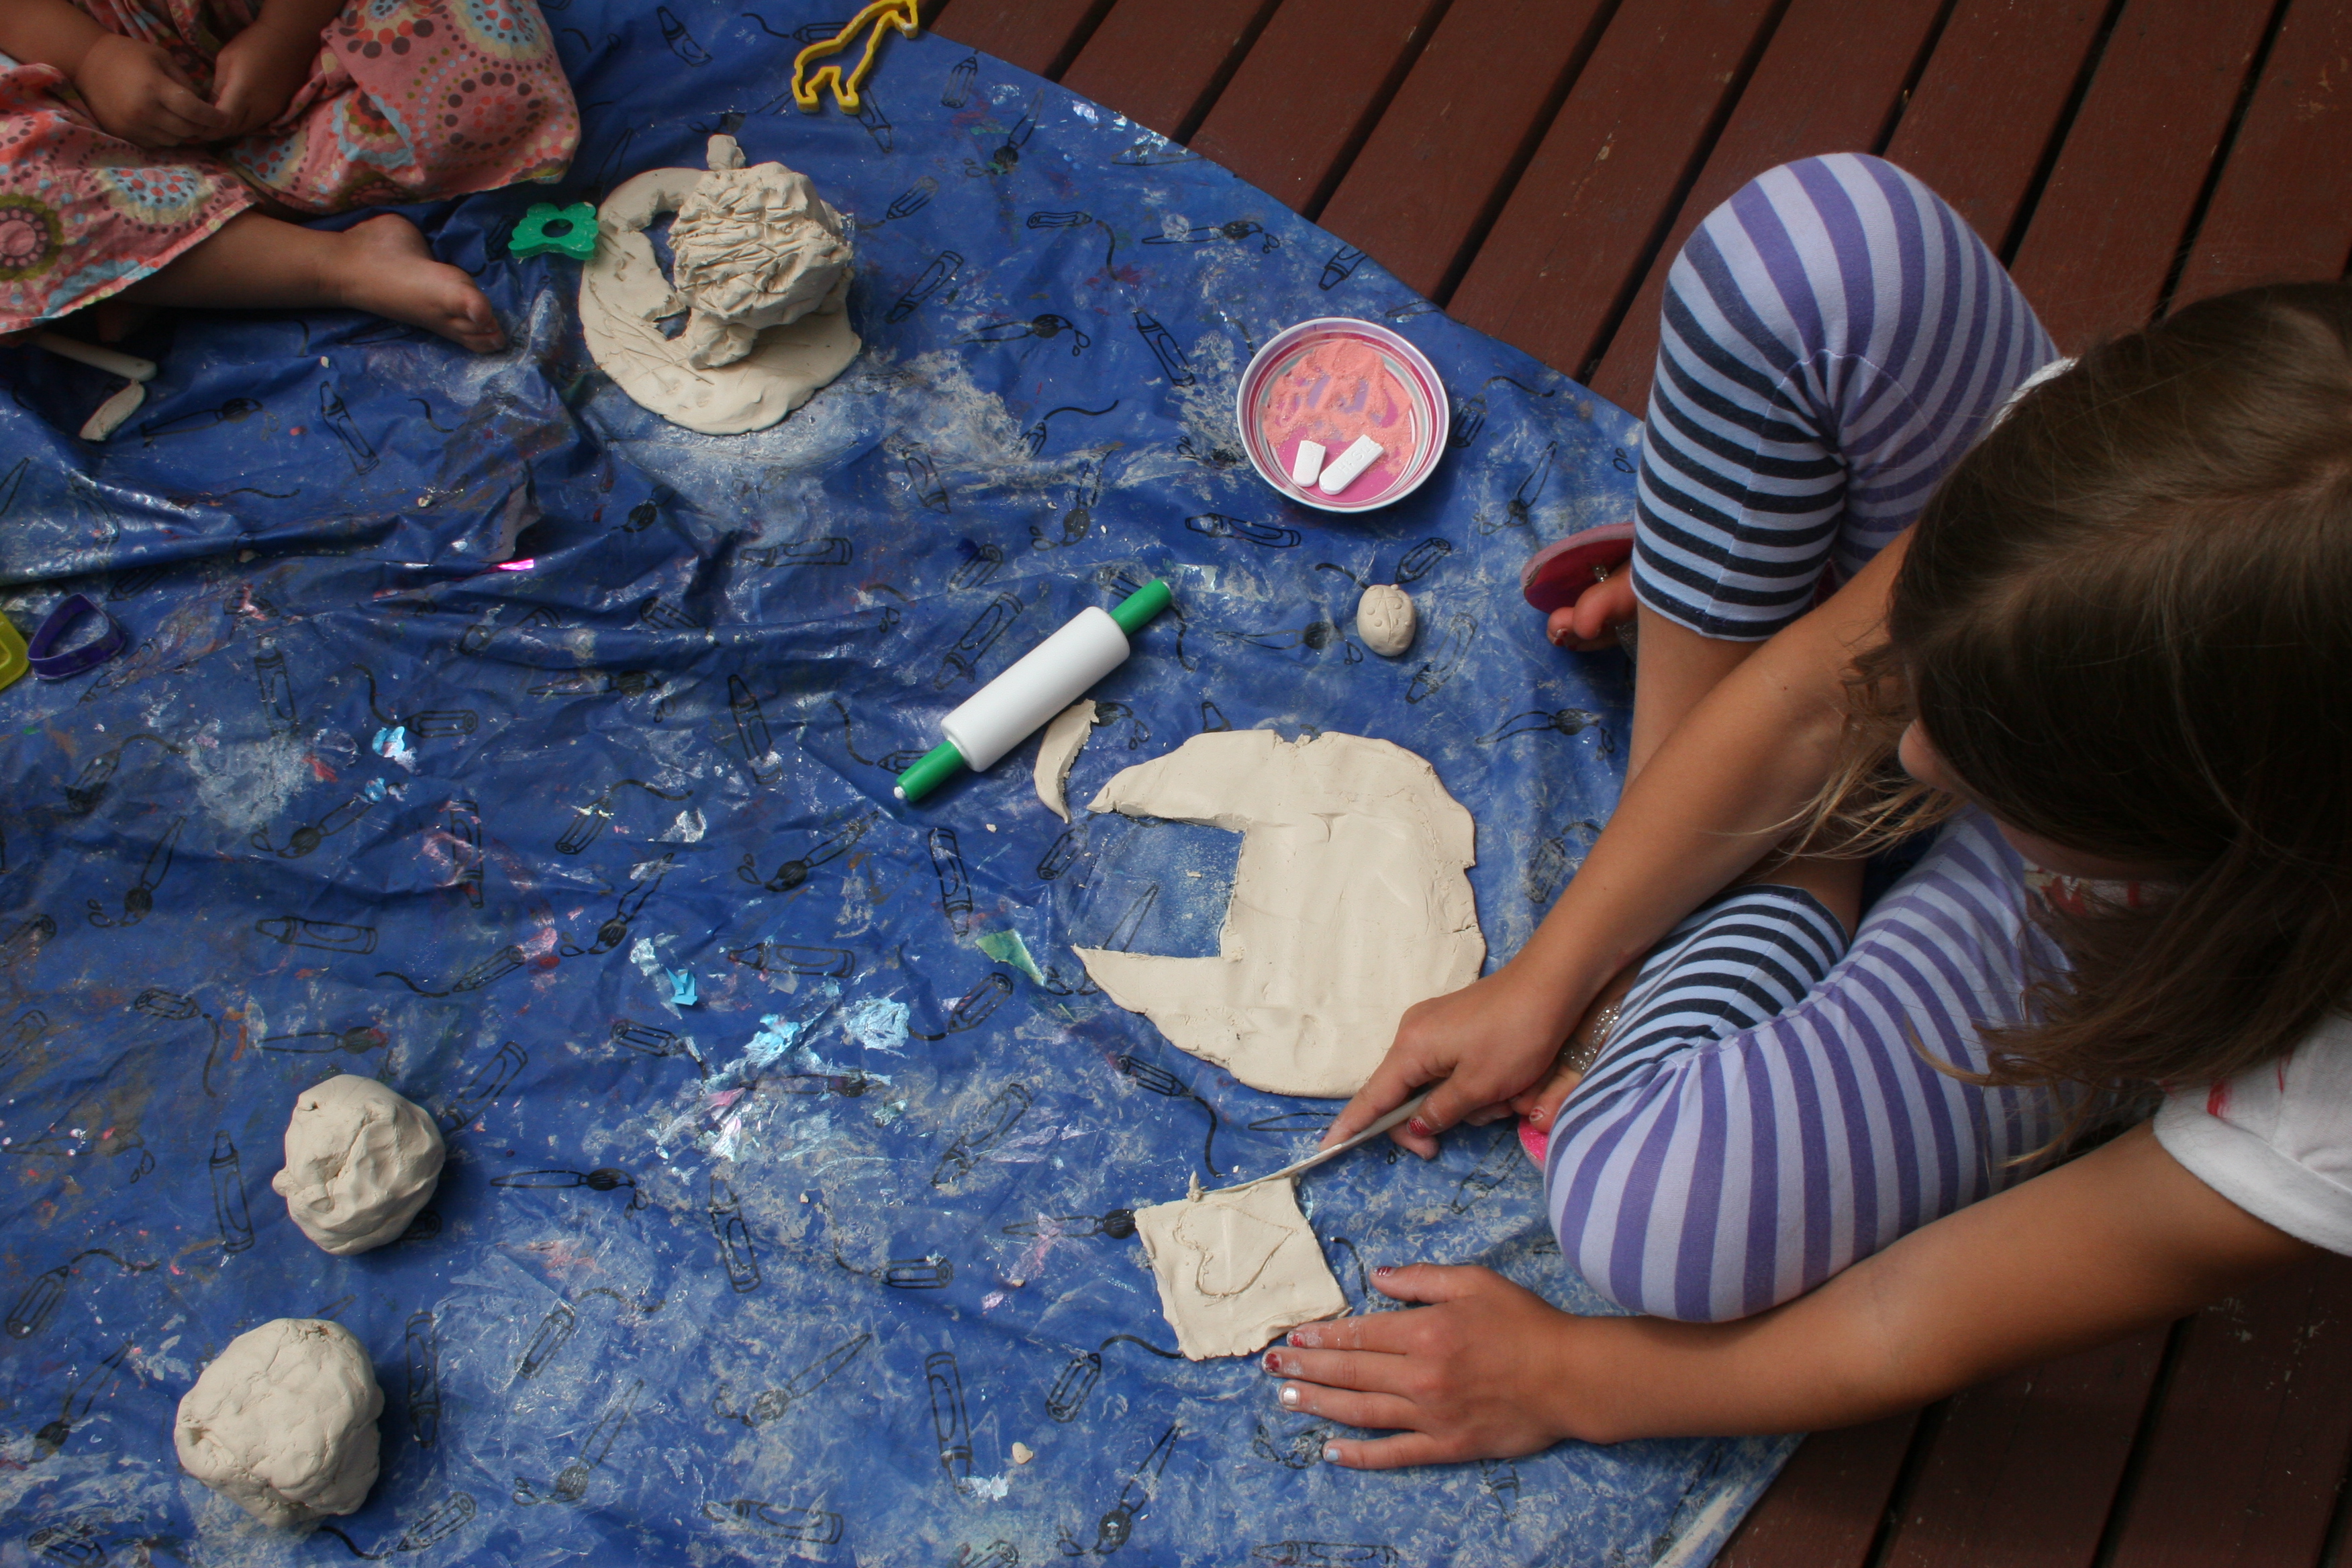
For these children large blocks of clay are best, the bigger the better. Lay a piece of plastic sheeting on the floor and allow the children to experience the clay with their whole bodies, they can sit on it, make impressions in the clay and pull pieces off. It might be better served as an outdoor activity with this age-group but it depends on your space. Allow the children to explore the clay with their hands, build towers with clay blocks or offer tools if they are reluctant to touch it.
2-3 Years
Experiment with the different things that clay can do. Let them build, flatten, roll, pile and stick objects in the clay. A finished product is not necessary at this age, allow them to integrate loose parts from the environment. Investigate what happens when you spray the clay with water.
3-4 Years
Some children will be ready to make simple models so you could begin to demonstrate how to join 2 pieces of clay together. Many children will prefer to use clay in their imaginative play, making cakes or lots of tiny peas. Include small world objects with the clay perhaps rolling out a flat piece for the play people to walk on or build a rocky swamp for the dinosaurs. Continue to introduce natural materials.
4-5 Years
Children will now begin to build things for their small world play, chairs for the house or shelters for the animals. Once the children are confident you could set them projects like build a bridge for the Billy Goats Gruff or a bed for the 3 Bears. Clay can now be used to support mark-making teach children to draw and write on clay with sticks, twigs or blunt pencils.
5+ years
The children will be keen at this age to make a finished product. Show the children examples of clay sculptures as inspiration. Encourage them to translate both imaginative and observational drawings into clay models. Support group work, building one large co-operative model.
You will see in the gallery below how my children of different ages play with the clay. My 9-year-old goes straight into making a model, while her 4-year-old sister starts by making a pizza, practicing rolling and cutting. She soon copies her sister and starts to make a bowl. Both girls encounter problems with their models and work out how to fix them. My 2-year-old is happy to squish the clay, making marks with knives and then moves the pieces around the garden, collecting loose parts and piling blocks together.
Our first week of the school holidays has been rainy. Perfect for our preparation for International Mud day on Saturday. We have been planting bulbs and sunflowers and finding bugs and worms under the ground.
Today we gave our trees mud faces. This is one of the many fabulous outdoor ideas that can be found in the Woodland Trusts Woodland Adventure Booklets , free to download from their website. We used materials from our loose parts station and from around the garden.