Category Archives: teaching

How to Teach 2-Year-Olds: Advice for Teachers Who are New to this Age Group.

Most Pre-school teachers in the UK are experienced at teaching children aged 3-5.  It is rare however, that graduates or teachers with Qualified Teacher Status are appointed to teach children of 2 or under. This may be set to change, as children from disadvantaged backgrounds are offered government-funded early education. There is lively debate as to the ‘best’ type of setting for these children but evidence shows that the quality of the setting is the most important factor. Graduate and teacher led settings have been shown to be the most effective at closing the achievement gap (Matters et al 2014).

‘Early Education’ have published an excellent briefing for school leaders considering offering provision to 2-year-olds. It also offers valuable advice to anyone considering teaching 2-year-olds. In the search for graduate teachers for this age group, it is possible that experienced and well qualified teachers will be asked to take on a new role of leading this provision. This may be daunting. It certainly was for me the first time I encountered this age group.

When I began working in a mixed age nursery environment for 2-5 year olds, I was used to teaching children who could sit on a carpet in a large group and listen, who could draw representational figures, talk and share ideas, were toilet trained and who played for the most part, cooperatively with their peers. Planning for the 2-year-olds terrified me at first but I soon learned that creating an environment in which they could freely explore and move around was the most important consideration.

Our mixed age setting was split into 3 rooms. Sometimes the 2-year-olds were in their own group (and always at small group time) but for a large chunk of time, they were mixed with 3 and 4-year-olds. Teaching in a mixed age setting comes with its own challenges.

Common Concerns About  Teaching in Mixed Age Settings

If you are a parent of more than one child, begin by thinking about how you manage the challenges below at home. In a mixed age family unit, compromises have to be made but the youngest children’s experiences are enriched by the older siblings and the older children learn to nurture, guide and understand different needs.

How do you find activities that are appropriate for 2 year olds but also challenging enough for the older children?

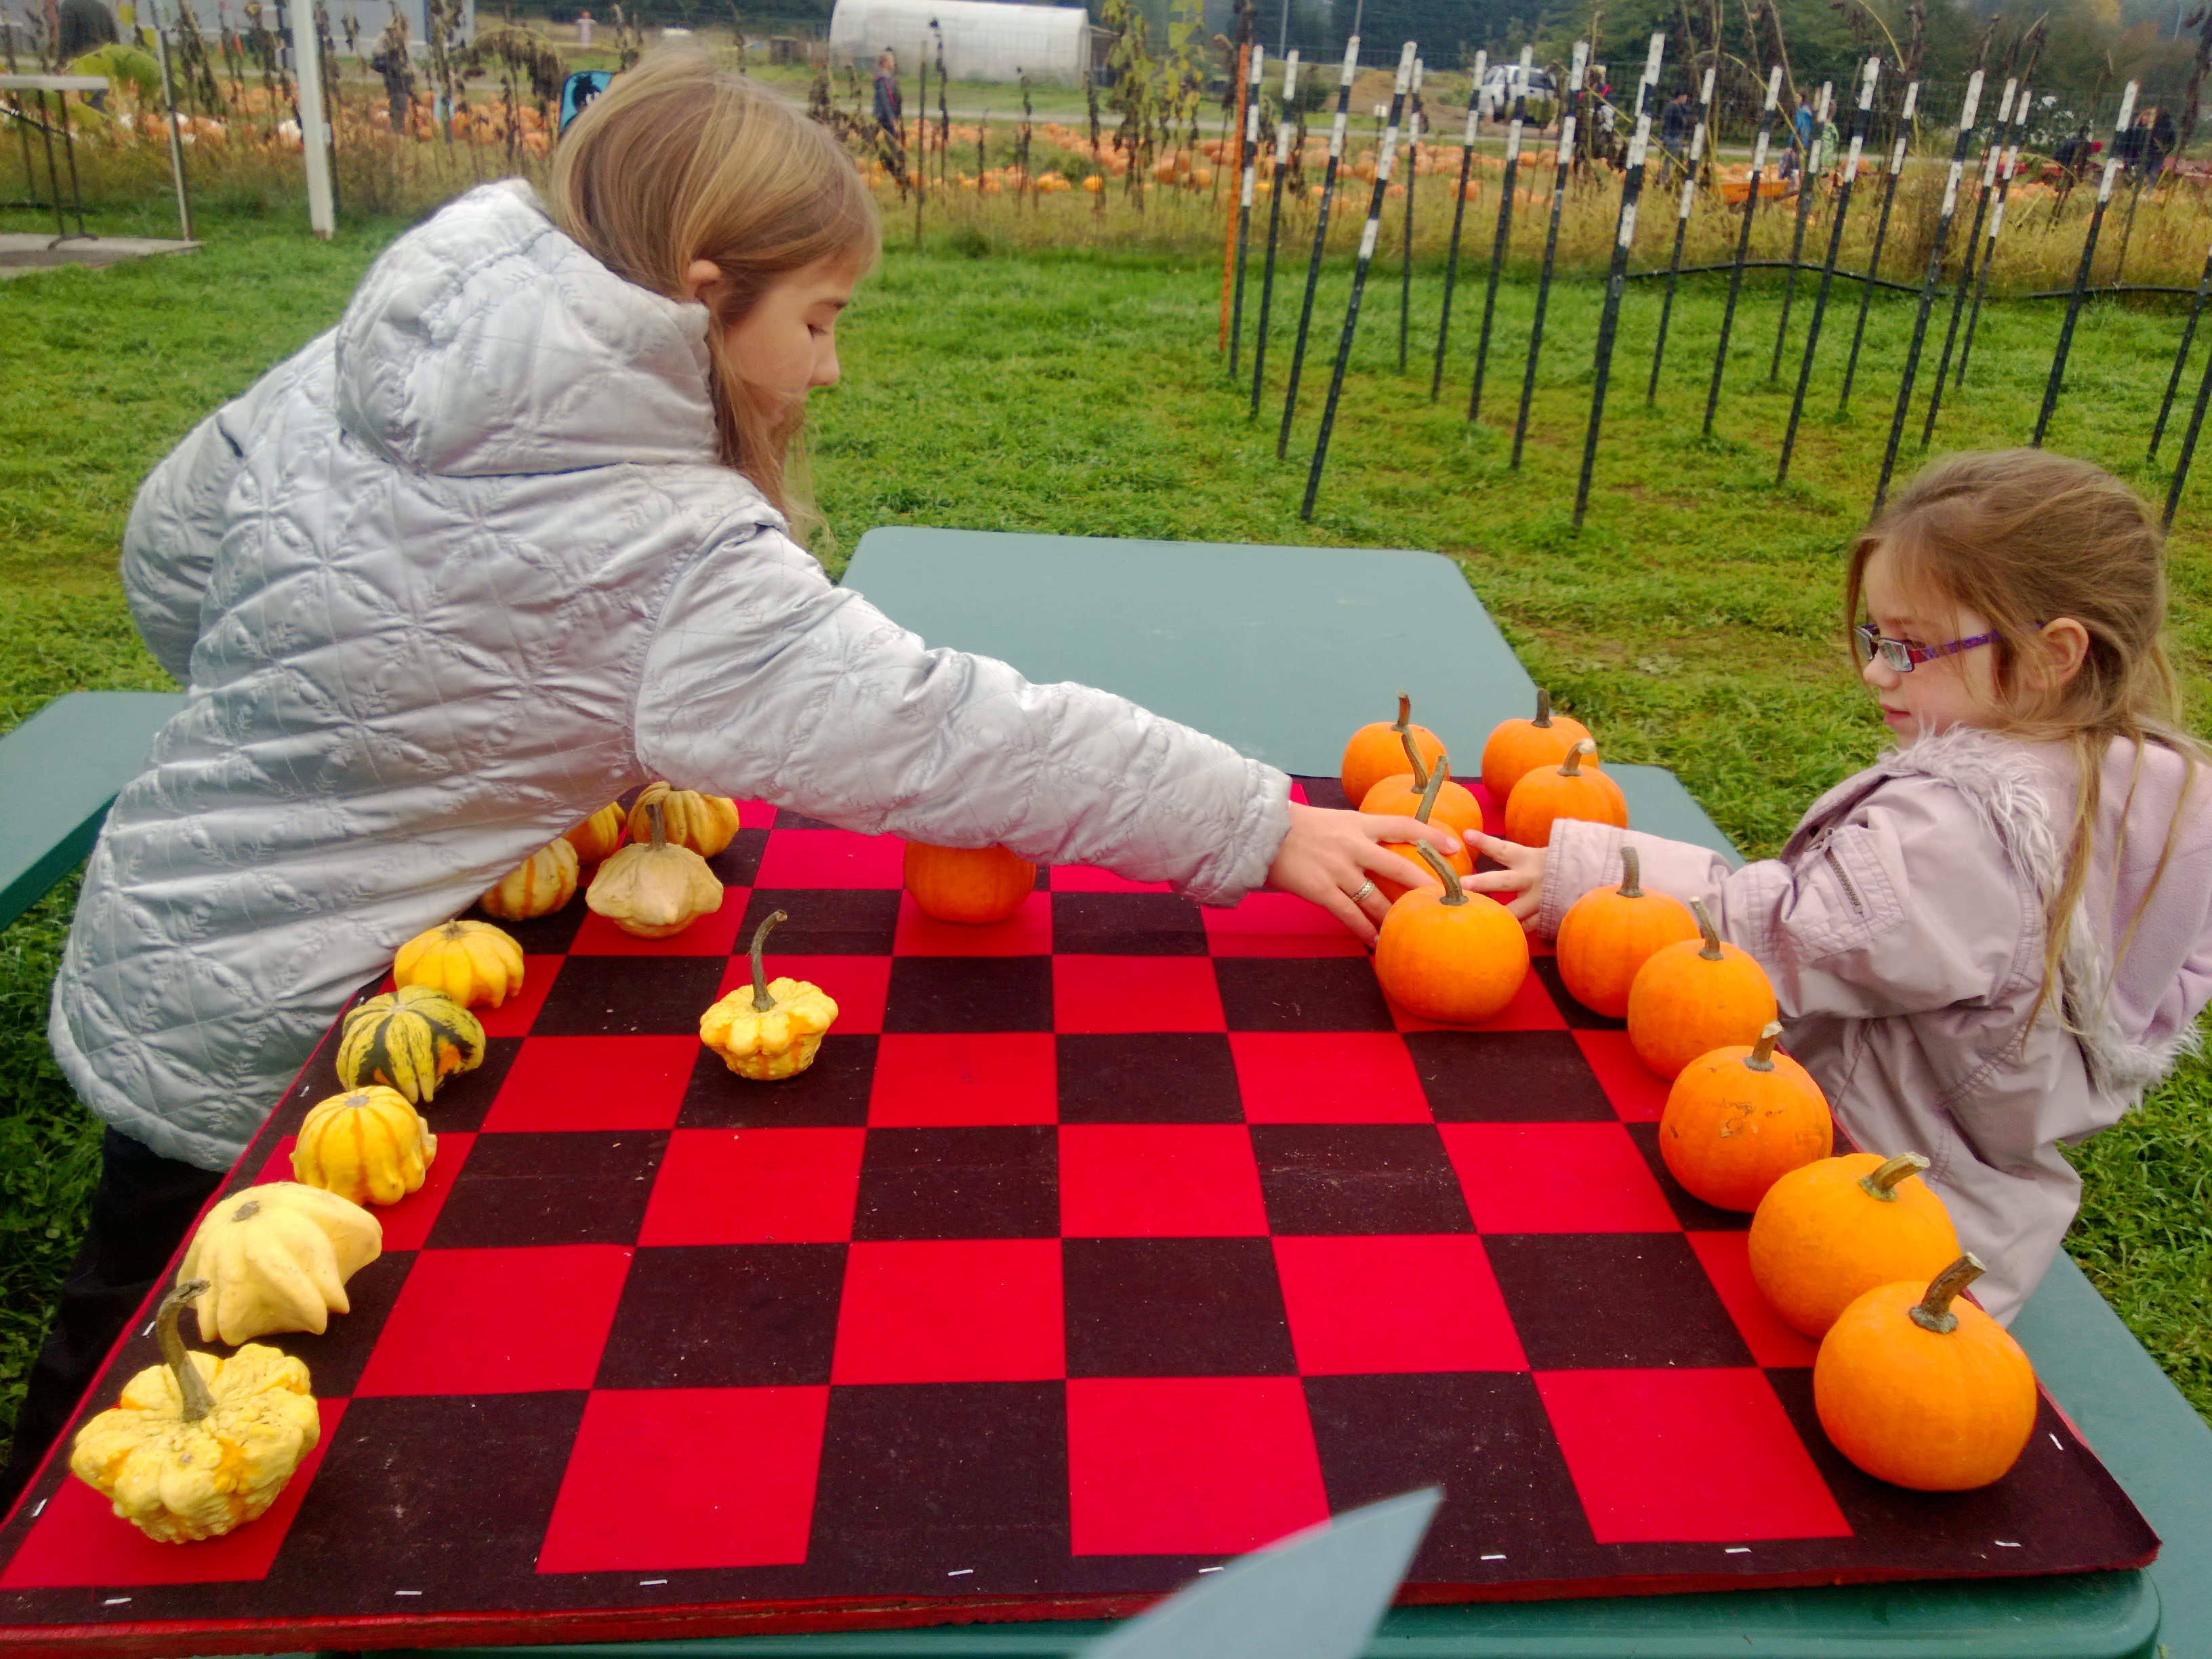
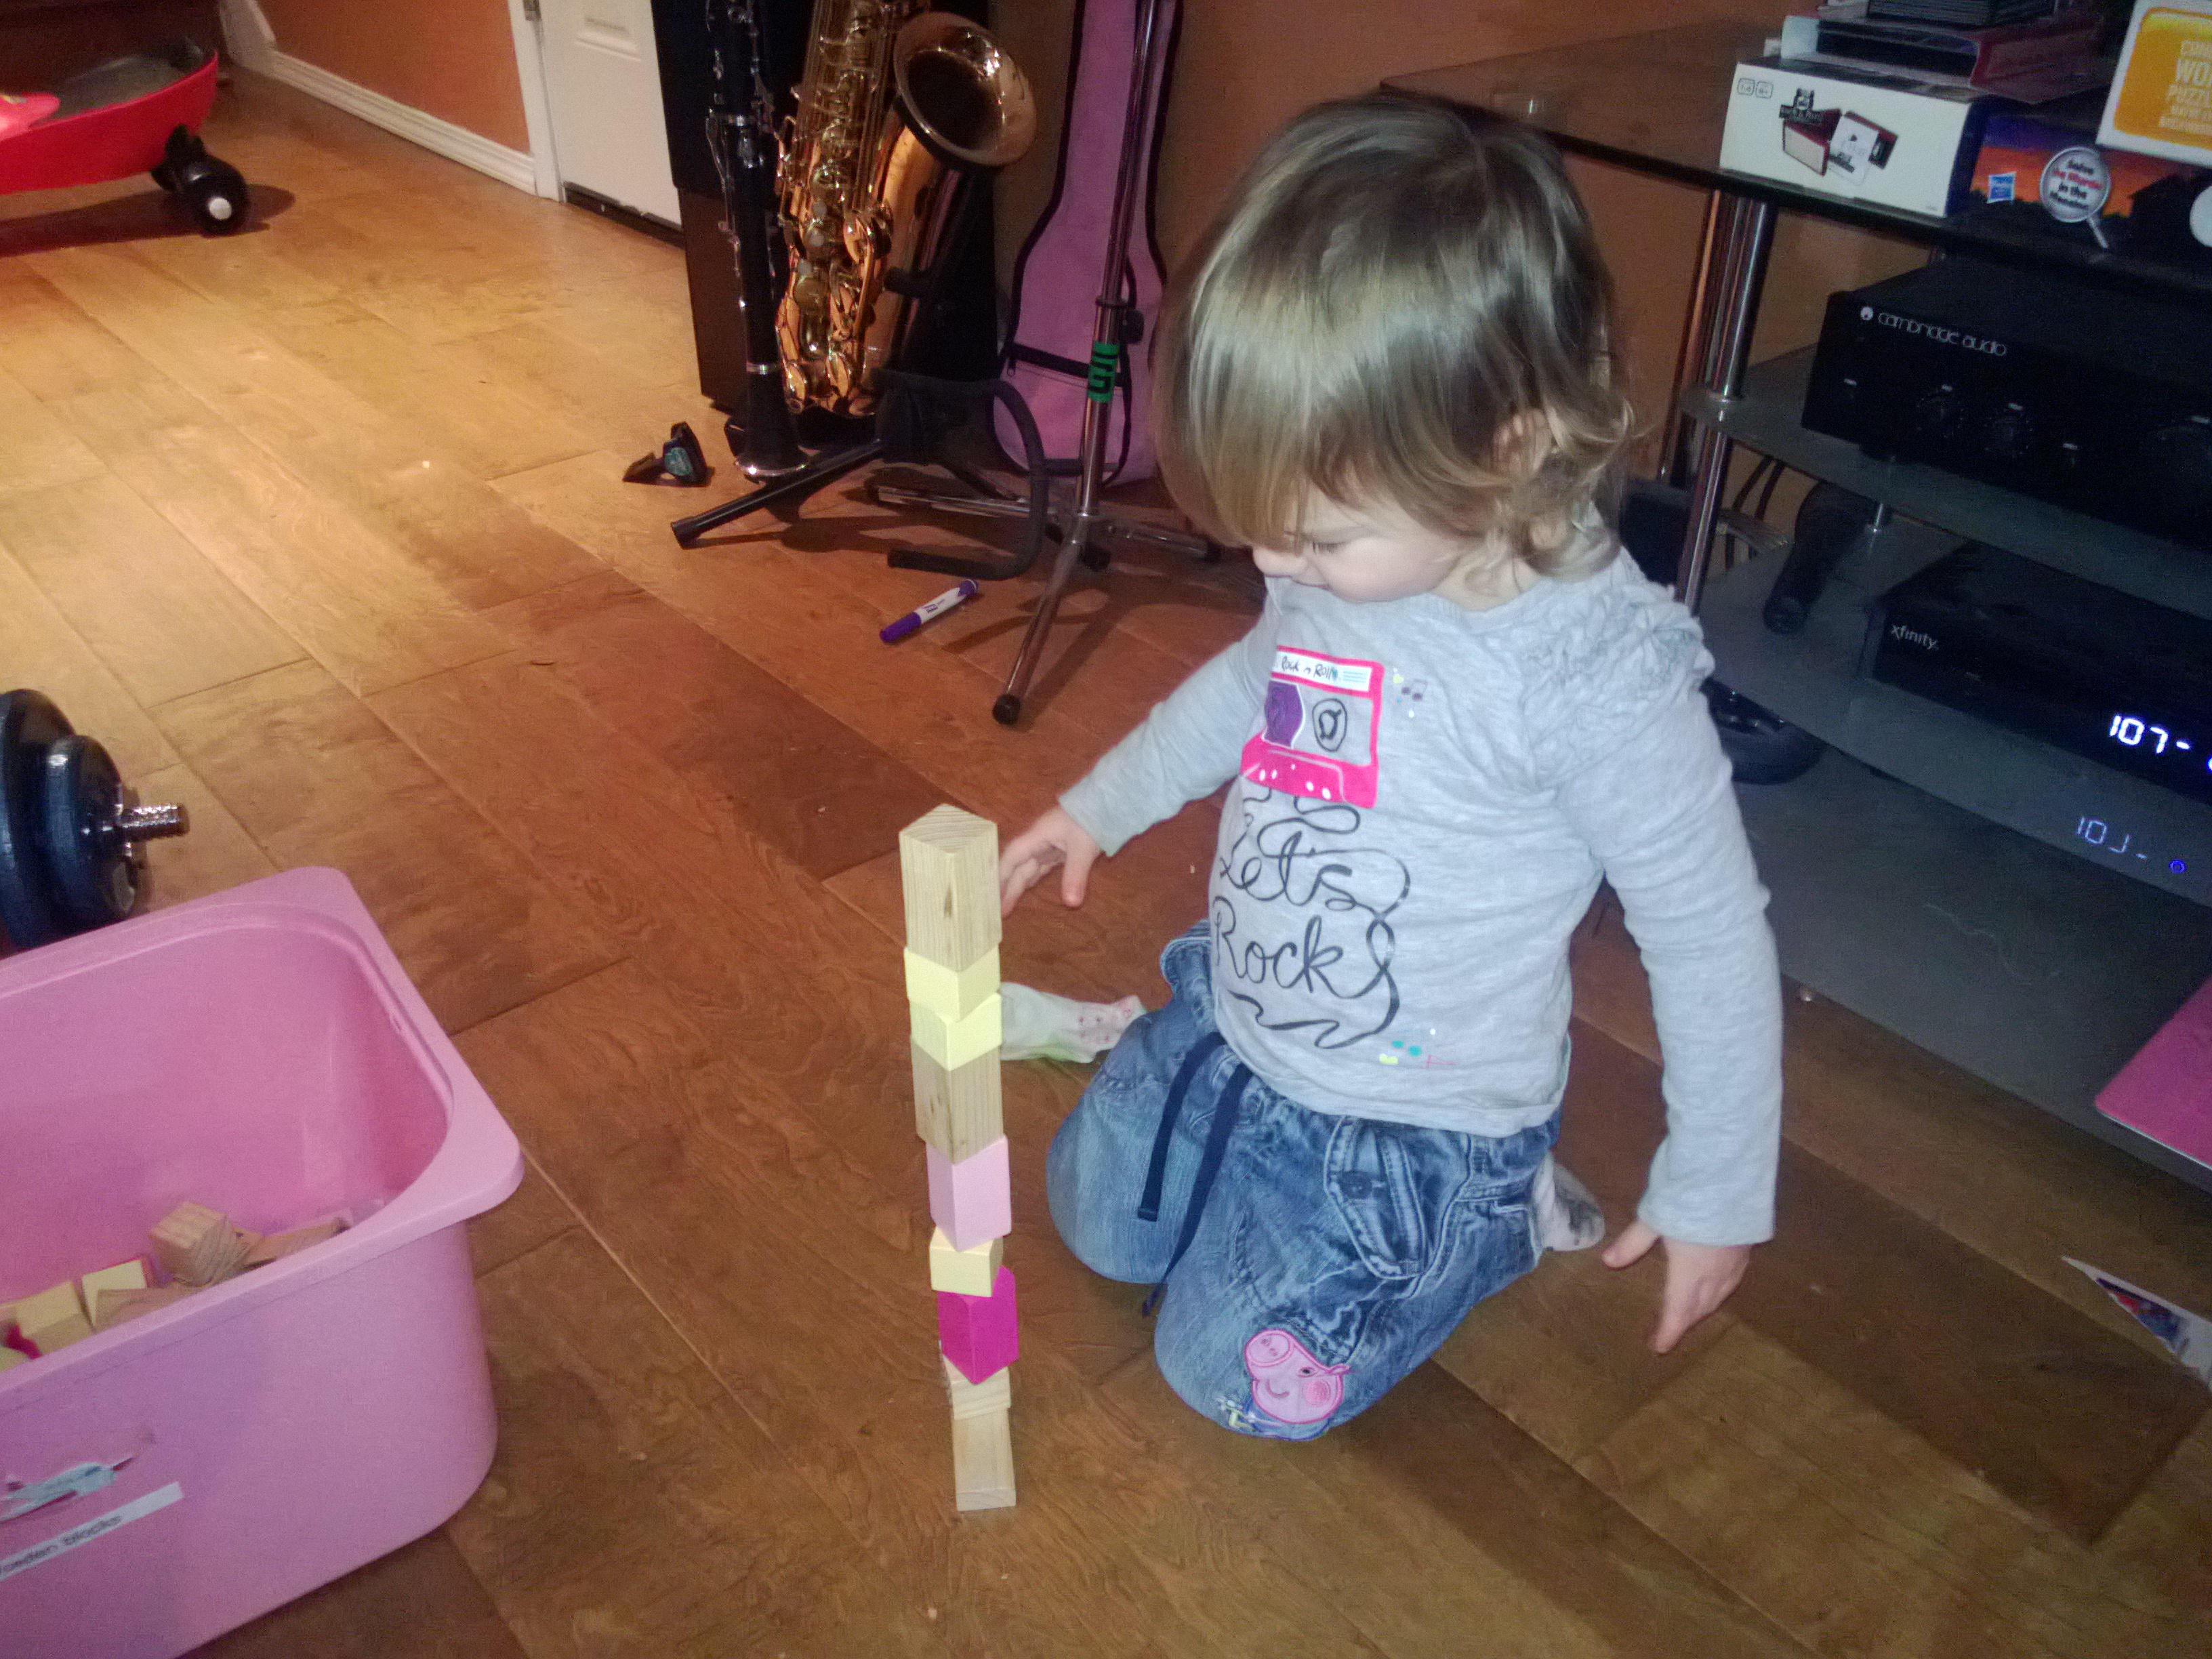
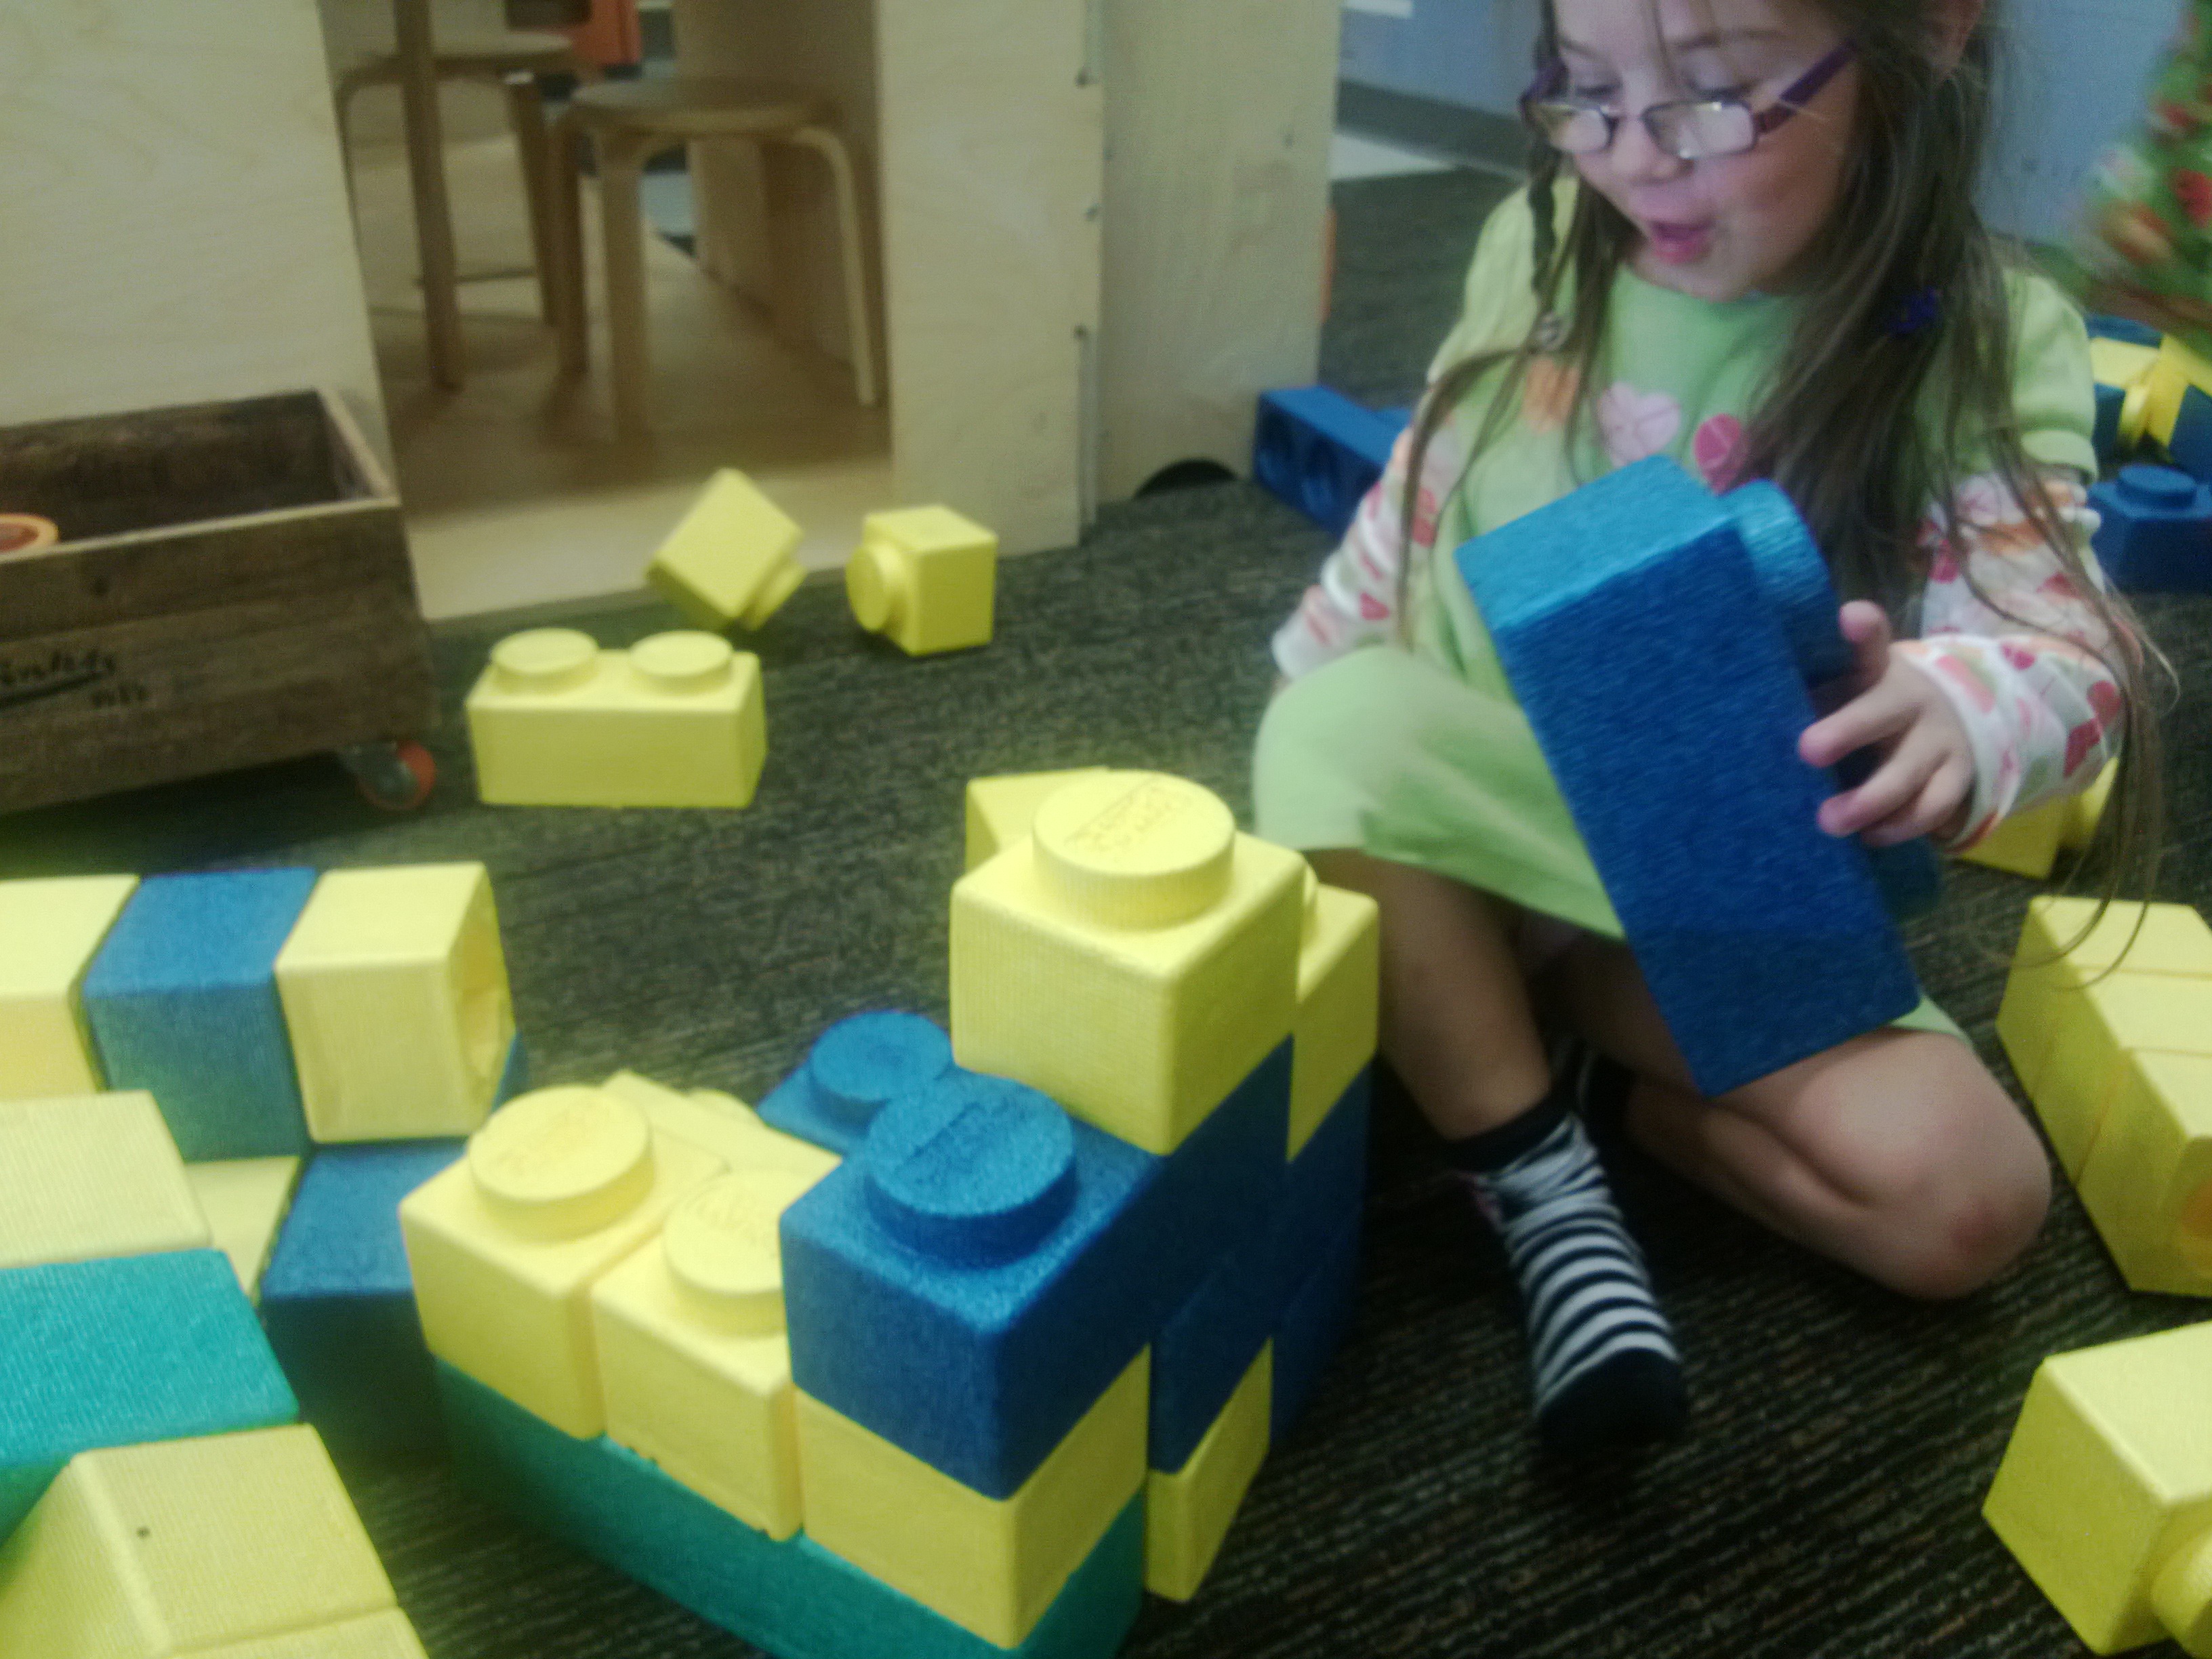
Choose activities that are open-ended.  Building blocks, small world play, painting, drawing, clay, water, sand and other sensory activities, imaginative play and recycled materials are perfect for all ages.  Make sure there are times during the day when children are in a smaller group with same age peers. Build an engaging outdoor learning environment and allow the children to move freely between indoor and outdoors.

How can you ensure safety without denying the older children valuable experiences?

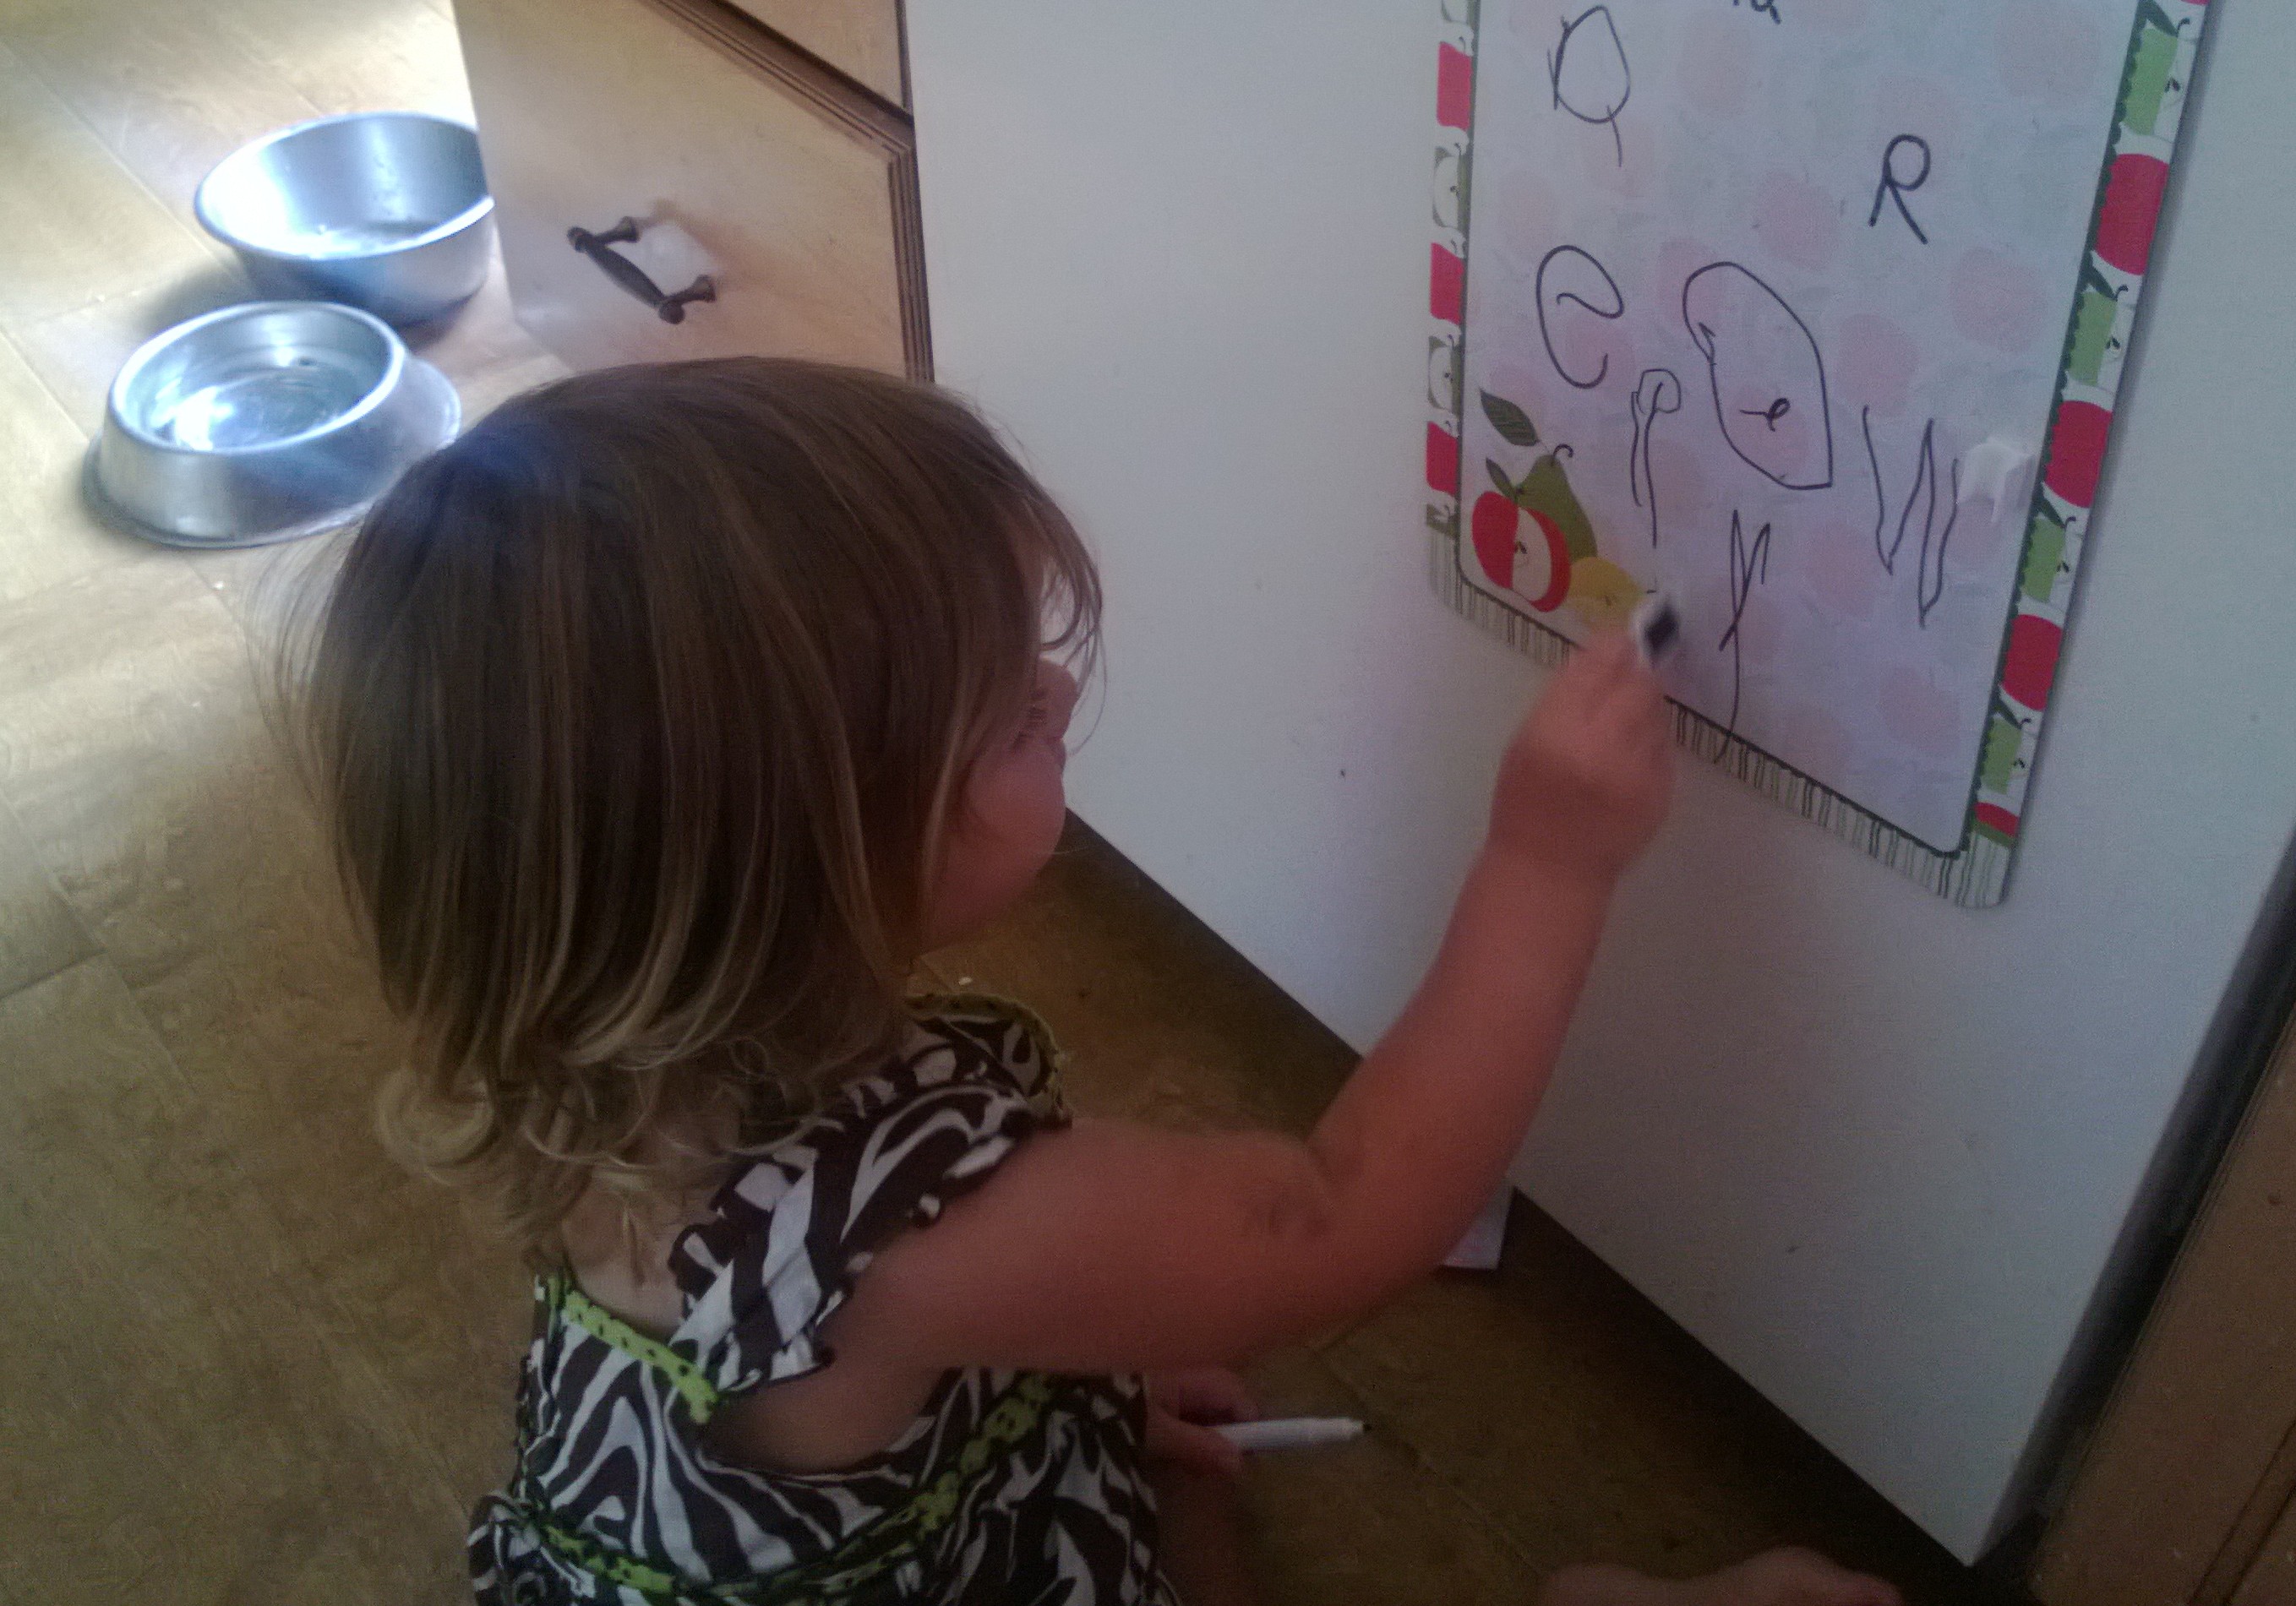
Tools can be kept out of reach of toddlers inquisitive hands but in a place where older children can reach or ask an adult to get it. It is important to me that my children have ready access to mark making materials but when my youngest was at the drawing on walls stage, these were pushed back on the shelf where she could not reach but her sisters could.

If younger children want to use scissors, clay tools or small loose parts don’t deny them the opportunity; simply ensure an adult is sat with them to support them. Keep the materials to one area which has adult supervision.

How do you stop the younger ones spoiling older children’s games by knocking down things they have built or taking toys they are playing with?

Learning to negotiate with younger children is important, learning that children of different ages have different needs and they do not mean to spoil things for the older children. Encourage older children to play at building and knocking things down with the younger children and allow the older children to place their completed models out of the younger children’s reach. Have special places for ongoing projects and ensure that there is some time with their own age group. Projects requiring a finished product or advanced skills are best for small group time.

Additional things I learned about teaching 2-year-olds

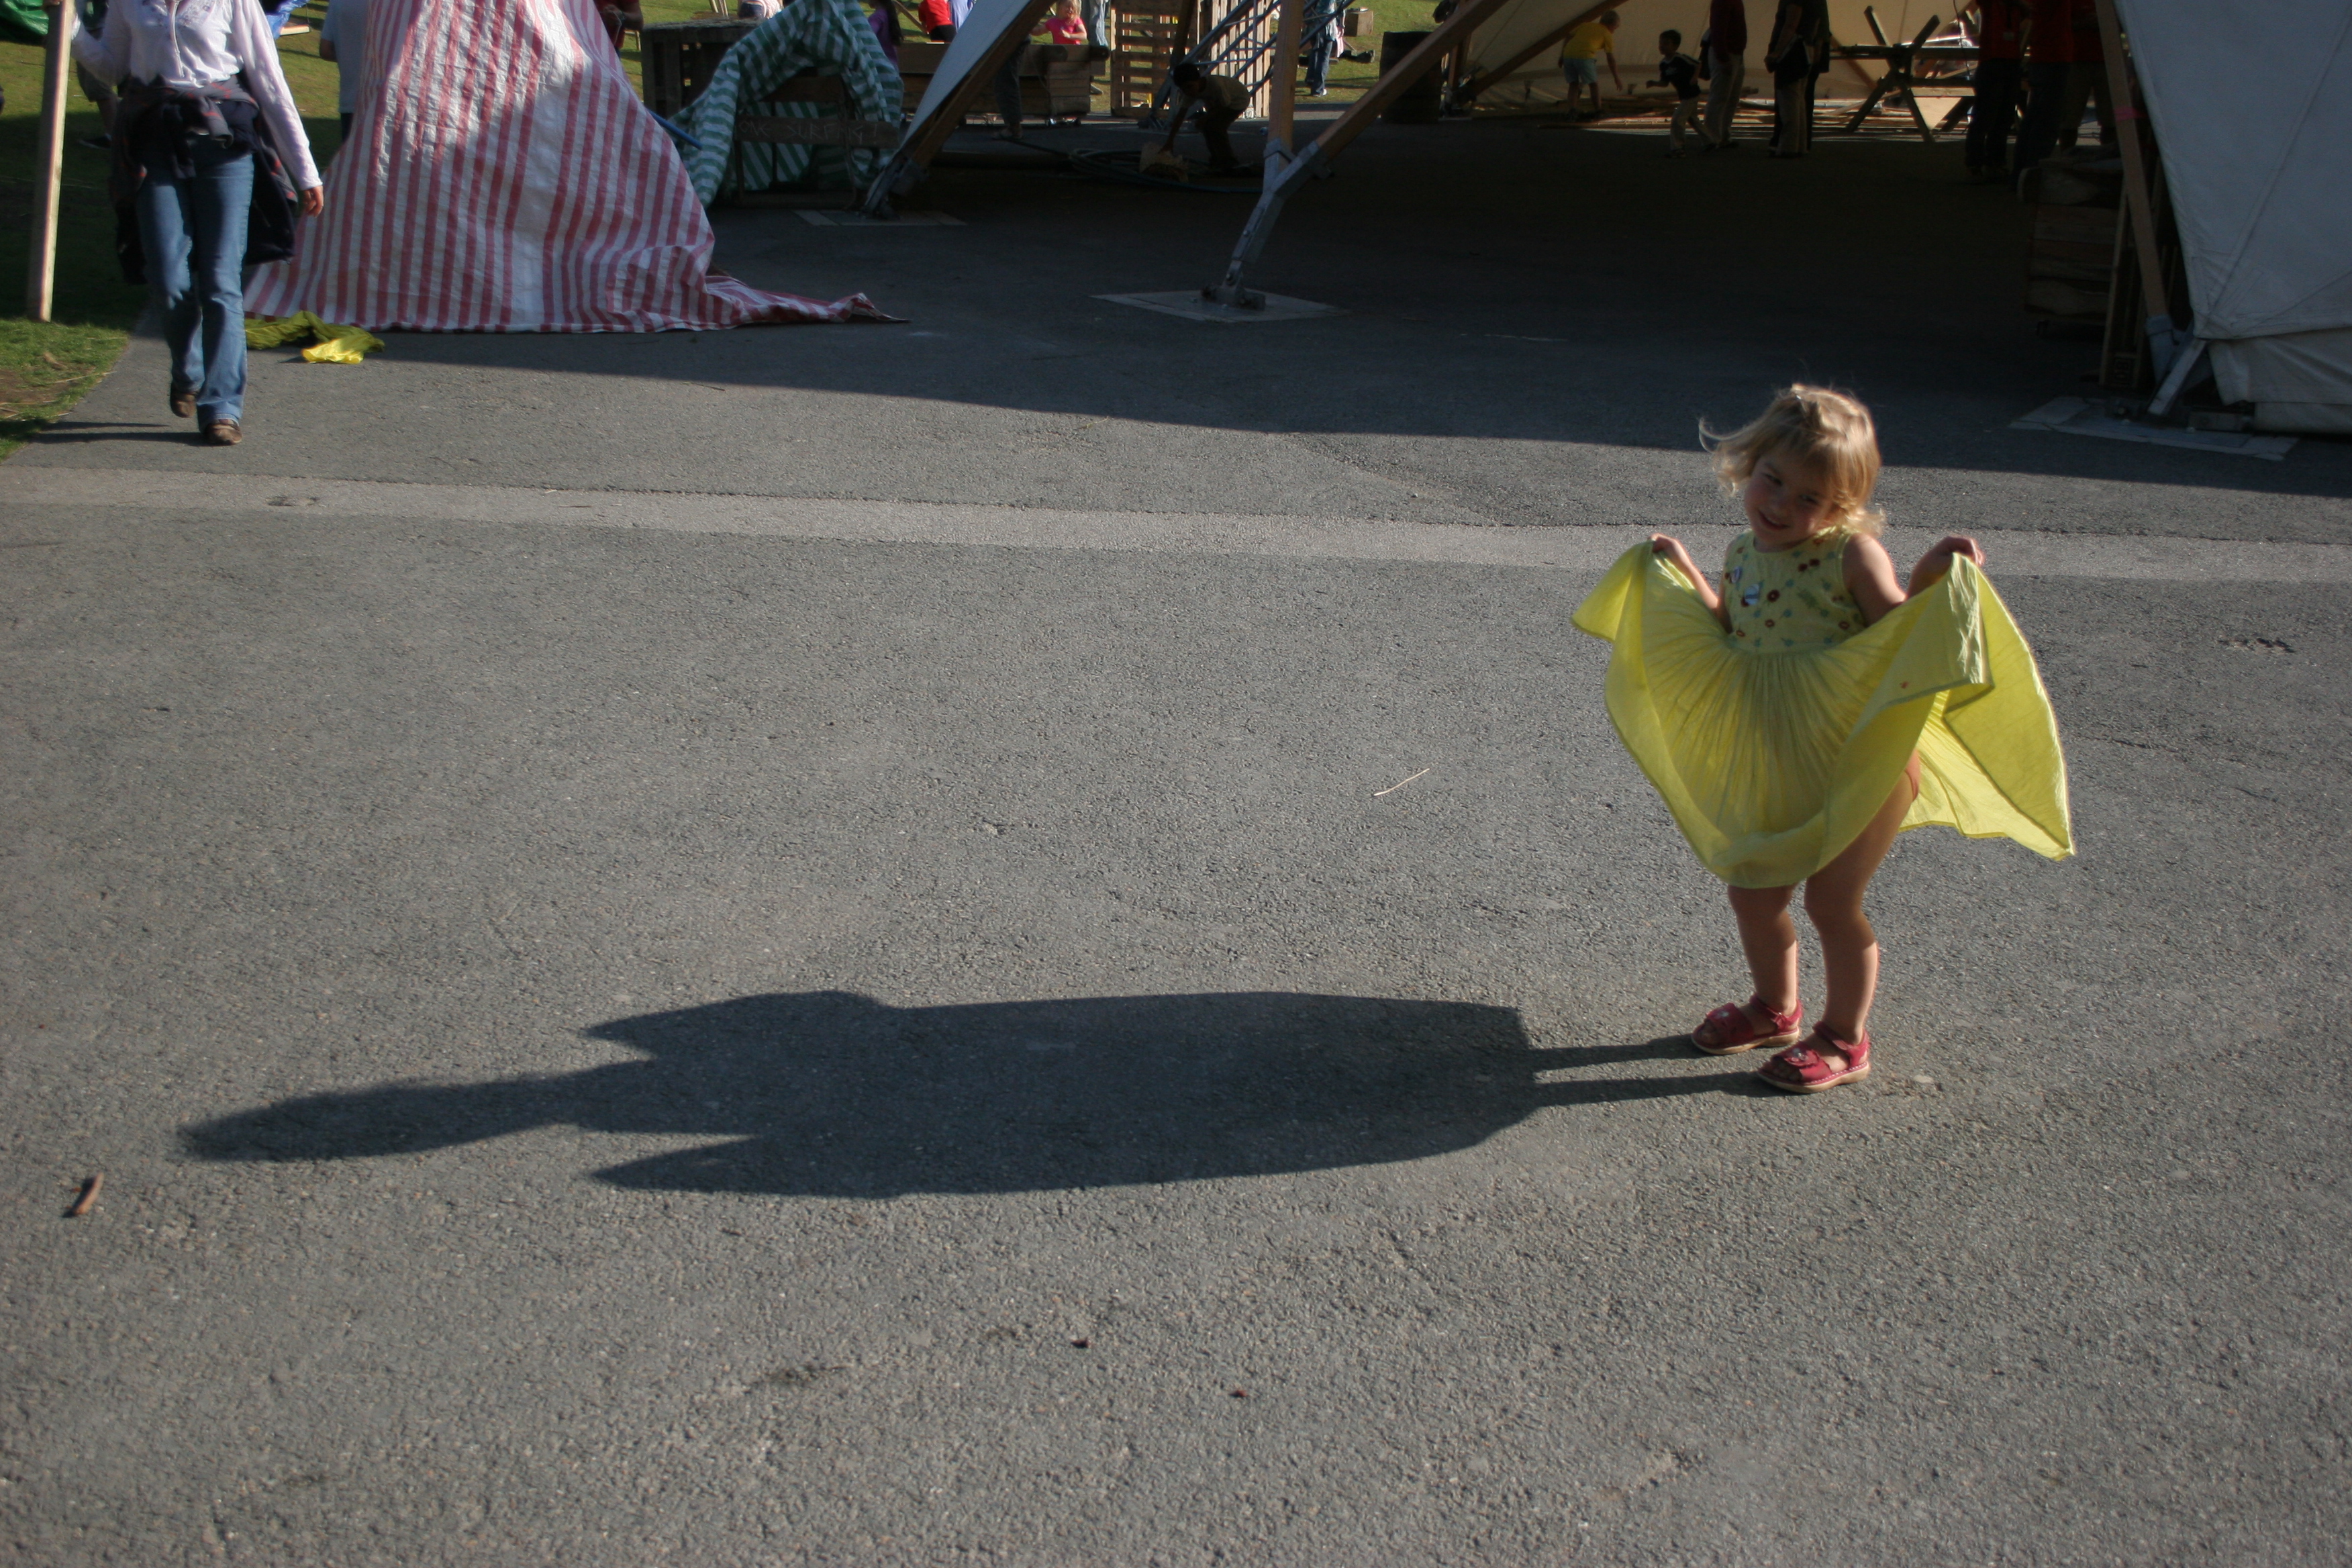
  • They like to move around and explore.  Often, they will not stay at one activity for long  and prefer activities with lots of space rather than at a table top.
  • They find large groups distracting. Do not expect them to sit for a story session with 3 and 4-year-olds as they will more than likely lose interest before the end. They would much prefer to be read a short book in a small group, or better still 1:1 on an adult’s lap.
  • They like songs that are simple and short with actions, puppets, props or simple instruments to maintain interest .  Again this is best in a small group
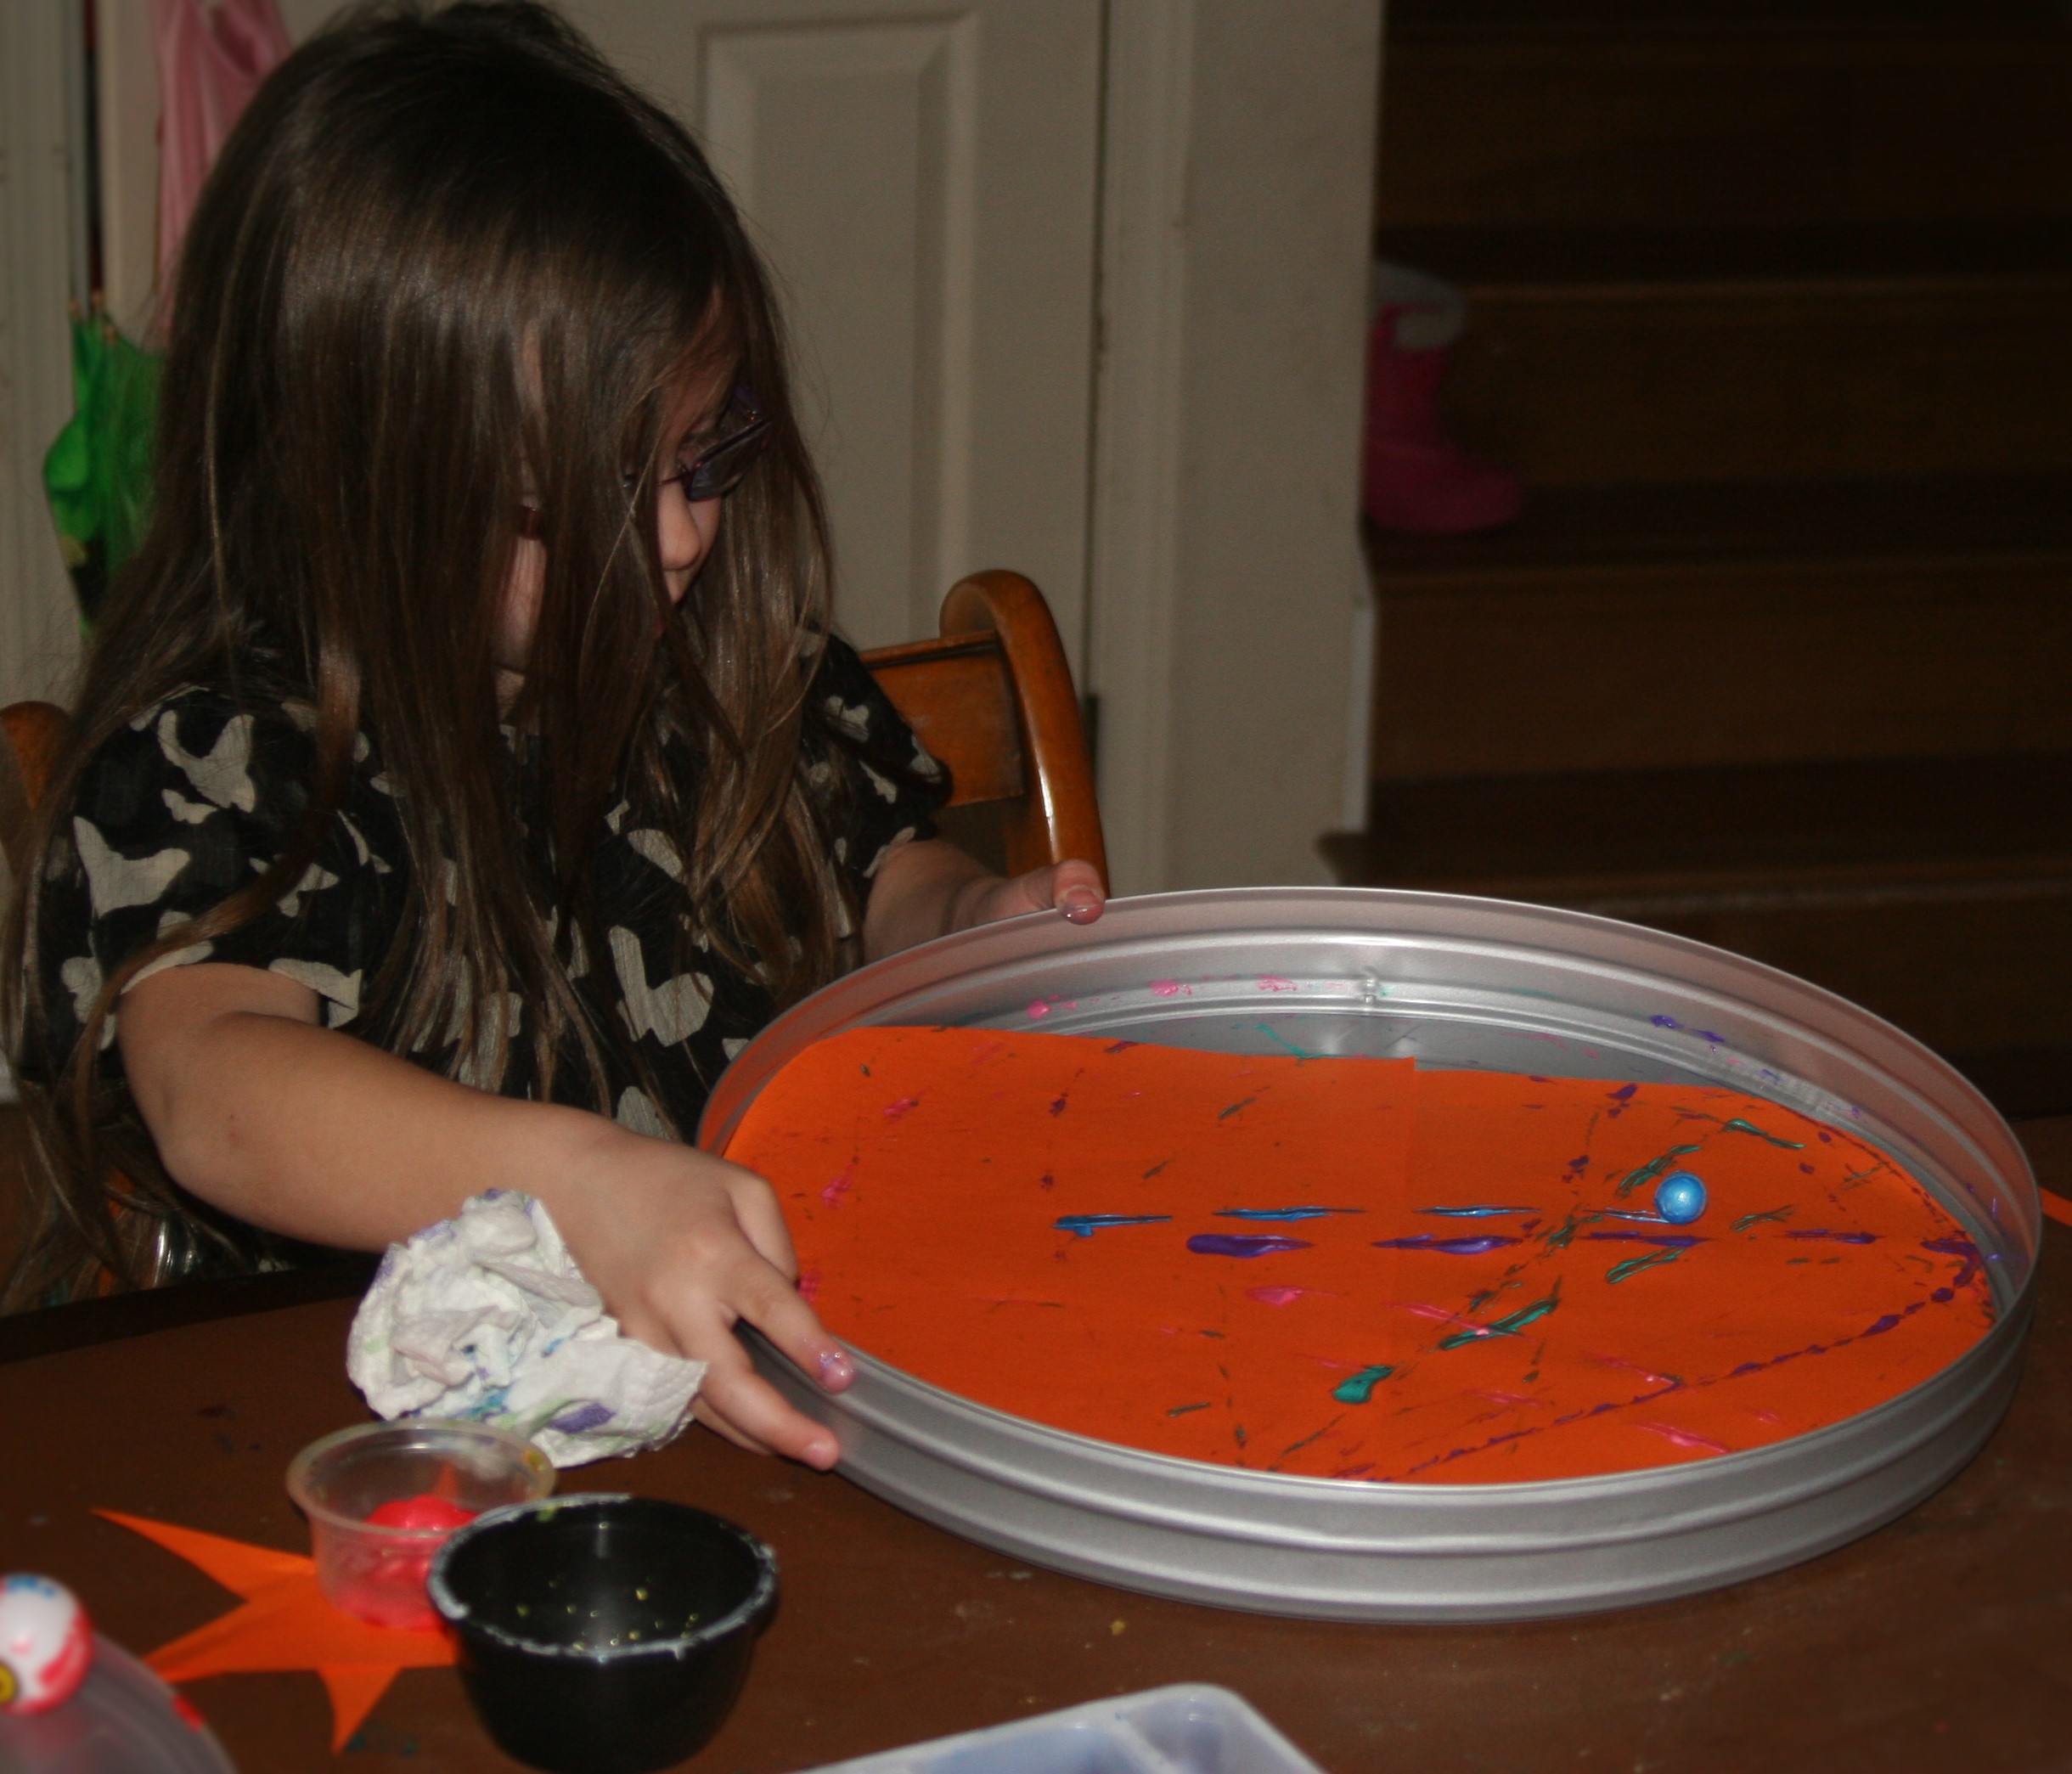
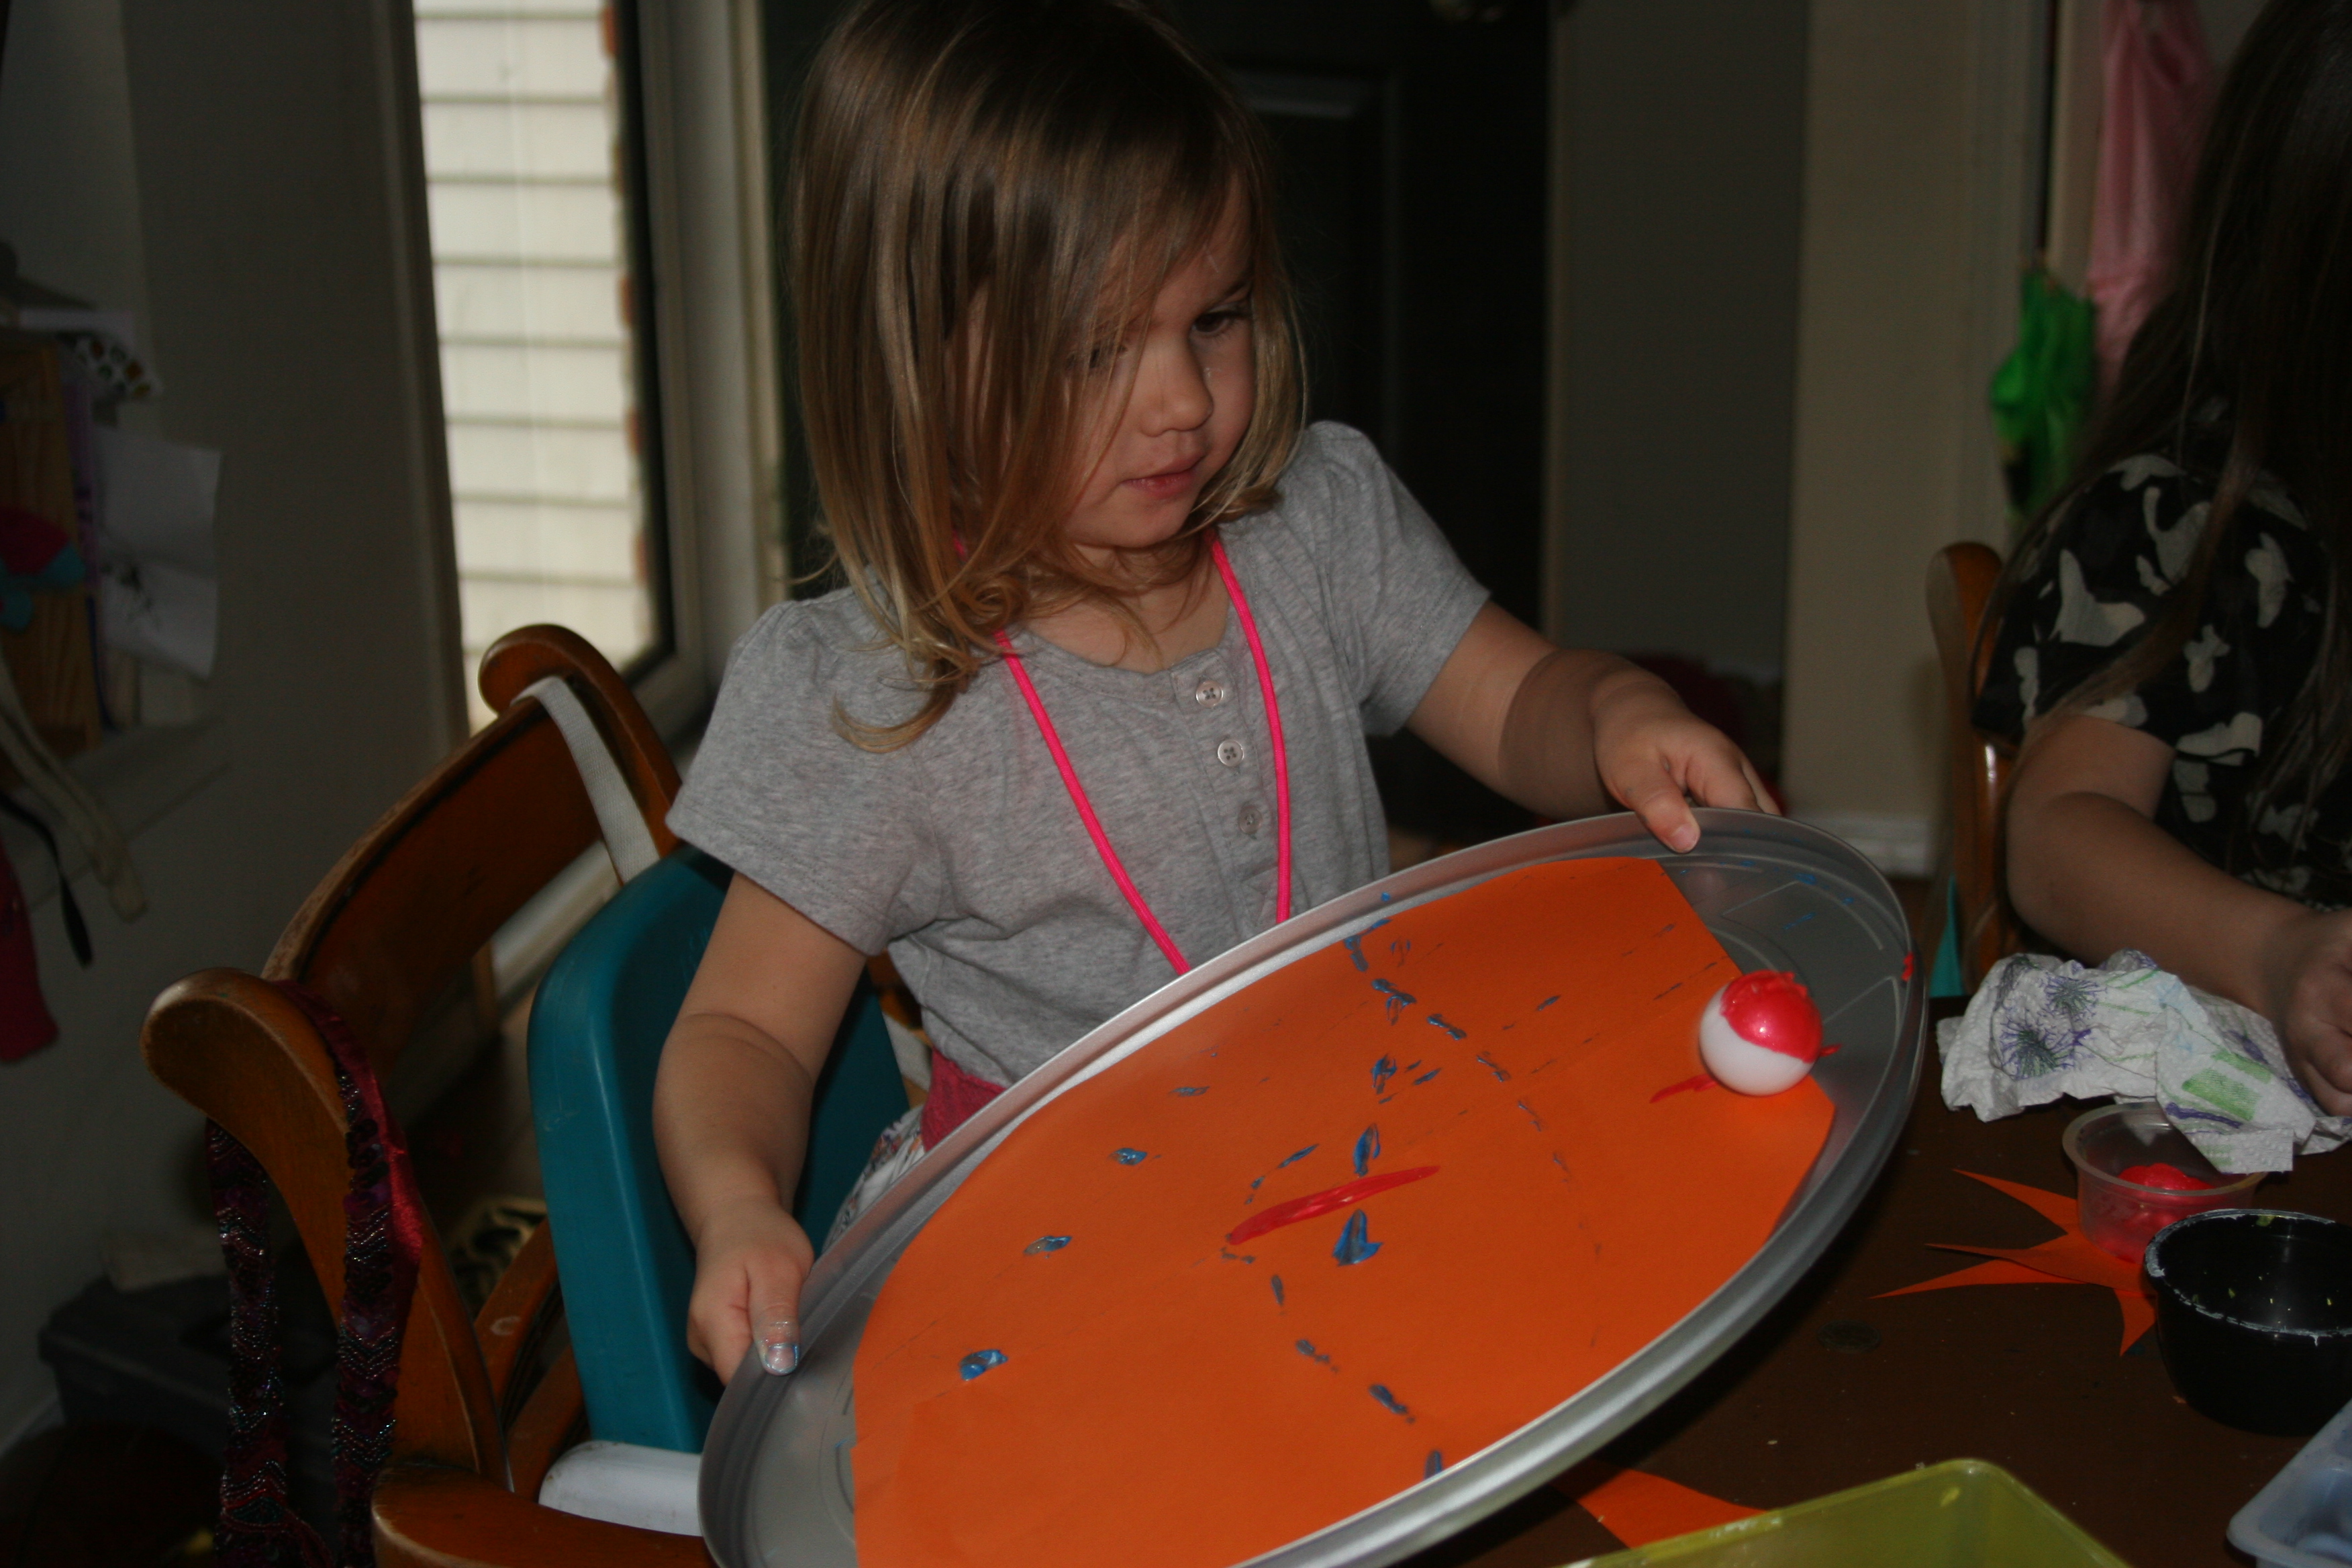
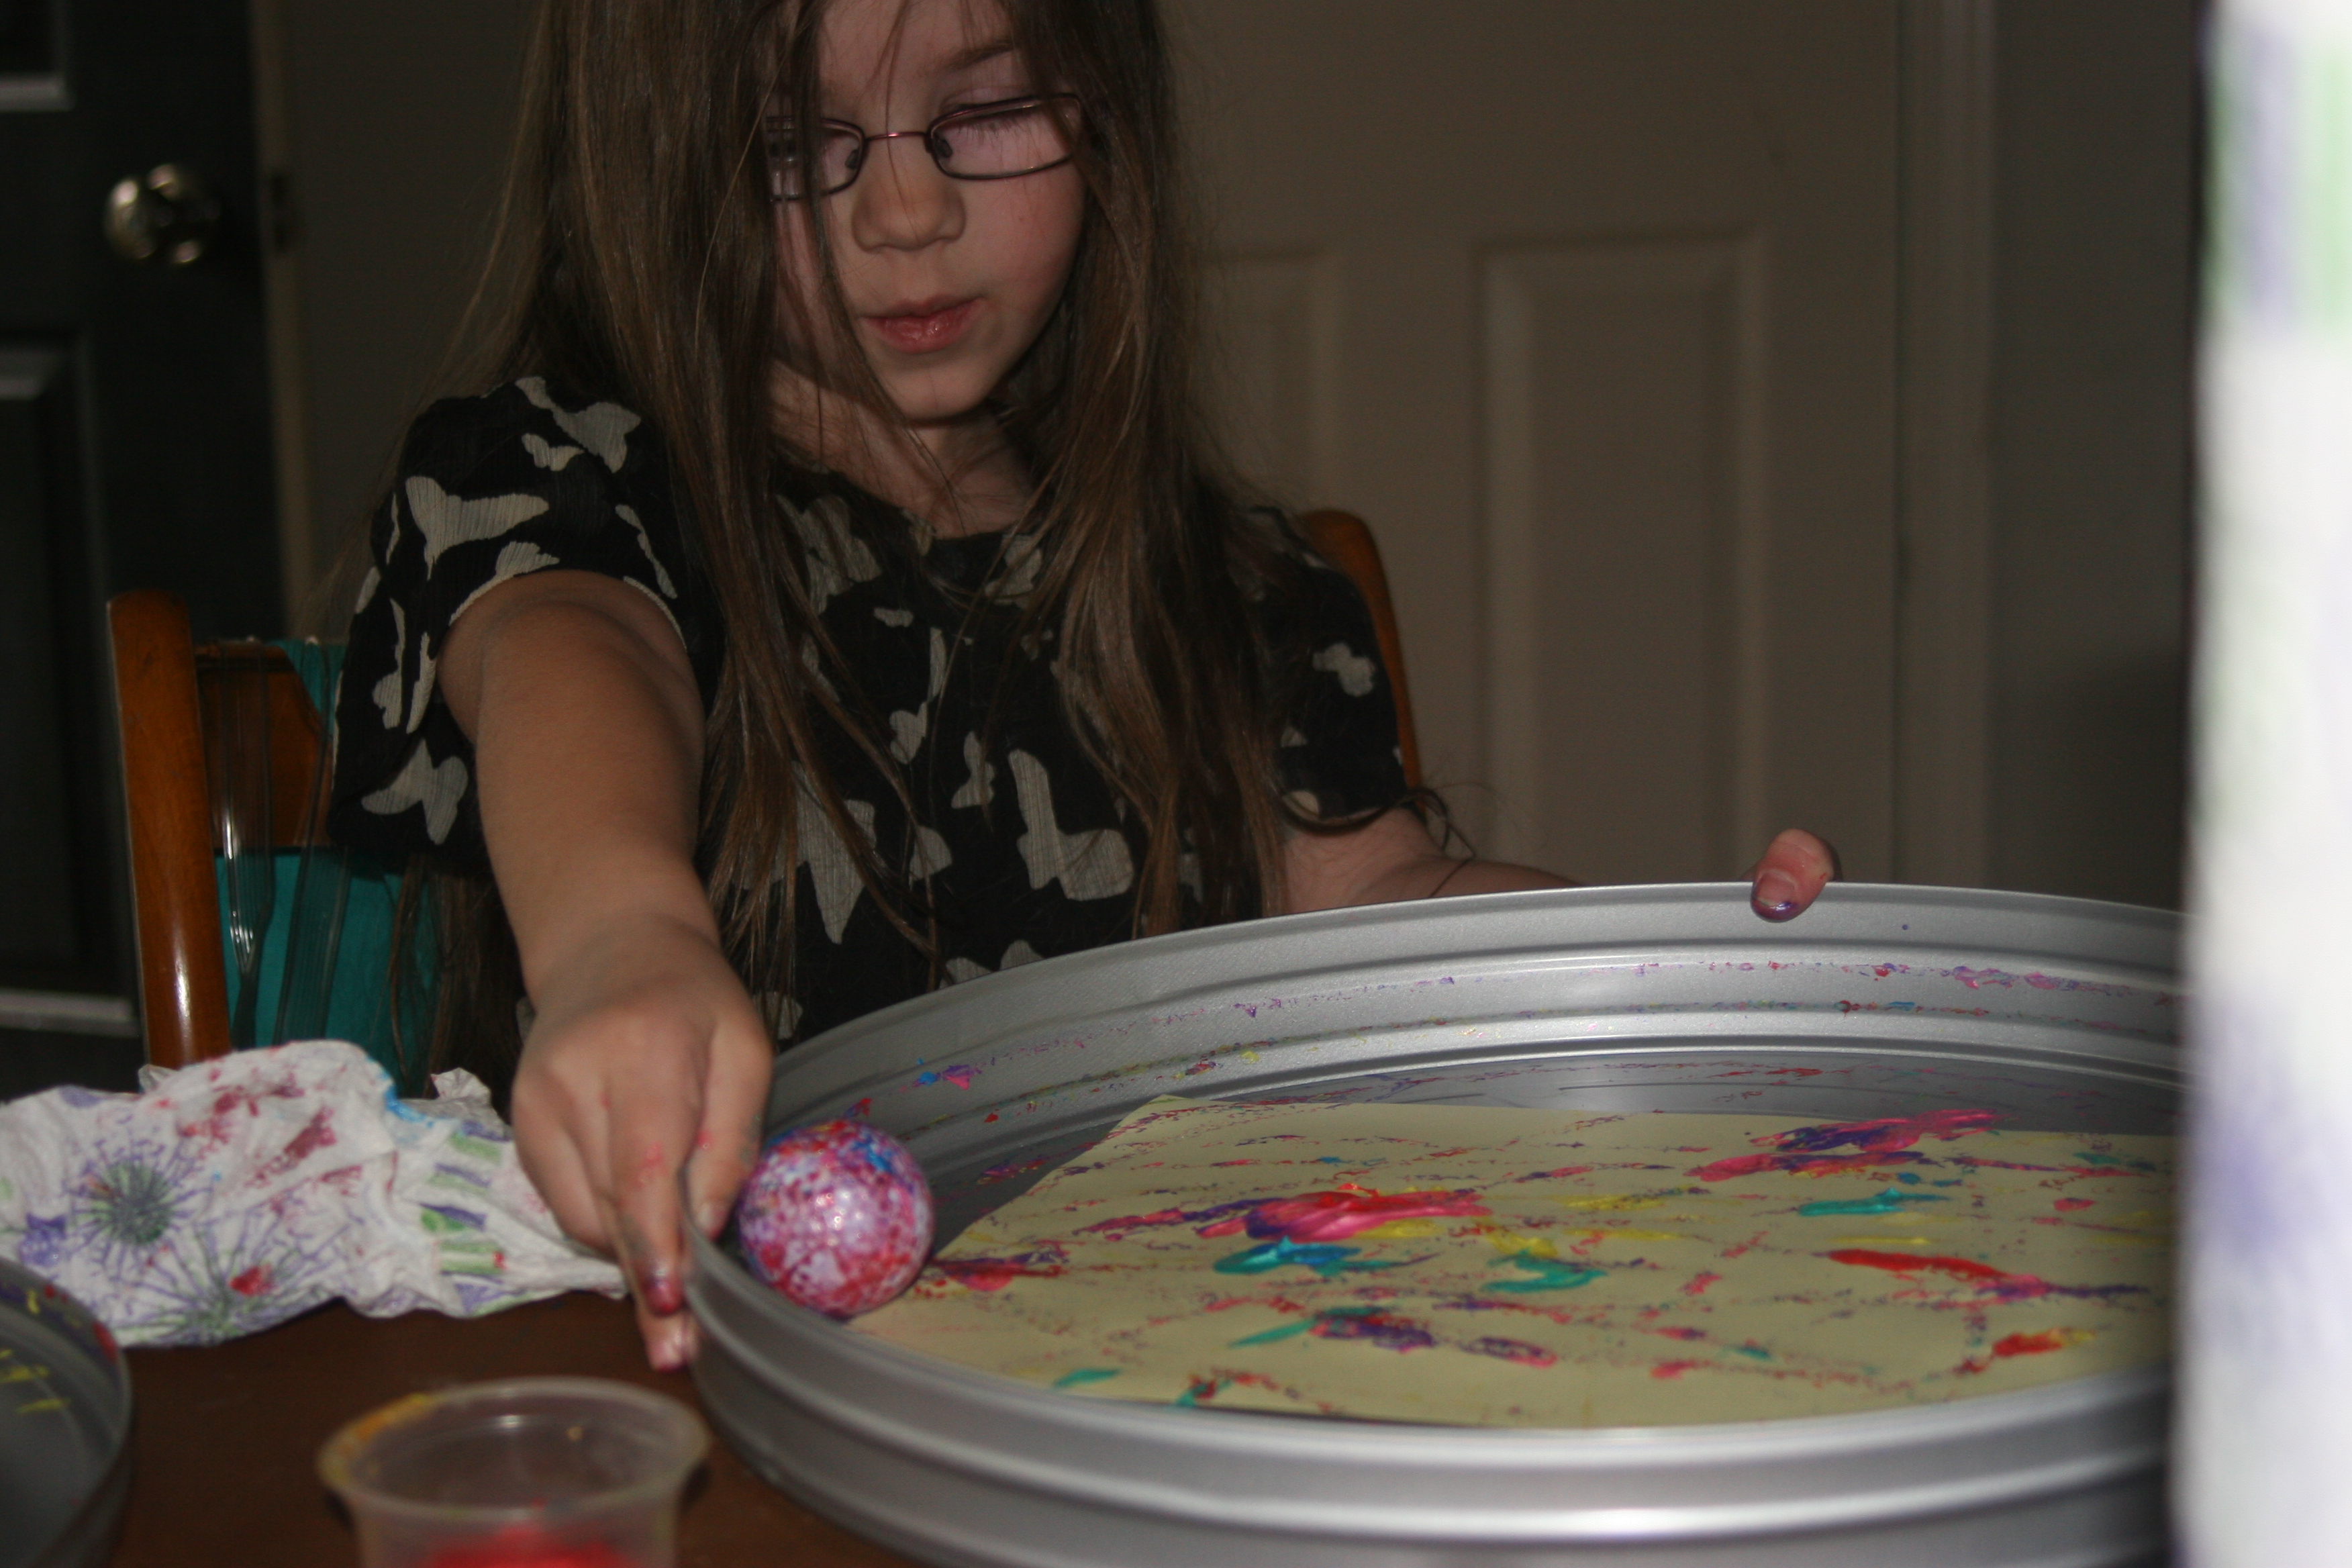
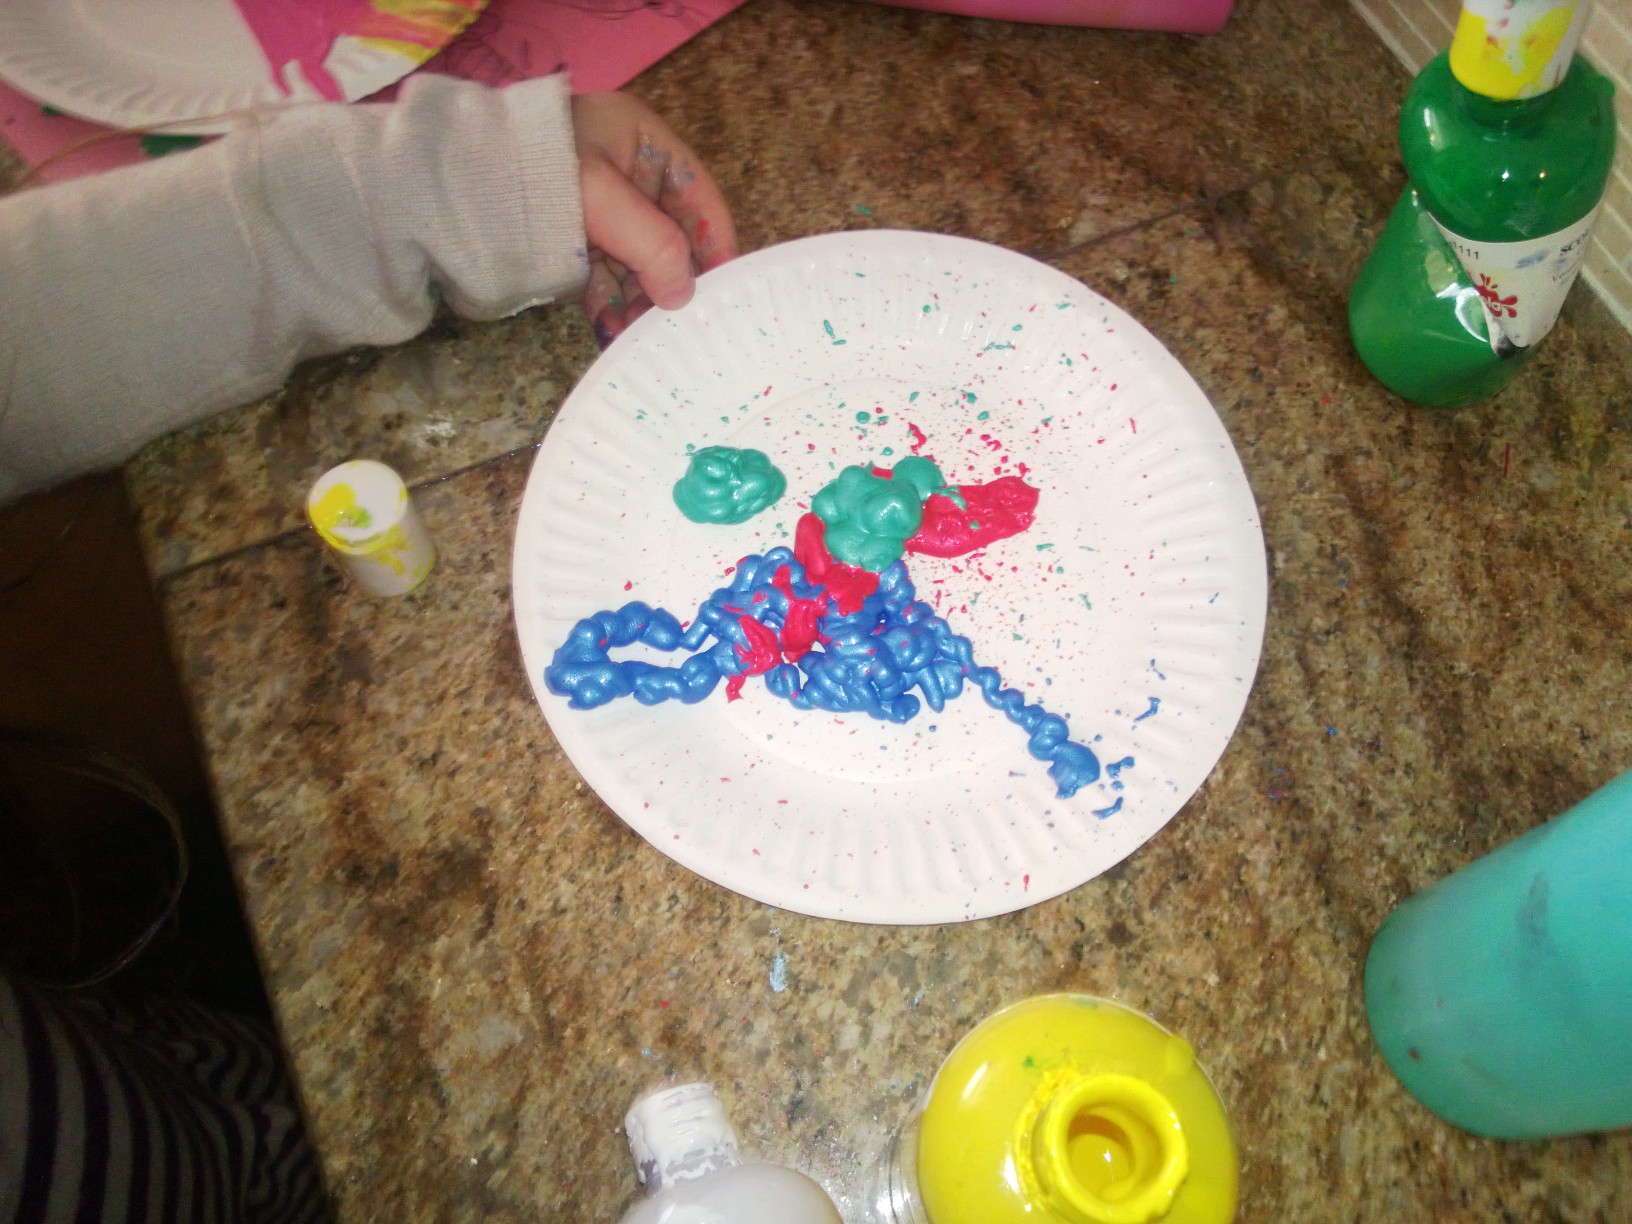
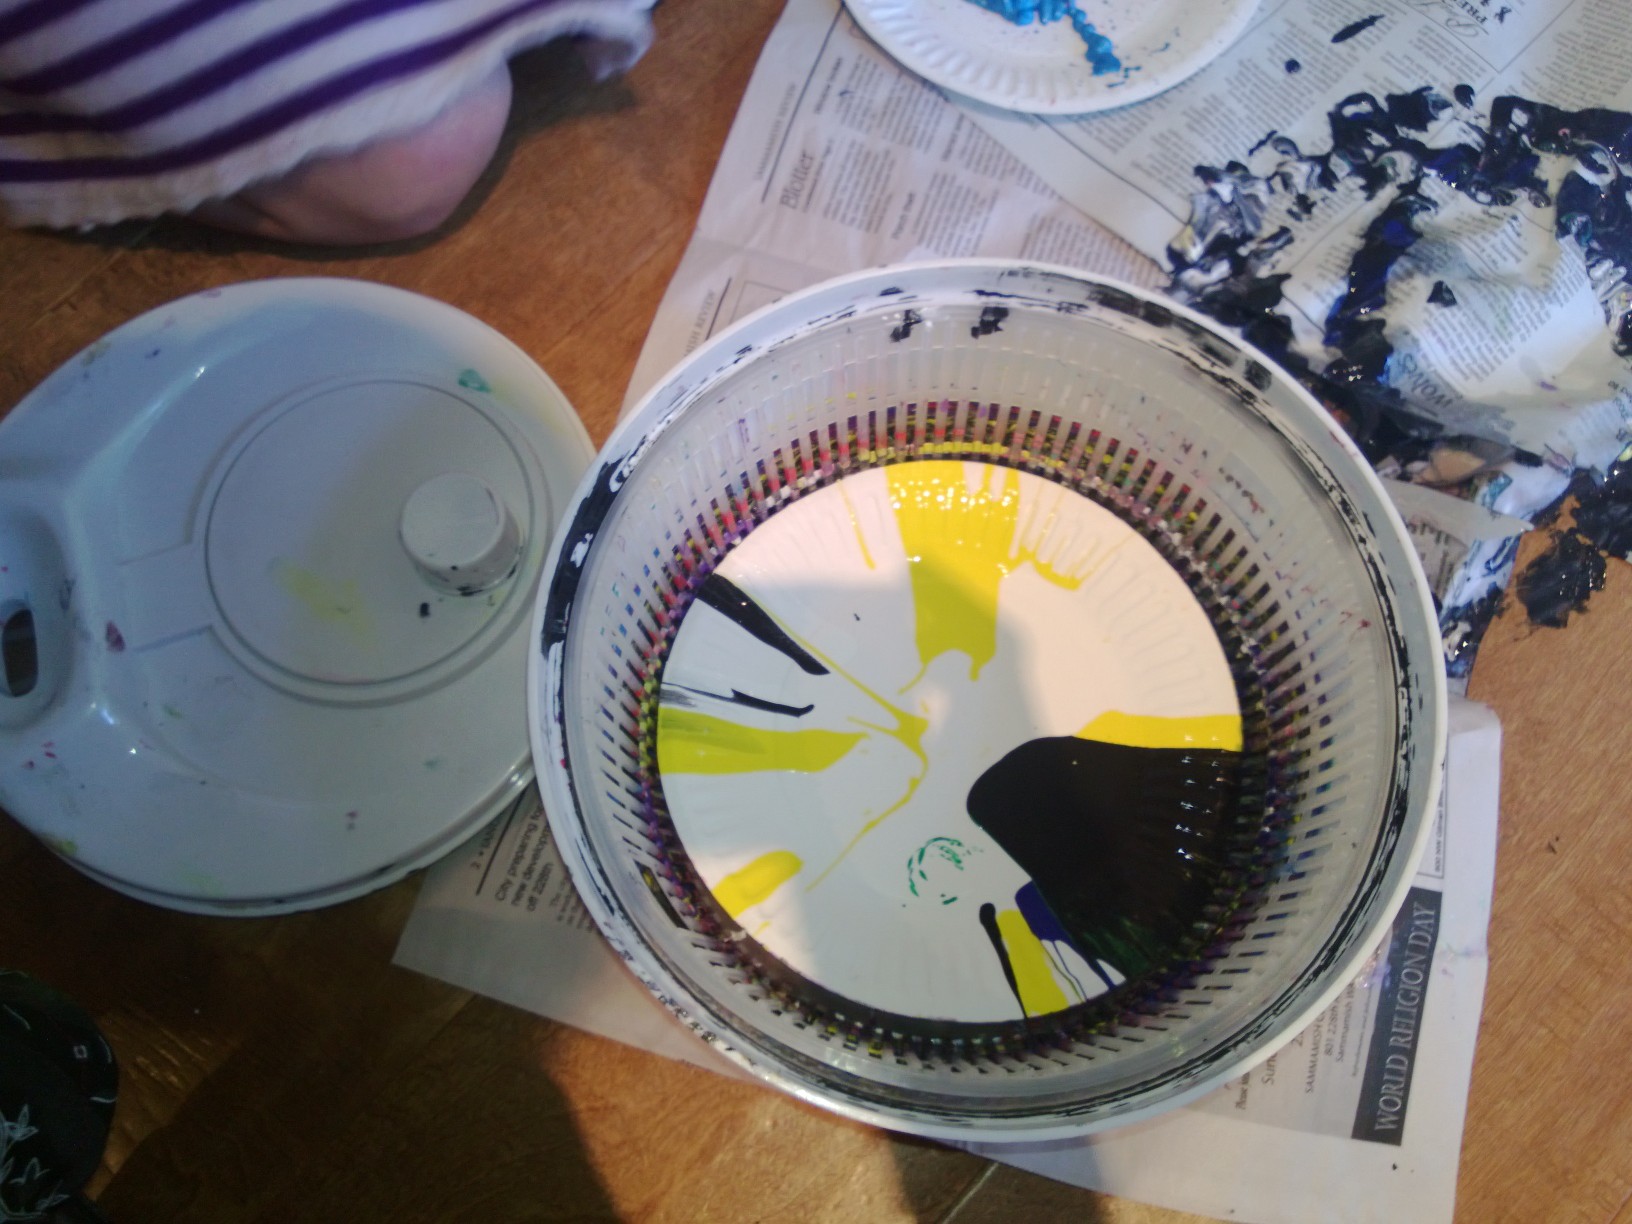
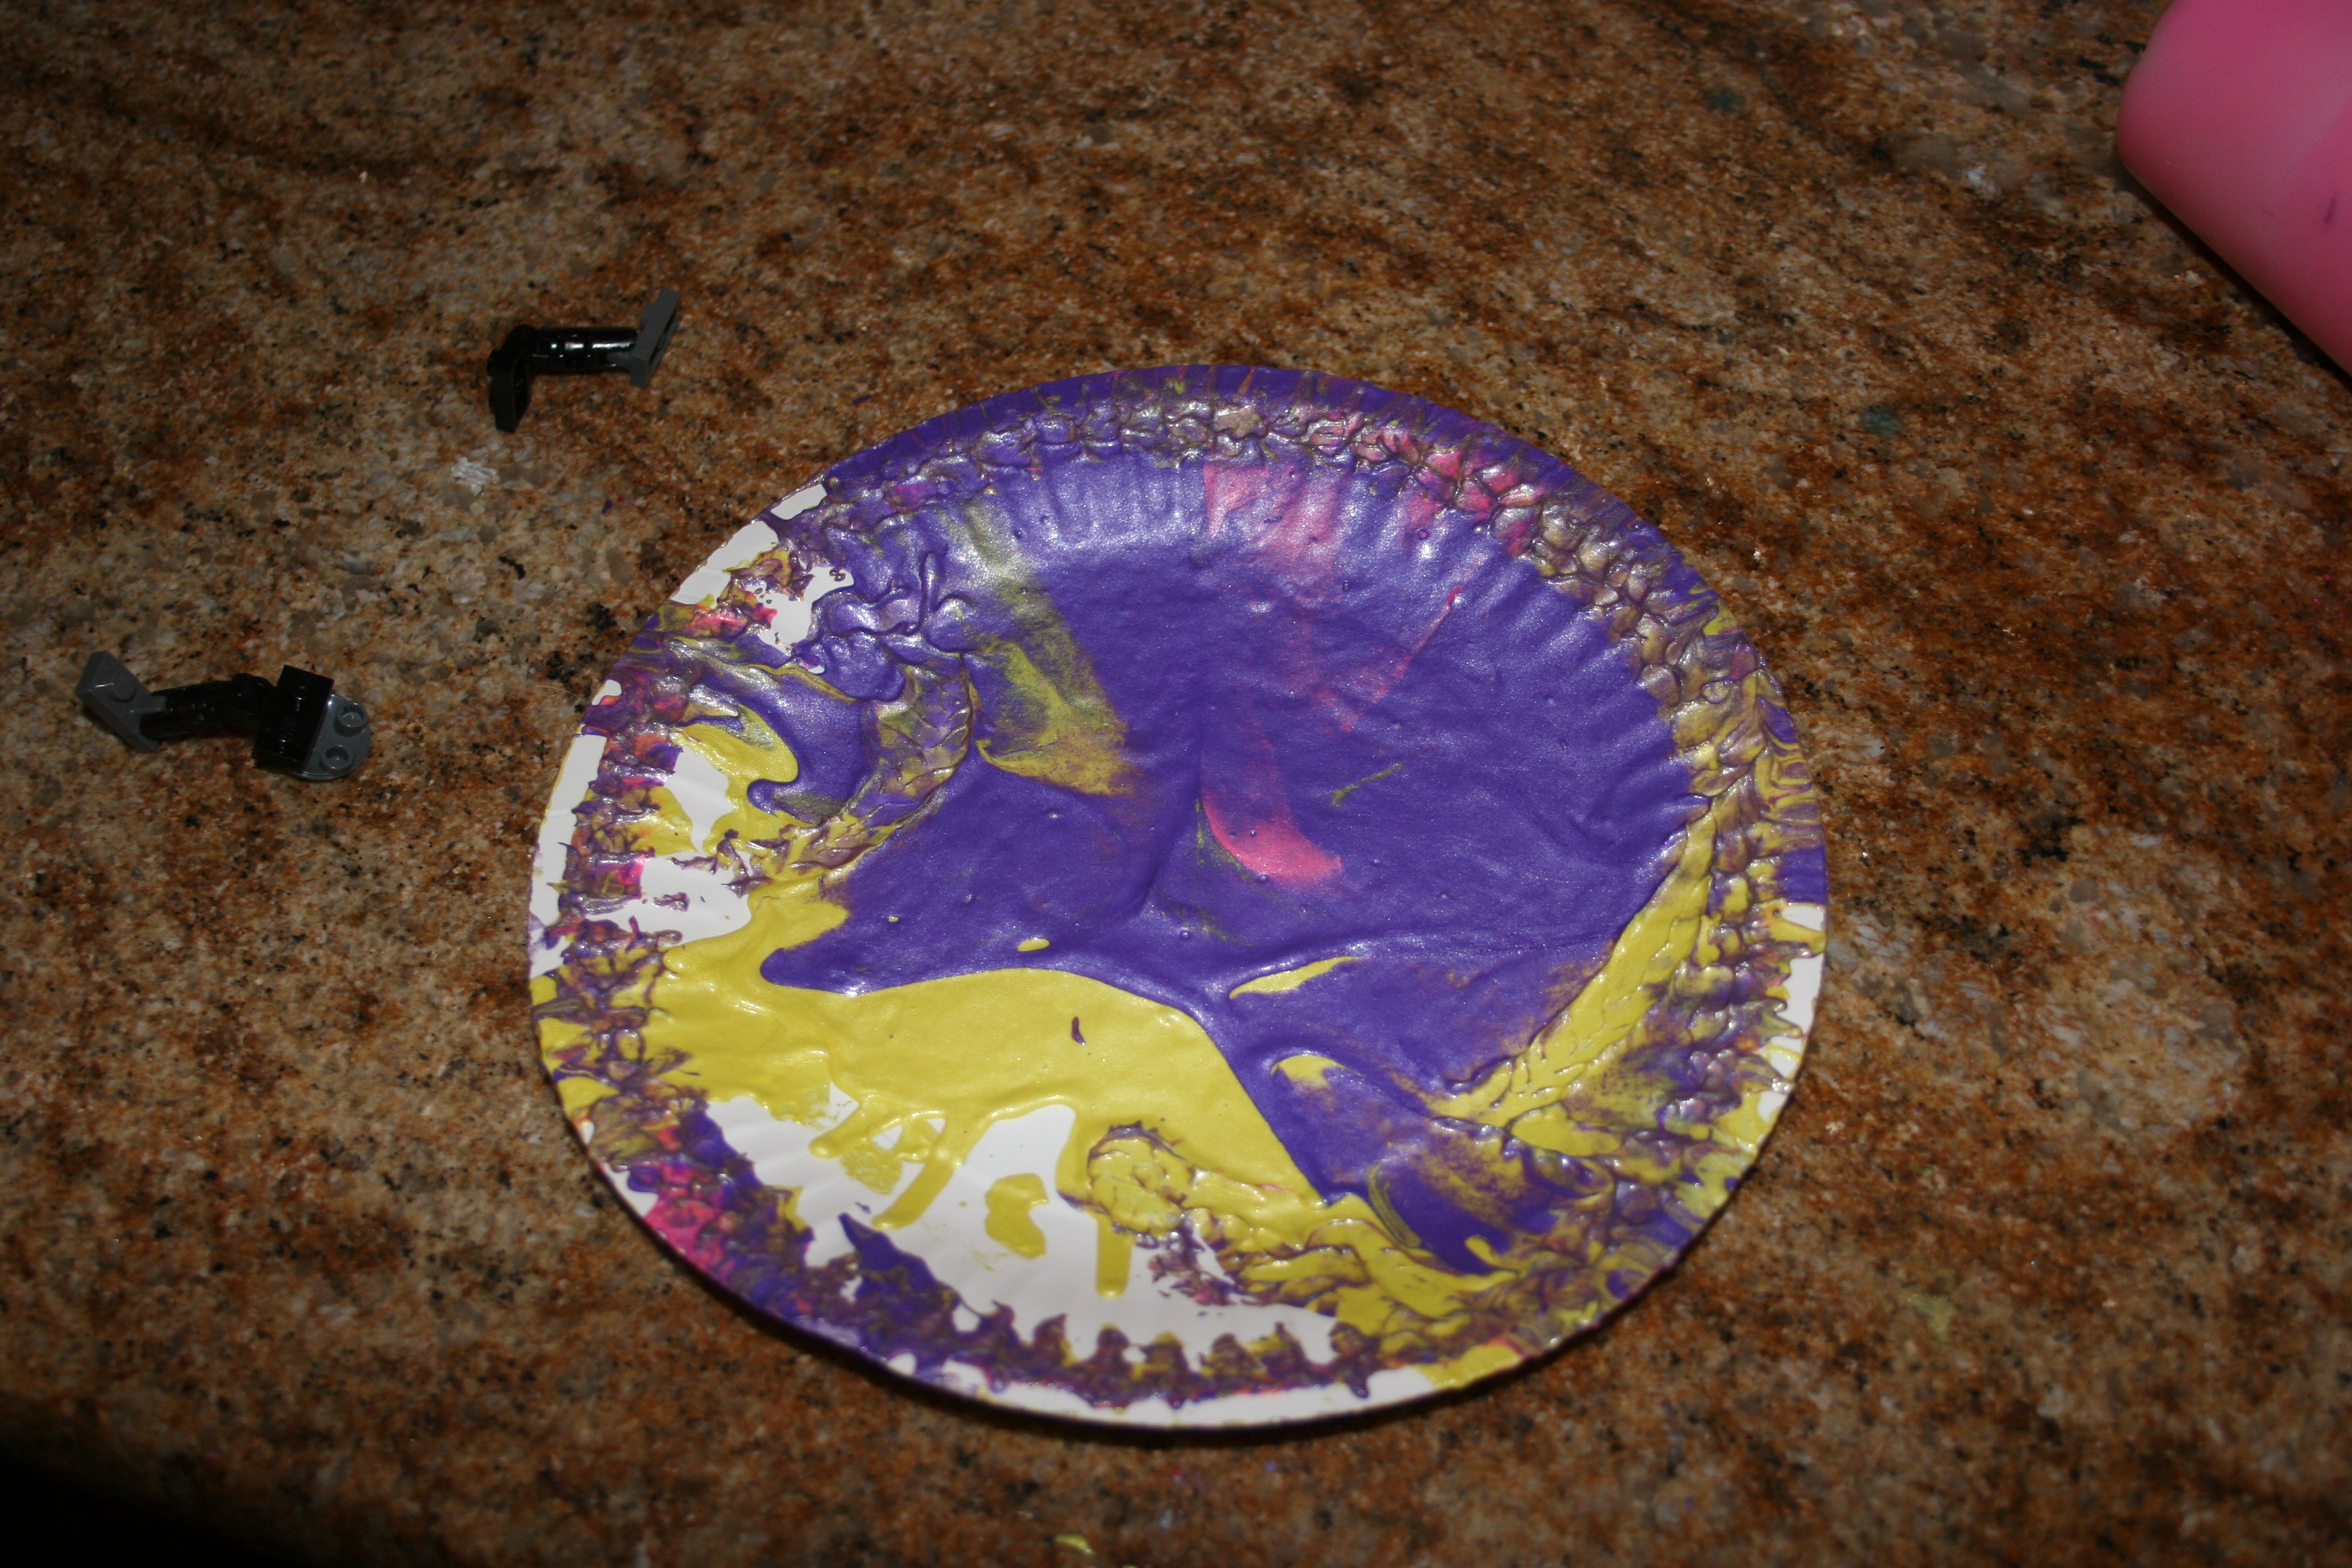
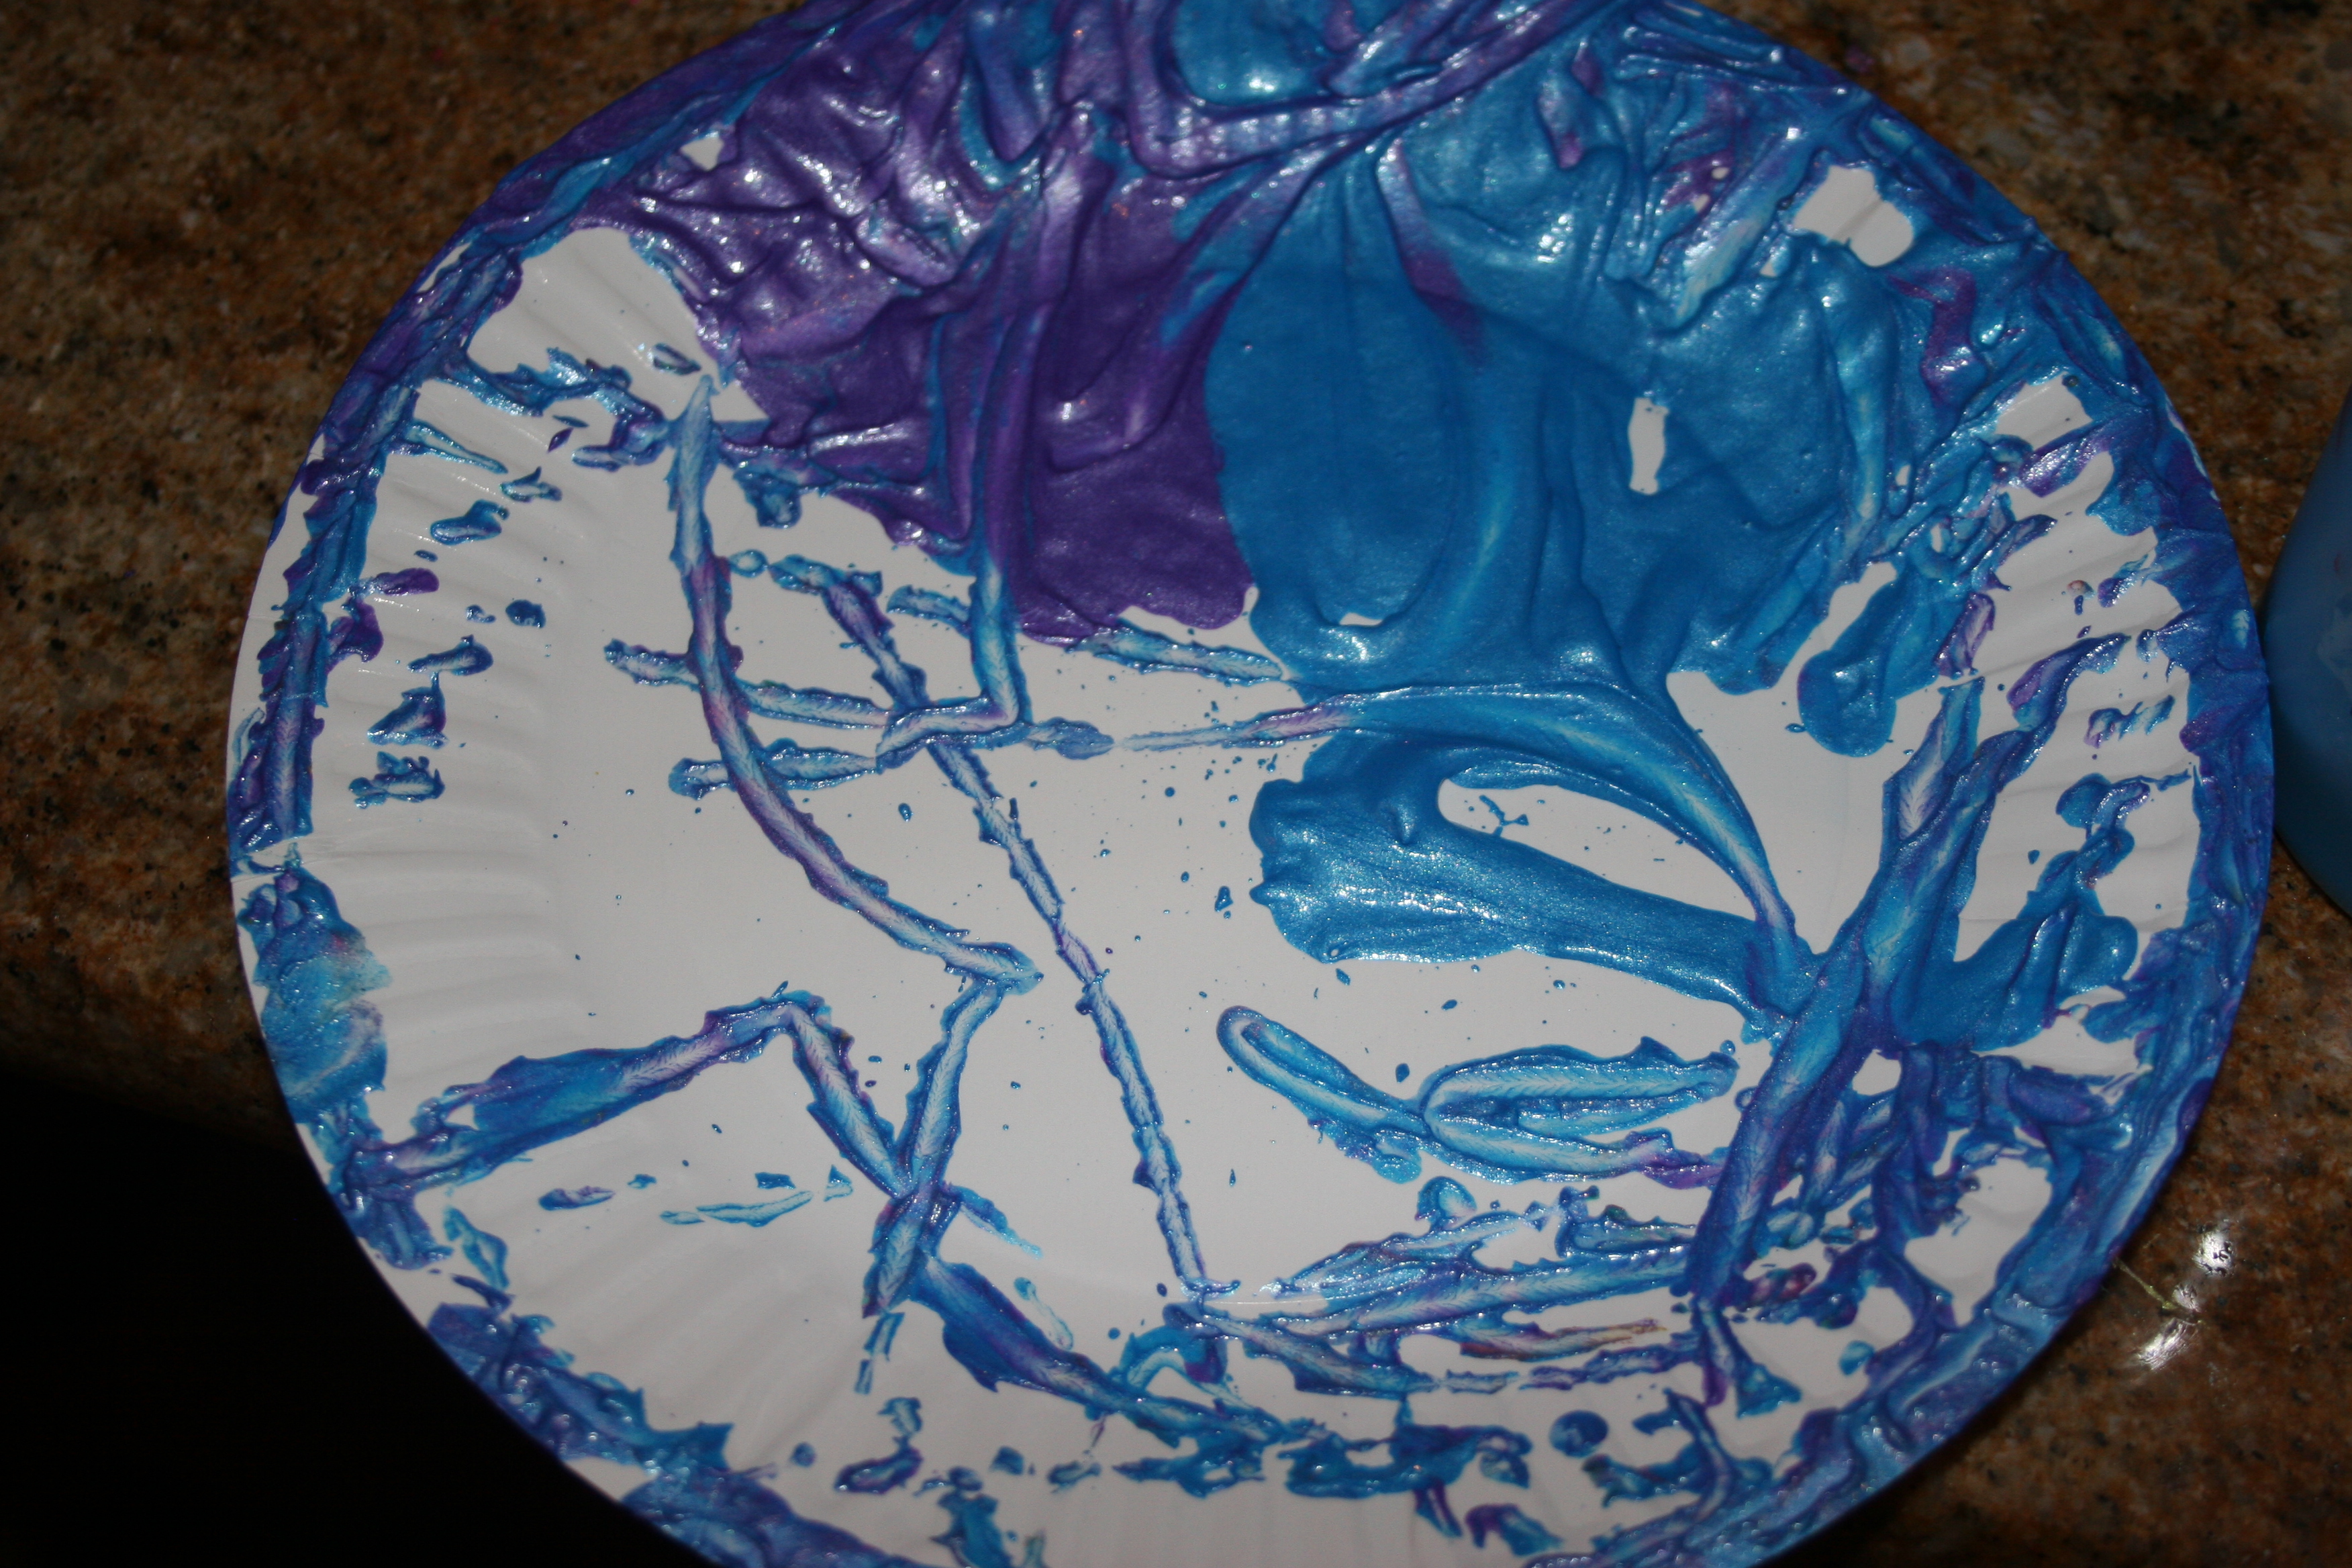
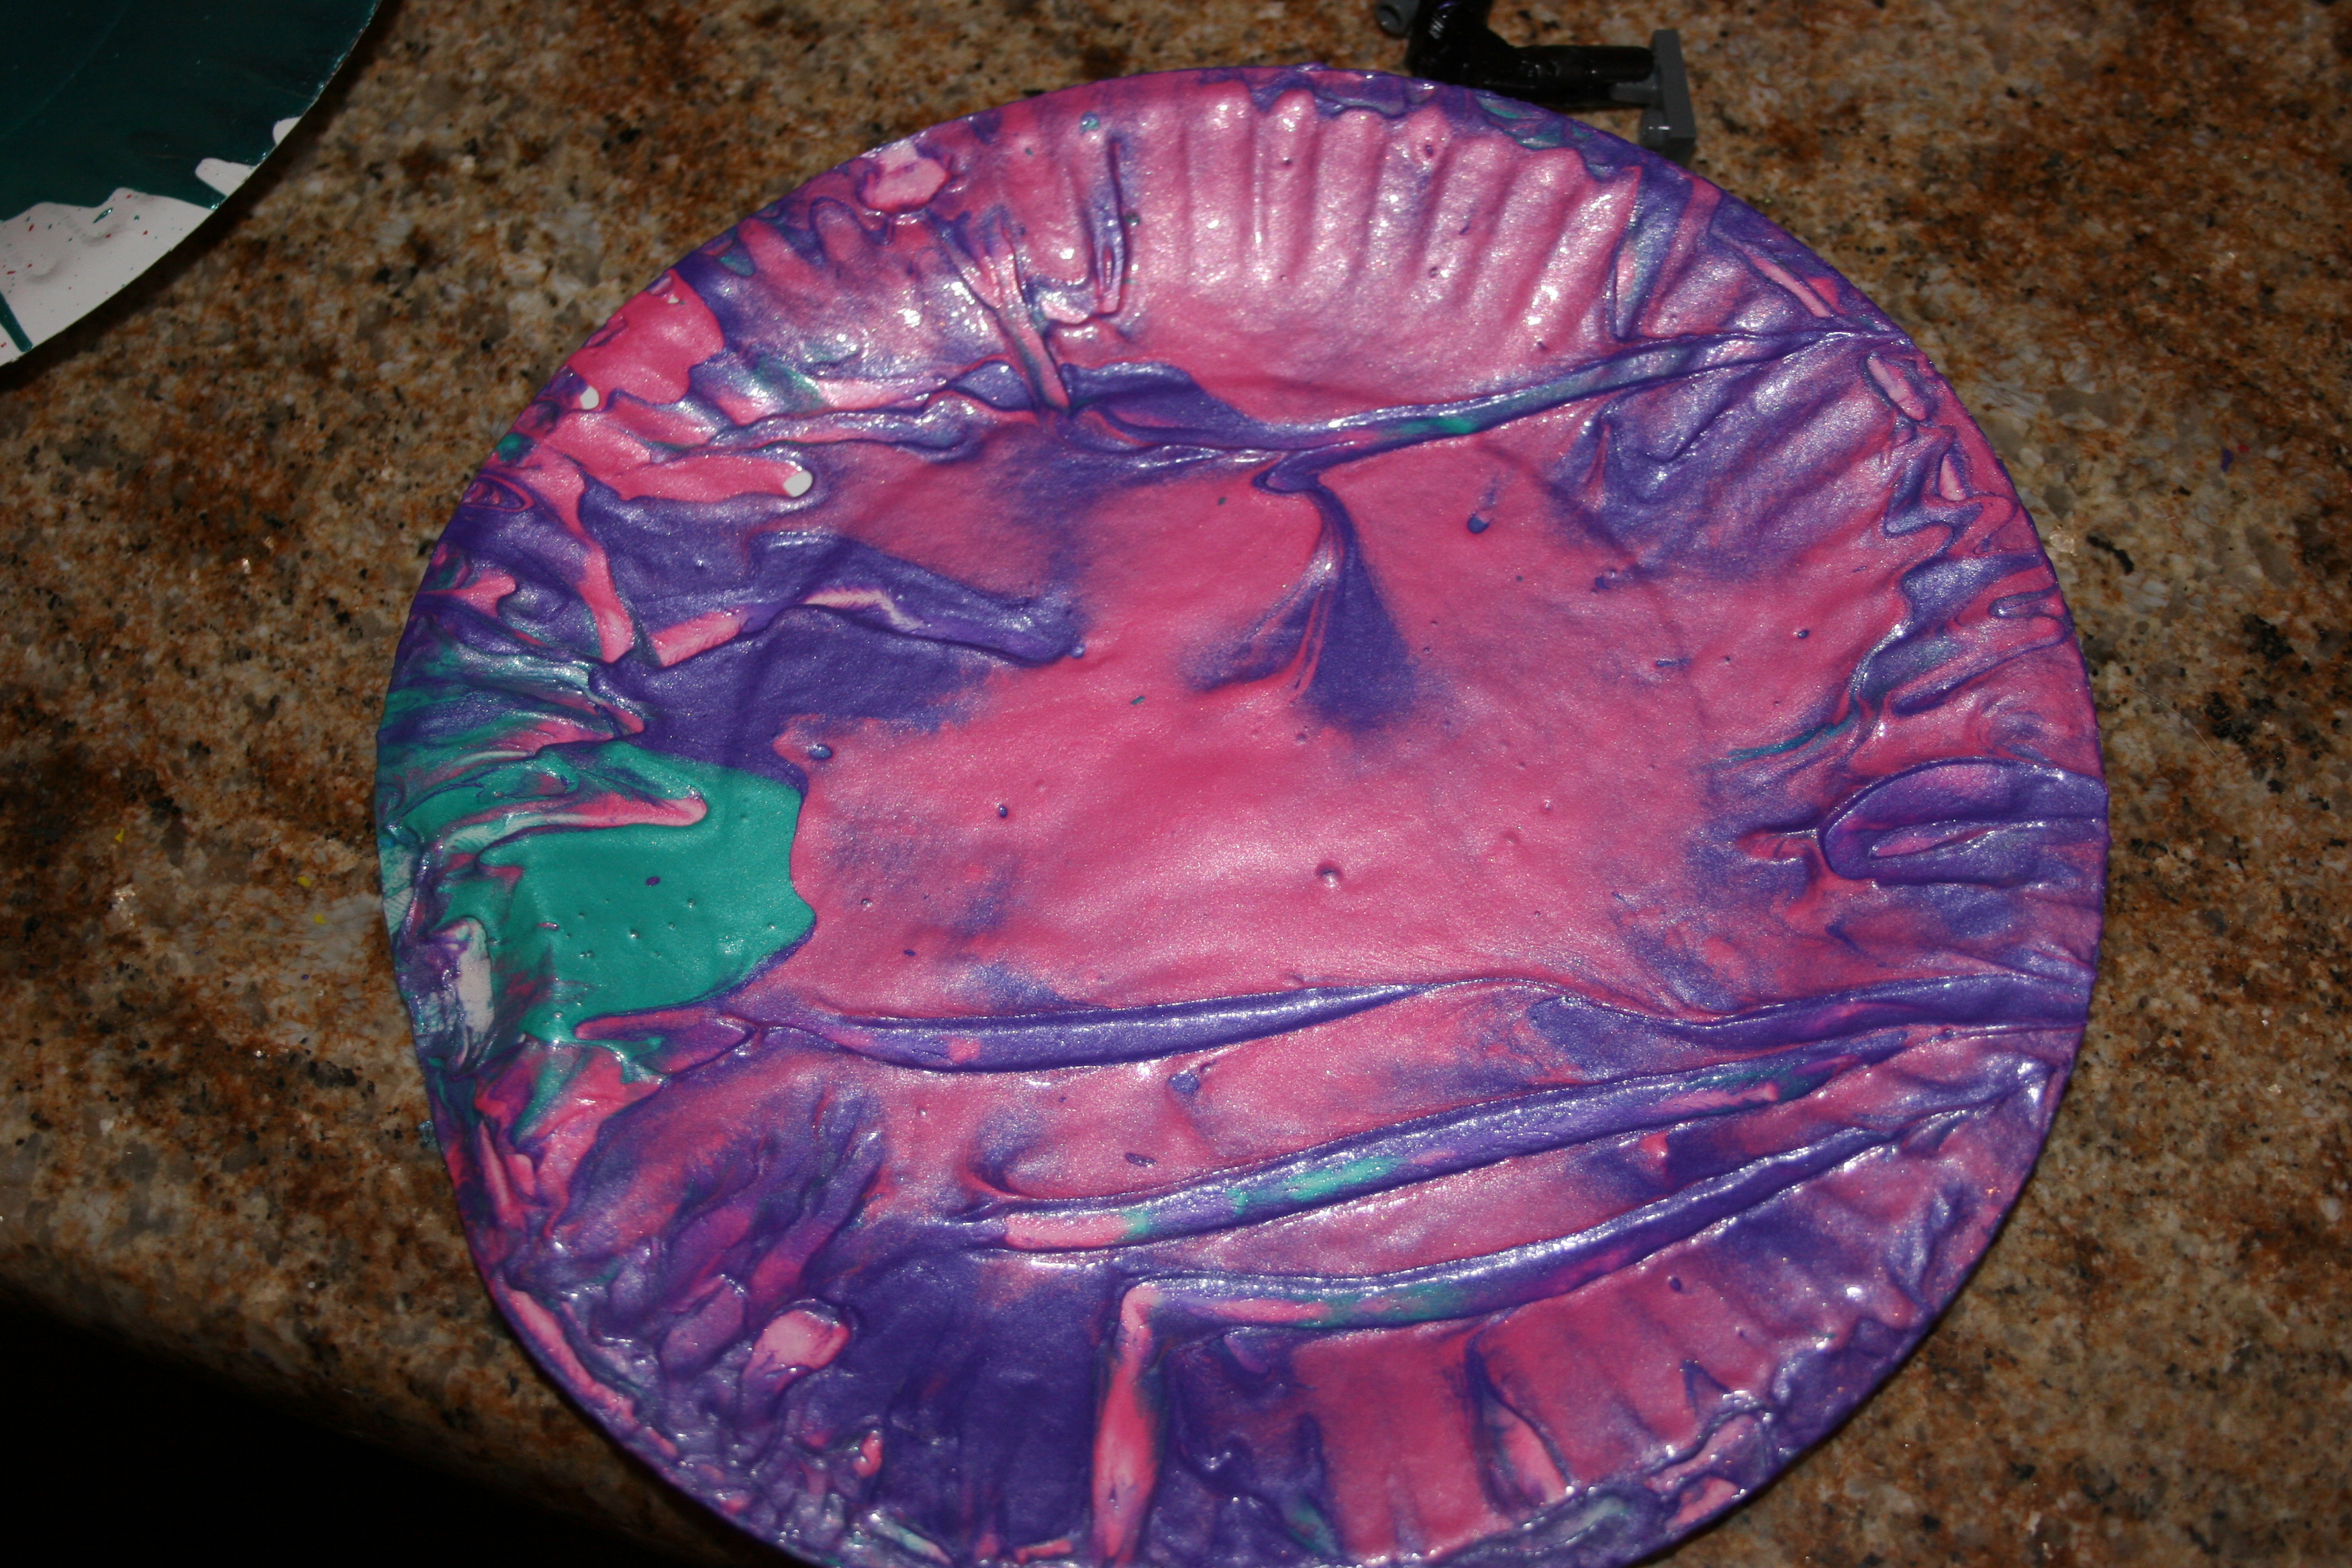
  • They love messy, tactile or sensory play and are interested in exploring materials. They are fascinated by processes and how things work. This may mean they will use materials in unexpected ways – tipping, throwing or splashing, for example. Try to channel these investigations in positive ways.   Do not expect them to create a finished art product.
  • Some  are not yet talking, others may be difficult to understand. It takes time to build relationships with these children and understand their needs. Play alongside them and observe. Build positive relationships with parents and help the children to build a secure relationship with you
  • They are still learning to use tools and will need adult supervision when using scissors, small items and books.
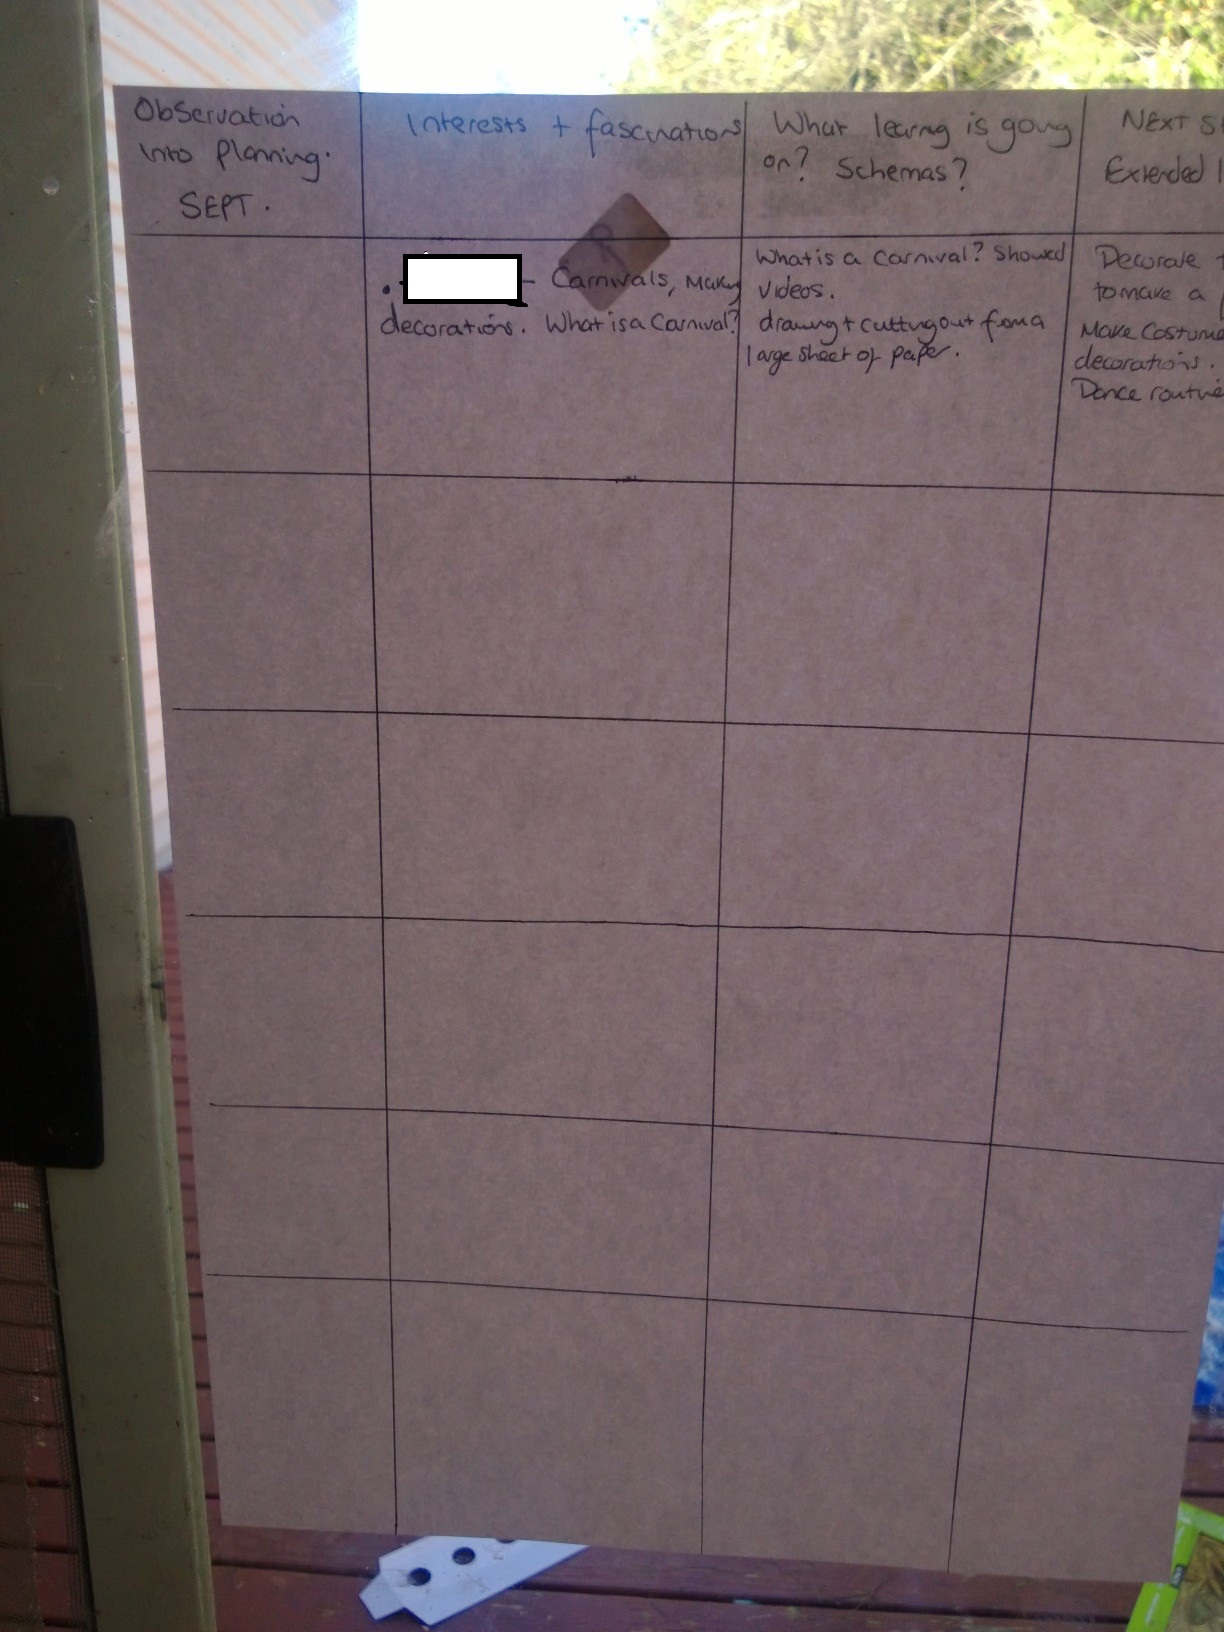
  • They learn by repetition, so don’t be worried that your planning isn’t varied. Try to spot schemas and  re-occurring fascinations and plan a variety of experiences to support them.
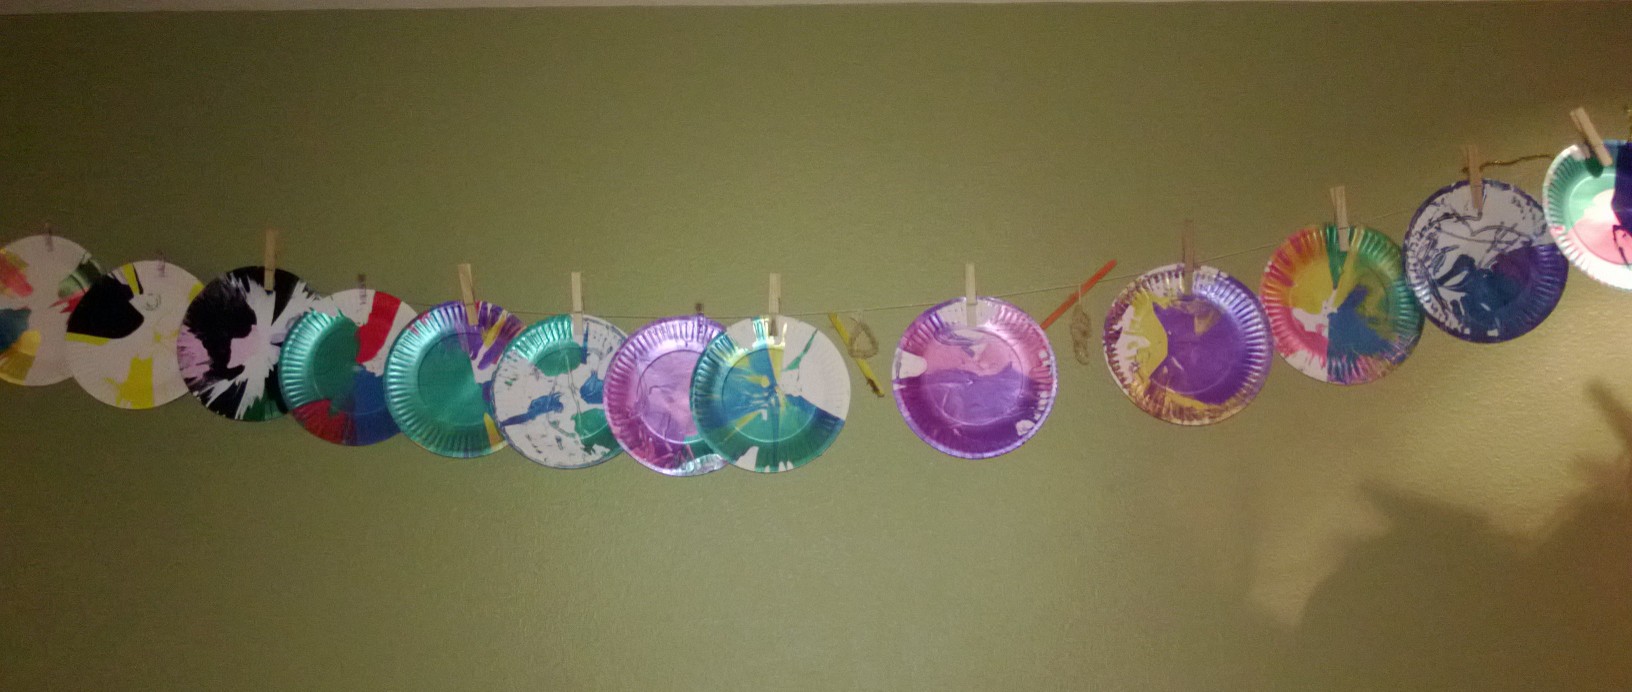
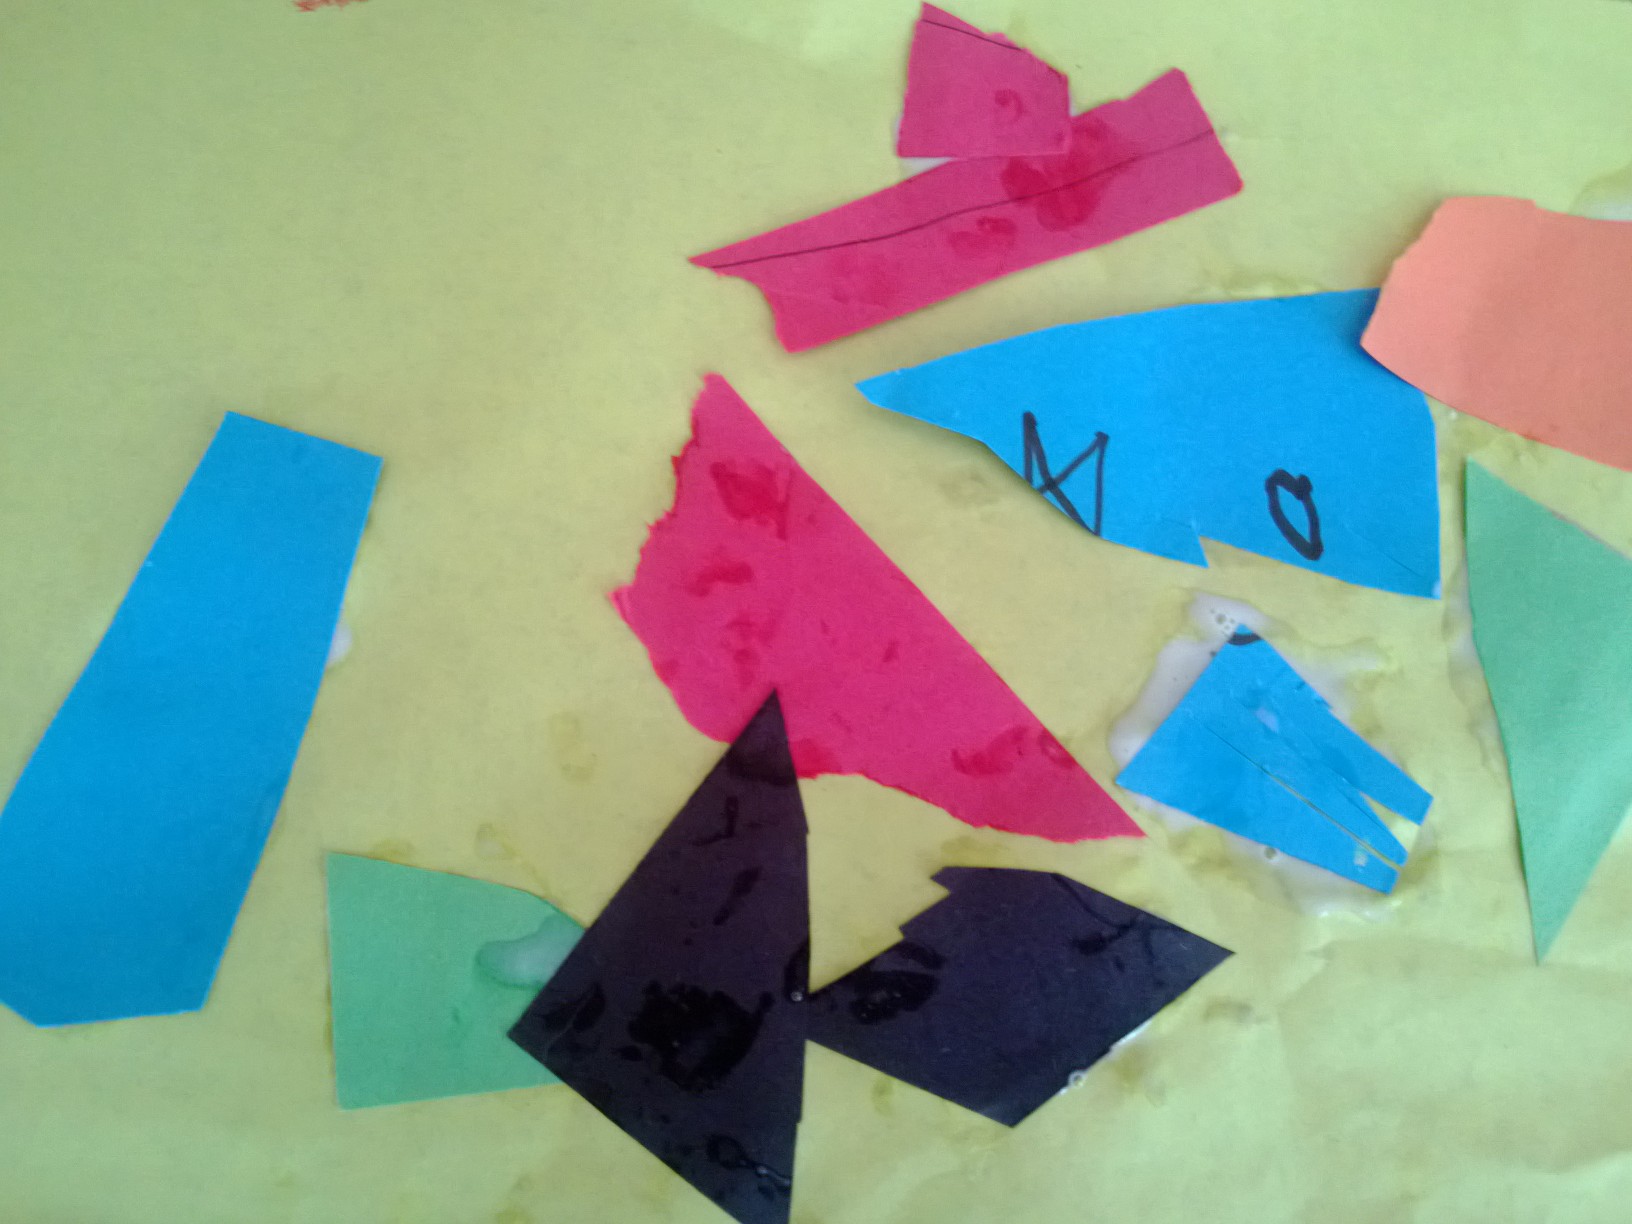
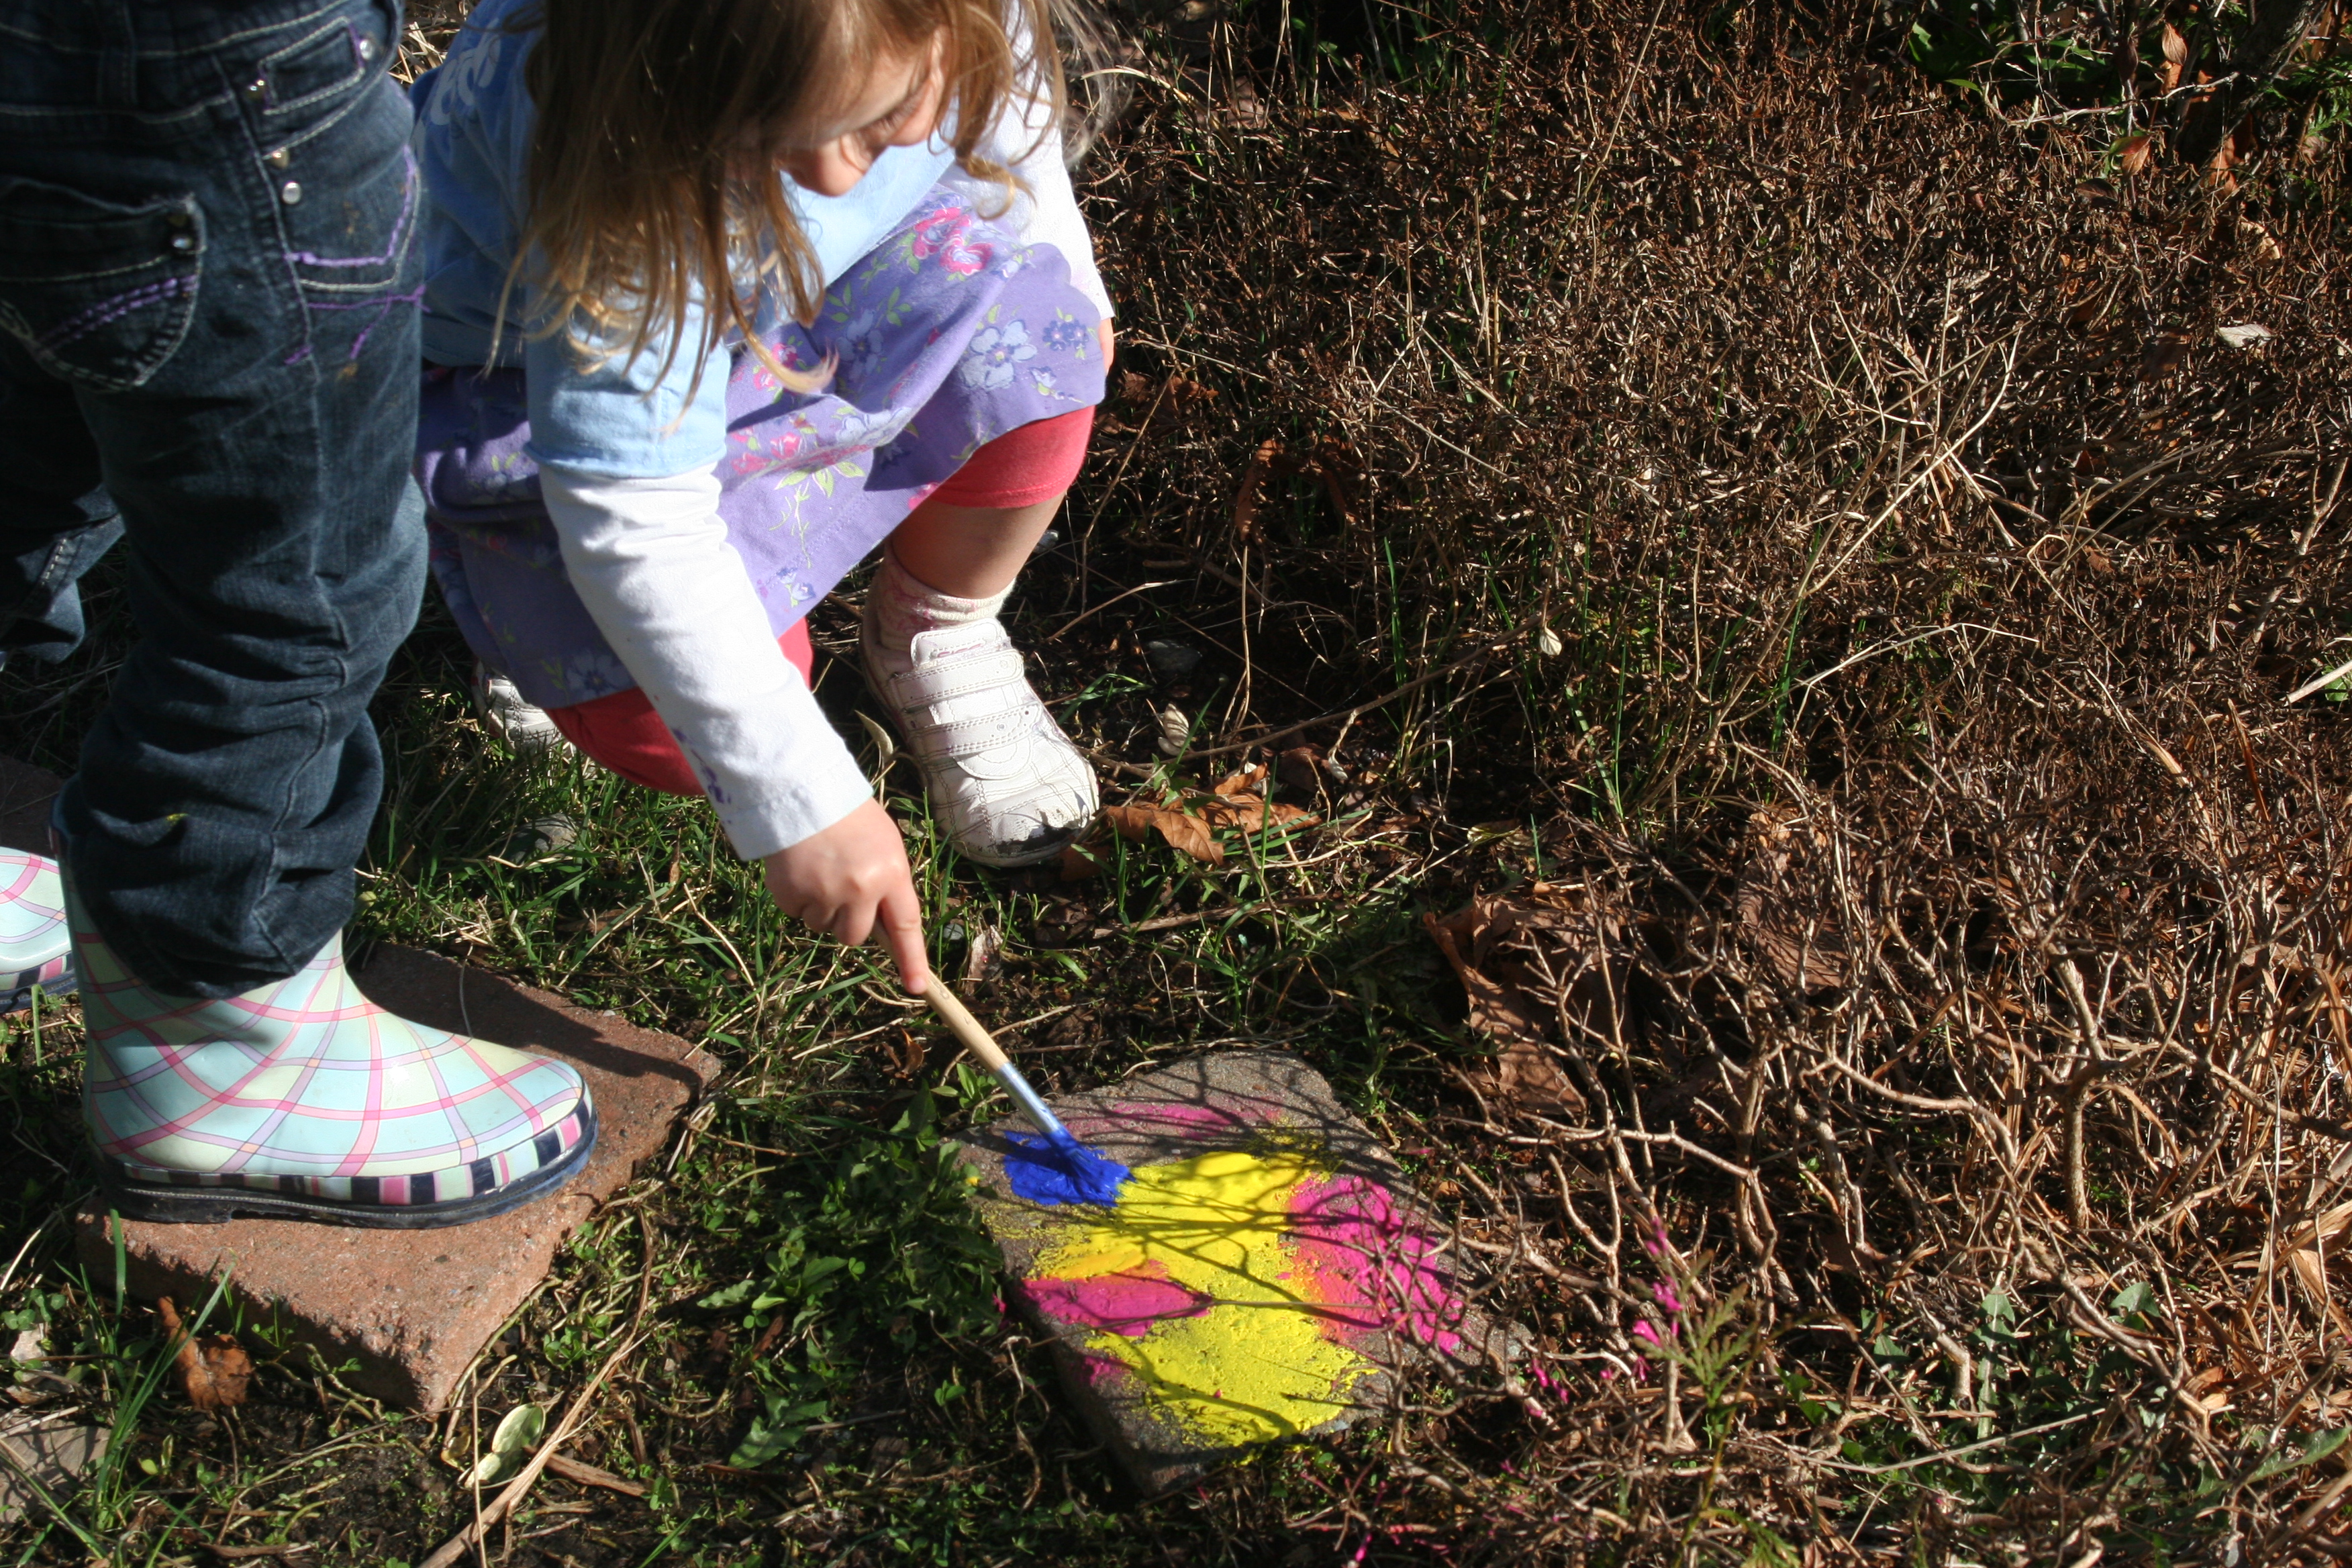
  • ‘Art’ projects work best on a large-scale. Rolls and large sheets of paper, chunky crayons, blocks of clay, pavement chalk and large brushes are all perfect for this age group.
  • They will assert their independence. Give them plenty of choices – I need you to come and have a drink, would you like a blue or a red cup?

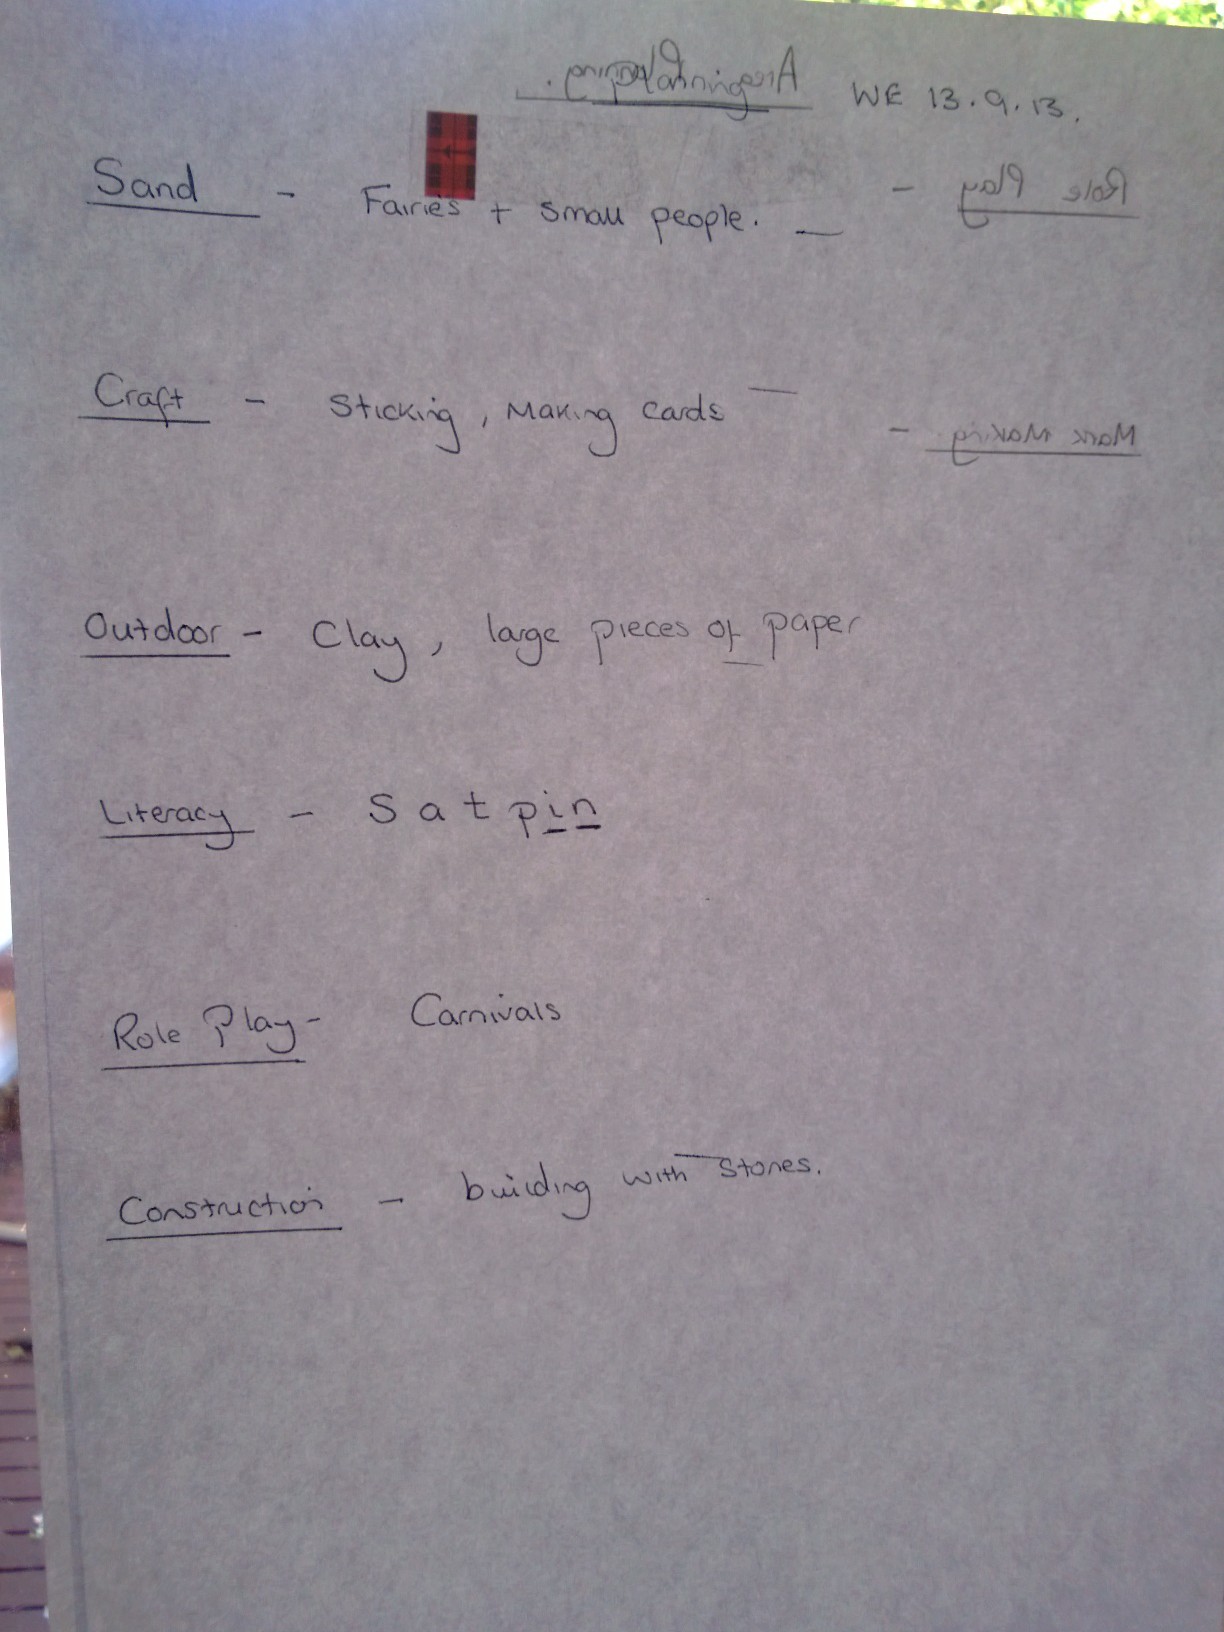
Below are a selection of activities for 2-year-olds or in mixed age settings.
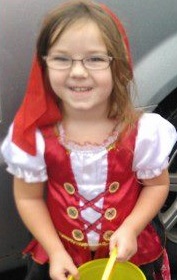
Pretend Play


potion making

Do not limit this to a home corner, use your imagination to create familiar experiences like shopping, new ones such as a vets or pure fantasy with pirates or fairies.

Water Beads

These are great for a water or light table.

water beads
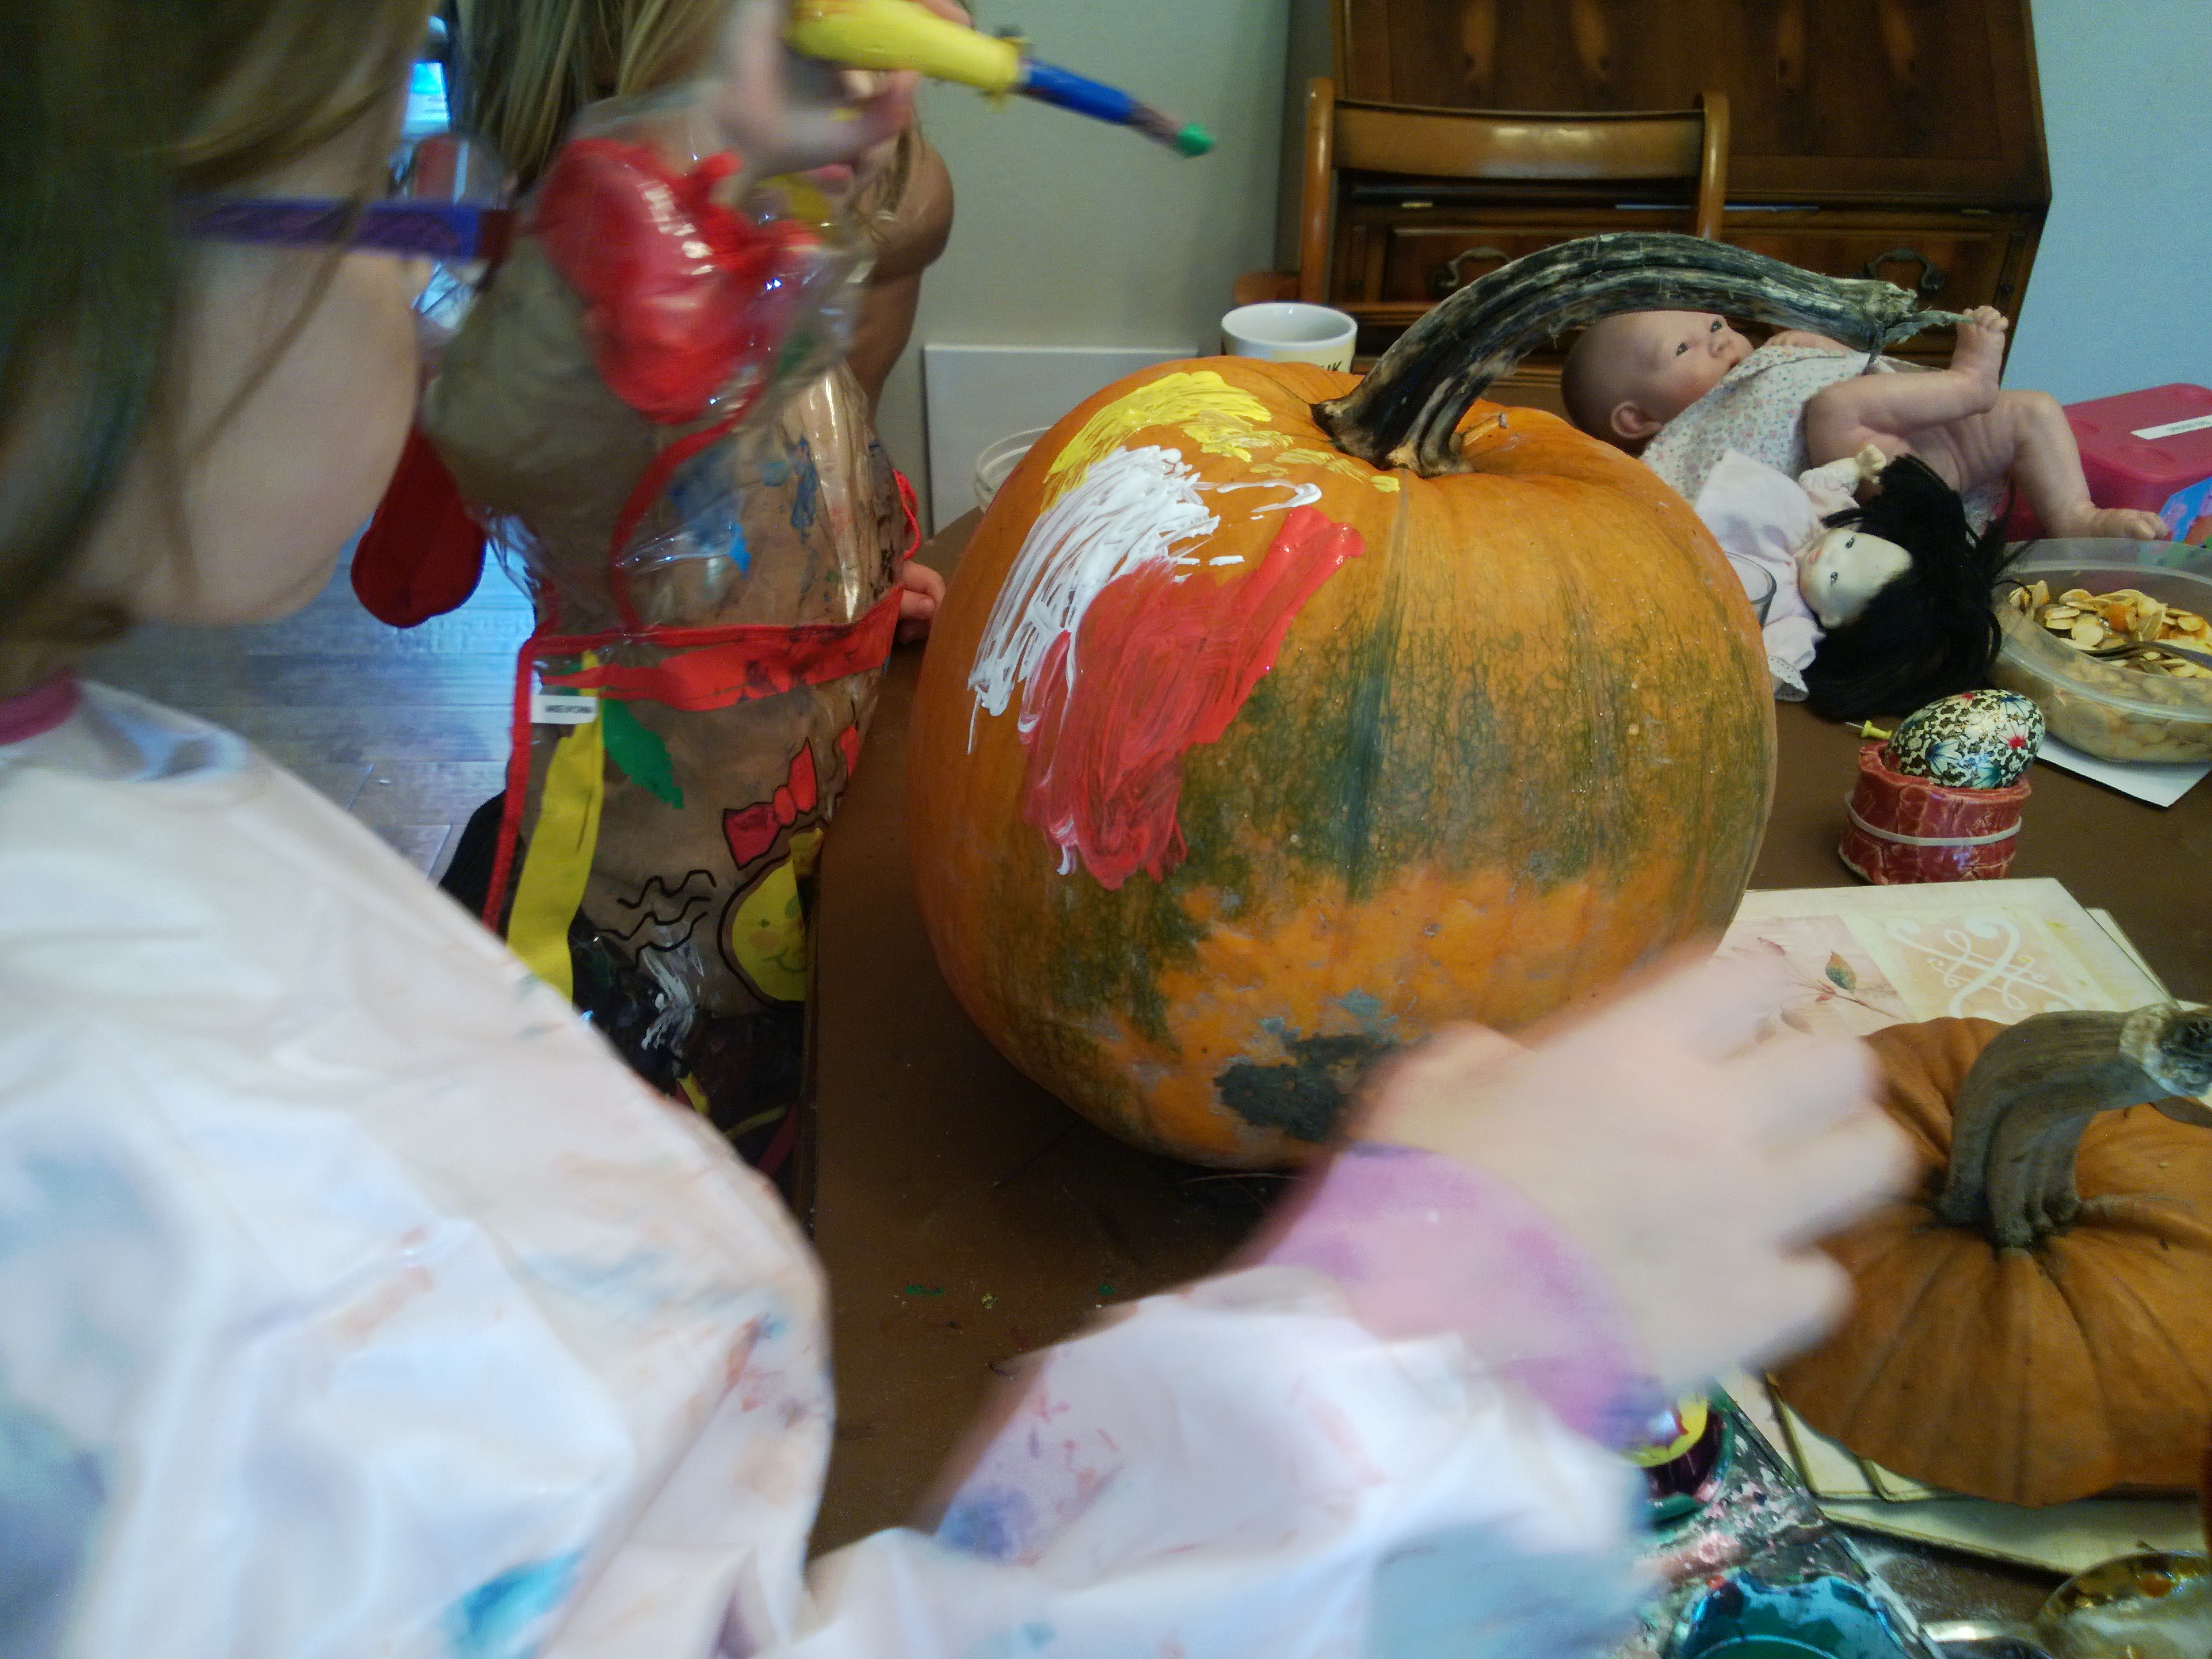
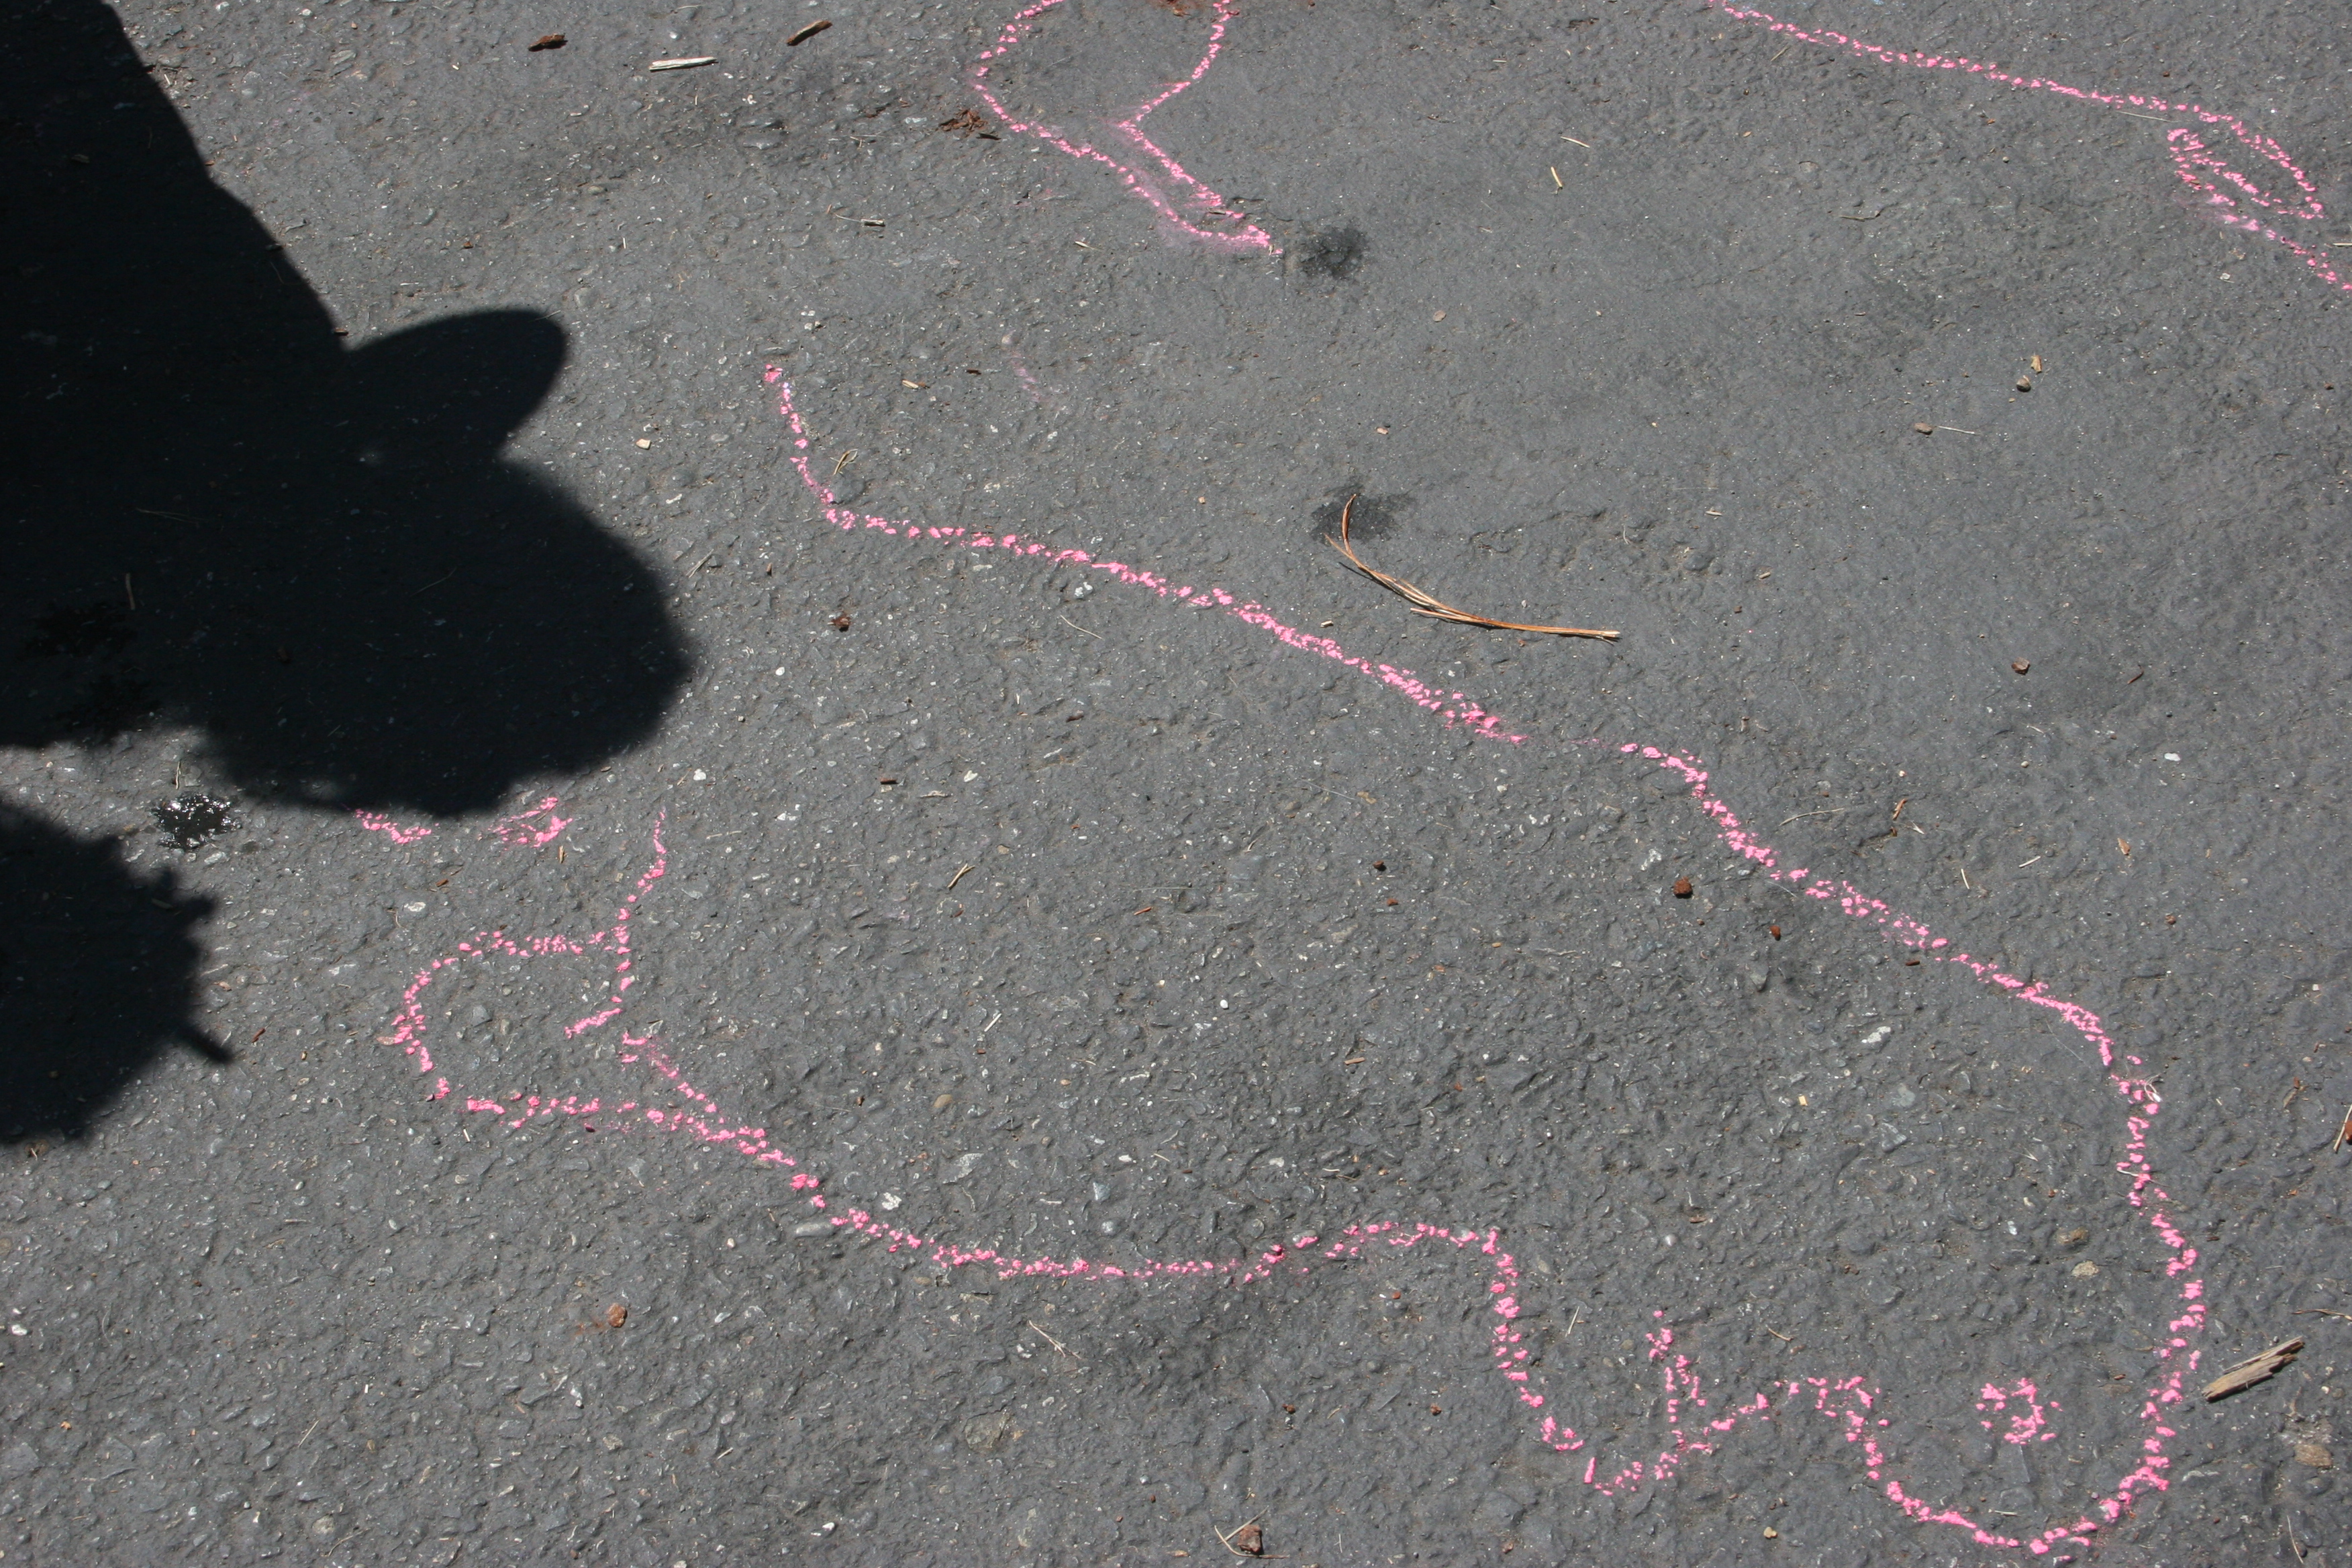
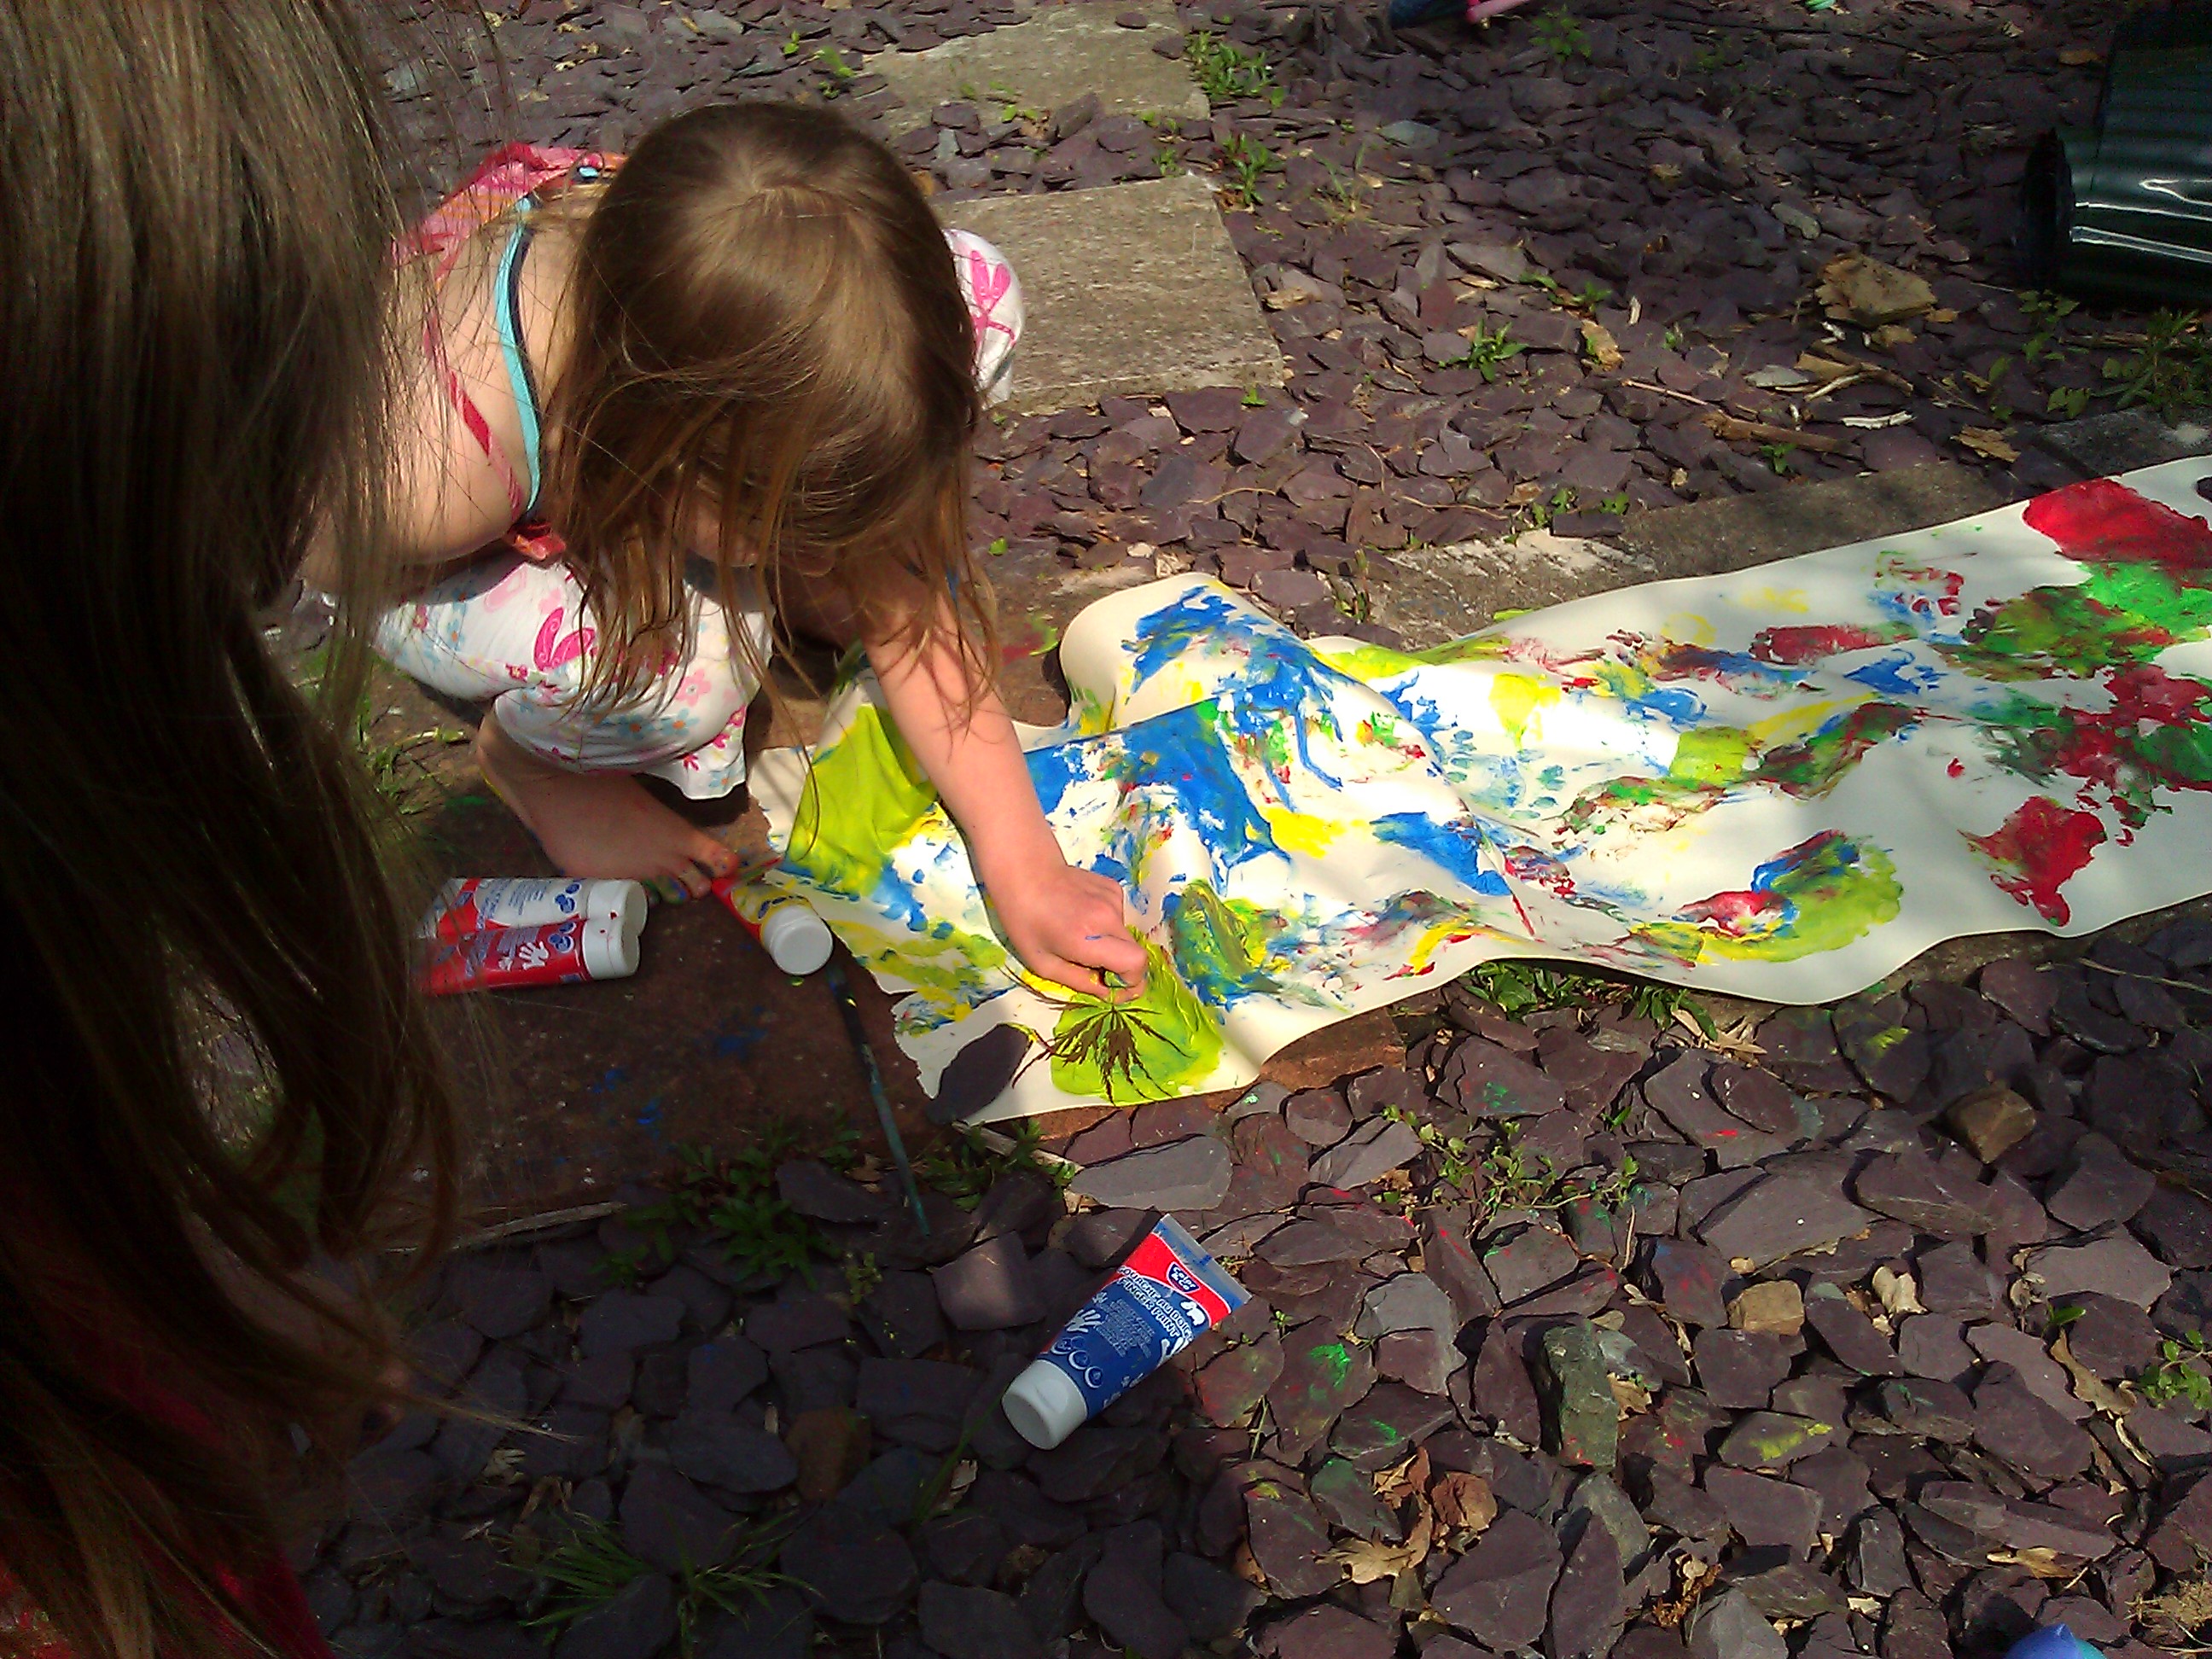
Painting on the Ground

With paint or with water. Decorating brushes are especially popular.
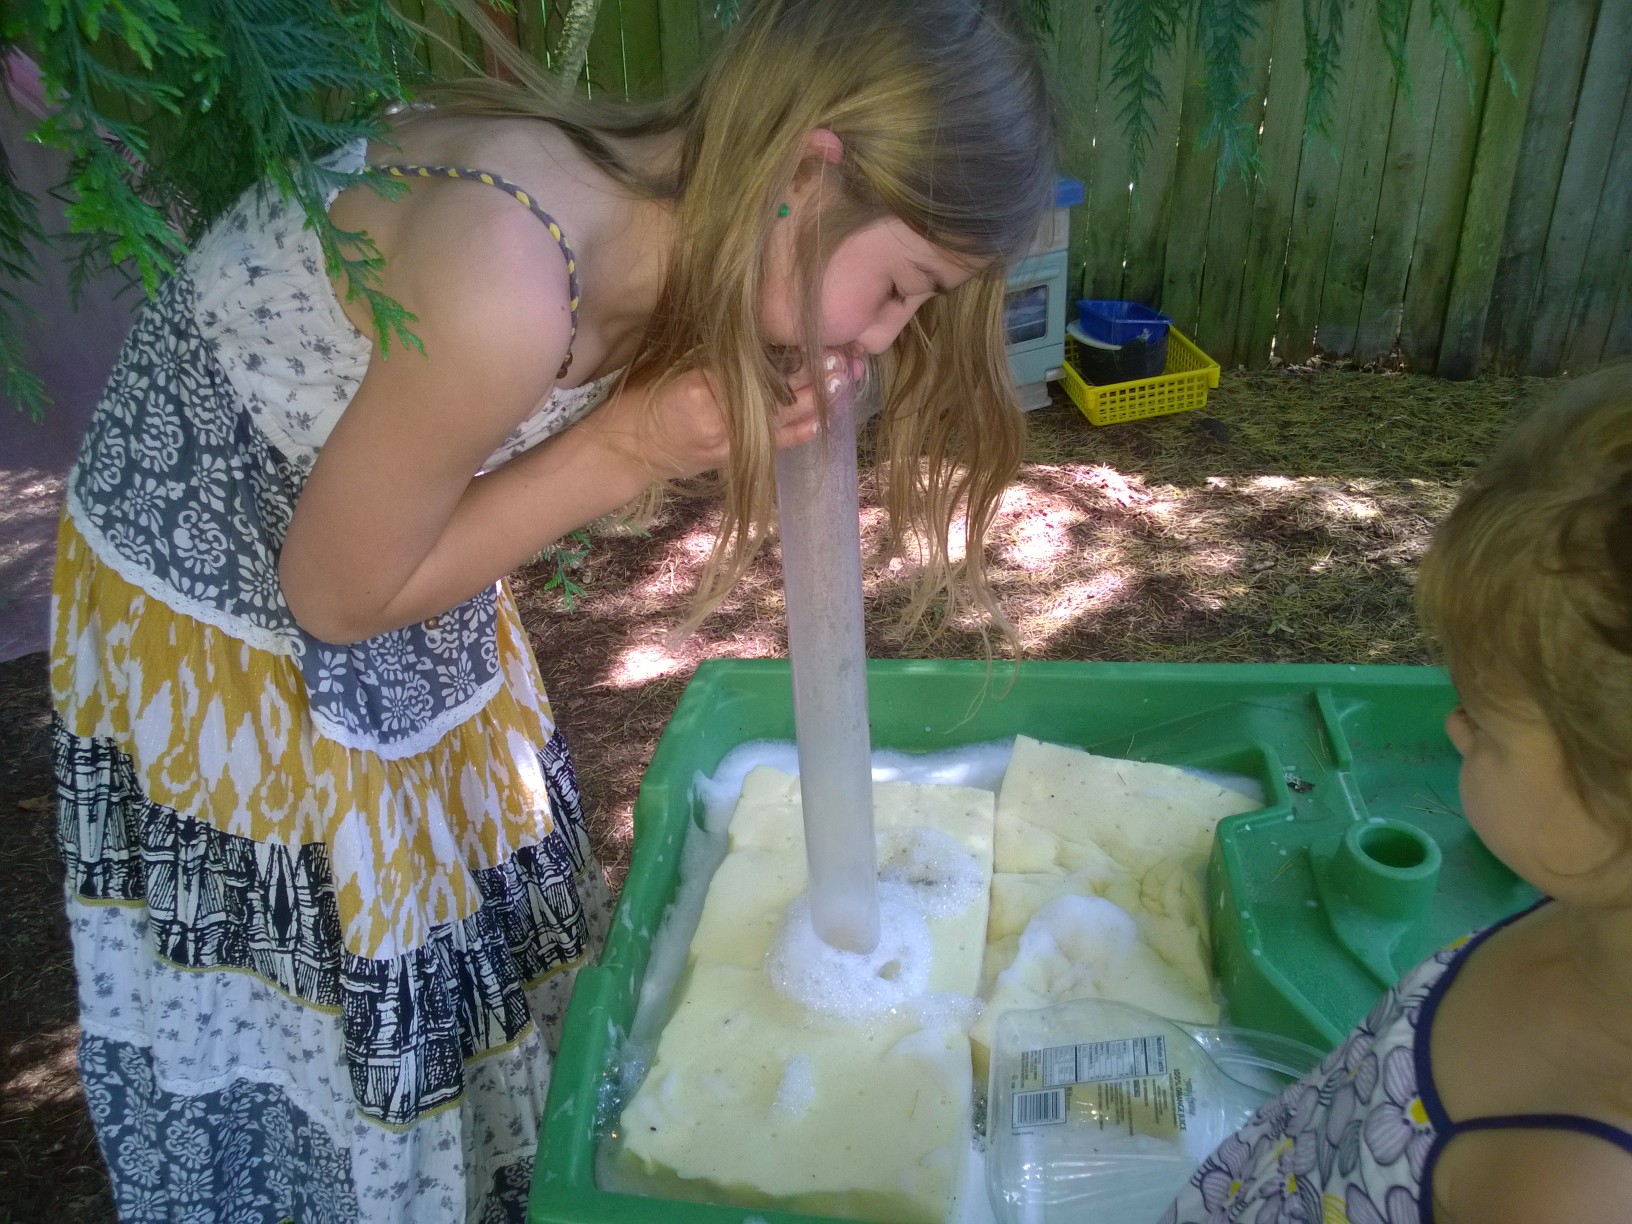
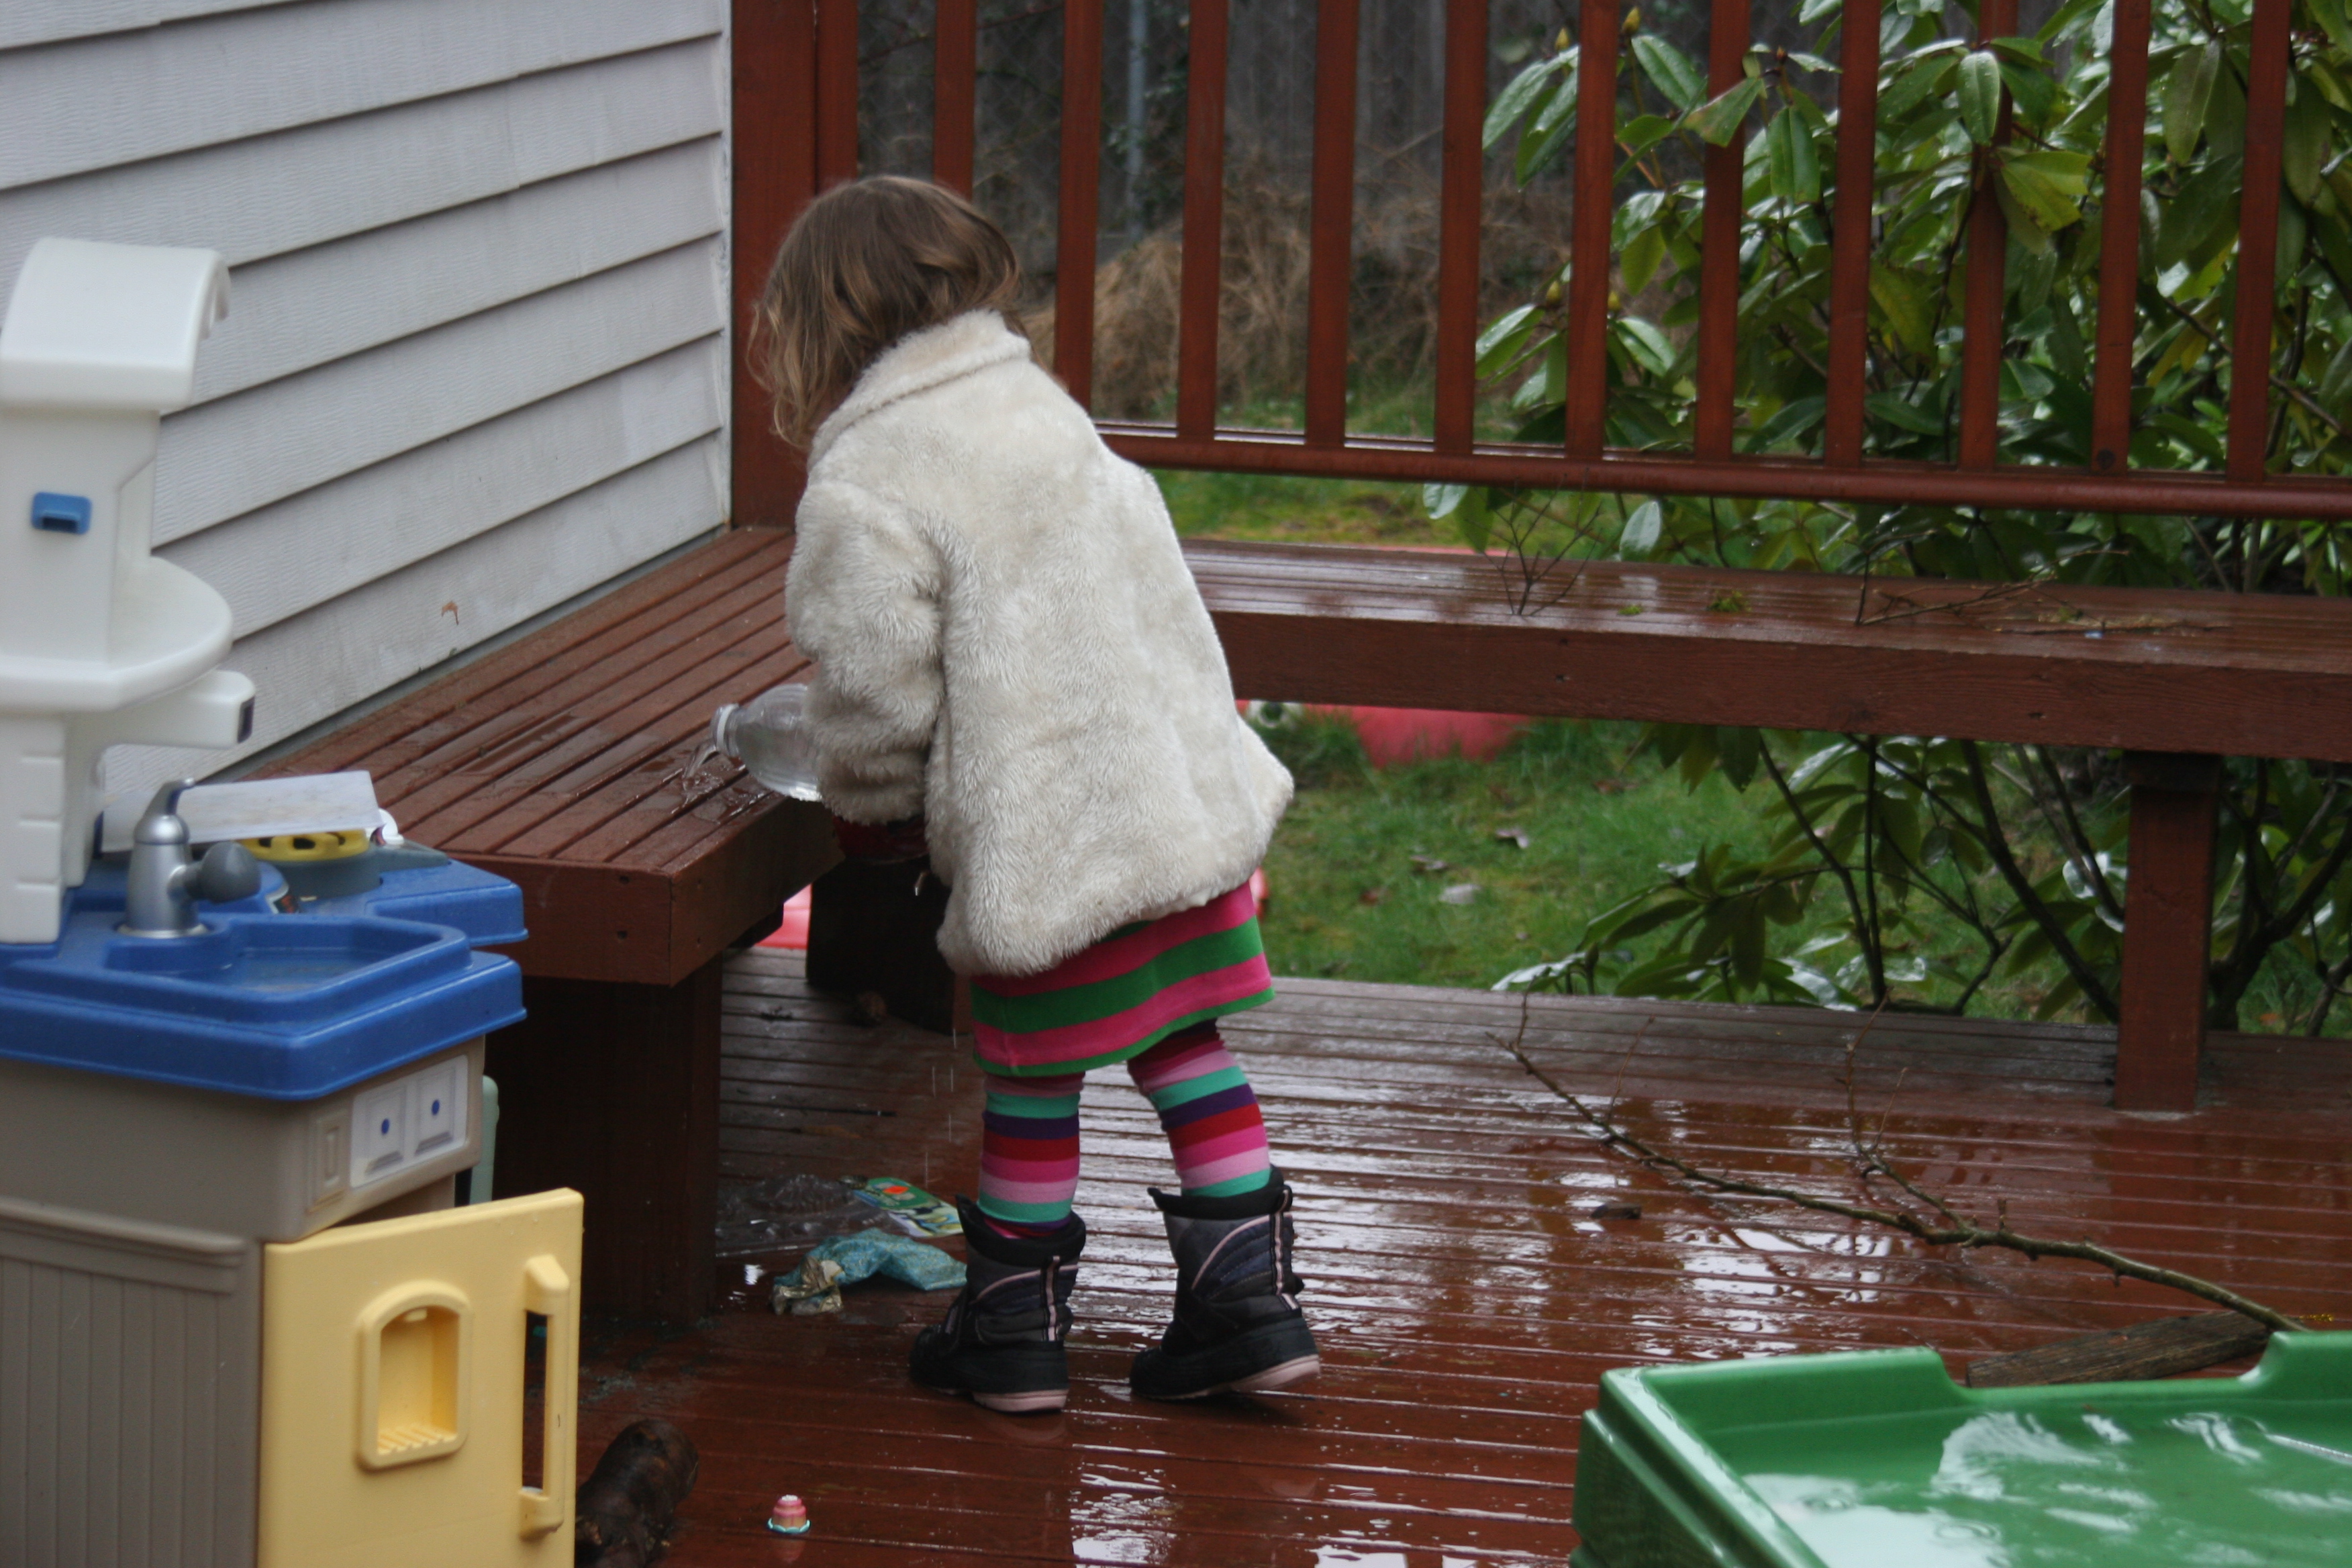
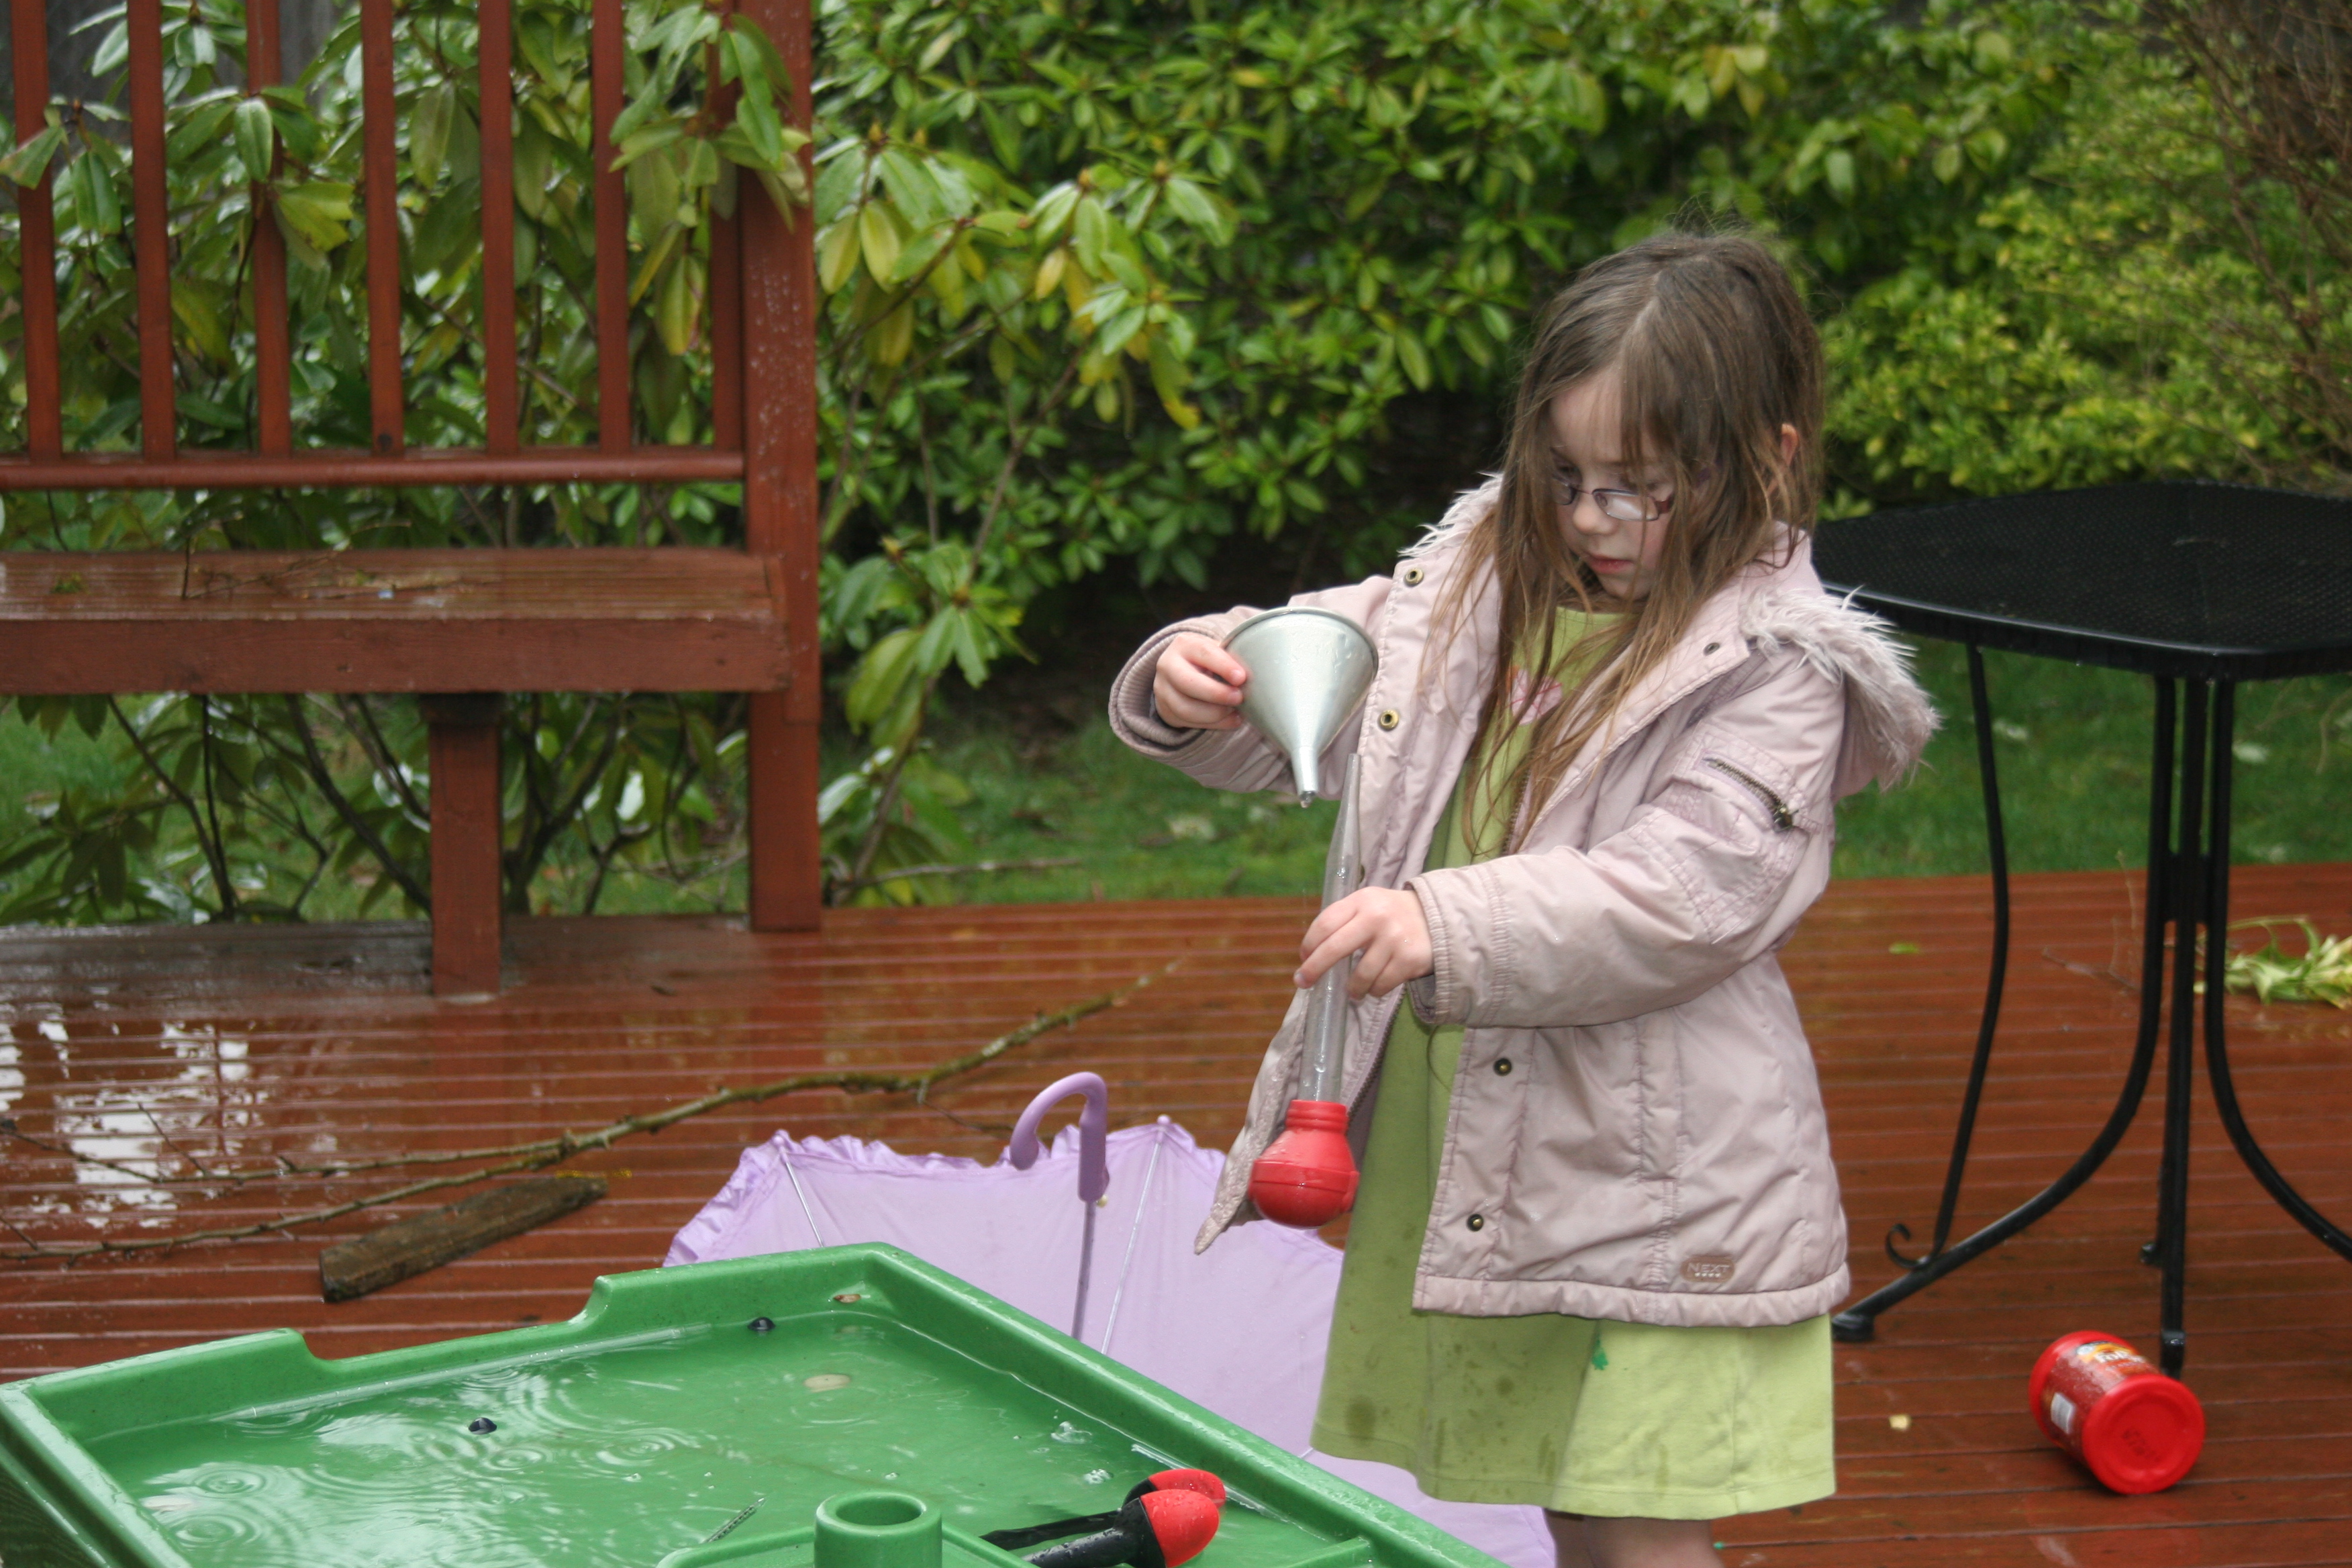
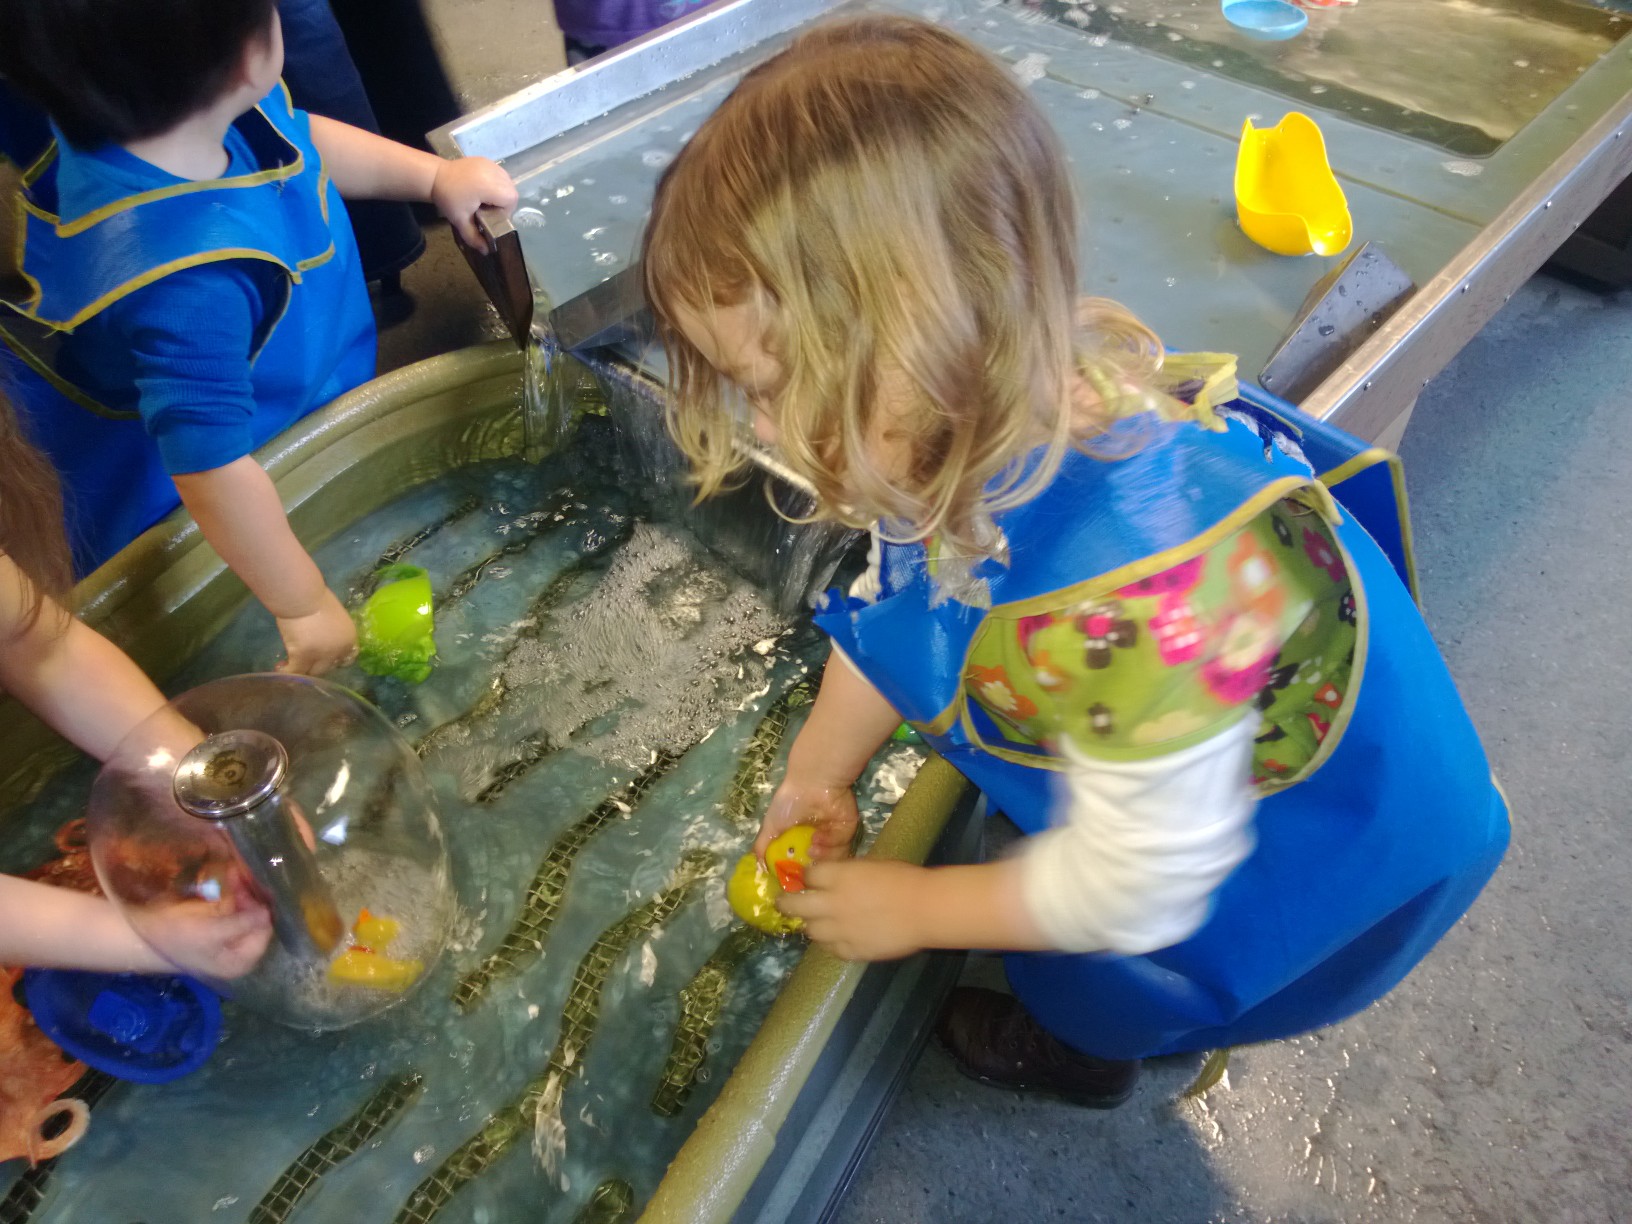
 painting stepping stones
Water Play

Indoors,  outdoors or even in the rain.
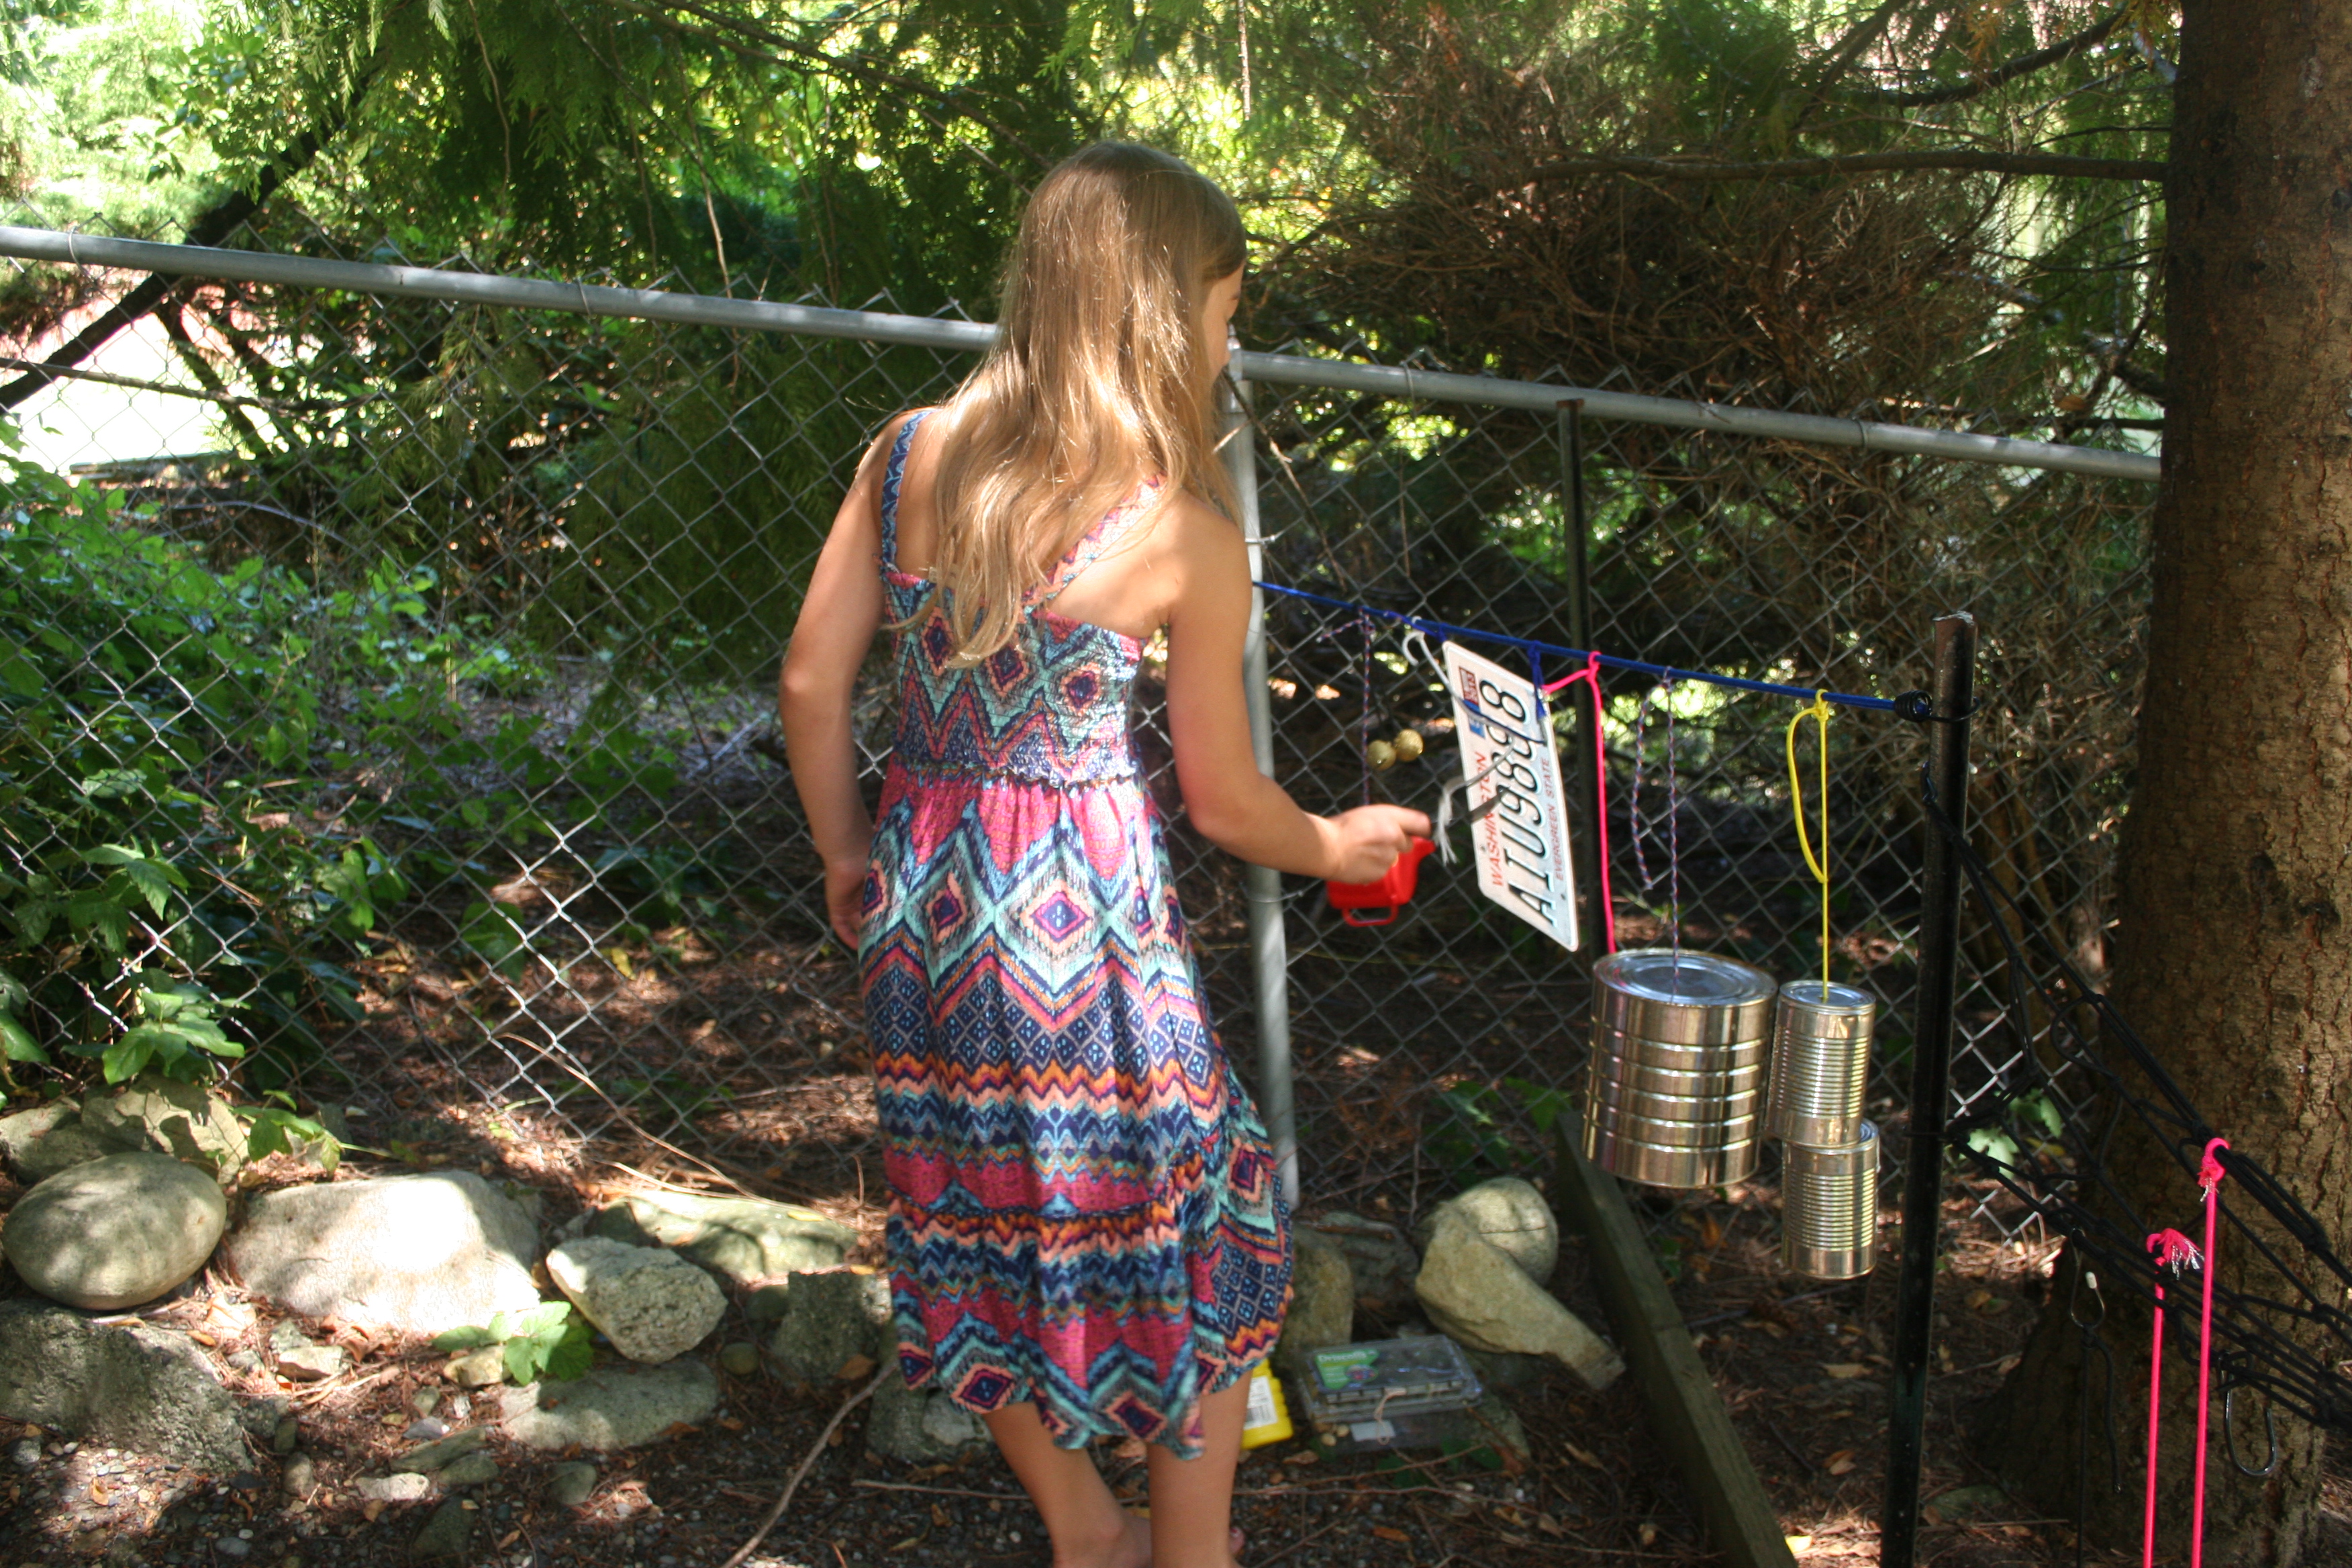
duck swimming down the waterfall
Exploring Sound

Create a music garden or sound wall
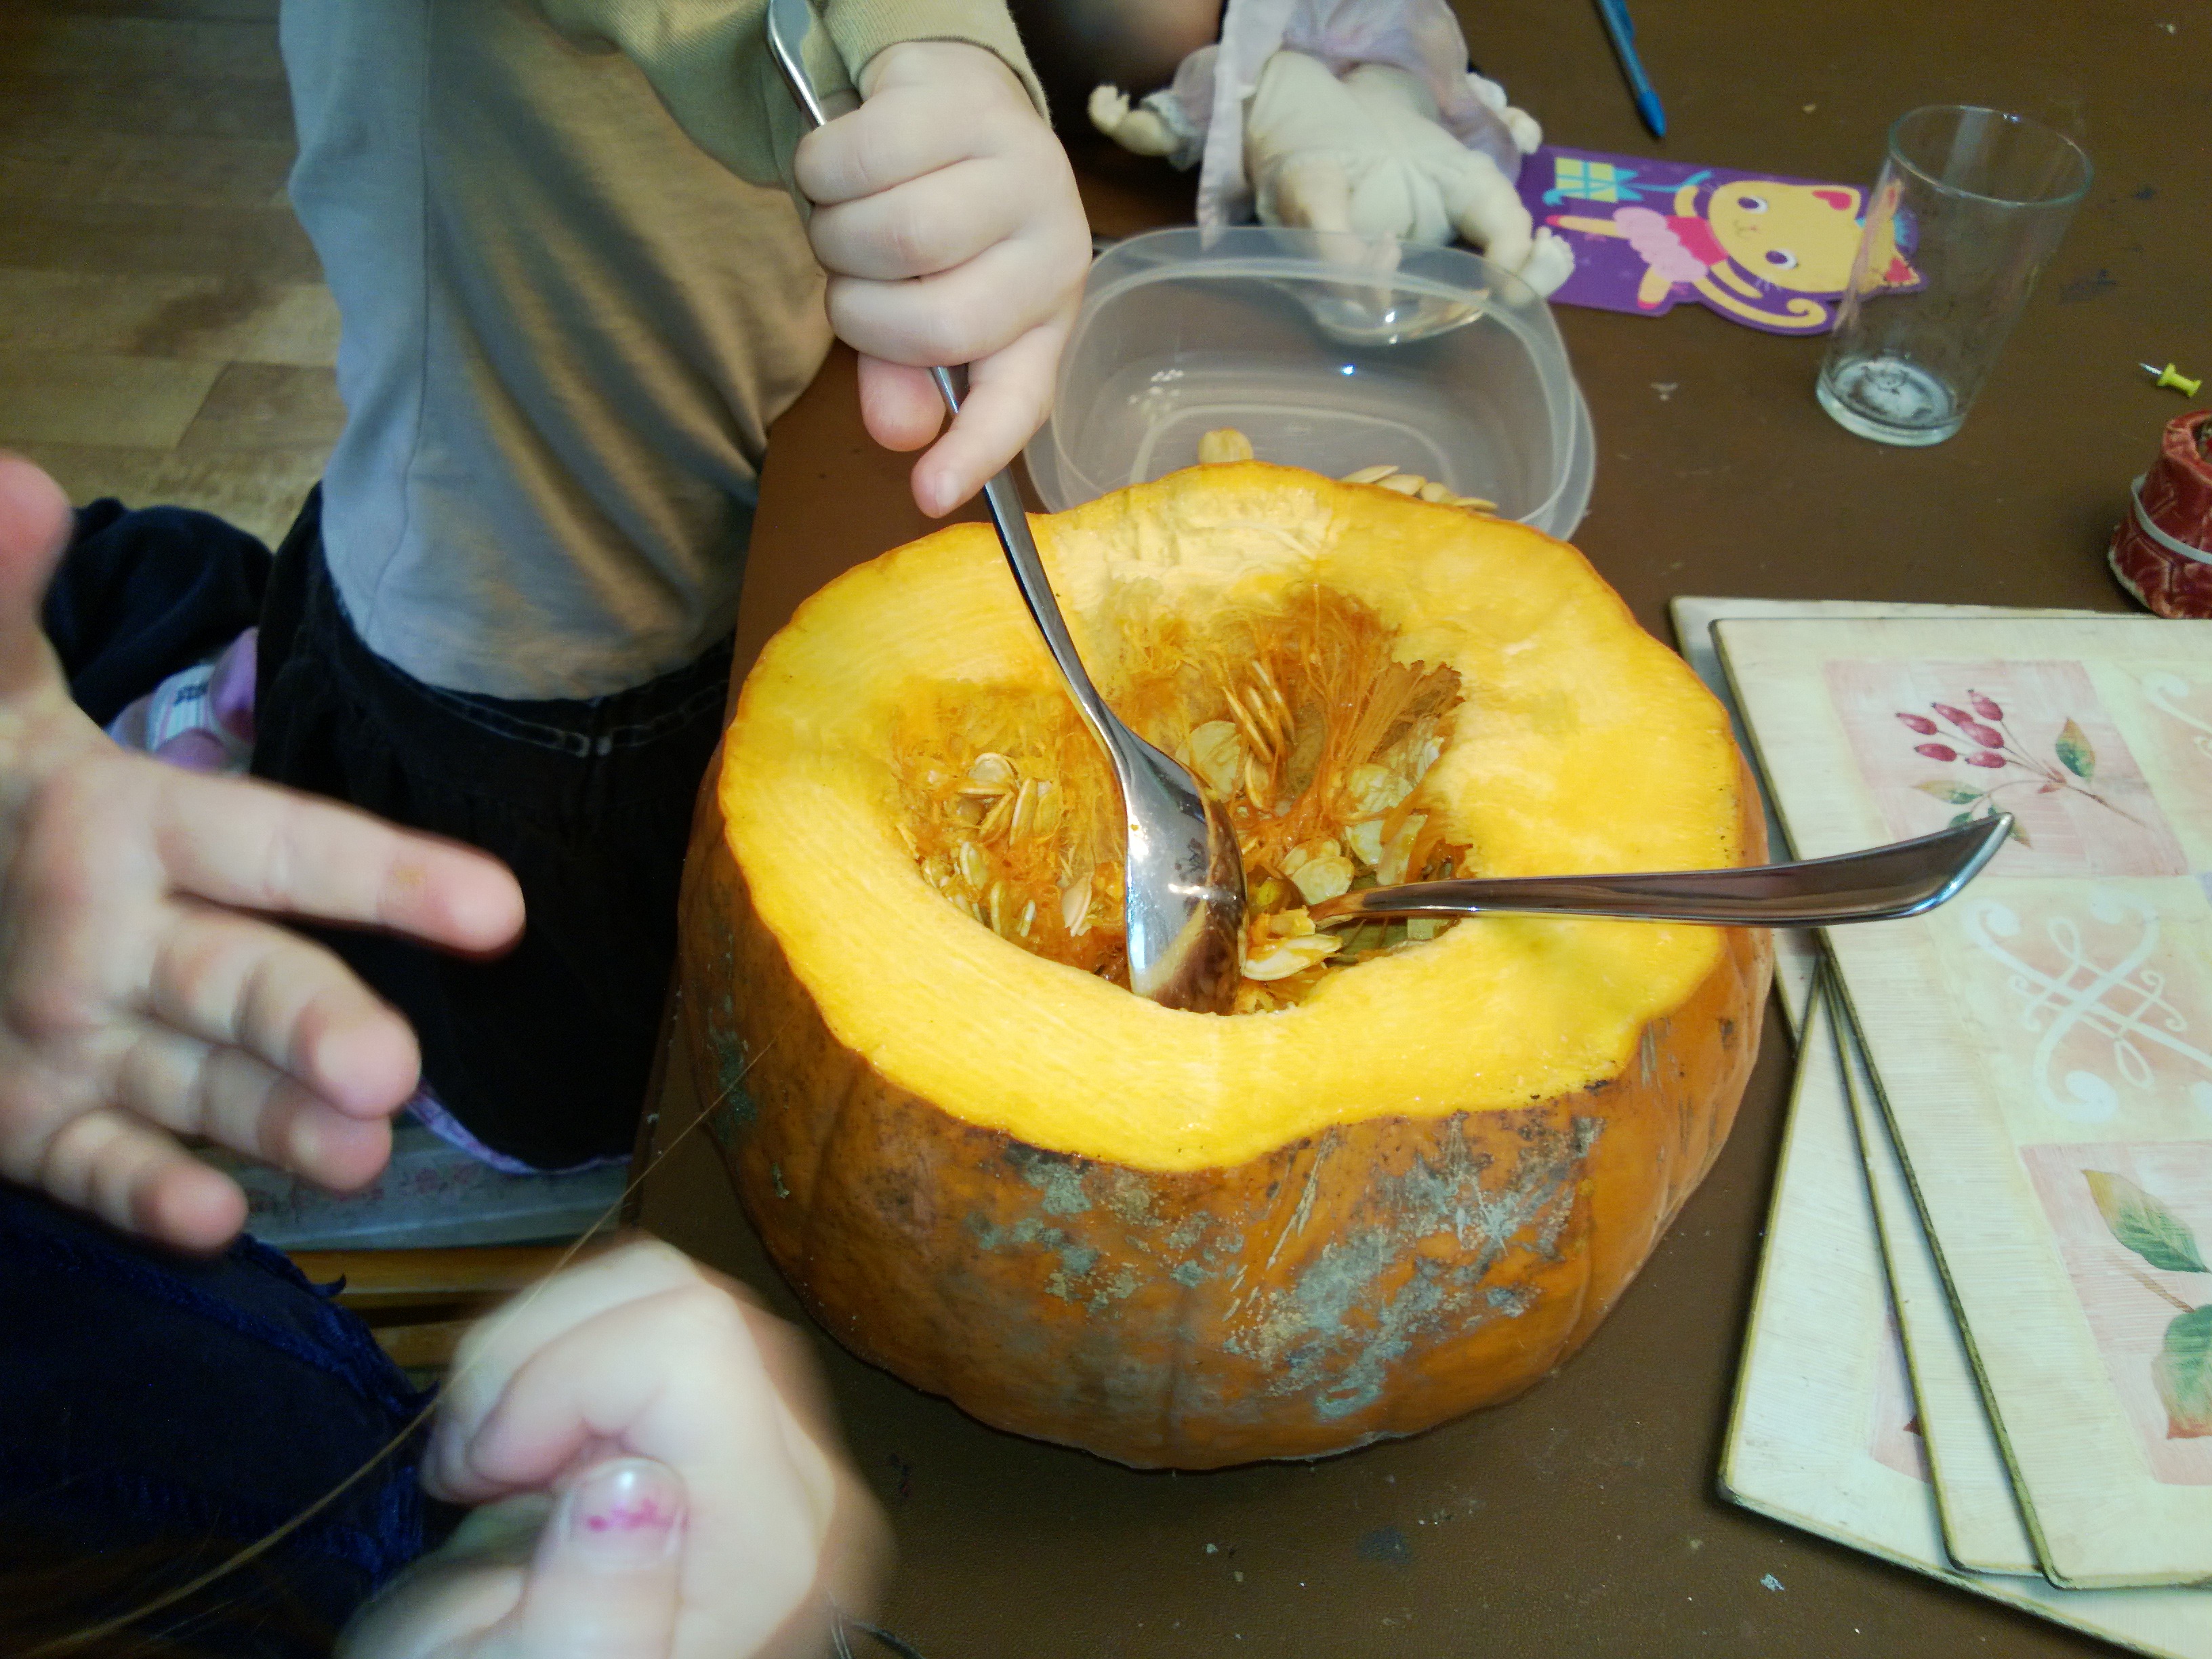
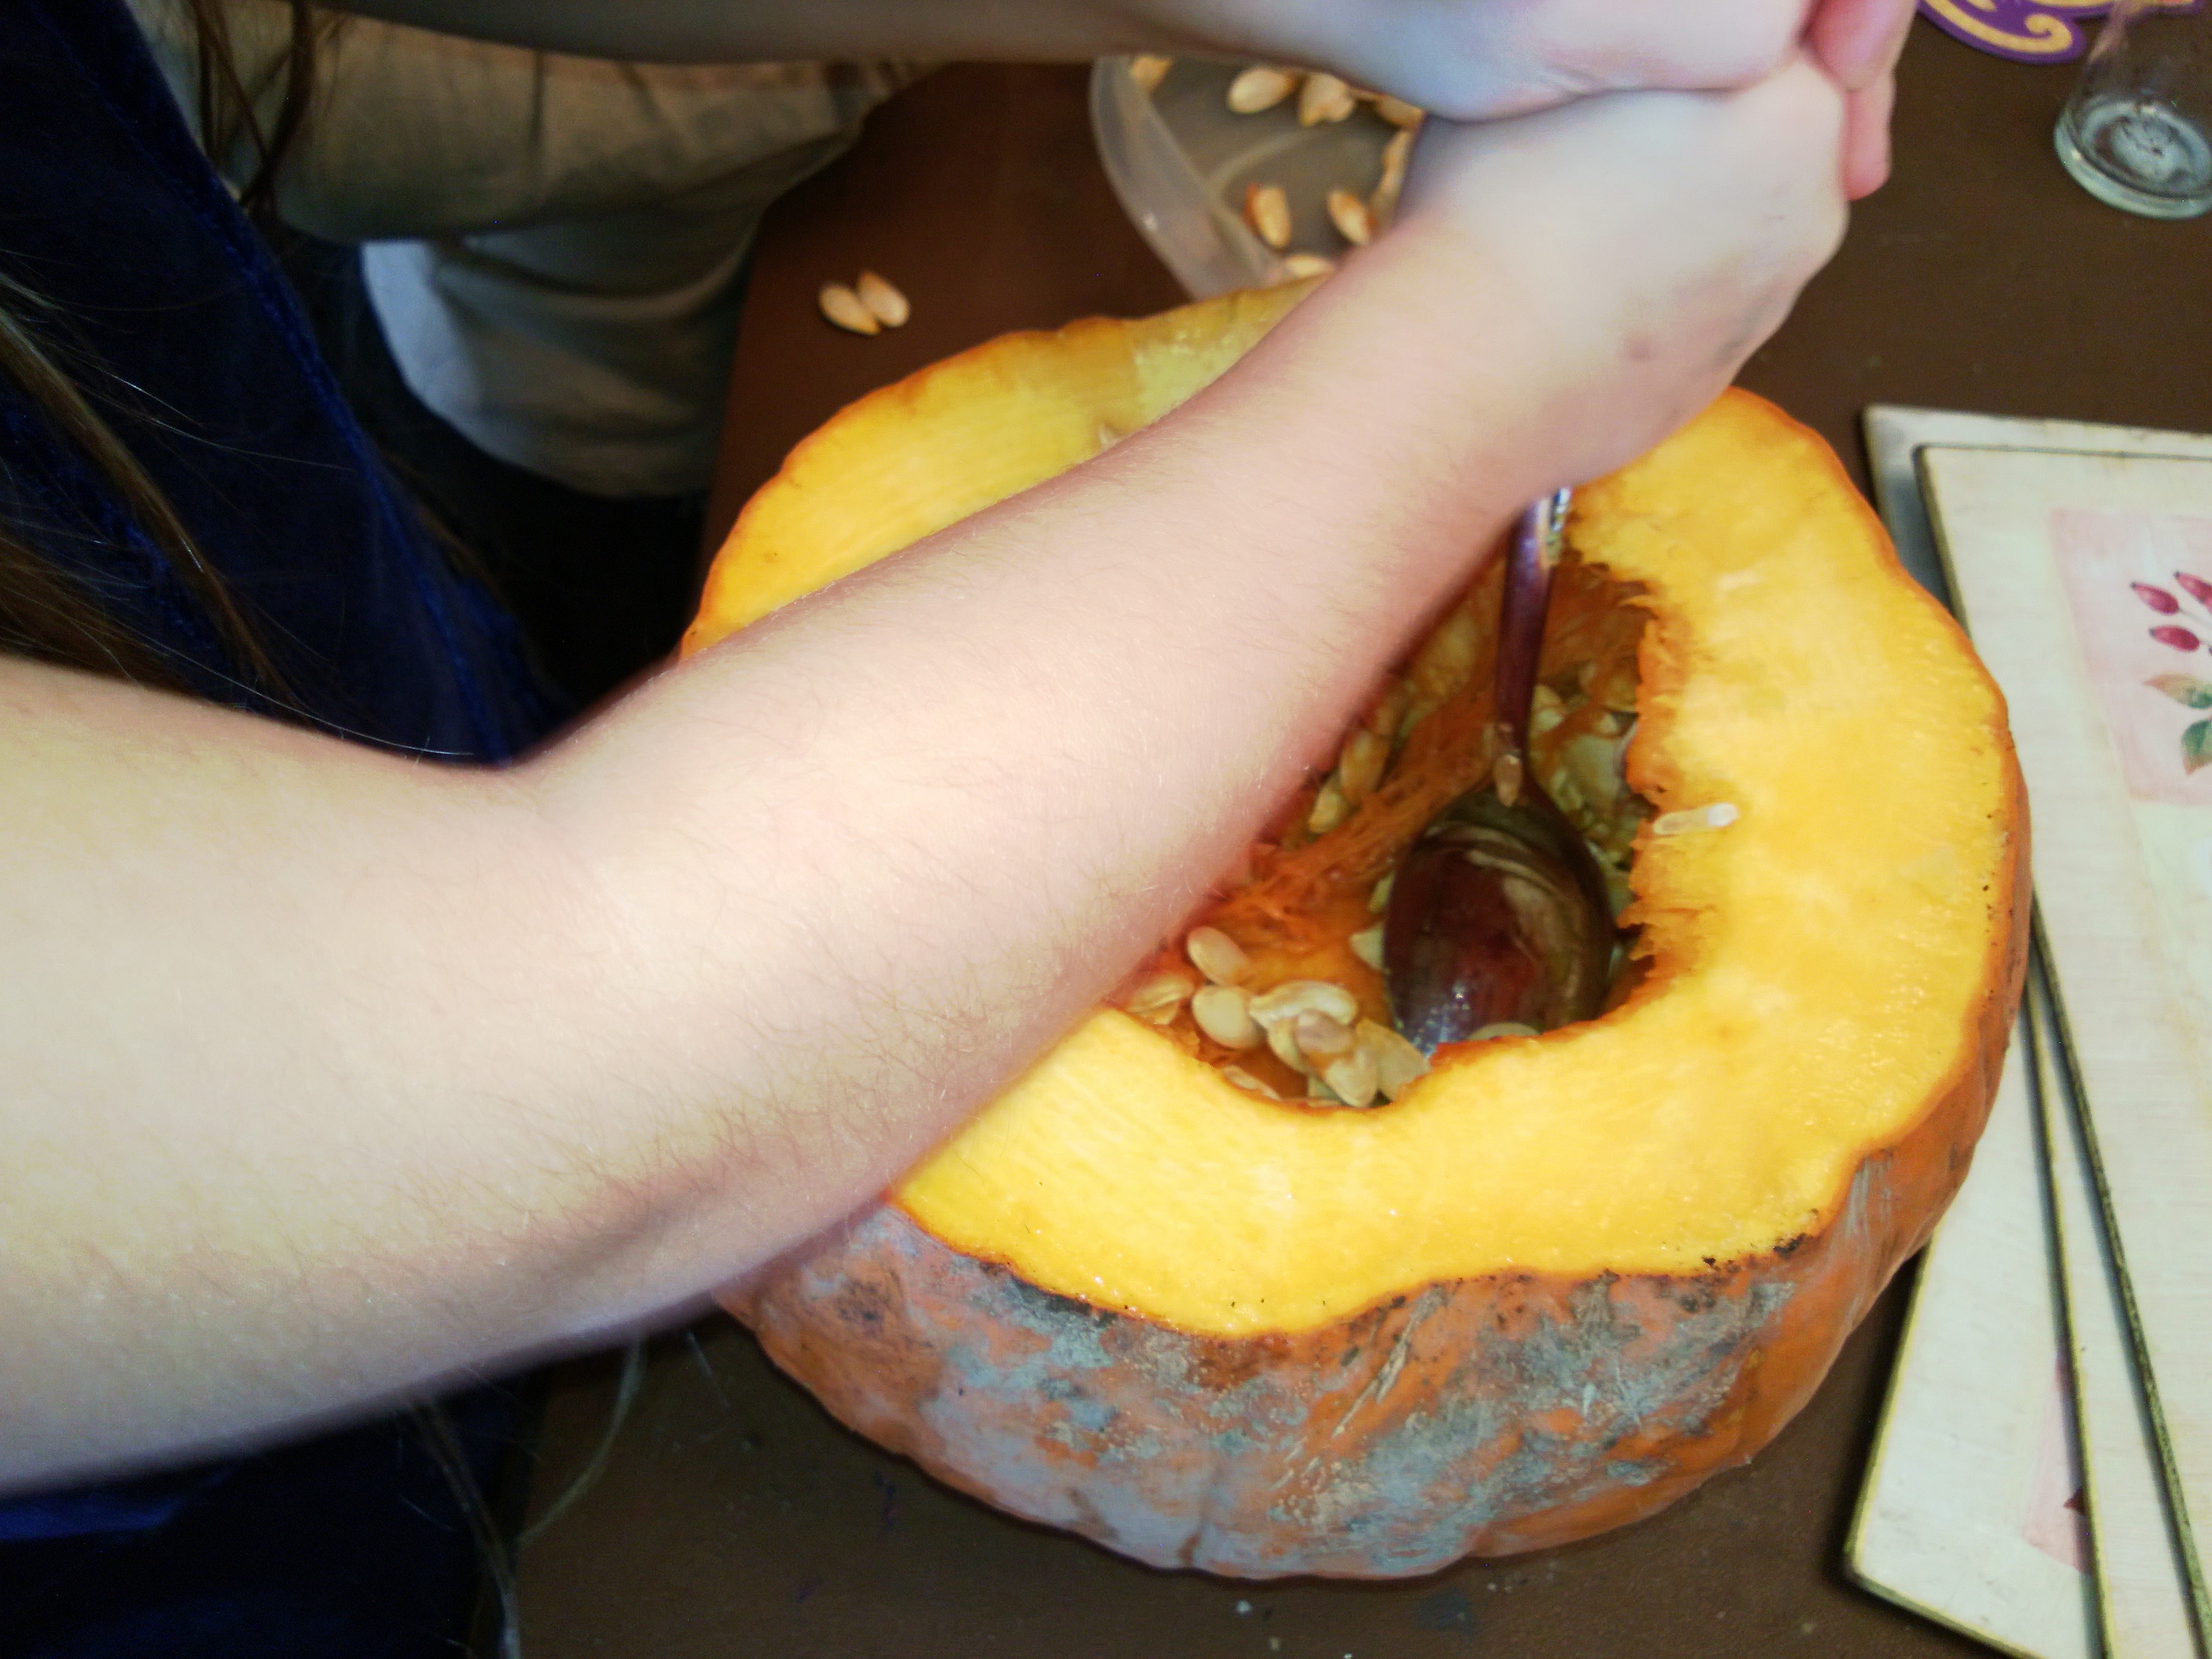
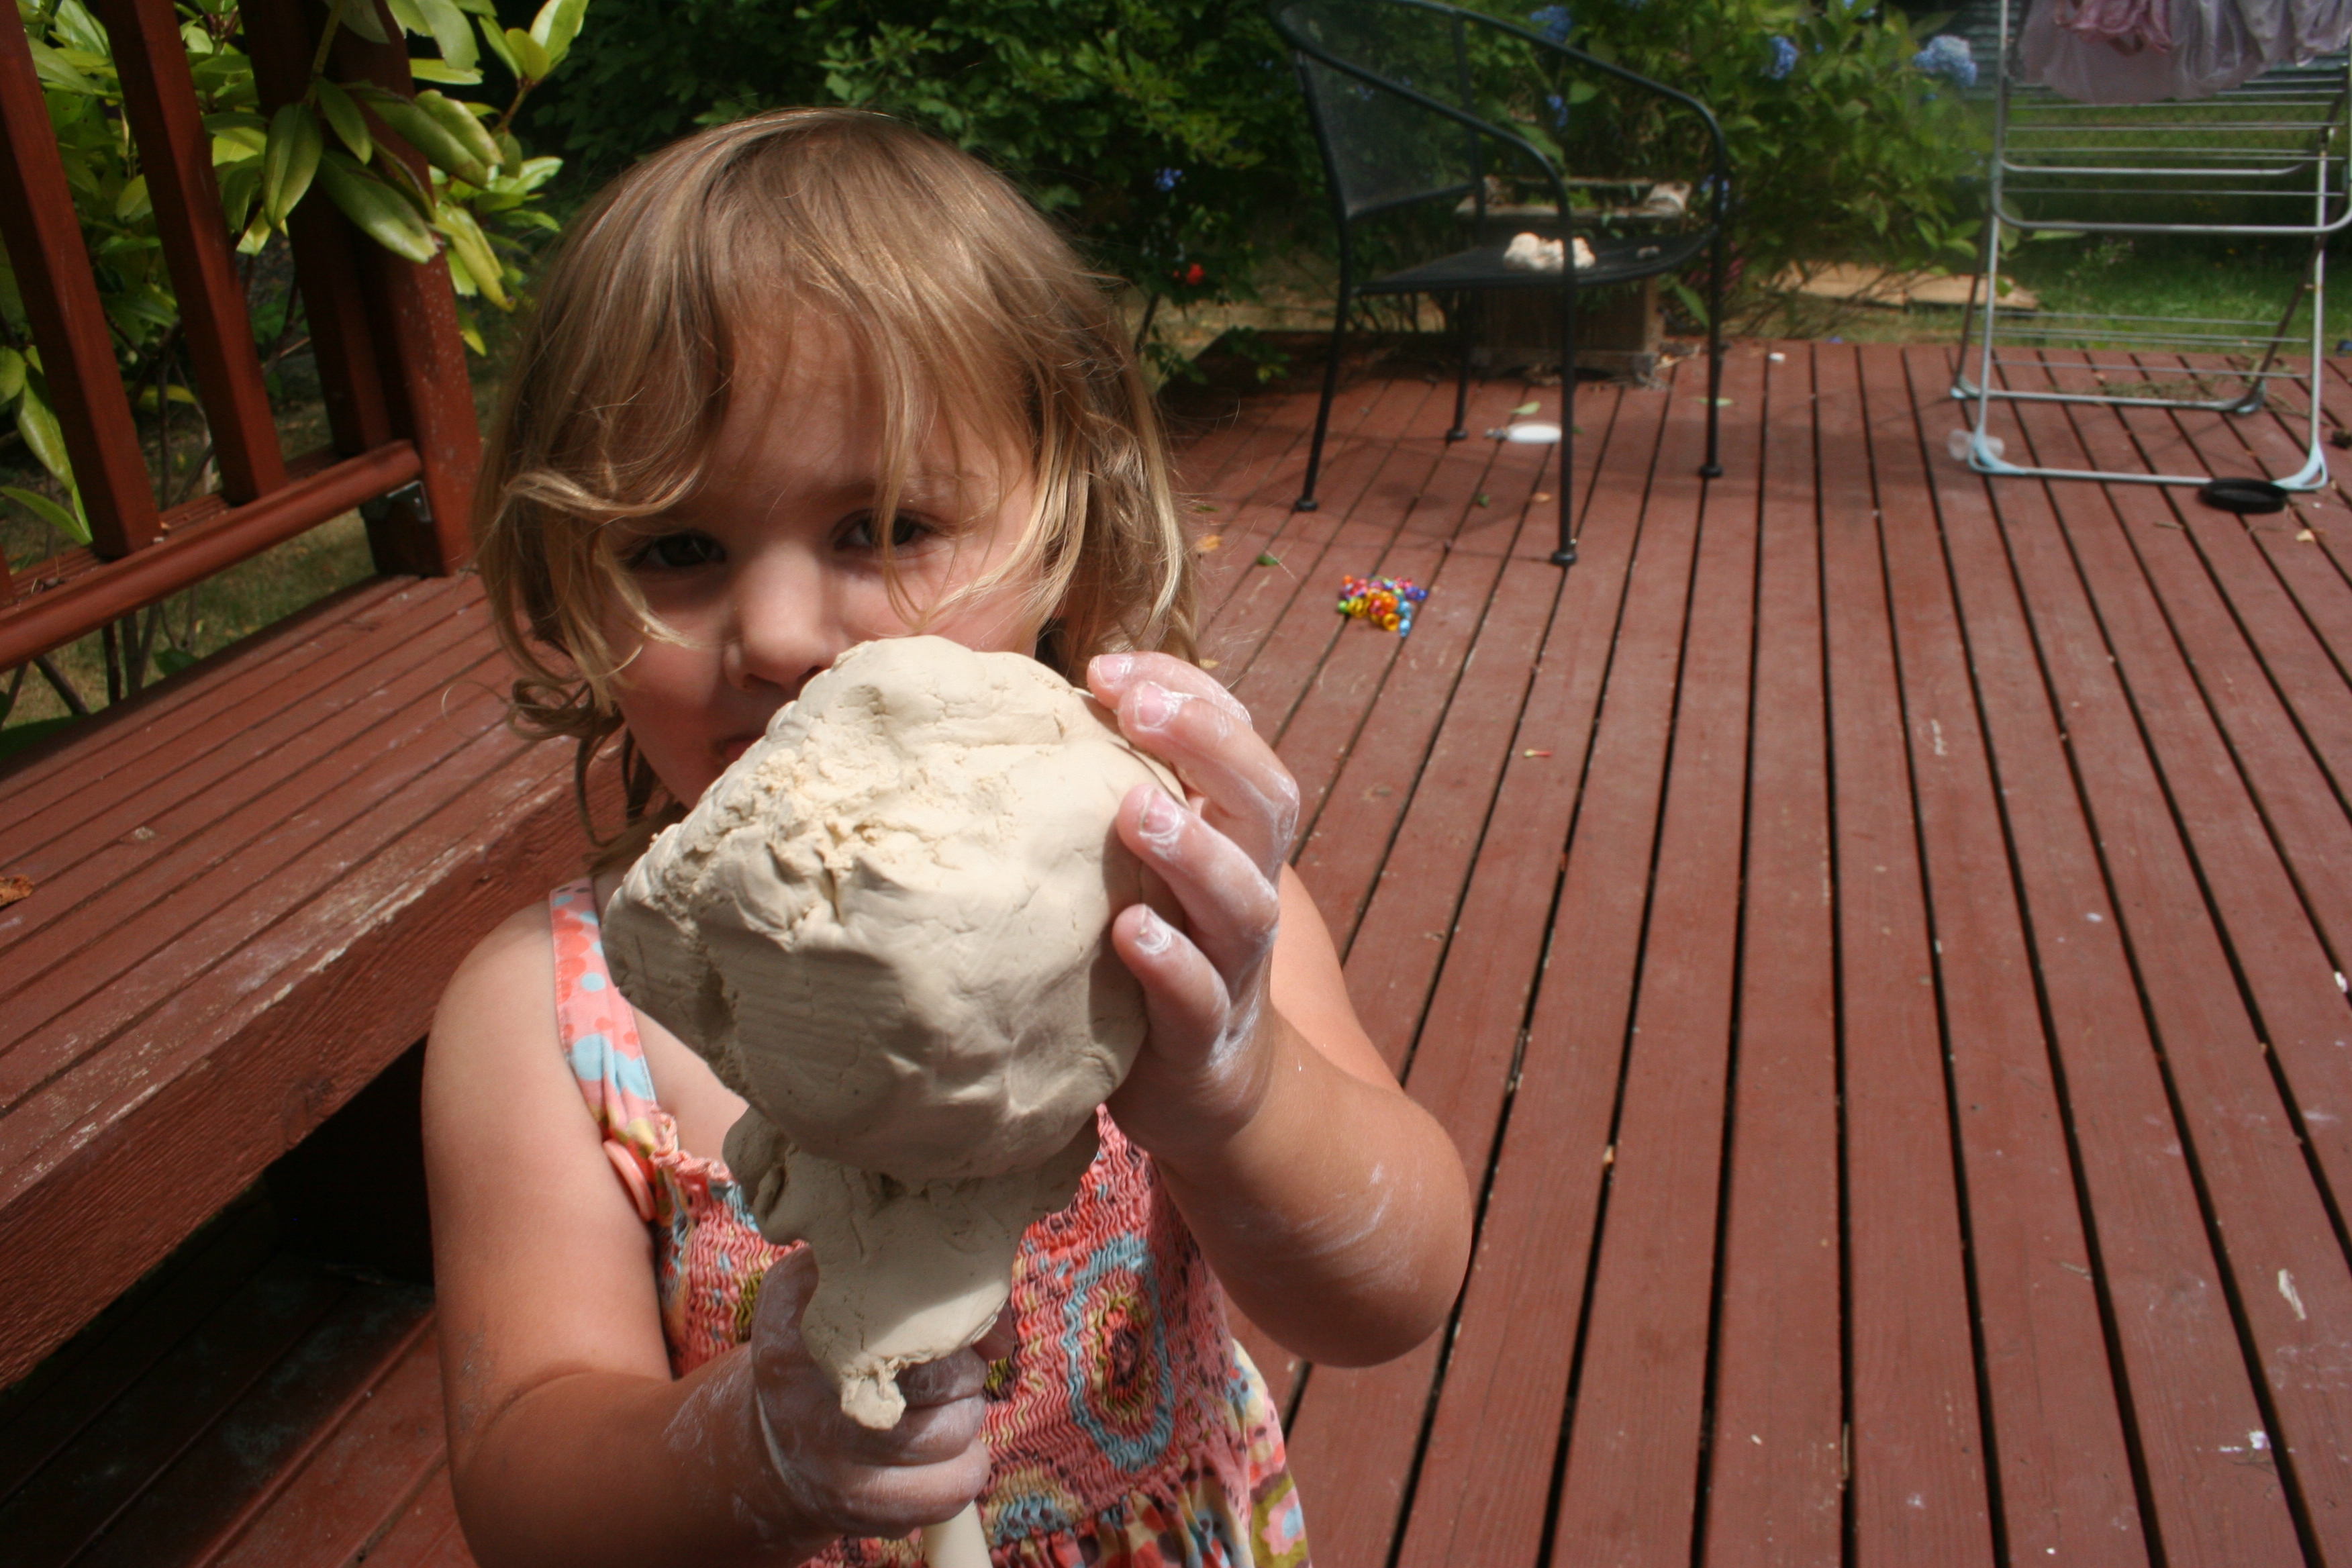
music garden
music garden

Clay

An essential material in any early years classroom.

It's an ice cream
It’s an ice cr

Large Scale Projects

Paint on the ground, use large rolls of paper to print with feet, hands, leaves etc, paint large cardboard boxes, build with big bricks.
WP_000229
Treasure Hunt

Finding hidden objects, How many of a given object can they find, following a checklist, finding different coloured objects, searching for things of interest  or excavation.

I hid them in the bushes.  Found one!  Now I have 1,2,3.4 butterflies, only 4 left to find.
I hid them in the bushes. Found one! Now I have 1,2,3.4 butterflies, only 4 left to find.

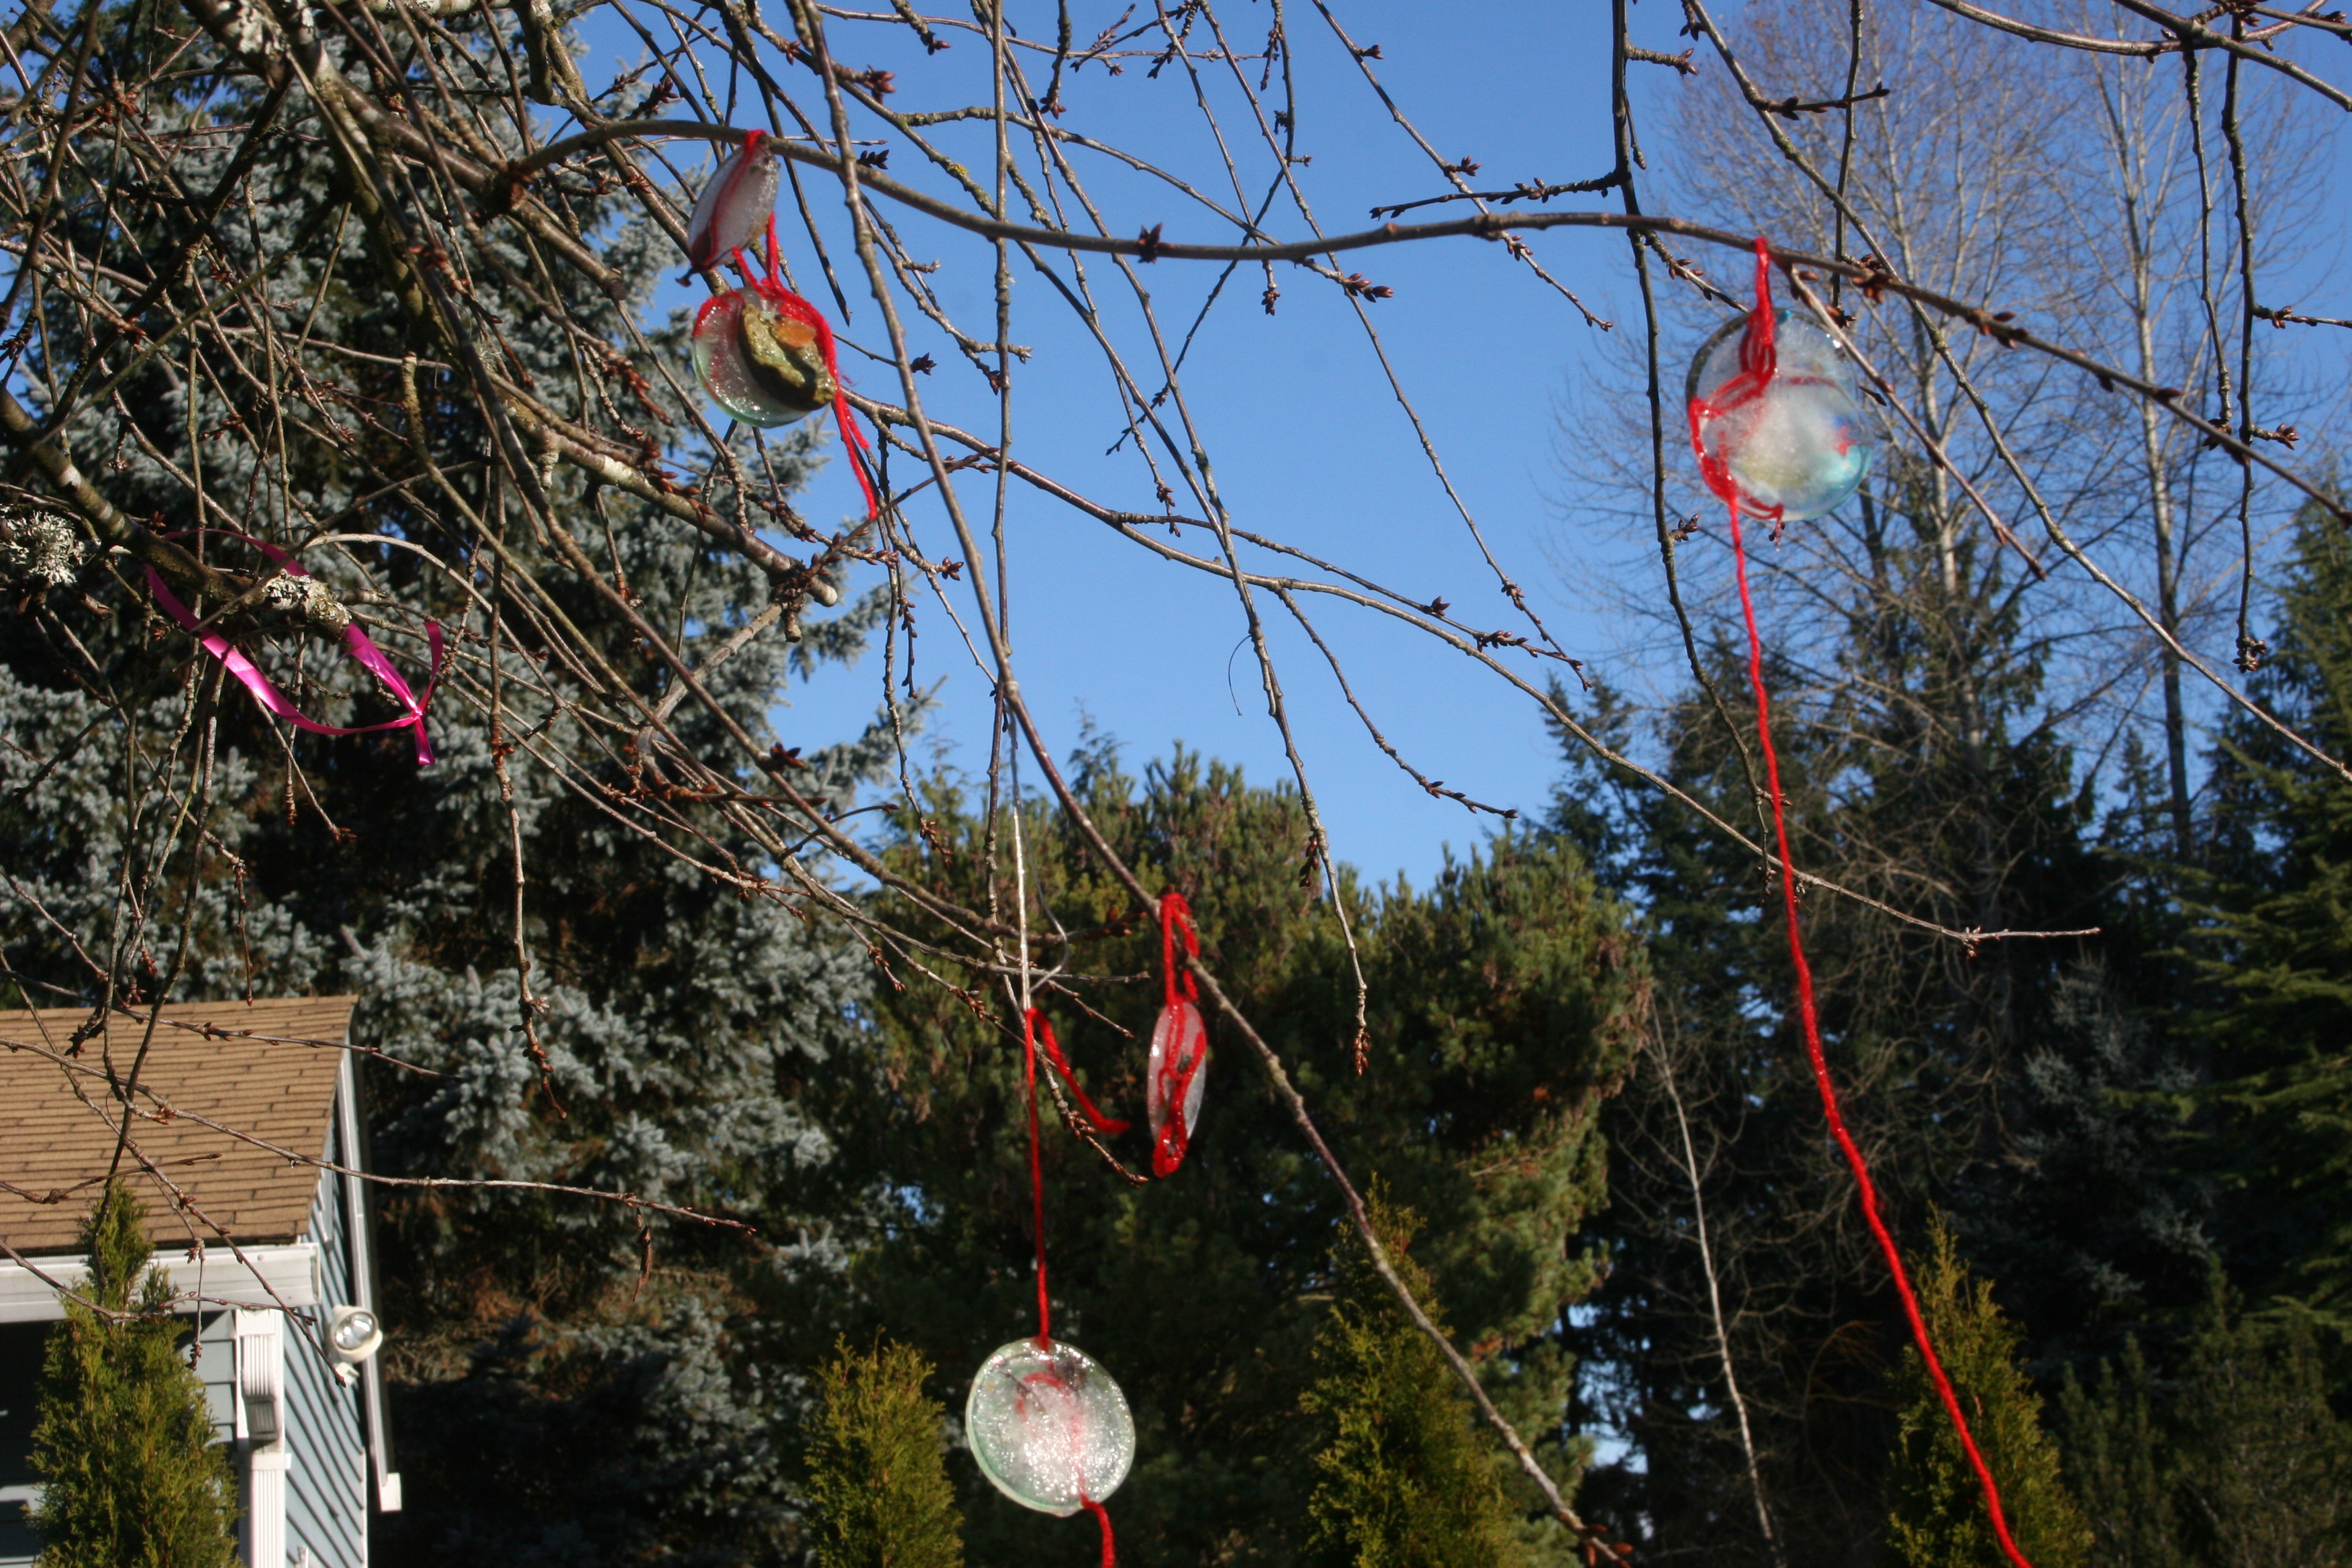
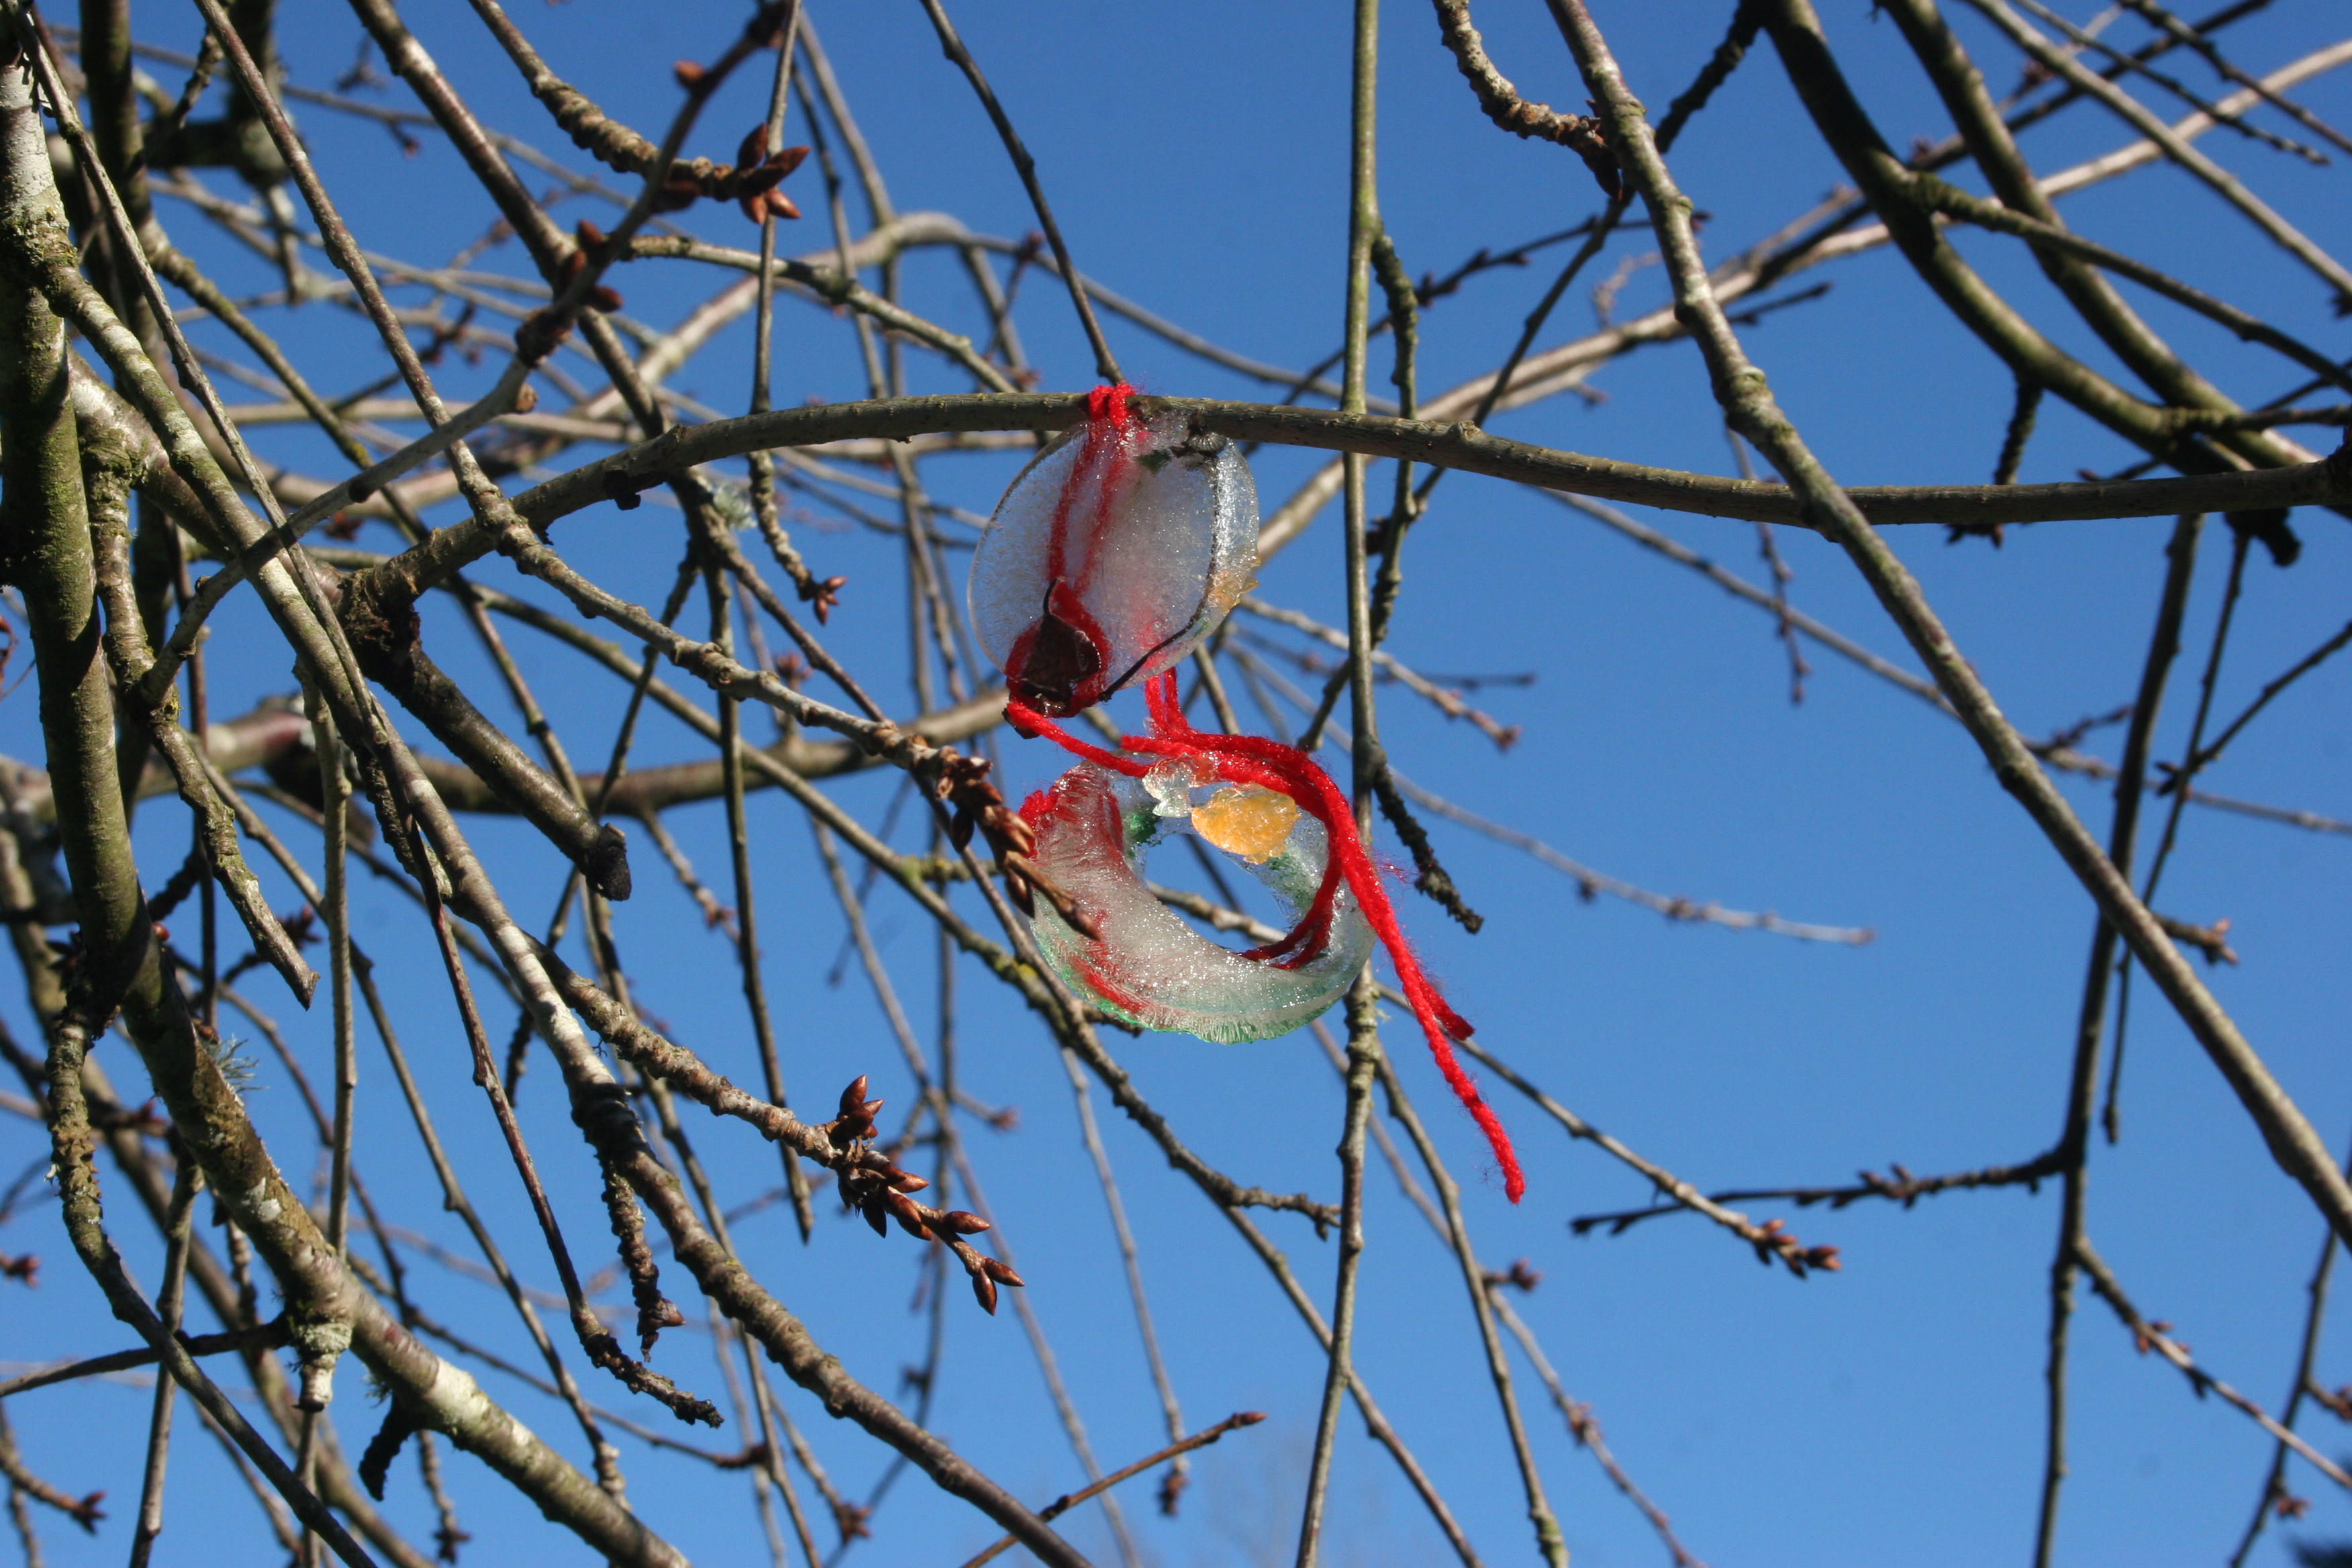
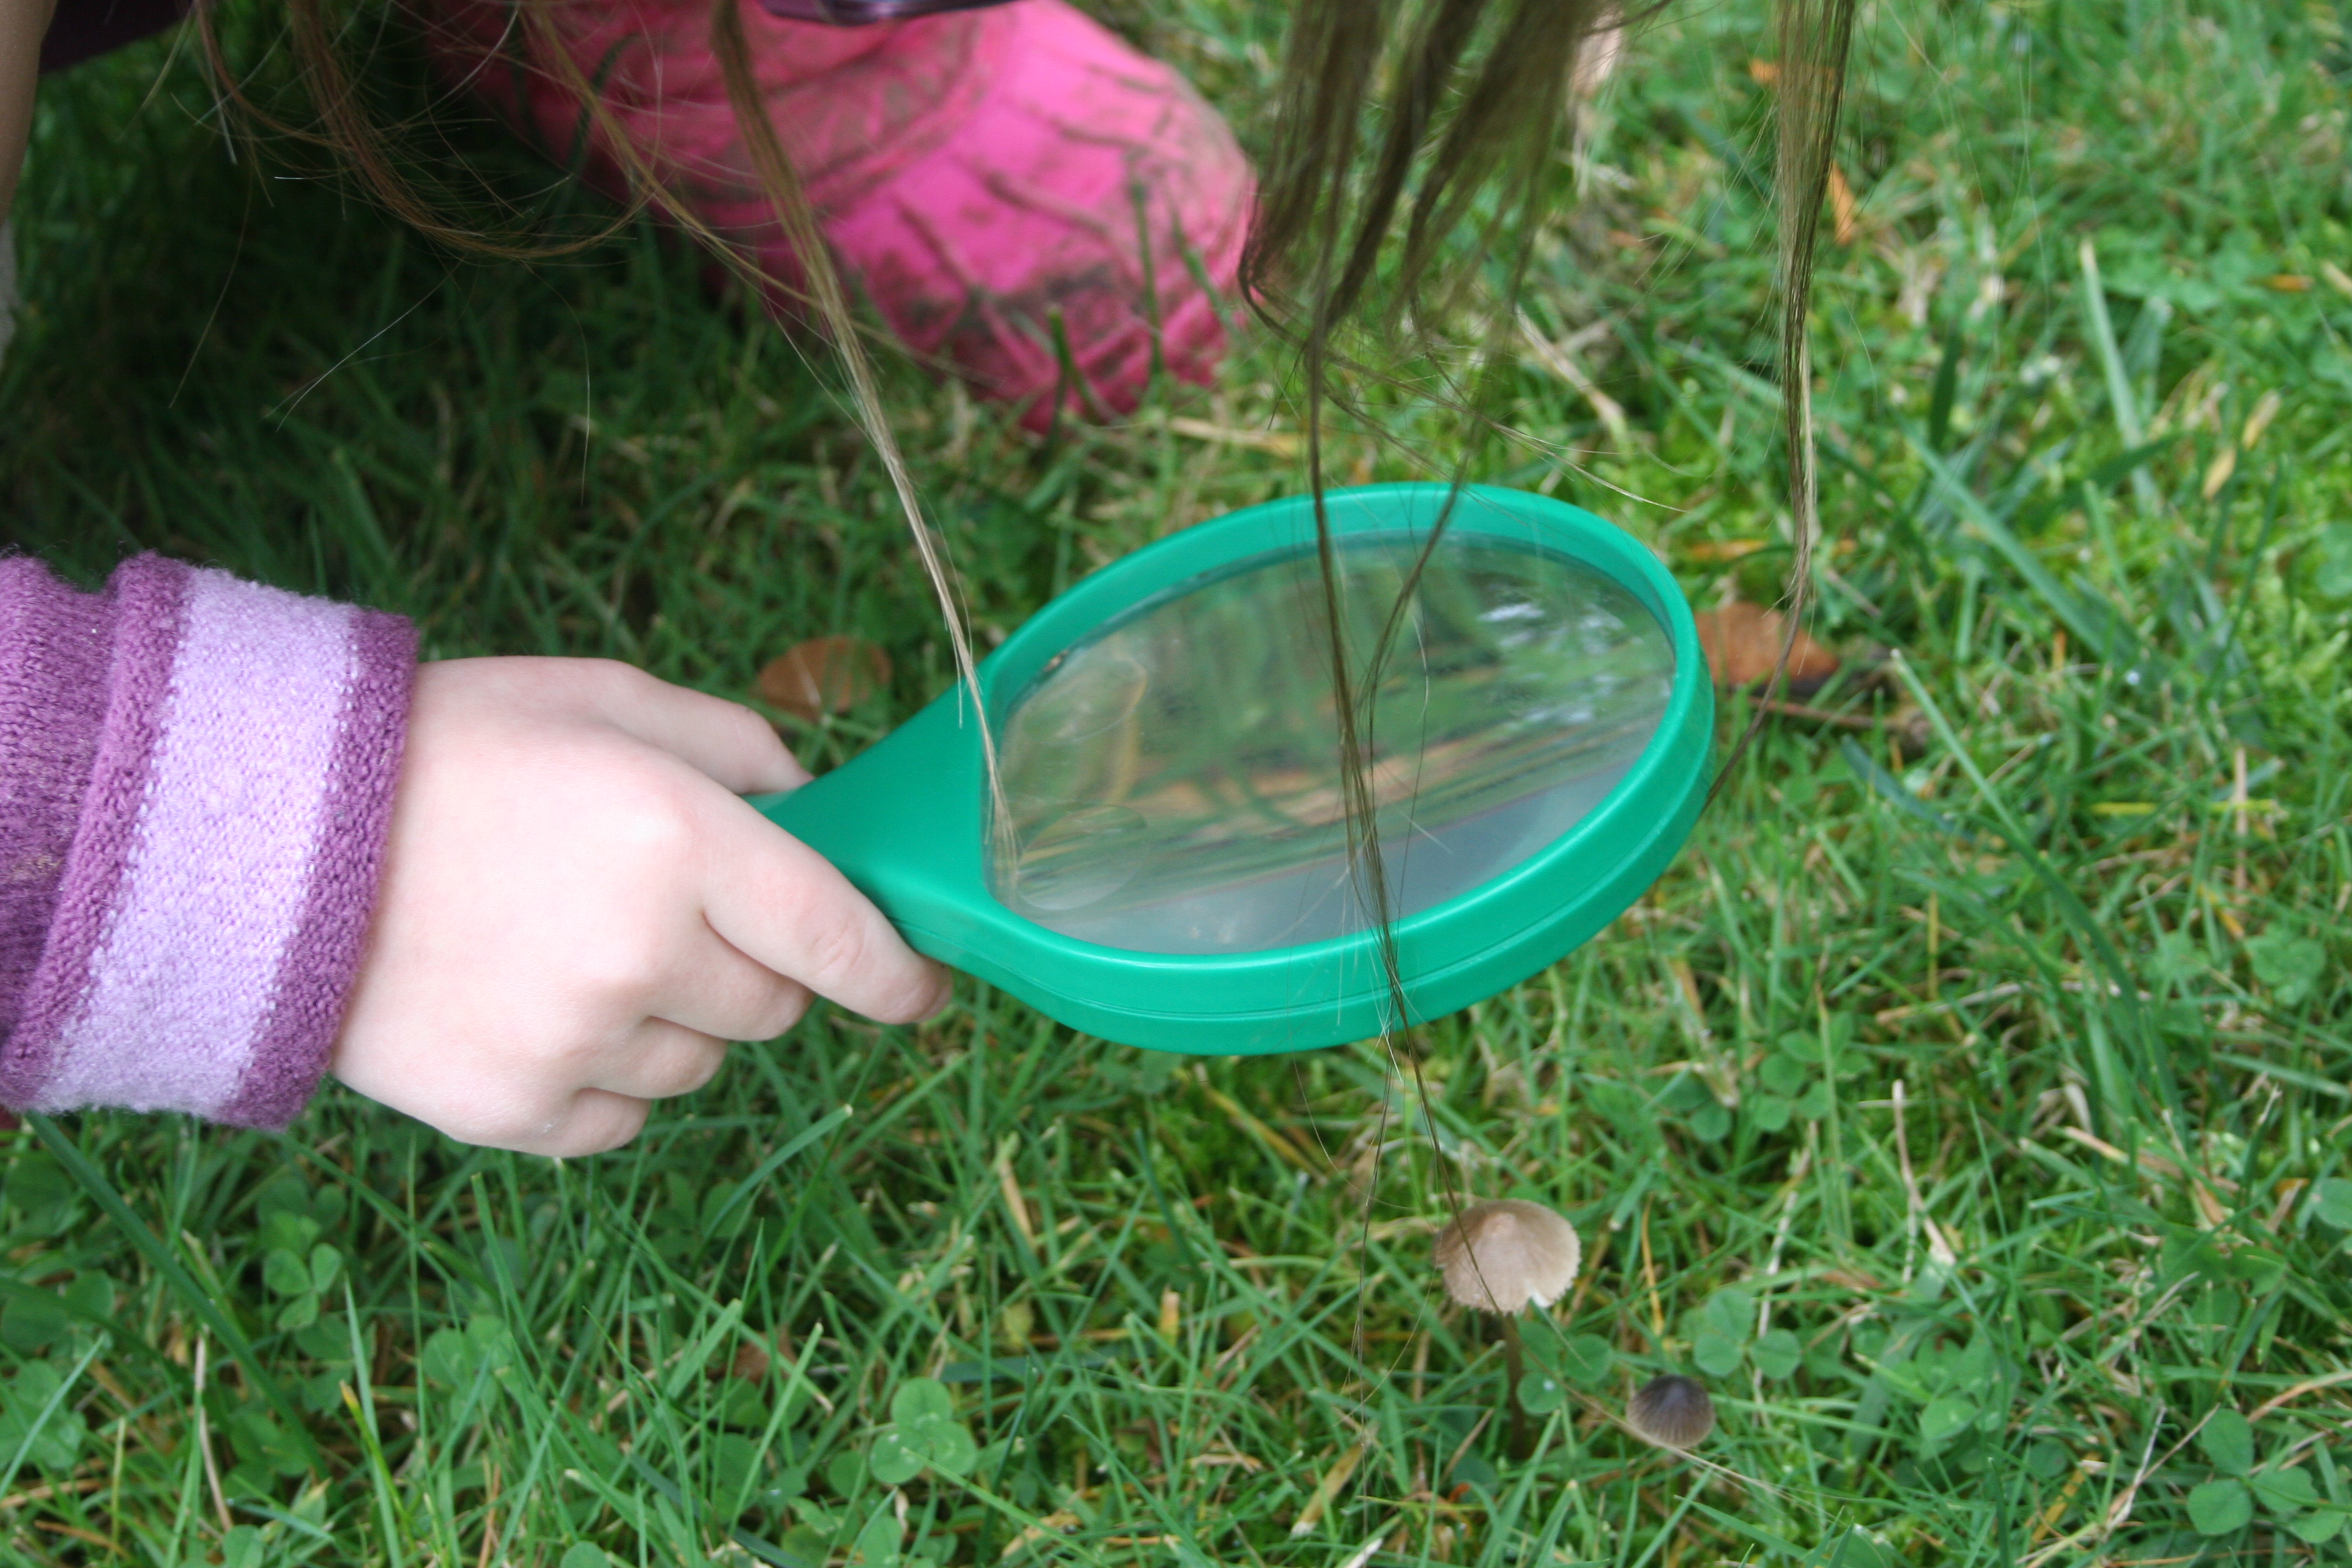
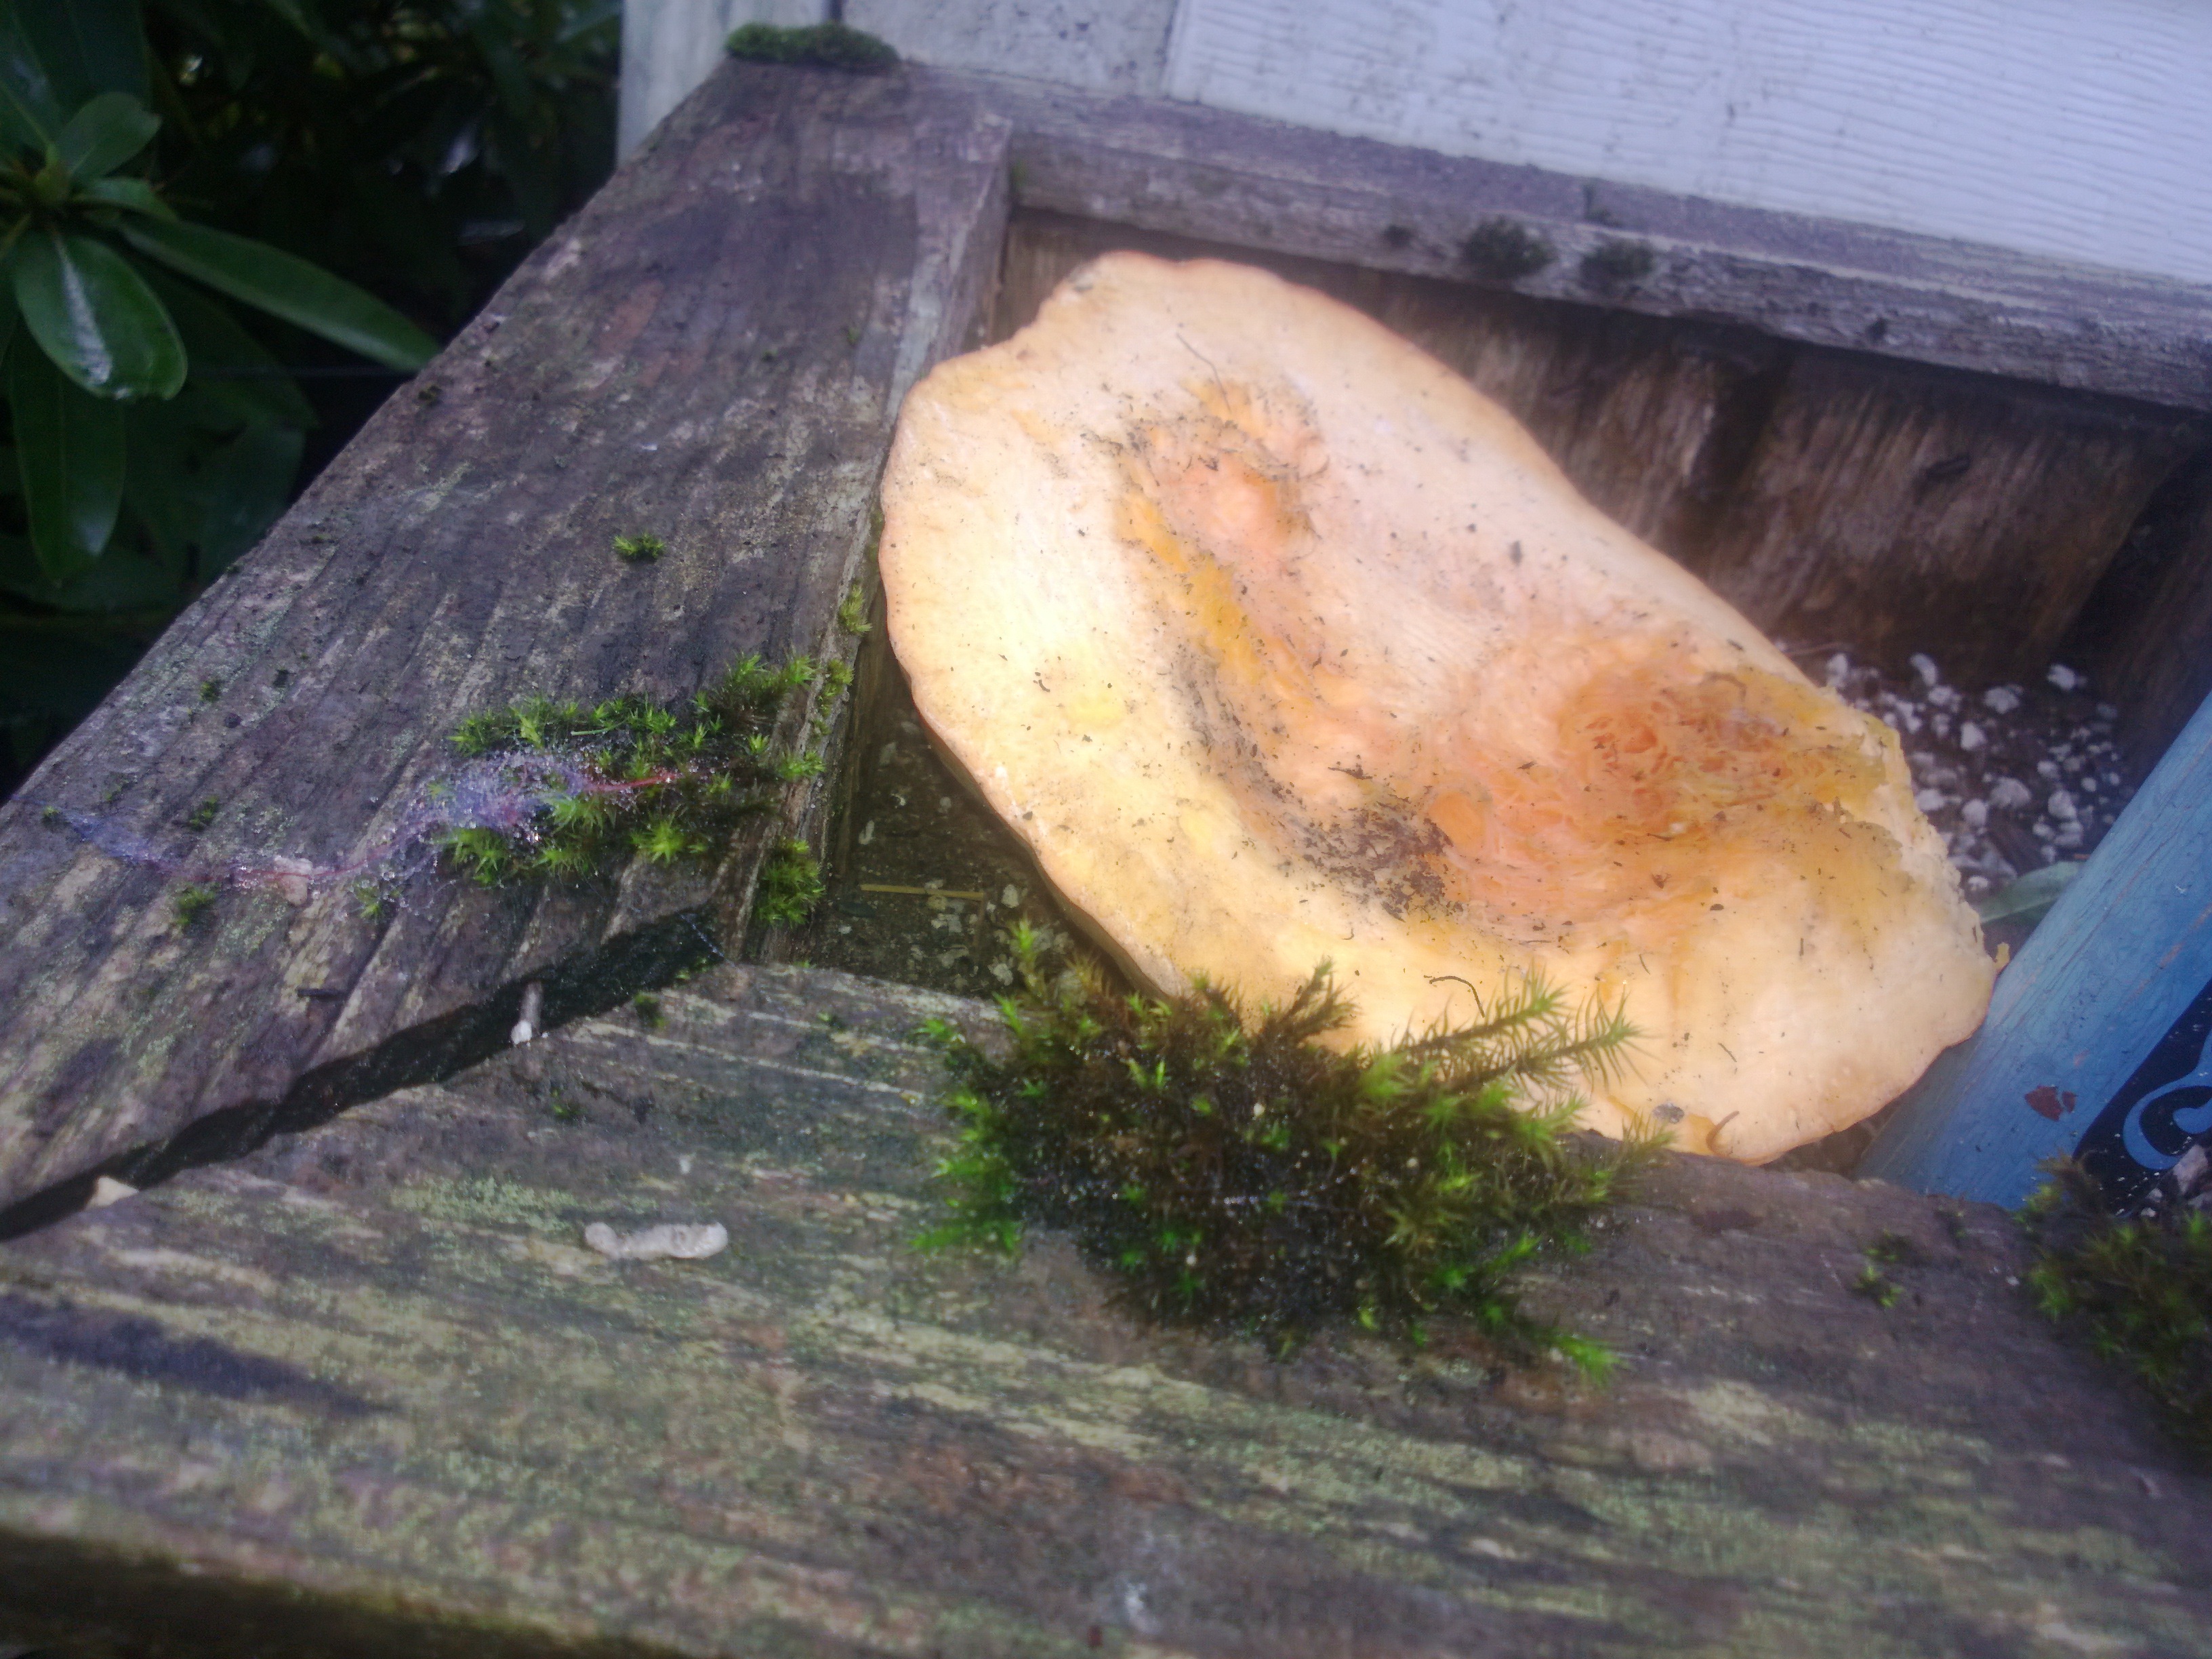
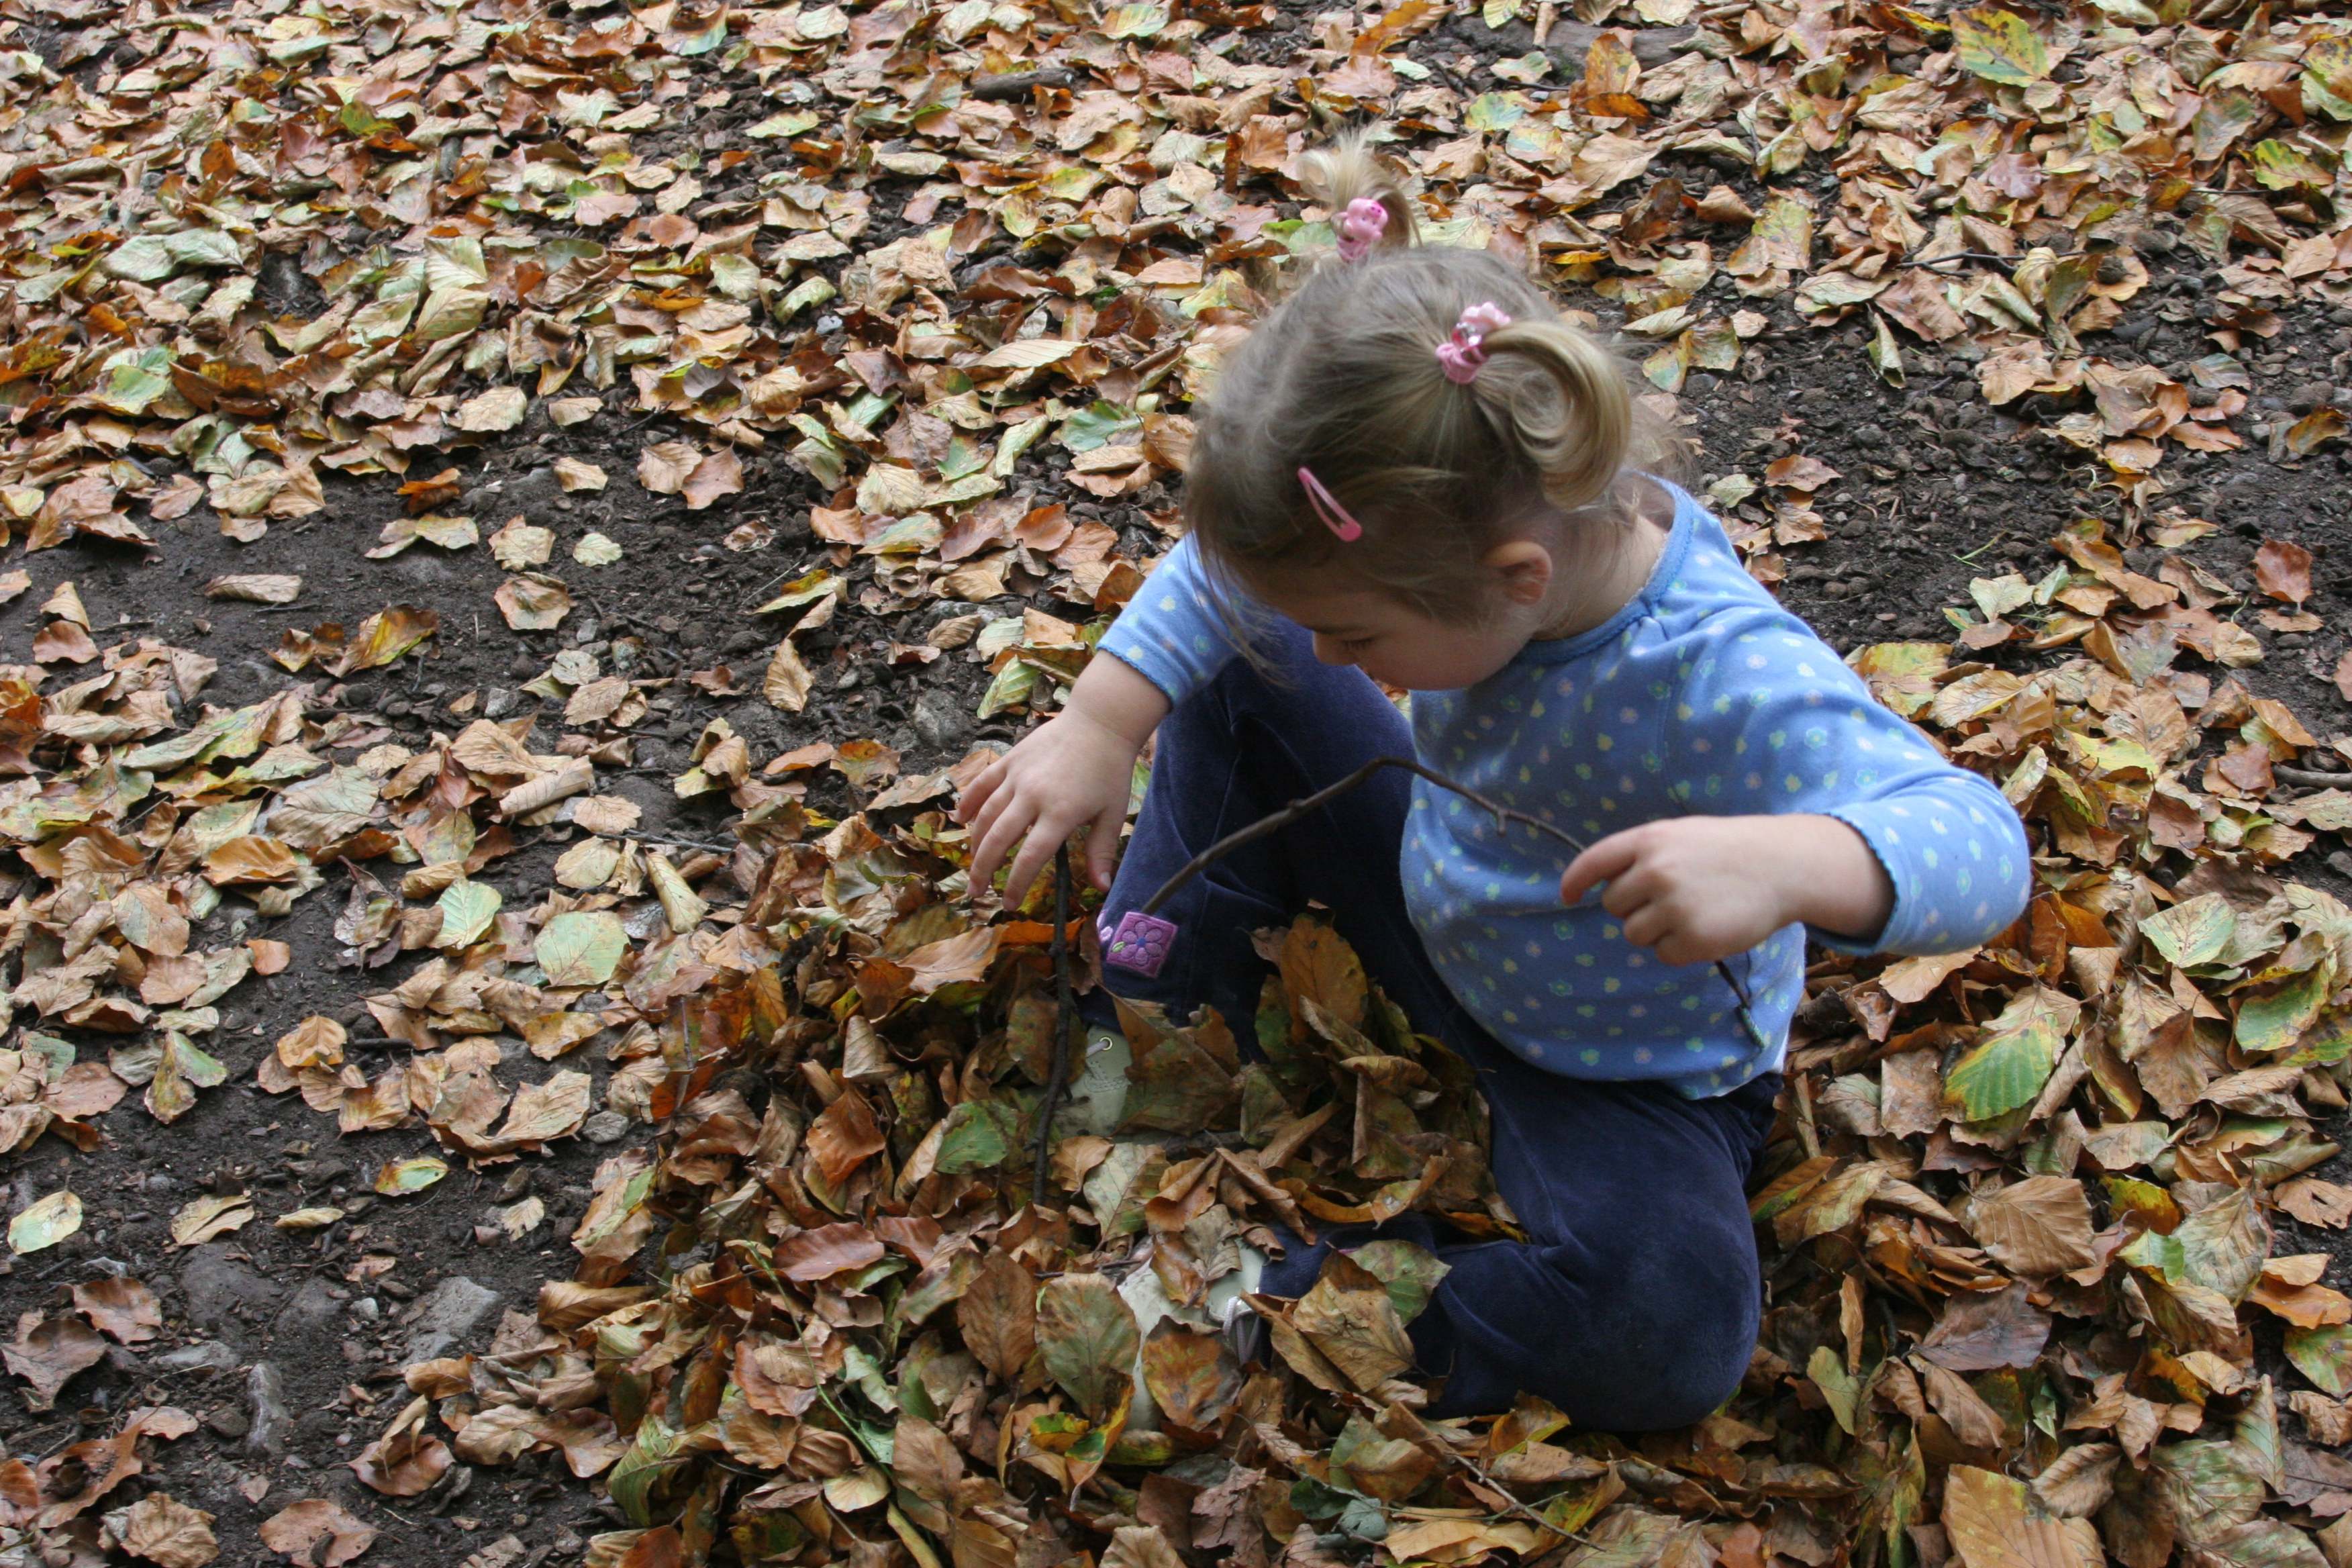
Loose Parts and Nature Play

Loose parts don’t have to be small and young children are fascinated by mud, sticks and other natural materials.
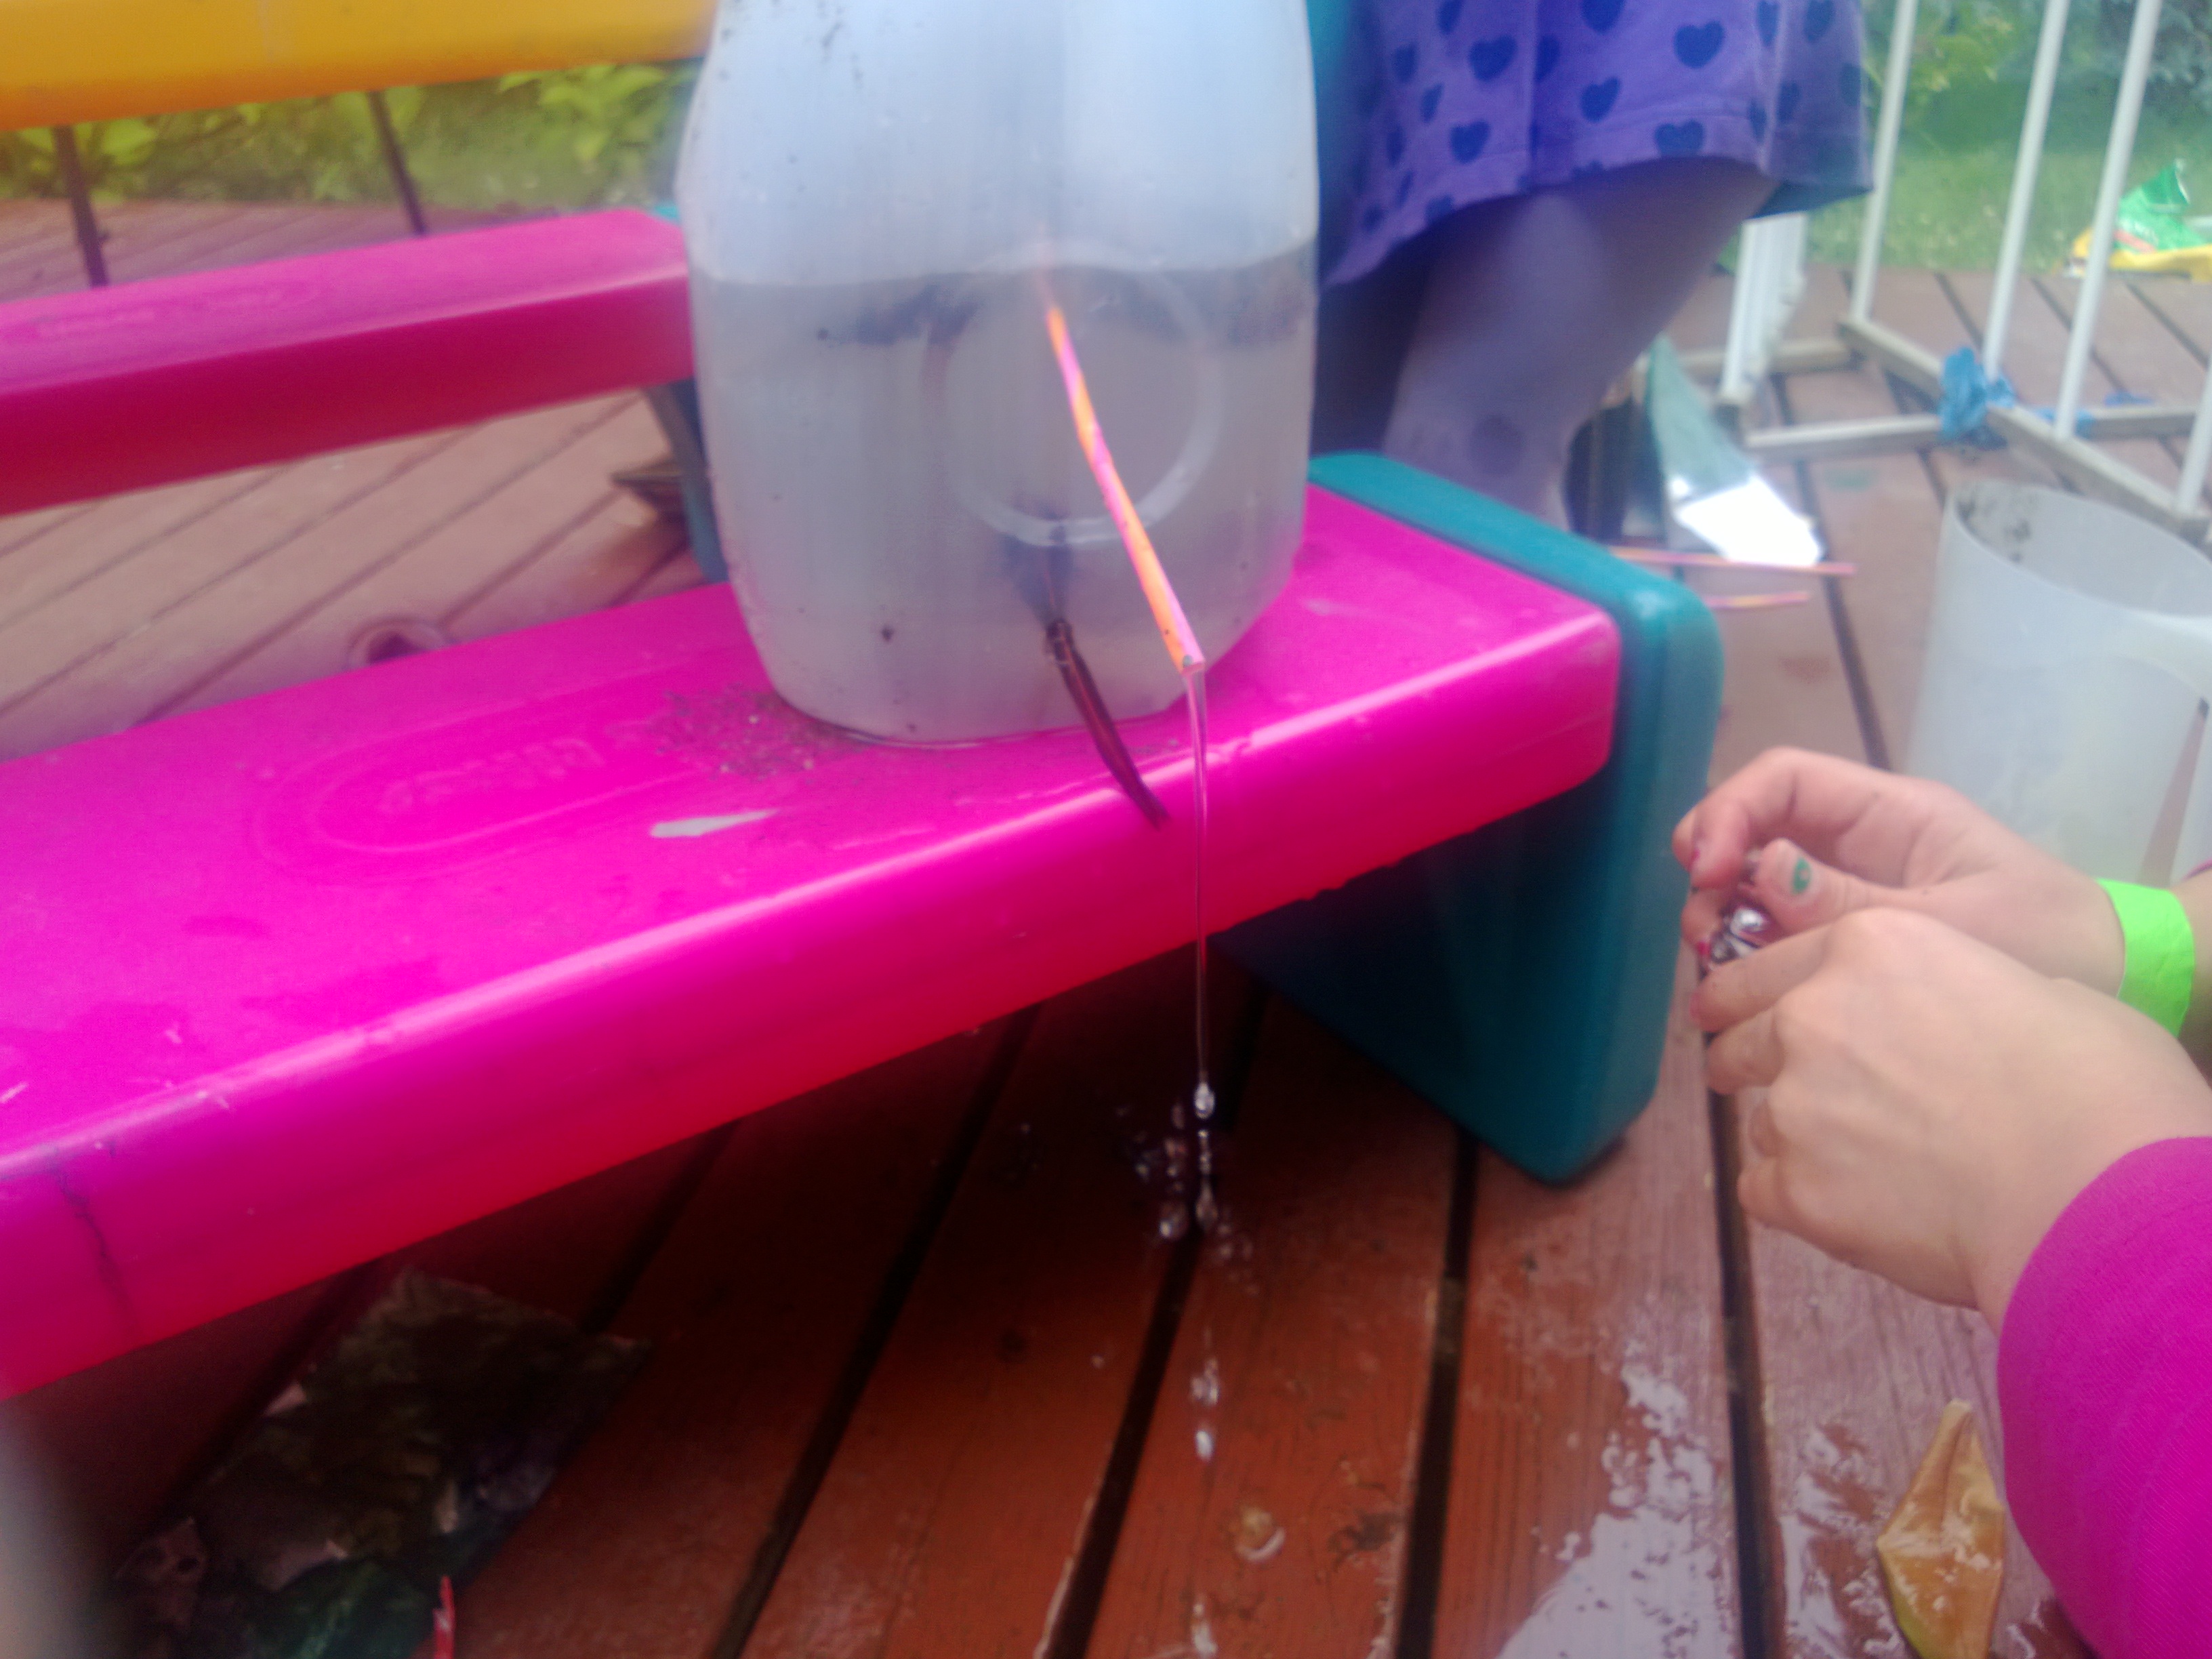
Oct 07 049

Potion Making

Potion Making is great for water tables or outdoors for sensory exploration and scientific experimentation.
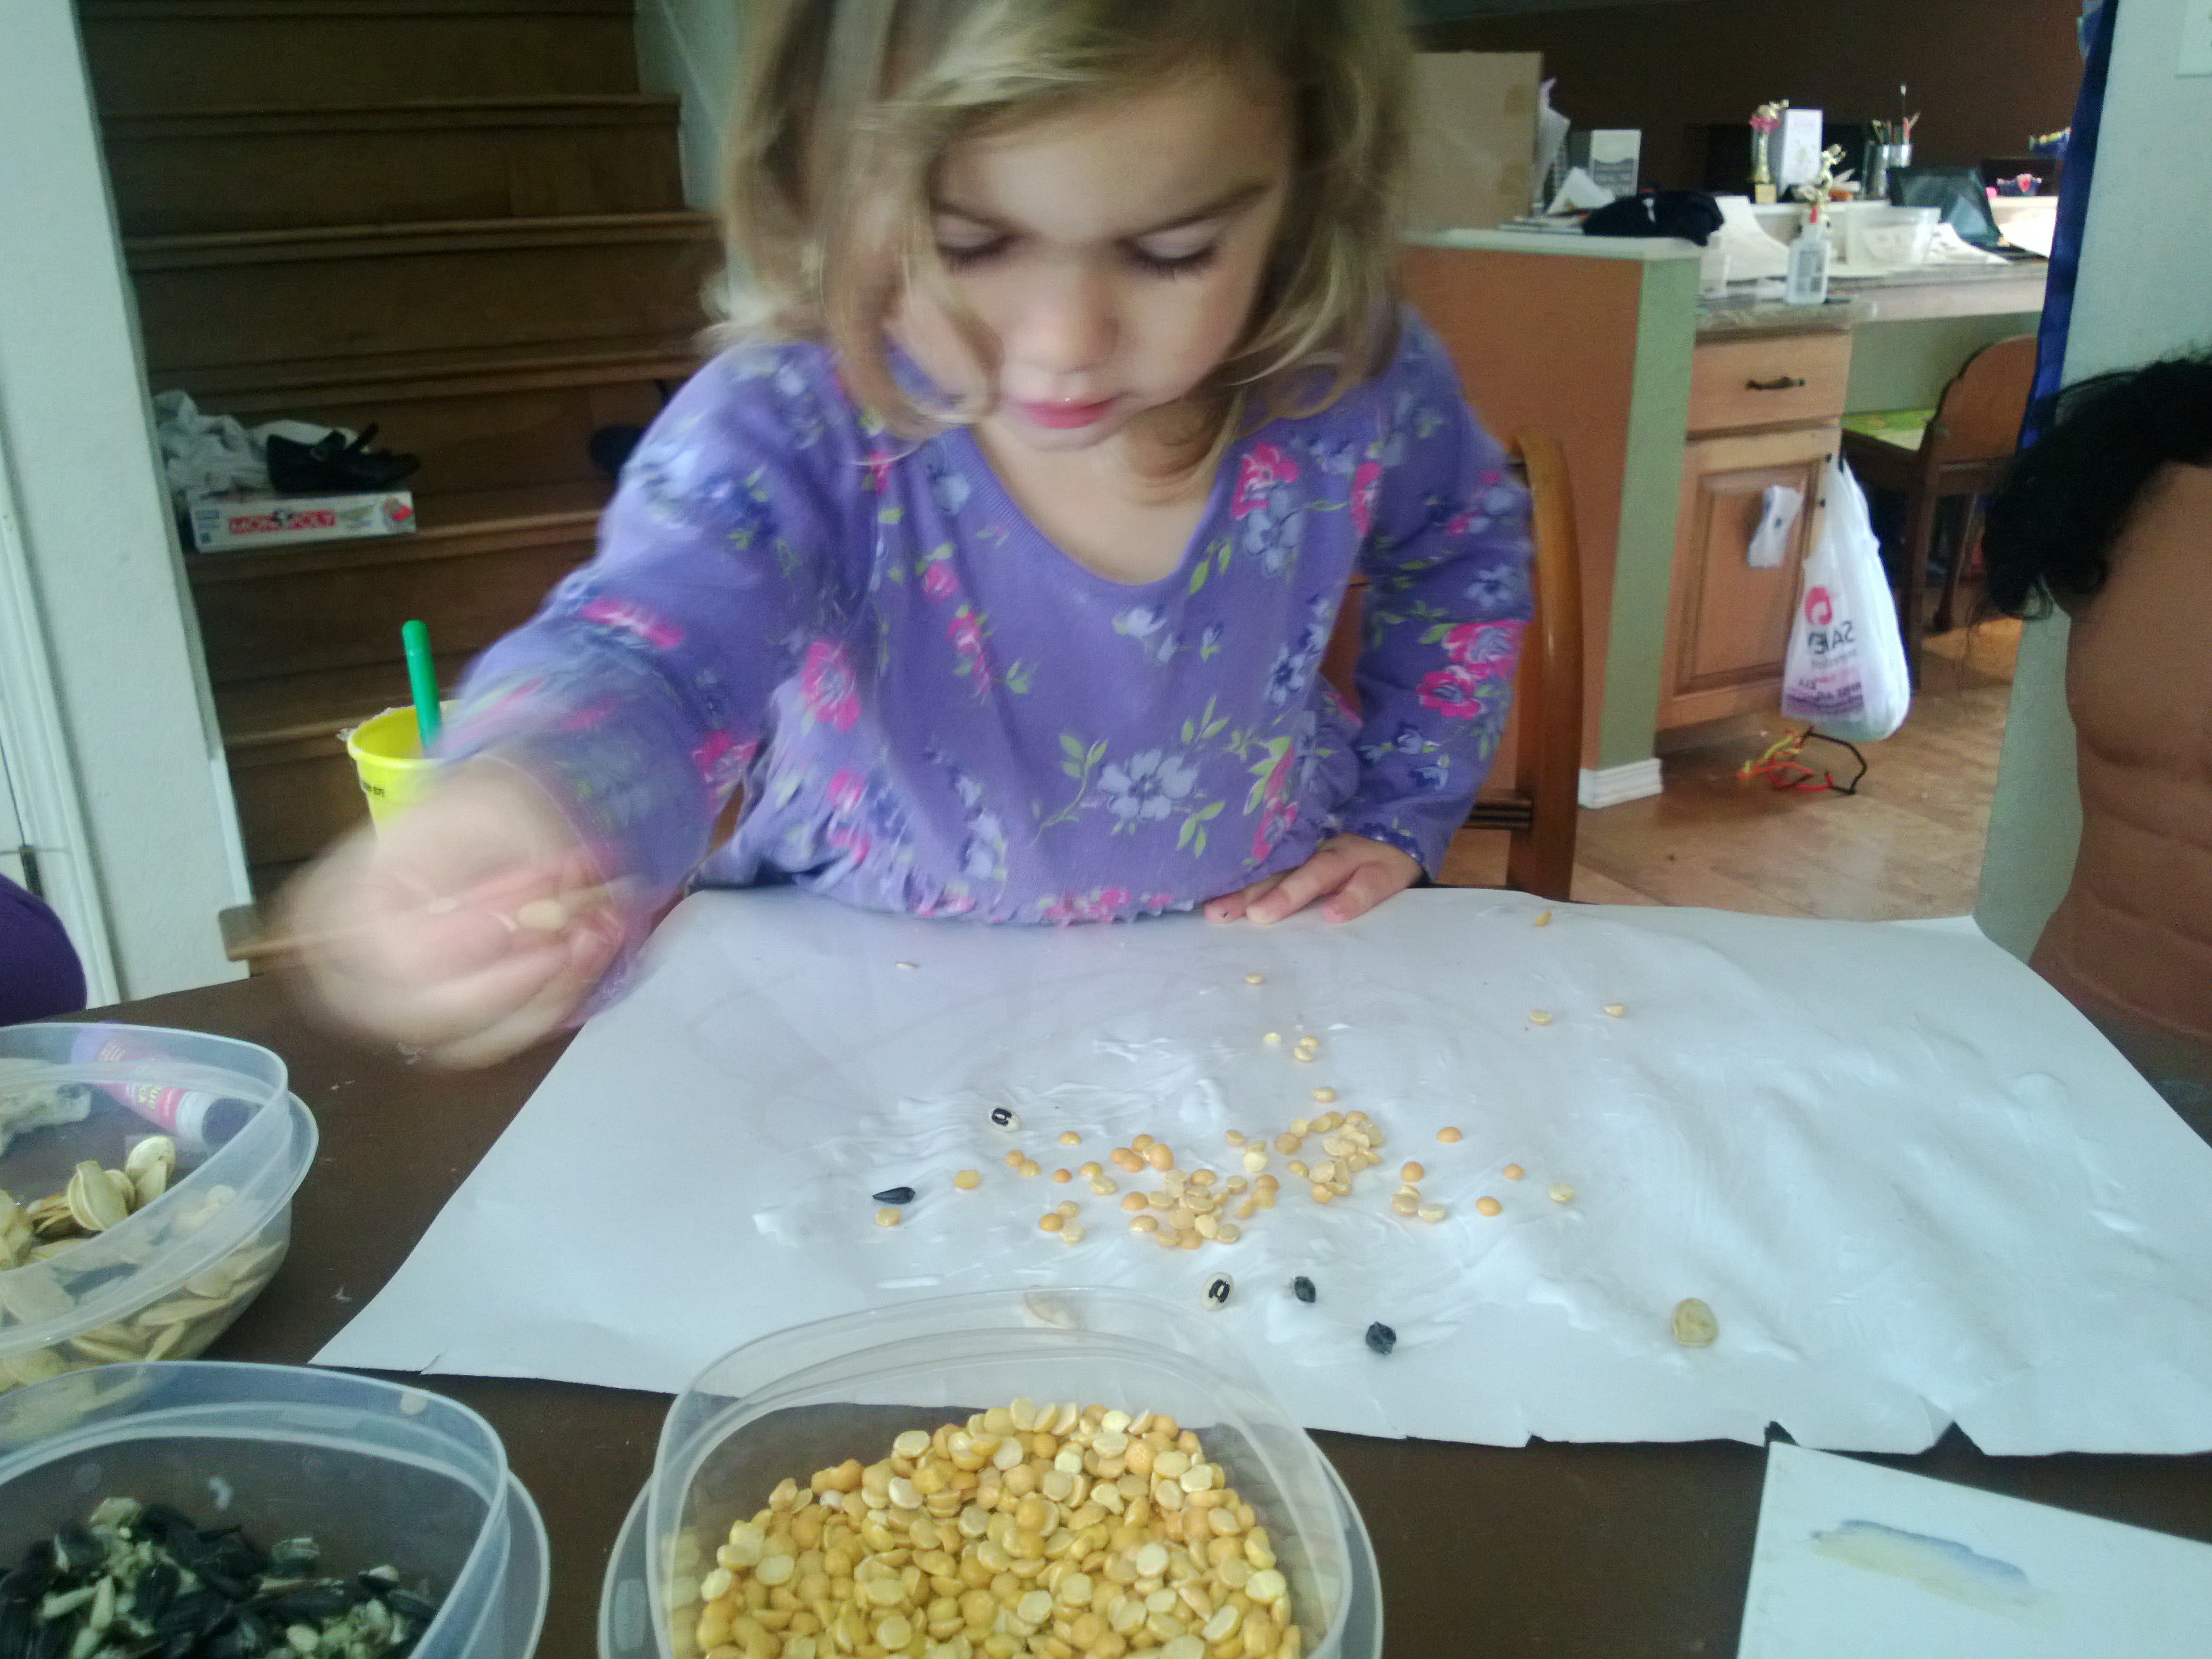
IMG_2255

Sensory Materials

Many sensory materials can be made with simple materials, for example, Goopplaydough, slime, or bubble mixture. A list of sensory recipes  is available for downloadfrom TES Connect.

goop

Stories and Songs

Bookfinder is an excellent resource for finding books suitable for a particular age groups as are the booklists provided by the National Literacy Trust.

Words for Life have an excellent list of songs for young children complete with lyrics and MP3’s. This list of songs for 2-year-olds from teaching 2 and 3 year olds is also worth consulting.

How to Teach Preschool Science

I don’t make assumptions about what my children will learn from an activity.  I don’t presume that they will learn anything, I’m happy if they are absorbed and having fun.

Sometimes a simple activity can unexpectedly become a rich learning experience full of questions and discoveries. These for me are precious moments. I have recently become aware that the simplest craft activities lead us unexpectedly into an exploration of scientific concepts. For example,we recently acquired a movie reel canister, perfect for paint rolling .  I gave the girls a small box of marbles and small balls (a ping-pong eyeball and a golf ball) and a few pots of paint. The discussion that ensued was interesting.

paint rolling

 Child 1 : 5-years-old    Child 2 : 3-years-old.

eyeball

Child 1: The eyeballs go much slower.  I think because the eyeball is bigger it goes much slower but the marble is smaller so it goes faster.

Child 2: It’s too sticky

Why do you think it is sticky?

Child 2: Maybe there’s too much paint.

golf ball

Child 1: This one is not as sticky as the other one but it is much bigger.  Maybe it’s because I didn’t put as much paint on.

What makes the 2 balls different?

Child 1: One is bumpy and one is smooth…………..but that would make it slower.

It gets stuck and the other one goes really fast.  Maybe the material it is made from is sticky but now that we don’t have as much paint on, it goes fast.  Perhaps the paint sticks to the material and stops it slipping and sliding.

Maybe because the golf ball is hard it doesn’t stick to the paper, maybe the paint doesn’t like it and slips off.

When we went to wash the balls we checked to see which would float.

Child 1: The golf ball and the marble sink and the eyeball floats.  This one floats because it is all filled up with air.

Child 2: This one sinks because it is bigger…………………….. but what about the marble, that sinks?

Child 1: It is because it is heavier.

The connection between the mass of the ball and how fast it travelled did not register but there are many other projects we can explore to help them work it out.

These incidental science experiments happen a lot. There was the time I left an empty milk carton outside and they turned it into a tap by inserting a straw. The girls decided they needed to find a way to turn it on and off. Further experimentation helped them work out how to get the tap to drain all of the water.  My role as teacher was not to give them the answers but to ask questions like ‘How could you make it better?’ What could you use to…? or what would happen if…?

tap science

Having open-ended materials readily available makes it easy for them to instigate projects .  This week, I put pieces of foam in the water table soaked in bubble mixture and showed them how to squeeze the foam to make bubbles.  I knew my eldest would love this.  She had another idea, taking a piece of plastic tubing she blew into it creating lots of foam. The children’s ideas are always the best! She asked me for test tubes and filled them with  bubble mixture and opened her own beauty parlour with potions that made your hair soft or skin younger.

foam bubbles


In the TED talk, Science is Play , Beau Lotto views Science as a way of being. He explains,

“We normally walk through life responding. If we ever want to do something different, we have to step into uncertainty…. Science lets us step into uncertainty through the process of play.”

Our youngest children are full of uncertainty so they are naturally questioning things all of the time. Isn’t that the foundation of science? Our skill as teachers is not to feed them the answers but to give them the tools to make their own discoveries. Do we need to plan specific science lessons? Isn’t science and discovery the very essence of childhood?Children don’t call it science, they call it play and in play they work things out for themselves.

I love this quote from the American Scientist article entitled ‘Science as Play

When I grew up, every kid put in some serious sandbox time, and it often involved building (what seemed like) complex sand structures around which fantasies were composed and competitions took place with neighborhood kids. The organic chemistry labs (at Yale during the junior year) were fun in the same way. We constructed molecules and competed with each other in the class on speed and yield. We mixed things up, and chemical transformations took place. We separated, we isolated, we analyzed. The odors were pleasant, and the physical process of working with our hands, as with sand, was satisfying. The biweekly organic labs became the high points of my week. By the end of the year, I knew that I wanted to be an organic chemist, as I realized one could play in the sandbox for a living. (Joseph B Lambert)

Playing in the sandbox for a living? ‘Isn’t that what I do?


Water Play in the Rain

Once children are helped to perceive themselves as authors or inventors, once they are helped to discover the pleasure of enquiry, their motivation and interest explode.  – Loris Malaguzzi.

We’ve had a few rainy days so I decided to leave the lid off the water table to catch the rain.  We’ve had so much rain that it was nearly overflowing.  My girls looked out at the rain and decided to play in the water.  They know from experience that rain water is very cold so my youngest put on her waterproof gloves so that she could tolerate the cold water for longer.

I gave her a bottle and a funnel to add to the other materials.  I have recently noted her eagerness to transport things from one place to another and predicted she would probably use the bottle to empty the water from the table.  True to form she filled the bottle, carried it to the bench and poured the water through the slats before returning for more.

water play

Her sister is less eager to play outside but loves umbrellas so when I suggested she take her umbrella outside, she was out like a shot. Of course her sister needed her umbrella too.

I want to make an invention

What kind of invention?

Like we made before for serving drinks.

Last summer the girls had inserted a straw into a hole in a milk carton and made a drink dispenser. They worked out how to turn the tap off and where to place the tap so that they could drain the container of all the water.

What do you need?

A cup – this will be good (finding a coffee container)  a tube or something and some small cups.

I found a piece of plastic tubing and plastic wine glasses.

I need another pipe. One to blow into and the other one for the water to come out of.

I gave her another piece of tubing that her sister had been using to make a contraption the previous day.

It’s not working mummy, when I blow nothing happens.

Are there any bubbles coming when you blow.

No

The air isn’t getting through the pipe.

We put the container onto the floor so that she could keep the pipe straight without any kinks and still reach to blow into it.

I have to be honest I didn’t expect it to work but look what happened.

You have to blow so, so hard to make it work that it hurts your mouth, but that’s okay.

Meanwhile her sister was trying to catch floating objects with the tongs.

More fun

IMG_1701

IMG_1700

More play activities for a rainy day

How Should You Teach Preschool ‘Art’? Process Versus Product

When considering the question of how to teach preschool art it is helpful to first consider the meaning of ‘art’ for our youngest children.

What is Children’s Art?

As adults, artists are generally referred to in terms of the product they create – painters, sculptors, musicians or dancers. When we create ‘art’ we might think about what we are going draw or make before we begin.

When children explore art there is much less emphasis on the finished product – they might say they are going to draw or make something specific but often this evolves into something else during the process.

As I watch my children involved in what we may traditionally term ‘art’, I find that creative expression isn’t their only interest and there is certainly very little focus on the finished product. Sometimes they are practising skills. My youngest for example likes to snip paper into tiny pieces but if I suggest she might like to make a picture with the pieces, she isn’t interested.  As children get older the finished product becomes more important. My pre-schoolers will often remark that they don’t know what it is going to be yet, whereas my 9-year-old often has an idea before she starts. Does this change occur naturally or do adults teach them that this is what ‘art’ is?

My younger girls’ ‘art’ is about exploration. They ask  questions like ‘what happens if?’  Through this exploration they see themselves as competent in the knowledge that there is no right or wrong way to do things. This give them the confidence to explore further.

The Salad Spinner Project

An example of  a process oriented  art project was inspired by a visit to the Children’s Museum where the children made pictures using a salad spinner. The directions were simple:

1. Put paint onto a paper plate

I've chosen 3 colours
I’ve chosen 3 colours

2 .Place the plate inside the spinner and put on the lid. Place the spinner onto a cloth or newspaper, the holes in the bottom of the spinner allow the paint to come through.

salad spinner painting

3. Spin

salad spinner art

4. Check results

salad spinner art

They watched as the pictures took shape changing according to the colours chosen and how much paint they put on.

There is potential for this activity to become a product oriented if the adult takes over.  The key to making it process oriented is to offer choice and allow the children to freely explore the materials.

How the Project Evolved

The pictures the girls had made at the museum had colours that ran into one another producing a marbled effect but the paints we used at home were thicker so produced very clear lines with little mixing.

They explored all the possibilities:

I’m choosing two colours.

What if I just put a bit of paint on?

I’ve put lots of paint on this one.

Which one is your favourite?

salad spinner art

The next time we got the salad spinner out I suggested they might like to add things to the spinner to see what happened.

I know lets put balls in.

First they tried a golf ball

salad spinner paint
It makes a kind of bumpy pattern

They put it back in a number of times spinning the spinner at different speeds to see how the pattern evolved.

Next they tried marbles. The marble made tracks across the plate

marble and salad spinner paint
It looks like a puzzle

The next attempt came out differently

salad spinner art
When we put marbles in it makes a noise. Sometimes they get stuck in the sides and we have stop.

Hmm, Maybe if I spin it faster

Still no change.

I could try more marbles

Still no change.

Suddenly my 5-year-old had an idea

I know; it’s because I used too much paint.  The one with tracks on didn’t have so much paint on so I need to use less paint.

salad spinner plates

The learning and creative thinking in this project is clearly evident so why would we plan art with a finished product as our starting point?

Process v Product

Sometimes as early educators and parents it is difficult not to plan art projects in terms of the finished product.  Certainly years ago when I worked with older children we would often plan workshops and sessions in terms of what we would make. We all like our children to come home from preschool with something they have made.  Teachers sometimes argue that parents expect their children to come home with something at the end of the day. It is difficult to be enthusiastic about yet another drippy painting or cardboard box construction.

This is often given as a justification for producing heavily adult directed arts and crafts.  Starting from an adult viewpoint in this way often means that the children don’t do very much themselves.  I have observed teachers presenting children with pre-drawn templates, ready cut outlines and telling them what they need to stick where – sometimes the child isn’t even allowed to do the sticking themselves. The children may come home with something pretty to put on the wall but what have the children learned, how much enjoyment have they had and have they actually made it themselves? Furthermore, if we show children at a young age that there is only one way to do things we destroy their enthusiasm to do things for themselves.  Is this why we often hear older children say ‘I can’t draw’, ‘ I don’t know what to make’ or ‘It doesn’t look right’.

When you allow children to freely explore materials they begin to understand the properties of media, they learn that art can be a series of explorations and they are allowed to become absorbed in the joy and relaxation of the artistic process. Sometimes they will want to make something specific but allow them choice in the materials and tools they use and encourage them to try out things for themselves.

Creative thinking isn’t neat and tidy.  An artist will paint many sections of a painting exploring colour texture and shape before finally coming up with a finished product.  Think about the work of an author who writes and rewrites many times with crossings out, arrows and notes all over the paper.  A finished product will come eventually but it is a long way off.  Allow children to explore in this way, let them make a mess and do things their own way.

As Peter Dixon puts it

Your children are at  a stage where the process of doing things

LOOKING, SEEING, FINDING, FEELING, INVESTIGATING etc.

is far more important than the end product sought by some parents. …The process of their work – might look messy, scribbly or completely unrecognisable to us but to your children it is utterly meaningful and an essential part of their mental and physical growth and development.  Please honour – please respect your child’s own way of thinking. It might seem unusual but it is their birthright. It is the foundation upon which they will build all future understanding.

The Adults Role

Process oriented art doesn’t mean that you leave children alone with a huge amount of materials.  The adults role is to organise the materials so that the children can find what they need easily. Sometimes this means setting out particular materials for example you may want them to explore with charcoal and erasers. It can also mean setting up an organised art station with neatly labelled pots and drawers that the children can choose materials from.

If the adult works alongside the child creating their own projects then they can inspire children and demonstrate techniques. They will be able to encourage children to develop their projects by asking questions

What happens if…..?

Have you tried this……?

What else could you add?

persuading them to try different materials and techniques.

If you log children’s comments and questions, displaying them alongside finished pictures and photographs of the process, it will help to show the value of process oriented art.

Examples of Process Oriented Art


This slideshow requires JavaScript.

You may also like

I Can’t Draw Duck’s Feet

Why is Clay an Essential Material for Preschools

How I Encourage my Children to Become Confident Writers

Happy New Year everyone.

writing toddler

The lead up to Christmas was a great time for writing messages in our house.  Our visiting elf Christopher Poppinkins left notes for the girls and they responded with their own notes, we made gifts for the neighbours with a little note attached, wrote Christmas cards for the family, shopping lists and yesterday the girls helped me write a list of songs for my music class.

As children approach school age, parents are often anxious about their children’s emerging literacy and how best to support them at home.

When is the right time to introduce writing?

Does my child need to be able to write their name before they go to school?

How do I start?

Do they have to form letters in a particular way?

Writing is a complex skill involving much more than the correct formation of letters. I can’t guarantee that my girls will continue to love writing but I think we are headed in the right direction.

If you are interested in finding out how I  encourage the girls to write and keep it enjoyable I am sharing some of my experience in a guest post for ‘What to Expect.’

4 Ways to Help Toddlers Fall in Love with Writing

Outdoor Play: Ice Activities – how a simple art ice project turned into a science investigation.

ice decorations

Ice Ornaments and Icicles

What had originally been an icy art project, unexpectedly turned into a fascinating science investigation.

A few weeks ago we filled up my baking tins with water  that we coloured with powder paint and dropped all manner of things into them.  Shells, berries, leaves, sequins, buttons and even a stone were placed inside to make ornaments for our tree.  The weather unfortunately instantly became warmer, so we had to wait some time before they were ready to hang.  Even then,  only the top layer of ice had frozen and within an hour of hanging them on the tree they had melted.  We also discovered that if you colour water with powder paint it separates once it begins to freeze, so most of the ornaments were not the lovely colour we had hoped for.

The girls have been peeking outside every morning to check if there is any ice.  This week they were rewarded with below freezing temperatures.  The ice ornaments were finally ready!  We hung them on the tree.  The sun was shining and the tree stands in the sun until mid afternoon.  I wasn’t sure how long they would stay this time as ‘plop’ one fell down from the tree.

Let’s put it by the door. That’s in the shade – it might make a nice present for Father Christmas.

Ice ornament
A present for Santa

As we went inside I asked the girls to watch the ornaments from the window.

They are melting.

How do you know?

They’re wet and they’re dripping down.

What do you think will happen as they melt?

I don’t think it will fall off the string because the string is attached. It will just melt and the floor will be wet.

When we went out later there were more interesting observations

Look this one has holes in it.  It might break not melt.

melting ice ornament with holes

Can I touch one?

Yes sure.

child touching ice
It’s cold and wet.

Within an hour or so the tree was in the shade and the temperature was beginning to drop. We noticed that the drips were starting to turn into little icicles.

icicles

The girls thought this was really cool and the next day even more so when we saw large icicles had formed.

icicles

They rushed outside to feel them, touching them gently so that they didn’t break off.

A Winter Pirate Treasure Hunt

The weather was so cold that during the late afternoon I sneaked into the garden with a jug of water and some pirate coins.  I put the coins in various containers and poured a little water on the top.

In the morning I invited the girls on a pirate treasure hunt. First they needed to make a map.  I had some coffee stained and singed paper that in true Blue Peter fashion I had prepared earlier.

Next they needed their pirate toolkit:
A hammer
A spoon
A pot of pirate sea salt

pirate toolkit
Ready Mummy

Out they went and quickly found coins. The hammers were their first choice. They weren’t very successful so then they tried the salt. They found that if they used the spoons and the salt they could gradually get down to the coin and hook it out.

pirate treasure hunt
Got it!

This could take ages, if we got a jug of hot water it might be quicker.

We were talking about the sea salt later in the day.

How do the pirates get salt from the sea?

Good question.  The salt is in the water so how do you think they could get it out?

I don’t know.

Shall we try it?

Yes.

Little Scientists

What do we need to do to make the salt disappear into the water?

We need to dissolve it

How? Do you remember how we made jelly dissolve or the sugar water we make for the hummingbirds?

We put hot water on it. Let’s be scientists and do an experiment.

The girls helped to stir the mixture until all the salt had dissolved. We poured the mixture into a pan and put it on the stove.

What happens to water when it gets cold?

It turns to ice

What about when it gets hot?

I don’t know.

Watch. What can you see.

steam

steam

If I put this spoon over the steam what can you see on the spoon.

It’s wet – water.

Yes the water is turning to steam. Now look what’s happening in the pan. What do you think the white stuff is?

salt distillation

I don’t know. Is it steam. 

No. The water has gone now so what is left?

salt.

salt

We had another idea for an experiment.  If we put the salt back in water and then left it outside would it freeze?

We will find out tomorrow.

Linking to :

afd38-outdoors-aspx

10 Preschool Activities using Leftover Pumpkins

Hallowe'en pumpkinsWe were a little disorganised this year and didn’t get our pumpkins until Hallowe’en.  It seemed such a shame to throw them away almost as soon as we had made them.  To avoid  this the pumpkins were incorporated into our play, building on the children’s interest in pattern making and investigating some of the questions and discoveries they  made when we visited the pumpkin patch.

One of the things I love about living here is that we don’t have to go to the supermarket to buy our pumpkins because there are pumpkin patches everywhere.  I love that the children can find out how pumpkins grow by wading their way through the leaves and mud to find the perfect pumpkin.

This slideshow requires JavaScript.

Pumpkin Play

  1. Exploring Inside a Pumpkin and Learning about Seeds

I removed the top of one of the pumpkins and gave the girls spoons to explore what was inside.

Look at all the seeds, they look like lemons but with no other side
It's a slother pumpkin. It feels really cold. There are lots of stringy bits, they look like messy hair.
It’s a slother pumpkin.
It feels really cold.
There are lots of stringy bits, they look like messy hair.

We talked about saving the seeds for the Spring, so that we could try to plant pumpkins in the garden next year. This lead to a discussion about how the seeds were spread.

How do the seeds get out of the pumpkin if they are in the pumpkin patch?

The pumpkin gets mouldy and then the seeds can come out.

Do you know how the seeds are spread?

No

What happens to a dandelion seed?

Where are the dandelions seeds?

The seeds are on the dandelion clock.

Oh so they get blown around.

Yes. Does this happen to the pumpkin?

No

We talked about how the animals spread the seeds – the girls thought it was a bit disgusting to talk about poo so we left it at that but later read ‘The Tiny Seed’ by Eric Carle to remind ourselves how other seeds are spread.

2. Scientific Experiments

How Does the Pumpkin get Soft?

I think we eat this bit because it’s all juicy but it is hard. How do we make it soft?

Hmm, can you think of any ideas?

I know we could make it wet and then dry it.

We could sprinkle it with soft sugar.

We could cover it with a bag.

We covered one half odf the pumpkin with a warm flannel to see what would happen.
We covered one half of the pumpkin with a warm flannel to see what would happen.
We sprinkled the other half with caster sugar.

After 30 minutes we checked to see what had happened.

It didn’t work, it just got wet on my side.

What about the sugary side?

It feels softer, the sugar is softer but the pumpkin is hard.

I asked the girls if they could remember how I made spaghetti squash soft (when I tried to cut it, it was so hard I cut my finger instead). They couldn’t remember. I said that they had been along the right lines when they decided to warm it.

How could we warm it?

Put it in the microwave

or?

The oven.

Yes that’s how I made the squash soft.

3. Paint a Pumpkin

We painted our largest pumpkin with acrylic paint. The acrylic paint remains shiny .

painting a pumpkin

4. Make a Squirrel Feeder

With the painted pumpkin we made a squirrel feeder by removing a section at the front and sprinkling it with birdseed.  We often have squirrels in the garden but this gave us a good opportunity to watch them close up.

5. Fairy Toadstools

Our garden is full of toadstools in this damp Autumnal weather and we have been exploring them to see if we could find any fairies.

toad stools

Turning the top of the pumpkin upside down made a perfect fairy toadstool for our flower-pot.  We are also going to watch and document what happens as the pumpkin starts to decay.  It might make a nice art or photography project for the girls.

toadstool from a pumkin lid

6. Pumpkin Poetry

I helped the girls to make up a poem about a pumpkin using some of the descriptions I had recorded them saying.

Pumpkins by my 5-year old

Pumpkins are very orange

Inside they have seeds

The seeds look like lemons

And feel slimy and cold.

Around the seeds it is orange and stringy

It looks like crazy hair.

The bottom is lumpy and chunky

I call it the core.

7. Pumpkin Juice.

pumpkin juice

I sliced and peeled the pumpkin we had been exploring and we used it to make pumpkin juice.

Ingredients (quantities according to taste)

Pumpkin

Apple

Carrot

Ginger

Sprinkle with cinnamon.

8. Seed Collage

One of our current topics is pattern.  We used the pumpkin seeds alongside other seeds and pulses to make collages.

seed collage.

9. Roasted Pumpkin Seeds

As a healthy snack we tried roasted pumpkin seeds.  Sprinkle with oil, salt and pepper and roast in the oven for 25 minutes.

10. Mr Potato Head


We still have one small sweet pumpkin left to make into a pumpkin curry.

Further ideas

  • Use the seeds for measuring in a balance scale
  • Use the seeds in a play or mud kitchen
  • Put a hollow pumpkin in the water tray
  • Make pumpkin cookies
  • Make pumpkin drafts or checkers

pumpkimn checkers

  • Roll pumpkins down a hill and see which one reaches the bottom first.
  • Give children trays of seeds with scoops and containers.
  • Use the seeds with clay or pumpkin scented playdough.


Home Preschooling – Doing it My Way

blocksThis year I am home preschooling my 2 youngest, not something I ever thought I would find myself doing but my reasons for making this choice can be found in a previous post Why I am Home Preschooling my Children.

I get a mixed reaction from people, some give me a glazed expression as if to say really? Can’t you just send them to preschool like the rest of us?  Others wonder why on earth I would want to. Some look at me as if I am some kind of Supermum and others as if I am denying my kids a normal social life.  Some however, just want to know how it all works and what exactly I do with them – this post is for you.

It really isn’t rocket science, I don’t follow a rigid schedule and  home schooling allows us loads of flexibility. My 5-year-old said today

I’m glad we are doing your preschool because it means we can go to the zoo whenever we want.

It isn’t entirely without structure though – I plan for the learning environment and have a timetable .  I suppose it is a little like having a plan for how you spend time with your children. It isn’t an academic preschool, we play and explore together, sometimes they play alone and we share interests, questions and ideas.

What about interaction with other children?

One day a week we have no preschool the girls go to ballet class, meet with friends and help me with normal everyday things like grocery shopping.

large blocks
Building a mountain with the large blocks.

Two days a week we attend a local membership based playspace, it’s a little like a toddler group in the UK except that it is a purpose-built space and is open all day. Some  of the music and language games we play at home don’t work very well with only 2 children  so I run music and movement, craft, sensory play or storytelling sessions here which gives us an opportunity to do activities in a larger group.  The rest of the time I allow them to free play but take their learning diaries to record what they may be interested in or achieving  in a different context.  The girls get chance to play with other children and use different materials than those we have at home.

The other 2 days are home based but sometimes we will use one of them to go out on a trip.

Timetabling

visual timetable)One of the things I have disliked about many preschools is the rigidity of their schedules.  There seemed to be little time for the children to become absorbed in a project or flexibility about what they might do each day.  I did however feel it was important to have some schedule in place.  I created a visual timetable using printed symbols.  Certain symbols are always present – Snack, lunch, free play and others I add in based on what we might do that day.  The symbols can be moved around and often if we don’t have time for an activity I move it to the bottom of the timetable to be saved for next time.  Sometimes I let the children plan the timetable  although they don’t exactly have a realistic understanding of time so we usually end up with far too many activities to get through in one day. It is also a really good way of regulating screen time, this usually goes into the timetable for after lunch followed by outdoor choosing time and if they ask for it earlier in the day I point them to the timetable. I’m surprised at how well the timetable works , the girls really respond to it and look forward to knowing what they are doing next.

How we Plan

observation into planning

I plan, building on the children’s interests to provide next steps in their learning.  If I observe the children following consistent patterns of play, enjoying particular materials or asking questions, I record them and consider what I might plan next to enable the children to use this skill or interest in a different way or to extend their learning further.  For example, my  youngest daughter has just learned to cut with scissors and loves to  snip paper into tiny pieces.  She also loves gluing so I suggested they use the pieces to make a collage. As an extension to this we are going to look at pictures of mosaics for further inspiration and play with wooden pattern tiles. Only having 2 children to observe means that their learning experiences can be truly individualised in a way that might not be possible in a bigger setting.

collage

Planning for the Learning Environment

environment planning

In addition to this I also have a plan for the environment.  How often this changes is fairly flexible. Using  information from the observation into planning, I might decide to include particular materials with the sand or water, put a particular craft activity out, lay out particular toys, set up a new role play area or display materials in a certain way. For example the girls were playing cafes at the play centre so at home the next day I gave them  notebooks to take orders and a chef’s hat.  I laid the table and I was the customer. This also allowed them to build on some of their other current interests like emergent writing and playing picnics. Sometimes we may just try something new and see if they like it and how they play with it – they are usually good at making suggestions as to what we might do next.

The Learning Environment

There are certain materials I like to always have available to the children

  • sand (outside)
  • water (outside)
  • craft materials
  • paper and pencils
  • books
  • loose parts
  • construction
  • small world toys
  • role play and dressing up

In an ideal world clay and paint also but this is a little messy even for me especially in the winter when we don’t use outside as much.

All these materials however are difficult to manage. I have recently reorganised our playroom but I still feel that there are too many things on view.


It isn’t as easy to have the environment you would like when it is your own home but I’m constantly re-evaluating how we display things and adding new ideas to the outside area.

This slideshow requires JavaScript.

Pirate Phonics

pirate 2

What is a Pirate’s favourite shop?

Arrrgos

What is a Pirate’s favourite animal?

An aarrrdvarrrk

What does a Pirate spread on his toast?

Marrrmite or marrrmalade.

We have had hours of fun with the endless possibilities of pirate jokes around the dinner table.  My youngest daughter’s recent addition is

What is a Pirate’s favourite fruit?

An arrrringe.

Pirate jokes are a great way to practice oral phonics and rhyme.

My middle daughter is beginning to learn to read and write so I decided to use International Talk Like a Pirate day to introduce the ‘ar’ sound.

What Sound does a Pirate make?

arrrrrr

What sound does the letter ‘r’ make?

rrr like rrrabbit and rrred.

So even though it is called an ‘r’ it doesn’t make an ‘ar’ sound. We need more than just a letter ‘r’ to make a pirate sound.  We make a pirate sound with a and r together.

I gave her a magnetic ‘a’ and ‘r’ on a board along with a number of consonants. We used the magnetic letters to make as many word with ‘ar’ in them as we could exaggerating the ‘arrrrr’ sound in a pirate voice.

My daughter moved letters around to make different words and blended the sounds to read them out.

I wrote down the words for her in a list

jar

mars

bar

star

tar

car

Martha

arm

art

far

farm

Martin

She then dictated a story using the words and I underlined the ‘ar’ words for her to read .

Once upon a time there was a pirate called Martin.  He loved to eat a jar of pickles. He also loved to go to the scarecrow farm which was far away. He also like to do art. He had a pet wolf called Martha. One night there were lots of stars. He went out in the car to see his cheeky friend.  He always called his girlfriends funny names. Martin threw a bottle of tar on his friend’s arm. So he ate a Mars Bar.

As we read the story we said all the ‘ar’ words in a pirate voice.

As we were walking around the museum at the weekend she said

Mummy, I’ve thought of another pirate word ‘guitarrrr’

I wonder how many more she will come up with.

Shadow Play: Investigating shadow and light in preschool.

shadows
Shadows provide extraordinary educational opportunities.  Not only do they raise a spontaneous curiosity in the child, stimulating his imagination and exercising his emerging intellectual abilities but they are also omnipresent (even more than sand, stones, water or “pencil and paper”, because you only need a bit of sunlight or even a candle to produce them). Perhaps more effectively than other things, shadows can nourish the child’s need to do and to experiment given the ease with which the variables involved in their formation and transformation can be manipulated.

( Guido Peter – The Hundred Languages of Children)

My youngest has become increasingly fascinated by shadows. As we walk along she shouts

I can see your shadow

or

my shadow is long

With this in mind I thought it would be a nice idea to make shadow shapes and draw around them with pavement chalk.  Some shapes worked better than others, my youngest daughter’s shadow looked a little like an embryo!

embryo shadow

The girls drew around them. They were particularly interested by the fact that they couldn’t see the whole of their legs.  It was a very hot day so only my 4- year- old wanted to colour in the detail.  They were very proud of them and pointed them out to their dad every time he walked over the driveway.

My 4- year -old has very poor eyesight and needs practice copying and tracing shapes to enhance her perceptual motor skills . I hate the idea of sitting her down with worksheets so I thought shadow tracing might be a nice alternative.  We took a number of objects outside to draw around. We even attempted to draw around her bike, which was a little tricky.

Later in the week we were playing with blocks in the house.

My 2-year old declared

I have a shadow, it’s behind me

Where is the shadow coming from?   What makes it appear?

Maybe the fan.

Okay, so let’s turn the fan off and see if they disappear.  Has it gone?

No

My 4-year-old had an idea

I know maybe it’s the light, let’s turn it off.  It’s gone!……………oh hang on it’s still there, it’s just fainter.

Shall we see if we have a shadow outside today?

We don’t have a shadow……. Oh wait, when you sit  down there is a bit of a shadow.

Why do you think that happens?

I don’t know.  Let’s see if there are any shadows on the grass.  No, not even the dog.

Do the trees have shadows?

Yes and the bushes.

My 2-year-old had an idea,

Maybe the sun has taken away our shadows.

No, that’s not right because the sun makes the shadows.

Maybe when the sun is not there it takes them away?

I know, let’s draw a sun and see if they come back.

drawing a sun
drawing a sun to bring the shadows back

I know we can stand in the sun and make it bright colours to see if it comes out.

In the meantime my 9-year-old came to join us. I told them the girls had a bit of a problem that they were trying to solve and wondered if she could work it out.

Why is it that when it is cloudy there are no shadows but when things are close to the ground there is a small shadow?

Maybe it’s because it is darker when you are close to the ground

But there is no sun and you need light to make a shadow.

Yes, but if it was dark I couldn’t make a shadow because it couldn’t get darker.

If we were in the sun and it was too bright what would we do?

Stand in the shade.

What makes the shade?

A tree.

So what is happening to make the shade?

I don’t understand.

I drew a picture of the sun in the sky with a stick person stood underneath and a tree with a stick person underneath the tree.

Oh, the tree gets in the way of the sun.

At that moment as the girls were standing in their picture of the sun, the sun came out.

standing in the sun
They stood in the sun and hey presto the sun came out. Look, it worked the sun came out!

I think we might work on reflections as a starting point for our pre-school year .  We could

  • Resurrect the shadow puppet theatre
  • Use the projector to make and investigate shadows
  • Place paper on the windows and observe and trace shadows
  • Continue to talk about and ask questions about shadows when we are out and about.
  • Make a homemade light table
  • Investigate mirrors and natural materials
  • Observe reflections in water

and wherever else it might take us.