I believe clay should be readily available in every early years classroom. For many kindergarten or reception classes this isn’t always possible or practical. In my daughter’s kindergarten class, I give them an opportunity to experience clay during our art classes in the hope that they will build on it in future years and at home.
Before making a product, I feel it is important to explore and understand the properties of clay. In my own class I would give the children a chance to explore clay with hands, different tools and different sized pieces over a long period of time before creating any finished products.
I showed the children a series of pictures of children exploring clay. Pictures of children climbing on big pieces, rolling great structures, building with blocks of clay and adding objects to clay. I feel a little sad that we don’t have the opportunity to explore these things ourselves but I want the children to see the many possibilities.
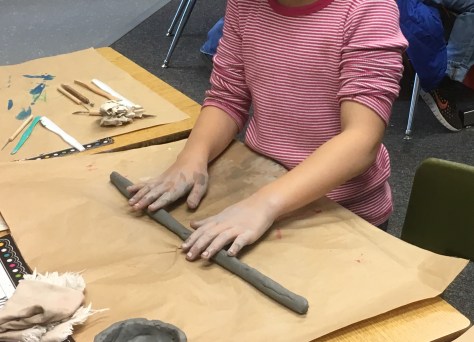
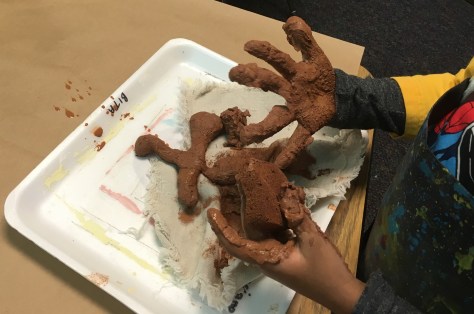
The children have a piece of clay to explore. I gave them questions
- Can you roll the clay into a long shape?
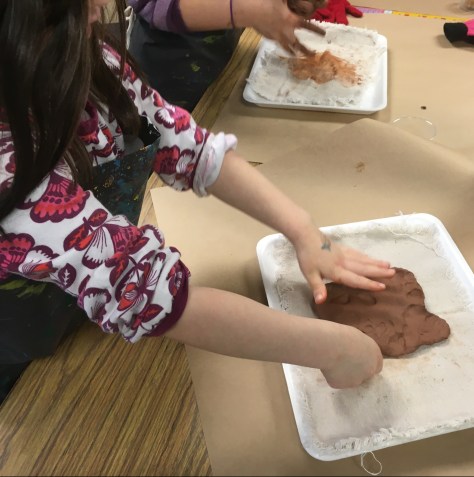
- Can you squash it flat?
- Can you make a round shape?
- How does it feel?
- Can you make it smooth?
The pieces I gave them came from the scrap bin and they were really wet and sticky. We talked about how it felt and how it differed from some of the pictures we had seen.

I then showed them how we could use tools and everyday objects to make patterns and textures in the clay.
Suggested objects
- clay tools
- shells
- cocktail sticks/toothpicks
- bottle tops
- pine cones
- mesh
- stampers
- straws
The children explored and we put the clay in a bag for the children to take home and explore further at home.

Building on the skills to make a project
In the introductory lesson we had explored the properties of clay and how we could manipulate it and add texture. We did not touch on how to join clay pieces together as I wanted to keep the project simple and work on pattern and texture.
I pre-rolled pieces of clay for the children to ensure it wasn’t too thin and it wouldn’t break in the kiln.
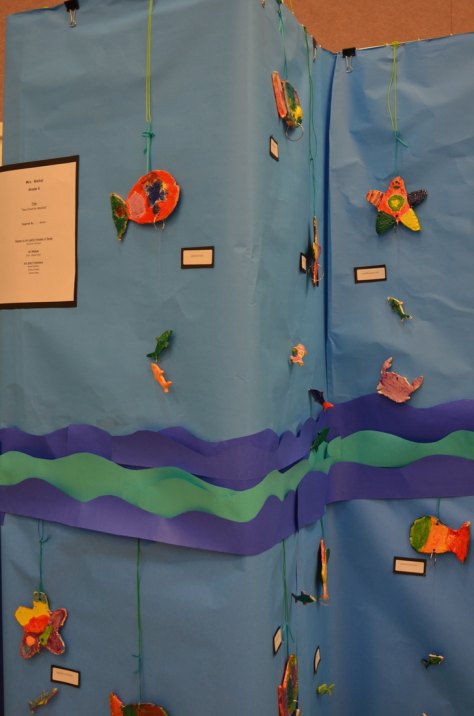
I demonstrated how to cut around a template with a clay tool to make a shape. The children were given a choice of a fish or a starfish as the finished products were to be displayed in our art walk with a water theme. I have also created similar projects in previous years with hearts and circles.
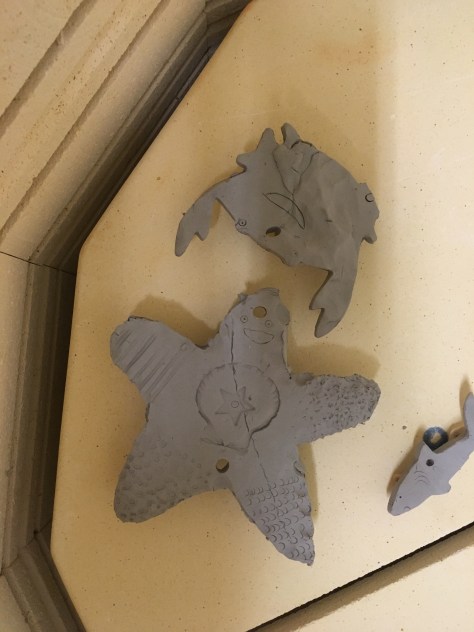
They then used different tools to create different patterns on each section of the fish or starfish. The smaller animals were cut out using cookie cutters.
The holes were made using straws. The children learned that by pressing hard they could make a hole but if they pressed lightly it would make a circular pattern, but not go all the way through.
Lesson 2 : Glaze
We are really fortunate in our school to have a kiln and be able to fire projects, as this allows children to go beyond exploring clay and to learn about the requirements of creating lasting projects.
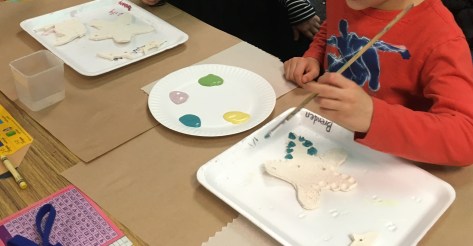
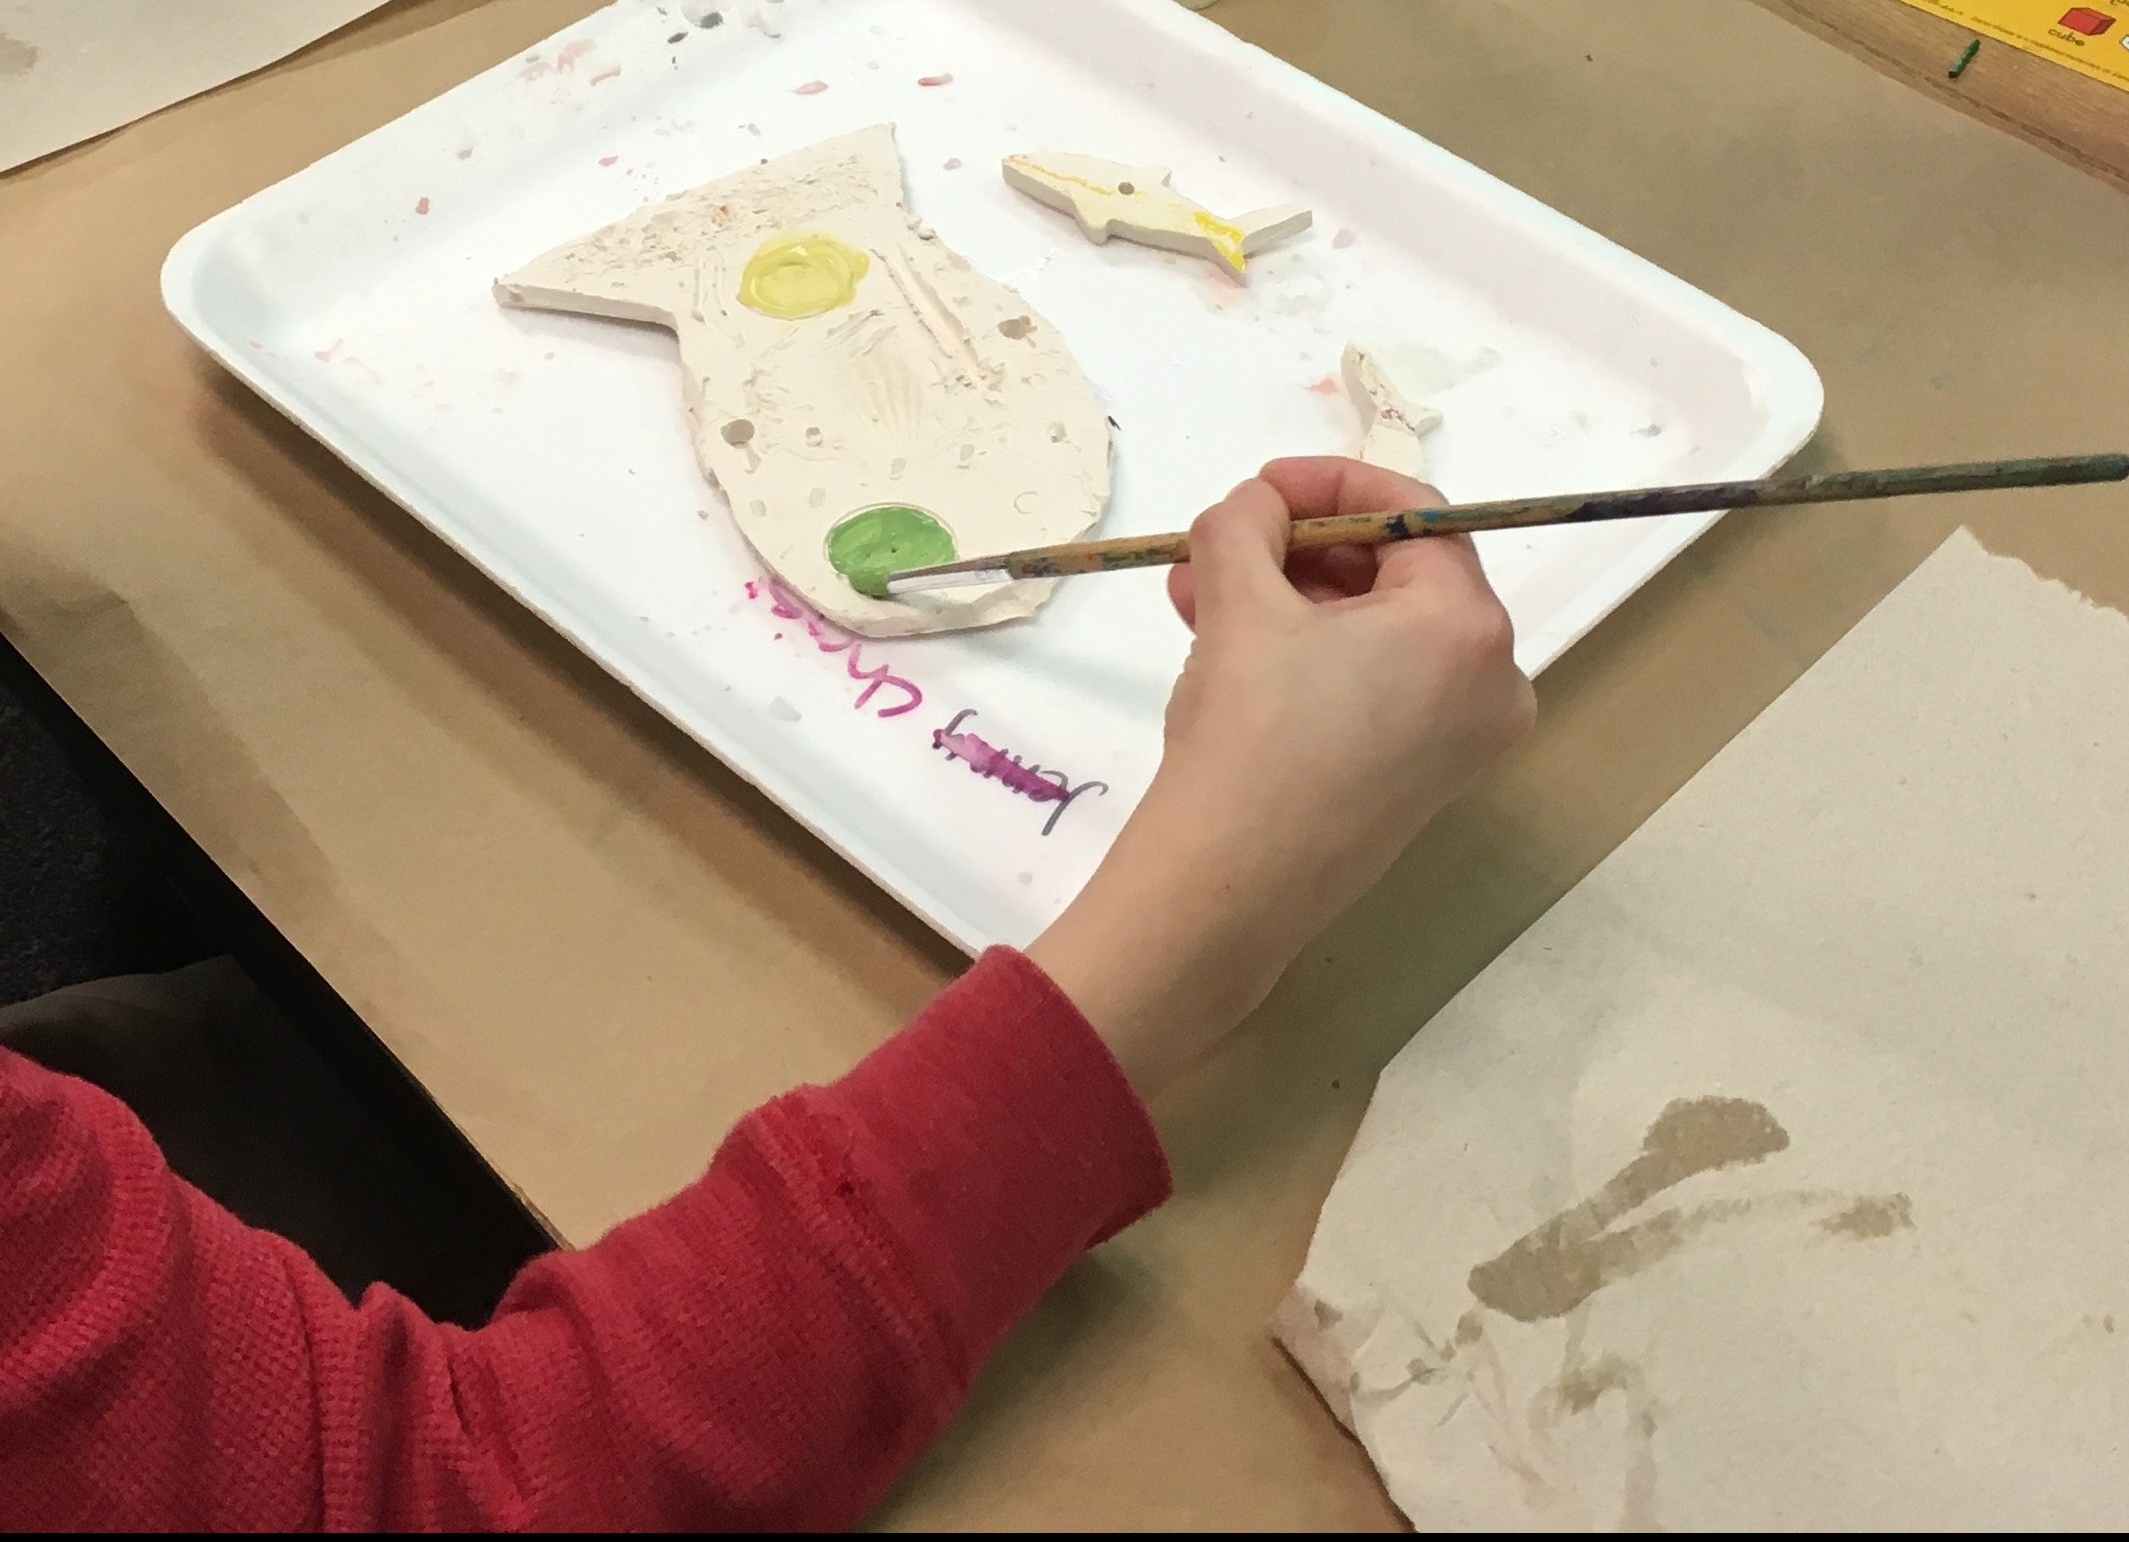
The children painted each section of their project with different colours and patterns. They were really meticulous in their execution. They painted three layers to make sure the colour coverage was strong. Some children painted different colours for each layer. I would suggest showing children different examples so they can see how different techniques will turn out.
When they came out of the kiln, I made them into mobiles using fishing line and ribbon.
The finished products at the art walk